Reading Time: 5 minutes
Be Prepared: The Motto of the Boy Scouts of America
“Be prepared for what?” you might ask. For everything is the response, scout leaders will tell those who ask.
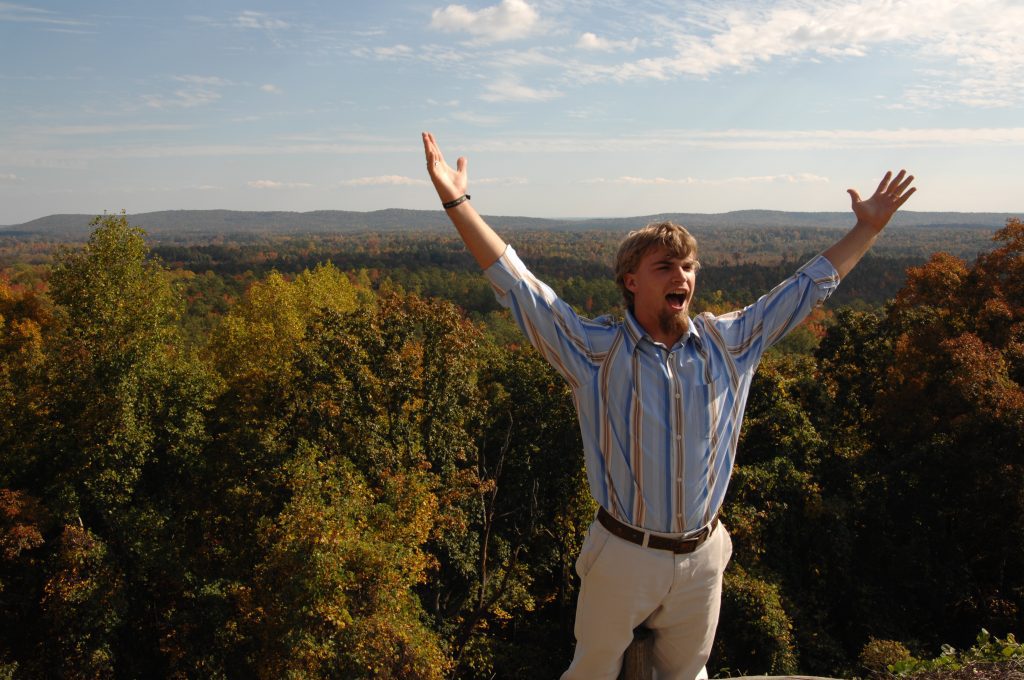
Be prepared to live happily and without regret, knowing that you have done your best.
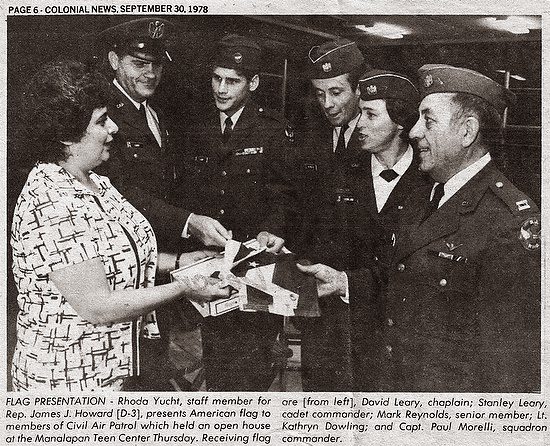
I started scouting and then joined the Civil Air Patrol. Civil Air Patrol has continued to save lives and alleviate human suffering through various emergency services and operational missions. Best known for its search-and-rescue efforts, CAP flies more than 85 percent of all federal inland search-and-rescue missions directed by the Air Force Rescue Coordination Center.
CAP spends a lot of time in training and education around aerospace. I remember going on camping adventures where we would practice search and rescue. We learned how to read maps and use our compasses to navigate rugged terrain.
I also went to the McGuire Air Force base in New Jersey summer camp. We learned to shoot M-16 rifles during that camp. We also took a ride in a C-141. Like all young boys, I wanted to go on a search and rescue mission and be in the woods with an M-16 rifle on maneuvers. I wanted adventure.
Most of us grew up learning a great deal of stuff that prepared us for where we are today. A good amount of what I learned in scouting and Civil Air Patrol are things I hope I never have to use, but I am thankful I now know what to do in an emergency.
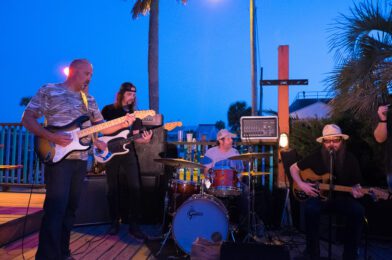
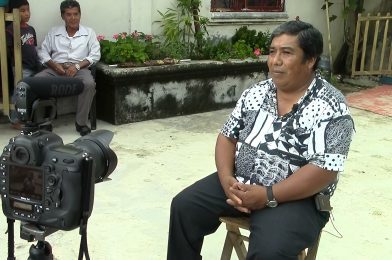
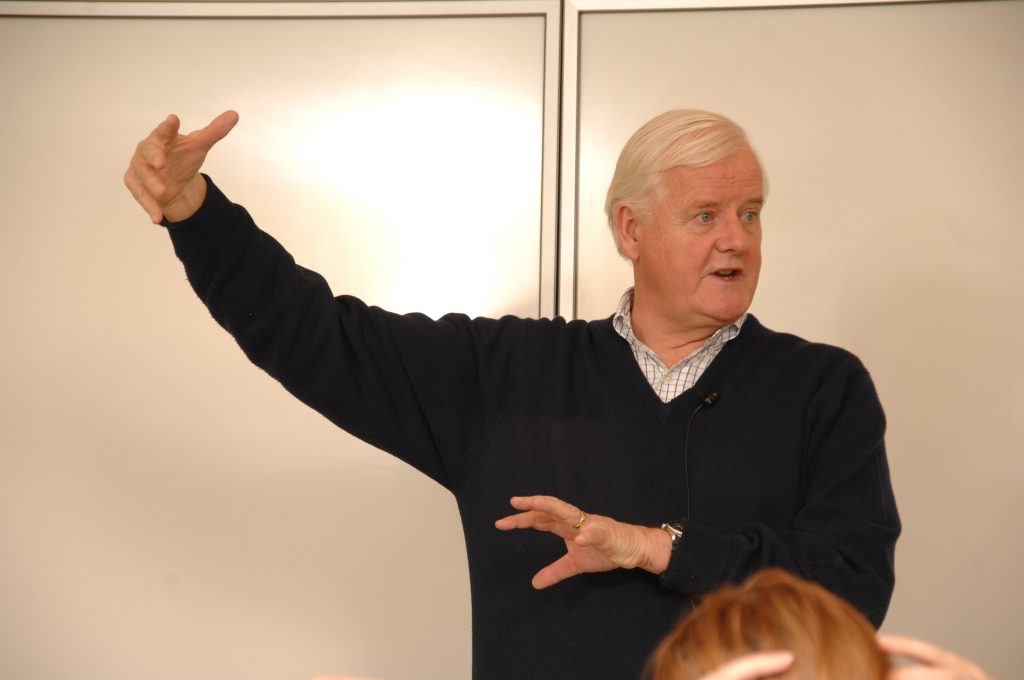
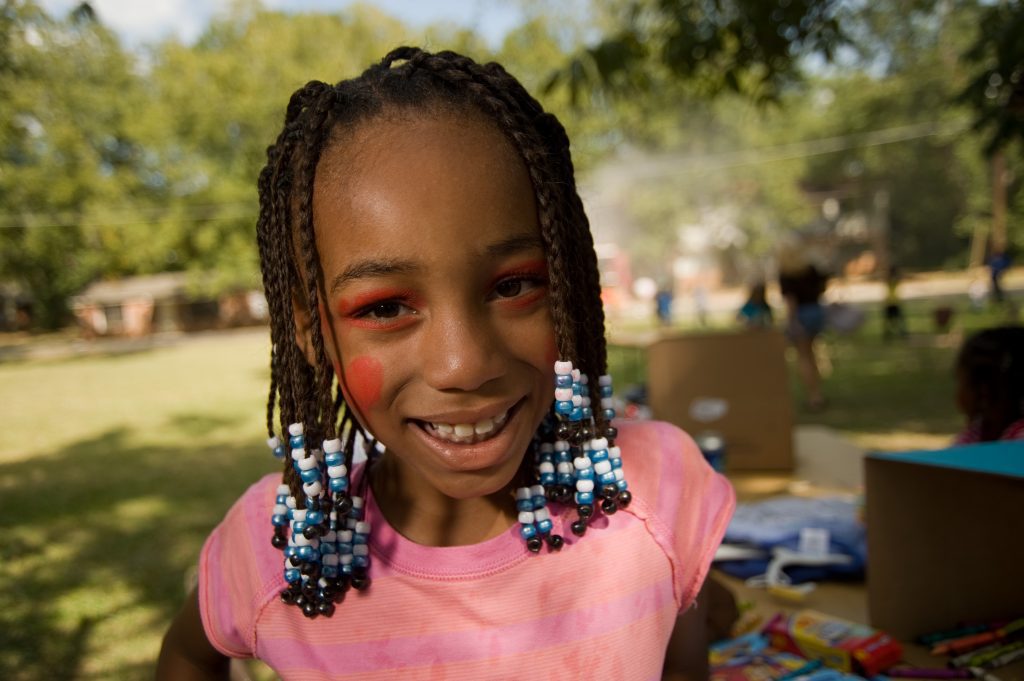
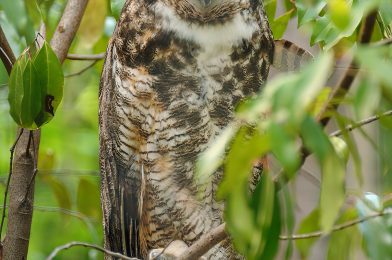
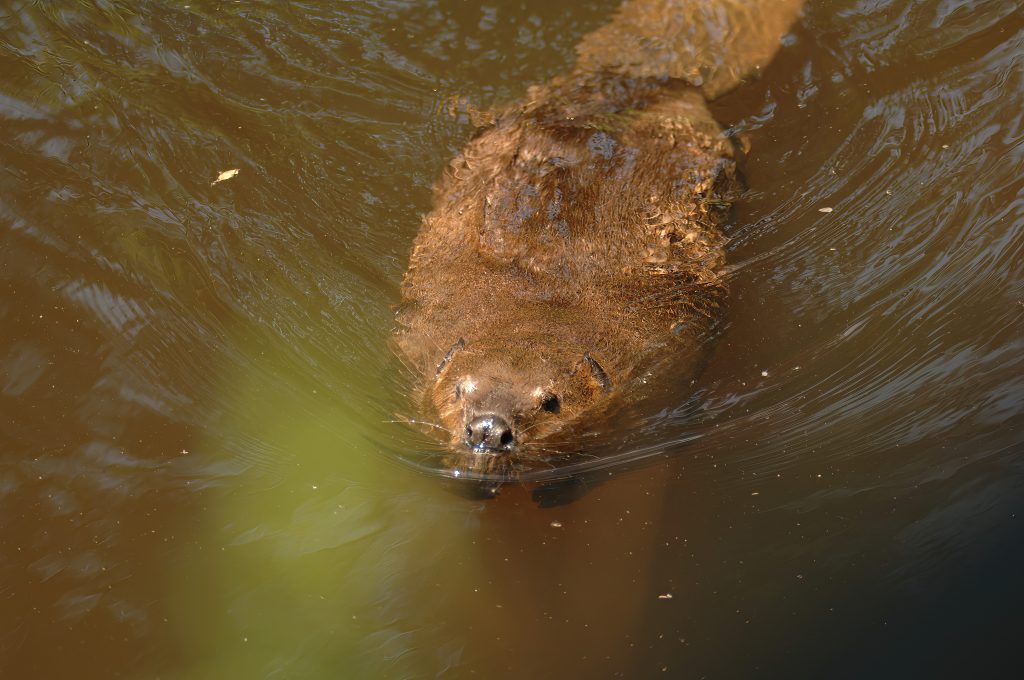
Photographers need to be ready.
Like the scout we study, we know what to do in a given situation. But, I had to get to capture these wildlife photos.
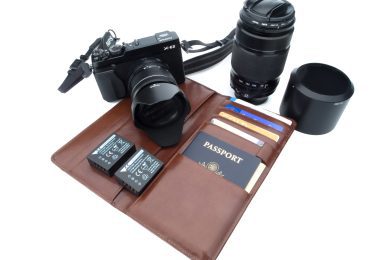
Being ready today is often due because I wasn’t always in the past. For example, I now carry a tripod on every photo shoot. I may leave it in the car, but I can quickly get to it.
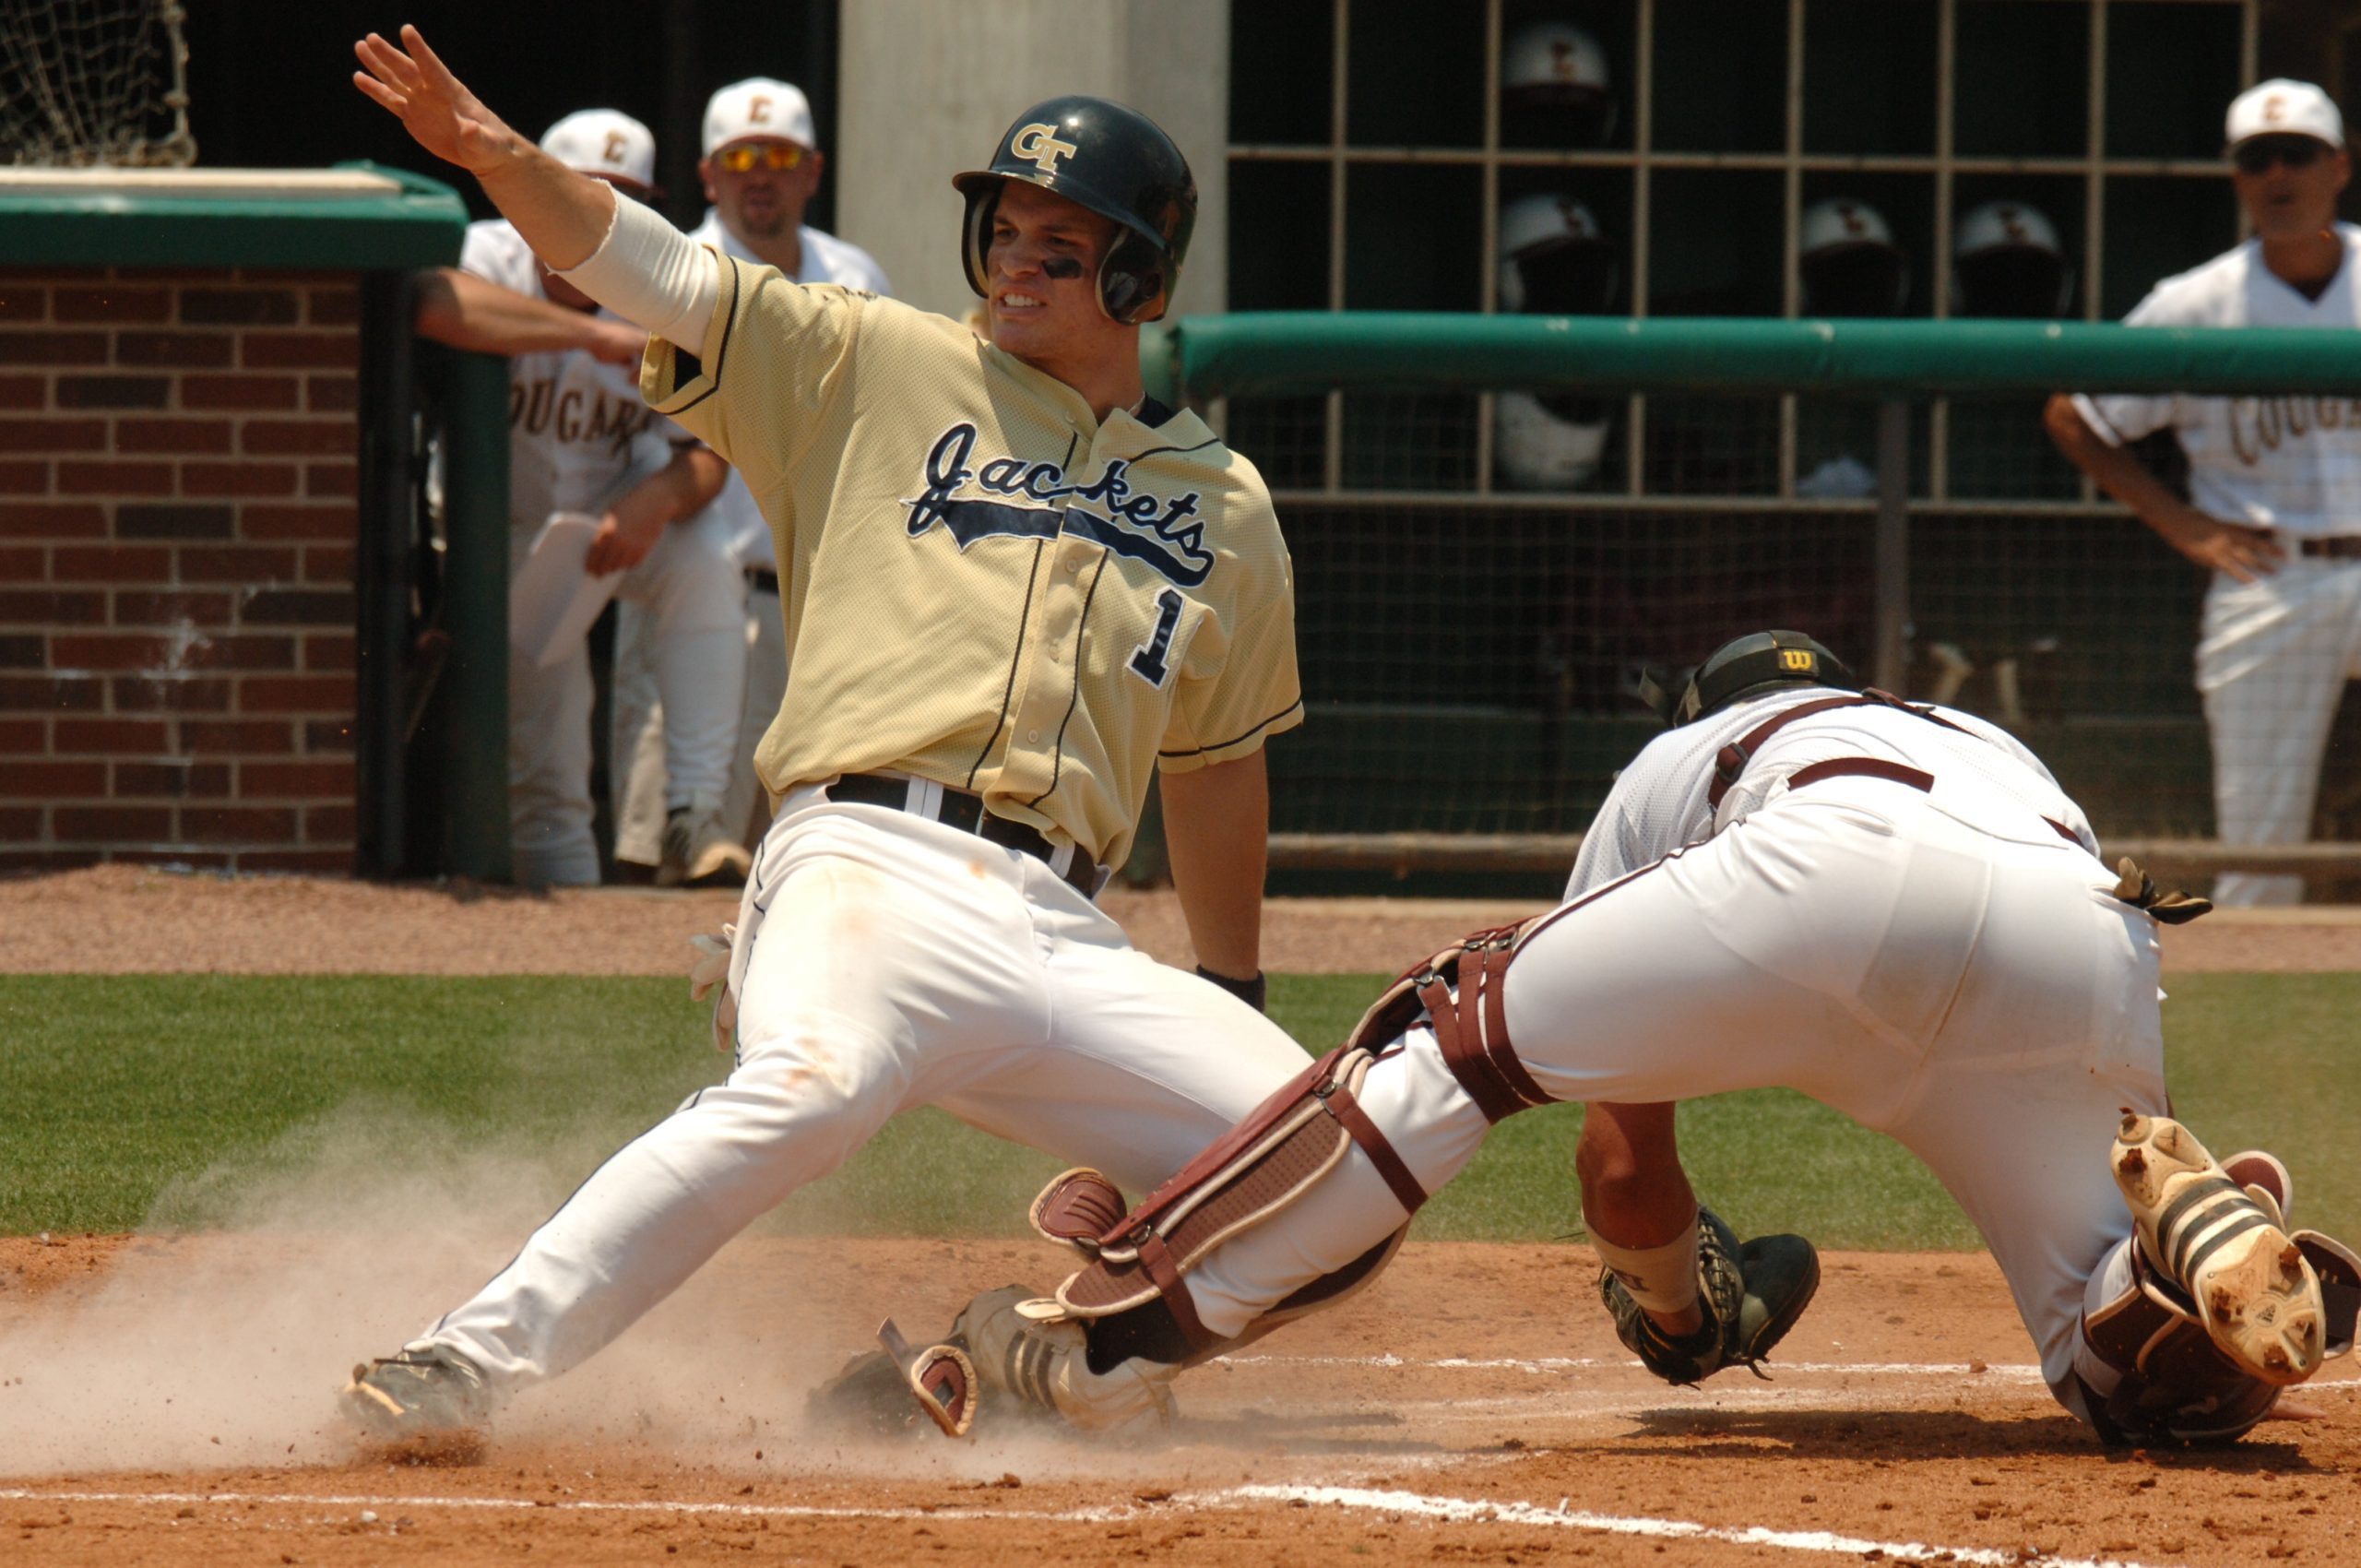
When I am shooting sports, I have long lenses and a monopod.
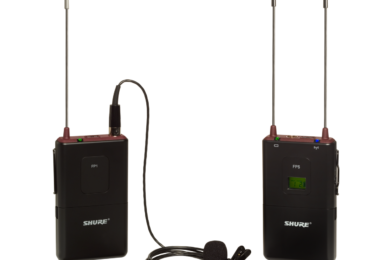
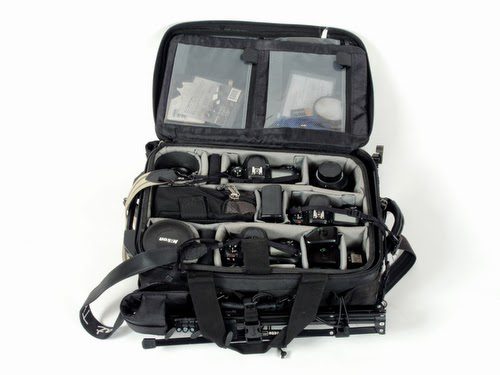
I also like to use the ThinkTank belt system that I customize with the gear I need for that event. I do not want to require a flash and not have it.
I even have KWP Knee Pads to help save my knees when shooting from the kneeling position.
Being Prepared can be Depressing.
By my senior year in high school, I finally dropped out of Civil Air Patrol. I was tired of doing practice runs for search and rescue and never getting actually to do a “real” search and rescue.
“Patience, young grasshopper,” Master Po often said to young Cain in the TV series Kung Fu.
Being a thrill seeker can get you into much trouble. A week ago, on my Google alert for my name “Stanley Leary,” an email alert came in for Sean “Stanley Leary,” who died from BASE jumping. Leary’s body, rigged up in his BASE jumping gear, was found 300 feet beneath a high ridge in the park’s West Temple area in Utah’s Zion National Park.
He was a thrill seeker.
I found, as a photojournalist, my heart pumping as I covered disasters. While, on one level, I was sad about the tragedy, I still enjoyed the rush of my blood pumping.
March Madness has some of the best moments in basketball history, and then it has had some moments where everyone wishes there was a mercy rule. Take the 1963 Mideast Regional, 1st Round: Loyola 111, Tennessee Tech 42 game. A 69-point difference in the score of the two teams.
I think there are no great photos when you Google those blowout games. They may even have a headshot of the MVP. The lack of great images is because the game wasn’t that interesting.
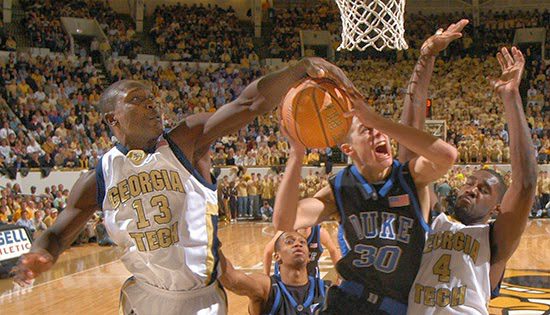
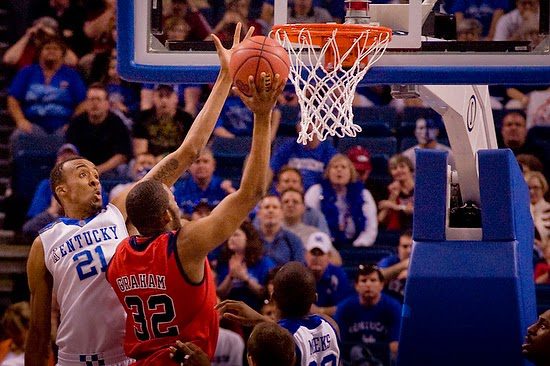
This year there have been many games coming down to the last few seconds where the winner won by just one basket. These games were great to watch and photograph.
I have covered many games where the two teams were playing flat. There was not much emotion or effort on the field for me to capture. When I edit, I try to find a photograph that tells the story, which is somewhat interesting for the viewer.
Blowout is a big contrast to those double overtime games I covered during March Madness, where I would have so many moments I had to narrow down my selection.
Being Professional Photographer in Flat Moments
It isn’t easy to photograph these moments where very little is going on. Lack of the obvious However, this is where the great photographers start to stand out truly. They look for exciting things that they now have time to look for as compared to those moments where so much excitement is happening you are just trying to capture what is happening.
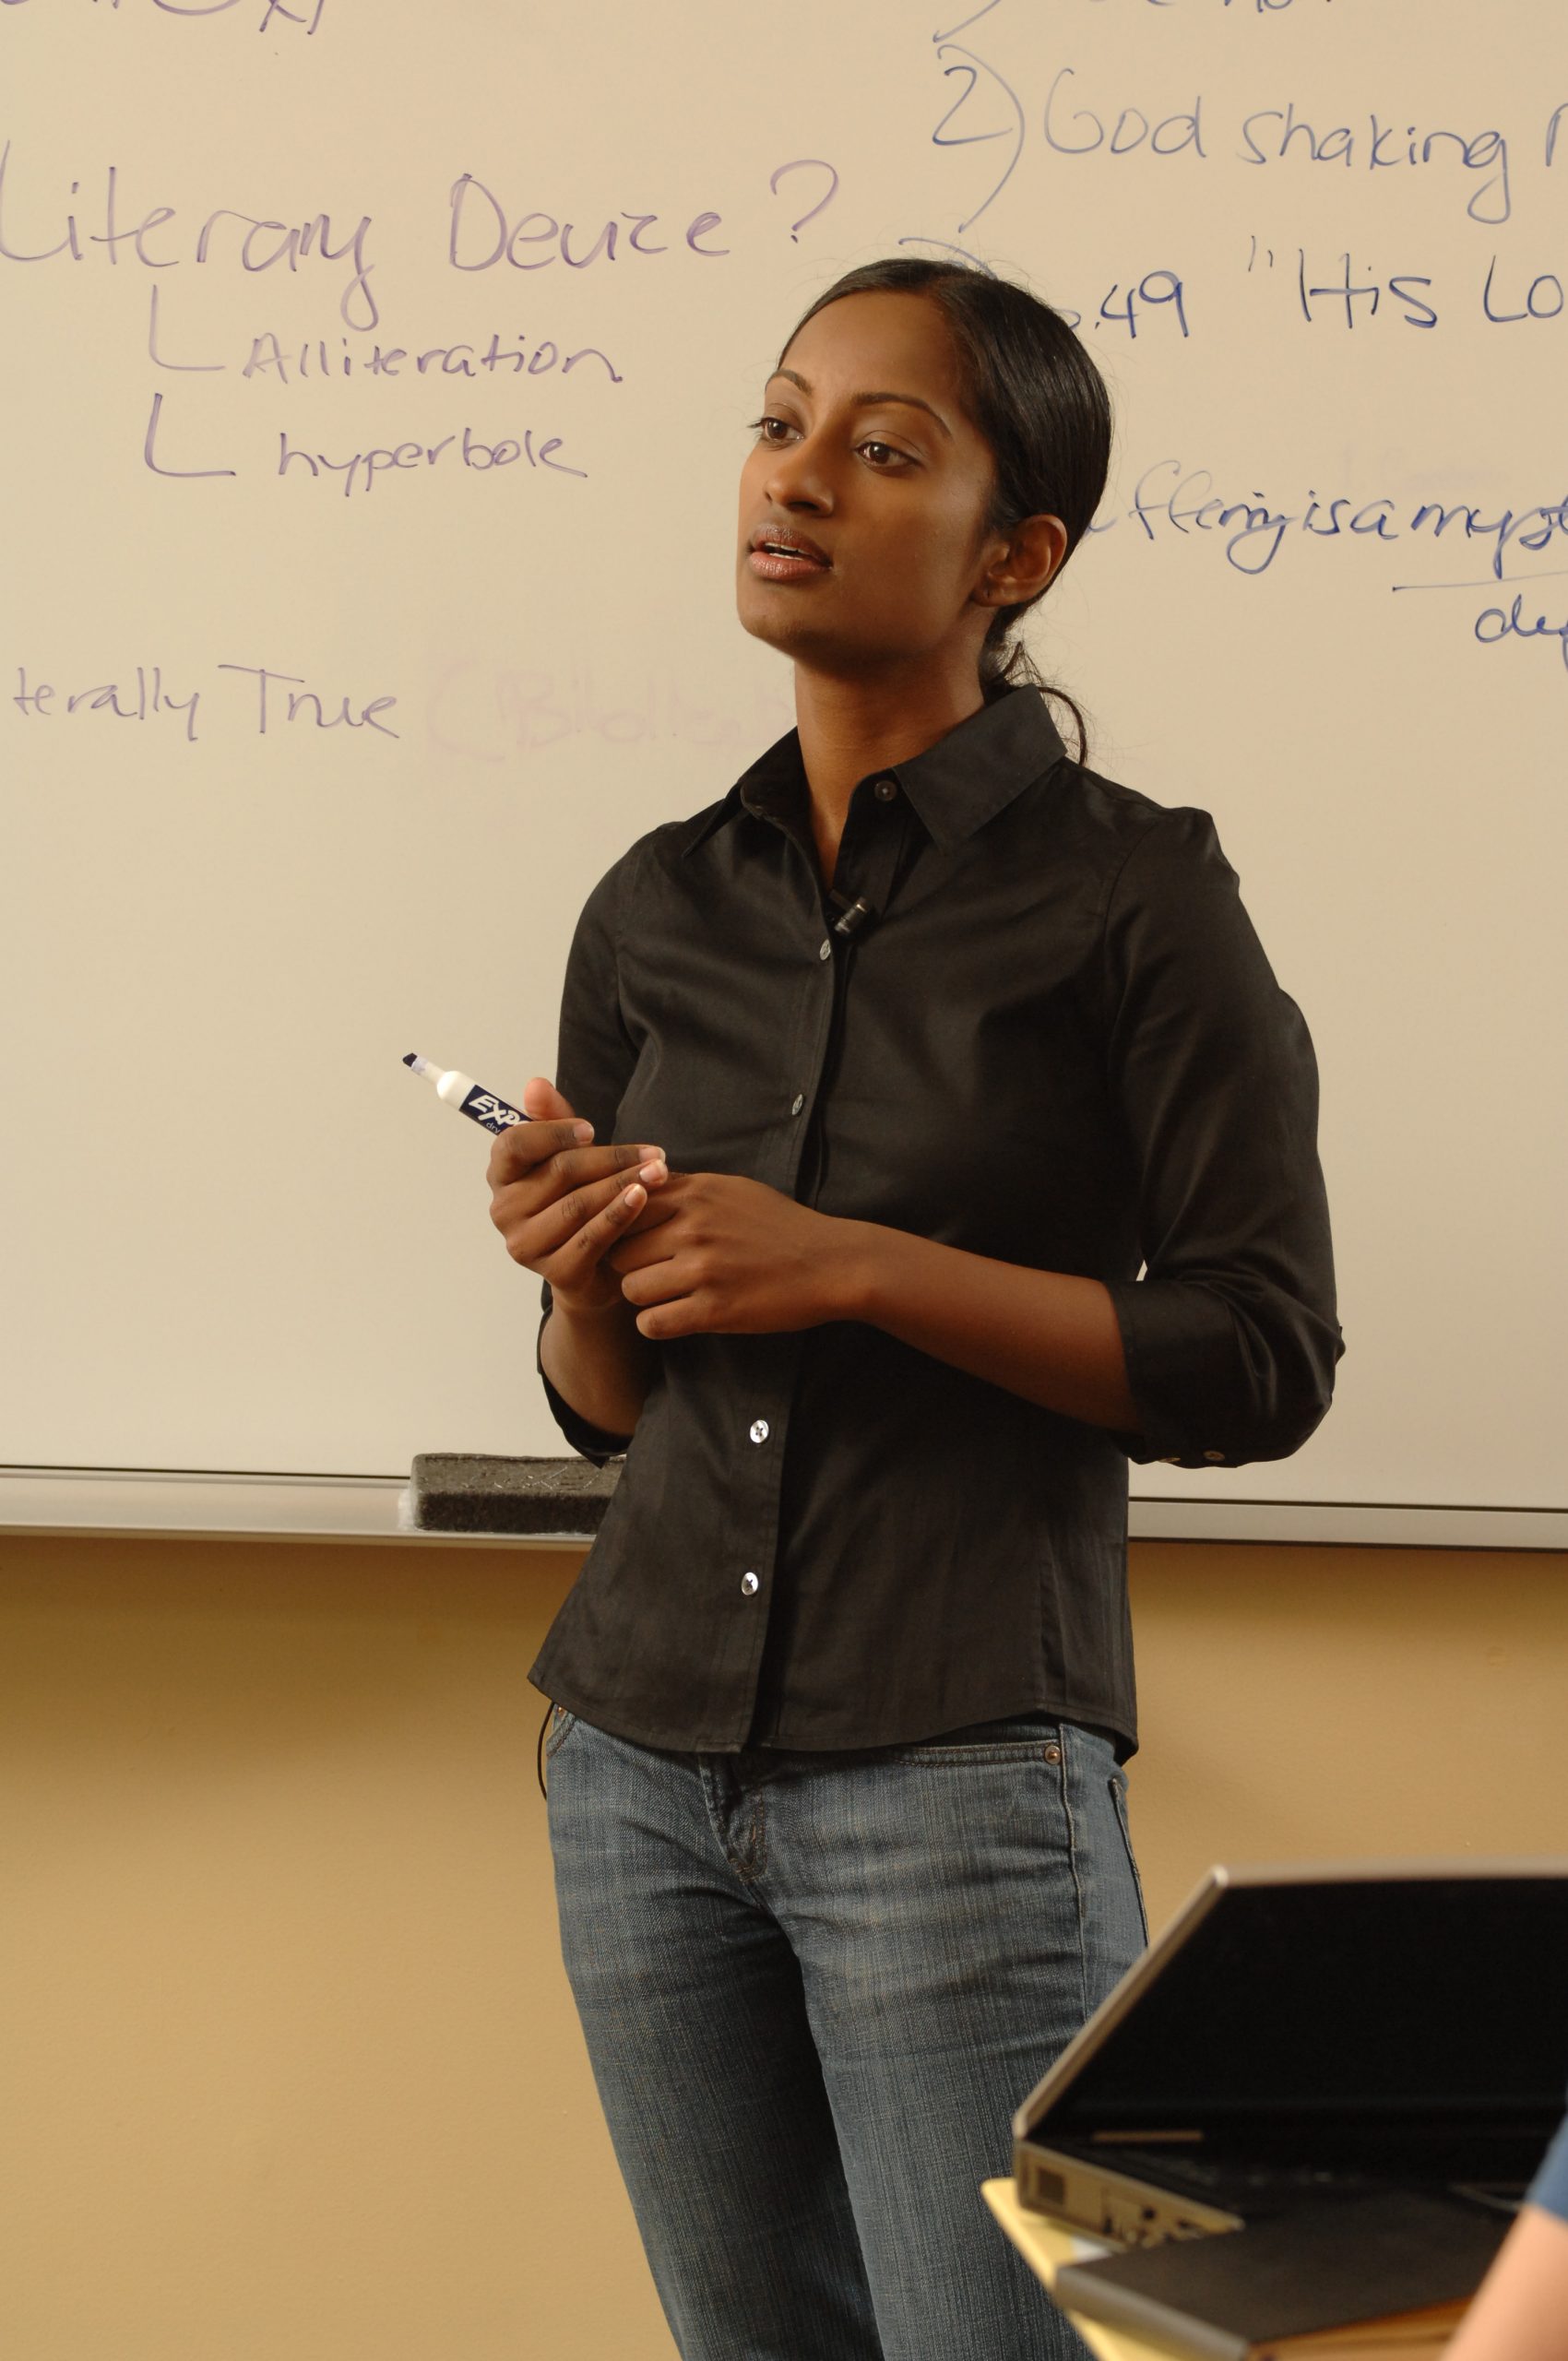
The difference can be as simple as having a very introverted subject compared to an extrovert. , So yes, you can take great photos of each, and one is not superior to the other, but one may require you to work harder.
I have gone further downfield and used long lenses like a 600mm ƒ/4 lens to find a different angle.
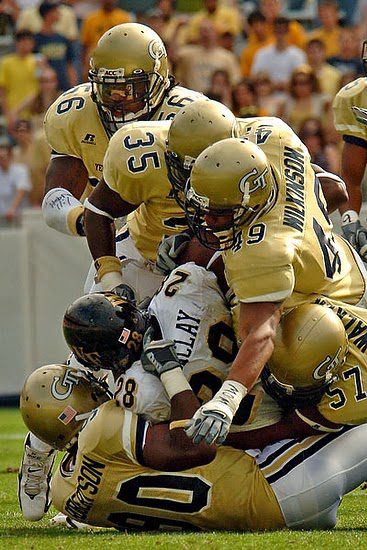
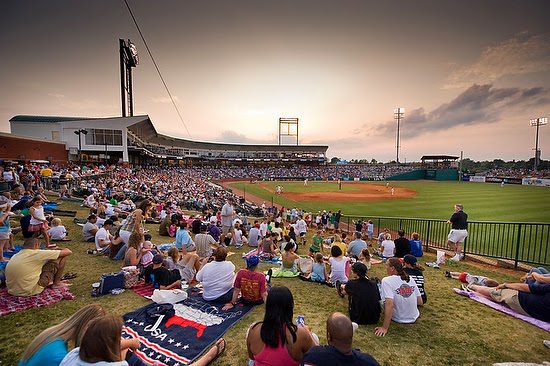
I have gone to the corner of baseball fields to capture something different.
I shoot with a long lens from the other end of the basketball court to get something different.
I will use off-camera flash to help improve photos to give moments a little more oomph.
While I may not have as many ” keepers ” photographs from flat events, I will always have some that will work for my client. That is what they are paying me to do.
You cannot come back and say there was nothing to photograph. At my first newspaper job, the director of photography told me then to show me there was nothing to snap and don’t come back with anything.
At that newspaper, we sometimes went to places where no one was. So we would take a picture of the empty field and make it look good, showing we were there and nothing was going on.
I get depressed after some events because I don’t have much to show. I sit and think and wonder what I could have done better. I always think of something that I could have done a little better. If, in the end, you can say you know that you have done your best, then you can be comfortable with your work.