
|
Getting your Trinity Audio player ready...
|
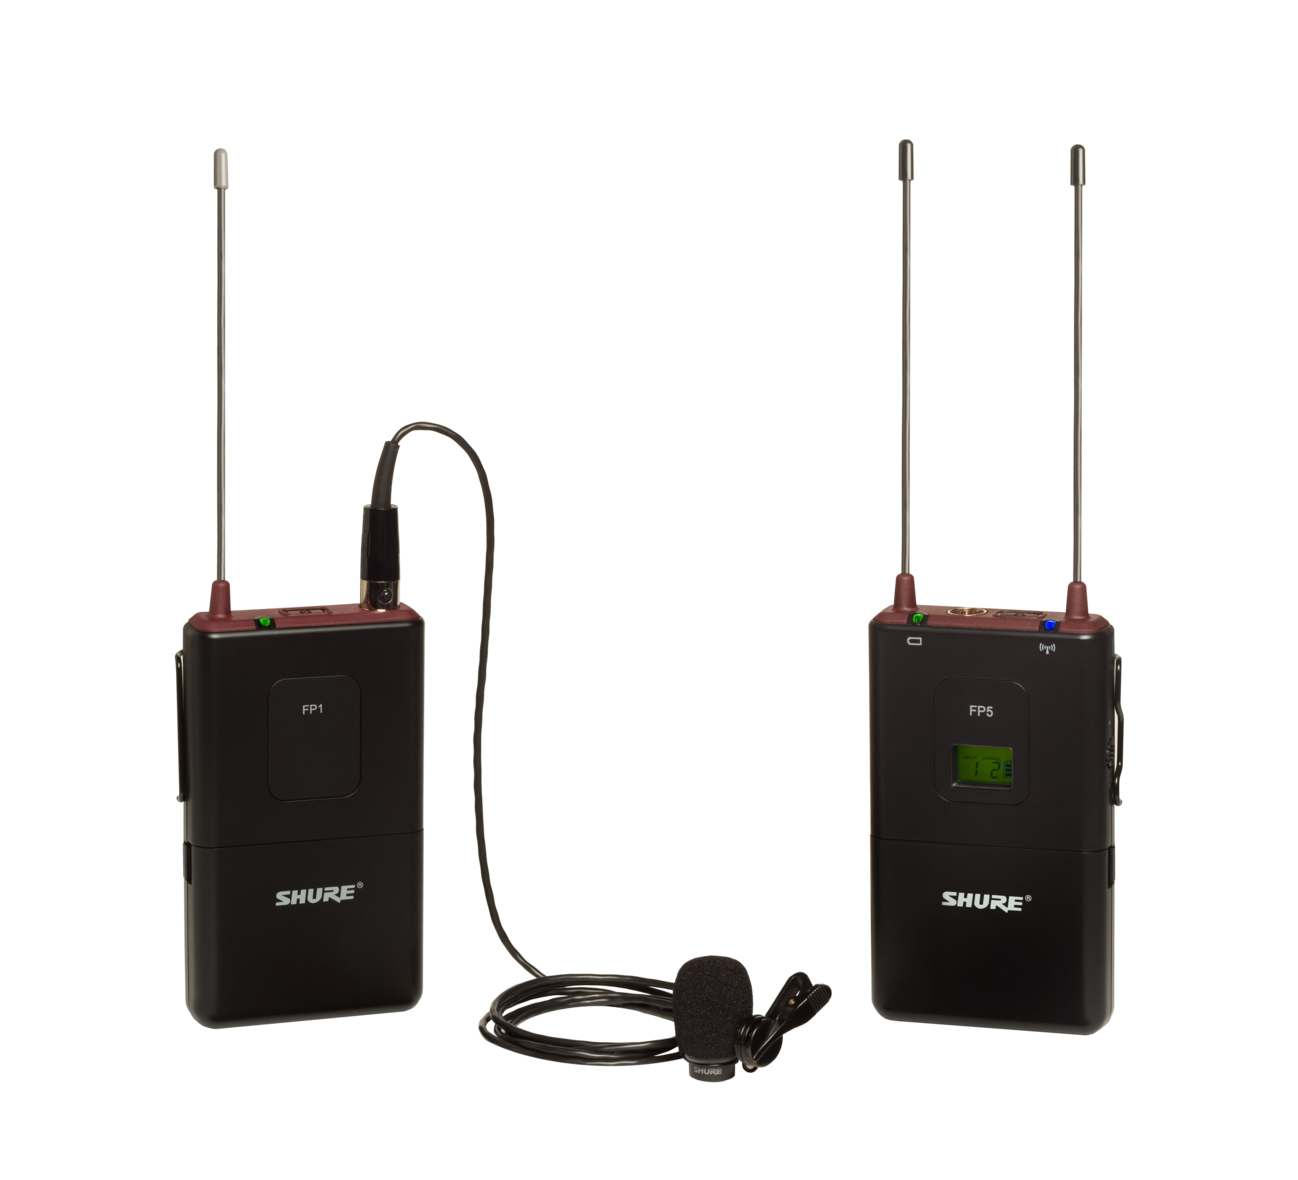
Shure FP15/83 Combo Wireless System, H5
Our teaching team for our International Missions Photography Workshop in Lisbon, Portugal, started prioritizing the subjects we teach. Poor sound is the number one technical mistake we see most often in multimedia projects.
Your audience will tolerate poor-quality images more than poor audio in a multimedia presentation.
Before teaching people how to make better audio for their projects, you must ensure they have a good microphone.
Simple Solution
For the best recording, it would help if you got the microphone as close as possible to the source. Recording with a DSLR or a video camera’s built-in microphone requires you to be on top of someone to get a sound recording of them during an interview.
Clipping a Lavalier microphone on their clothing as close to their mouth as possible will give you the best, consistent results. The best way to go is to have a wireless system, so you don’t have cables all over and don’t need to pack many extension cables.
Today’s software makes it easy to sync an audio recording with a video recording in post-production. Be sure to clap when all the recording devices are rolling, and then you can quickly line up the spikes in the software. I would even go so far as to say clapping two or three times will make it even easier.
| Align the two tracks using the spikes. |
So, what do you record with? My number one recommendation is based on the assumption that most of those taking our workshop will have a smartphone. The second assumption is that there is no need to spend much money on recording gear; instead, buy those things that will complement what you already have in your bag.

You can buy the RØDE smartLav microphone, designed to work with a smartphone. If you look at the link, you will notice the 1/8 plug has four connections rather than the typical 2 or 3 connections. This design makes the microphone work with your smartphone.
You can use the microphone with any recording app on your phone, including the RØDE Rec App for iPhone users. There are many apps for Android and iPhone users to choose from. You want to use a recorder that controls the gain setting and avoids the Auto Gain setting.
Practice, Practice, Practice
After buying the gear, you need to test it repeatedly. You need to practice recording with your video and audio. It would help if you got used to starting and stopping the sound and camera together. It would help if you always practiced having claps.

The clapboard has been the standard for movies. You show this in the video so that you can match the sound spike of the clap to the visual. But, of course, clapping your hands together in the camera’s frame will also work.
Practice putting those clips together in the software. Next, practice getting the sound file from your smartphone to your computer. Finally, you can email it or use Evernote or Dropbox to transfer the file.
Put those files in software like iMovie, Final Cut Pro X, or Adobe Premiere and practice lining up the two files. You may discover that the auto-sync will not always work because the sound is so faint on the camera compared to your smartphone recording.
Practice any recording scenario that you might want to use. For example, you may want to do interviews where people are sitting still or walking toward you. Always practice before you do this on the job when you must have the sound for the project.