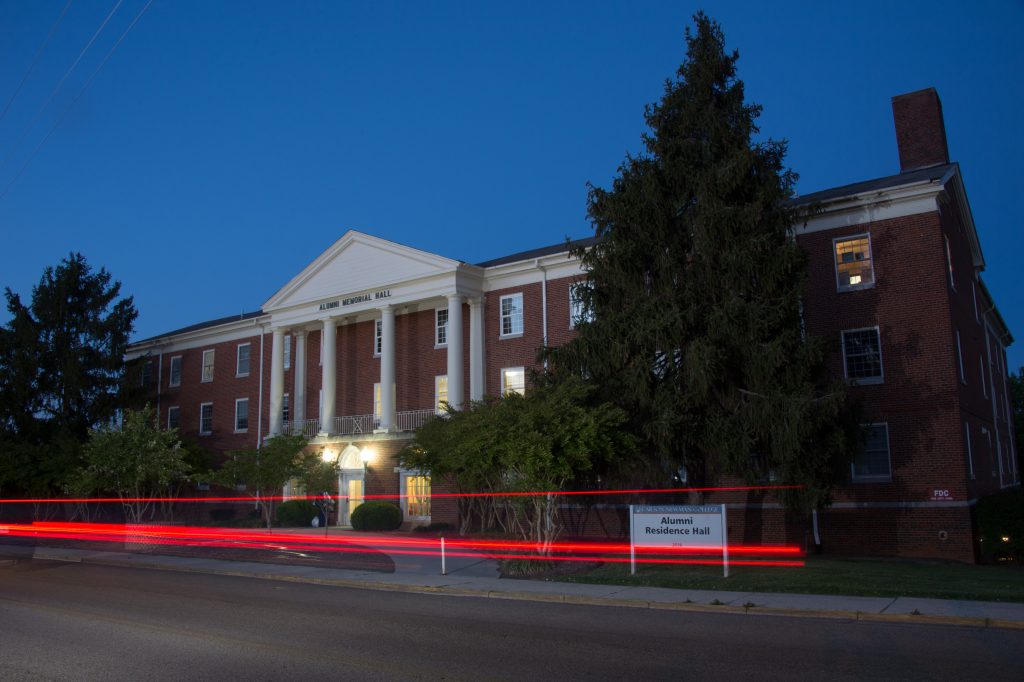
Fujifilm X-E2, Fujinon XF 18-55mm, ISO 1250, ƒ/8, 1/125
Learning to think “Cinematically” when framing your images means thinking about the end user. Today, more than ever, most of my audience will experience my images online through the internet.
Computer displays with aspect ratios wider than 4:3 are also called widescreens. Widescreen computer displays are typical of the 16:9 or 16:10 aspect ratio. In 2008, the computer industry moved from 4:3 and 16:10 to 16:9.
Most of today’s audience working on a computer newer than 2008 use widescreen, with a 16:9 ratio.
Now, when shooting for print, I am considering magazine covers.

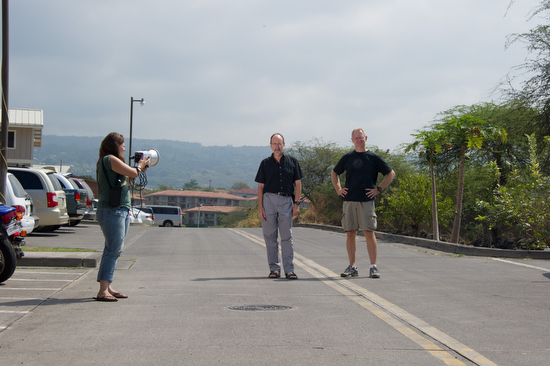
This vertical photo would work much better for the cover of a typical magazine than the horizontal one.
Could you fill the frame horizontally? Horizontal is even more true with video. Turn your smartphone horizontally when making movies. If you don’t, the phone will shrink the image to fit the horizontal limits of the screen.
So, here are two things you are doing to make an inferior photo/video. First, traditional computer screens display the images even more minor than if someone shot them horizontally; second, you give up visual impact.

Learn to see three-dimensional. Look around the frame edge to edge and then look front to back for layering.

Composition Tip
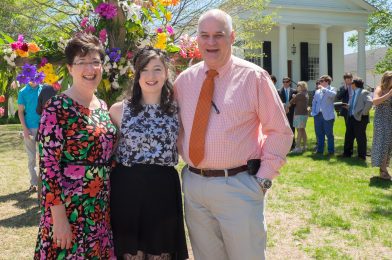
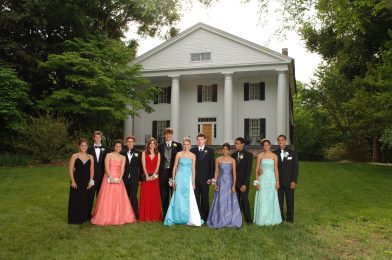
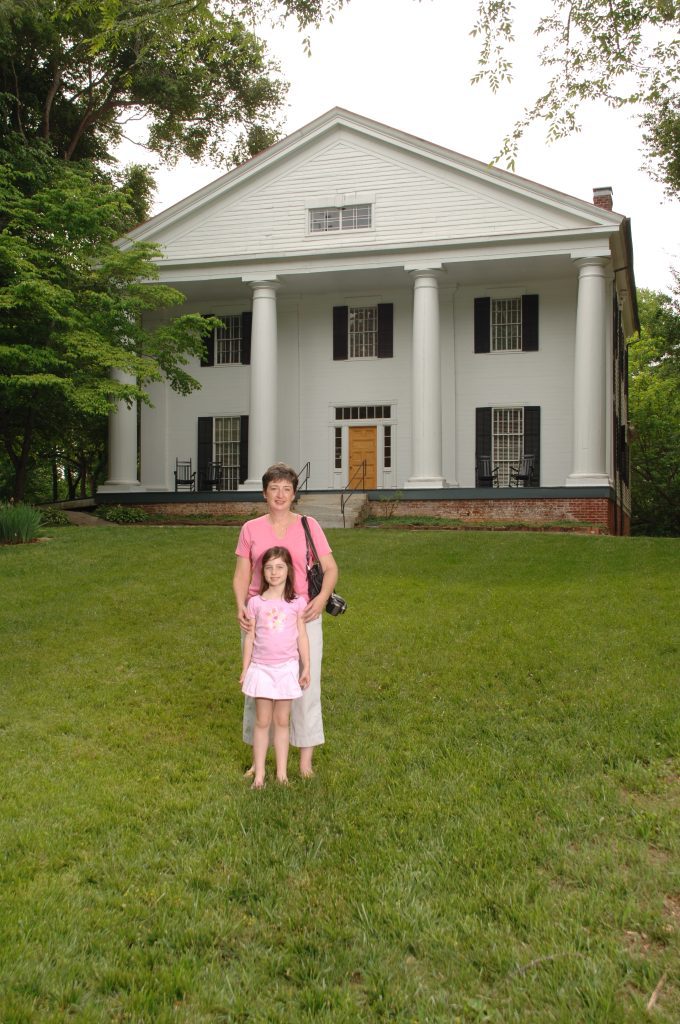
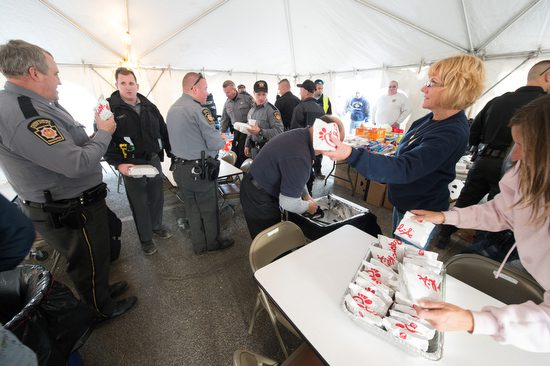
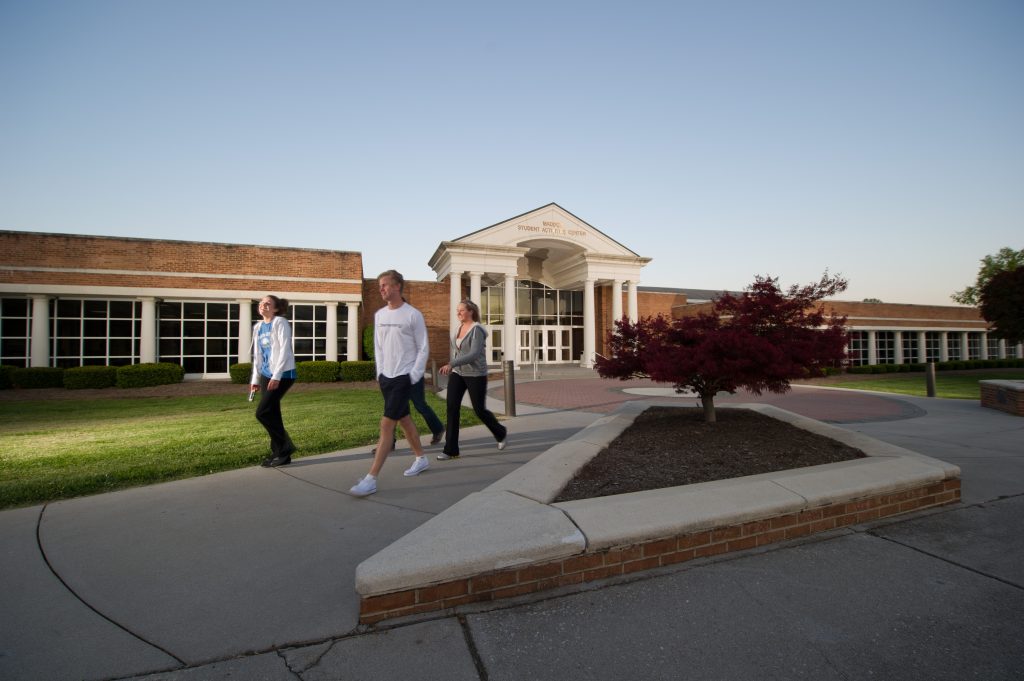
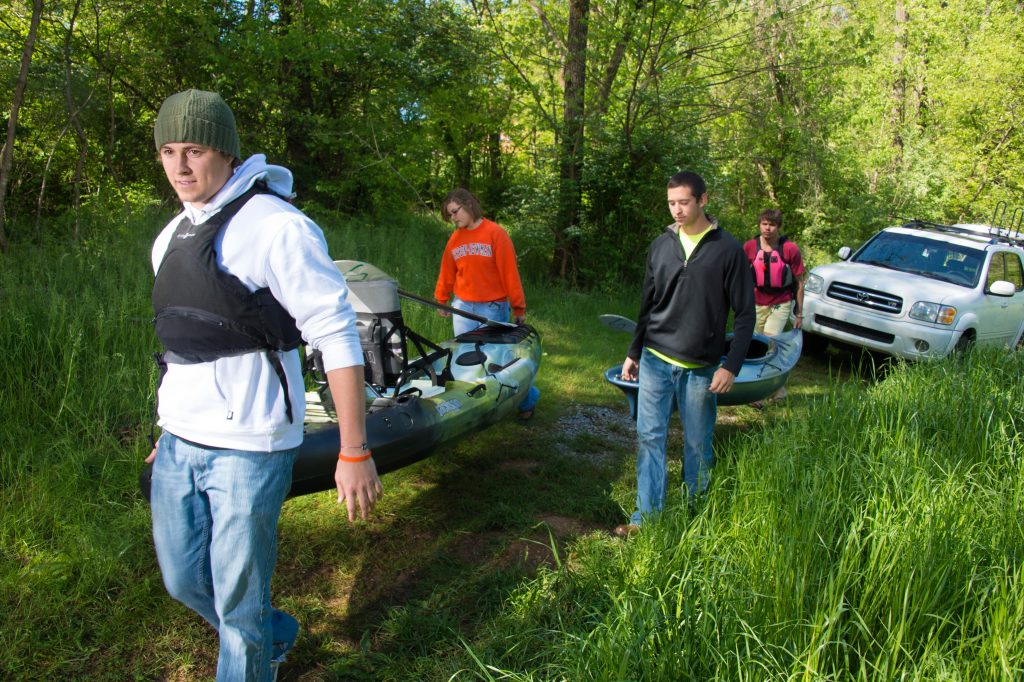
When photographing like a tourist where you want to capture your friends and family at the different locations you are visiting, here are some quick tips to compose a more compelling photo.
- Start with the background. Compose first what your subjects will stand in front of for the photo. Then, fill the frame to the edges as I have done here.
- Have subjects closer to the camera and not close to the background.
- Move the subjects around to find the best place to see them and the site. Be careful that they don’t block so much of the background that you no longer know where they are for the photo.
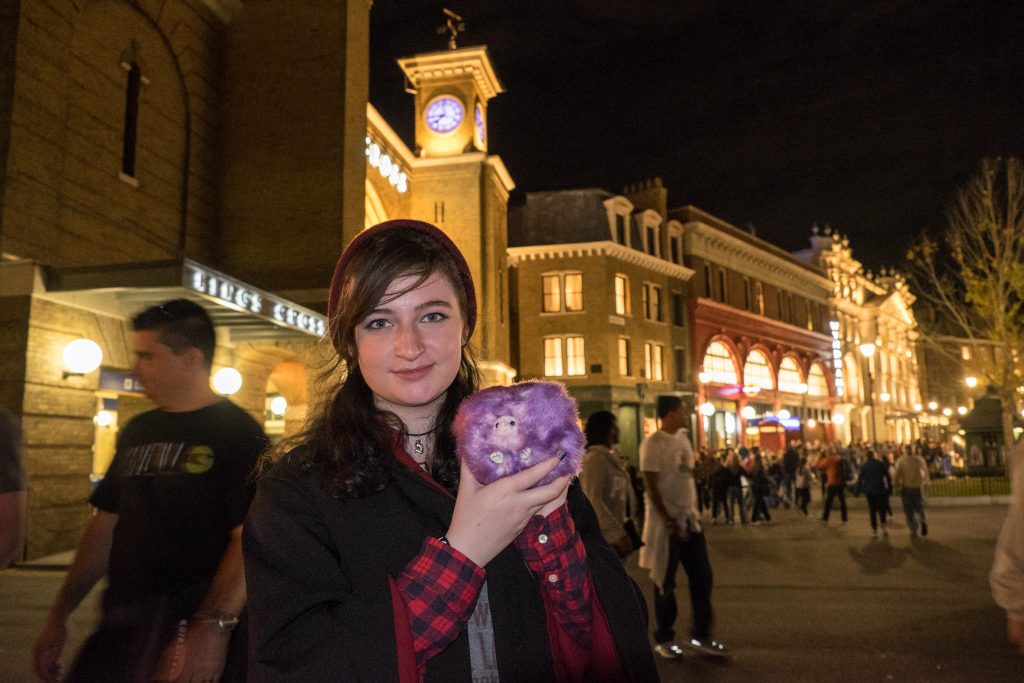
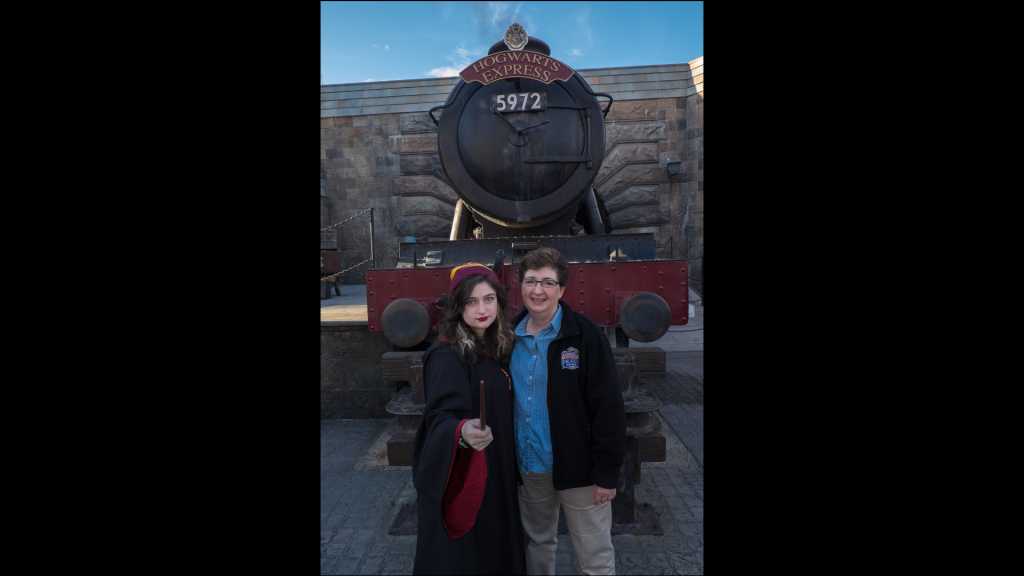
Here is another tip when shooting at dusk or night. Underexpose the background by -1 EV. That is one stop under. I do this by dialing the EV dial and keeping the camera in Aperture priority and Auto ISO. Then add flash. I didn’t compensate with the flash here, but you may need to experiment with it. The flash pulls the subject out from the background using the light value. However, because the flash is on Slow Sync, the camera will figure out the best exposure without the flash, and then the flash will just be added enough using the flash’s TTL function. Cropping I recommend filling the frame if you put your photos into a typical video. Therefore, you may end up with a little crop top and bottom of the standard 4:3 ratio camera to the specific 16:9 ratio for video. If you start cropping photos to dimensions other than 16:9 or 4:3 to something more like a square, you will be giving up space on the screen, which will, for the most part, diminish the photo’s impact.
I suggest learning how to fill the frame of your camera and not rely on post-production.
“God gave you two eyes side by side, not top and bottom, so learn to compose for the eyes.” Robin Nelson.