One Week Lighting Workshop With Stanley

Since 2006 I have been doing a one-week lighting workshop as part of the School of Photography program of YWAM with Dennis Fahringer in Kona, Hawaii.

This year I was asked by two of his former students to come to Dunham, Quebec, Canada, and teach the same thing, but this time to a school that will be in French and English.

This was their very first time leading a School of Photography for YWAM. The leaders Raphael Paquet and Julie Gavillet hosted me during the week and translated me into French.

We did four lighting assignments.

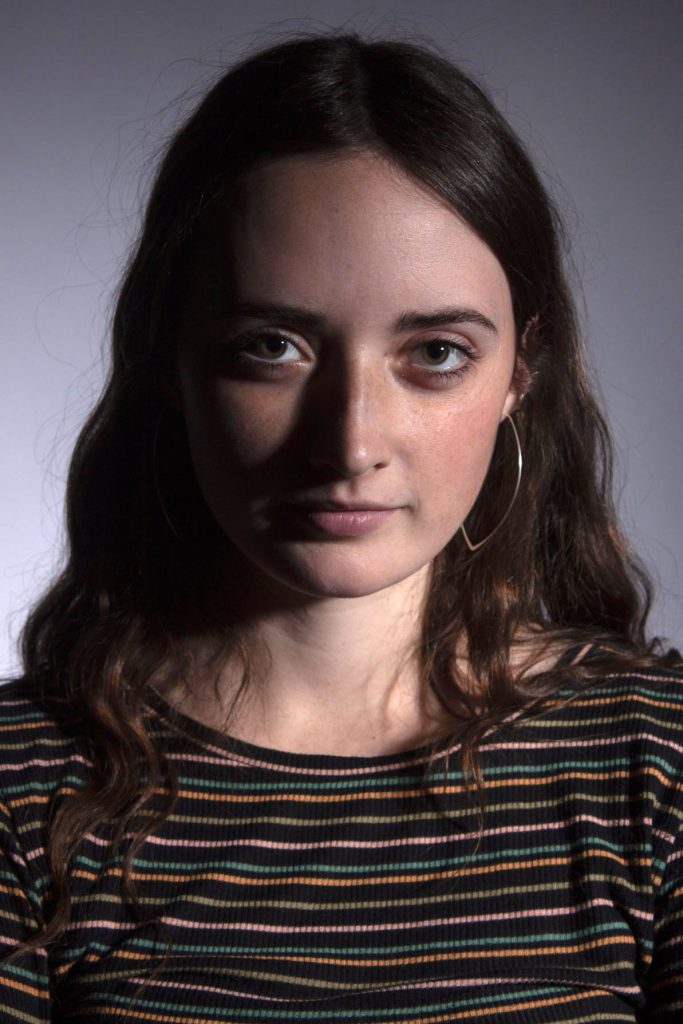
Rembrandt

© Heidi Bergeron

The students were learning where to place the leading light for a starting position with portraits. They also were learning not to light everything evenly.

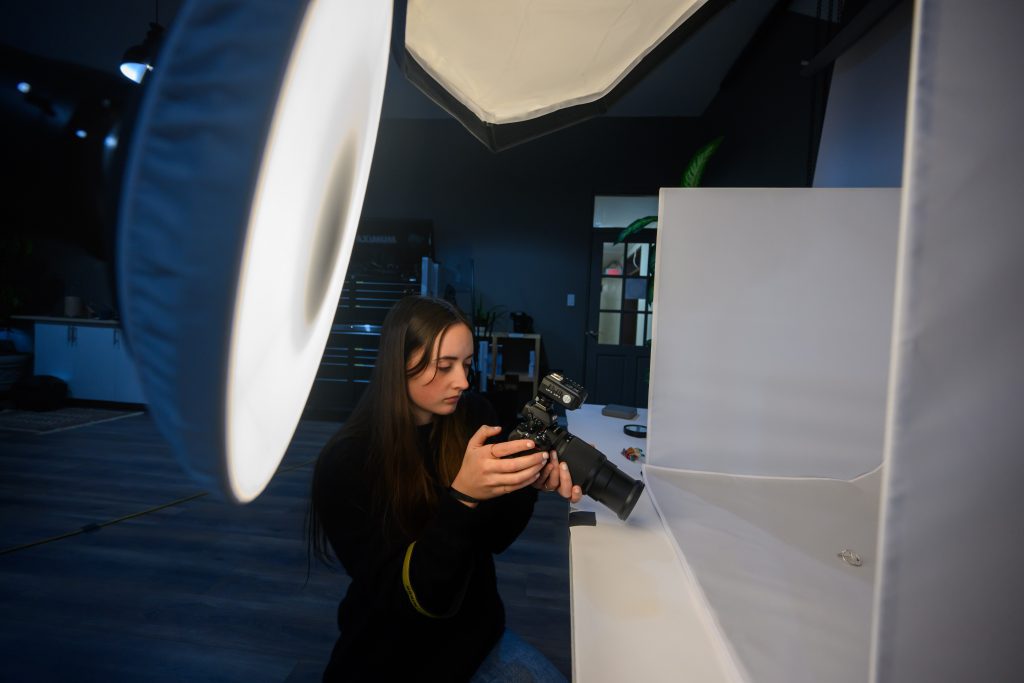
Students in class working on Rembrandt Lighting

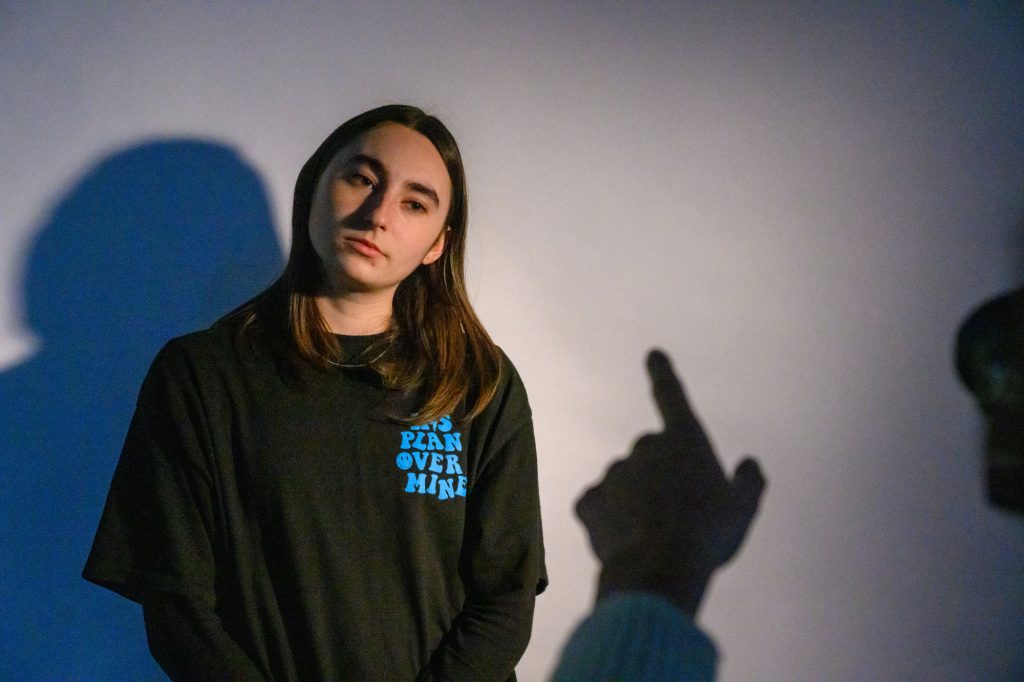
1:3 Lighting Ratio

© Heidi Bergeron

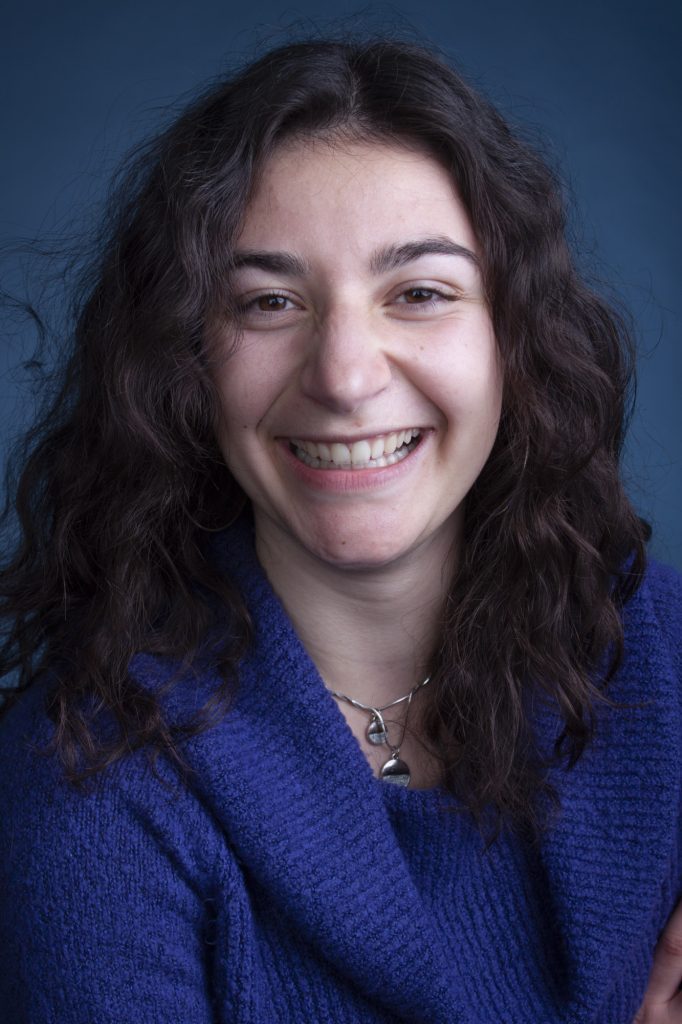
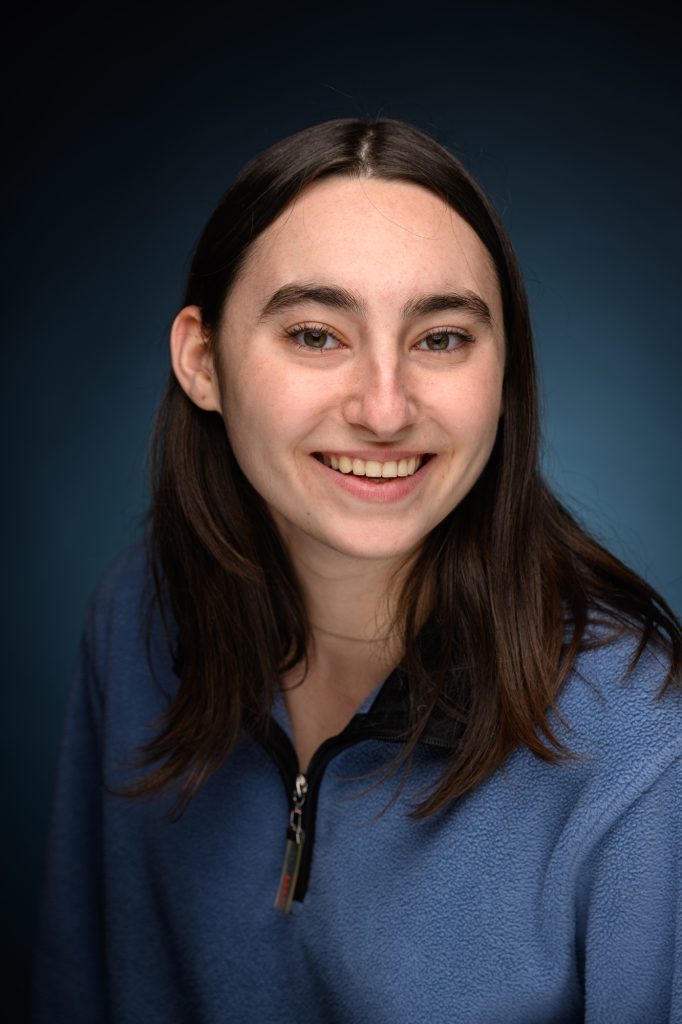
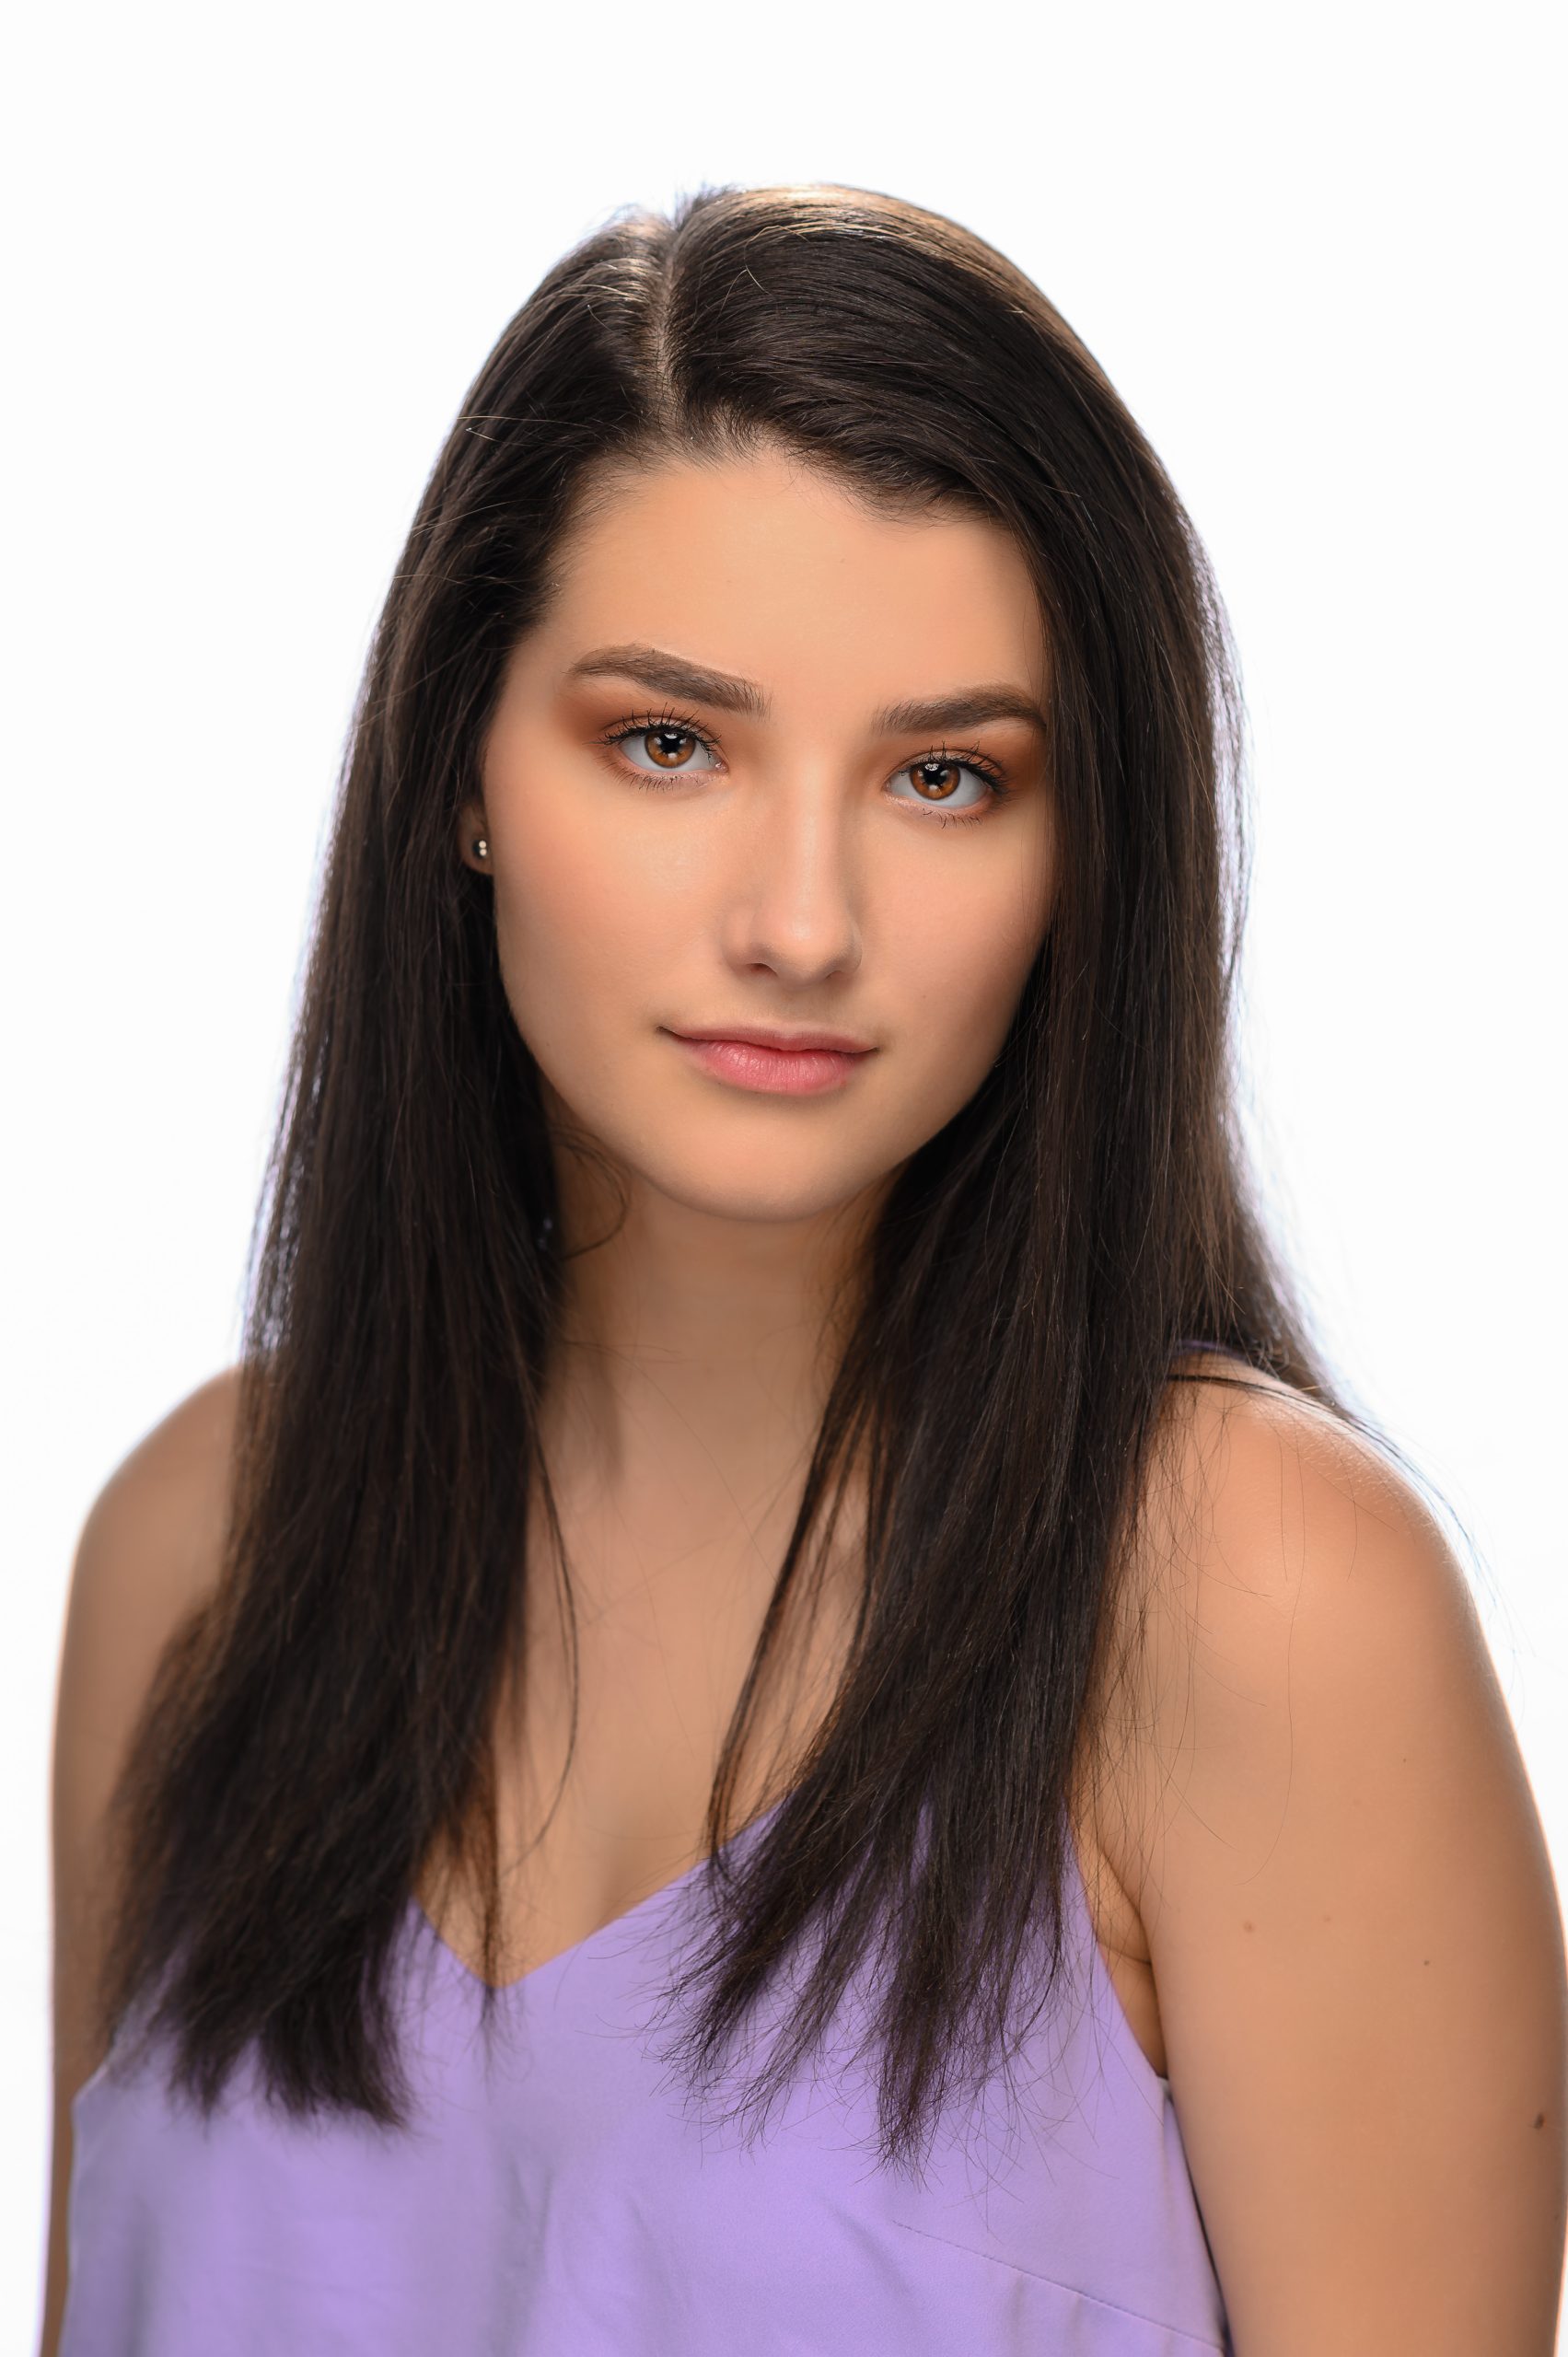
Clamshell Lighting

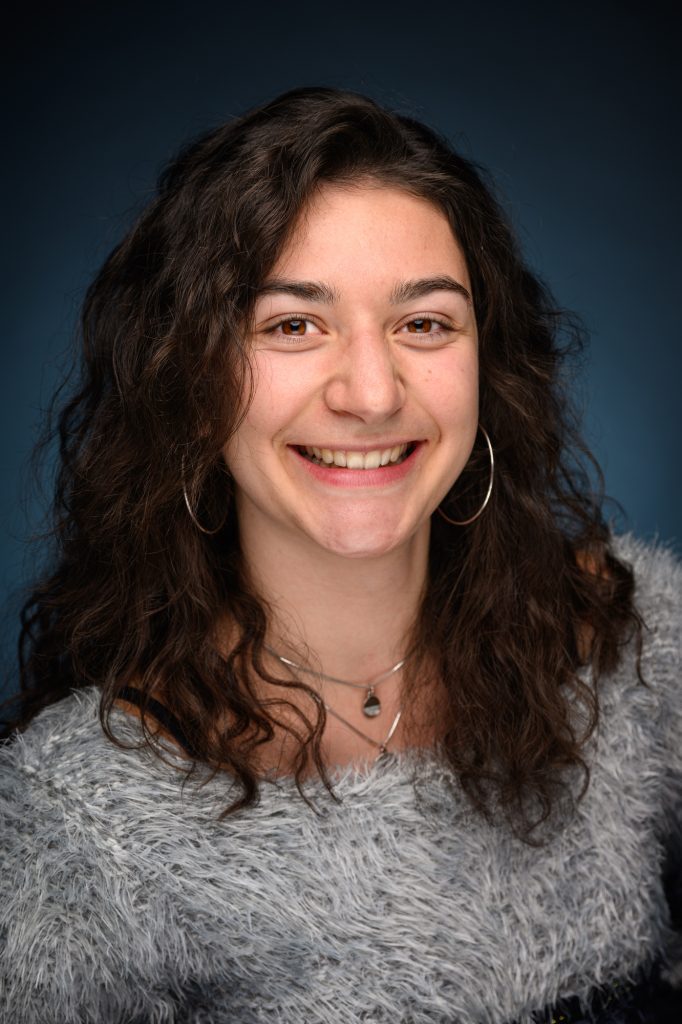
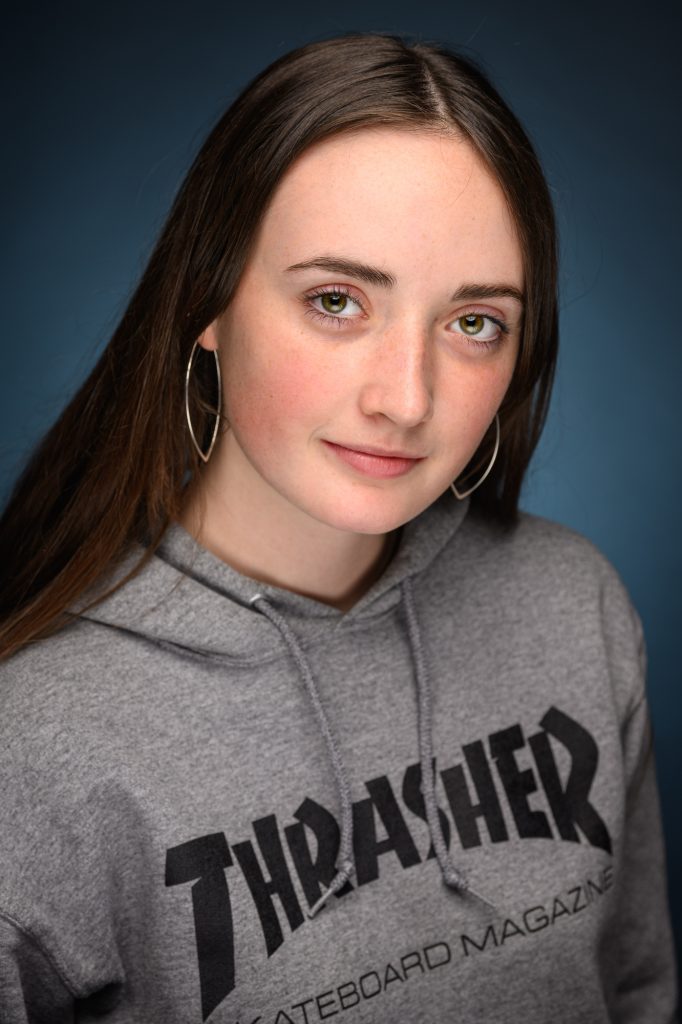
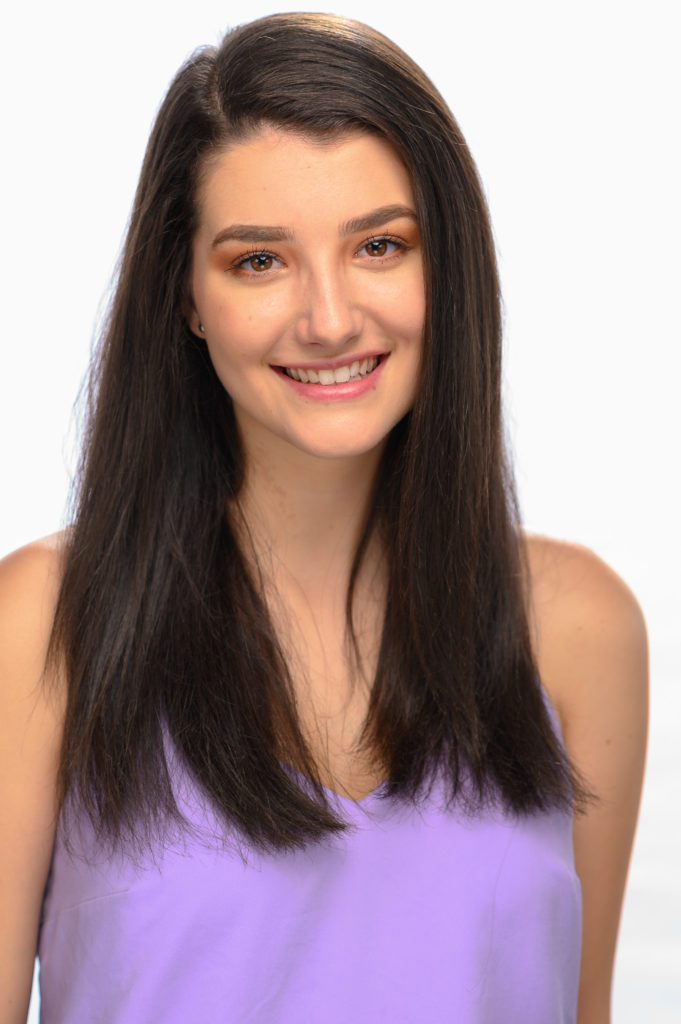
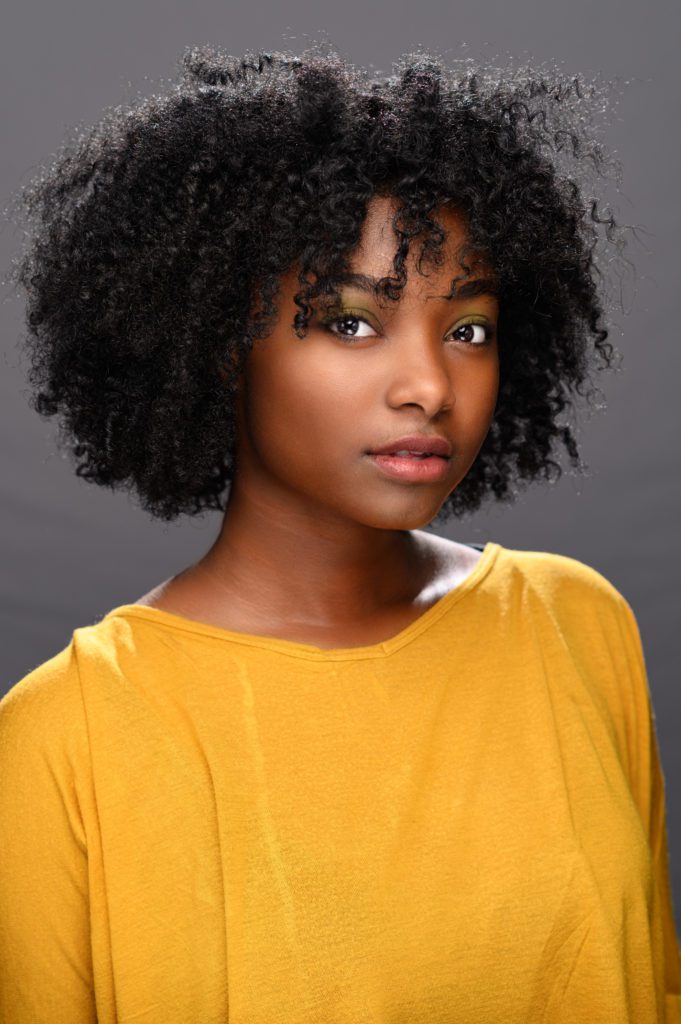
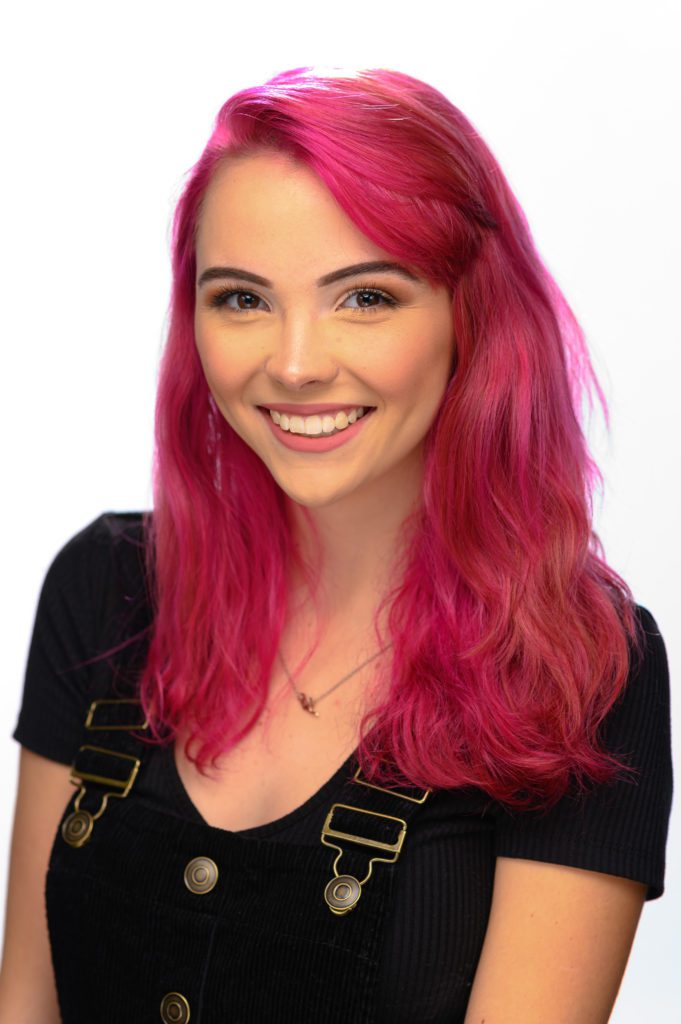
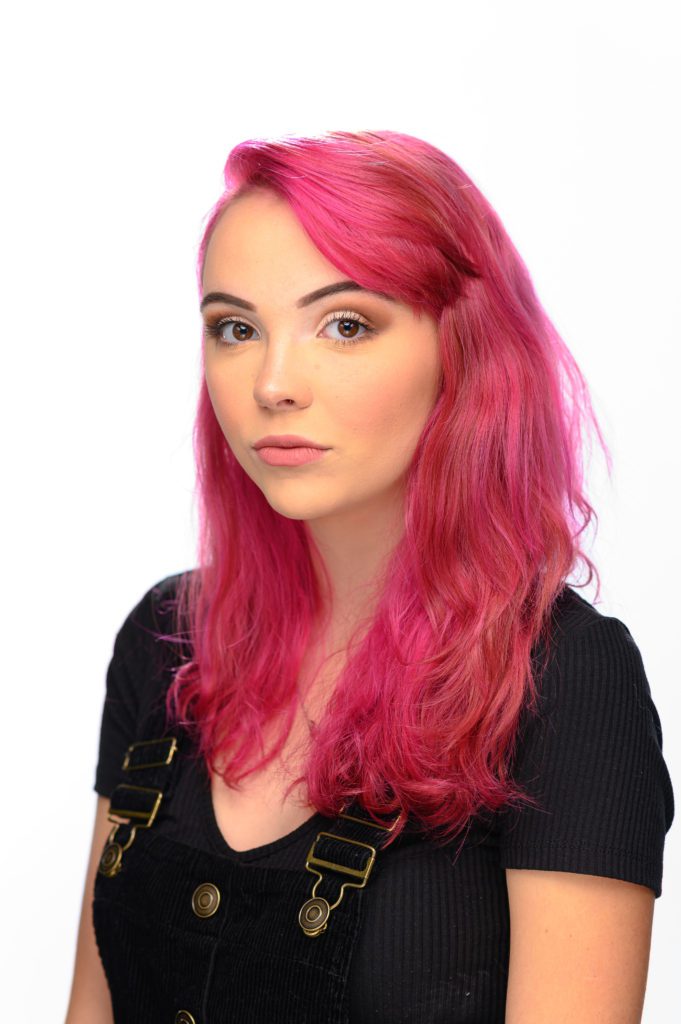
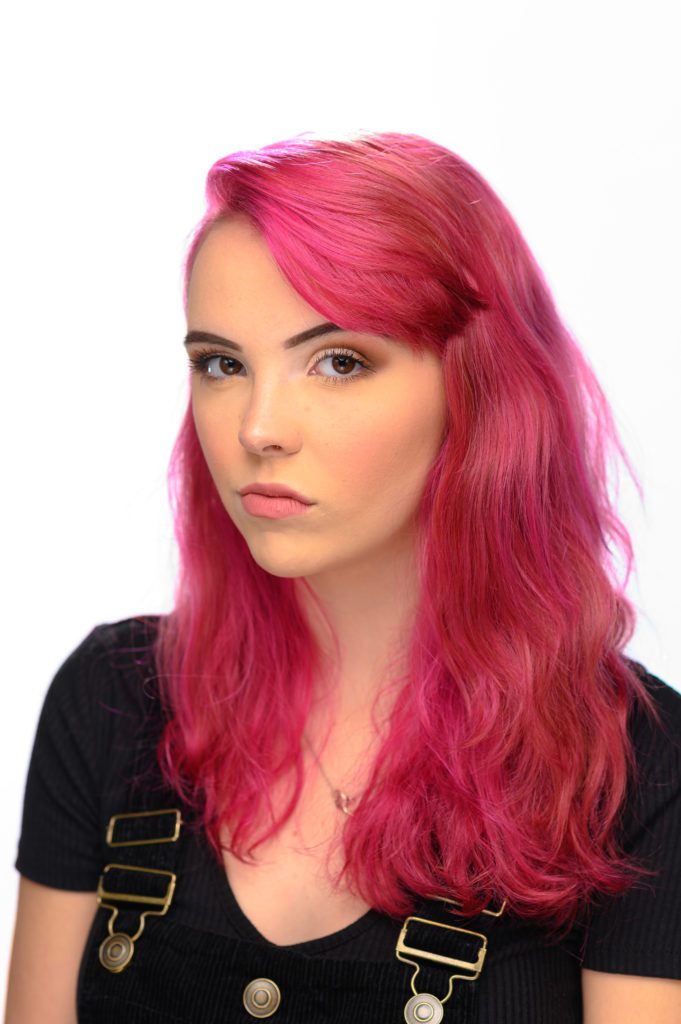
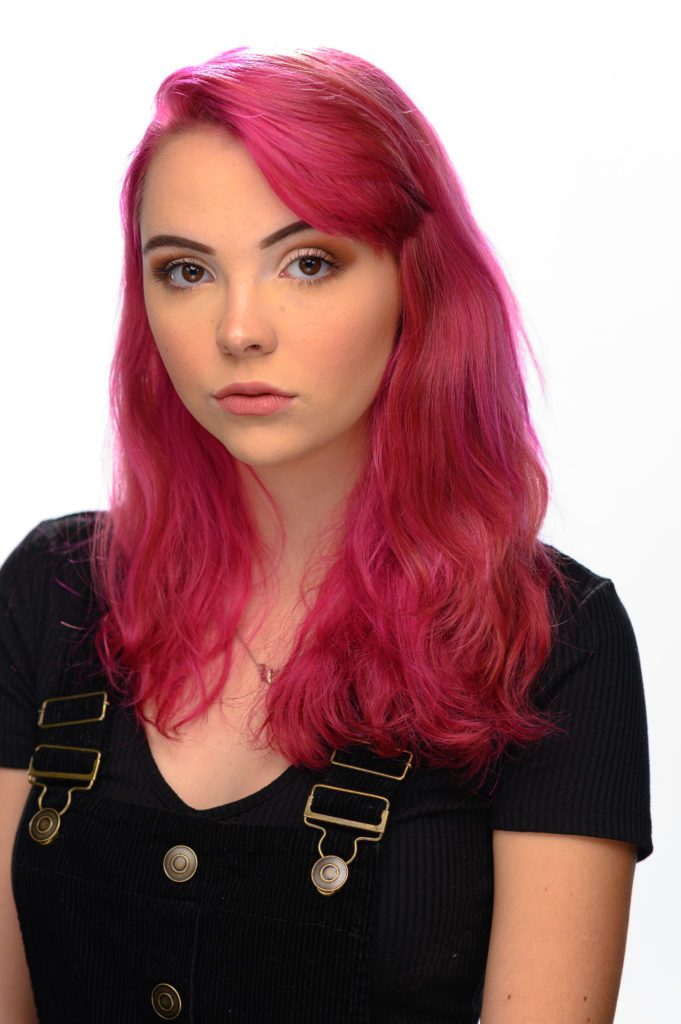
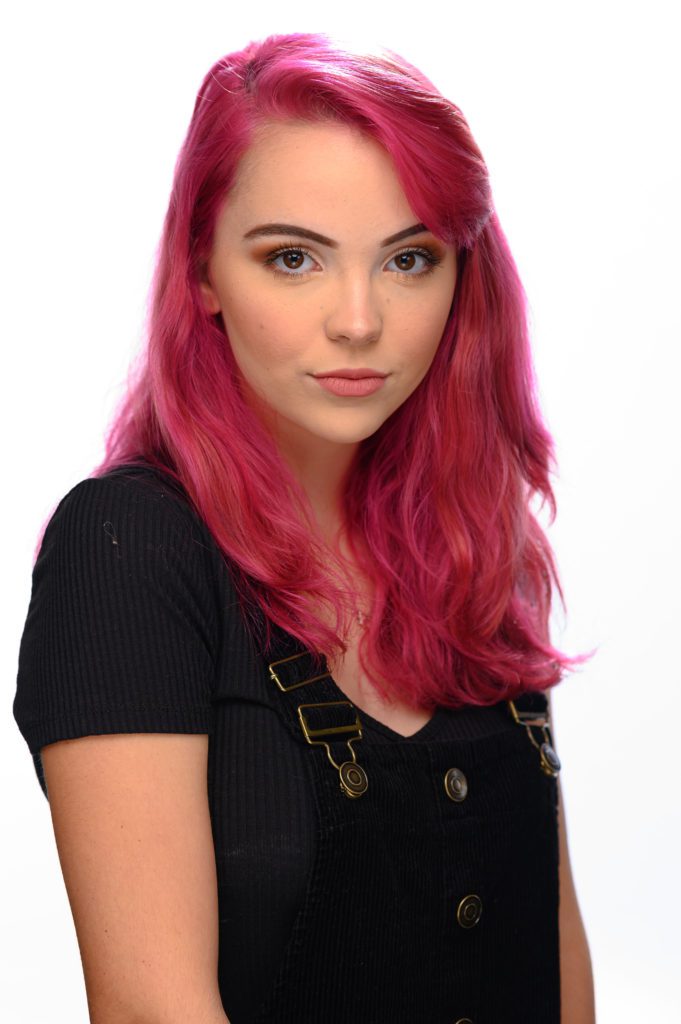
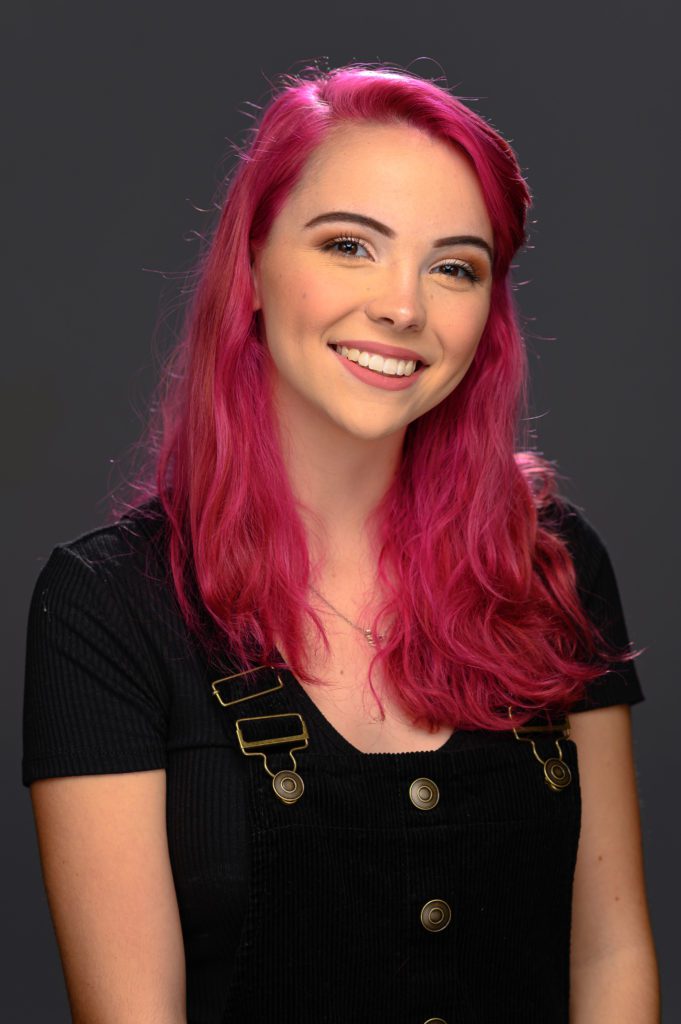
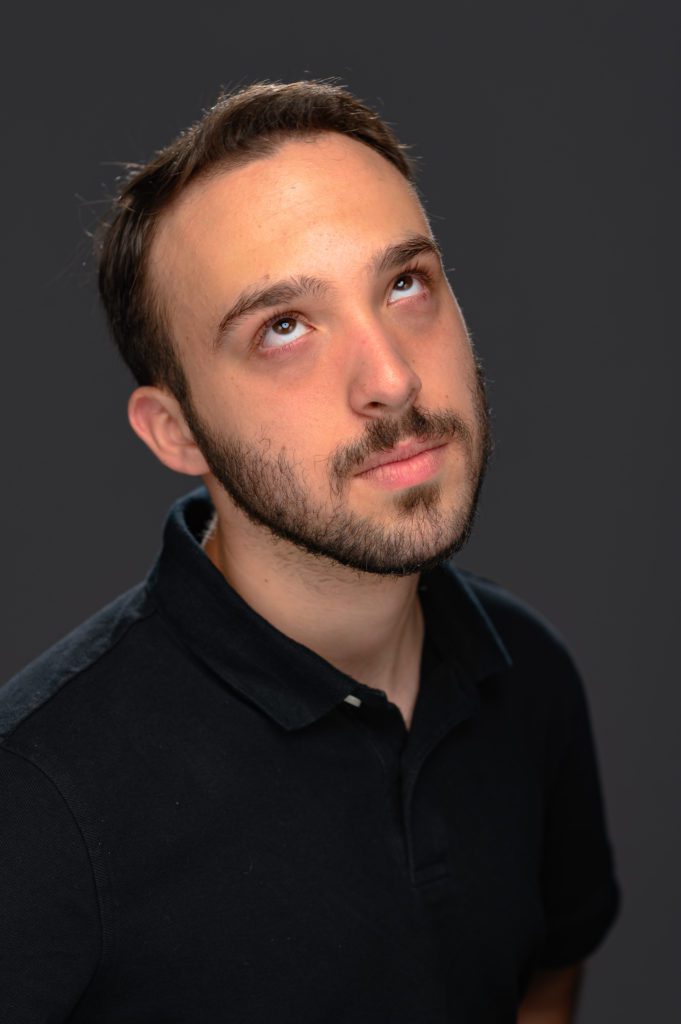
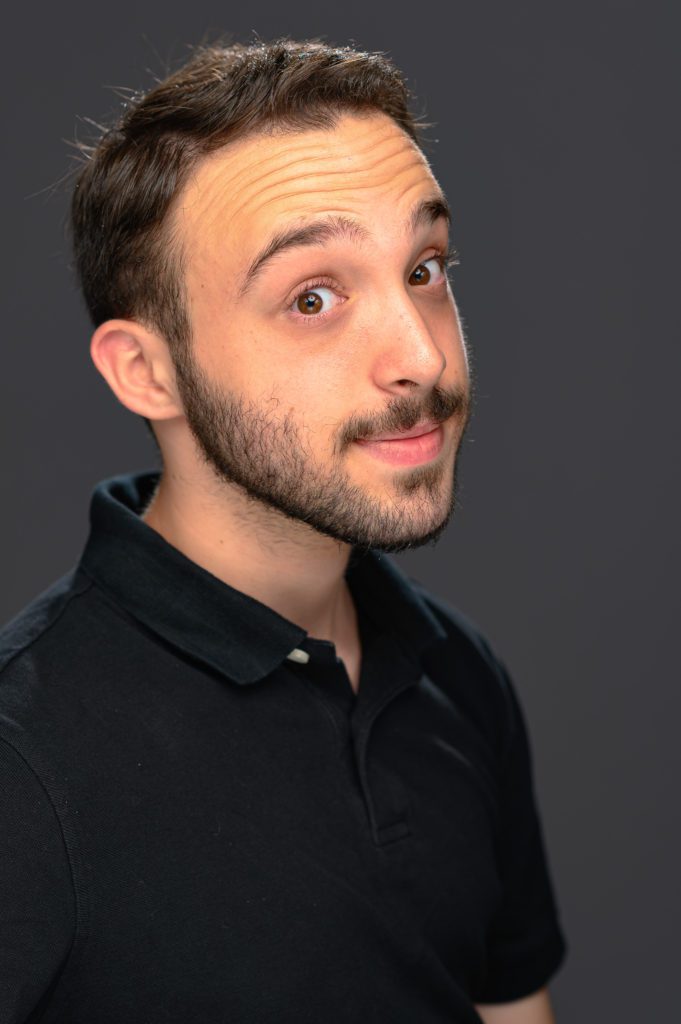
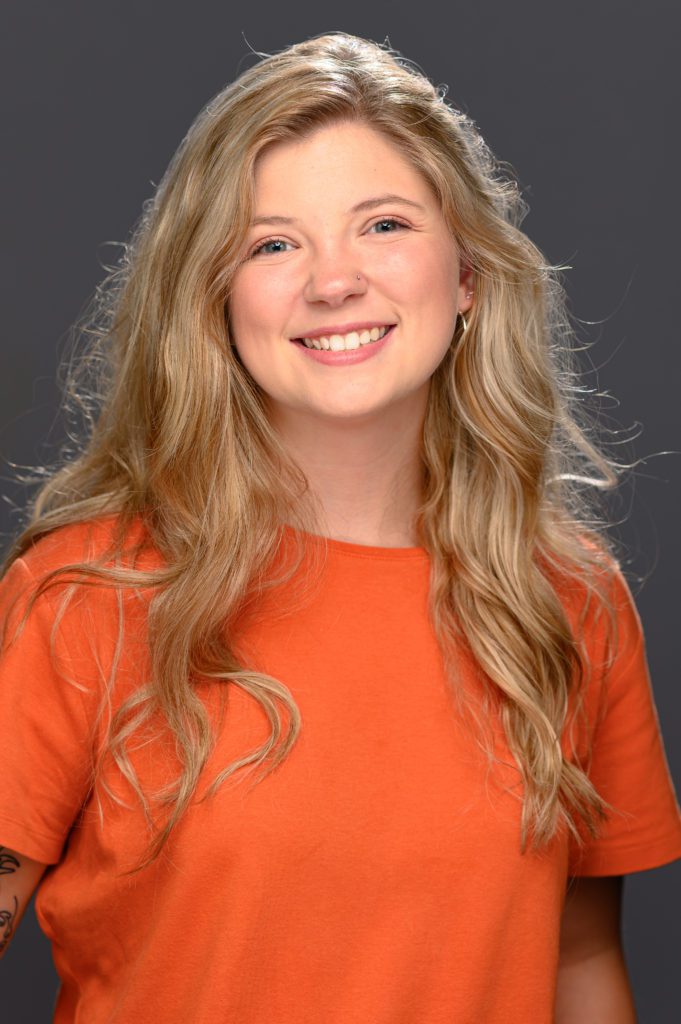
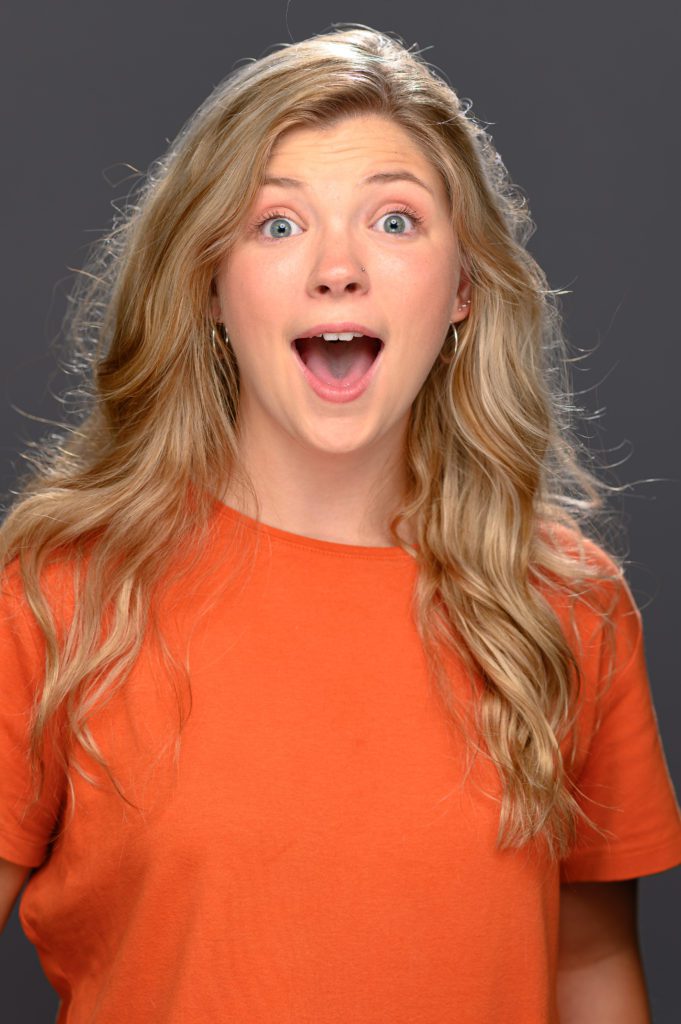
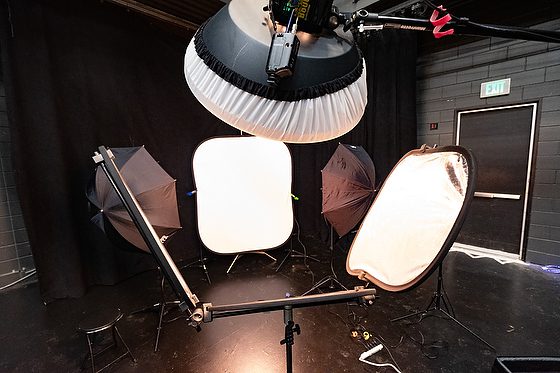
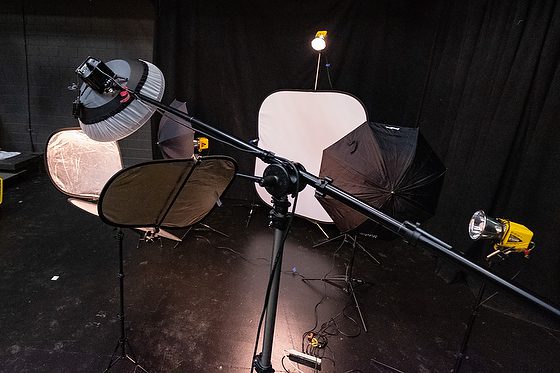
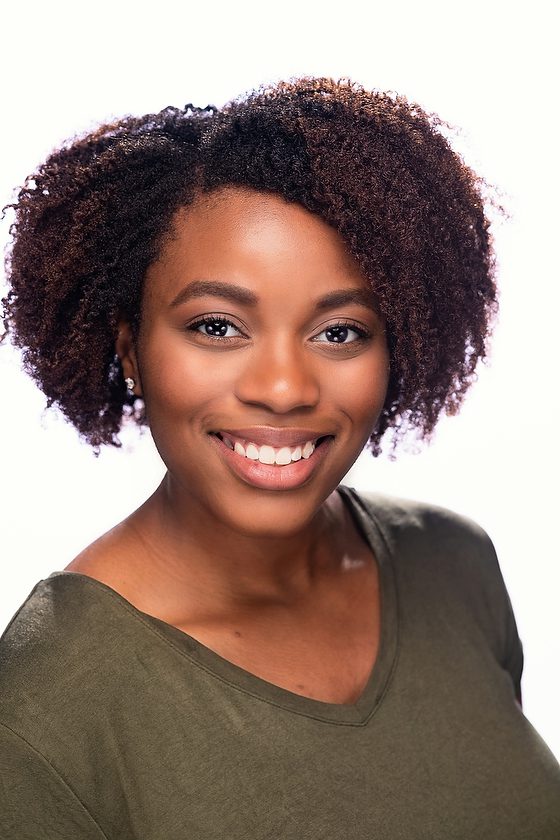
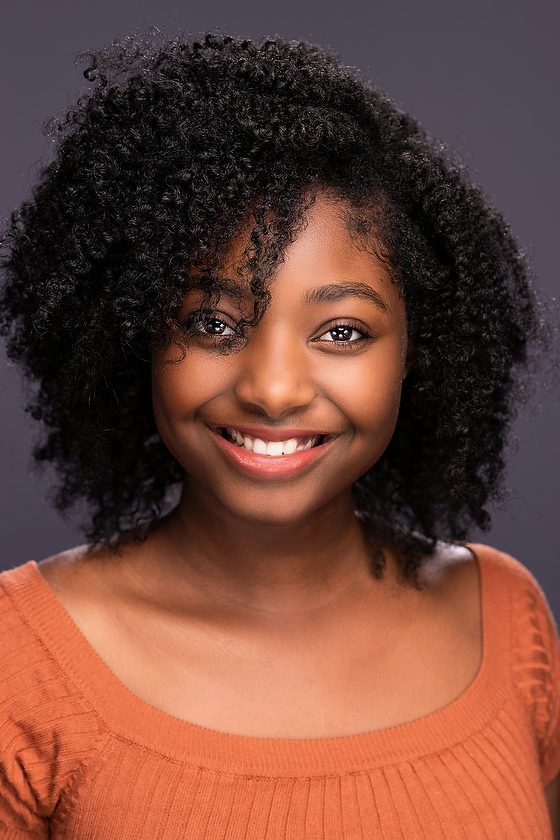
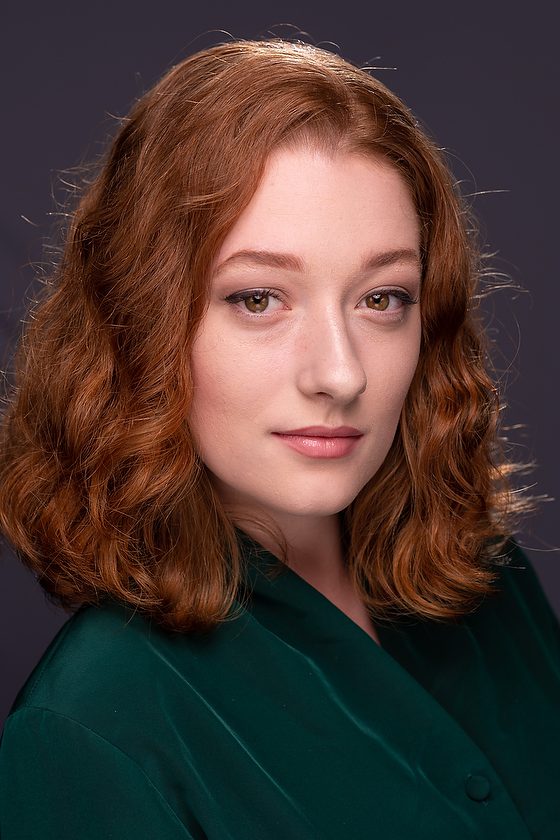
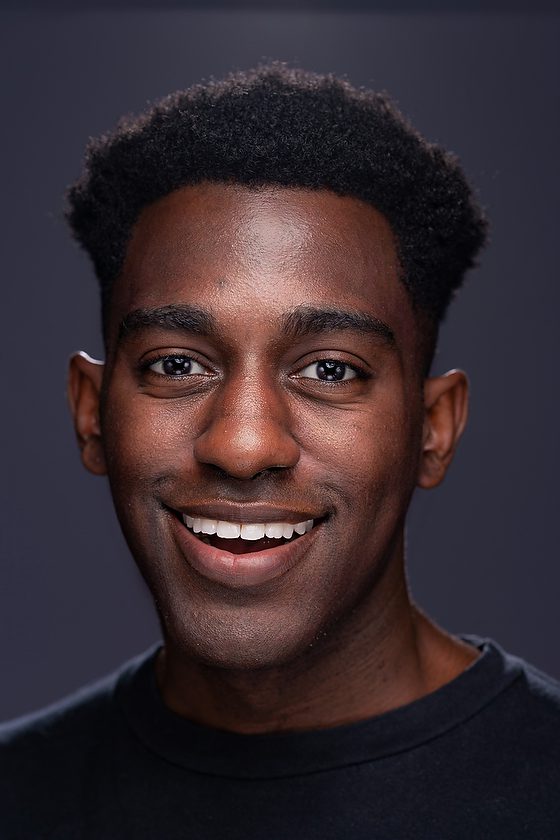
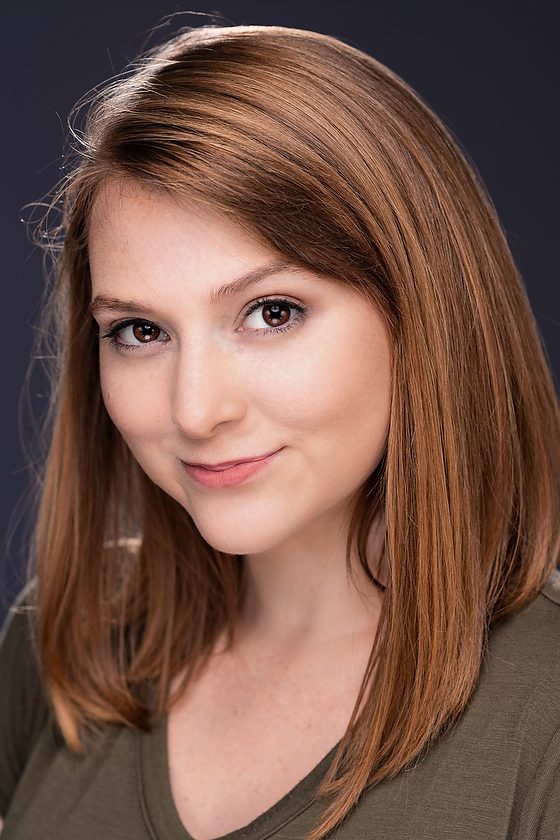
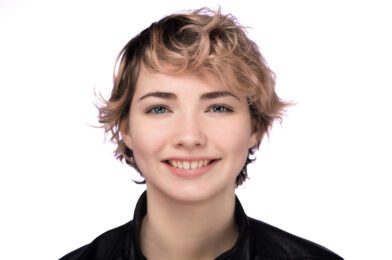
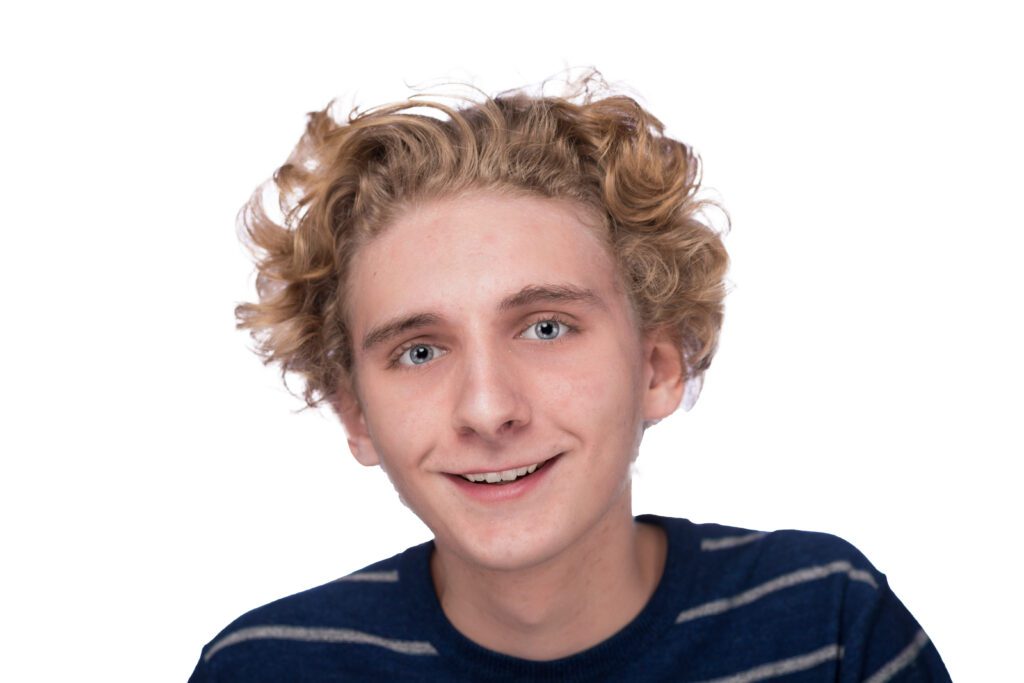
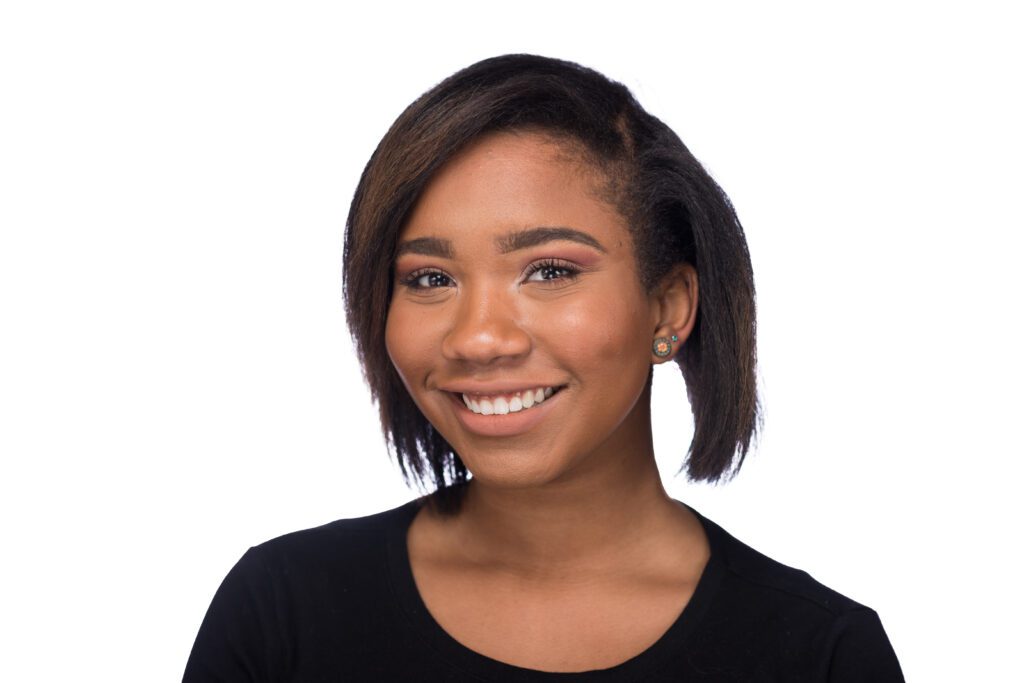
To demonstrate the Clamshell/Butterfly lighting, I took everyone’s photo. Here are the three students.

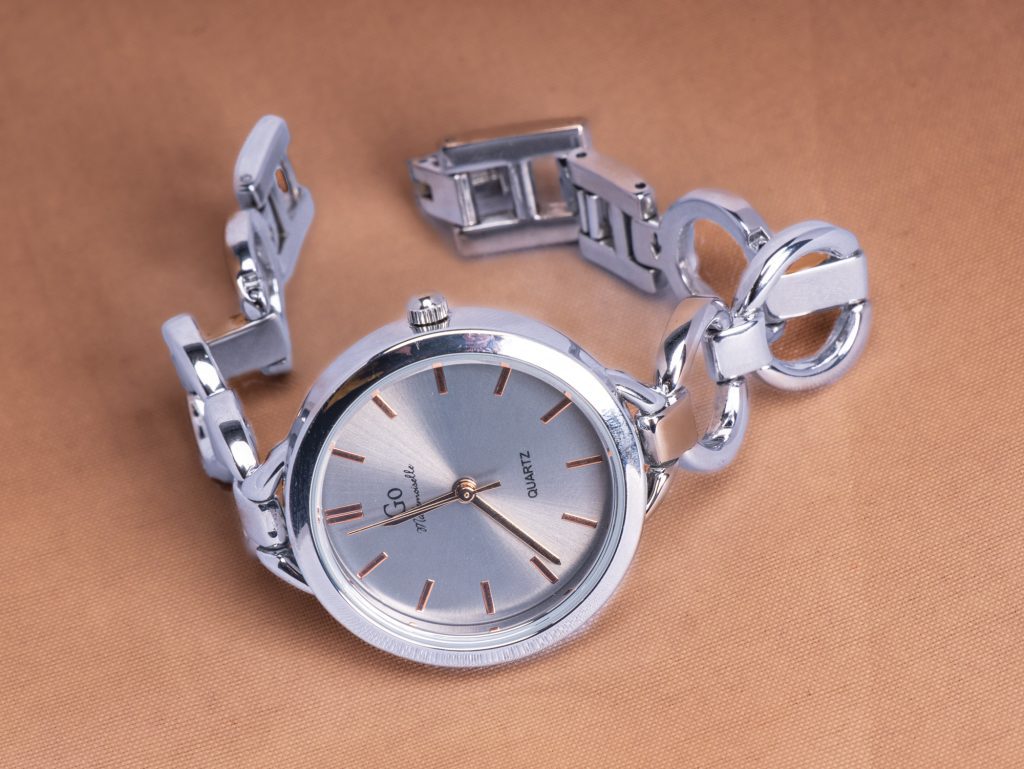
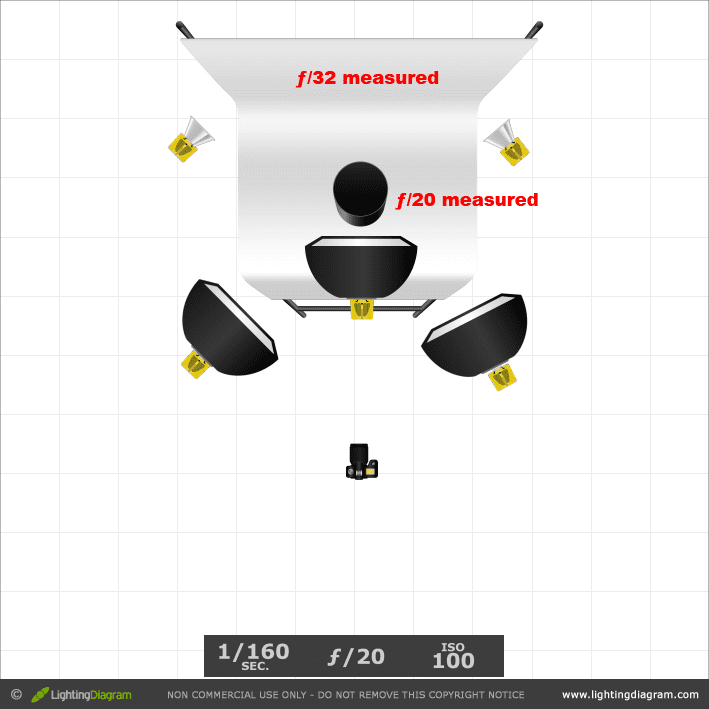
Tent Lighting for Products

This is because some students work with the tent lighting setup to photograph products.

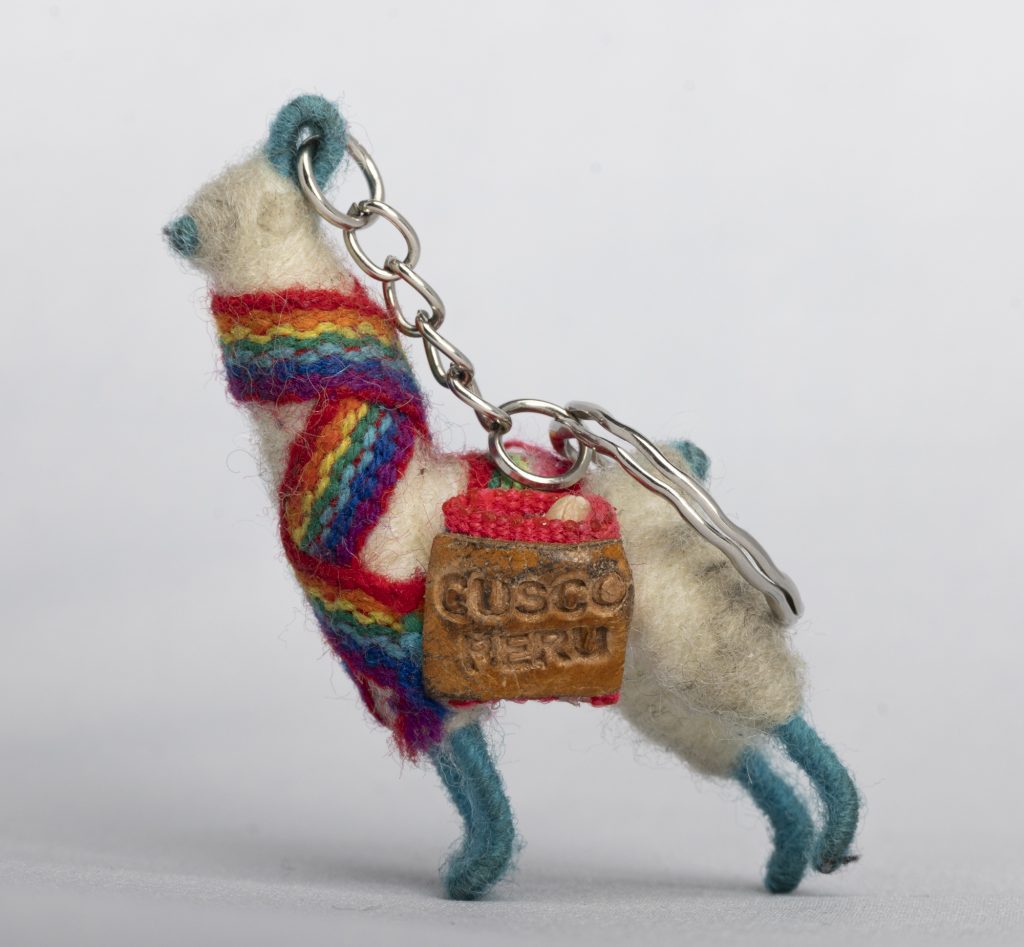
Table Top Photography

I also told about my journey in photography and how it took time before I got the assignments I wanted. I also taught them a little about how to make a living with Business Practices.

You may be interested in a Lighting Workshop. Drop me a line if you are interested.

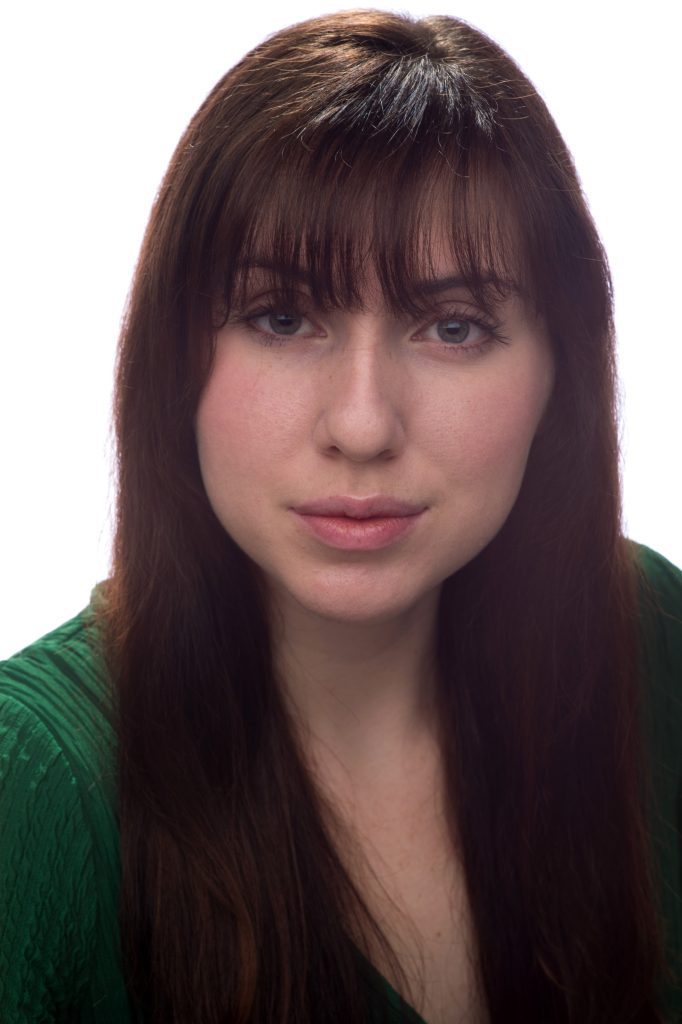
Calibrating the Face for Portraits

Christi Lamb
[NIKON Z 6, 85.0 mm f/1.8, Mode = Manual, ISO 50, 1/125, ƒ/4, (35mm = 85)]

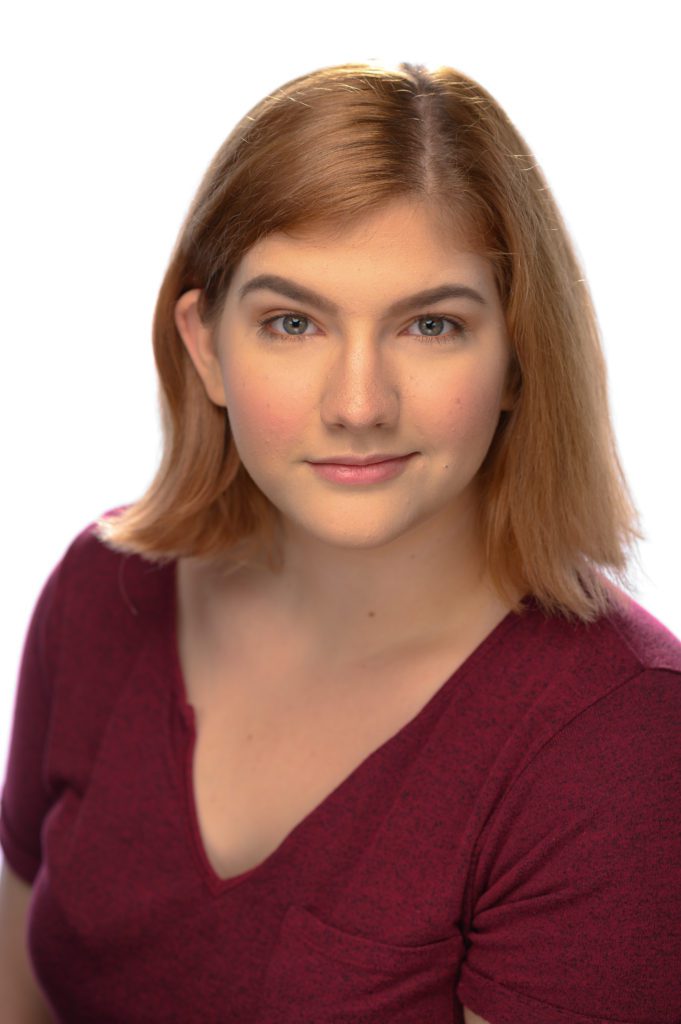
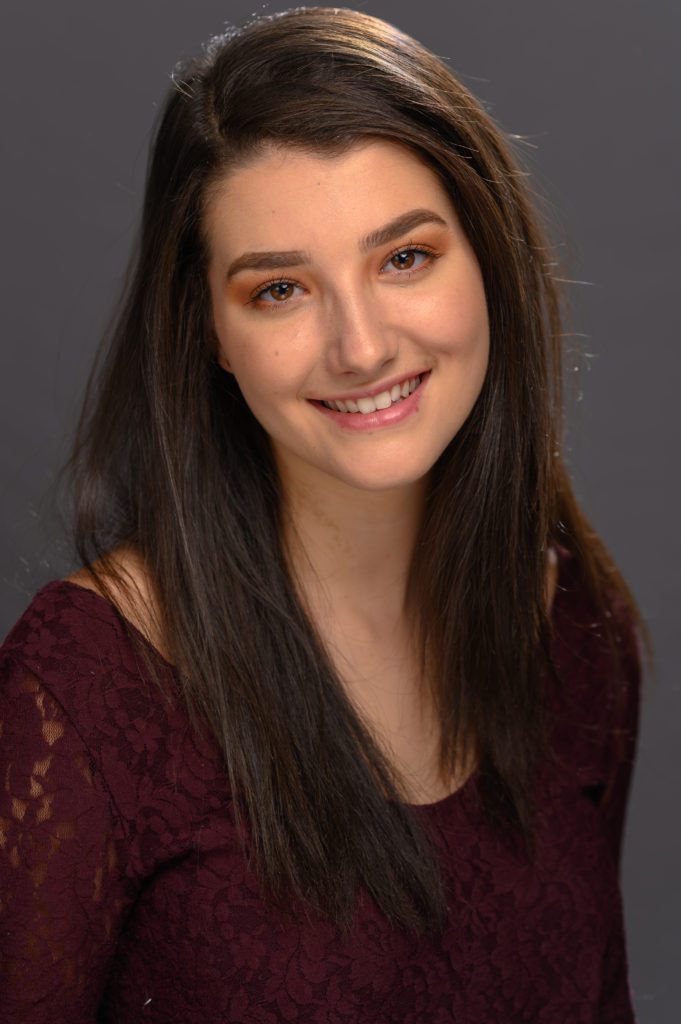
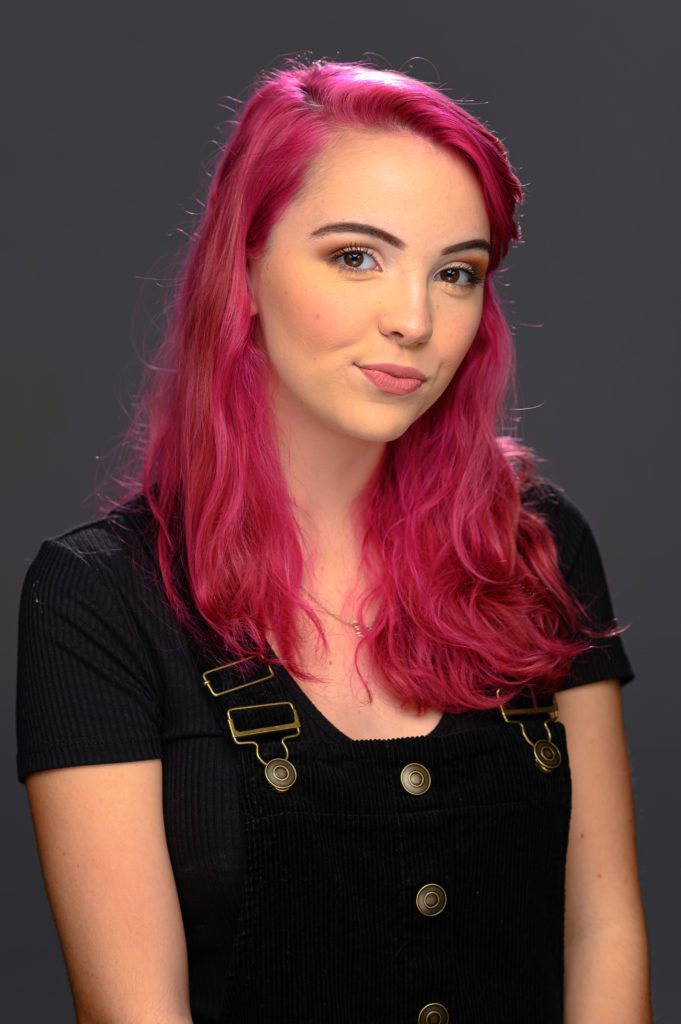
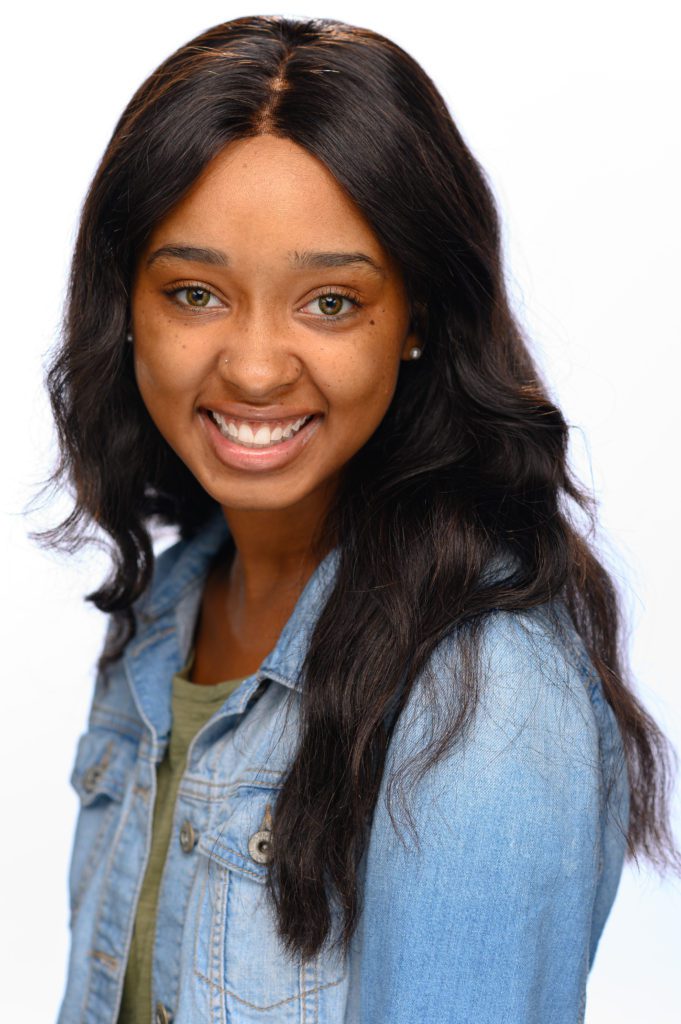
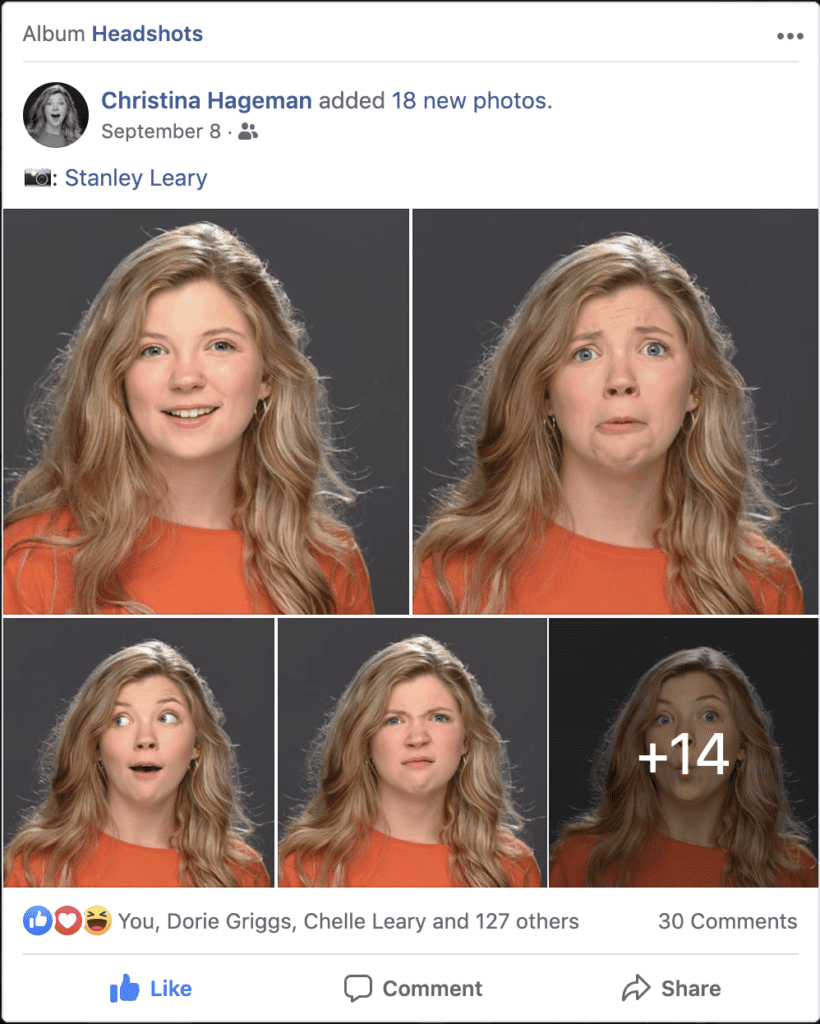
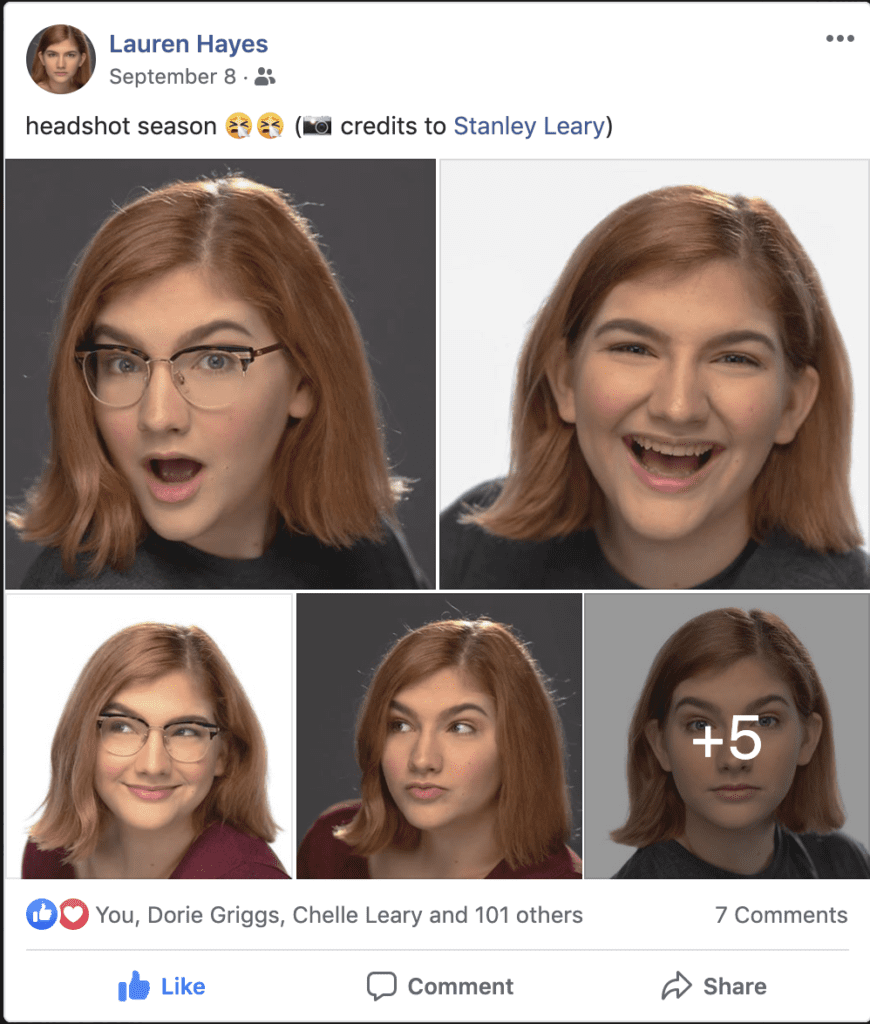
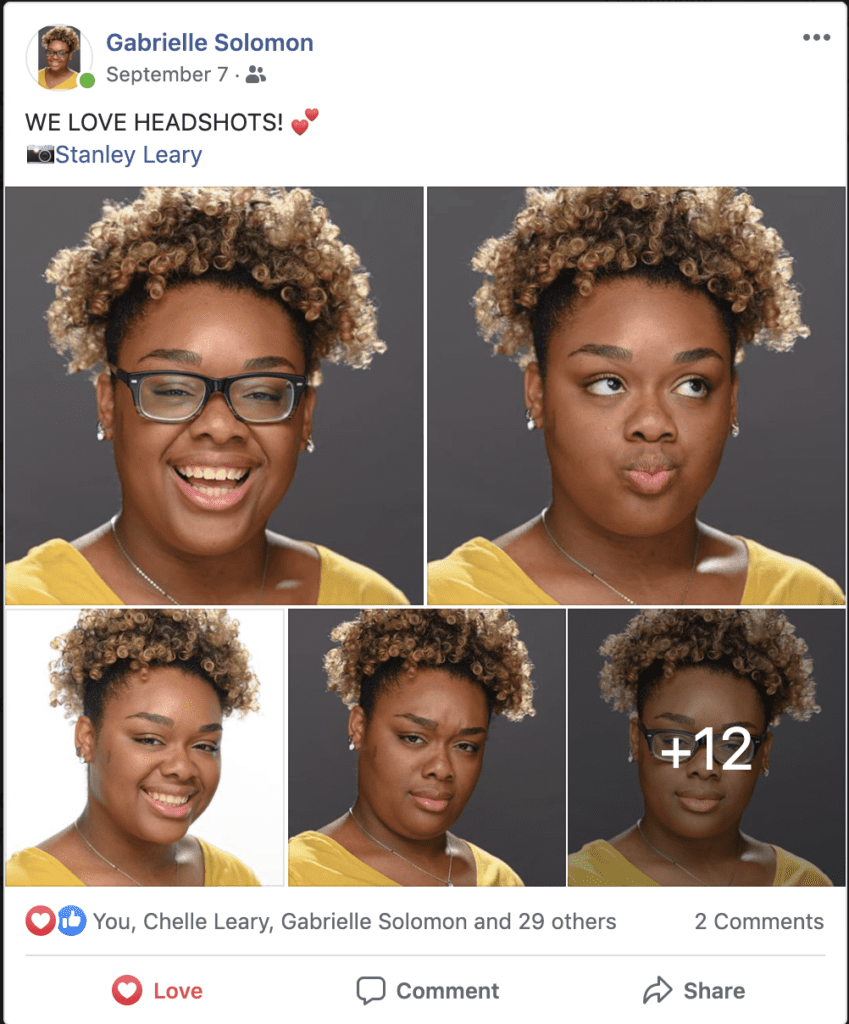
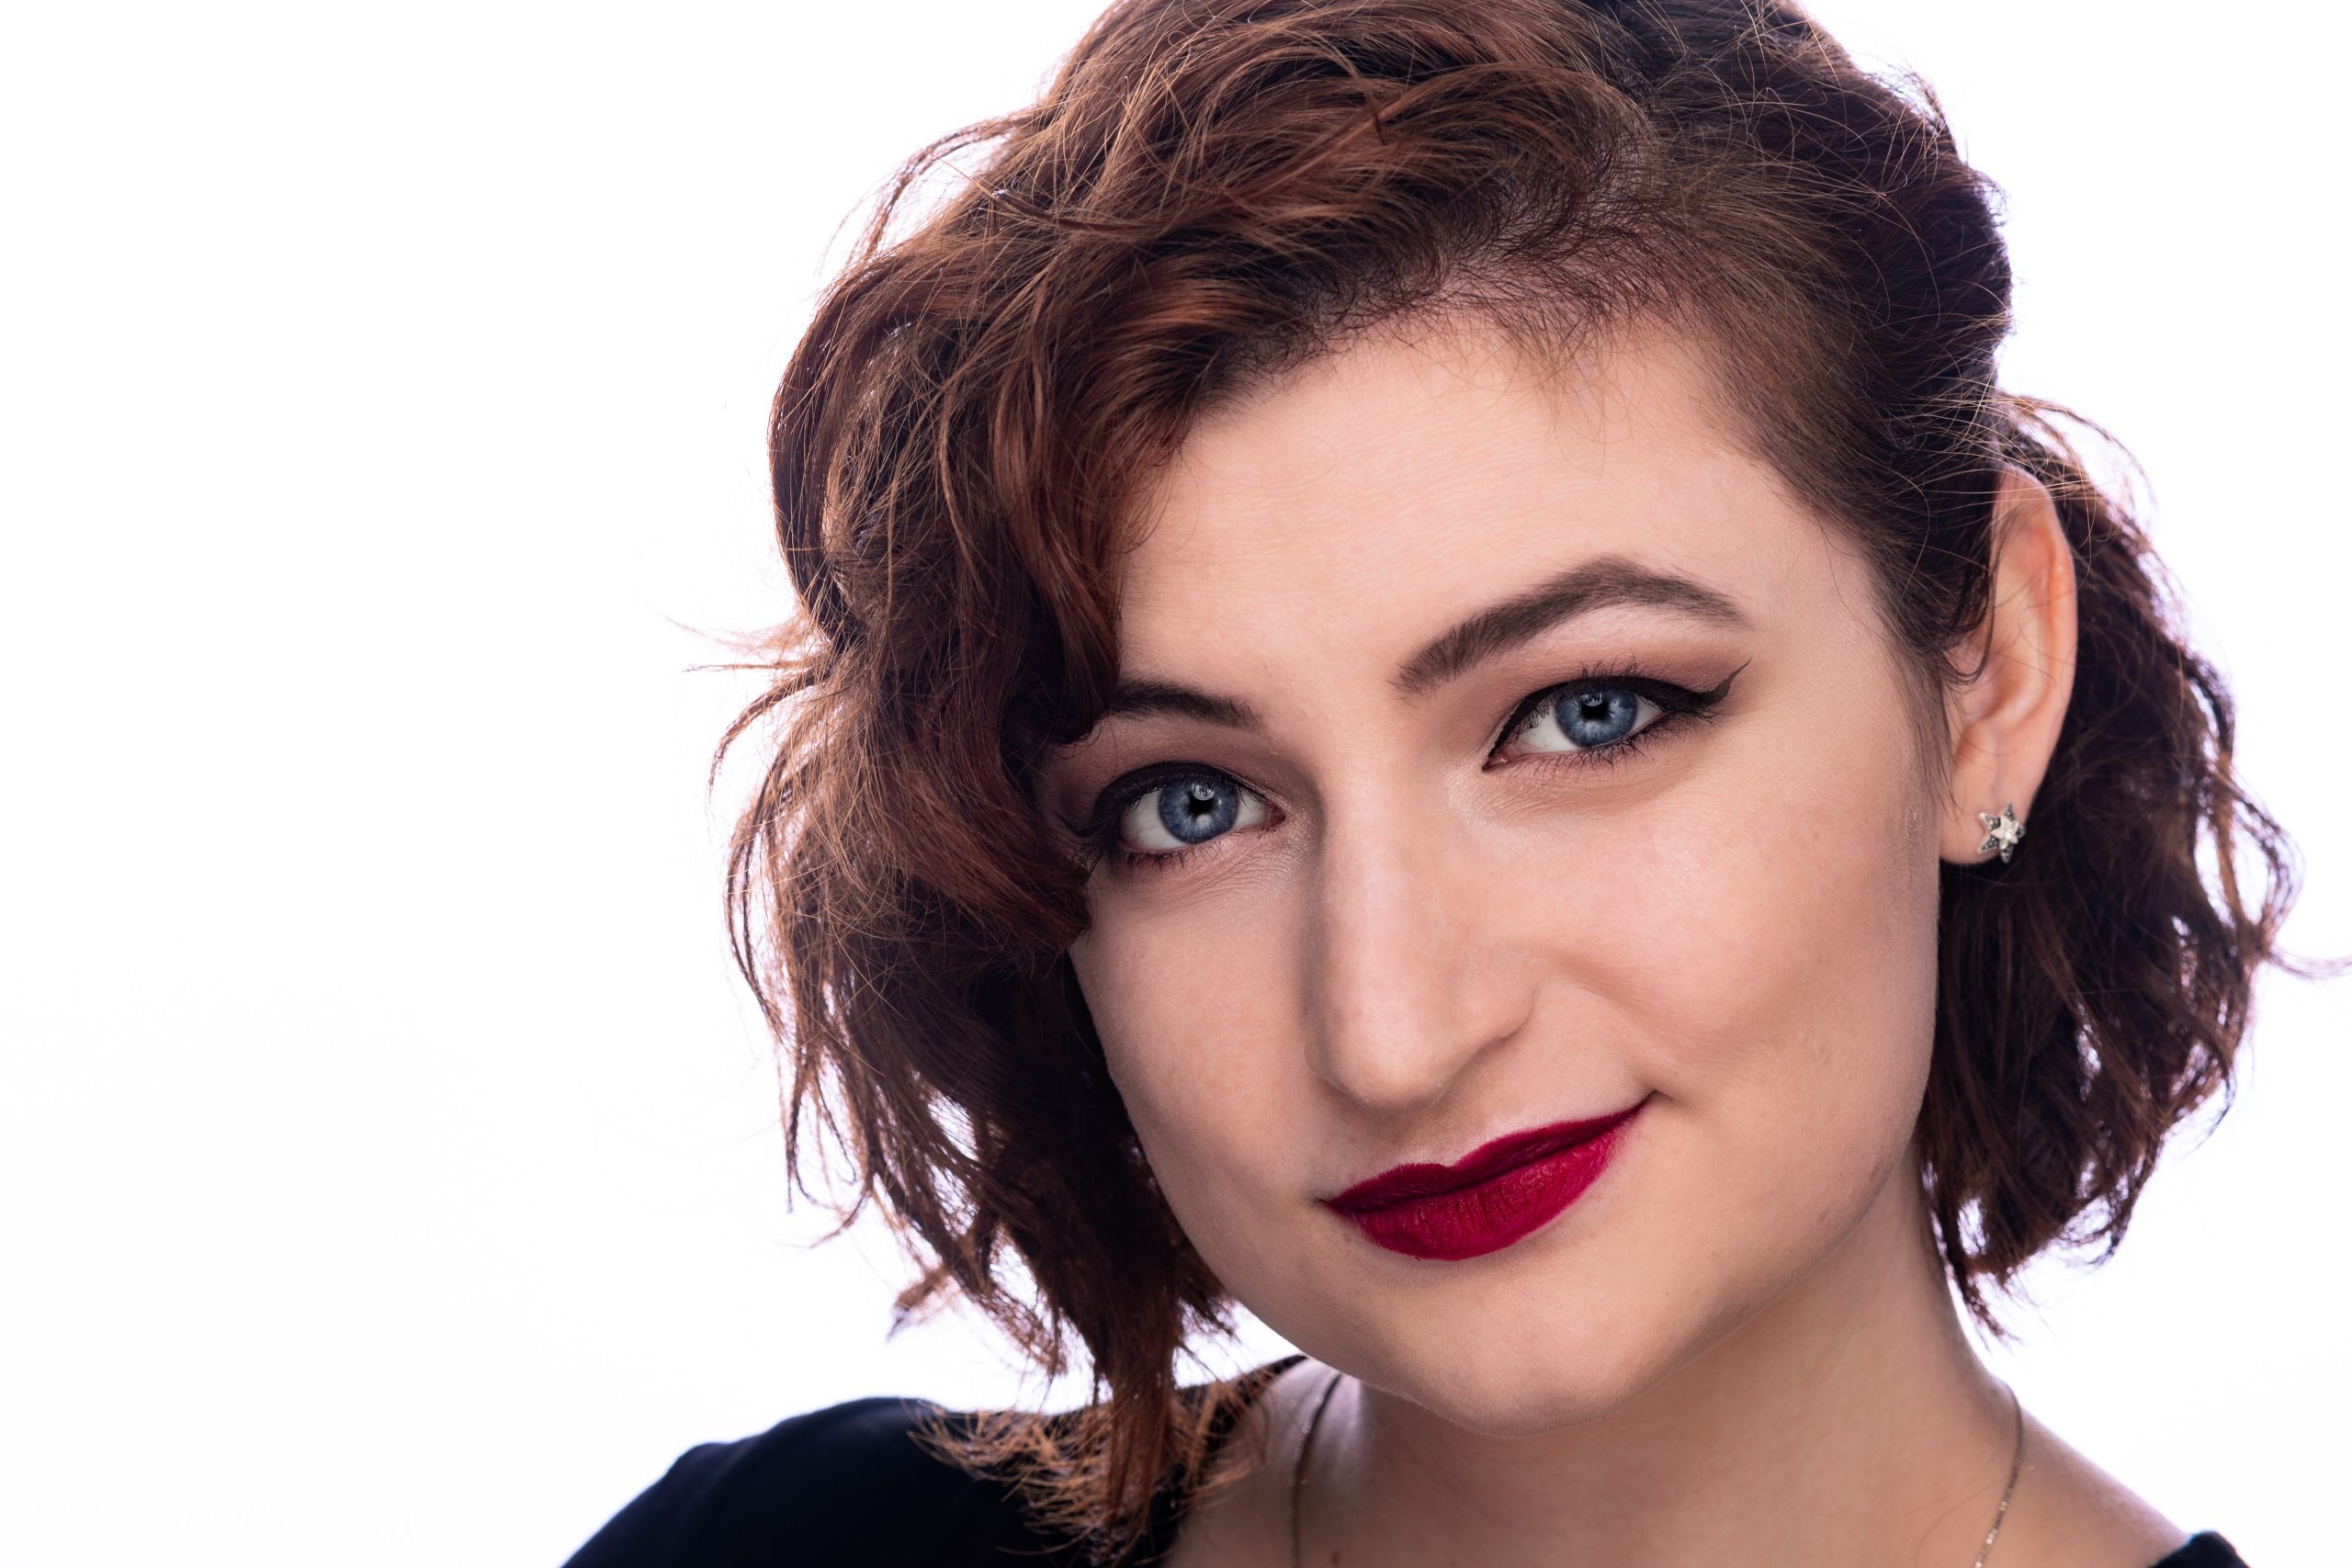
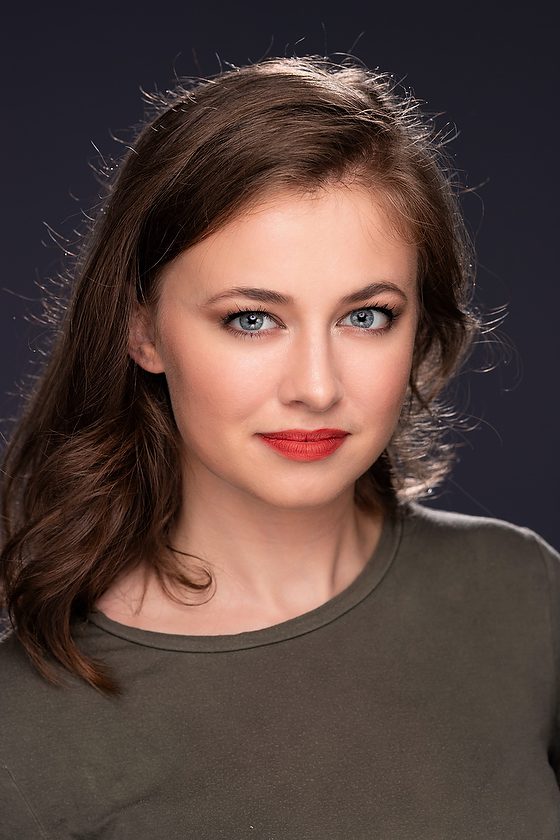
Every semester I go down to Columbus, Georgia, and help Columbus State University Theatre majors by doing headshots for a small price.

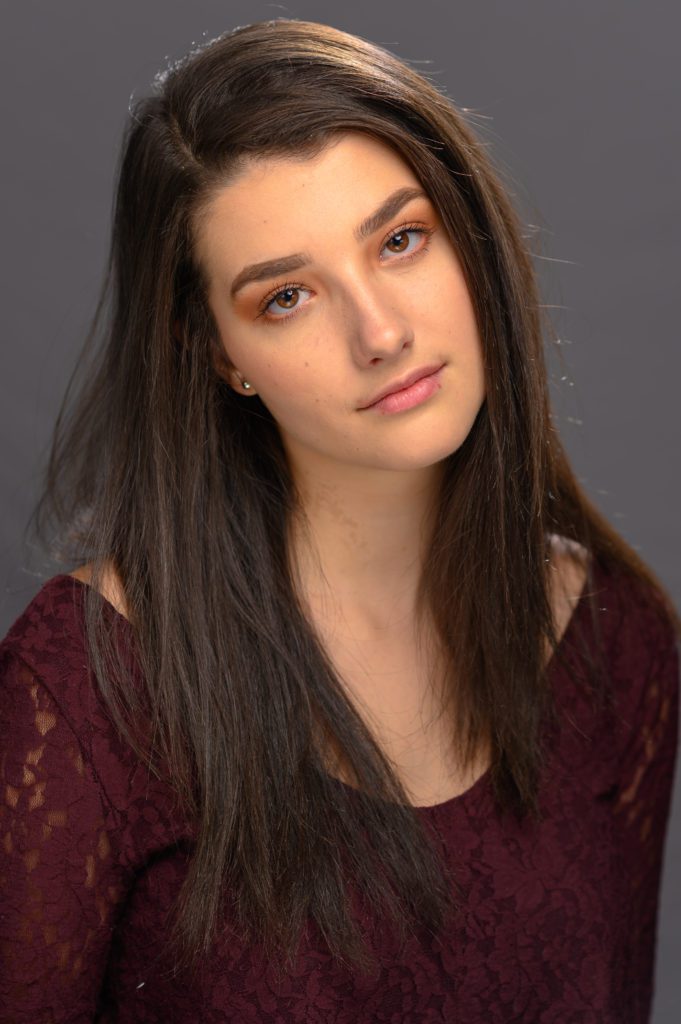
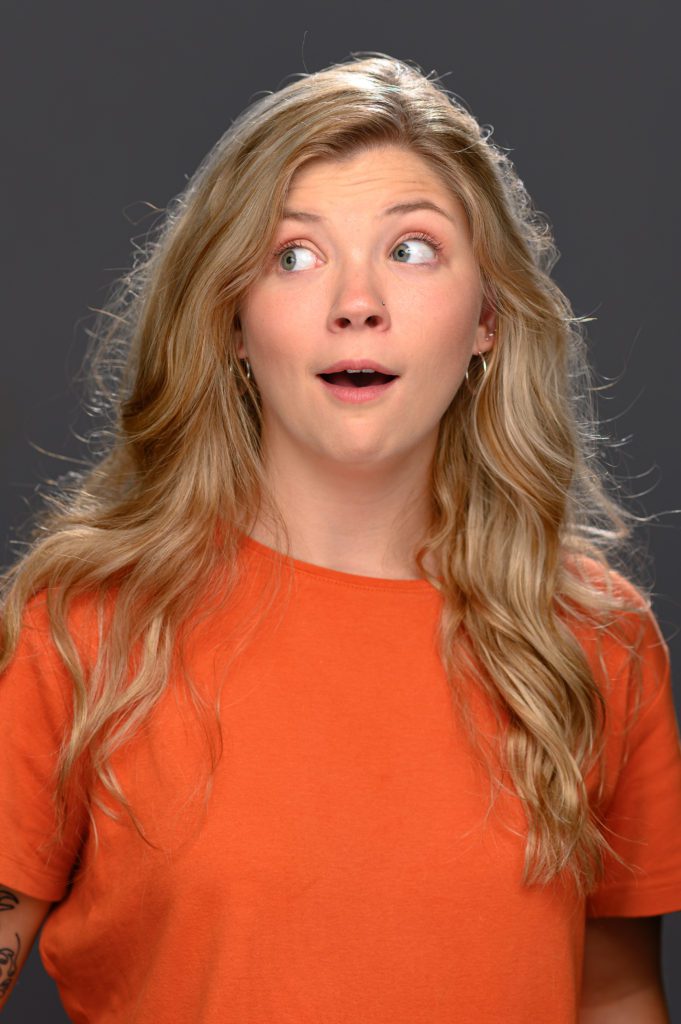
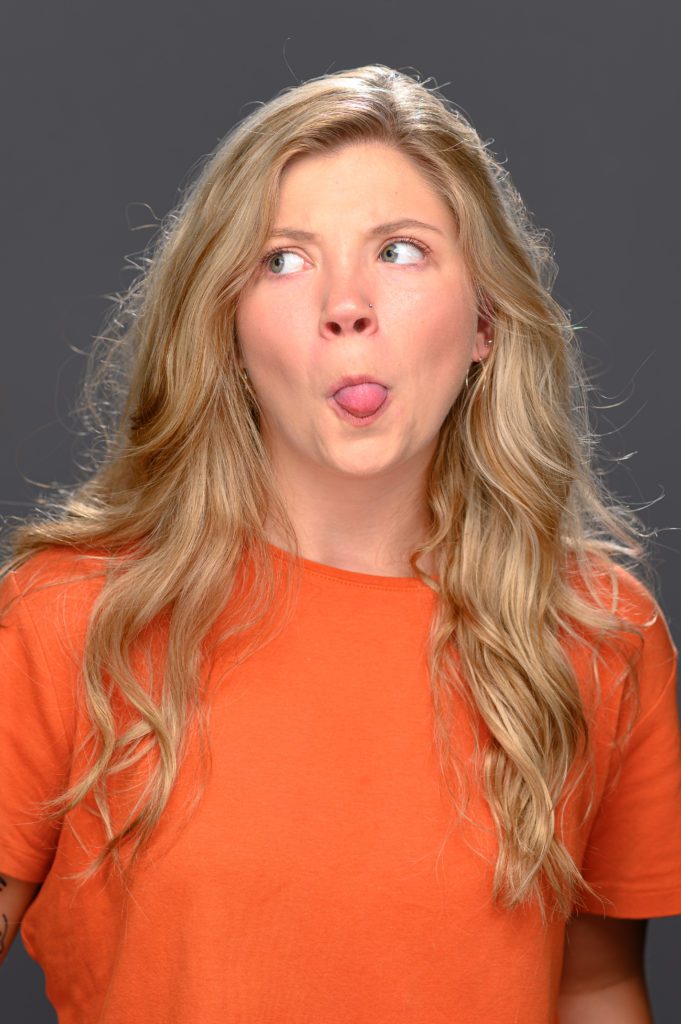
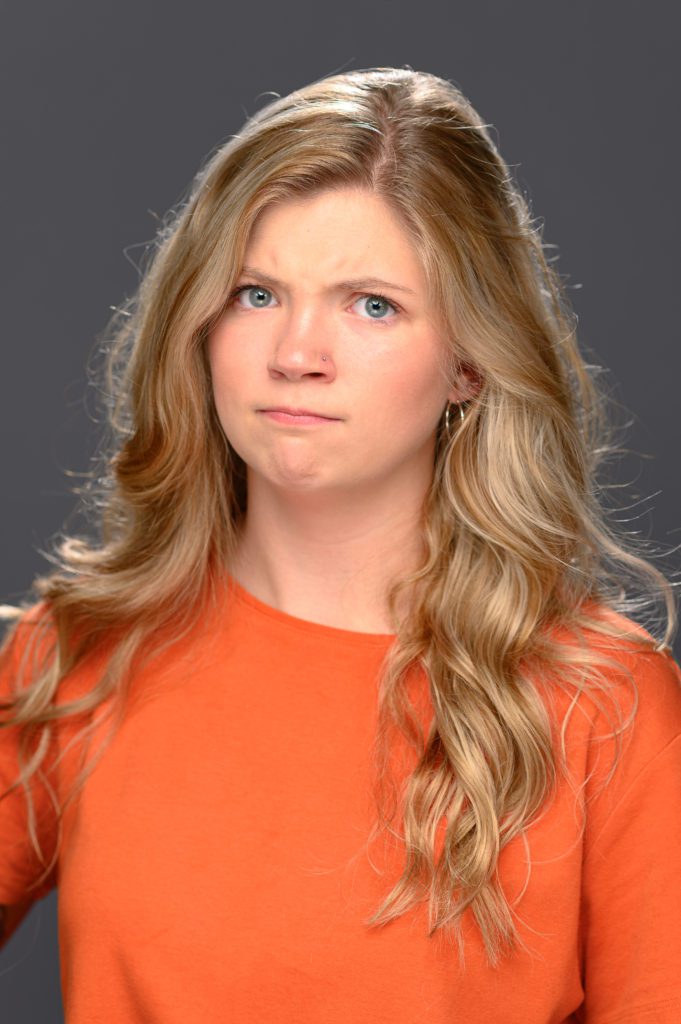
I find that getting actors in front of the camera requires permission to show what they can do with their faces. To be a good actor, they often spend a lot of time in front of a mirror perfecting expressions.

I think of this as stretching before you run or warming up the voice.

Then when you hit an expression, you are more relaxed.

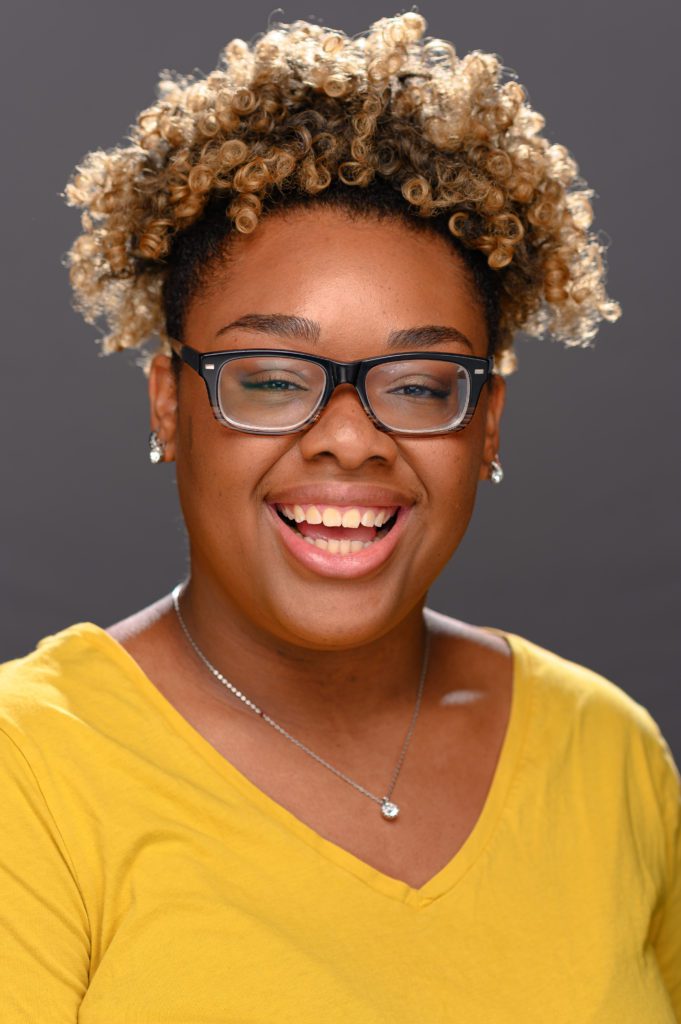
Debrinja Watts [NIKON Z 6, 85.0 mm f/1.8, Mode = Manual, ISO 50, 1/125, ƒ/4.5, (35mm = 85)]

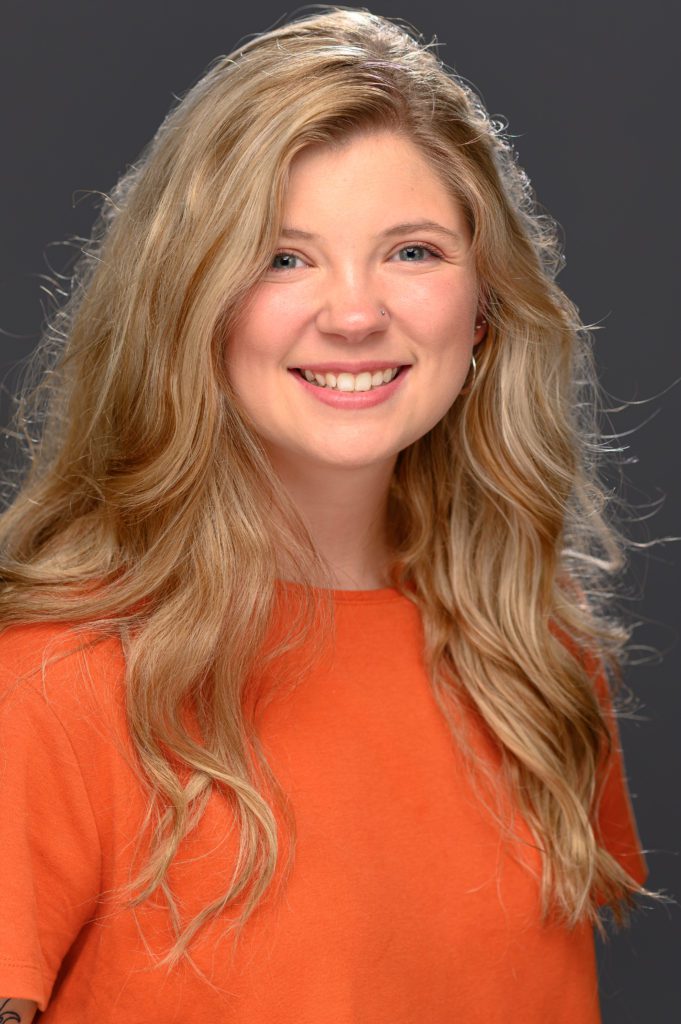
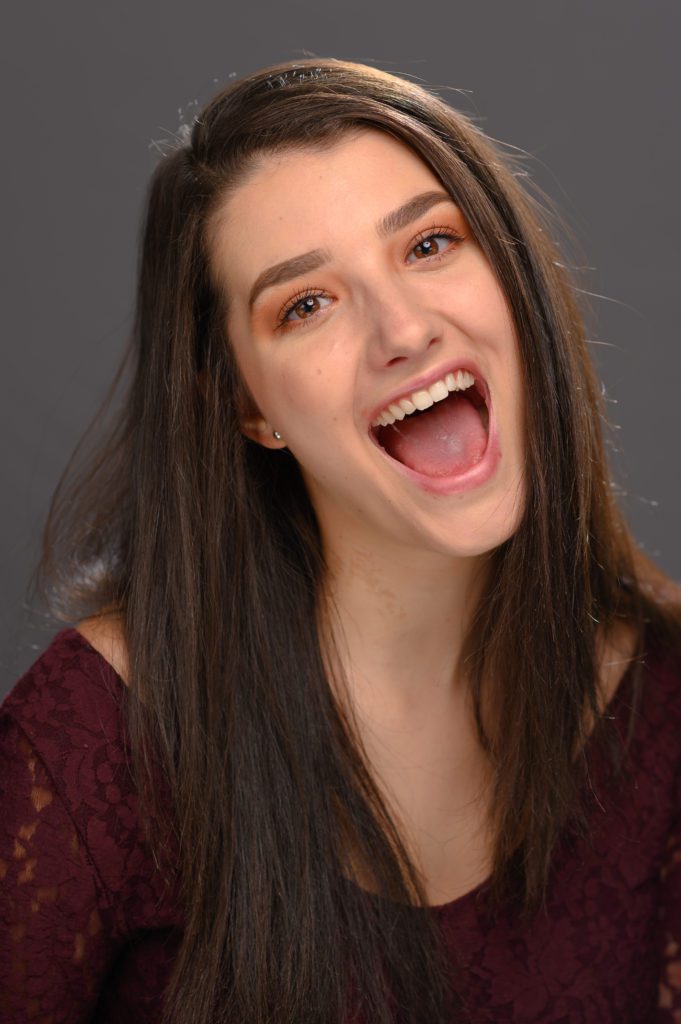
When you laugh, it is more genuine.

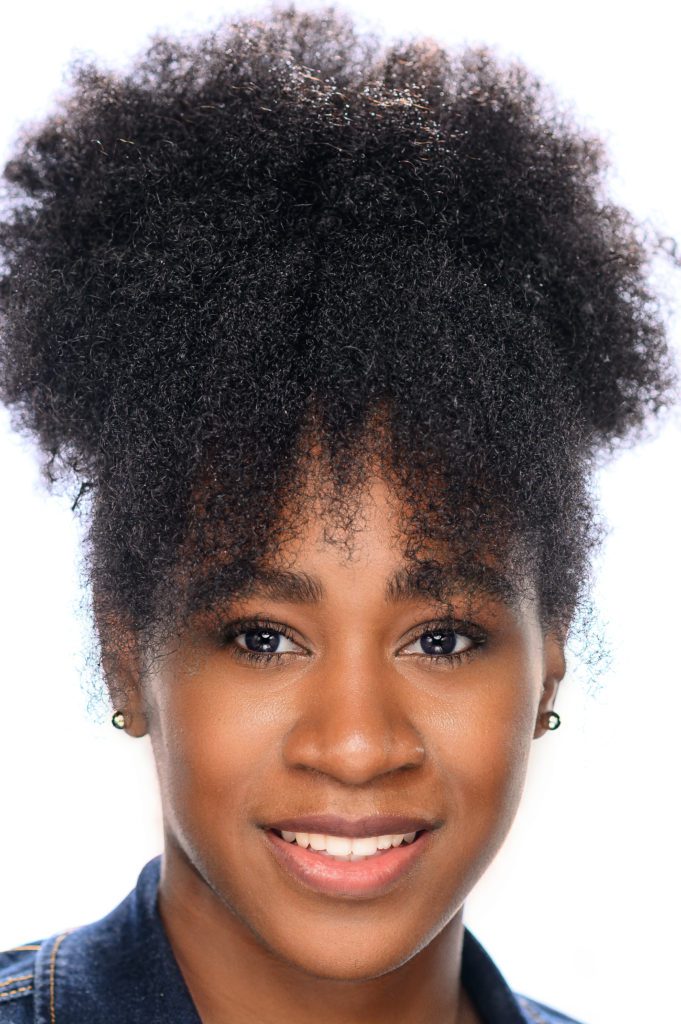
Gabrielle Solomon [NIKON Z 6, 85.0 mm f/1.8, Mode = Manual, ISO 50, 1/125, ƒ/4, (35mm = 85)]

I always have so much fun with the actors.

Jasmine Campbell [NIKON Z 6, 85.0 mm f/1.8, Mode = Manual, ISO 50, 1/125, ƒ/4, (35mm = 85)]

This year we had more freshmen than in the past. It was great to meet so many new students. I can’t wait to see them in performances.

Britt Woods [NIKON Z 6, 85.0 mm f/1.8, Mode = Manual, ISO 50, 1/125, ƒ/4, (35mm = 85)]

While often this is all you will see as the final headshot they use, we had fun working on this to get those natural and authentic expressions.

Next time you have your portrait made, ask the photographer to let you try a range of expressions.

Kiki Ellis [NIKON Z 6, 85.0 mm f/1.8, Mode = Manual, ISO 50, 1/125, ƒ/4, (35mm = 85)]

Ian Rossin is not trying to be an actor; he is studying theatre tech. Those guys deal with lighting, sound, costumes, and set design. He, however, could easily find himself on stage or in front of the camera.

I had a couple who just tried more expressions than I have seen out of one person.

Coco Holt [NIKON Z 6, 85.0 mm f/1.8, Mode = Manual, ISO 50, 1/125, ƒ/4, (35mm = 85)]

To be a professional actor/actress, you have to be able to do more than just one expression: the more you can do, the more opportunities for different roles.

Coco Holt [NIKON Z 6, 85.0 mm f/1.8, Mode = Manual, ISO 50, 1/125, ƒ/4, (35mm = 85)]

Now my clients are promoting me since I started doing this

Headshots for Actors

Hannah Broeils [NIKON D5, 85.0 mm f/1.8, ISO 100, ƒ/5.6, 1/125]

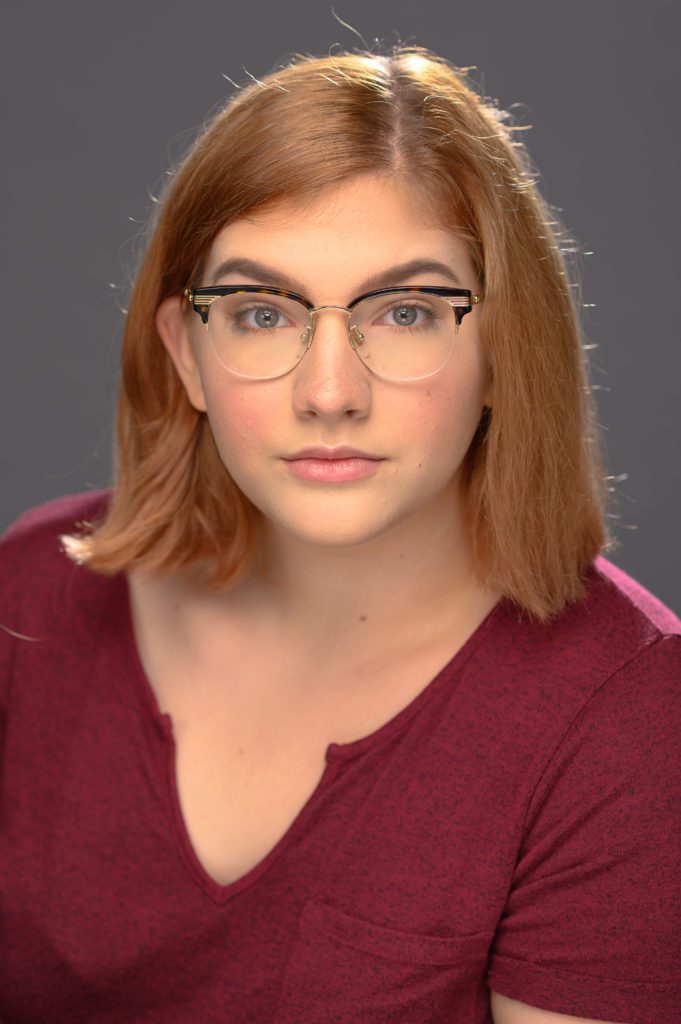
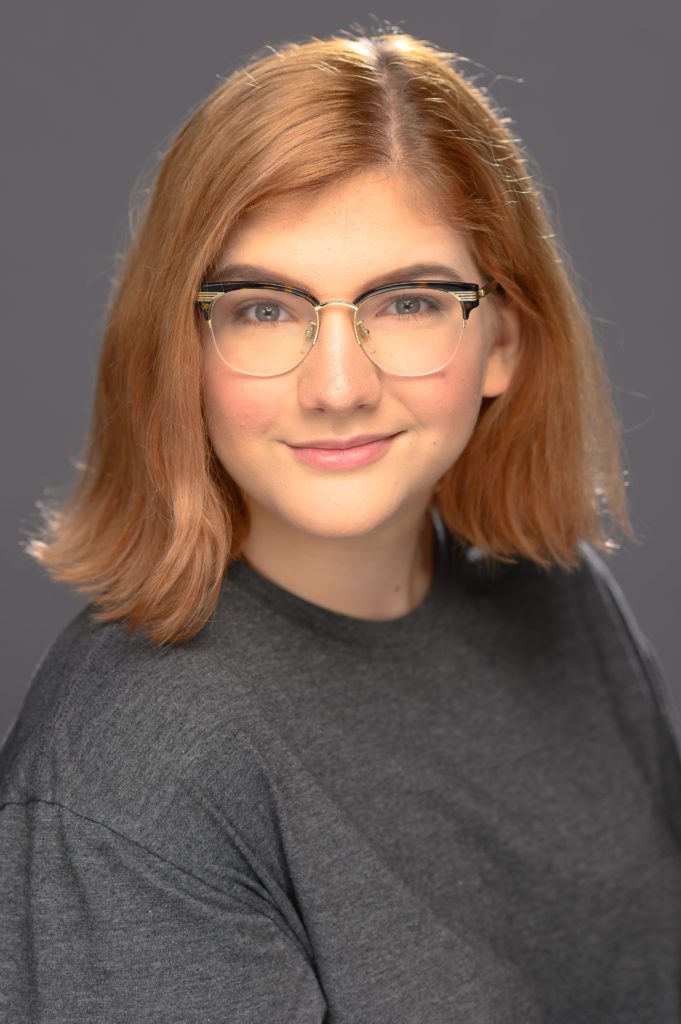
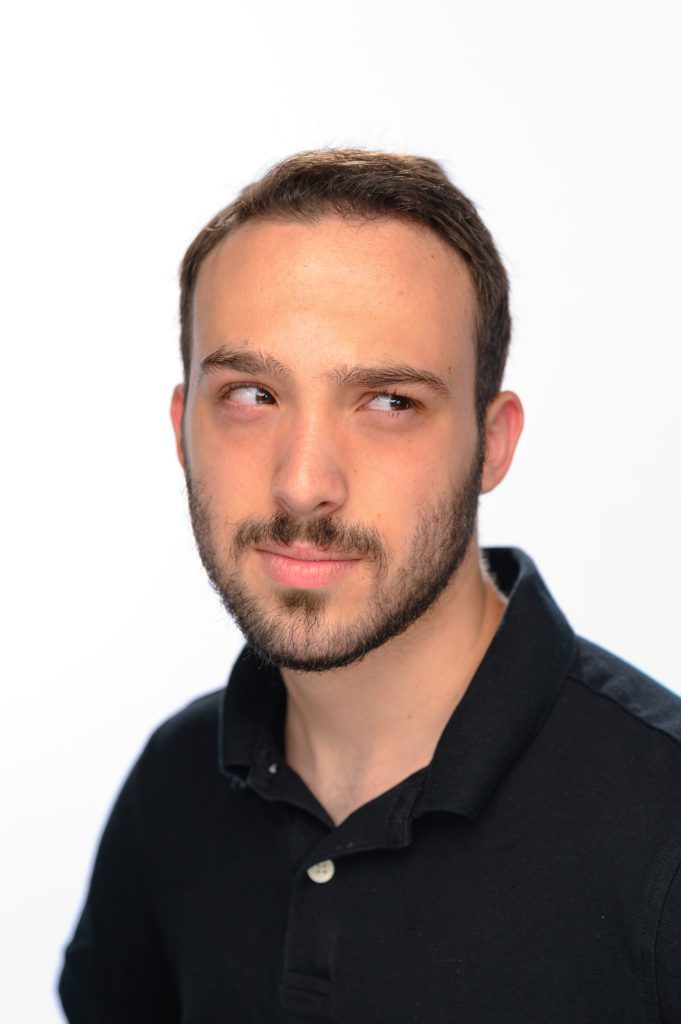
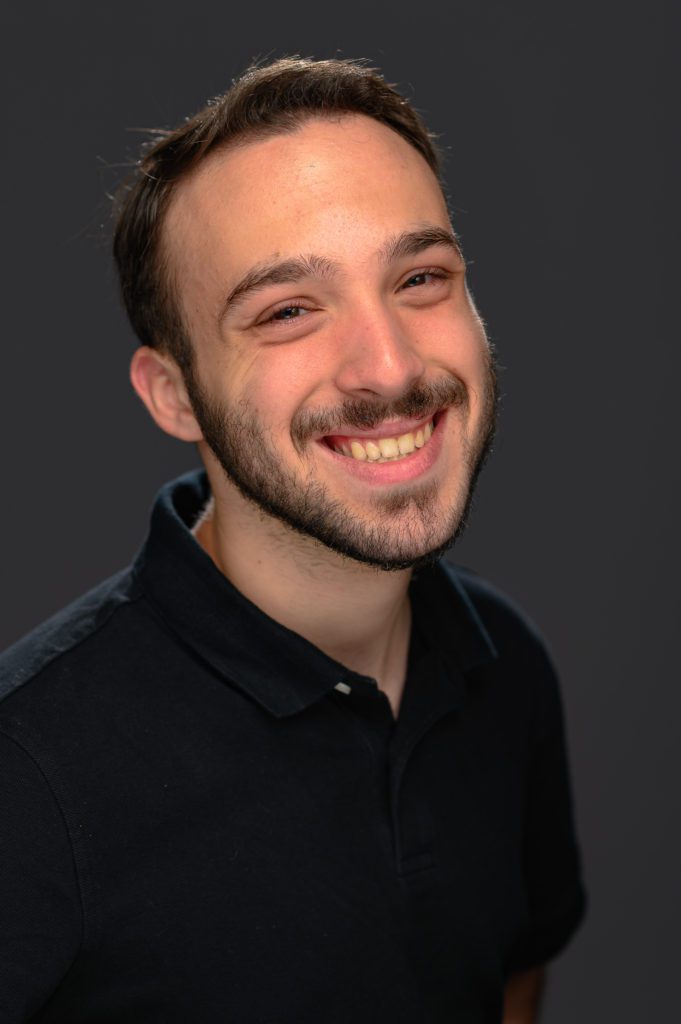
This past weekend I spent both Saturday and Sunday doing headshots for Columbus State University Theatre students.

Setup for headshots [X-E3, XF10-24mmF4 R OIS, ISO 12800, ƒ/4, 1/13 ]

Here you can see the basic setup for the photos.

[X-E3, XF10-24mmF4 R OIS, ISO 12800, ƒ/4, 1/35 ]

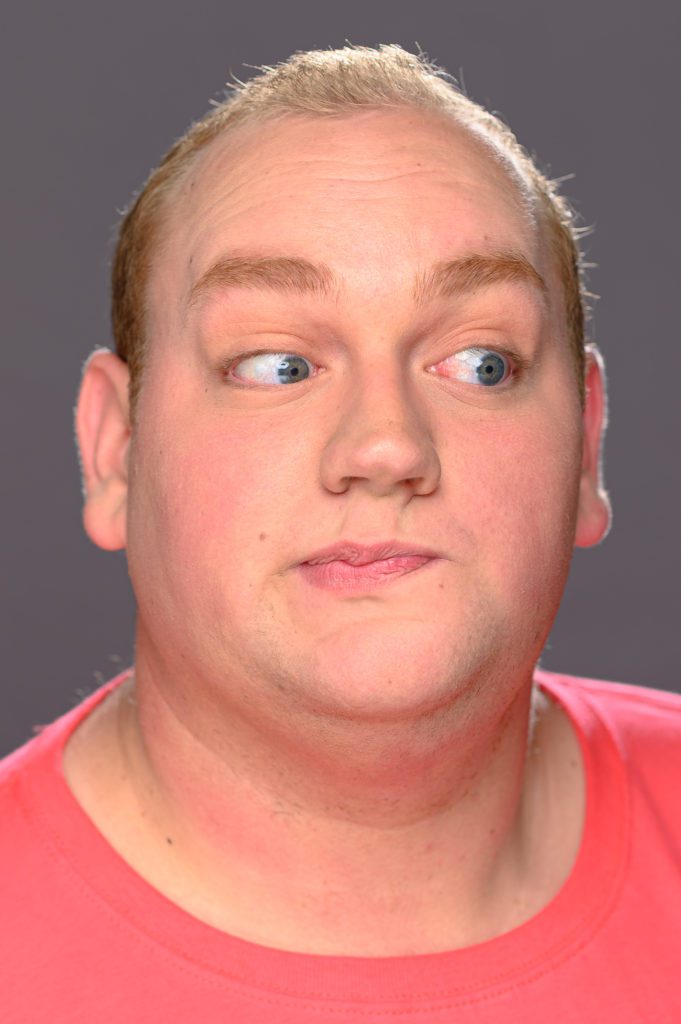
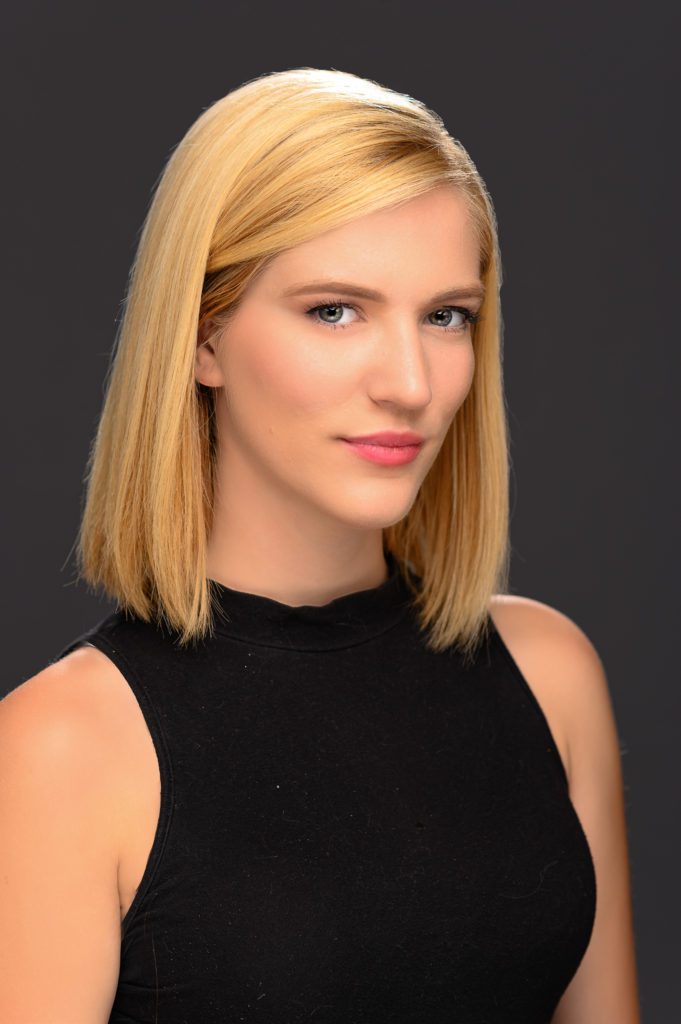
I had two lights on the white background and would turn them off for the grey background look.

Erika Johnson [NIKON D5, 85.0 mm f/1.8, ISO 100, ƒ/5.6, 1/125]

I kept them on for the white background. I also had a hair light up straight behind the subject.

Debrinja Watts [NIKON D5, 85.0 mm f/1.8, ISO 100, ƒ/5.6, 1/125]

My main light was a beauty dish, and I kept the aperture at ƒ/5.6 with the Nikon 85mm ƒ/1.8 lens. Not too shallow of a depth-of-field and not too deep either.

Madi StepCaitlin Melvin [NIKON D5, 85.0 mm ƒ/1.8, ISO 100, ƒ/5.6, 1/125]

I prefer ƒ/4 to ƒ/5.6 when shooting individual headshots. Occasionally I will use a shallow depth-of-field of ƒ/1.4, but you and the subject must be still to make that work.

Robert Trammell [NIKON D5, 85.0 mm ƒ/1.8, ISO 100, ƒ/5.6, 1/125]

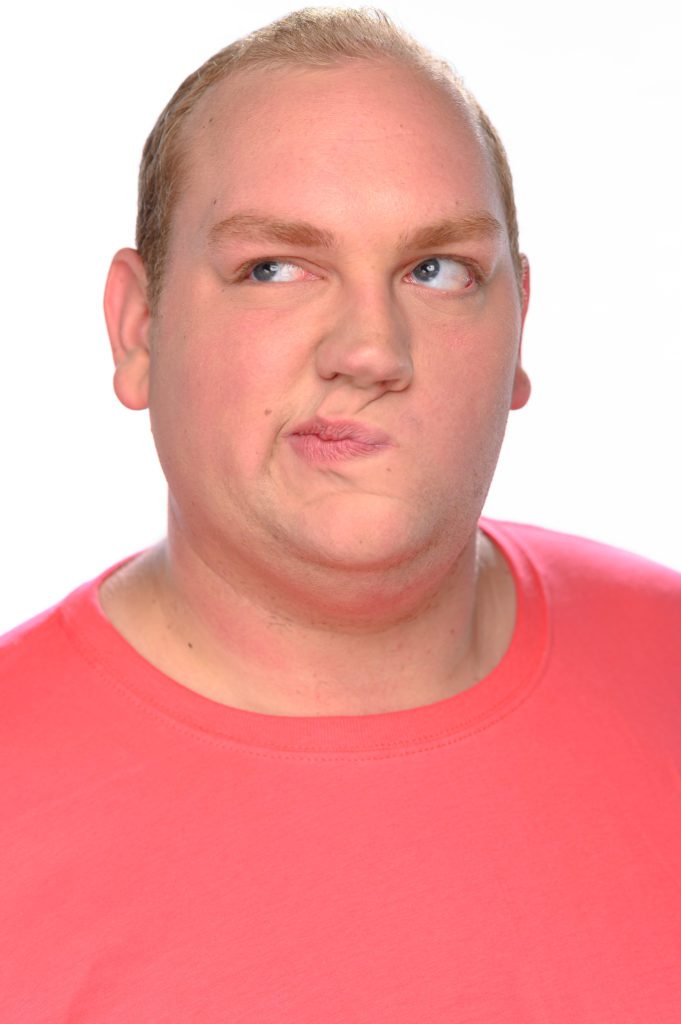
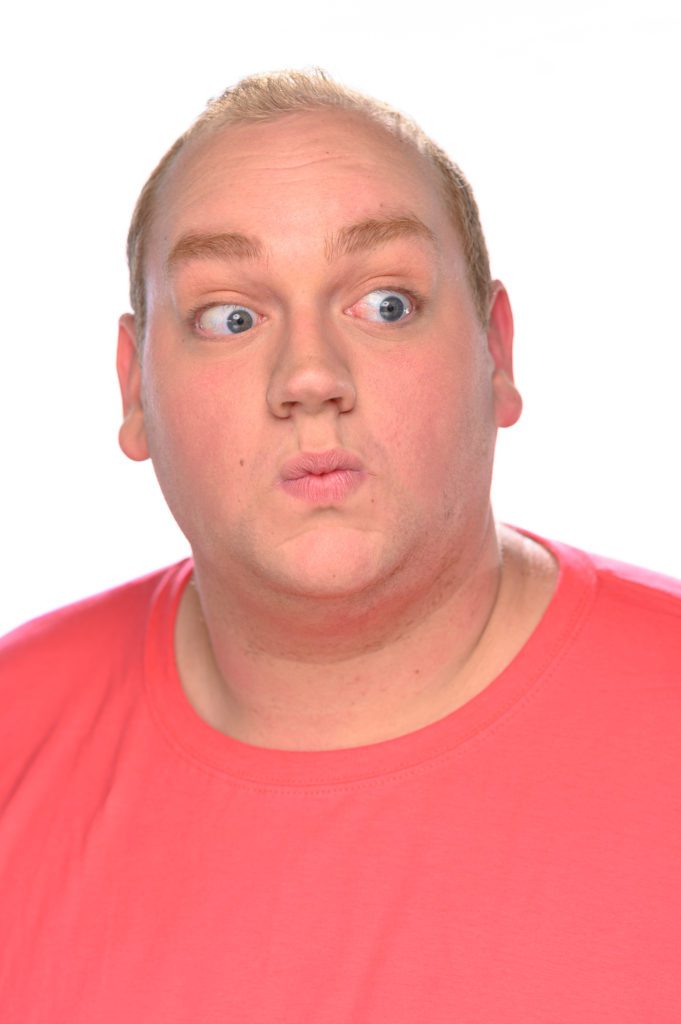
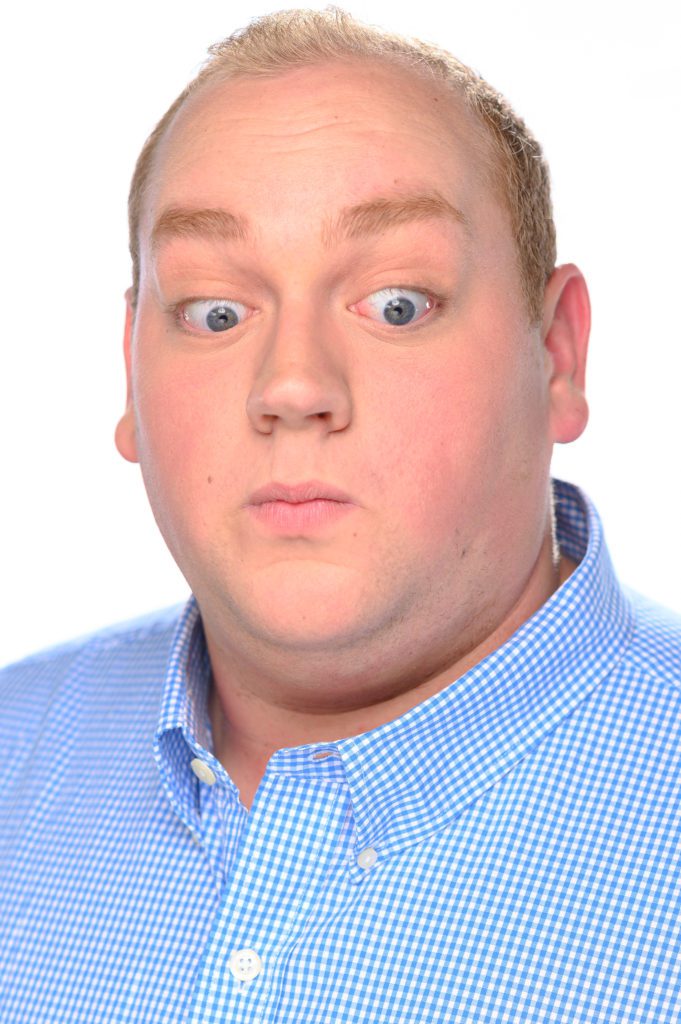
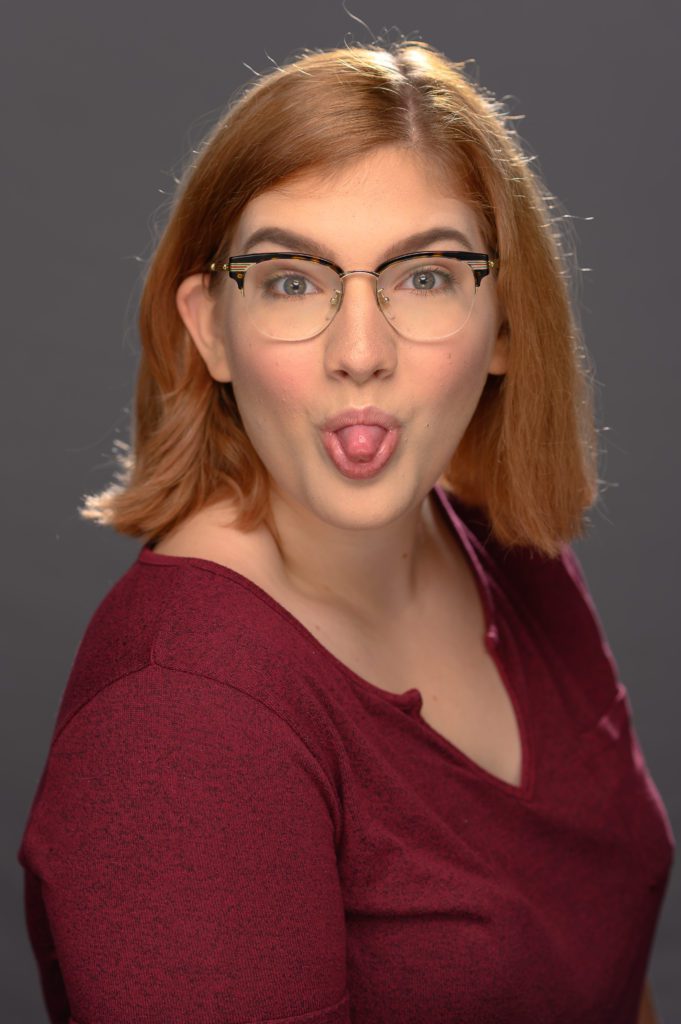
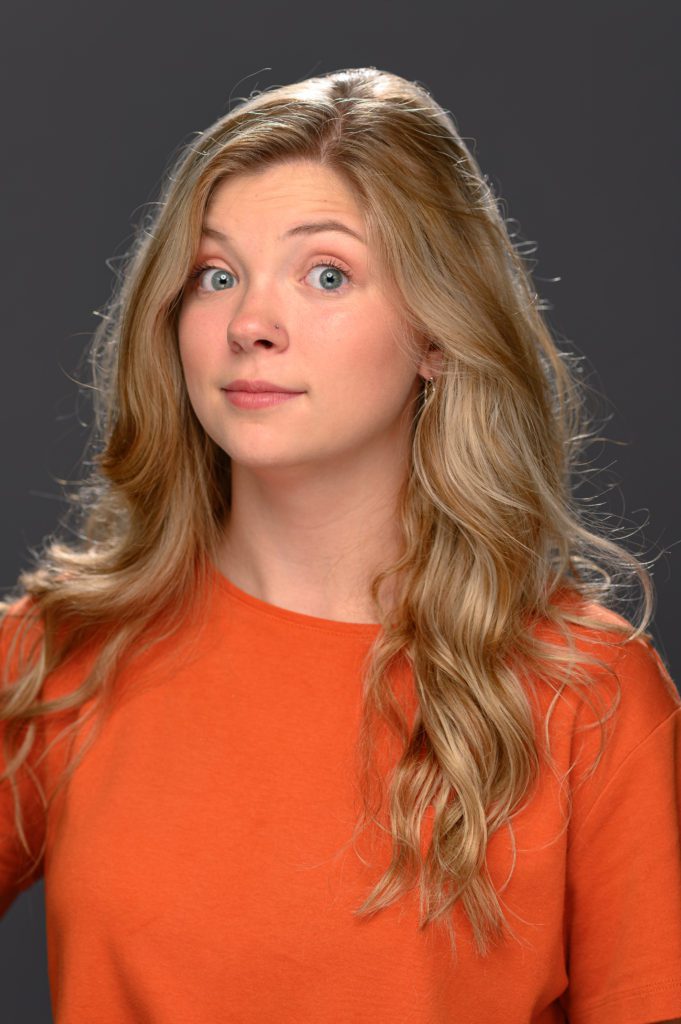
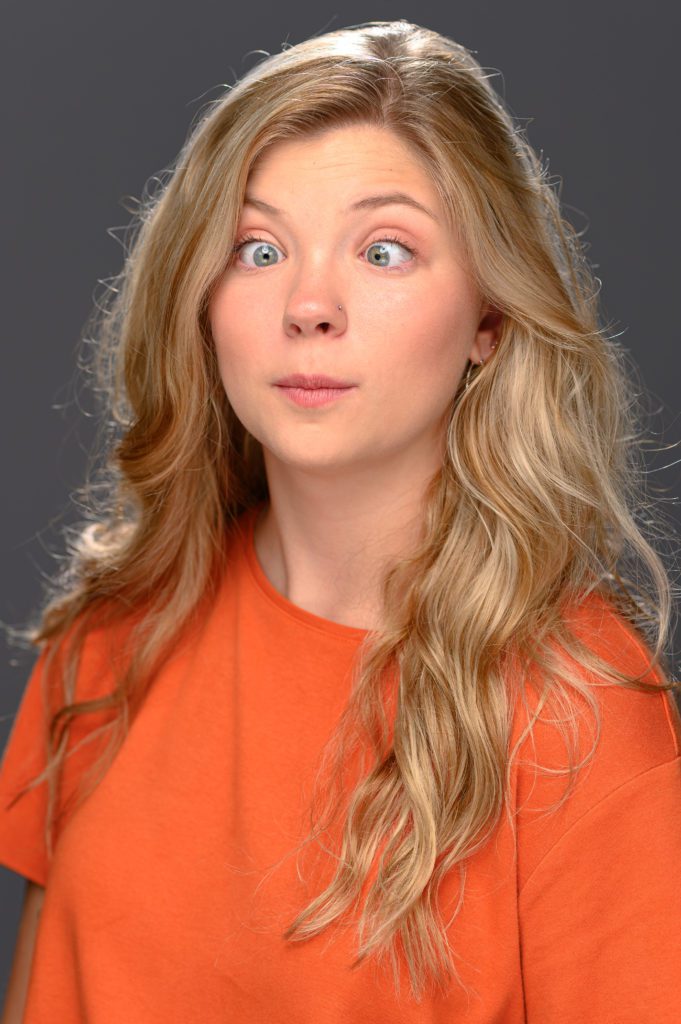
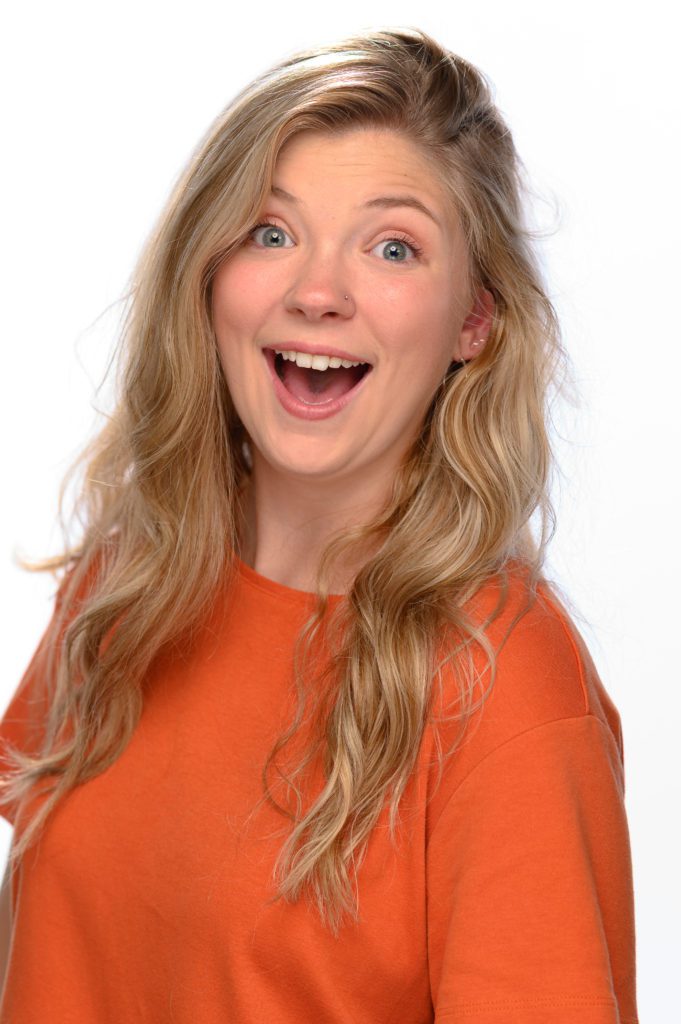
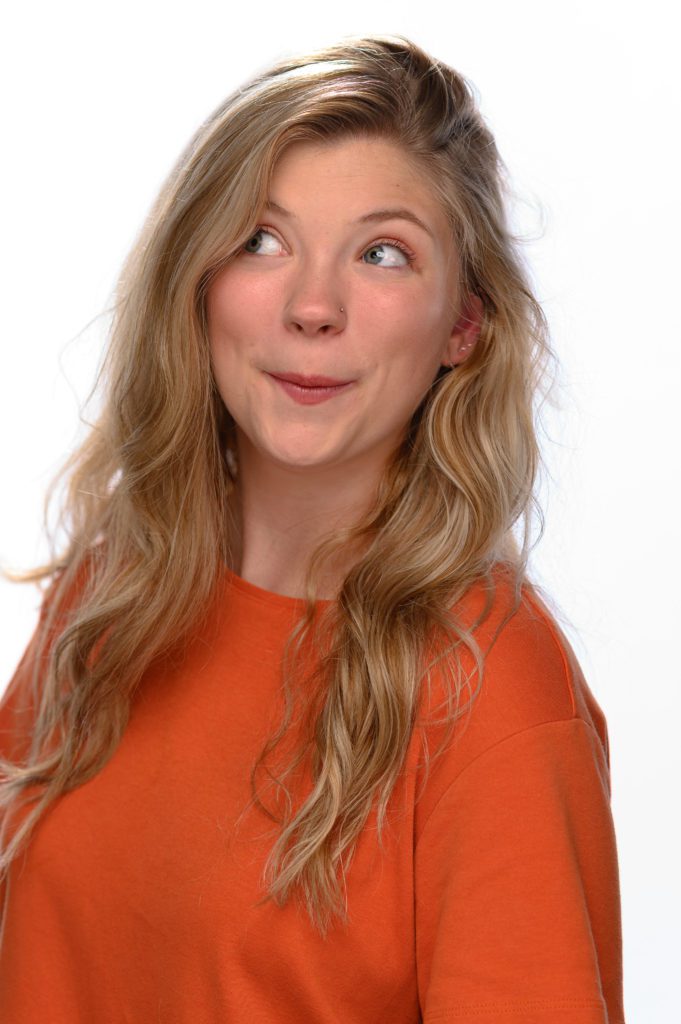
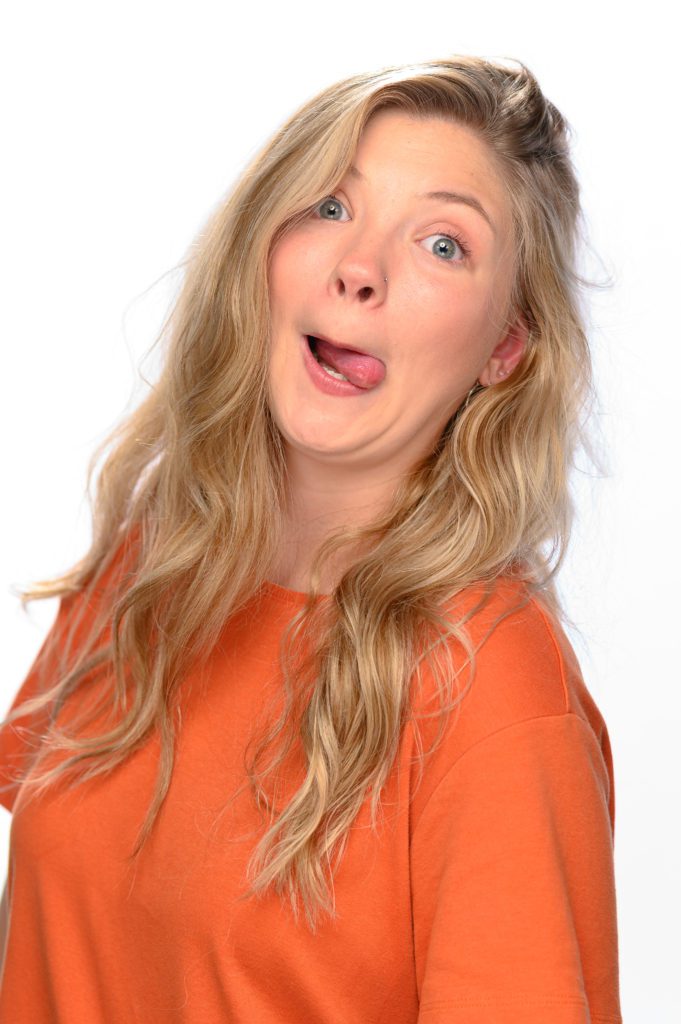
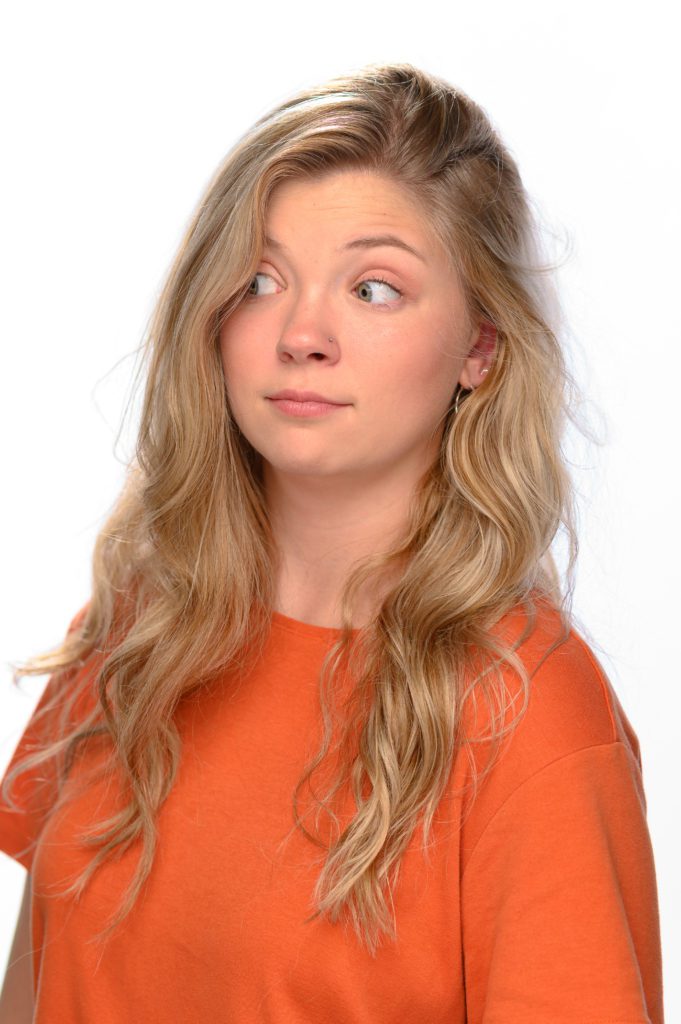
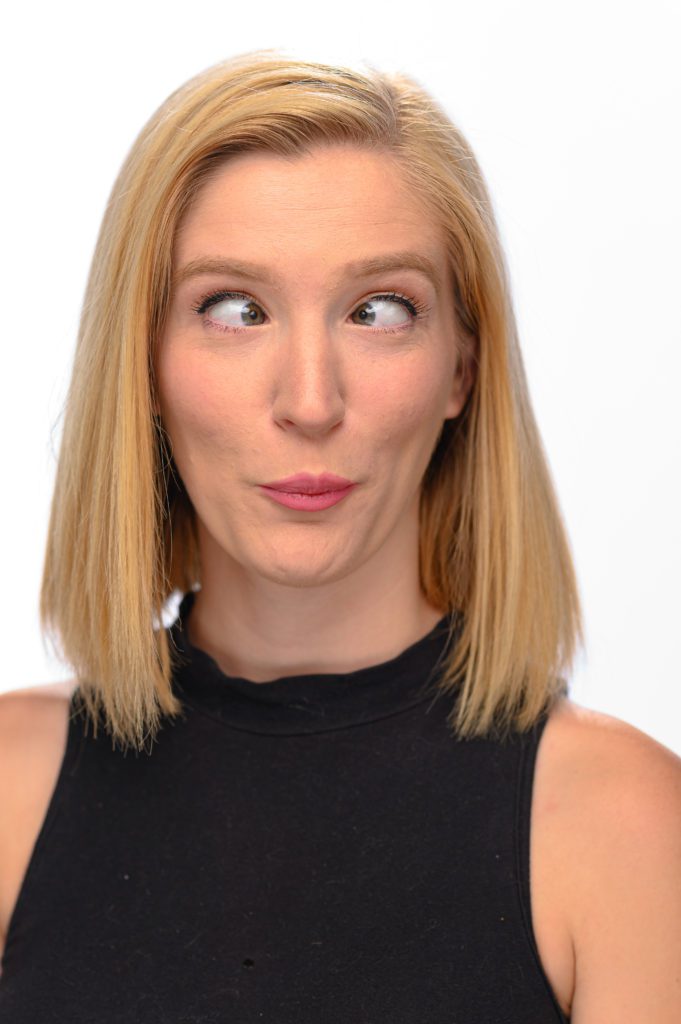
The fun thing with Theatre students is they enjoy trying all kinds of expressions.

Kate Fowler [NIKON D5, 85.0 mm ƒ/1.8, ISO 100, ƒ/5.6, 1/125]

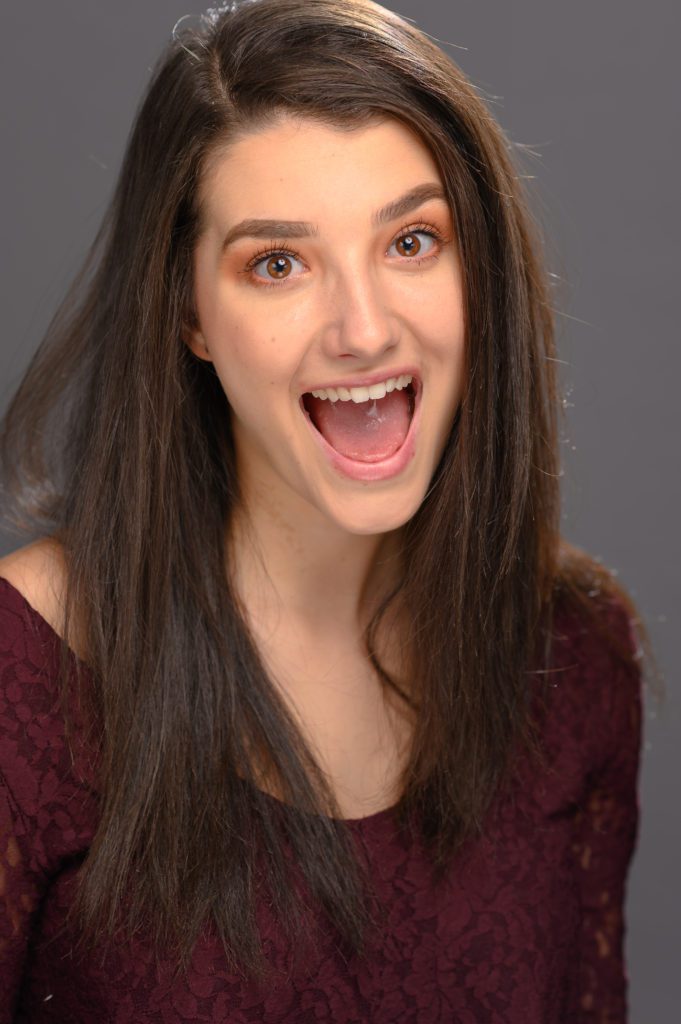
So we had some fun looking surprised.

Hannah Broeils [NIKON D5, 85.0 mm ƒ/1.8, ISO 100, ƒ/5.6, 1/125 ]

We tried a lot of expressions.

Brady Madden [NIKON D5, 85.0 mm ƒ/1.8, ISO 100, ƒ/5.6, 1/125 ]

The one thing that happened after trying some goofy photos, surprise photos, and even being sad was that the expressions that followed were more genuine and authentic. Actors are up for the fun and challenge, but even they need to loosen up, and the best way to do that is to push the limits and dial them back.

Debrinja Watts [NIKON D5, 85.0 mm ƒ/1.8, ISO 100, ƒ/5.6, 1/125 ]

Some tips for headshots

  • Keep the setup simple
  • Make it easy to change backgrounds
  • Encourage people to bring wardrobe changes
  • Give yourself time with each person.
  • Have fun

How Clothes, Color of Outfits, Backgrounds & Lighting Impact the Portrait

When picking clothes for a photo shoot, I have a few tips. For these photos of recording artist Sydney Rhame, we had a few outfits. So here, I will show you how many variables can impact the final images.

Sydney Rhame

Solids

I recommend wearing solids over patterns. It keeps your eye going to the face rather than the outfit.

Sydney Rhame

Color

If you have two or more people, you need to coordinate your outfits, but by yourself, you have much more latitude. You want to pick a color that works with your skin tone, hair color, and eye color.

Sydney Rhame

Lipstick

Be careful to coordinate your lipstick color with your outfits.

Background

Backgrounds need to be simple and uncluttered. Backgrounds need to be complementary to the colors the model is wearing.

Sydney Rhame

Black

Black and White are great neutral colors to use as well as Gray. I would avoid pure white because it is challenging to keep the detail in the white when you start going to different outputs like photo prints or a newspaper.

Black works well, and I like it when the fabric has some texture, as Sydney’s sweater does here.

Nikon D4, Sigma 120-300mm ƒ/2.8 DG OS HSM | S, AC-9, AC-3, PocketWizard Mini TT1, TT5, Paul Buff Vagabond, Alienbees B1600, ISO 320, ƒ/2.8, 1/640

Notice that you can keep the same background and change outfits, and the photo’s mood will change.

Also, keeping the same outfit but a different background changes the photo’s mood.

I have learned through the years that if you want the best photo, you need to bring a variety of outfits to a photo shoot and mix and match those outfits with different backgrounds and lighting schemes.

Sometimes in the case of a recording artist like Sydney, you need a different look depending on the music you are promoting.

Expression

While your clothes, the background, and lighting can significantly impact the photo, the one thing that makes the image is the model’s expression. Now coordinating all these into one moment is when you have that EUREKA MOMENT!

Super Simple Headshots

Nikon D5, Nikon 85mm ƒ/1.8G, ISO 100, ƒ/4, 1/200 – [2] Alienbees B1600, White Background & Lastolite Triflector silver/gold kit.

KISS – Keep It Simple Stupid

Keep your gear as simple as possible so you can concentrate on the people. For this headshot setup, I keep it super simple.

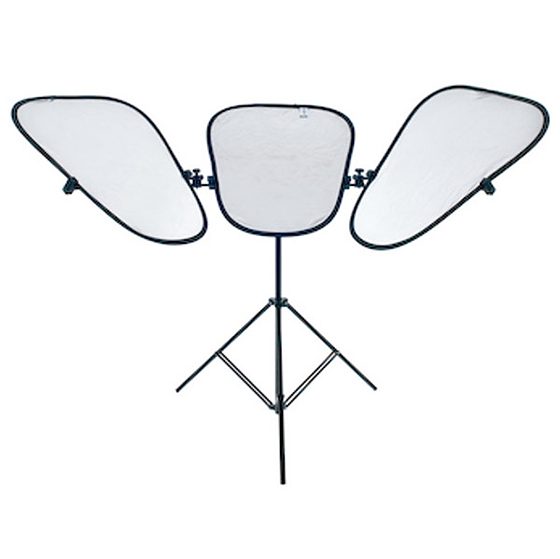
Here is the Lastolite-Triflector reflector that I am using for the headshots.

This helps kick light under the chin and into the eyes for what I consider a very flattering light. Now the main light is a beauty dish most of the time or a white umbrella. I prefer round light modifiers for the catch lights shape.

Nikon D5, Nikon 85mm ƒ/1.8G, ISO 100, ƒ/4, 1/200 – [2] Alienbees B1600, White Background & Lastolite Triflector silver/gold kit.

The reflector is always slightly less than the leading light. To soften it more, just use white rather than silver. If you want to warm it up, use a gold reflector.


Nikon D5, Nikon 85mm ƒ/1.8G, ISO 100, ƒ/4, 1/200 – [2] Alienbees B1600, White Background & Lastolite Triflector silver/gold kit.

You want the leading light up about 45º above the camera lens and straight above it. This will make the light hitting the face come down across it, help those cheekbones pop, and give some contours to the front. Straight on to the model will kill those cheekbones and flatten out their features.

By the way, I also like to use a tripod to glance above the camera to keep a personal connection with the people. 

Getting a catchlight while shooting at ƒ/1.8 outside

 
Nikon D5, Nikon 85mm ƒ/1.8G, ISO 100, ƒ/1.8, 1/1250

I love catchlight in the eyes for portraits. I think it brings out the life and vibrance in a person.

To accomplish this, I used flash. Now, I had to figure out how to shoot with a flash at ƒ/1.8 outside in the sunlight. Fixing it is where High-Speed Shutter Sync does the trick. HSS is when you can take a photo using a flash at any shutter speed other than the sync speed of 1/250.


I always start with the off-camera flash 45º to the left or right of the subject. If their body is facing left, that is where You will place the light.

The light is generally 45º above their head. I see if the flash causes a shadow that hits their lips. If it does, I lower the light until the shadow is just off the lips of the person. You can also control the shadow by reducing or raising the subject’s chin. So you must be aware of light placement throughout the photo shoot as you will most likely have them move their head around.


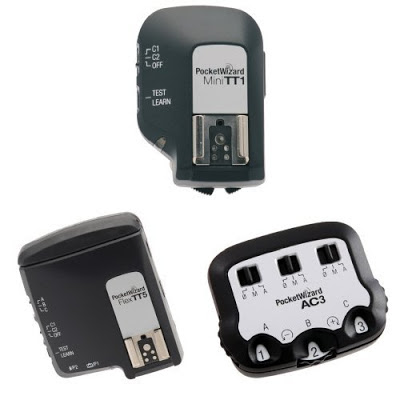
Here is my setup. I have an Alienbees B1600 with a white umbrella that I am diffusing the light. To sync at the High Shutter Speeds, I use the Pocketwizard TT5 with the AC9 that plugs into the back of the Alienbees using a phone cord connection.


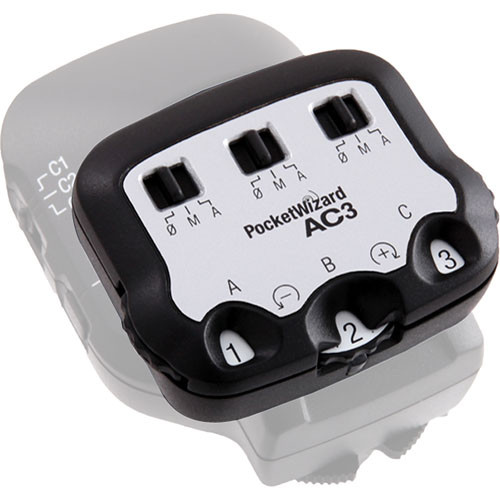
You have wireless control using the AC3 on top of the Pocketwizard Mini TT1. I use the M setting on the AC3.

Here is the chart of how that would work:

  • +3 = Full Power
  • +2 = 1/2 Power
  • +1 = 1/4 Power
  • 0 = 1/8 Power
  • -1 = 1/16 Power
  • -2 = 1/32 Power
  • -3 = 1/32 Power
In between the stops, you also have the 1/3 increments to use. 
 
Here is a setup from an earlier shoot. I used only one in the photos at the top.
 
 
So here is the basic setup I was using. Here is the list of gear:
  • 1 – Alienbee B1600s
  • 1 – Vagabond Mini
  • 1 – Cowboystudio 7′ 4 Section Portable Adjustable Stand
  • 1 – Westcott 2001 43″ Optical White Satin Collapsible Umbrella
  • 1 – Pocketwizard AC9
  • 1 – Pocketwizard TT5
  • 1 – Pocketwizard Mini TT1
  • 1 – Pocketwizard AC3
  • Nikon D5
  • Nikon 85mm ƒ/1.8G
 
I pack the lighting gear all into this Seahorse SE-920 with padded dividers. So I can fly with this kit to jobs where I need something a little more robust and capable of shooting at ƒ/1.8 to get that great BOKEH.
 
Nikon D5, Nikon 85mm ƒ/1.8G, ISO 100, ƒ/1.8, 1/4000

Now, I can choose to change my settings on the fly. I was shooting at ƒ/1.8 of the senior in front of the high school. I thought they might want to see the high school a little more. I needed to stop at a different ƒ-stop to do that.

Nikon D5, Nikon 85mm ƒ/1.8G, ISO 100, ƒ/7.1, 1/320

I just powered up the flash from the camera and dragged the shutter from the 1/4000 speed to 1/320.

Here is another example where I needed to change the ƒ-stop.

Nikon D5, Nikon 85mm ƒ/1.8G, ISO 100, ƒ/1.8, 1/2000

Again I realized the client might want to know what was on the banner in the background—quick change without moving my feet.

Nikon D5, Nikon 85mm ƒ/1.8G, ISO 100, ƒ/6.3, 1/250

Why use such a powerful flash and not just a Speedlight? Well, the recycling time on a Speedlight can be pretty slow.

Why I chose the Alienbees kit over the Profoto Monolights
 
Price alone would be enough to make you wonder why you are spending so much more on the Profoto system.


$57.68 on Amazon
Manfrotto 5001B Nano Black Light Stand – 6.2′ (1.9m)
I chose this light stand because of how small it folds up [19.3″ (49cm)] for easy travel through airports.


$16.23 on Amazon
CowboyStudio 43-Inch Black and White Umbrella for Photography and Video Lighting Reflective


$418 on Amazon
PocketWizard MiniTT1 Radio Transmitter, FlexTT5 Transceiver, and AC3 Zone Controller Bundle – Nikon
The AC3 helps you control the flash power from the camera and attaches to the Mini TT1 on the camera.


$54 on Amazon
PocketWizard AC9 AlienBees Adapter Power Control for Nikon
Plugs into Alienbees and onto the TT5

$359.95 from Alienbees
AlienBees™ B1600 Flash Unit

The total cost on my system for one flash is $905.86. Just the Profoto B1 flash without a light stand and umbrella runs $2,095.00.

$2,095.00 from B&H
Profoto B1 500 AirTTL Battery-Powered Flash

When you put together a kit of 3 or 4 lights, you can see your money costs go up with the Profoto system.

The Profoto gives you one thing that the system I designed doesn’t provide, and that is TTL. Generally, when working with studio strobes, once you put them in place and take your first photo to check for exposure, your lights don’t move.

Here is why I wouldn’t say I like TTL–it is unpredictable. Sure I must take a reading and then set my lights without TTL, but the exposure is not consistent every time I take a shot. With TTL, a slight movement with your camera, the model, or something in the background will impact your meter and tell the camera and flashes to adjust.

If the eyes are the windows to the soul …

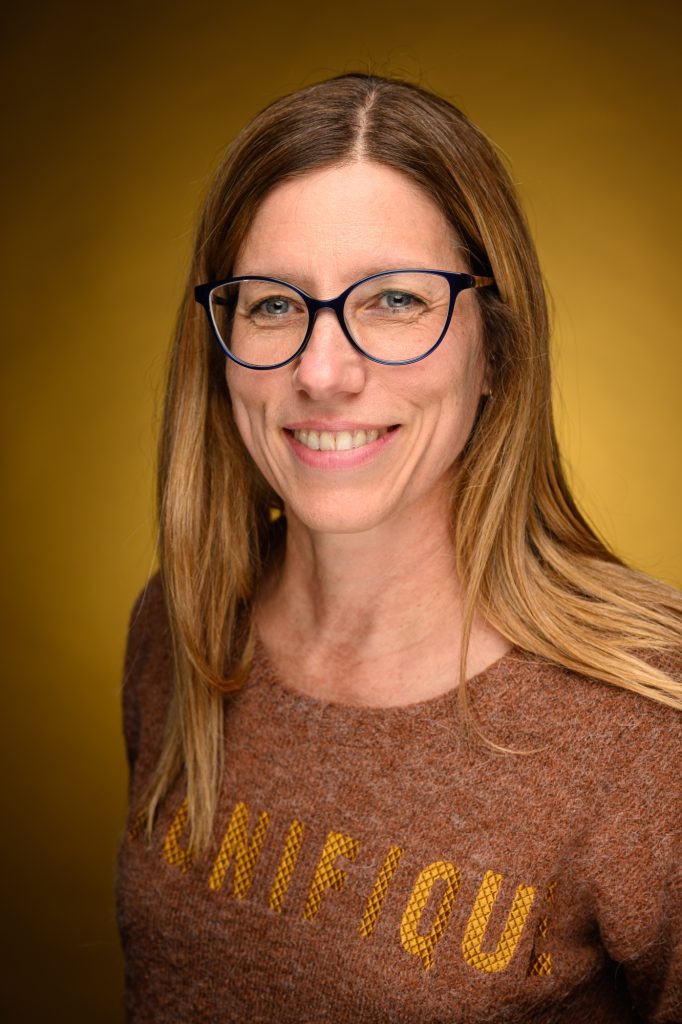
Nikon D750, Nikon 85mm ƒ/1.8G, ISO 1250, ƒ/1.8, 1/200

My mentor Don Rutledge said the the eyes are the windows to the soul. When I am really connecting with another human being in conversation I am very much aware that we are locking in on each other’s eyes.

We are allowing the other person into our world as well as they are letting us see into them.

I have even written previously that eyes are so revealing that this is where we truly smile.

For this blog post I want to emphasize how important it is to have the eyes in focus for portraits. Keep the eye closest to the camera in focus.

I believe if everything is out of focus except the eyes you can have a very successful portrait, but if they are out of focus it really can be quite disturbing.

In the first photo the eyes are pretty much the only thing that is in focus. I think this is in many ways what can draw you to the eyes and help the audience connect with the subject.

Nikon D750, Nikon 85mm ƒ/1.8G, ISO 100, ƒ/4, 1/200

Notice that by just closing down the aperture, which creates more depth-of-field that now your eyes tend to look are more of the face than in the first photograph.

Nikon D750, Nikon 85mm ƒ/1.8G, ISO 100, ƒ/4, 1/200

I believe that inside this square is the most important part of a portrait. You can capture the essence of the person where as outside of this square just helps to add more information. It compliments this core of where the audience and the subject will connect.

While the famous war photographer Robert Capa said, “If your pictures aren’t good enough, you aren’t close enough.” I believe this also applies to portraits.

Get as close as your lens will focus with your subject. Try that and see what kind of results you get.

What happens when you get as close as the lens will focus?

There are a few things that take place when you get as close as a lens will focus. Technically your depth-of-field gets even more shallow. This will mean that you will help bring even more emphasis to the eyes than any just about any other thing you can do once you have the aperture wide open. The other way is to light the eyes more than the rest of the face.

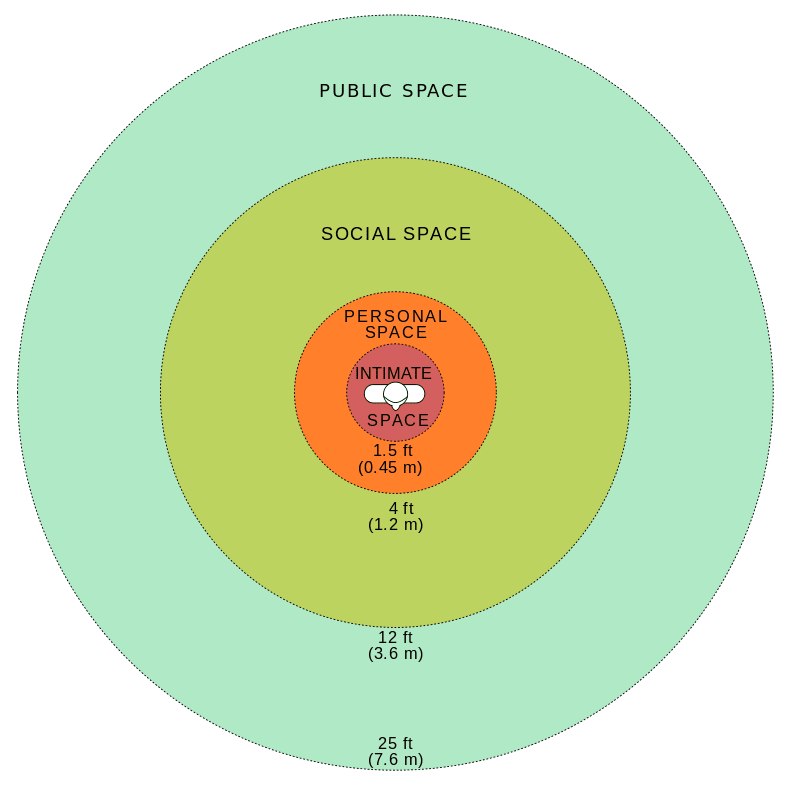
Another HUGE thing that happens when you get this close you will either make your subject quite uncomfortable or if you have built trust you will be let into their world even more. We call this getting into their intimate space.

Here is information that will help you understand how this can impact your photos from Wikipedia:

Click to see larger

In 1966, anthropologist Edward T. Hall identified four zones of personal space that residents of the United States of America like to maintain around them:

Intimate distance: extends roughly 18 inches (46 cm) from the individual and is reserved for family, pets and very close friends. Displays of affection and comforting are commonly conducted within this space. The only strangers an individual typically accepts within his or her intimate space are health care professionals.

Personal distance: extends 1.5 to 4 feet (0.46–1.22 m) and is reserved for friends and acquaintances. A handshake will typically place strangers at least 2 to 4 feet (0.61–1.22 m) apart, preserving the personal distance. However, a friendly kiss on the cheek by a woman as a greeting is widely practiced.

Social distance: extends from about 4 to 12 feet (1.2–3.7 m) and is used for formal, business and other impersonal interactions such as meeting a client.

Public Space: extends more than 12 feet (3.7 m) and is not guarded. Secret Service agents will commonly attempt to ensure 12 feet (3.7 m) of open space around dignitaries and high-ranking officials.

Now my Nikon 85mm ƒ/1.8 has a minimum focus distance of 2.6′, which is inside that personal space zone for Americans. Funny but did you know that most 50mm lenses minimum focus distance is 18″? I wonder if this is how they discovered the intimate zone?

I believe that if you are inside 4 feet for Americans you are getting more intimate photos. It is quite difficult to get intimate photos if the photographer isn’t able to be intimate with the subject using the camera.

Conclusion:

  • Focus on eyes and specifically the one closest to the camera
  • Get close as your lens will let you to get truly intimate photos
  • To be allowed through the window into the soul you must build a rapport with the subject
  • You must allow the time for all this to happen

If the eyes are the windows to the soul … 

THEN MAKE THEM POP!

Overcast and Gloomy day–No Problem

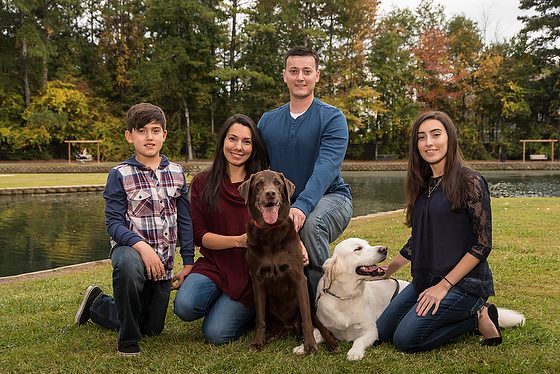
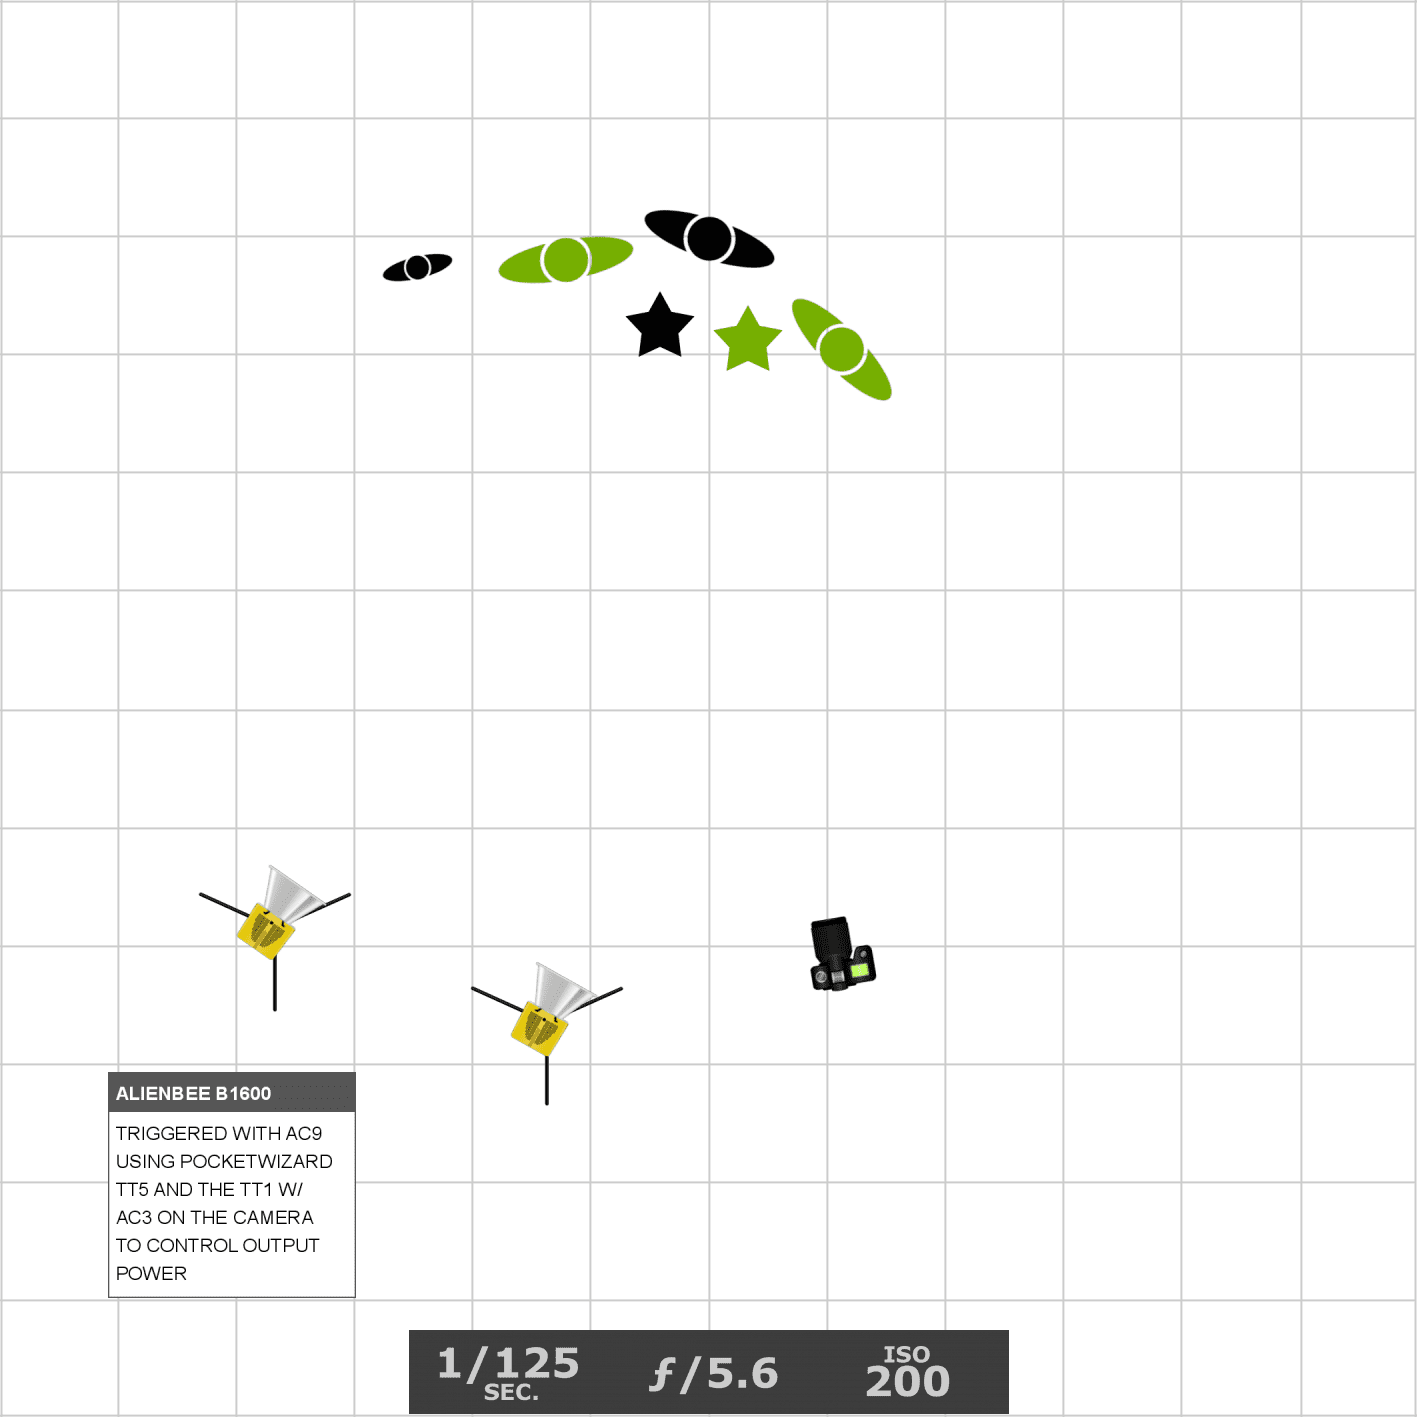
Nikon D750, Sigma 24-105mm f/4 DG OS HSM Art Lens, ISO 200, ƒ/5.6, 1/125 – [2] Alienbees B1600 triggered with AC9 on Pocketwizard TT5 talking to the TT1 with the AC3 to control the power output from on the camera.

Yesterday it was overcast and really flat lighting. No problem, I just brought the Alienbees and used them to create sunlight for me on the subject.

I basically used the same setup and just moved around the park.

Nikon D750, Sigma 24-105mm f/4 DG OS HSM Art Lens,  ISO 200, ƒ/5.6, 1/125 – [2] Alienbees B1600 triggered with AC9 on Pocketwizard TT5 talking to the TT1 with the AC3 to control the power output from on the camera.

Now there is one more “NEW” piece of gear that I was using this time. I purchased the Sigma 24-105mm f/4 DG OS HSM Art Lens and really loving the lens. It is great for the portrait photographer who needs to do group photos and then also switch to individuals in photo shoots.

It is much sharper than my Nikon 28-300mm before applying the Lens Optimization in Lightroom. This makes a huge difference when shooting video.

Nikon D750, Nikon 85mm ƒ/1.8G,  ISO 100, ƒ/1.8, 1/400 – [2] Alienbees B1600 triggered with AC9 on Pocketwizard TT5 talking to the TT1 with the AC3 to control the power output from on the camera.

While I could have shot these individuals with the Sigma 24-105mm I decided to shoot these with the Nikon 85mm ƒ/1.8. Since the AC9 lets me shoot at any shutter speed with my Alienbees I was able to shoot at ƒ/1.8 with no problem. I just cranked up the shutter speed to 1/400.

Nikon D750, Nikon 85mm ƒ/1.8G,  ISO 100, ƒ/1.8, 1/400 – [2] Alienbees B1600 triggered with AC9 on Pocketwizard TT5 talking to the TT1 with the AC3 to control the power output from on the camera.

I love the BOKEH on these photos.

Nikon D750, Nikon 85mm ƒ/1.8G,  ISO 100, ƒ/1.8, 1/400 – [2] Alienbees B1600 triggered with AC9 on Pocketwizard TT5 talking to the TT1 with the AC3 to control the power output from on the camera.

Having the right gear on an overcast day can give you the results you desire. You are in control.

Nikon D750 best portrait lens

Click Here for Enlarged View

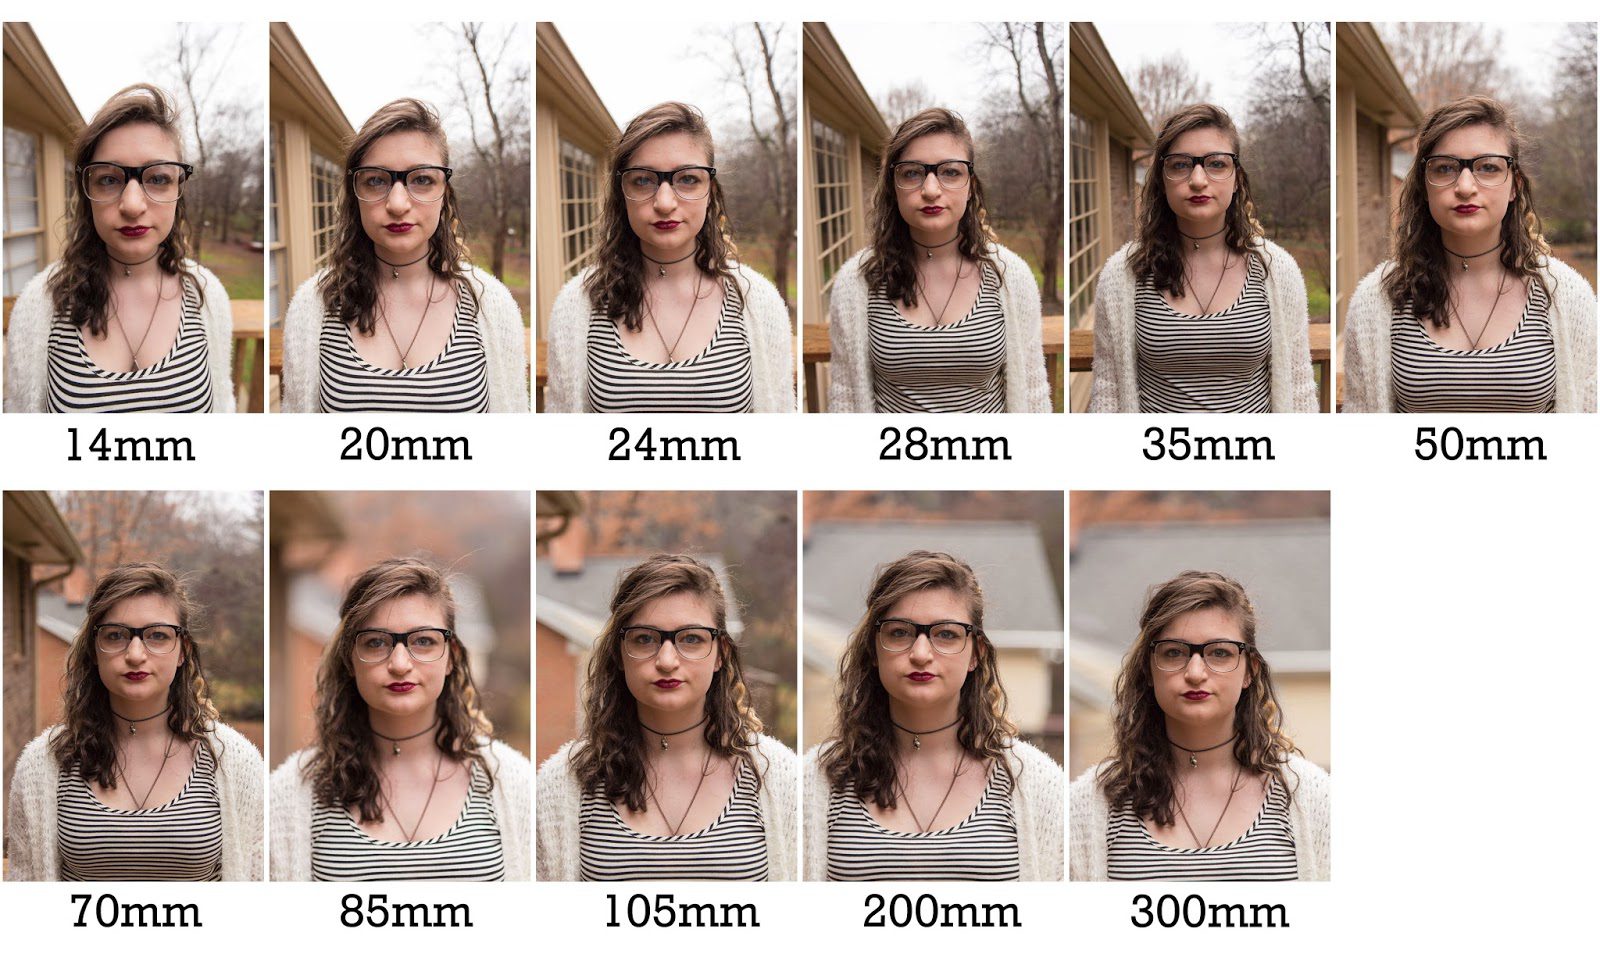
Choosing the right lens for doing a portrait can significantly impact your subject and how they look. Above, I shot these photos filling the frame so that the head size was pretty close to the same size in the frame.

I shot all these photos on the Nikon D750 using three lenses: 1) AF-S NIKKOR 14-24mm f/2.8G ED; 2) AF-S NIKKOR 28-300mm f/3.5-5.6G ED VR; & Nikon 85mm ƒ/1.8G.I believe the wide angle and the extreme telephoto lens affect how a person’s face appears.

The wide angle makes a person’s nose bigger because it is closer to the camera, and the ears are much wider. The distance between the nose and ears compresses as you go to a longer focal length.

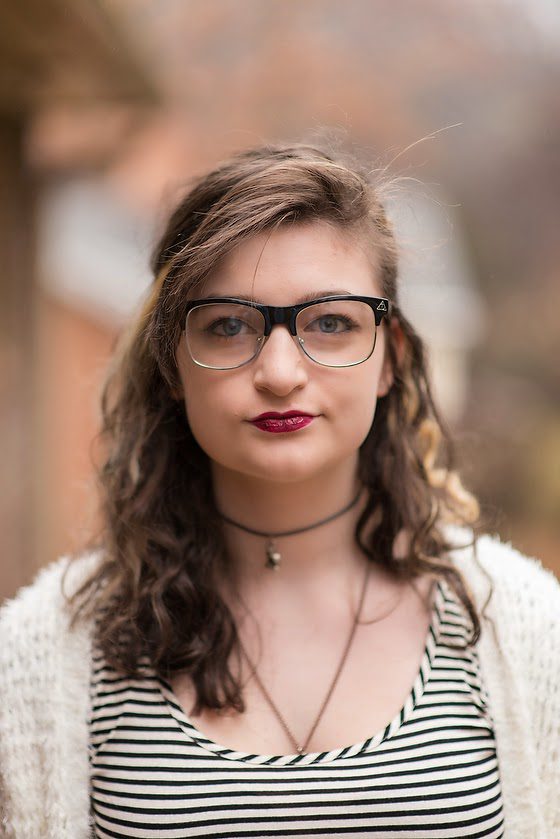
My favorite lens for portraits with the full frame DSLR is the Nikon 85mm ƒ/1.8G.

Nikon D750, Nikon 85mm ƒ/1.8G, ISO 250, ƒ/1.8, 1/100

First Day of School Photos

 
Fuji X-E2, 18-55mm, ISO 6400, ƒ/7.1, 1/70—Neewer TT850 on light stand. The Neewer 433MHz Wireless 16 Channel Flash Remote Trigger fires the off-camera flash and controls the camera’s power. Power 1/128

On the first day of school, photare is a tradition at our house. I know many people are doing the same thing this morning and posting these photos to Facebook, Instagram, Twitter, and anywhere else they can celebrate and preserve those precious memories.

Now taking photos just before my daughter leaves for school meant I was outside taking these photos at 7:15 am. The sun had been up for a short time, so it was still not all that bright.

Without a flash, the settings were ISO 6400, ƒ/7.1 @ 1/70. I am always in favor of using a flash when there is no excellent directional light with the available light.

Here is the lighting diagram I used over and over this morning:

The rule of thumb I use for placing my flash, which will be my leading light, is 45º to the left or right of the model about the camera as well. I also try to put the flash’s height to about 45º above the camera and the model.

Fuji X-E2, 18-55mm, ISO 6400, ƒ/7.1, 1/70—Neewer TT850 on light stand. The Neewer 433MHz Wireless 16 Channel Flash Remote Trigger fires the off-camera flash and controls the camera’s power. Power 1/128

The light position height controls the shadow from the light coming across the person’s nose that touches the lips.

Fuji X-E2, 18-55mm, ISO 6400, ƒ/7.1, 1/70—Neewer TT850 on light stand. The Neewer 433MHz Wireless 16 Channel Flash Remote Trigger fires the off-camera flash and controls the camera’s power. Power 1/128

Now I moved around the yard to find this location. The sprinklers just watered the grass, so I didn’t want to get my daughter all wet before school. The photos above are pretty nice for this morning.

I did start on our driveway and tried to find an excellent green background. The problem with my taste was it was just a little too dark.

Fuji X-E2, 18-55mm, ISO 6400, ƒ/7.1, 1/40—Neewer TT850 on light stand. The Neewer 433MHz Wireless 16 Channel Flash Remote Trigger fires the off-camera flash and controls the camera’s power. Power 1/128

I dialed down the Neewer TT850 to the lowest 1/128th power and did this with the Neewer 433MHz Wireless 16 Channel Flash Remote Trigger. Next, I dialed the ƒ-stop up to ƒ/7.1 to be sure my daughter’s skin was well exposed.

I recommend starting with the available light and the flash down when your exposure uses ISO 6400. Make sure your sync speed is the same or slower than your camera’s. For the Fuji X-E2, that is 1/180.

Early morning was making the best of the time of day for the first day of school photos. I used a similar setup in the afternoon when the light was brighter just a week ago.

The only real difference is the light is on the right side rather than the left, and it was much brighter than today, shooting at 7:15 am.

I love this simple setup for portraits. The Fuji X-E2, 18-55mm—Neewer TT850 & The Neewer 433MHz Wireless 16 Channel Flash Remote Trigger to fire the off-camera flash and control the power from the camera. If I were doing more headshots, I would have switched or at least shot more with the FUJINON XF 55-200mm.

Here are those photos from a week ago.

Fuji X-E2, 18-55mm, ISO 400, ƒ/5, 1/180—Neewer TT850 on light stand. The Neewer 433MHz Wireless 16 Channel Flash Remote Trigger fires the off-camera flash and controls the power from the camera.
Fuji X-E2, 18-55mm, ISO 400, ƒ/5, 1/180—Neewer TT850 on light stand. The Neewer 433MHz Wireless 16 Channel Flash Remote Trigger fires the off-camera flash and controls the camera’s power.

Getting the moment in a portrait with the Nikon D4

 
Nikon D4, Sigma 70-200mm ƒ/2.8, ISO 500, ƒ/5, 1/640—Off-camera fill-flash using the Nikon SB-900 & SB800. The flash is on the Pocketwizard TT5 and triggered by the Mini TT1 on the Camera with the AC3 to control the flash’s output.

My client recently hired me to capture her granddaughter. She wanted the best expressions and said this was why I wanted to do the photo shoot. I continued to help her with her commercial needs, and she knew I concentrated on getting the “moment.”

Nikon D4Sigma 70-200mm ƒ/2.8, ISO 500, ƒ/5, 1/800—Off-camera fill-flash using the Nikon SB-900 & SB800. The flash is on the Pocketwizard TT5 and triggered by the Mini TT1 on the Camera with the AC3 to control the flash’s output.

I intentionally shot these on my Nikon D4 to use the off-camera TTL flash system I have come to love. I am using the off-camera fill-flash using the Nikon SB-900 & SB800. The flash is on the Pocketwizard TT5 and triggered by the Mini TT1 on the Camera with the AC3 to control the flash’s output.

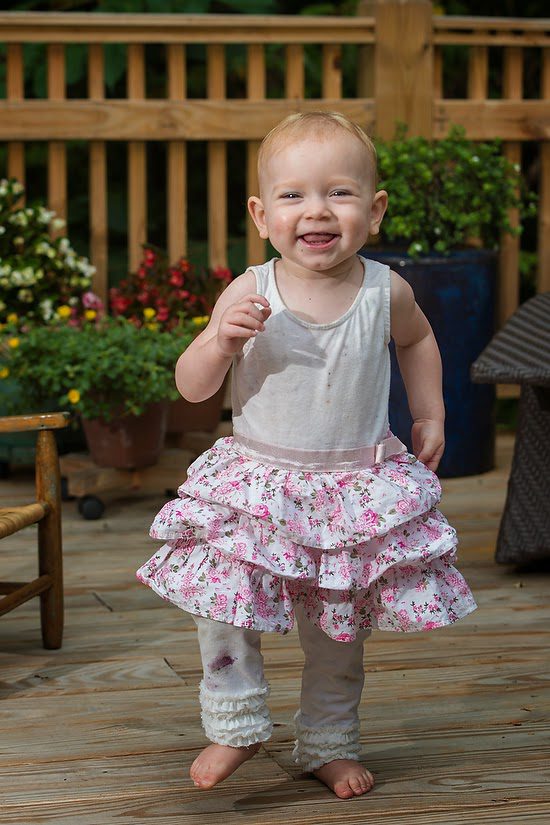
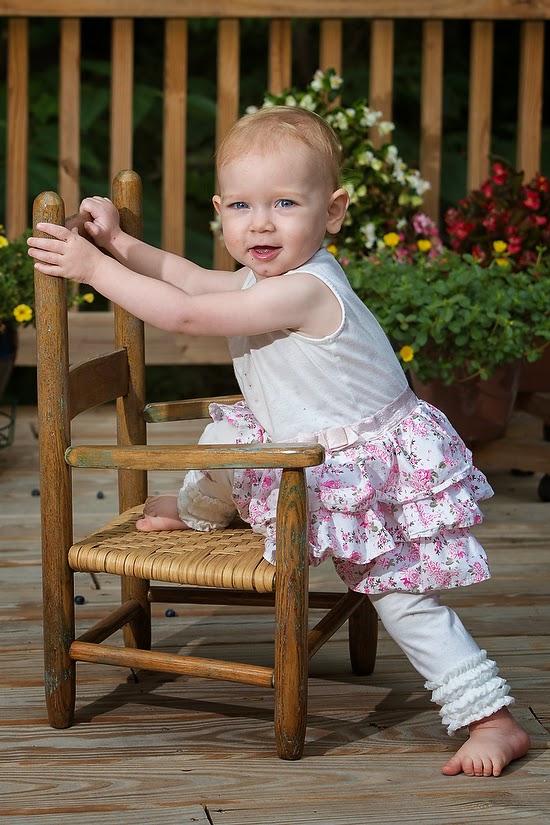
We decided to shoot outside on their deck because the little girl was not happy when I arrived inside. However, the mother said she loved the outside, and sure enough, as soon as we went outside, she became another person.

You have to remain flexible. I wasn’t thrilled with the railing, but I liked the plants on the deck.

 
Nikon D4Sigma 70-200mm ƒ/2.8, ISO 500, ƒ/4, 1/1250—Off-camera fill-flash using the Nikon SB-900 & SB800. The flash is on the Pocketwizard TT5 and triggered by the Mini TT1 on the Camera with the AC3 to control the flash’s output.

While the little one loved the outside, she was starting to get a little fussy, so mom gave her blueberries that she just loved, but also gave me many photos with drool.

During some of the time, it was sprinkling, and the other time, it was overcast. So getting a consistent color was achieved by winking in a flash.
Nikon D4Sigma 70-200mm ƒ/2.8, ISO 500, ƒ/4.5, 1/800—Off-camera fill-flash using the Nikon SB-900 & SB800. The flash is on the Pocketwizard TT5 and triggered by the Mini TT1 on the Camera with the AC3 to control the flash’s output.
While I liked the green in the background, I found this oversized recliner I used for a three-generation photo of the Grandmother, mother, and child. I prefer the cleaner background, and had it not been raining, I would have suggested getting off the deck so I could eliminate the railing. A different location would have led to an even better background.
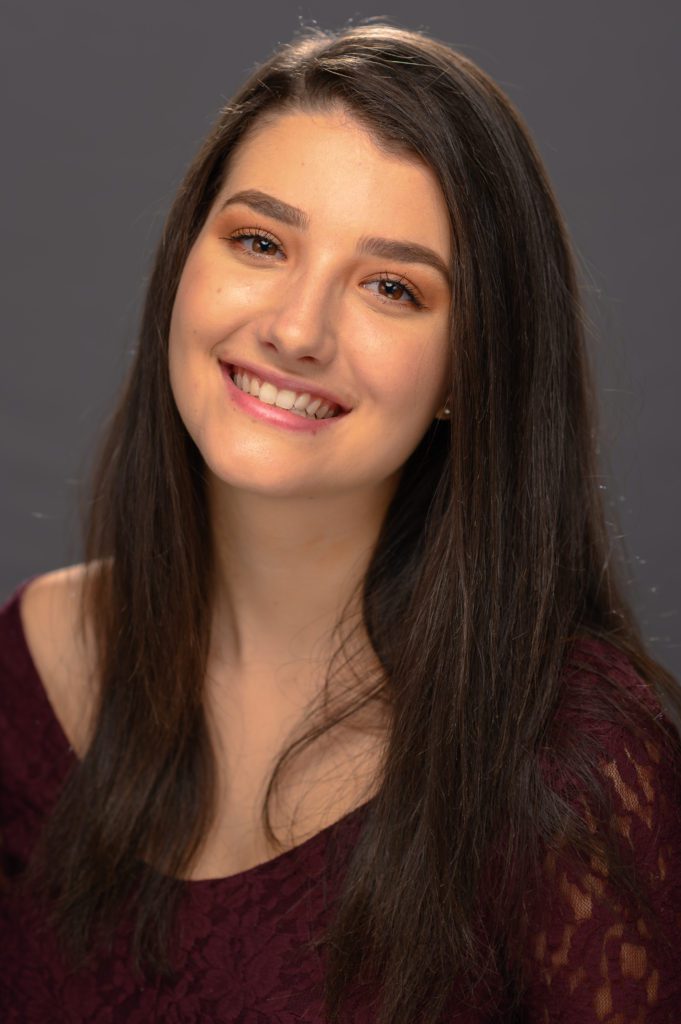
While I love the Fuji system, when it comes to nailing the focus and moment, I still prefer my Nikon D4.

Nikon 85mm ƒ/1.4D my go to portrait lens

 
Nikon D4, 85mm ƒ/1.4, ISO 800, ƒ/1.4, 1/160

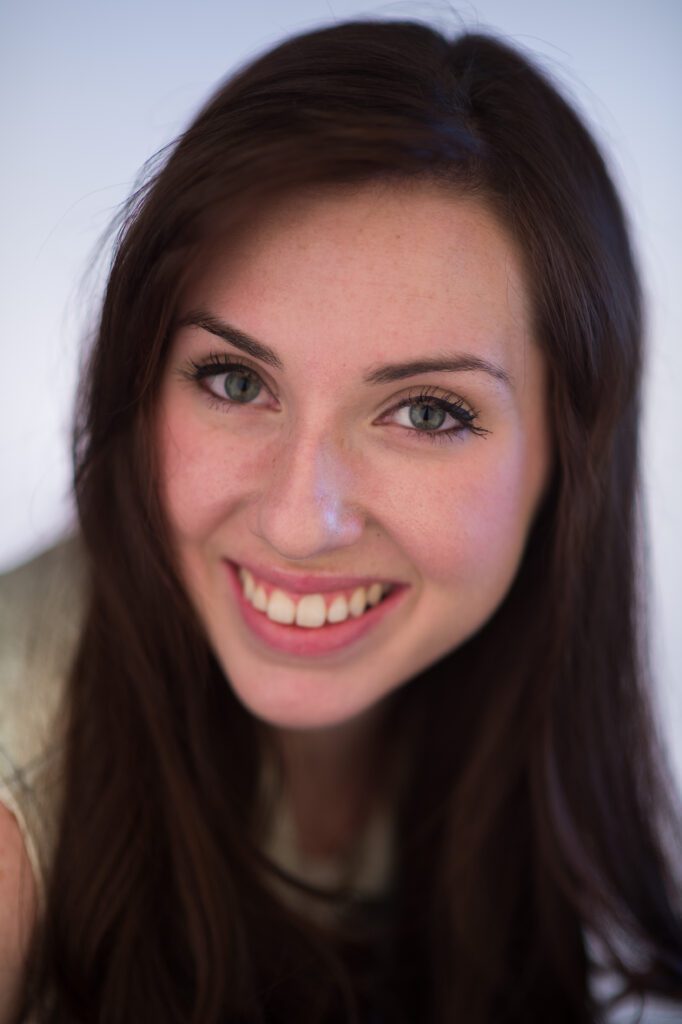
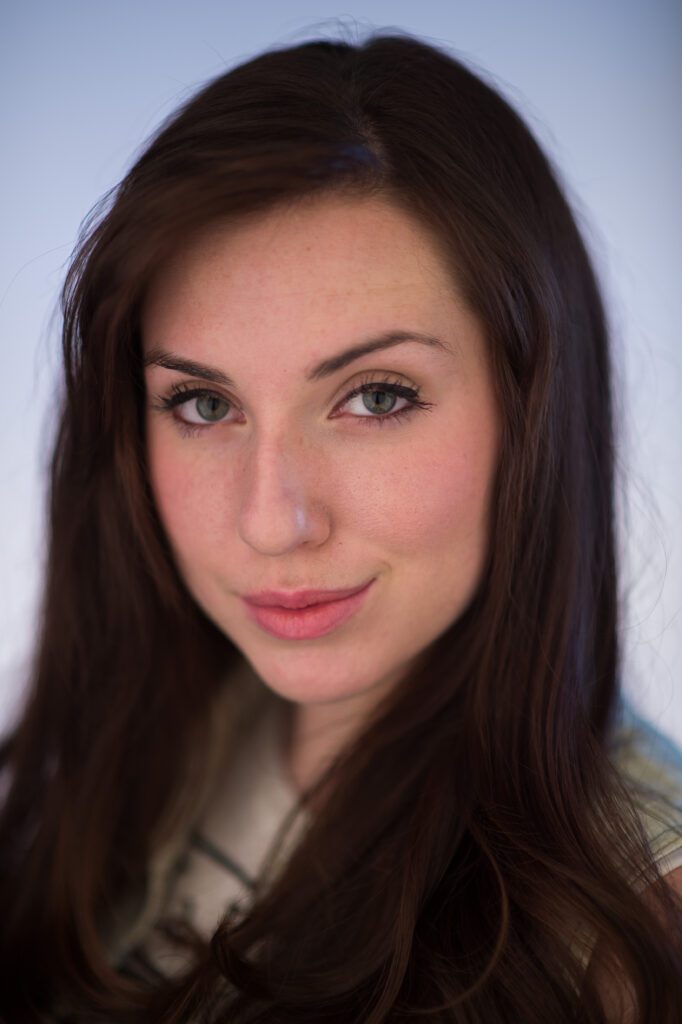
Today I had a lot of fun helping a young actress build her portfolio. Her mother wrote, ” We need to get some Headshots done for my daughter’s acting webpage. She is an actress and has an agent here in Atlanta.”

You can see the young actress Kalyn Wood on her Facebook page here.

They needed four different looks. So we shot for about 4 hours and had some fun. The Nikon 85mm ƒ/1.4D was my choice for the headshots.

Sometimes I would white balance the modeling lights and not use the flash like in the photo above. I did this so I could shoot at ƒ/1.4. She is considering using this as the big photo you first see landing on her page. It makes sense because the horizontal format will work great on the webpage.

Nikon D4, 85mm ƒ/1.4, ISO 400, ƒ/1.4, 1/100

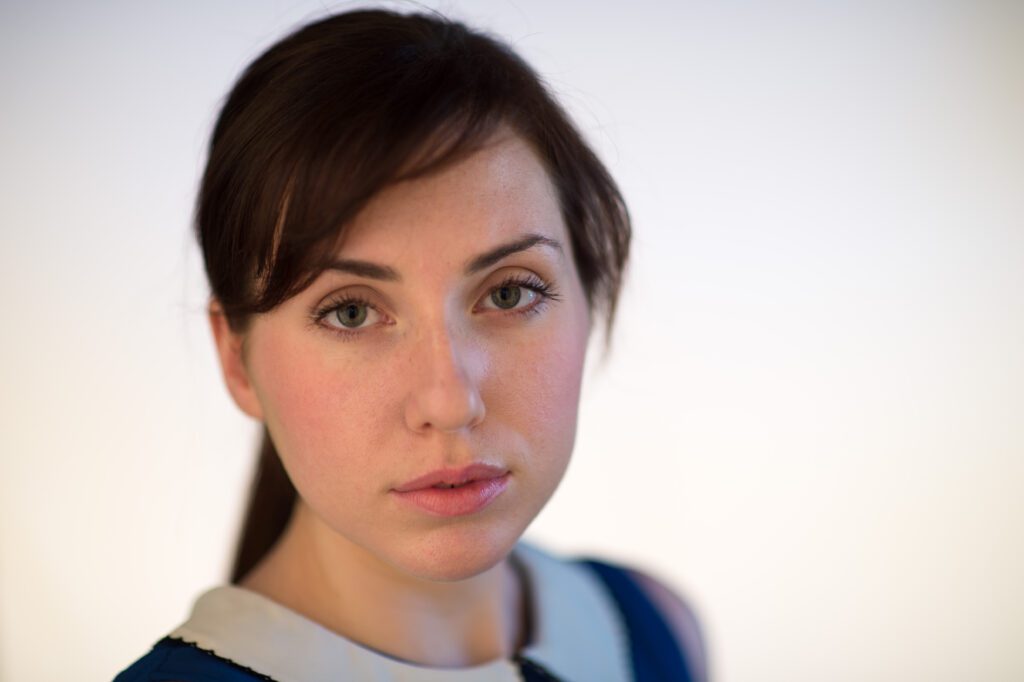
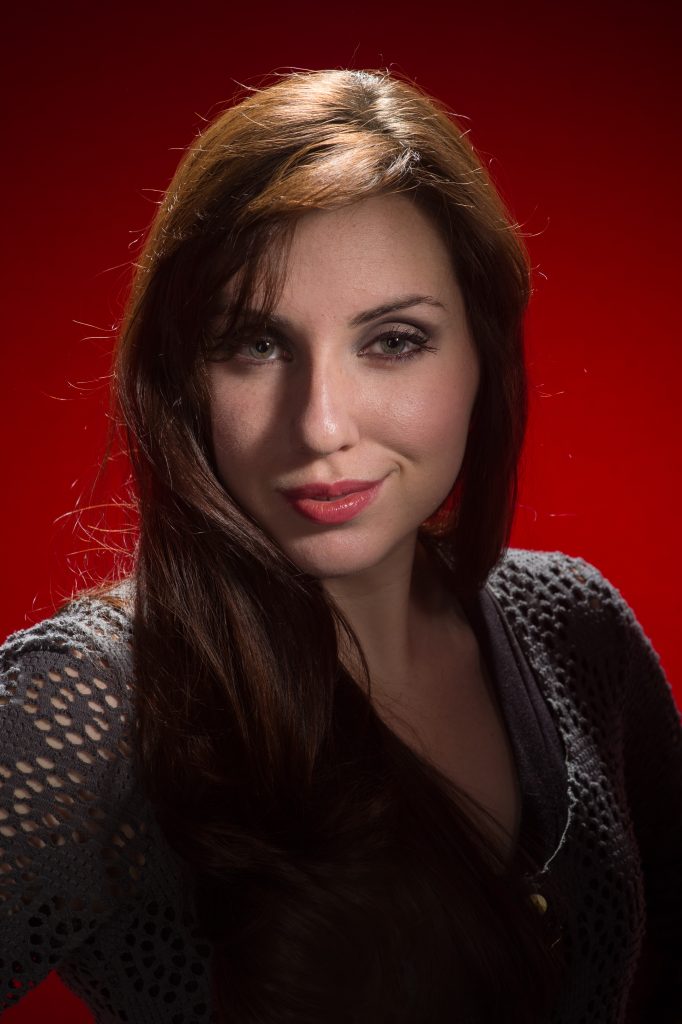
I think she did a great job of bringing some significant variations of expressions to create those different looks, and then I tried to light the photos to match the mood we were looking to produce.

Nikon D4, 85mm ƒ/1.4, ISO 400, ƒ/1.4, 1/125

We could get a completely different look by just changing some clothes and hair.

Nikon D4, 85mm ƒ/1.4, ISO 200, ƒ/1.4, 1/80

For this photo, I talked to her about the character Anna Bates in Downton Abbey.

Nikon D4, 85mm ƒ/1.4, ISO 200, ƒ/8, 1/200

For this photo with the red background, we talked about The Evil Queen/Regina Mills in the ABC series Once Upon a Time.

Nikon D4, 85mm ƒ/1.4, ISO 200, ƒ/8, 1/160

In this photo, I can easily see her as one of the Pretty Little Liars cast.
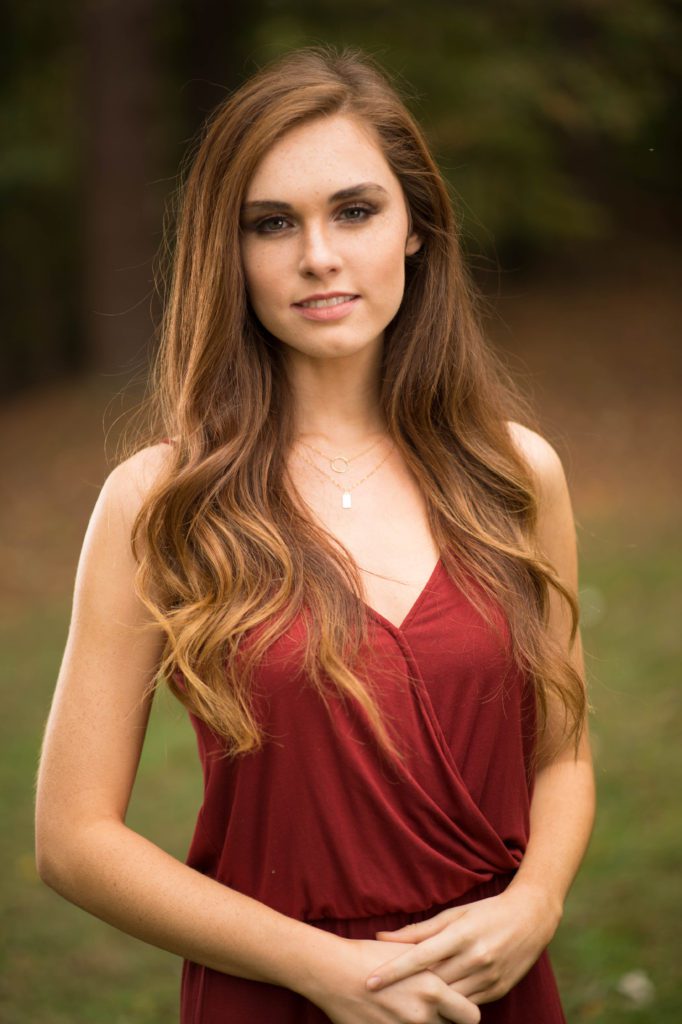
Nikon D4, 85mm ƒ/1.4, ISO 200, ƒ/8, 1/160

What is essential to know is that it is much easier to have something in mind together that you are creating than to pick up a camera and start shooting. Together we got some great images, but we both had to be on the same page.
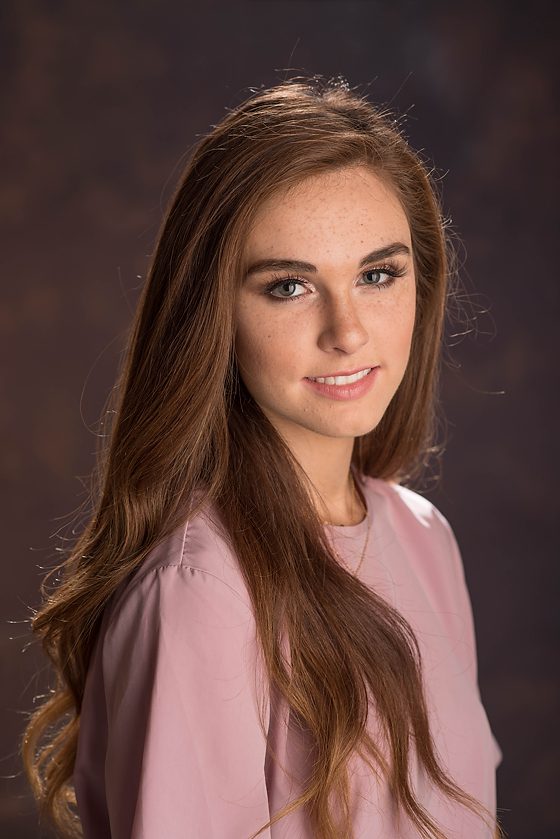
She had to bring expressions and clothing for each of the shots. I had to light and compose the photos to help create that mood.

If you know anyone wanting to build a model or acting portfolio, send them my way, and we can have some fun creating something together.