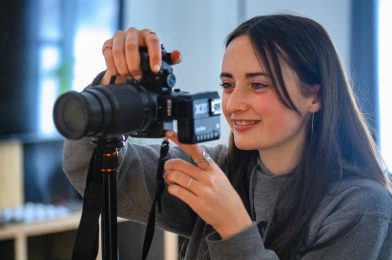
Since 2006 I have been doing a one-week lighting workshop as part of the School of Photography program of YWAM with Dennis Fahringer in Kona, Hawaii.
This year I was asked by two of his former students to come to Dunham, Quebec, Canada, and teach the same thing, but this time to a school that will be in French and English.
Raphael PaquetJulie Gavillet
This was their very first time leading a School of Photography for YWAM. The leaders Raphael Paquet and Julie Gavillet hosted me during the week and translated me into French.
The students were learning where to place the leading light for a starting position with portraits. They also were learning not to light everything evenly.
I also told about my journey in photography and how it took time before I got the assignments I wanted. I also taught them a little about how to make a living with Business Practices.
You may be interested in a Lighting Workshop. Drop me a line if you are interested.
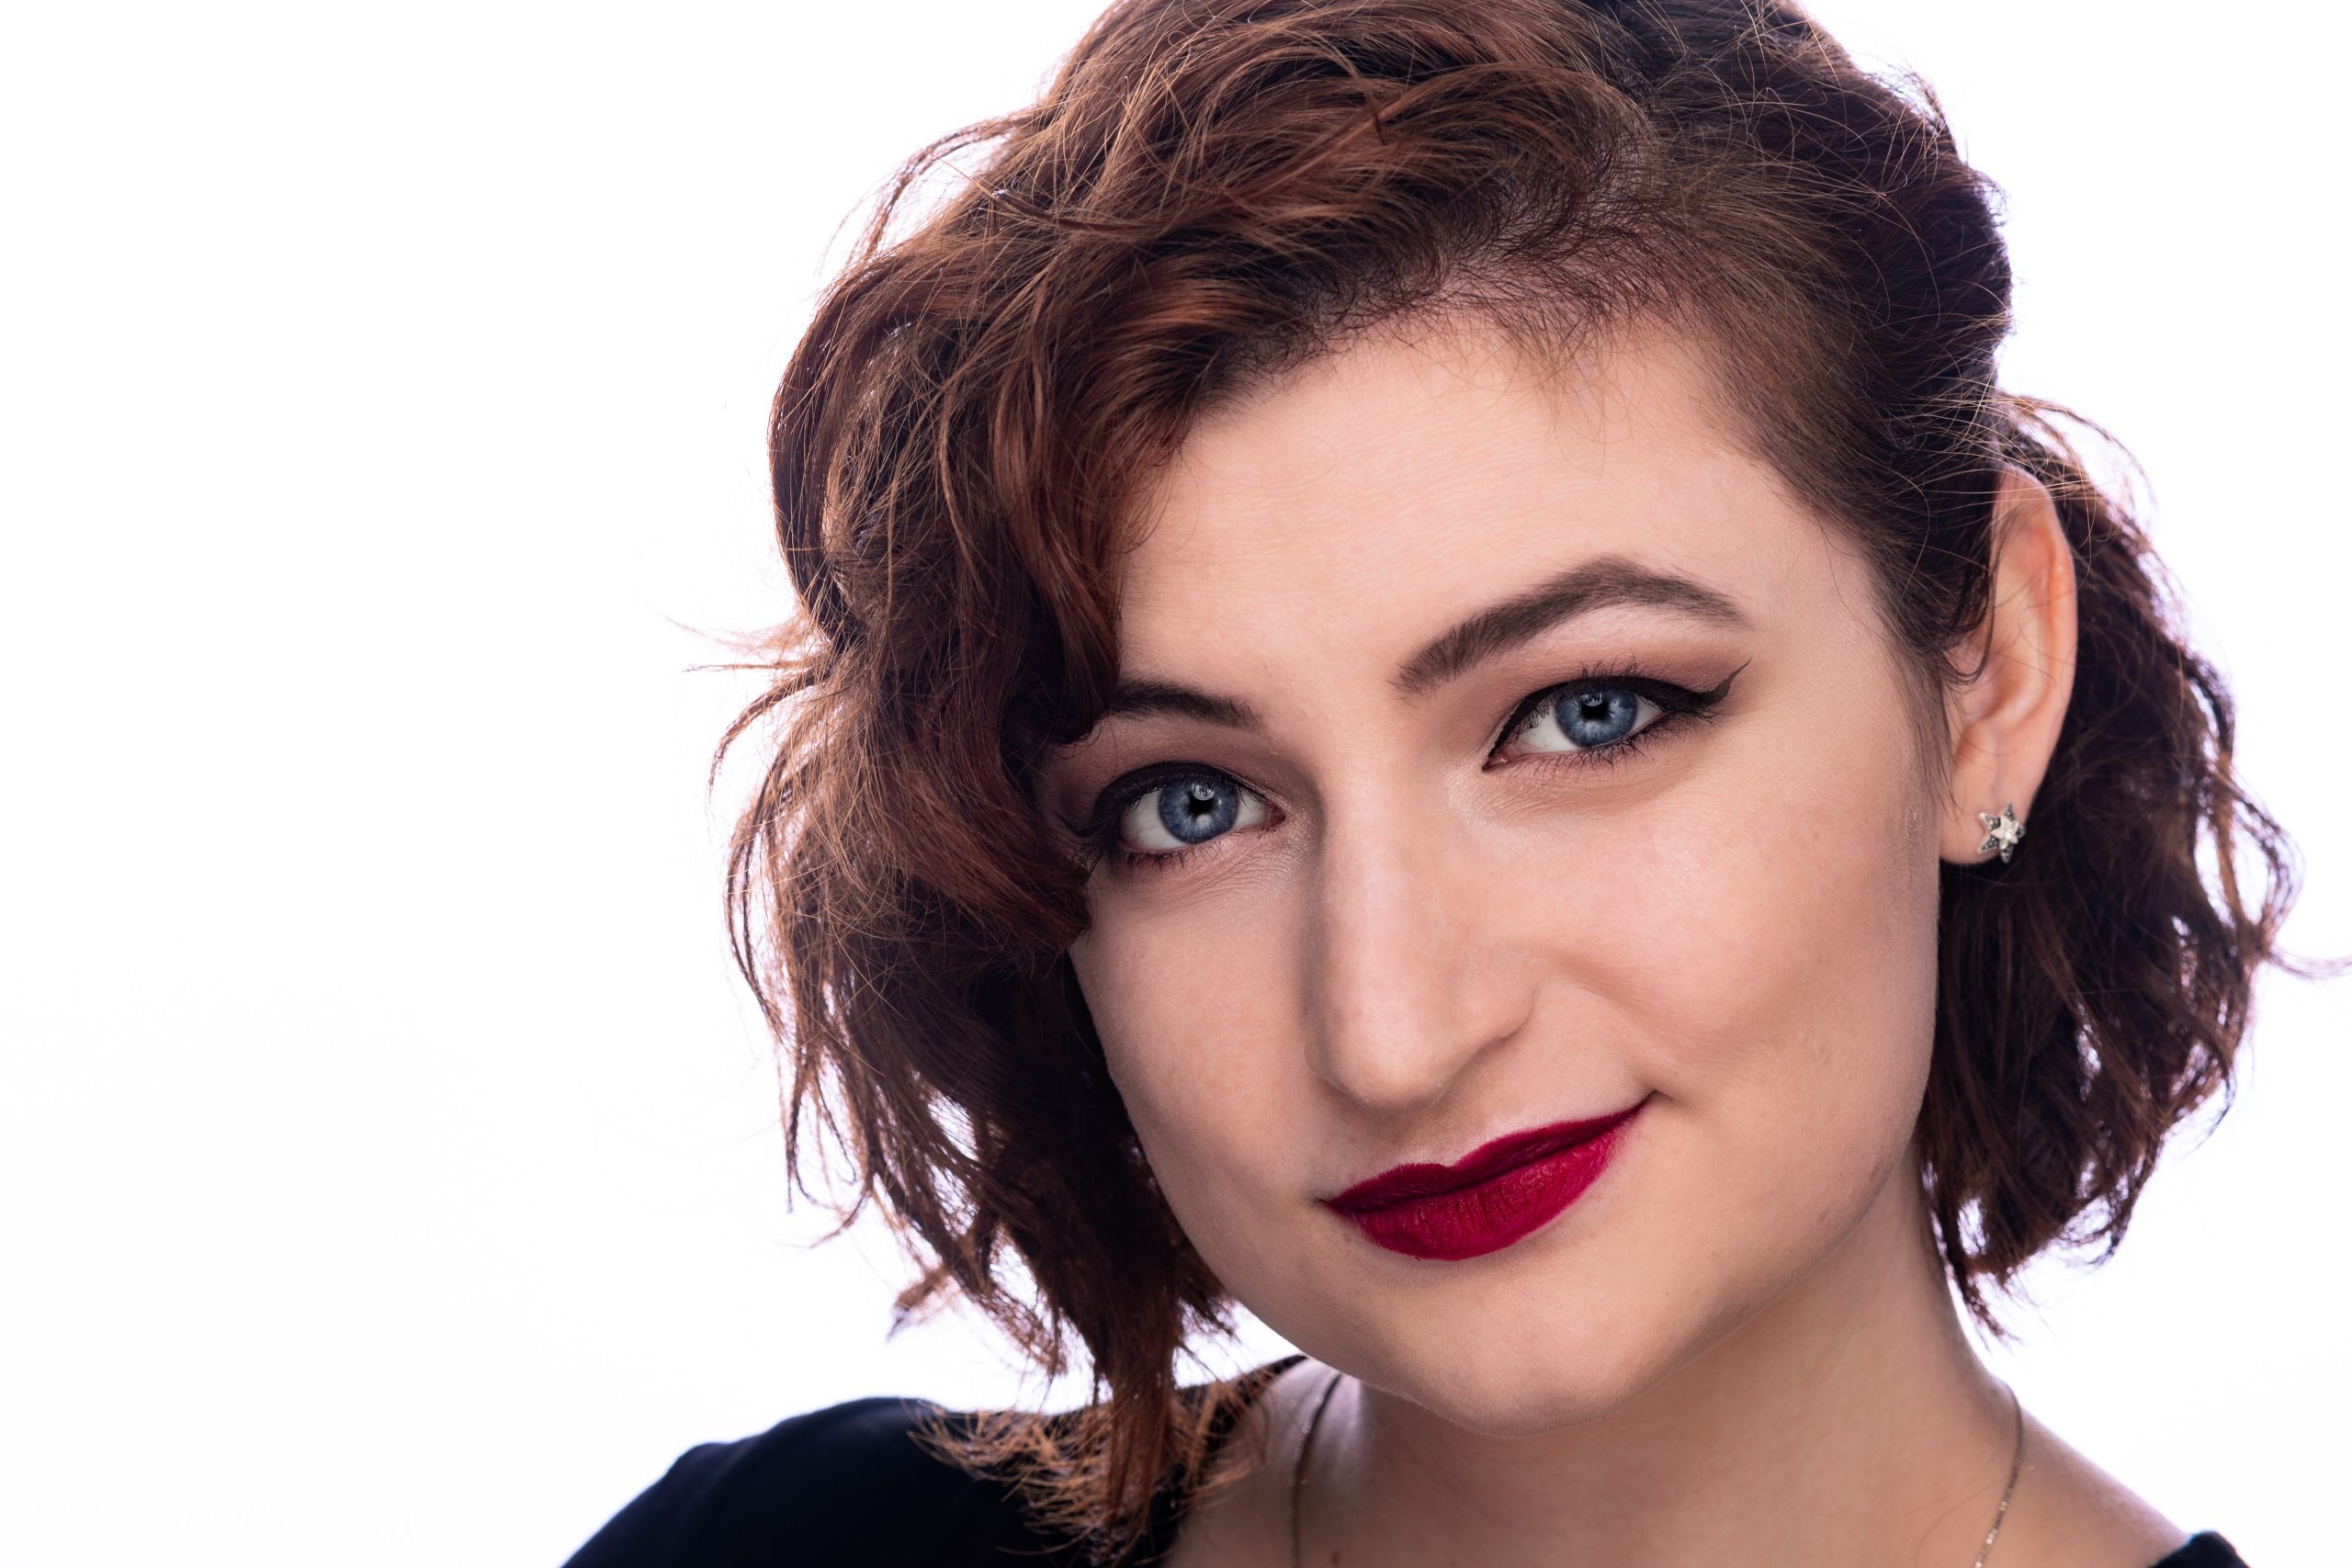
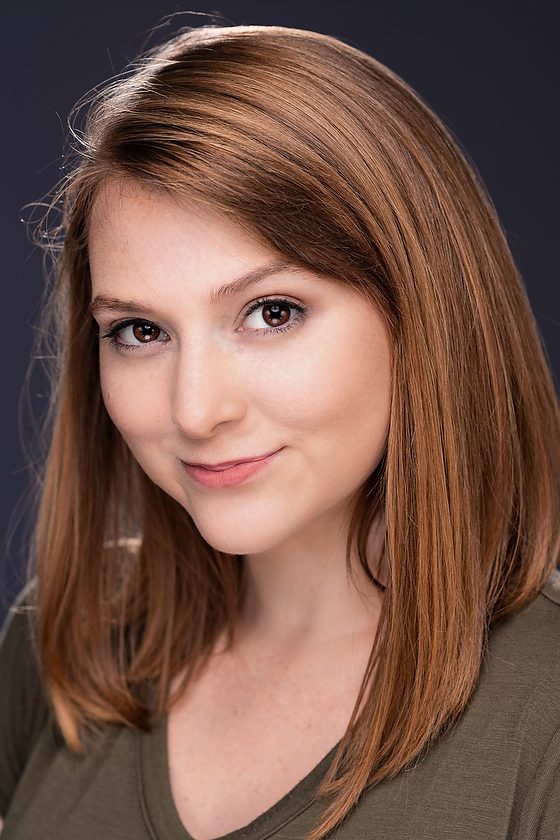
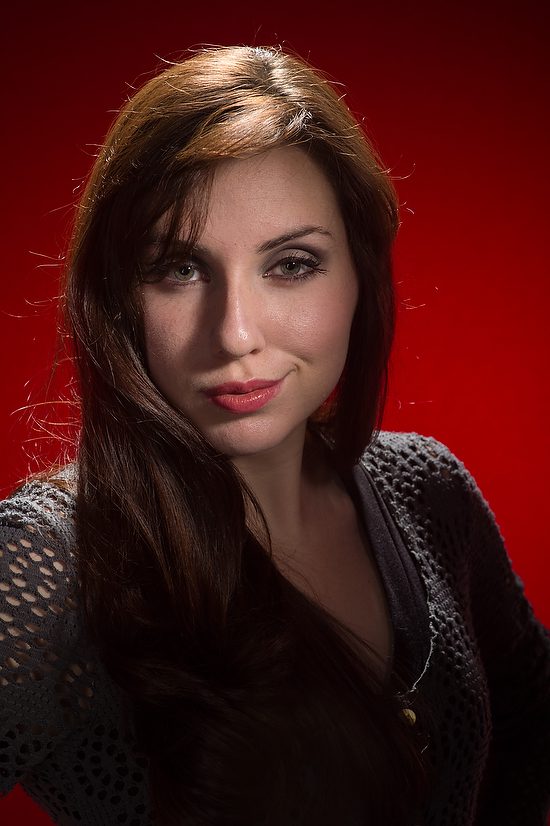
Christi Lamb [NIKON Z 6, 85.0 mm f/1.8, Mode = Manual, ISO 50, 1/125, ƒ/4, (35mm = 85)]
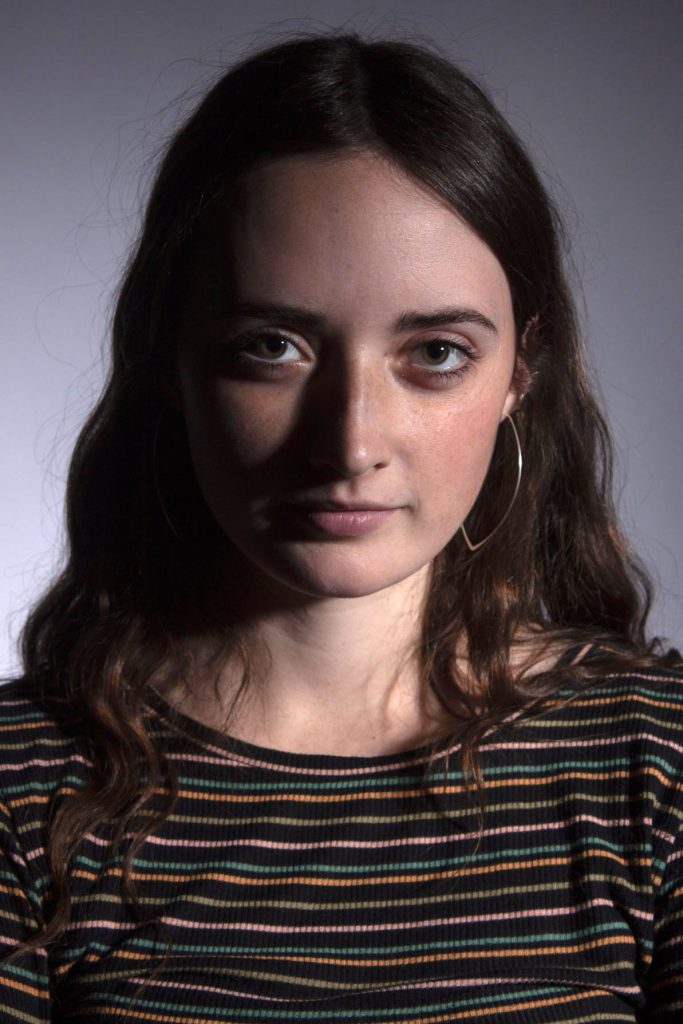
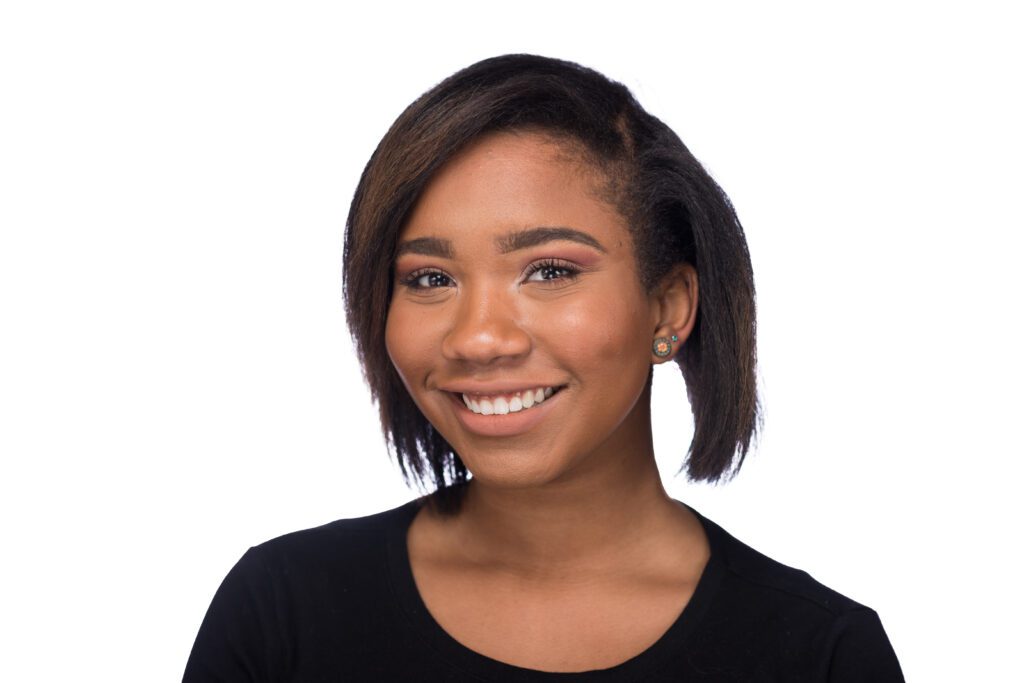
Every semester I go down to Columbus, Georgia, and help Columbus State University Theatre majors by doing headshots for a small price.
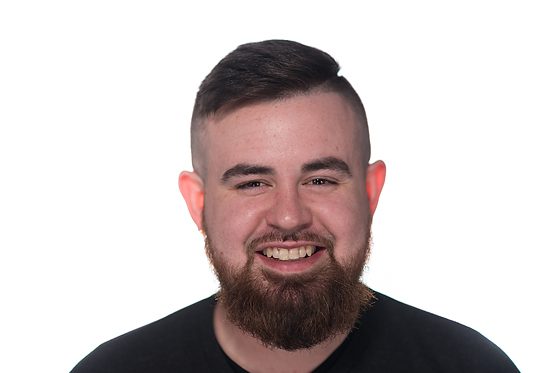
Andrew Mozingo
I find that getting actors in front of the camera requires permission to show what they can do with their faces. To be a good actor, they often spend a lot of time in front of a mirror perfecting expressions.
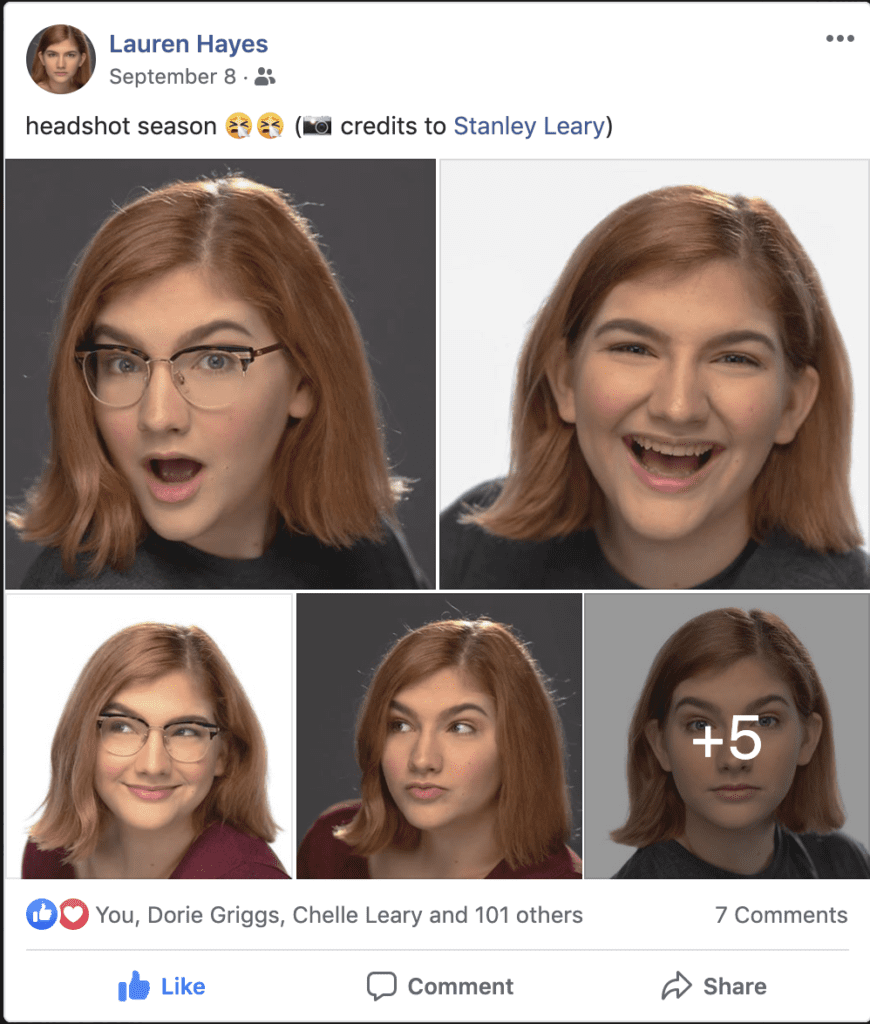
Lauren Hayes
I think of this as stretching before you run or warming up the voice.
Christi Lamb
Then when you hit an expression, you are more relaxed.
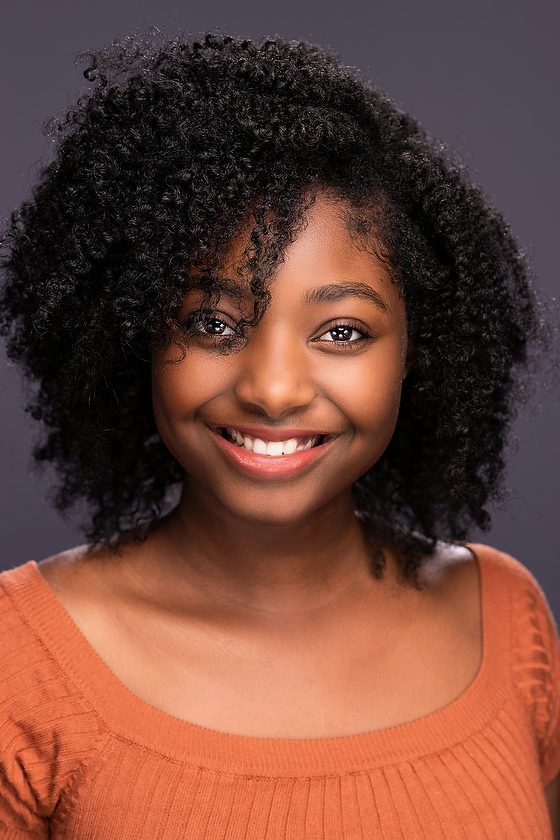
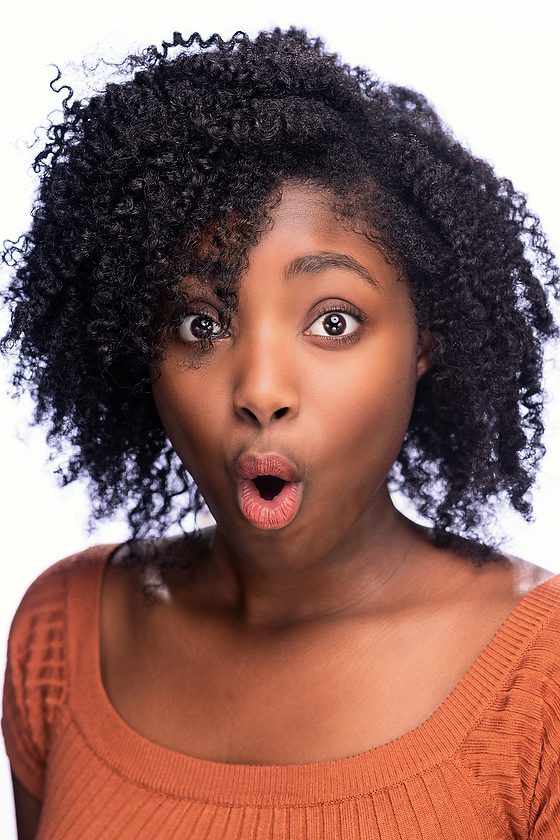
Debrinja Watts
[NIKON Z 6, 85.0 mm f/1.8, Mode = Manual, ISO 50, 1/125, ƒ/4.5, (35mm = 85)]
When you laugh, it is more genuine.
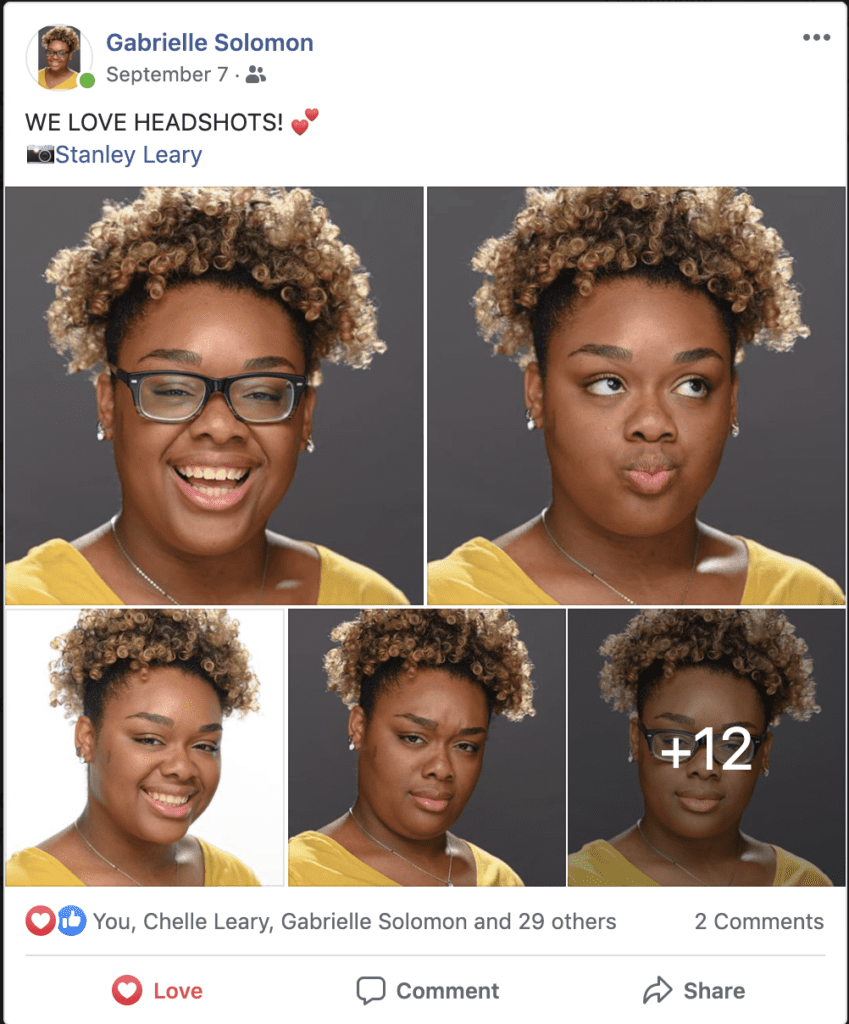
Gabrielle Solomon
[NIKON Z 6, 85.0 mm f/1.8, Mode = Manual, ISO 50, 1/125, ƒ/4, (35mm = 85)]
I always have so much fun with the actors.
Jasmine Campbell
[NIKON Z 6, 85.0 mm f/1.8, Mode = Manual, ISO 50, 1/125, ƒ/4, (35mm = 85)]
This year we had more freshmen than in the past. It was great to meet so many new students. I can’t wait to see them in performances.
Britt Woods
[NIKON Z 6, 85.0 mm f/1.8, Mode = Manual, ISO 50, 1/125, ƒ/4, (35mm = 85)]
While often this is all you will see as the final headshot they use, we had fun working on this to get those natural and authentic expressions.
Britt Woods
Next time you have your portrait made, ask the photographer to let you try a range of expressions.
Kiki Ellis
[NIKON Z 6, 85.0 mm f/1.8, Mode = Manual, ISO 50, 1/125, ƒ/4, (35mm = 85)]
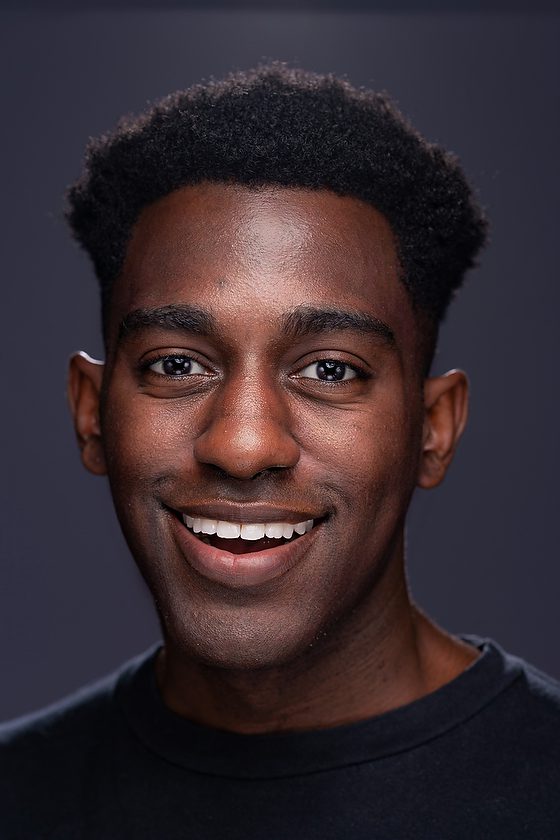
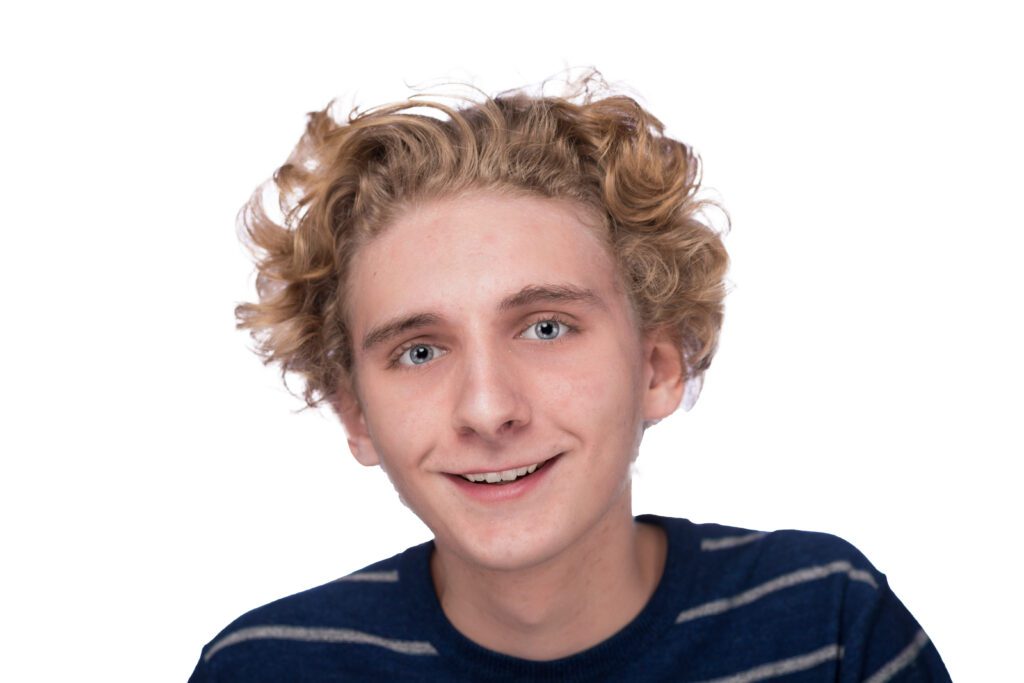
Ian Rossin is not trying to be an actor; he is studying theatre tech. Those guys deal with lighting, sound, costumes, and set design. He, however, could easily find himself on stage or in front of the camera.
Ian Rossin
I had a couple who just tried more expressions than I have seen out of one person.
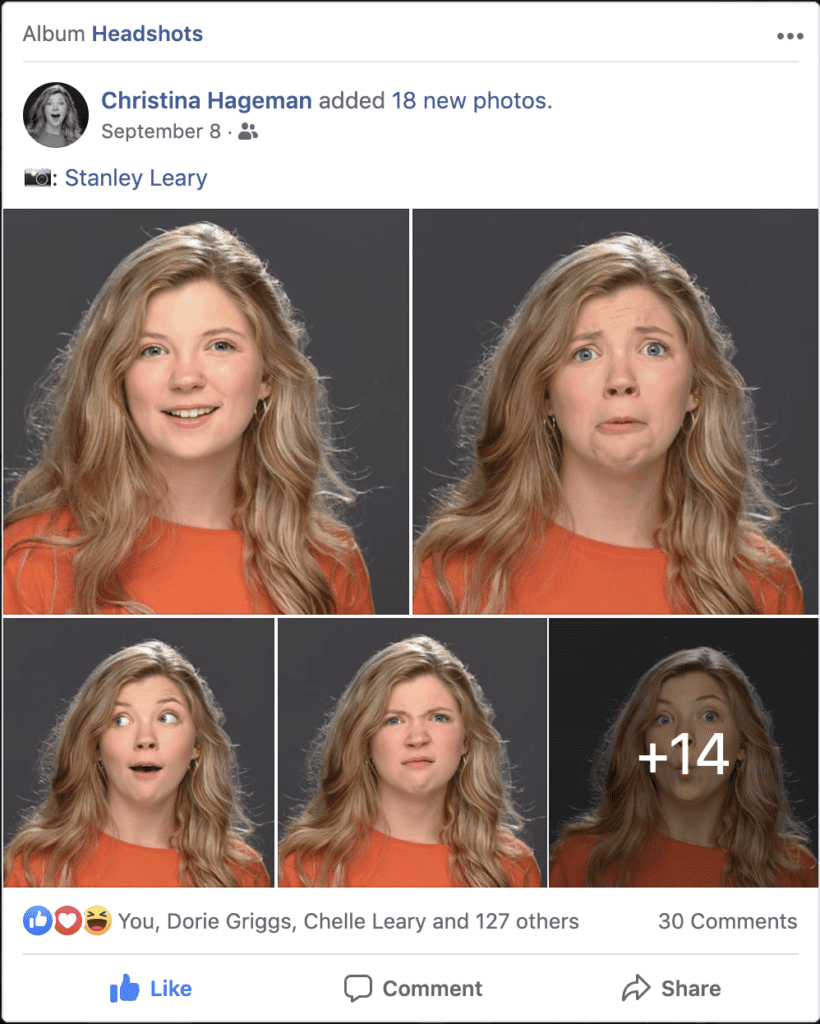
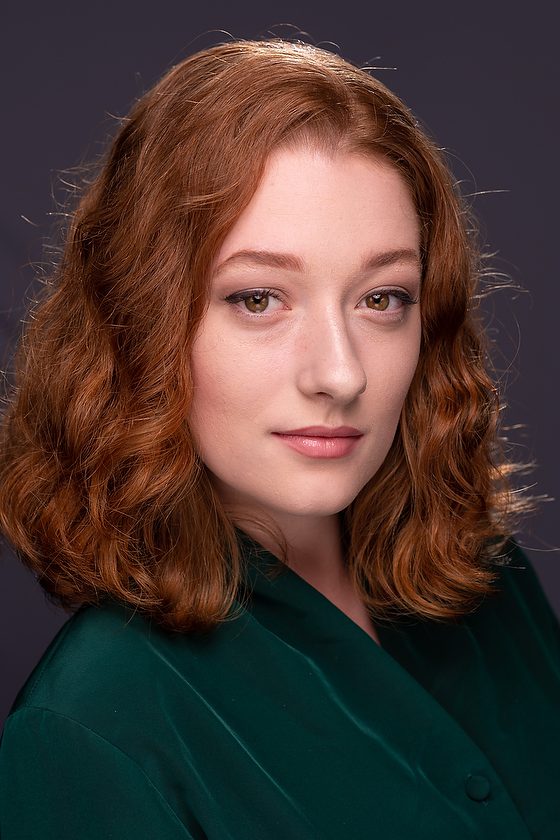
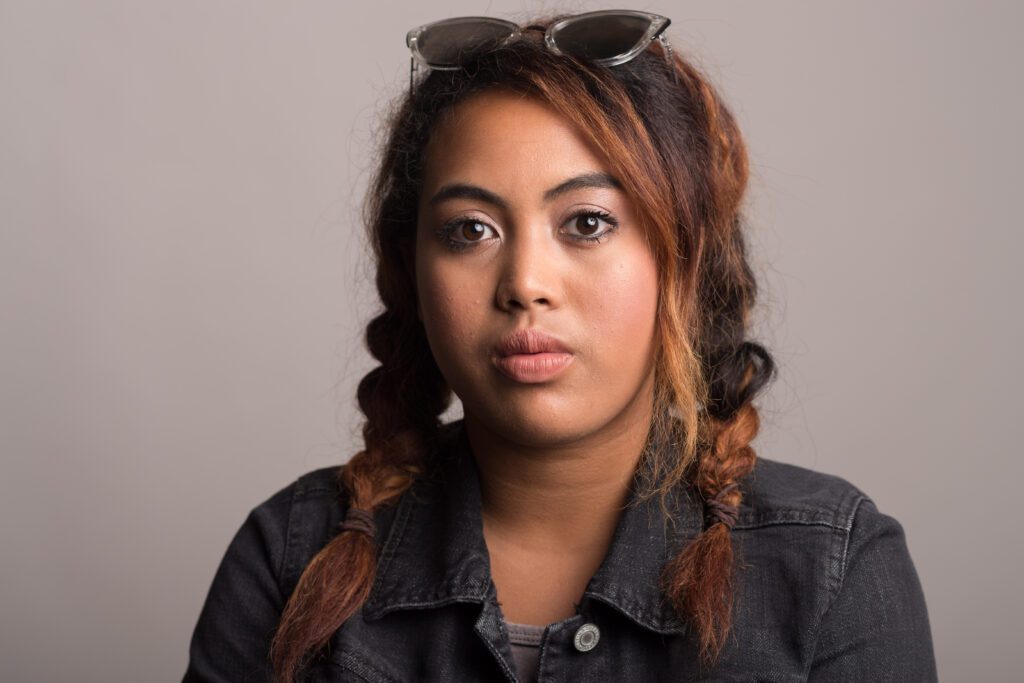
Christina Hageman
Coco Holt
[NIKON Z 6, 85.0 mm f/1.8, Mode = Manual, ISO 50, 1/125, ƒ/4, (35mm = 85)]
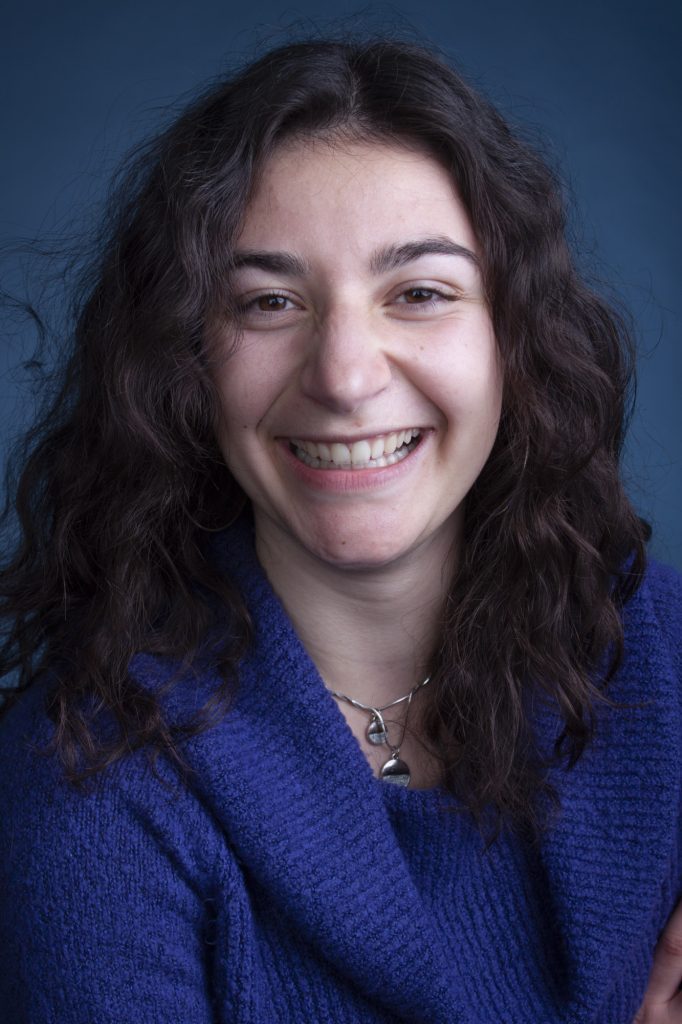
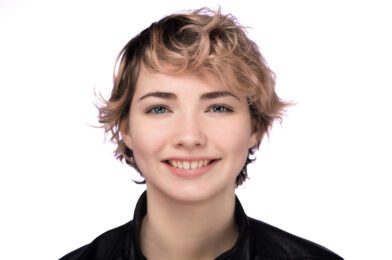
To be a professional actor/actress, you have to be able to do more than just one expression: the more you can do, the more opportunities for different roles.
Coco Holt
[NIKON Z 6, 85.0 mm f/1.8, Mode = Manual, ISO 50, 1/125, ƒ/4, (35mm = 85)]
Now my clients are promoting me since I started doing this
Hannah Broeils [NIKON D5, 85.0 mm f/1.8, ISO 100, ƒ/5.6, 1/125]
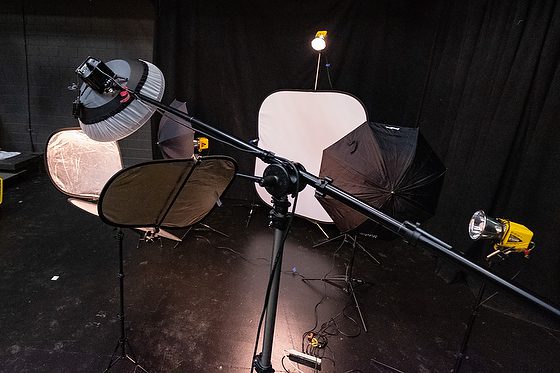
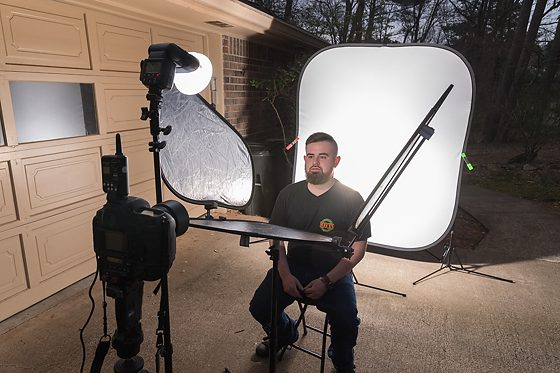
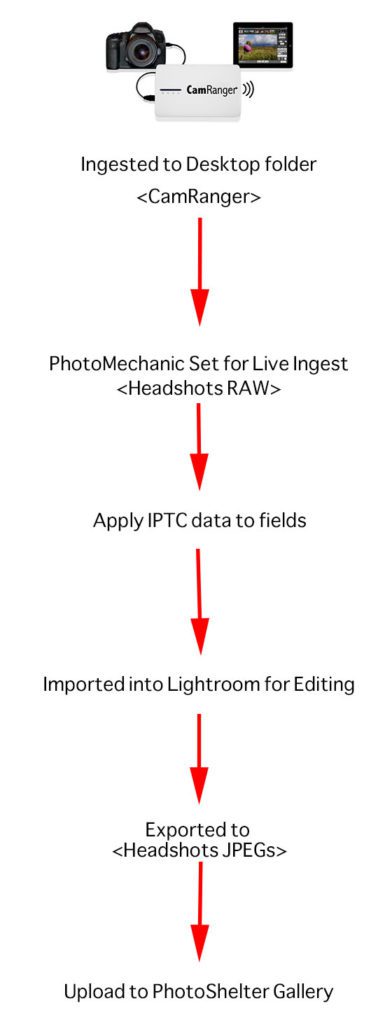
This past weekend I spent both Saturday and Sunday doing headshots for Columbus State University Theatre students.
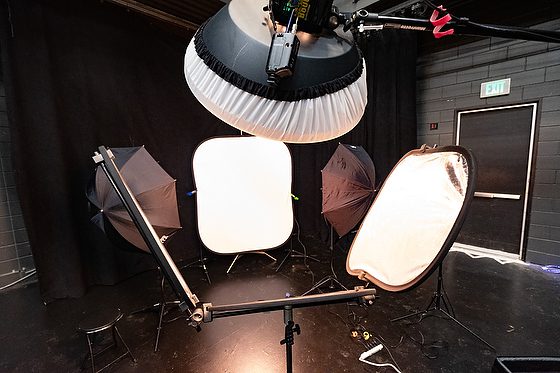
Setup for headshots [X-E3, XF10-24mmF4 R OIS, ISO 12800, ƒ/4, 1/13 ]
Here you can see the basic setup for the photos.
[X-E3, XF10-24mmF4 R OIS, ISO 12800, ƒ/4, 1/35 ]
I had two lights on the white background and would turn them off for the grey background look.
Erika Johnson [NIKON D5, 85.0 mm f/1.8, ISO 100, ƒ/5.6, 1/125]
I kept them on for the white background. I also had a hair light up straight behind the subject.
Debrinja Watts [NIKON D5, 85.0 mm f/1.8, ISO 100, ƒ/5.6, 1/125]
My main light was a beauty dish, and I kept the aperture at ƒ/5.6 with the Nikon 85mm ƒ/1.8 lens. Not too shallow of a depth-of-field and not too deep either.
Madi StepCaitlin Melvin [NIKON D5, 85.0 mm ƒ/1.8, ISO 100, ƒ/5.6, 1/125]
I prefer ƒ/4 to ƒ/5.6 when shooting individual headshots. Occasionally I will use a shallow depth-of-field of ƒ/1.4, but you and the subject must be still to make that work.
Robert Trammell [NIKON D5, 85.0 mm ƒ/1.8, ISO 100, ƒ/5.6, 1/125]
The fun thing with Theatre students is they enjoy trying all kinds of expressions.
Kate Fowler [NIKON D5, 85.0 mm ƒ/1.8, ISO 100, ƒ/5.6, 1/125]
So we had some fun looking surprised.
Hannah Broeils [NIKON D5, 85.0 mm ƒ/1.8, ISO 100, ƒ/5.6, 1/125 ]
We tried a lot of expressions.
Brady Madden [NIKON D5, 85.0 mm ƒ/1.8, ISO 100, ƒ/5.6, 1/125 ]
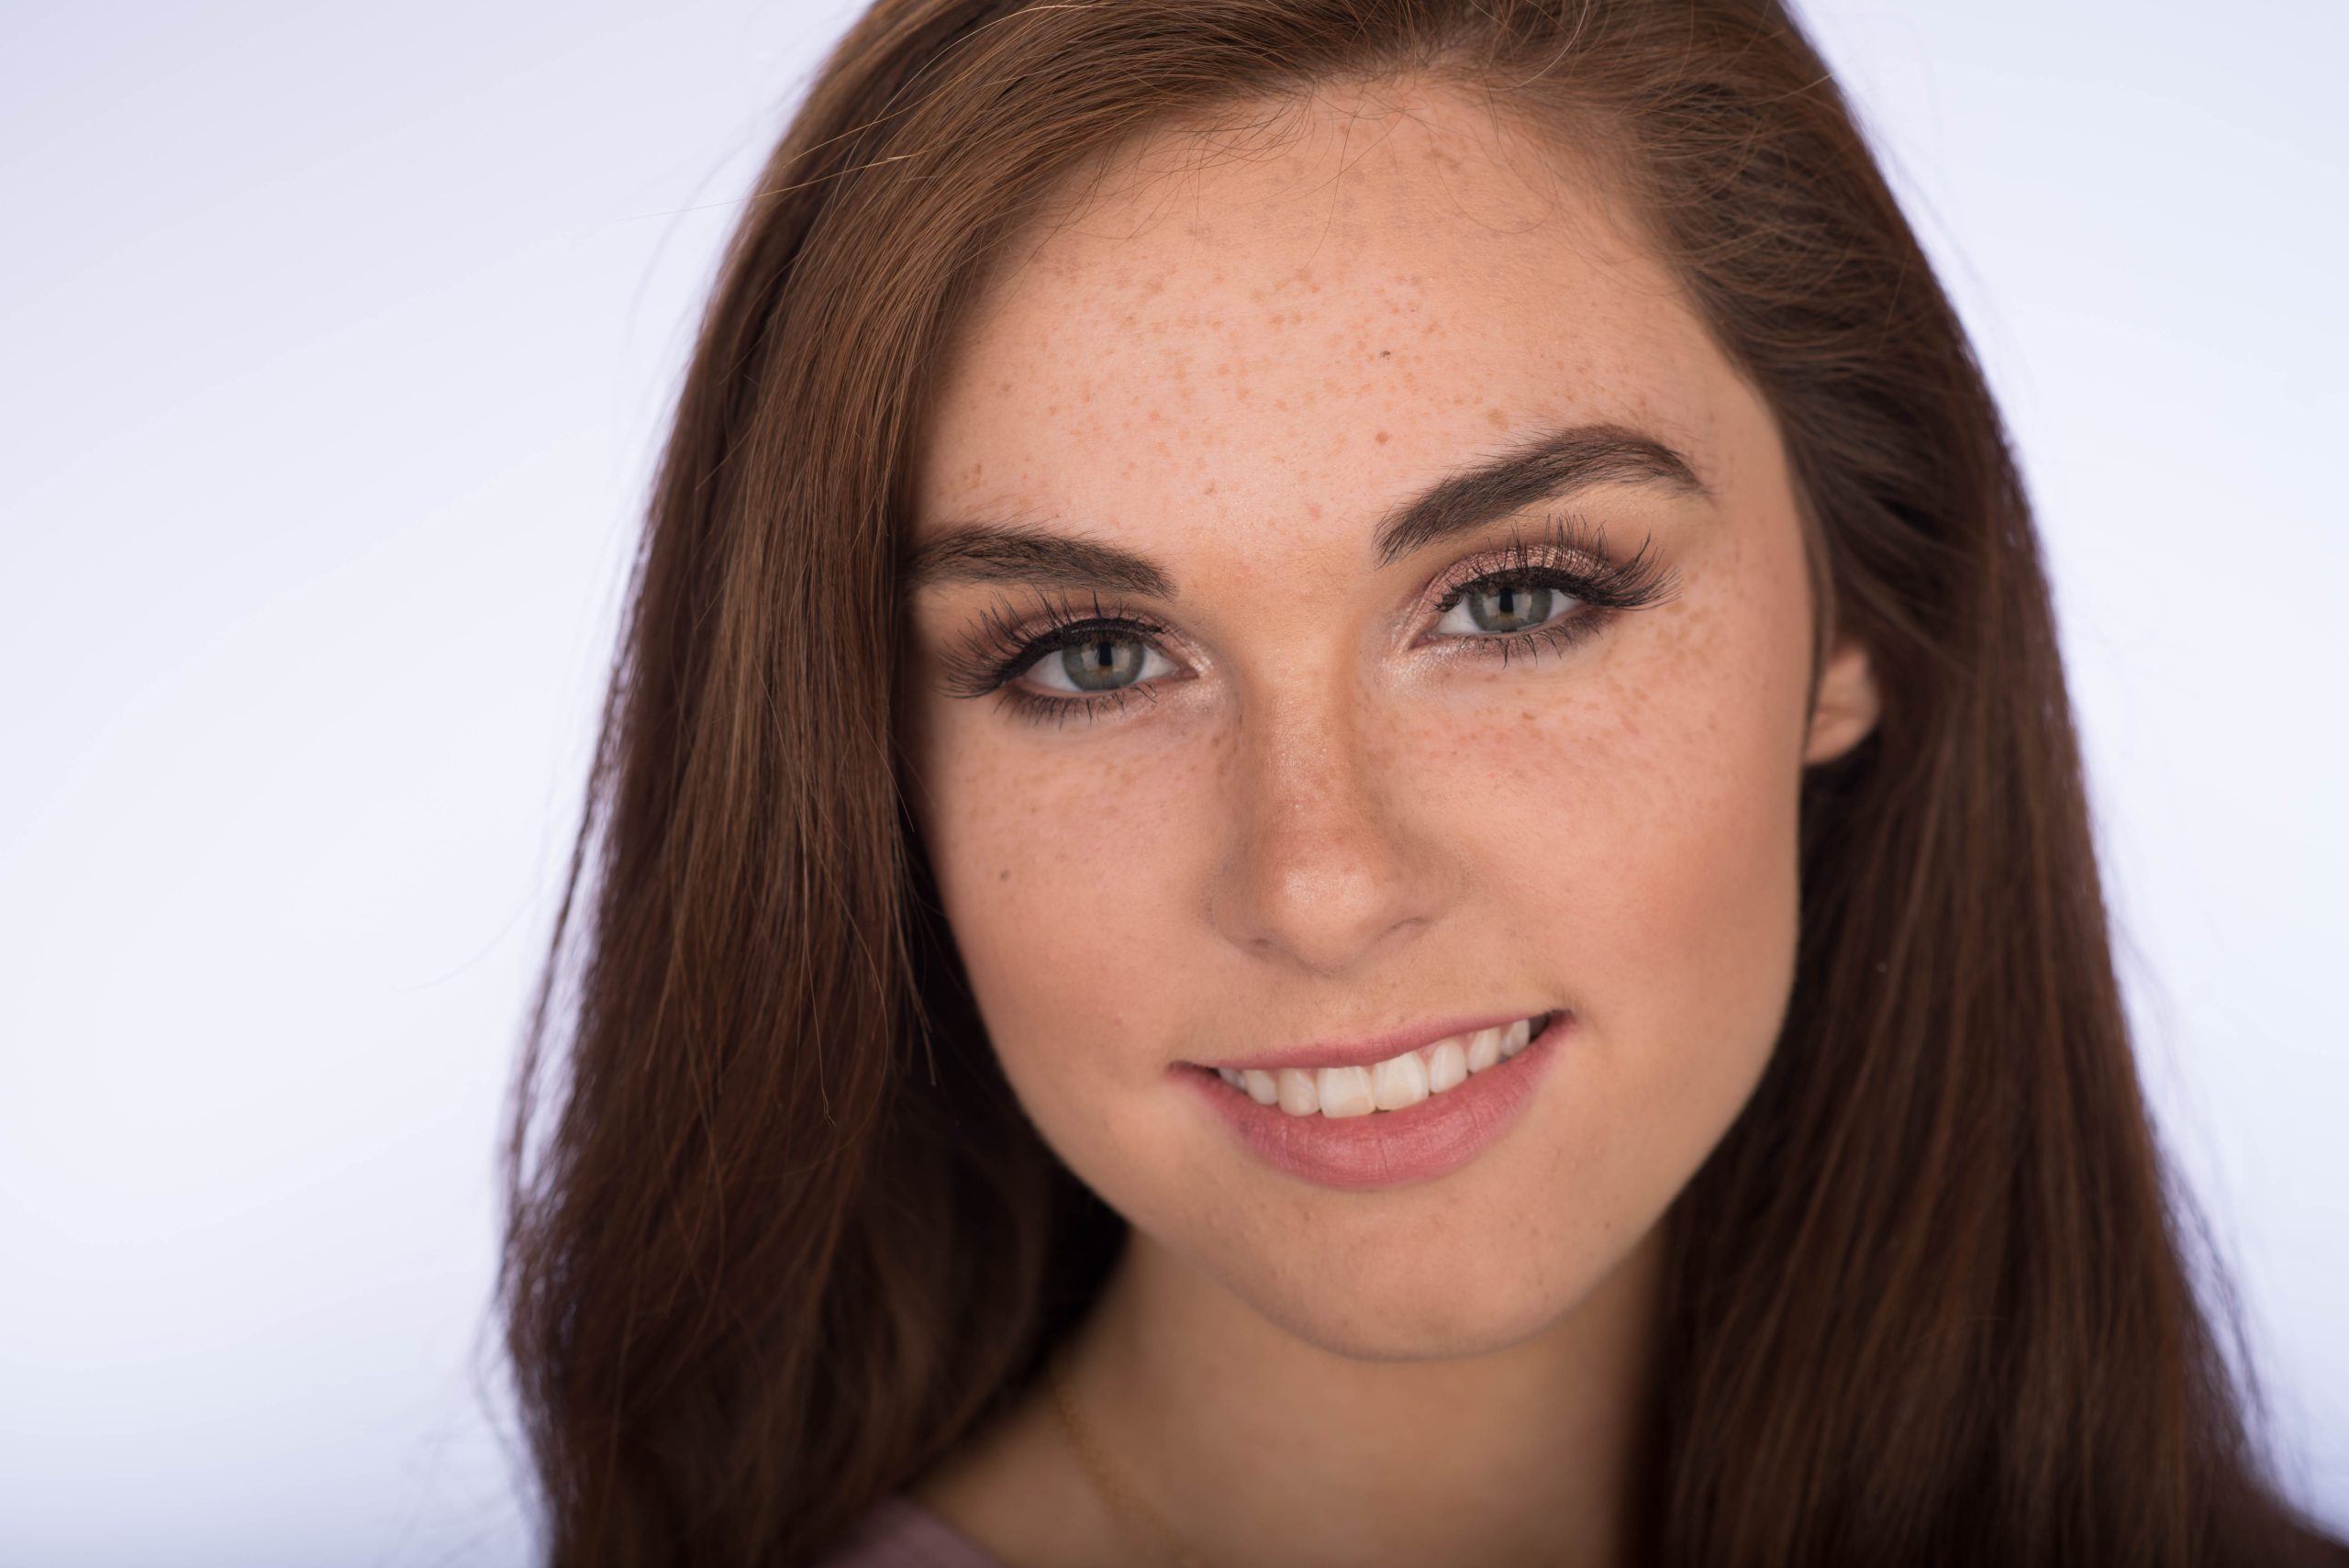
The one thing that happened after trying some goofy photos, surprise photos, and even being sad was that the expressions that followed were more genuine and authentic. Actors are up for the fun and challenge, but even they need to loosen up, and the best way to do that is to push the limits and dial them back.
Debrinja Watts [NIKON D5, 85.0 mm ƒ/1.8, ISO 100, ƒ/5.6, 1/125 ]
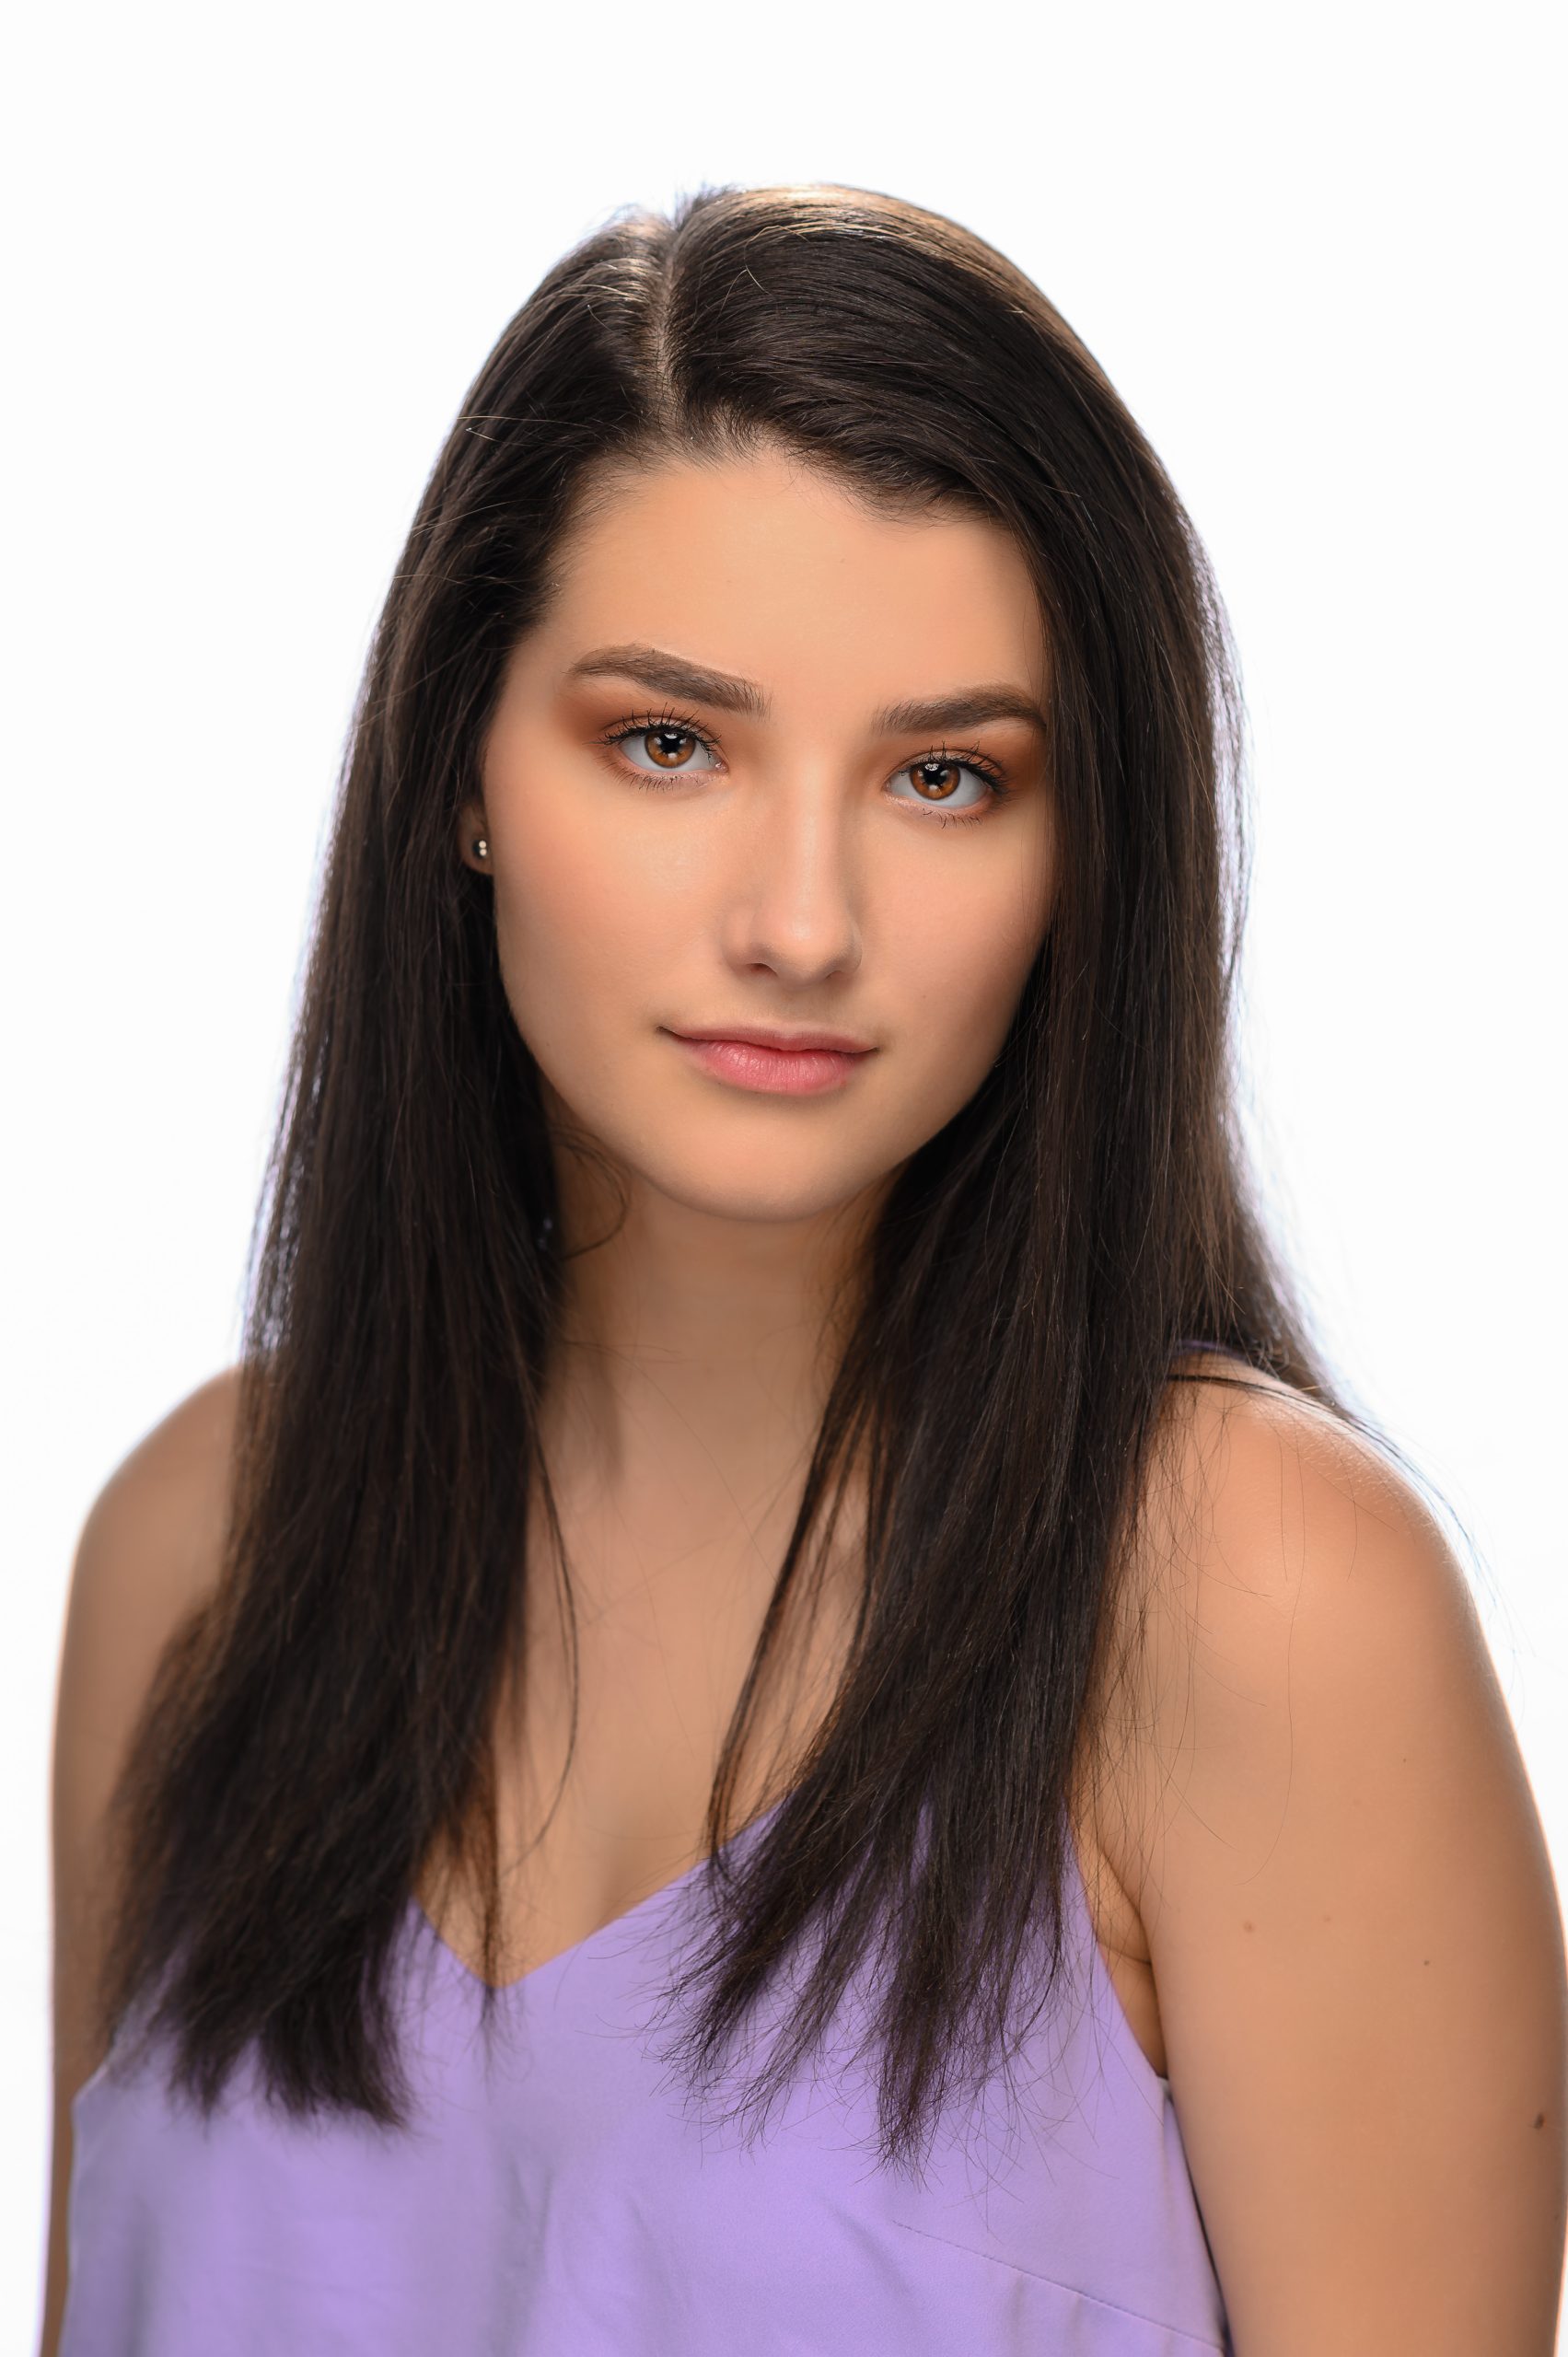
We’re built to size each other up quickly. Even if we’re presented with lots of evidence to the contrary, we’re attached to our initial impressions of people — which is why you should be aware of the impression you make on others.
How long does it take to make a first impression? Is it the length of your elevator pitch? Forget all you have heard because it happens in the blink of an eye.
A series of experiments by Princeton psychologists Janine Willis and Alexander Todorov reveal that all it takes is a 1/10th of a second to form an impression of a stranger from their face and that longer exposures don’t significantly alter those impressions (although they might boost your confidence in your judgments).
Kalyn Wood [Nikon D4, 85mm ƒ/1.4, ISO 400, ƒ/1.4, 1/125]
Here are a few headshots showing how easy it is with just a photo to say something different about yourself.
Kalyn Wood [Nikon D4, 85mm ƒ/1.4, ISO 200, ƒ/8, 1/200]
You need to control the message of your brand.
Kalyn Wood [Nikon D4, 85mm ƒ/1.4, ISO 400, ƒ/1.4, 1/80]
Your expression, clothes, and makeup can change your appearance and how you are perceived.
Kalyn Wood [Nikon D4, 85mm ƒ/1.4, ISO 800, ƒ/1.4, 1/160]
This is an actress photo shoot for her to use in her portfolio. She needs to show people the looks she can portray and understand they need to see it to understand what she can become. When it comes to your company headshots, do they look uniform?
Do you have headshots when people go to your website and click on your team? If not, you need to seriously consider adding these in today’s “Social Media” environment. Ask your kids what they call a person who doesn’t have a headshot with their profile – “Creeper.”
Notice the difference between the modern white look versus the traditional dark background can change the mood of the portraits. Both work, and you must decide which is best for your brand.
While having a headshot will help you not look like a “Creeper.” having all different headshots can look unprofessional. Are you saving any real money by taking your snapshot of your team to put on the website or your blog?
Remember, you only have about 1/10th of a second to make a first impression.
They are not reading your bio to make that decision–they are looking at your photo!
What does your “About Us” page have for your potential clients to learn about you? Are you a “Creeper” with no headshots? Do you look like you cut corners, try to save money, and take your headshots? Do all your headshots match, or does it look like someone missed picture day at the high school and had a snapshot sent in for their senior year yearbook photo?
Call me if you want all your company headshots to look similar and help “brand” your company.
Since the flashes can be powered way down I was able to shoot at ƒ/1.8.
The Magsphere spreads the light around the sides, catching on the Lasolite Triflector silver panels and lights under the chin and both cheeks. The flash is the leading light above the subject, creating that wonderful butterfly light. The top light was powered at 1/64th power, and the background was at 1/4 power.
MagSphere
The Magbounce is on the background light spreading the light evenly across the Westcott White Collapsible background.
The cool thing is the Neewer TT850 is rated to fire 600 times on full power with a full charge. I am nowhere near this power consumption, so I could do a lot of headshots before changing the battery.
Nikon D5, Nikon 85mm ƒ/1.8G, ISO 100, ƒ/5.6, 1/200, 4–Alienbees B1600, Pocketwizards to trigger flashes
I am teaching a lighting class in Kona, Hawaii, with the Youth With A Mission School of Photography class.
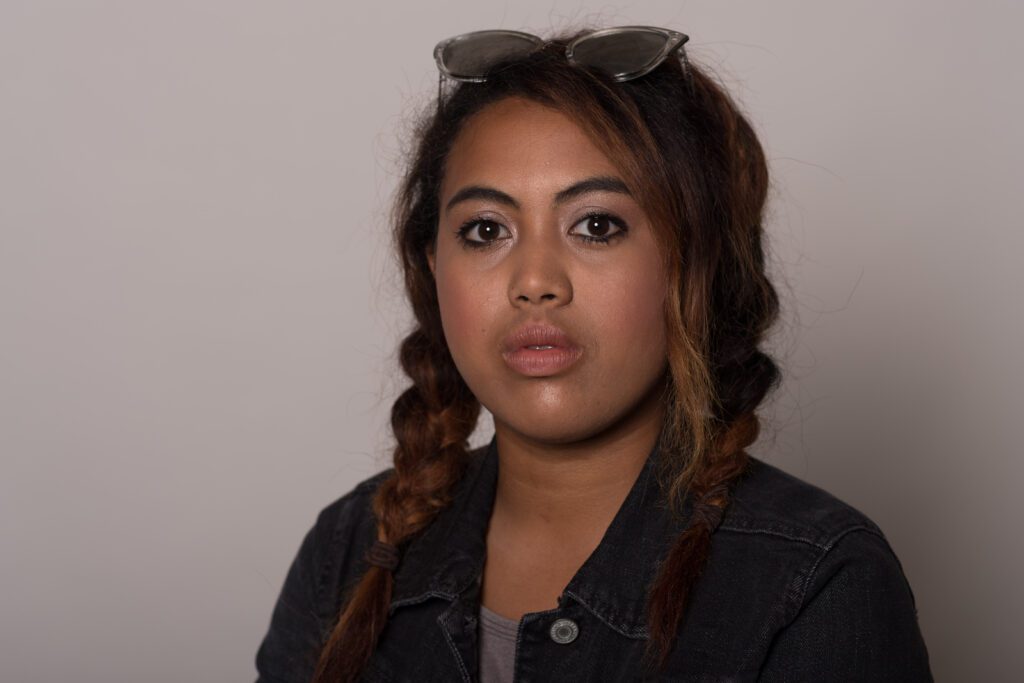
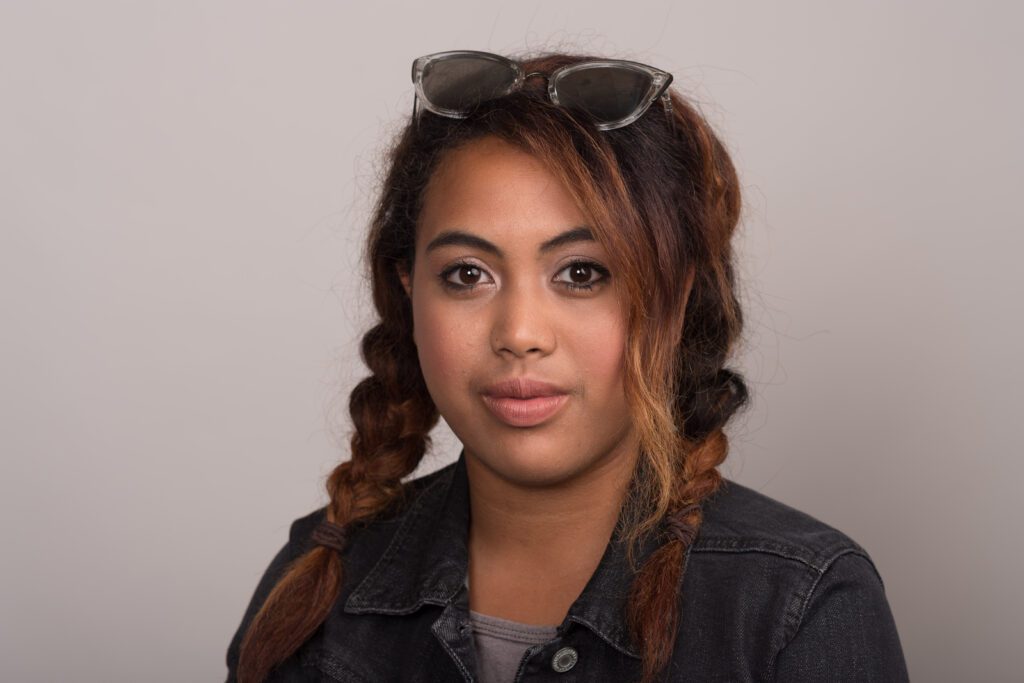
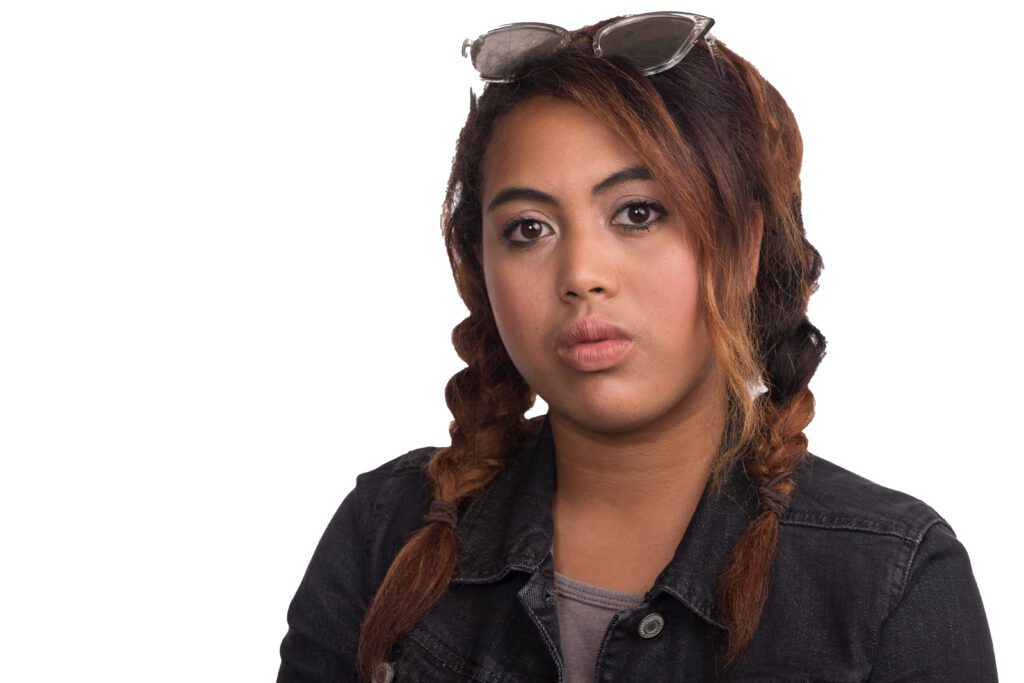
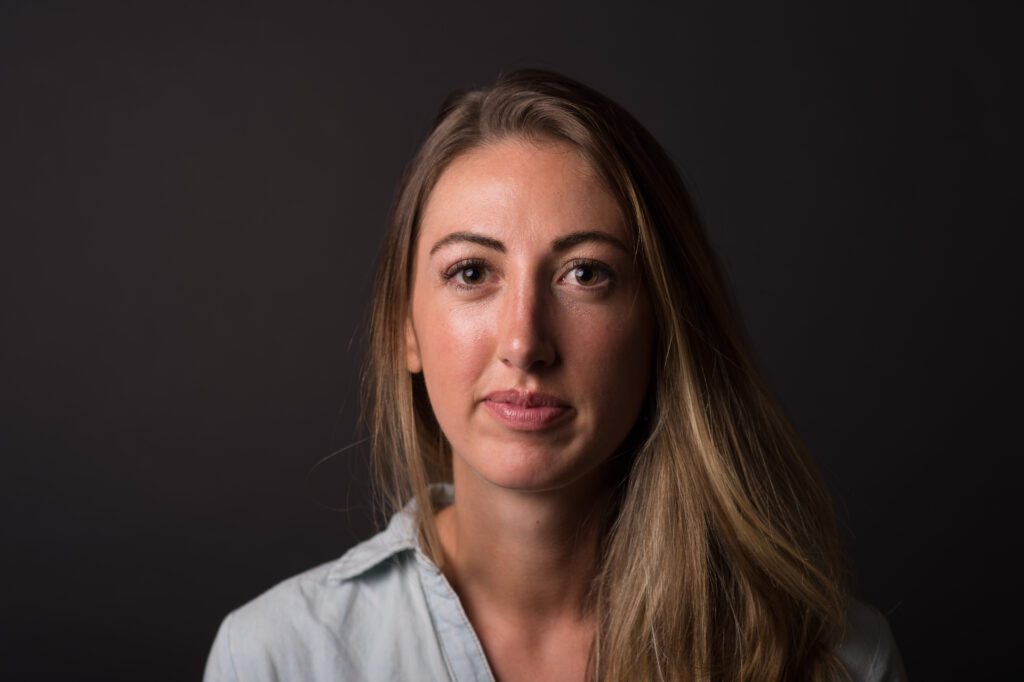
This is one of the lighting exercises I do each year. This is teaching the 3:1 Lighting Ratio. I showed the class the final photo and then walked them back through how to get this lighting. This is all done with a White Background. See below for the same example but with a Black Background.
Here is the setup that I used above. Here you can see one of the students later with the design we were using.
While we have all the lights in generally the places they will be at the end, I turn them all off except the leading light. The main light is 45º to the subject’s left and right of the camera and closest to the topic. Then I took a light reading and also set the white balance. The aperture was set to ƒ/5.6. Then I took this photo.
Nikon D5, Nikon 85mm ƒ/1.8G, ISO 100, ƒ/5.6, 1/200
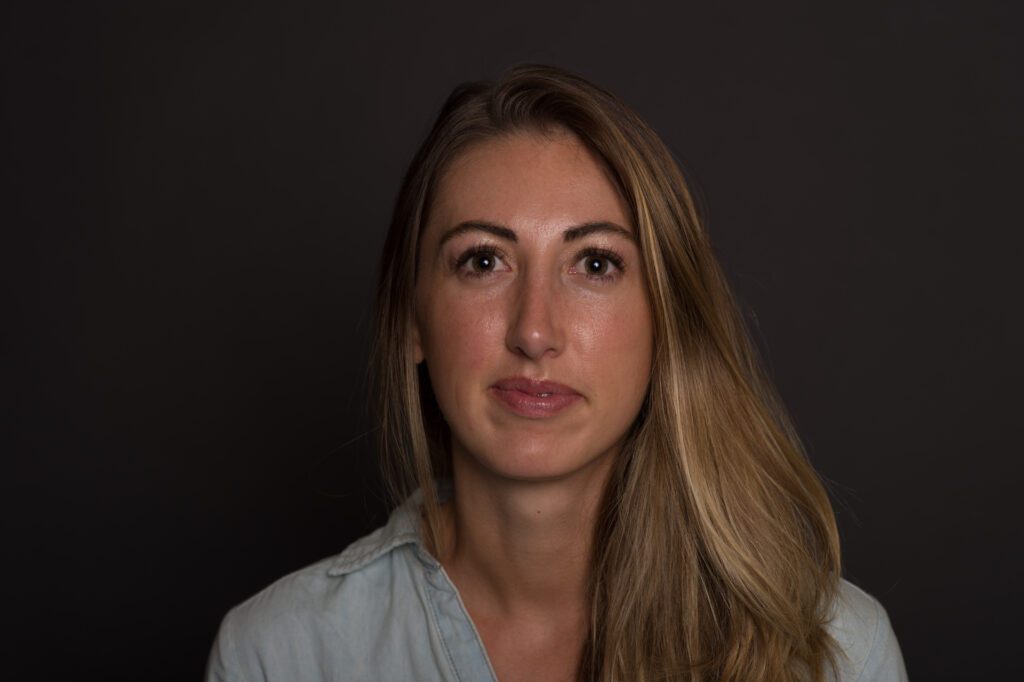
Then we turned this light off and turned the fill light on. This is the one closest to the camera. Ideally, it would be right behind the camera, but I put it a little off to the side so I am not blocking the light while operating the camera.
I set the light to be one stop less than the leading light. The light was developed to give me ƒ/4, but I kept the camera set to ƒ/5.6, which meant the photo would be underexposed by one stop.
Here is this photo with the same settings as the leading light.
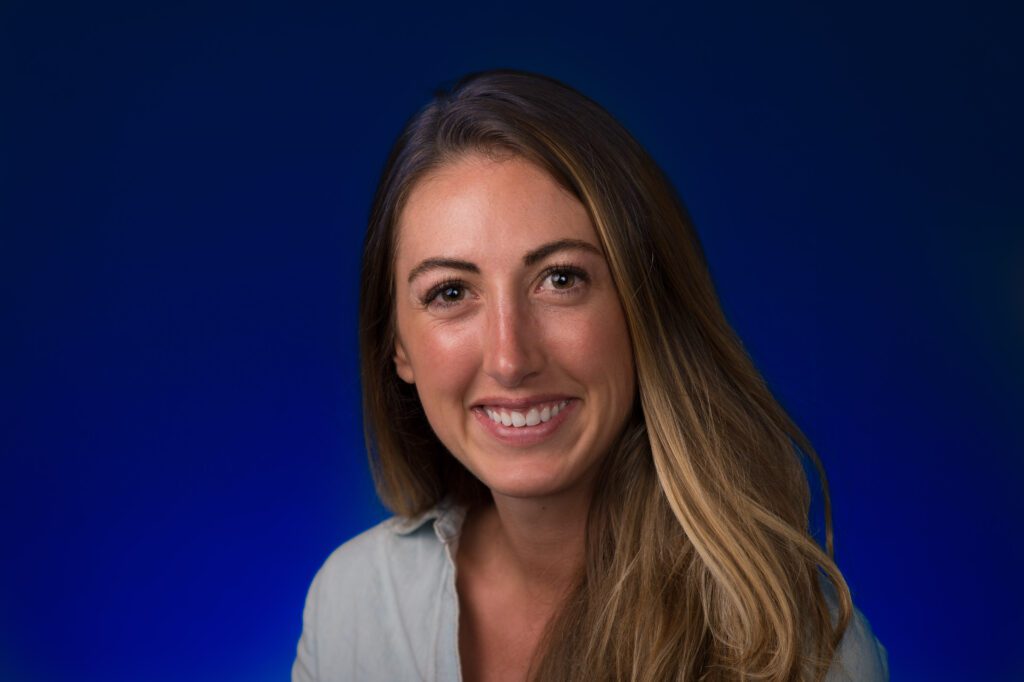
Next, we turned both lights on and double-checked the exposure with a light meter which still was ƒ/5.6. It might have been a 1/10th of a stop brighter, but we kept the camera set to ƒ/5.6.
Here is the combined light photo.
Lastly, I turned two more lights on that are hitting the background and trying to get an even light across. I made this light just one stop brighter than the leading light of ƒ/5.6, so this light was set to ƒ/8. Here is this photo.
I hope you enjoyed this step-by-step tutorial on how to shoot a 3:1 Lighting Ratio portrait.
This is the same exercise using a black background. Now, you need to understand that the 3:1 lighting ratio allows this photo to be used in many places. The one thing is where it looks the best in a Newspaper compared to another lighting which can make those shadows lose all detail and go pitch black. This allows you to see some modeling of the light to highlight the cheekbones and contours of the face without overdoing it and creating a photo with too much contrast.
Nikon D4, Nikon 85mm ƒ/1.8G, ISO 100, ƒ/5, 1/200
Here is the setup
Assignment Description: 3:1 lighting ratio. This photo is classic lighting.
Items:
Octobox closest to subject This light is your main light. Get a light reading with just this first. The light should be 45 degrees off the axis of the camera and 45 degrees above the subjects eyes.
Subject Your subject should have the main light lighting only part of the face and the shadows should be just a little to show the 3:1 ratio.
(D)SLR Choose the lowest ISO. Ideally on full-frame camera a lens close to 85mm and on cropped sensor a 50mm. Set your shutter speed to the sync speed for your camera [in your camera manual] or slower. My camera was 1/250 but I shot at a slower speed of 1/200.
Octobox behind the camera This is your fill light and get just a reading of this 2nd. Be sure it is 1/2 the power (1 f/stop less) than the main light. After this is done get a 3rd light reading of both lights which will be the setting for the camera. It can be level with the eyes, but you may have to move up with glasses to avoid glare.
First set the main light and here is what that will look like:
Due to using such a giant softbox, the shadows are not as severe as in our first assignment using the grid light. Some light bounces off a white wall a few feet to the model’s left or right of the camera position.
Turning the leading light off after finding out your setting, you need to take a reading and get the fill light to 1 stop less than the main light. The leading light was ƒ/4, so the fill light should read ƒ/2.8.
This is what it looks like without the leading light on. You can see a little darker, but no accurate face shaping as the leading light is 45º to the side.
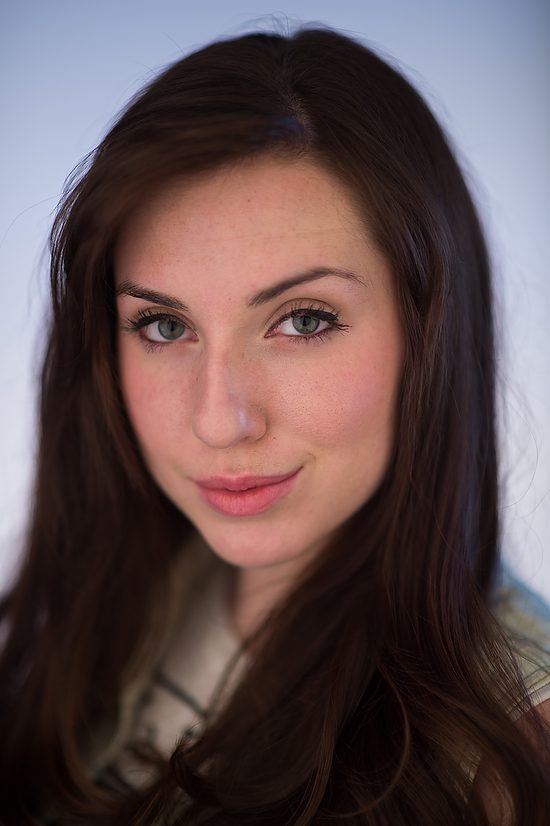
SOP 1 Studio Shots
When you combine them, you get the first photo of the model we started with.
The leading light is twice as bright as the fill light. So to show this using math, we would say the leading light has a value of 2, and the fill light has the value of 1.
Where both the main and fill light fall on the face is getting the combined value of the 2 + 1 = 3. However, in the shadows, only the fill light is hitting those; therefore, the discount is only 1.
So the bright areas get three, and the shadows 1 give you a 3:1 lighting ratio.
Now I showed the students how they could add a background light. I put a blue gel over it to show them they can also color the background.
Nikon D5, Nikon 85mm ƒ/1.8G, ISO 100, ƒ/4, 1/200 – [2] Alienbees B1600, White Background & Lastolite Triflector silver/gold kit.
KISS – Keep It Simple Stupid
Keep your gear as simple as possible so you can concentrate on the people. For this headshot setup, I keep it super simple.
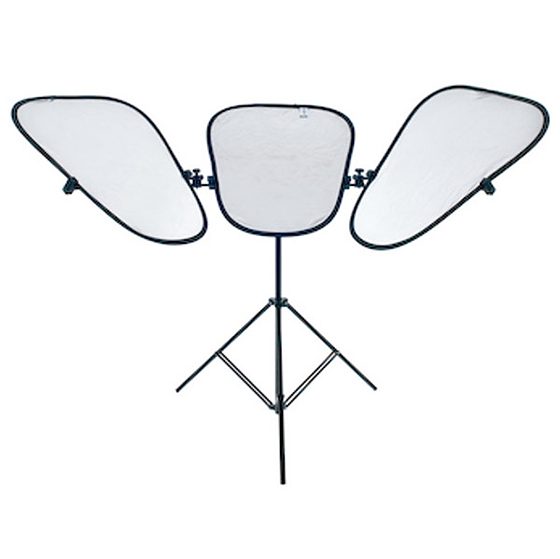
Here is the Lastolite-Triflector reflector that I am using for the headshots.
This helps kick light under the chin and into the eyes for what I consider a very flattering light. Now the main light is a beauty dish most of the time or a white umbrella. I prefer round light modifiers for the catch lights shape.
Nikon D5, Nikon 85mm ƒ/1.8G, ISO 100, ƒ/4, 1/200 – [2] Alienbees B1600, White Background & Lastolite Triflector silver/gold kit.
The reflector is always slightly less than the leading light. To soften it more, just use white rather than silver. If you want to warm it up, use a gold reflector.
Nikon D5, Nikon 85mm ƒ/1.8G, ISO 100, ƒ/4, 1/200 – [2] Alienbees B1600, White Background & Lastolite Triflector silver/gold kit.
You want the leading light up about 45º above the camera lens and straight above it. This will make the light hitting the face come down across it, help those cheekbones pop, and give some contours to the front. Straight on to the model will kill those cheekbones and flatten out their features.
By the way, I also like to use a tripod to glance above the camera to keep a personal connection with the people.
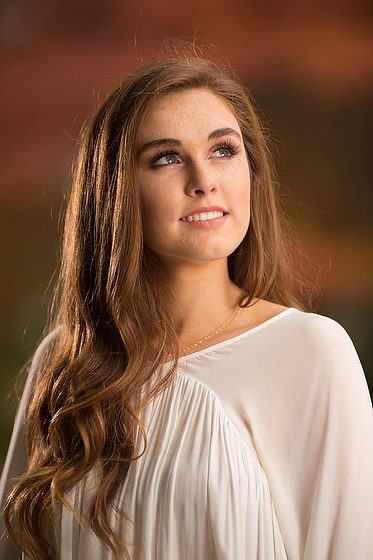
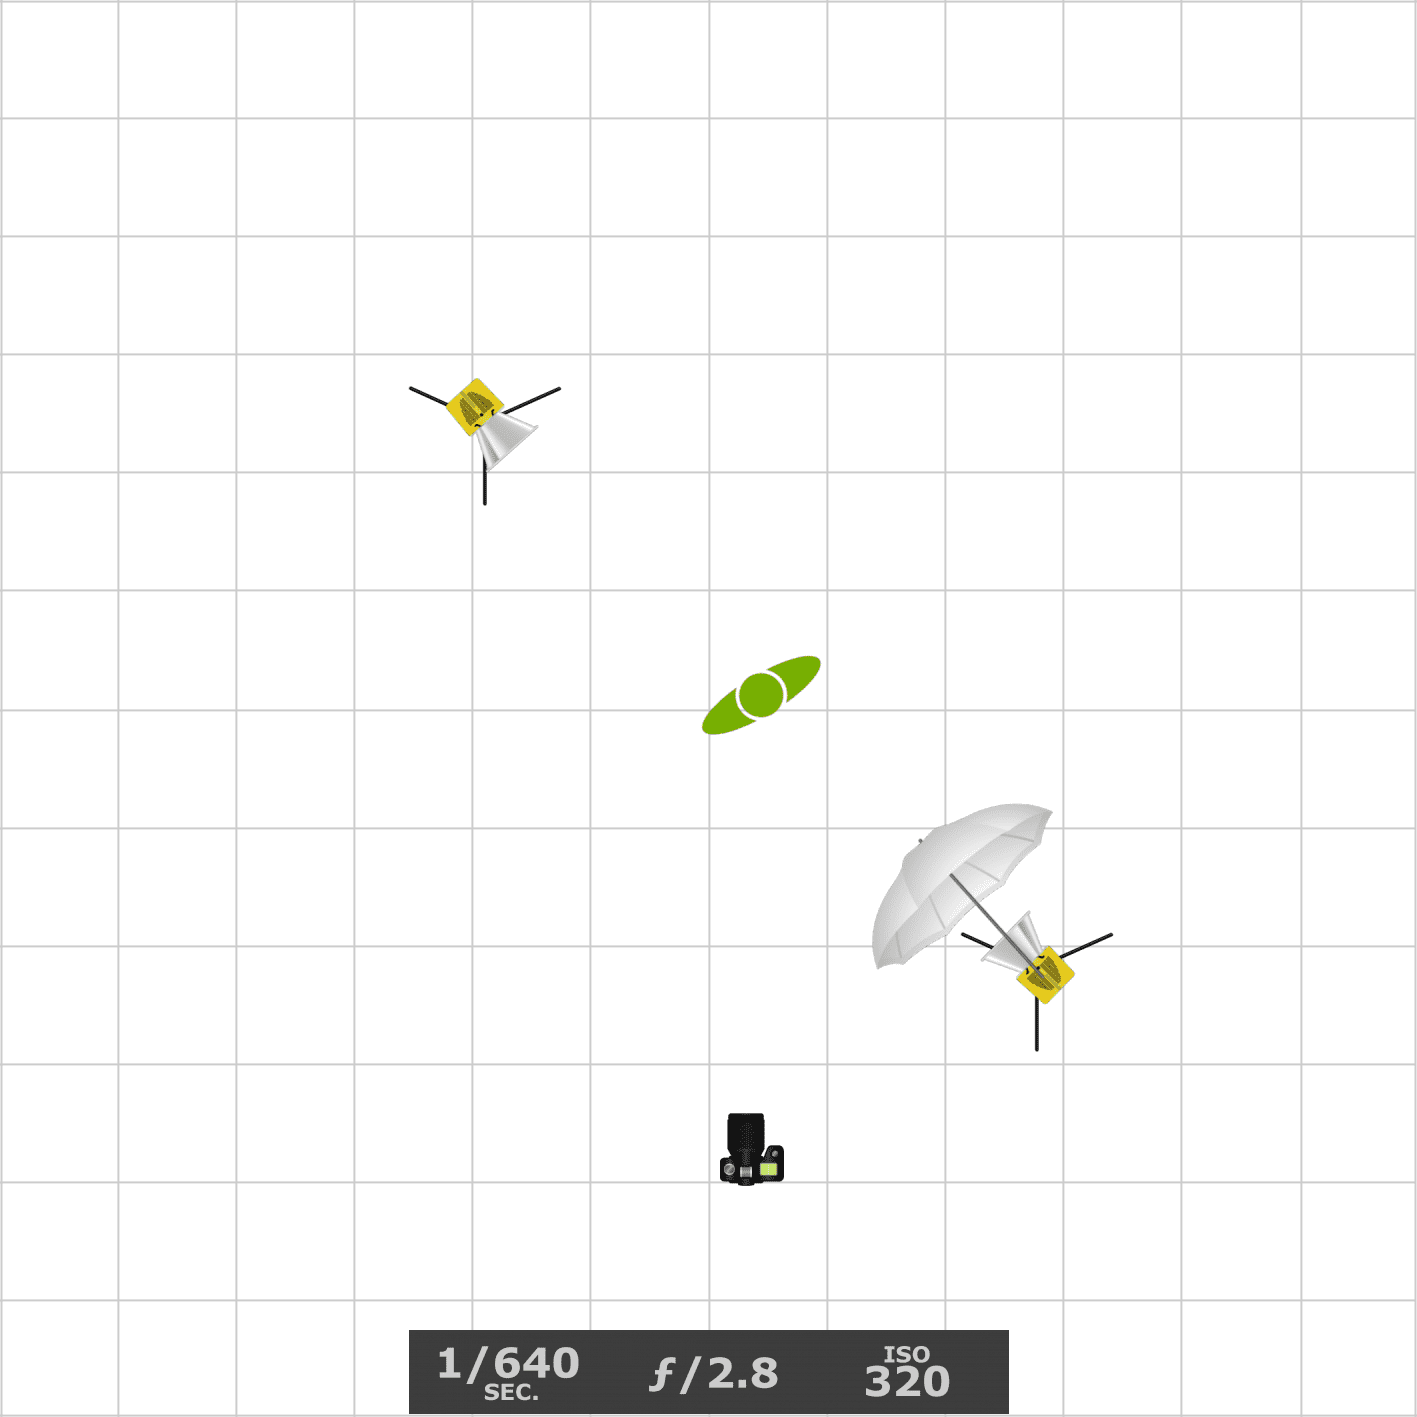
Nikon D4, Sigma 120-300mm ƒ/2.8 DG OS HSM | S, AC-9, AC-3, PocketWizard Mini TT1, TT5, Paul Buff Vagabond, Alienbees B1600, ISO 320, ƒ/2.8, 1/640
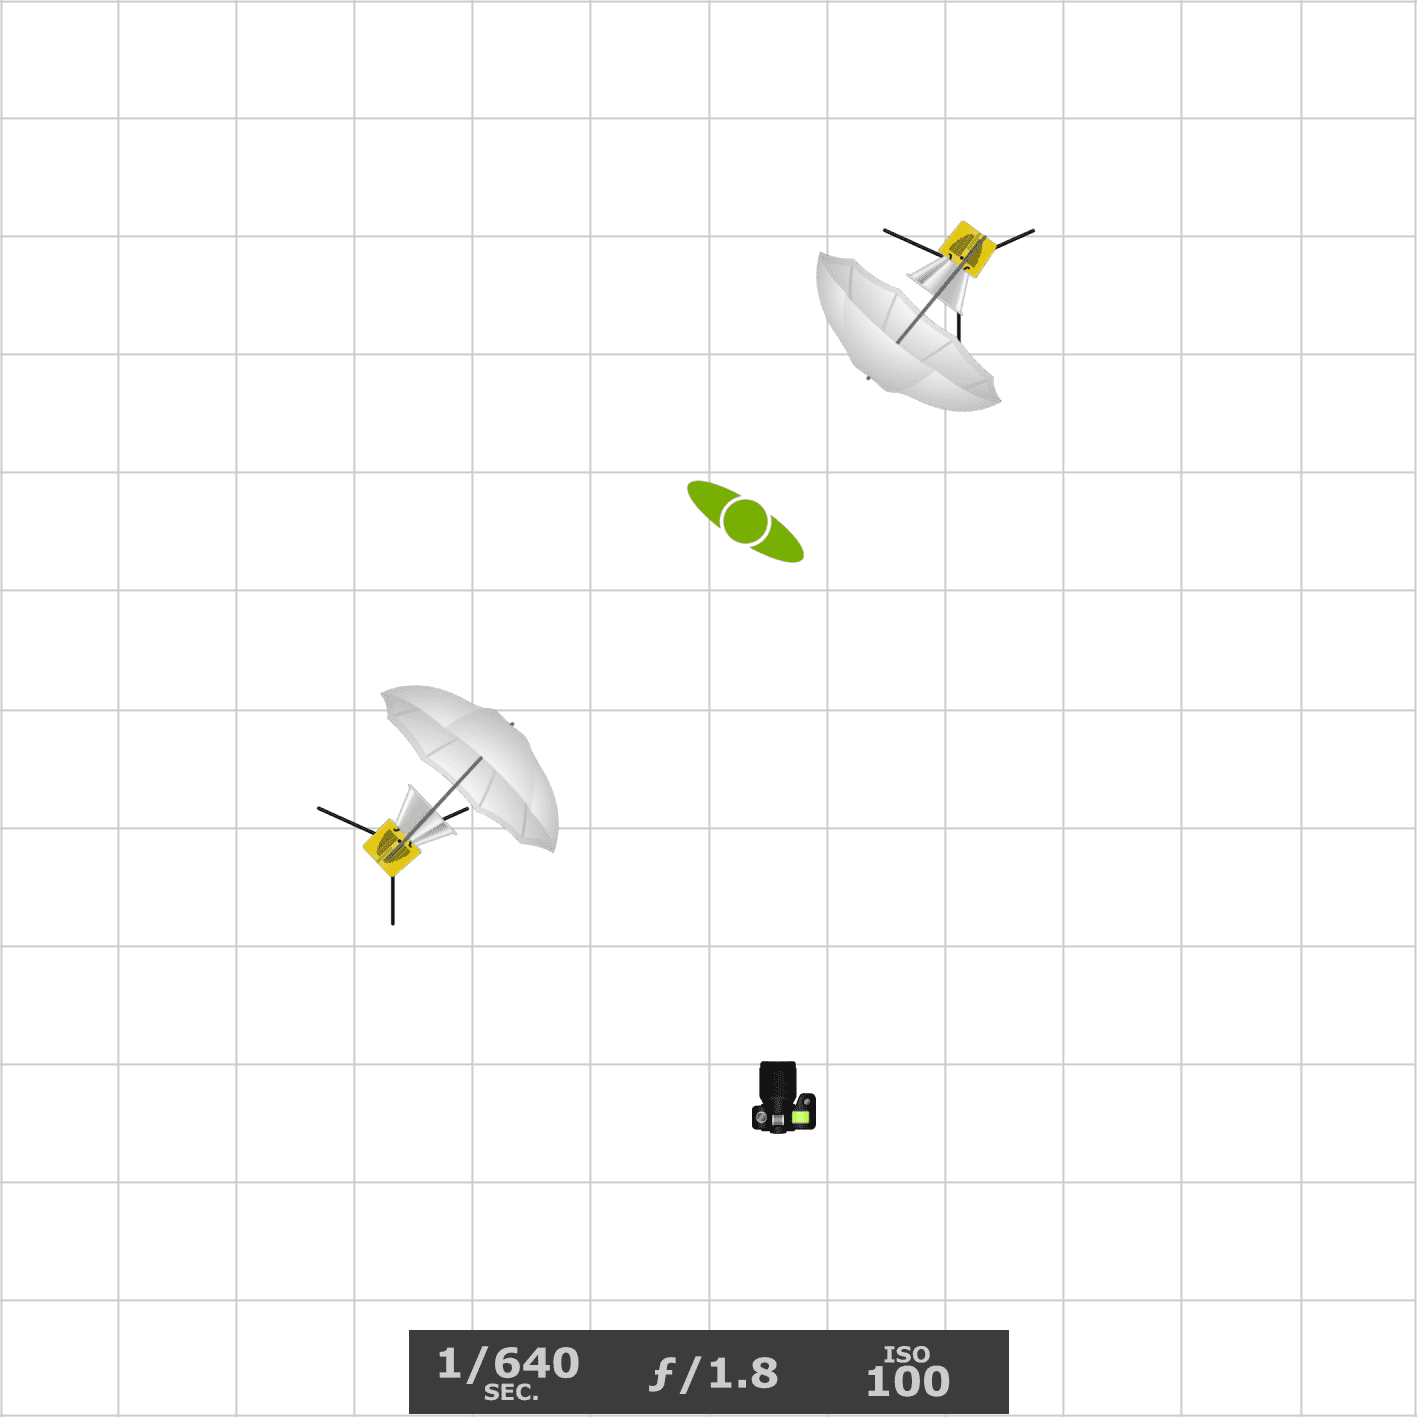
Today I was privileged to work with Sydney Rhame who was on The Voice this year. To get those chairs to turn as she did you have to be comfortable in front of the camera.
Sydney needed little direction. I just needed to spend a little time before we started asking what she was looking for in her photos.
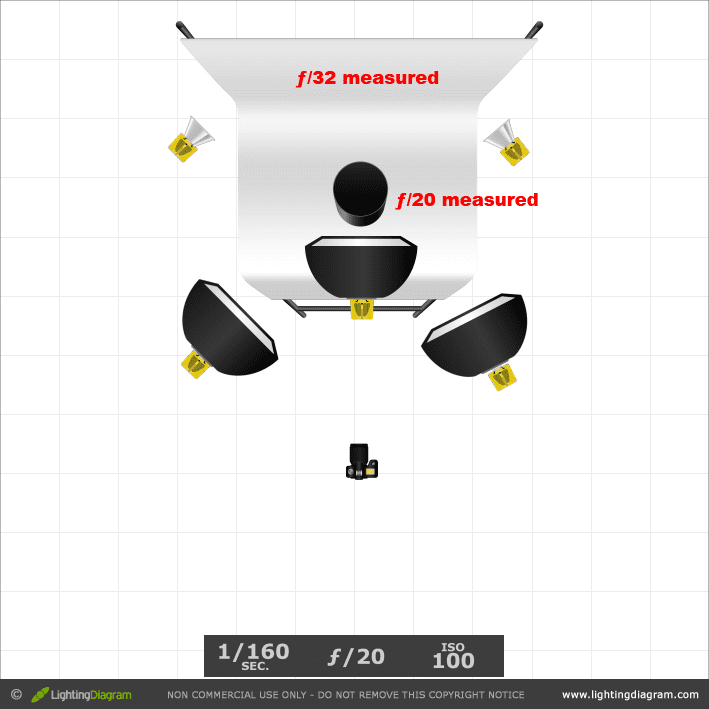
This is one of my favorite photos today. I used the high speed sync using he Pocketwizard TTL system with the Alienbees. This let me shoot at 1/640 shutter speed. Here is the lighting diagram.
The trick was to take a few test shots until I was able to get the rich colors in the background balanced with the flashes.
The photo on the left [ISO 100, ƒ/2.8, 1/500] and the right [ISO 320, ƒ/2.8, 1/400]. I also dialed the flash down in power on the right.
This is what I call experimenting to get the look you are wanting.
Nikon D4, Nikon 85mm ƒ/1.8G, AC-3, PocketWizard Mini TT1, TT5, Paul Buff Vagabond, Alienbees B1600, ISO 100, ƒ/1.8, 1/640
I also like to have subjects bring a variety of outfits and let us try a few looks.
This is the setup where I have main light on her face and separate light to just add a little kicker in the back.
Nikon D4, Sigma 120-300mm ƒ/2.8 DG OS HSM | S, AC-9, AC-3, PocketWizard Mini TT1, TT5, Paul Buff Vagabond, Alienbees B1600, ISO 320, ƒ/2.8, 1/640
For this photo I took the white umbrella off the light behind Sydney to give a little more kick on the hair.
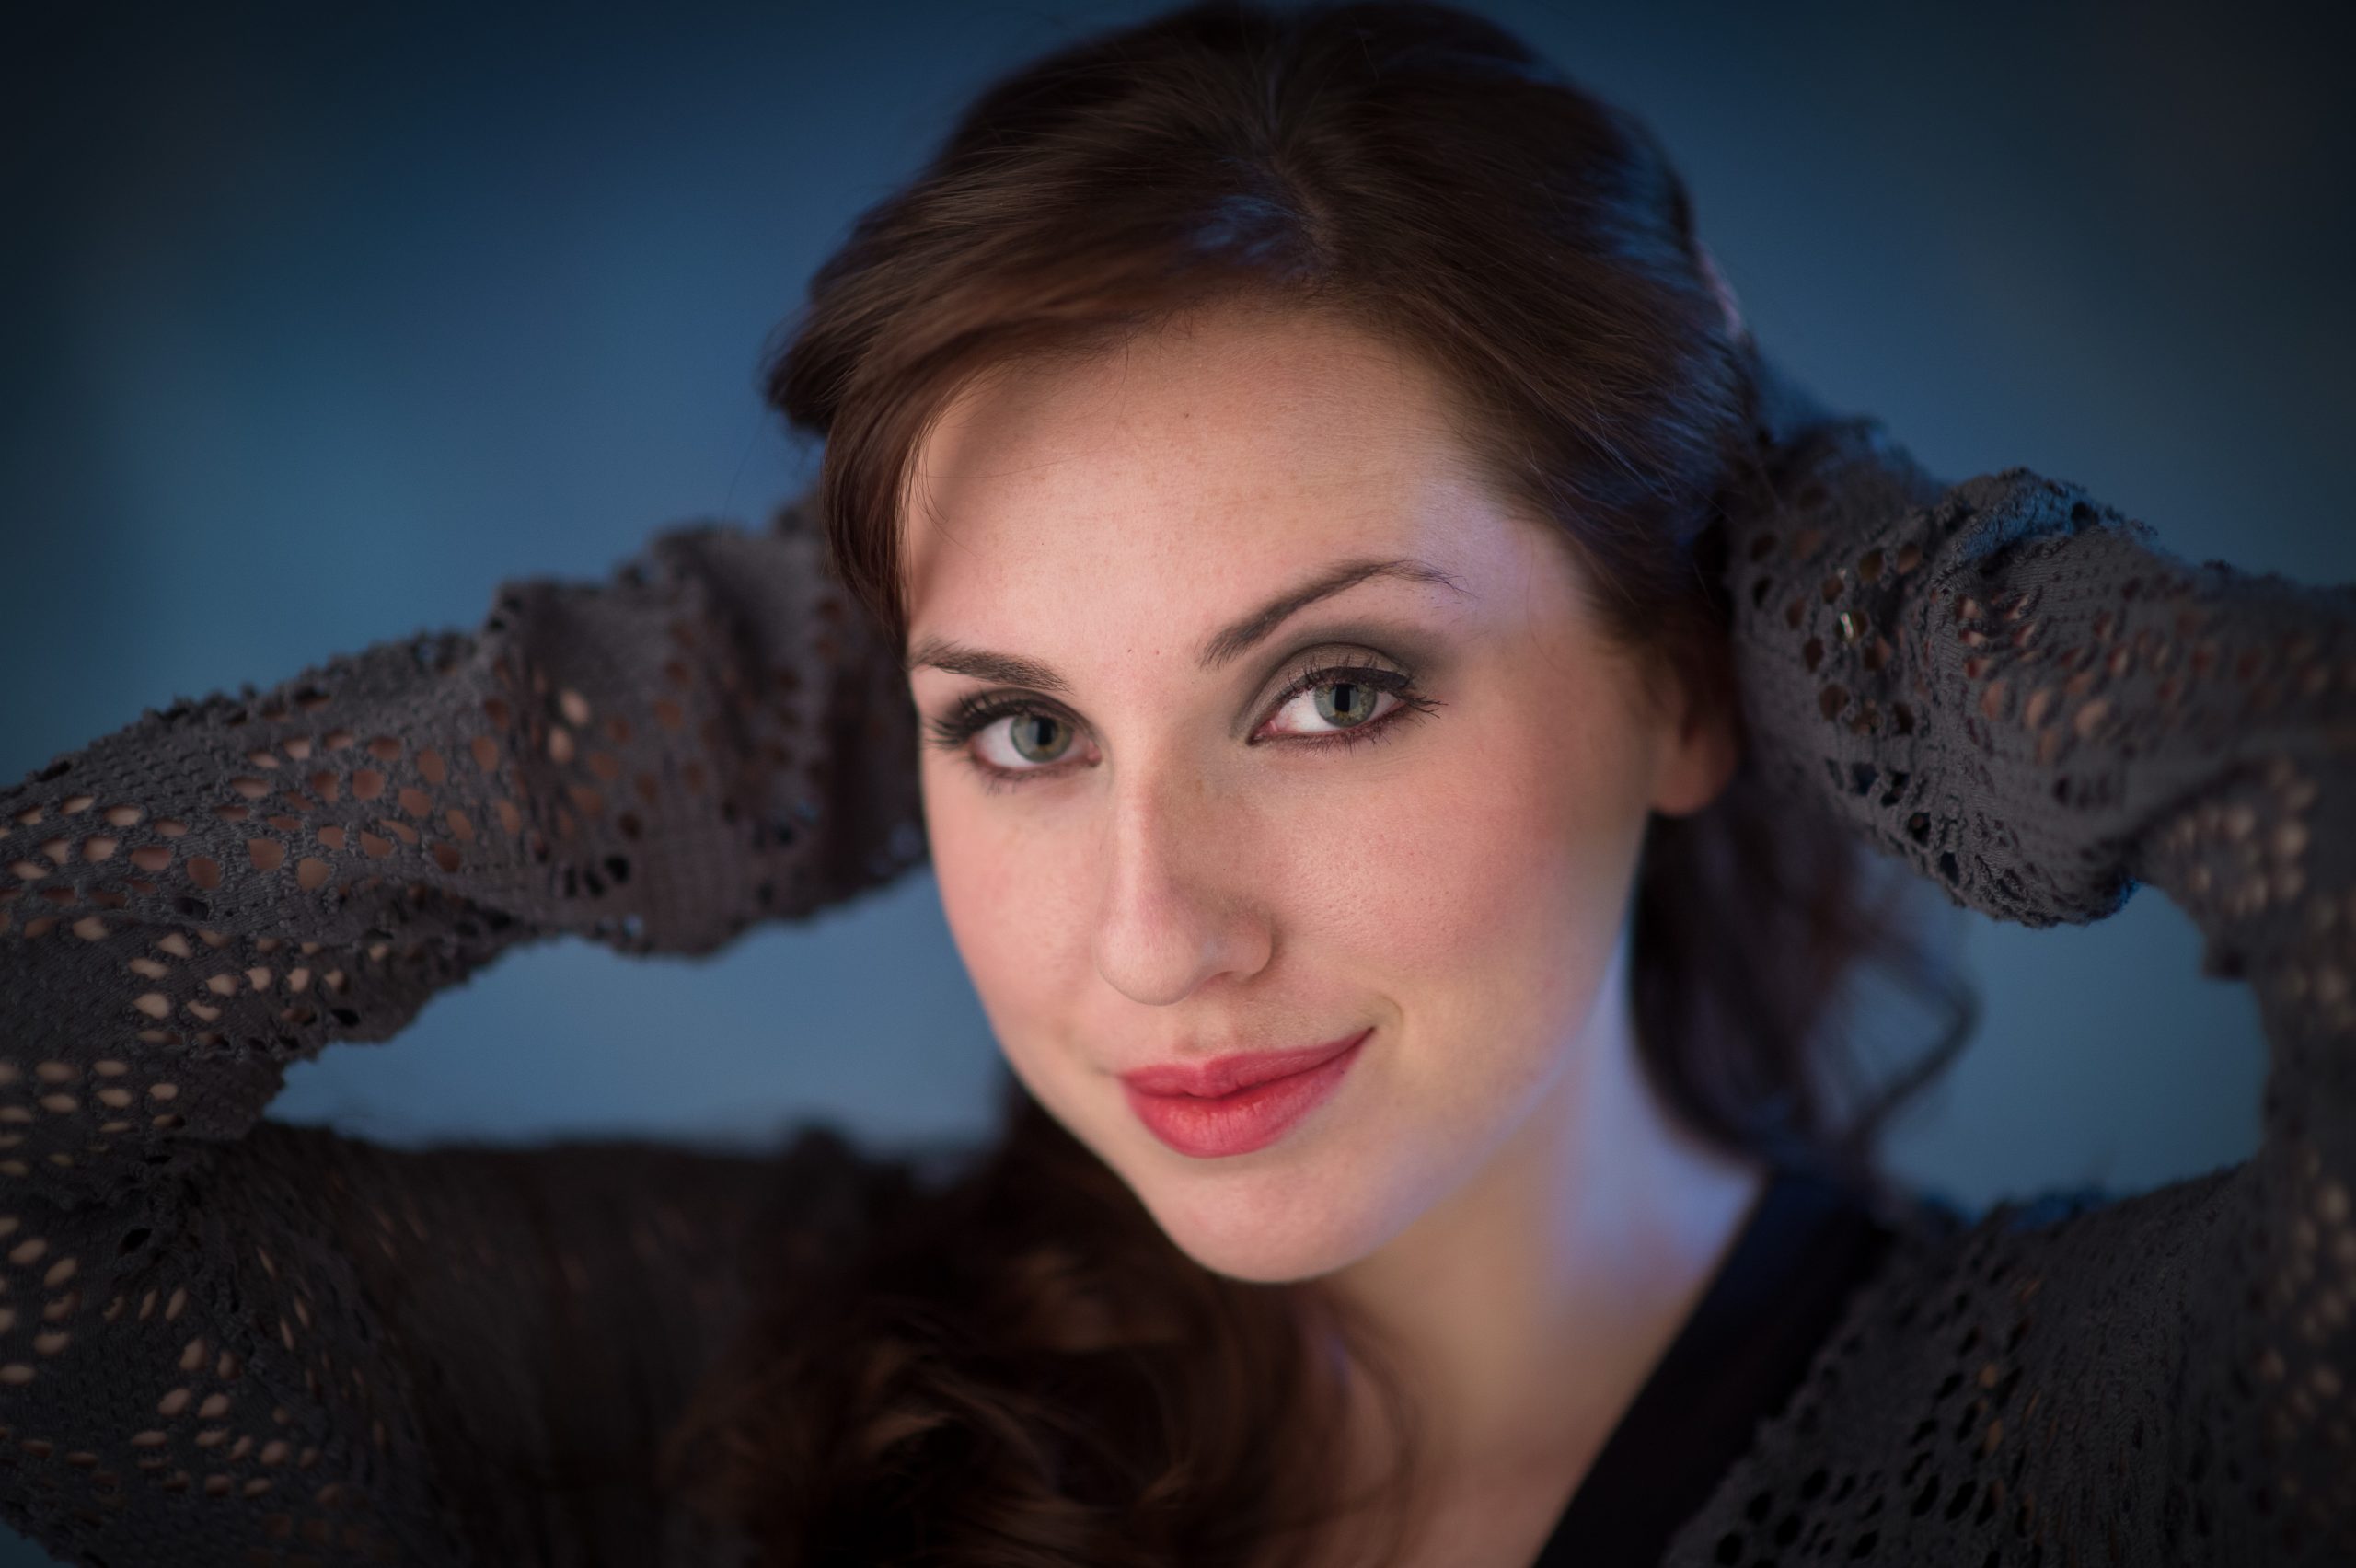
I also believe you really mix up the backgrounds and looks when you are helping someone with things like model portfolios, PR kits for musicians and actresses.
Nikon D750, Nikon 85mm ƒ/1.8G, ISO 100, ƒ/4, 1/200–Alienbees and Softboxes
Here is more of a traditional headshot.
Now to give a different look that this I just shot with the available light with the same setup.
Nikon D750, Nikon 85mm ƒ/1.8G, ISO 1250, ƒ/1.8, 1/200
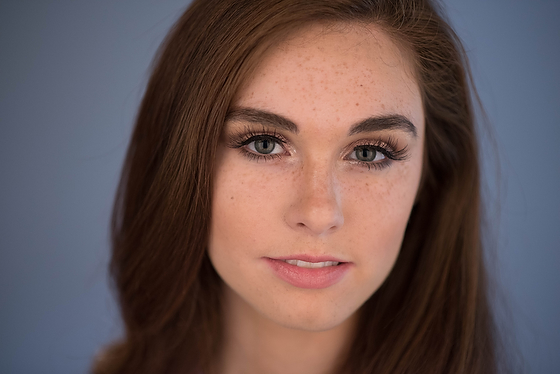
I believe we were getting some variety throughout the photo shoot. As Sydney and I got more comfortable with each other the expressions just got better and better.
Nikon D750, Nikon 85mm ƒ/1.8G, ISO 100, ƒ/4, 1/160
While backing up and showing more of Sydney gave a different look, my favorites where up close where you can see her eyes.
Nikon D750, Nikon 85mm ƒ/1.8G, ISO 1250, ƒ/1.8, 1/200
When shooting at ƒ/1.8 her eyelashes are not even in focus, just her eyes.
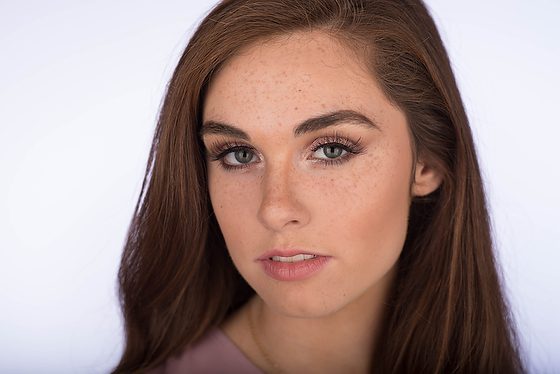
Now shooting at ƒ/4 gave a little bit more depth-of-field.
Nikon D750, Nikon 85mm ƒ/1.8G, ISO 100, ƒ/4, 1/200
While the shallow depth-of-field looks great it is difficult to get all your photos in focus.
Going for “look” can sacrifice great “moments”
Because you choose to want that silky smooth BOKEH means that you will be tossing out photos just because they are not sharp where you need them to be. Therefore you may lose the best “moment” because the “look” is more important to you.
This is one of the reasons I am not shooting at wide open all the time. I prefer to stop down just a bit to get some leeway allowing me to more likely not to toss out the great “moment” because I missed the focus due to such a shallow depth-of-field.
Use flash outside
By using the strobes outside on an overcast day I was able to help the subject pop and not look flat due to the natural light.
Using high speed sync let me shoot at wide apertures and just crank the shutter speed up to control the available light.
Fuji X-E2, 18-55mm, ISO 6400, ƒ/7.1, 1/70—Neewer TT850 on light stand. The Neewer 433MHz Wireless 16 Channel Flash Remote Trigger fires the off-camera flash and controls the camera’s power. Power 1/128
On the first day of school, photare is a tradition at our house. I know many people are doing the same thing this morning and posting these photos to Facebook, Instagram, Twitter, and anywhere else they can celebrate and preserve those precious memories.
Now taking photos just before my daughter leaves for school meant I was outside taking these photos at 7:15 am. The sun had been up for a short time, so it was still not all that bright.
Without a flash, the settings were ISO 6400, ƒ/7.1 @ 1/70. I am always in favor of using a flash when there is no excellent directional light with the available light.
Here is the lighting diagram I used over and over this morning:
The rule of thumb I use for placing my flash, which will be my leading light, is 45º to the left or right of the model about the camera as well. I also try to put the flash’s height to about 45º above the camera and the model.
Fuji X-E2, 18-55mm, ISO 6400, ƒ/7.1, 1/70—Neewer TT850 on light stand. The Neewer 433MHz Wireless 16 Channel Flash Remote Trigger fires the off-camera flash and controls the camera’s power. Power 1/128
The light position height controls the shadow from the light coming across the person’s nose that touches the lips.
Fuji X-E2, 18-55mm, ISO 6400, ƒ/7.1, 1/70—Neewer TT850 on light stand. The Neewer 433MHz Wireless 16 Channel Flash Remote Trigger fires the off-camera flash and controls the camera’s power. Power 1/128
Now I moved around the yard to find this location. The sprinklers just watered the grass, so I didn’t want to get my daughter all wet before school. The photos above are pretty nice for this morning.
I did start on our driveway and tried to find an excellent green background. The problem with my taste was it was just a little too dark.
Fuji X-E2, 18-55mm, ISO 6400, ƒ/7.1, 1/40—Neewer TT850 on light stand. The Neewer 433MHz Wireless 16 Channel Flash Remote Trigger fires the off-camera flash and controls the camera’s power. Power 1/128
I dialed down the Neewer TT850 to the lowest 1/128th power and did this with the Neewer 433MHz Wireless 16 Channel Flash Remote Trigger. Next, I dialed the ƒ-stop up to ƒ/7.1 to be sure my daughter’s skin was well exposed.
I recommend starting with the available light and the flash down when your exposure uses ISO 6400. Make sure your sync speed is the same or slower than your camera’s. For the Fuji X-E2, that is 1/180.
Early morning was making the best of the time of day for the first day of school photos. I used a similar setup in the afternoon when the light was brighter just a week ago.
The only real difference is the light is on the right side rather than the left, and it was much brighter than today, shooting at 7:15 am.
I love this simple setup for portraits. The Fuji X-E2, 18-55mm—Neewer TT850 & The Neewer 433MHz Wireless 16 Channel Flash Remote Trigger to fire the off-camera flash and control the power from the camera. If I were doing more headshots, I would have switched or at least shot more with the FUJINON XF 55-200mm.
Here are those photos from a week ago.
Fuji X-E2, 18-55mm, ISO 400, ƒ/5, 1/180—Neewer TT850 on light stand. The Neewer 433MHz Wireless 16 Channel Flash Remote Trigger fires the off-camera flash and controls the power from the camera.
Fuji X-E2, 18-55mm, ISO 400, ƒ/5, 1/180—Neewer TT850 on light stand. The Neewer 433MHz Wireless 16 Channel Flash Remote Trigger fires the off-camera flash and controls the power from the camera.
Fuji X-E2, 18-55mm, ISO 400, ƒ/5, 1/180—Neewer TT850 on light stand. The Neewer 433MHz Wireless 16 Channel Flash Remote Trigger fires the off-camera flash and controls the power from the camera.
Fuji X-E2, 18-55mm, ISO 400, ƒ/5, 1/180—Neewer TT850 on light stand. The Neewer 433MHz Wireless 16 Channel Flash Remote Trigger fires the off-camera flash and controls the camera’s power.
Cookie Consent
We use cookies to improve your experience on our site. By using our site, you consent to cookies.


