|
Getting your Trinity Audio player ready...
|
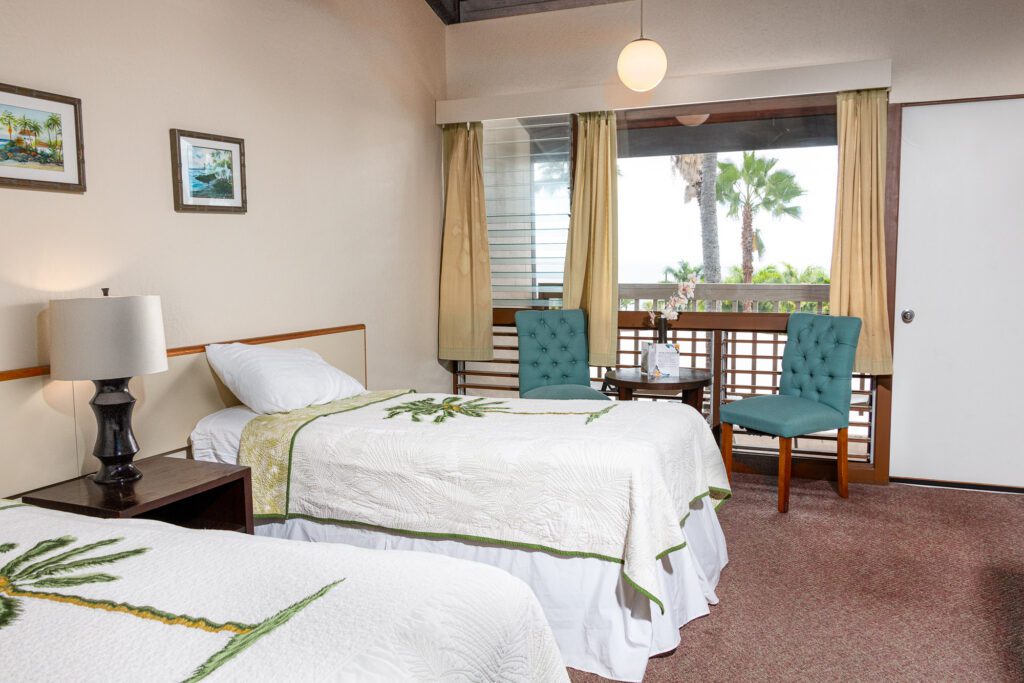
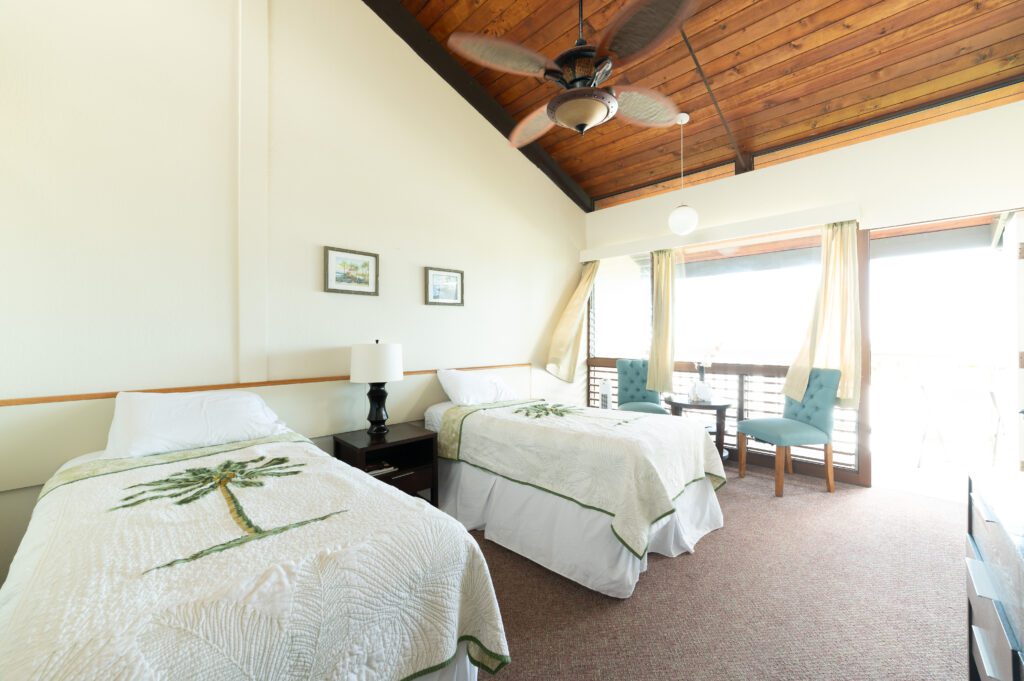
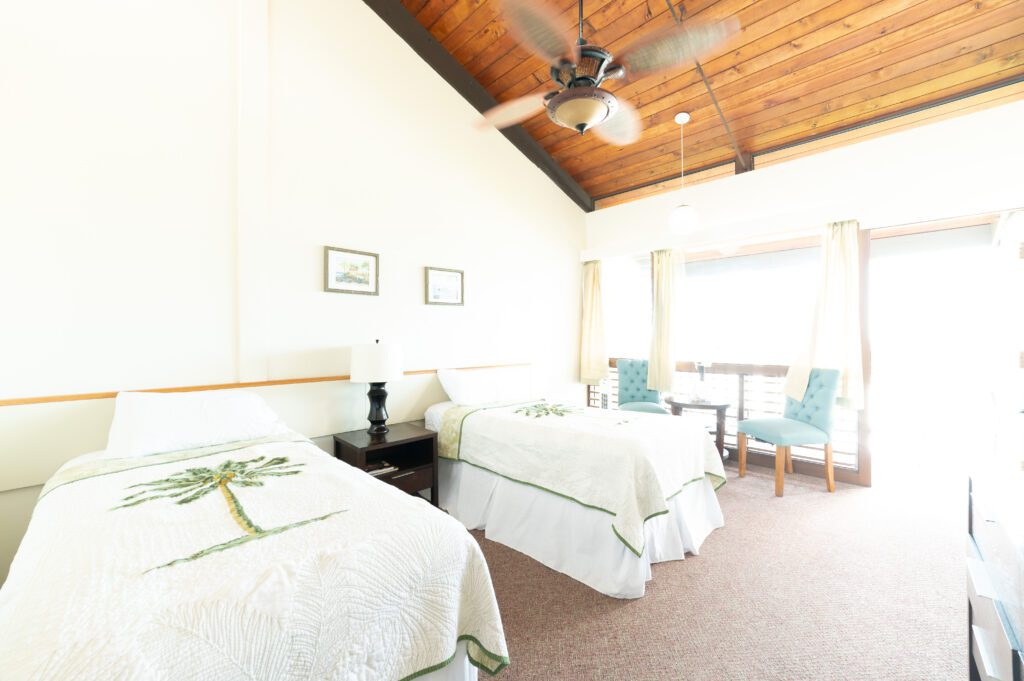
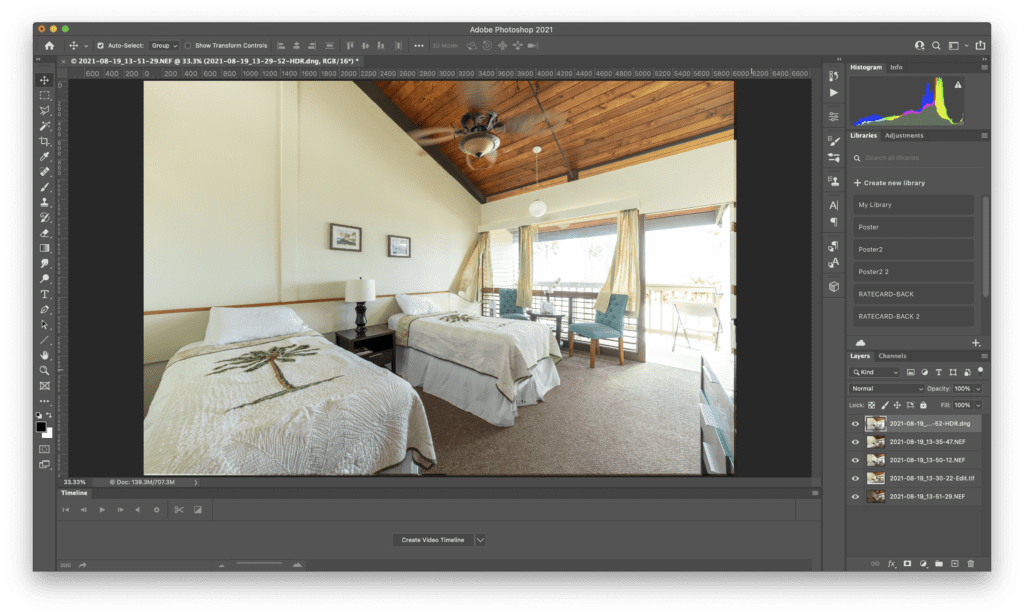
I showed how to do this in my room with a lower ceiling, but we used the high ceiling for the class’s shooting.
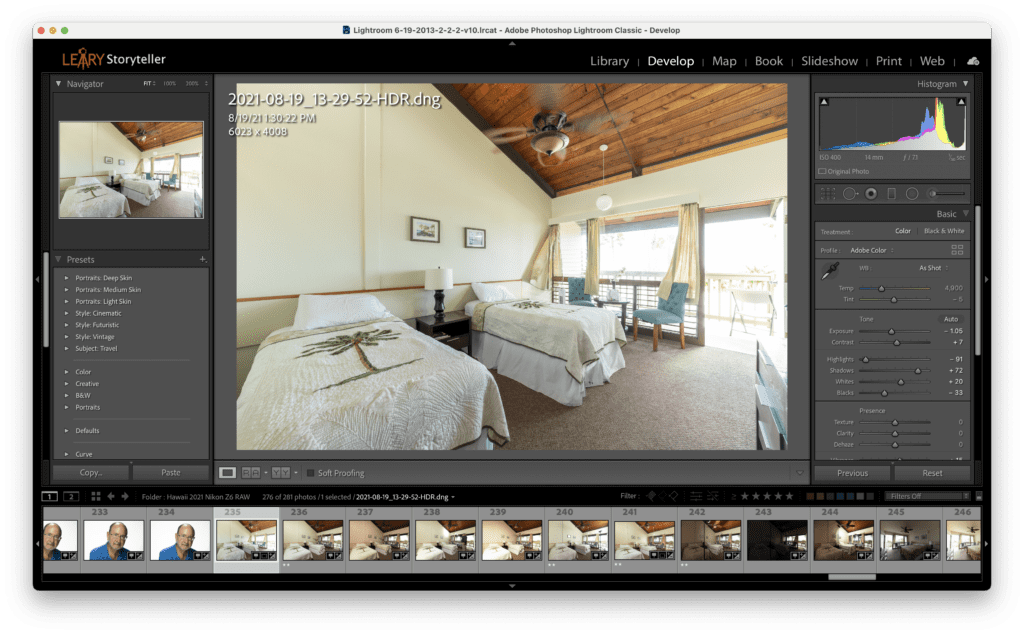
The photo was combined with five bracketed photos to create an HDR ambient photo using Lightroom. Then, the flash shots of the room and the images were blended into PhotoShop.
Here is the Step-by-step process
The Camera Settings to start are ISO 400, ƒ/7.1, and the Shutter speed will be based on the metering.
Shoot five bracketed exposures of -2EV, -1EV, 0EV, +1EV, and +2EV. As you can see in this example, I have to skew this up one stop.
When shooting interiors, you usually shoot one stop brighter than what the camera would say is normal. This is because most interiors have a lot of light or white walls.
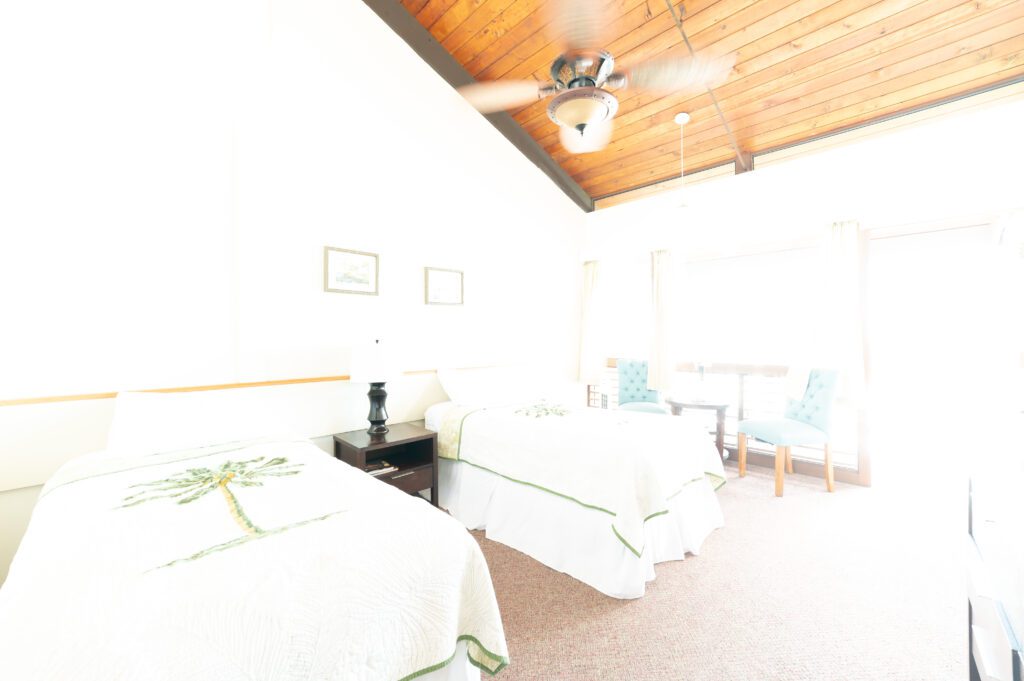
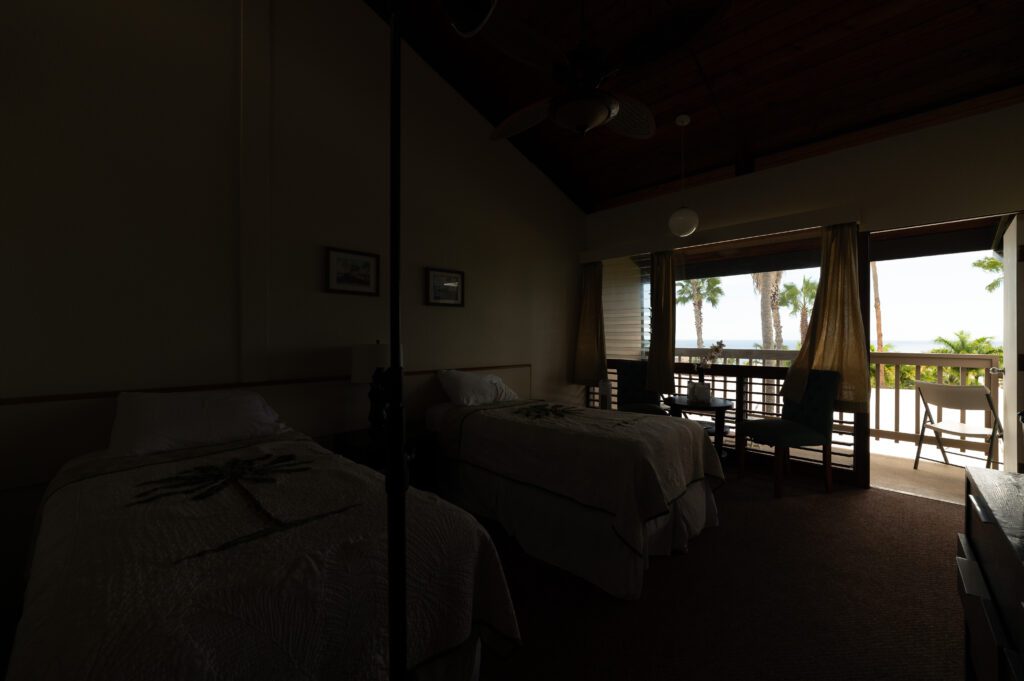
Whatever the exposure is for the frame in the middle of the two over- and underexposed frames, note the shutter speed. If there is no window with light coming in like here, you would be sure your shutter speed is two times faster. I shot 1/20 for the middle shot. Based on that, I would have shot at 1/80 to be two stops darker.
However, I made it even darker to get closer to the outside exposure. So, to get the outside balanced, I shot at 1/160 using my flash to get a good exposure inside. If it is too dark or light, I adjust the power of the flash to get a good exposure.
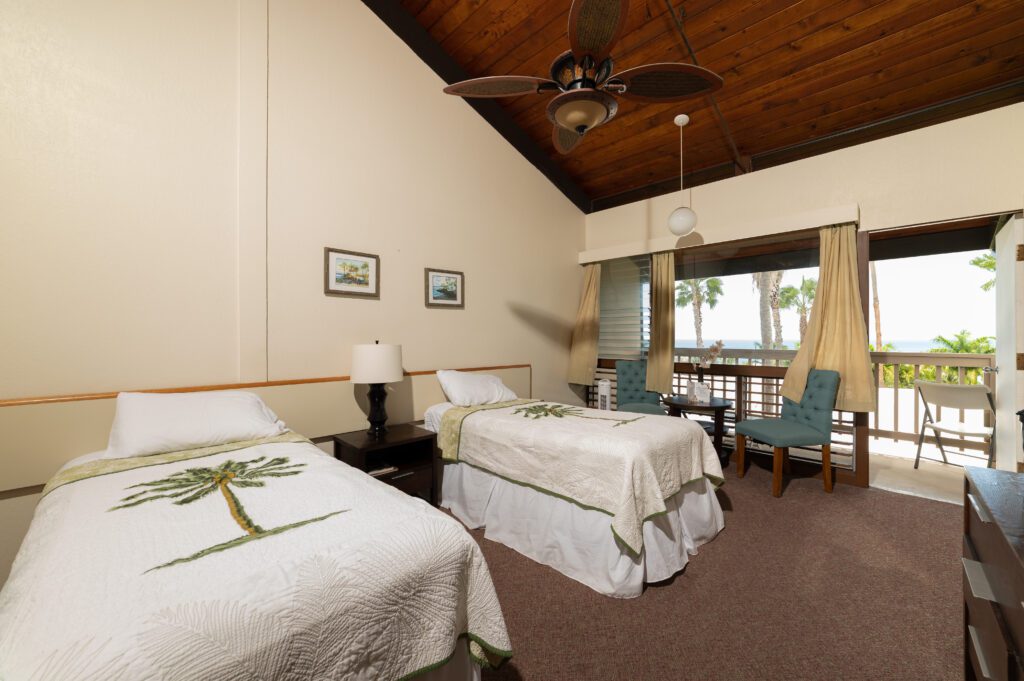
I usually bounce my flash with white ceilings, but for this one, I just raised the flash about 15 feet and shot pointed down. It creates shadows that we will fix later.
I put the flash here to eliminate those shadows from the light in the earlier shot.
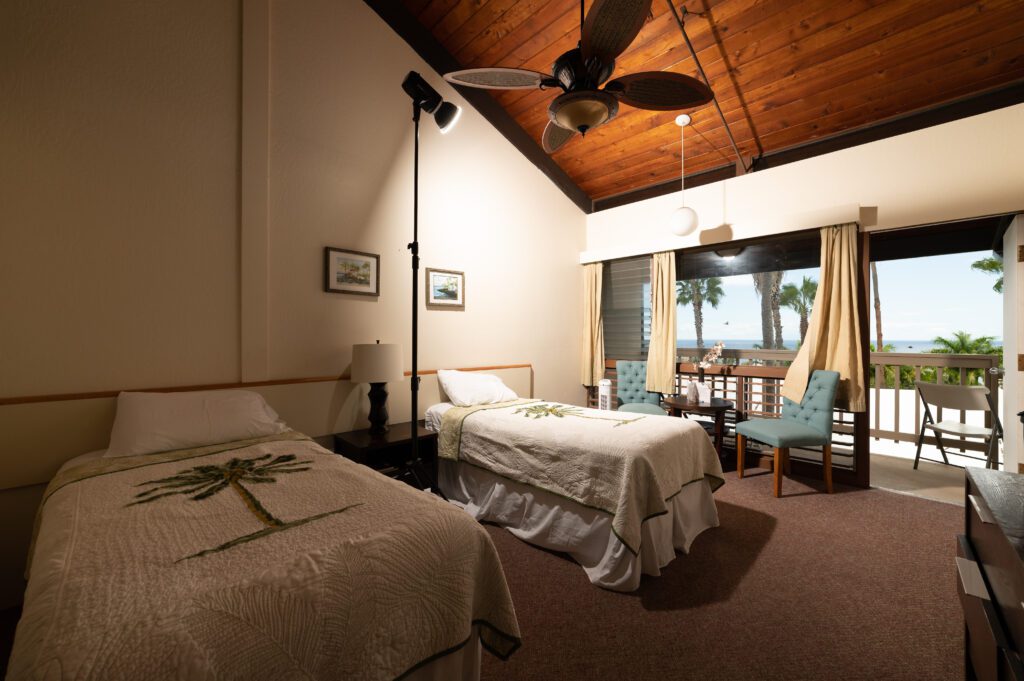
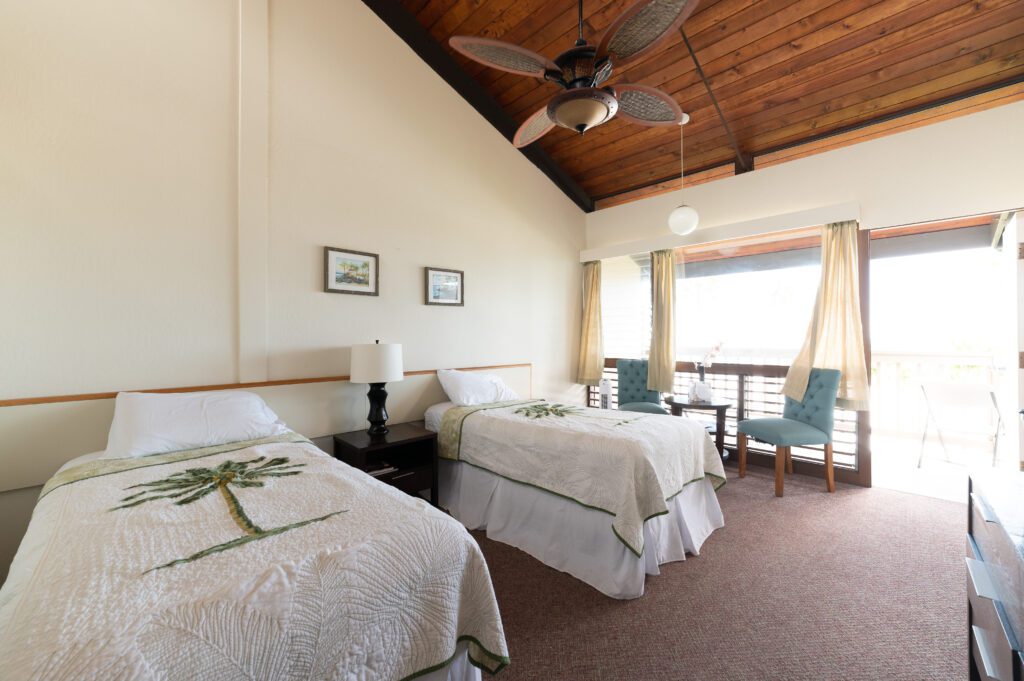
Shoot another shot, blowing out around the window. Shoot so the outside is well exposed and the inside around the window is overexposed.
Shot one without the flash as a safe shot if needed due to reflections on the window.
Now to Editing
Select all five ambient shots.
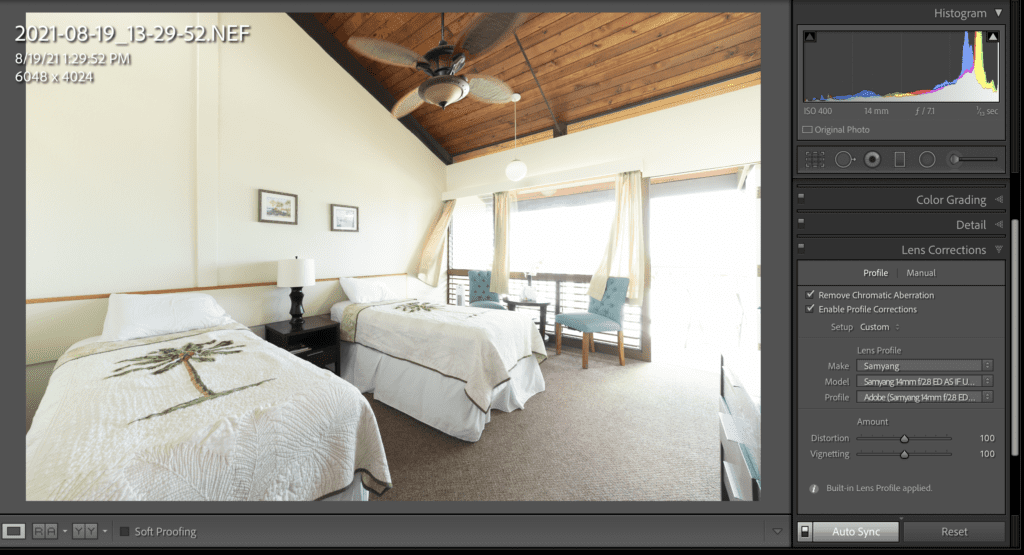
When in Lightroom, correct the lens, as seen above. You should be in the Lens Corrections tab, then the Profile tab and I will check both. Your lens will usually pop up; if not, use the pull-down menu to find it.
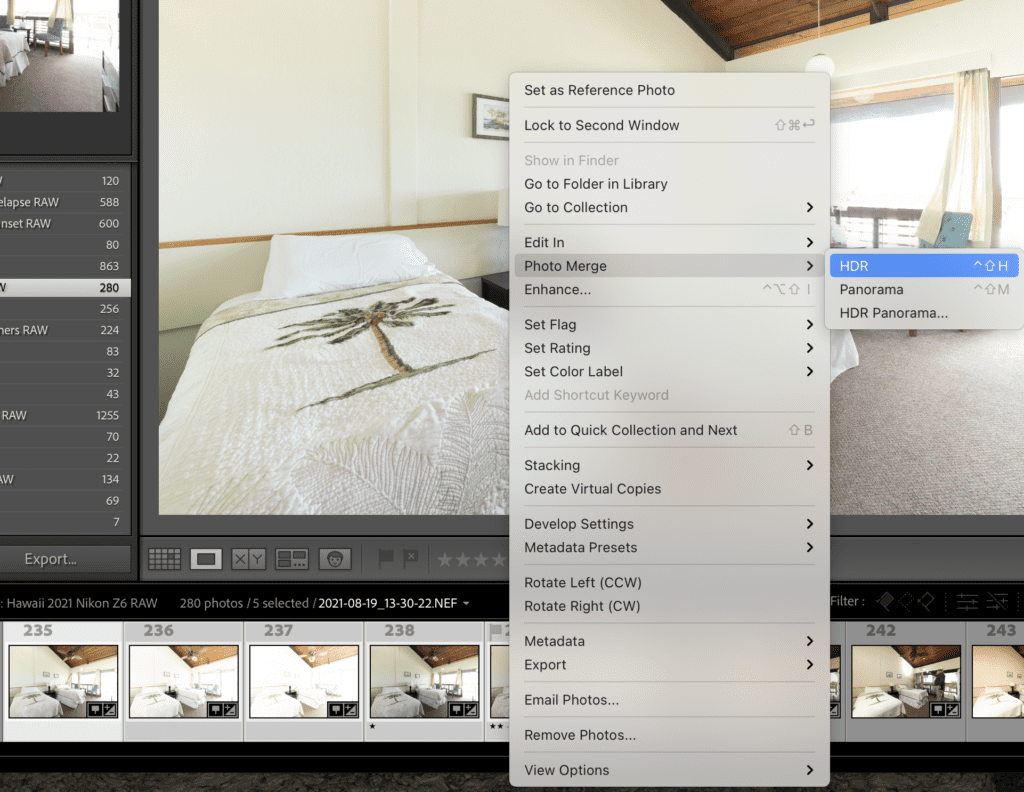
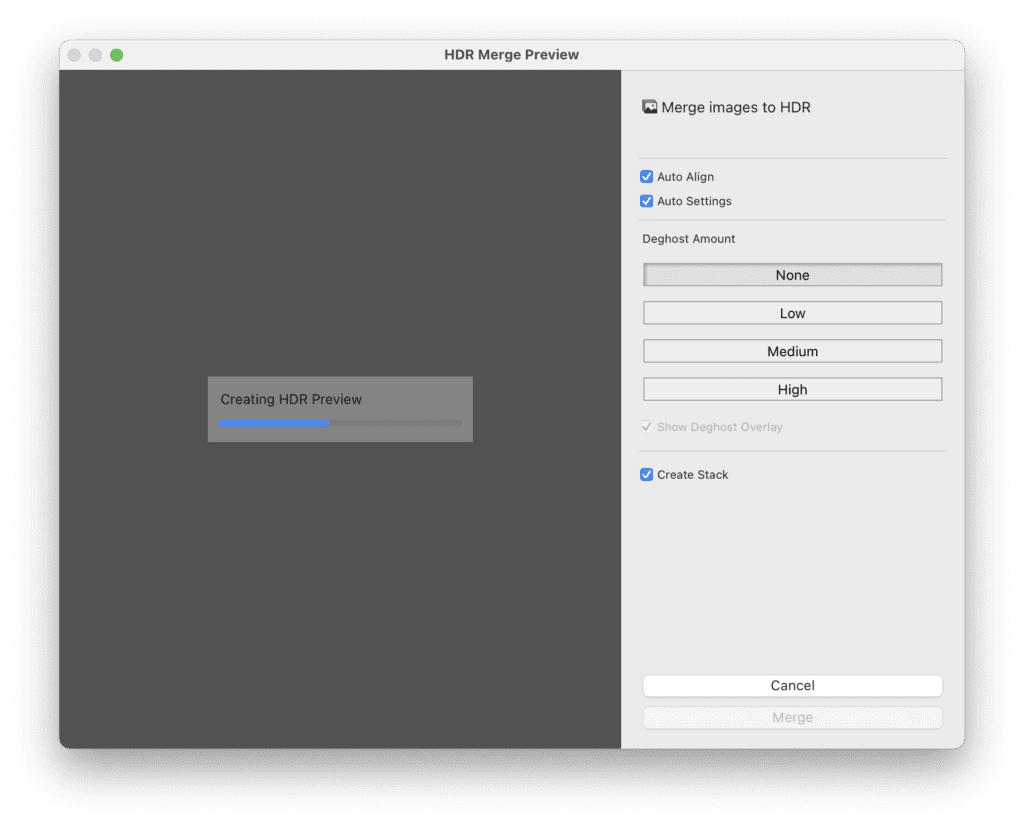
Select all the images and right-click to get this menu to pop up. Select HDR.
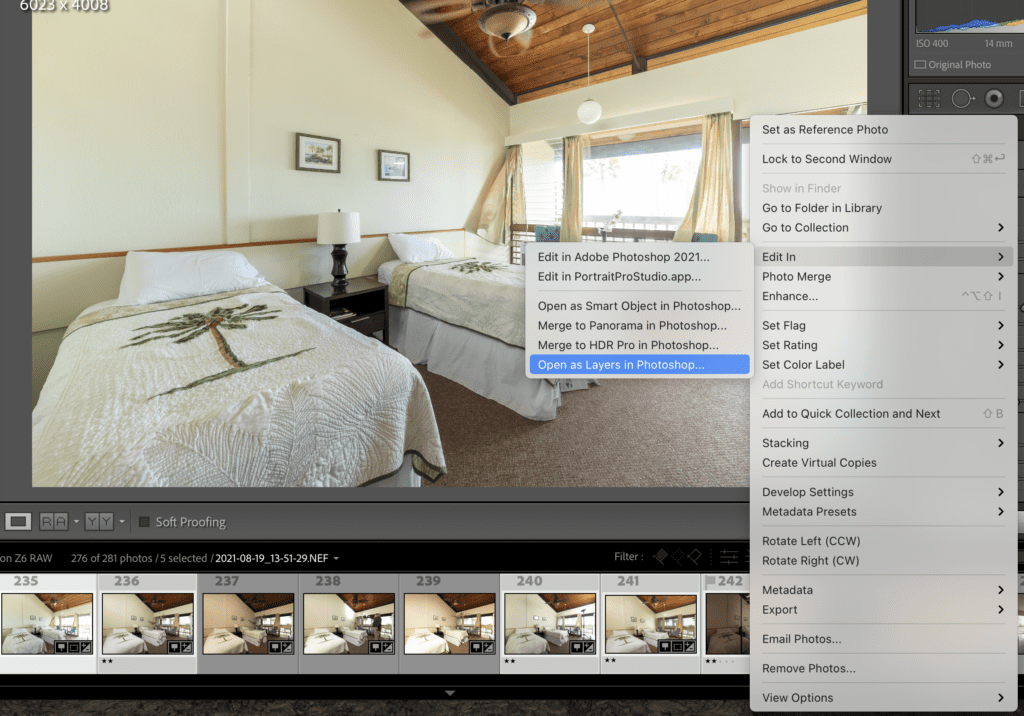
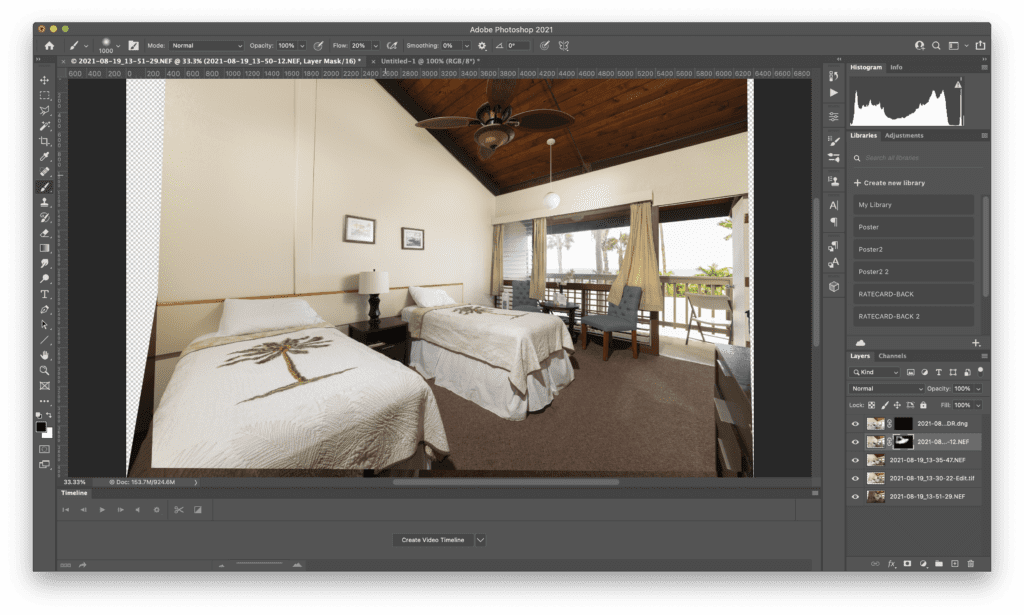
Now select the HDR the flash shots you did, and right-click. Select Edit In>Open as Layers in Photoshop.
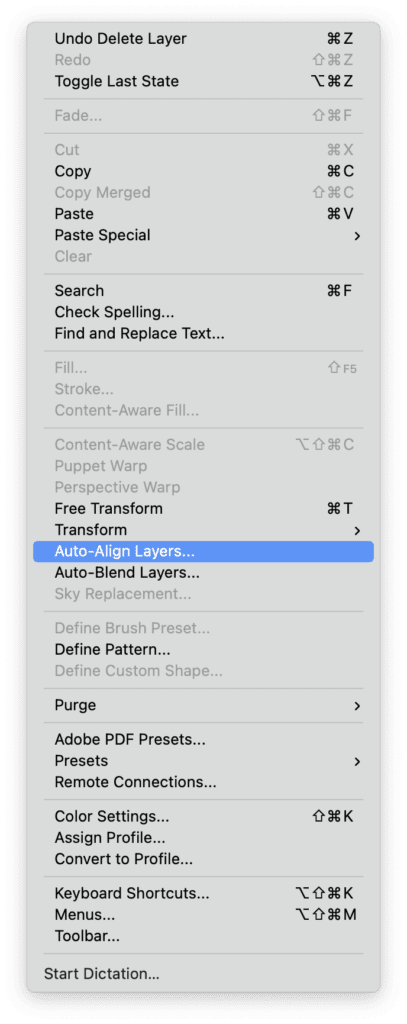
On the far right, after all the photos have loaded, you will see them stacked in the Layers panel. Top to bottom will be in the order they were shot. Click on the top one, and holding the Shift Key, click on the last one at the bottom, selecting all of them. Go to the top menu bar to Edit and choose Auto-Align Layers, as I have done here.
You will then see this pop-up.
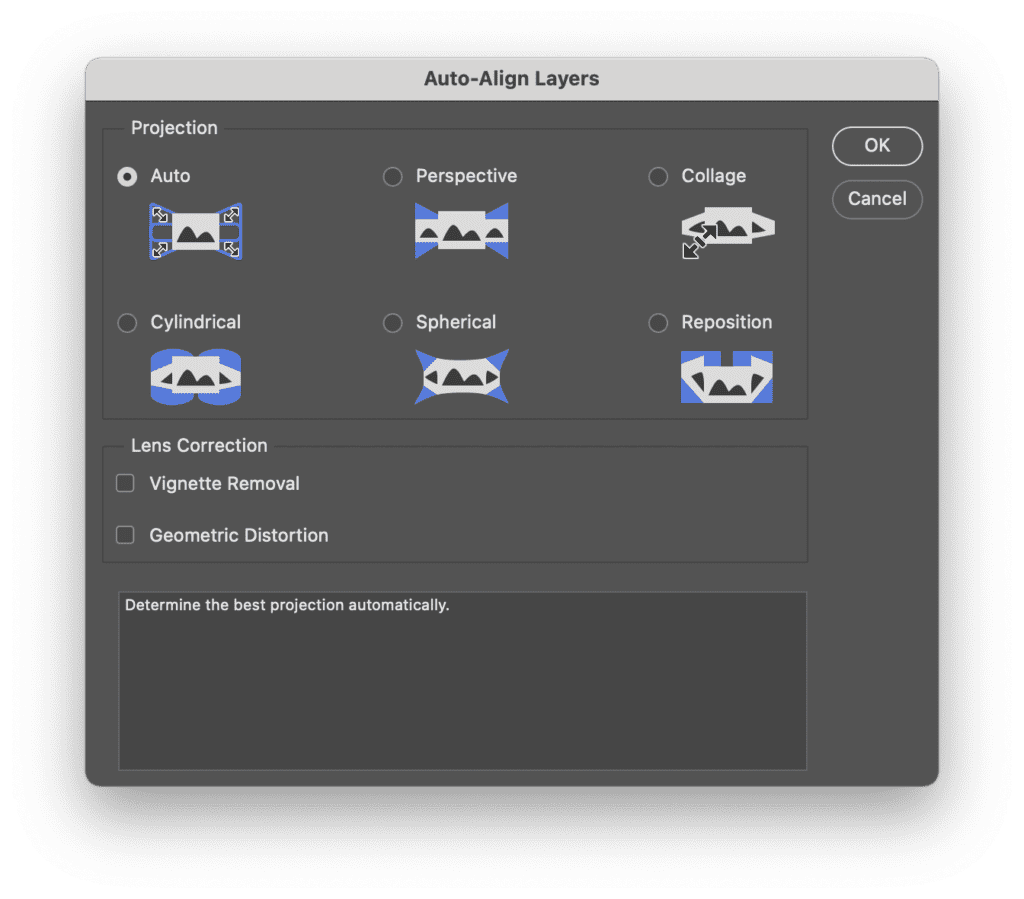
If the Auto is checked here, then click on OK.
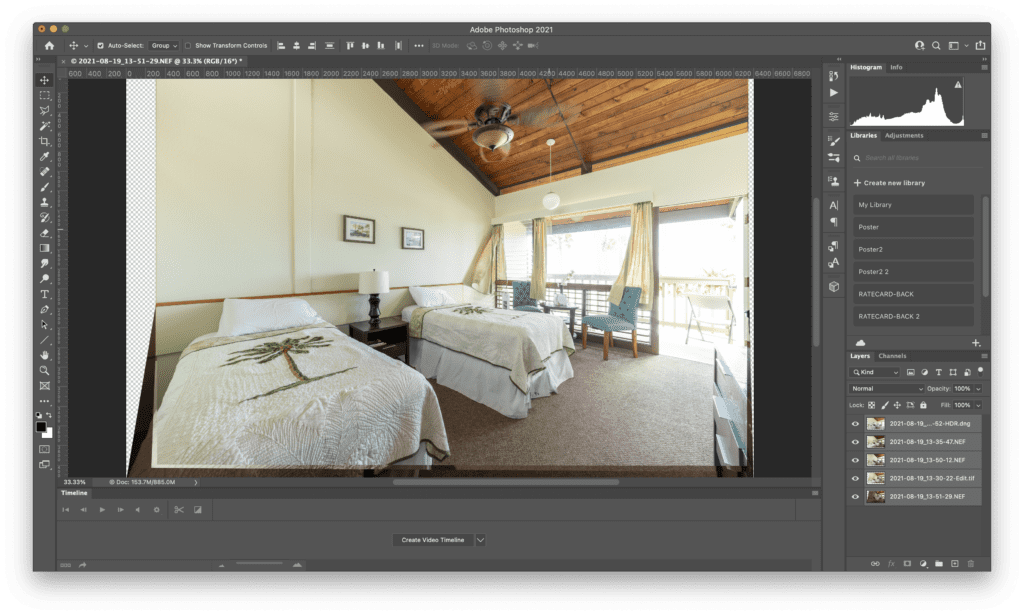
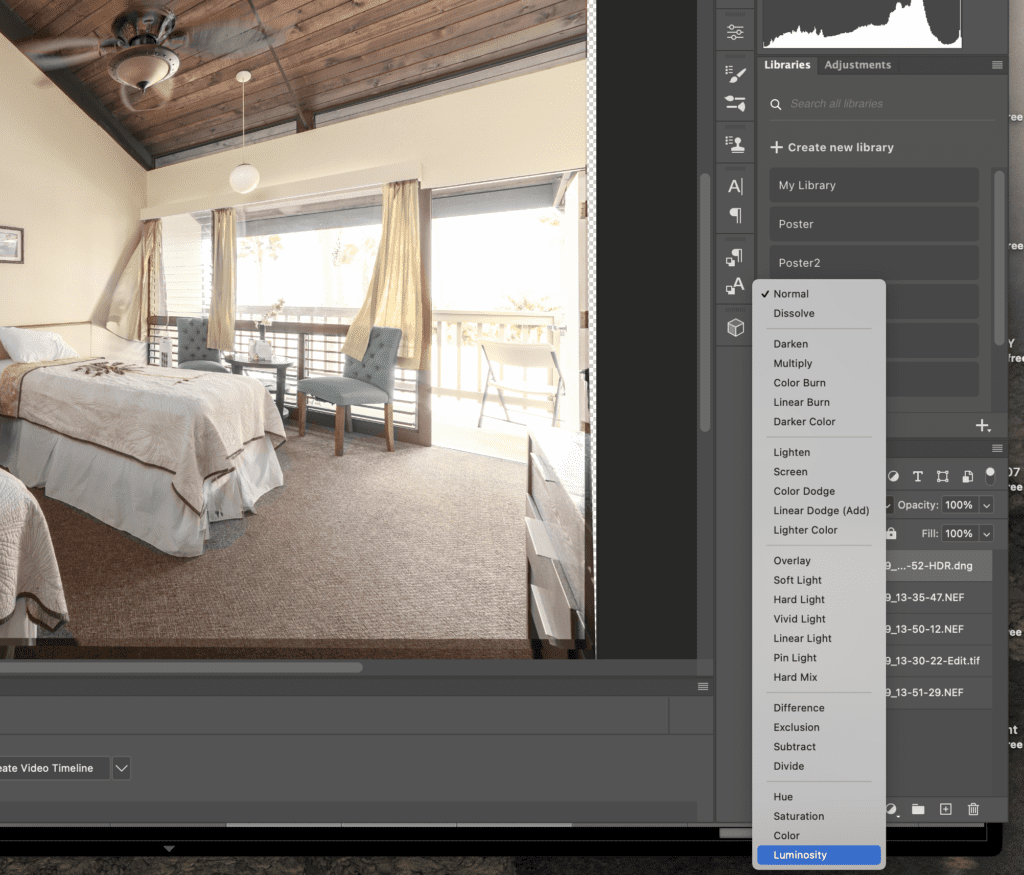
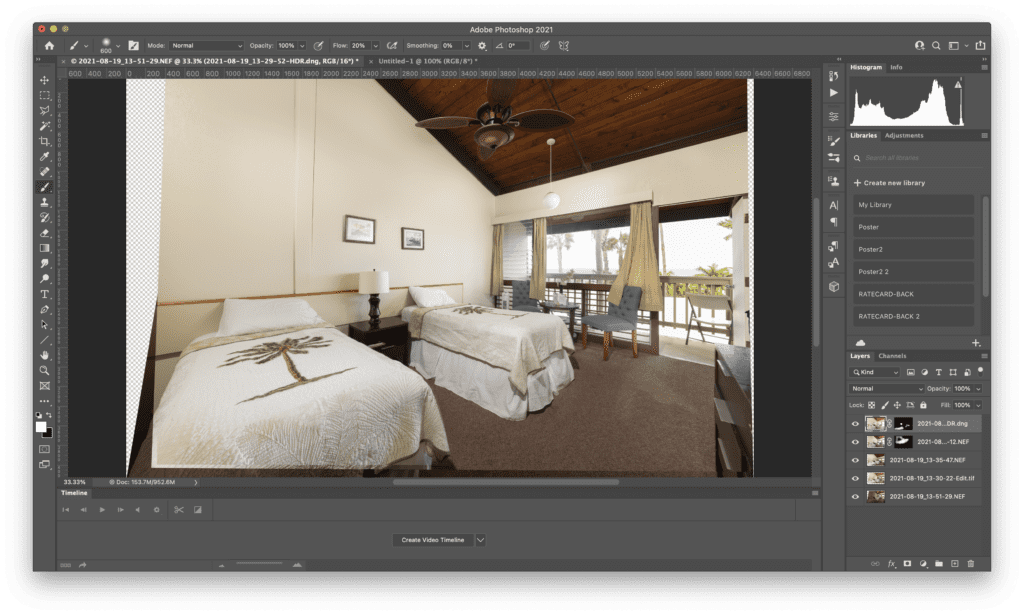
Click on your top image, which, in this case, is my Ambient HDR. Then, just above, click and change it from Normal to Luminosity.
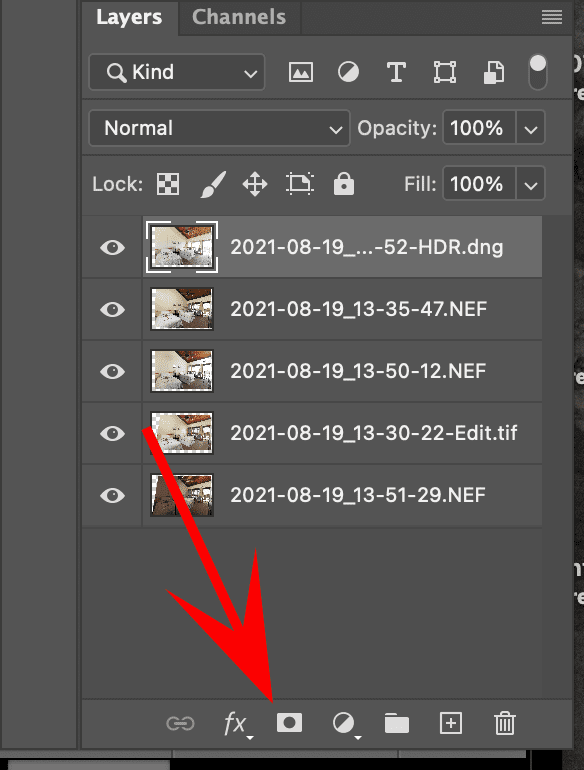
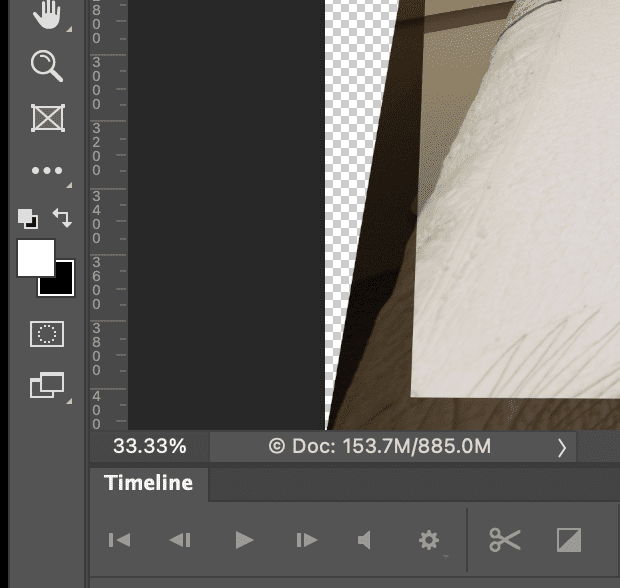
While the top layer is still selected, we will create a Hide Mask. Hold down the Option Key on a Mac & click on this icon that the red arrow is pointed to above.
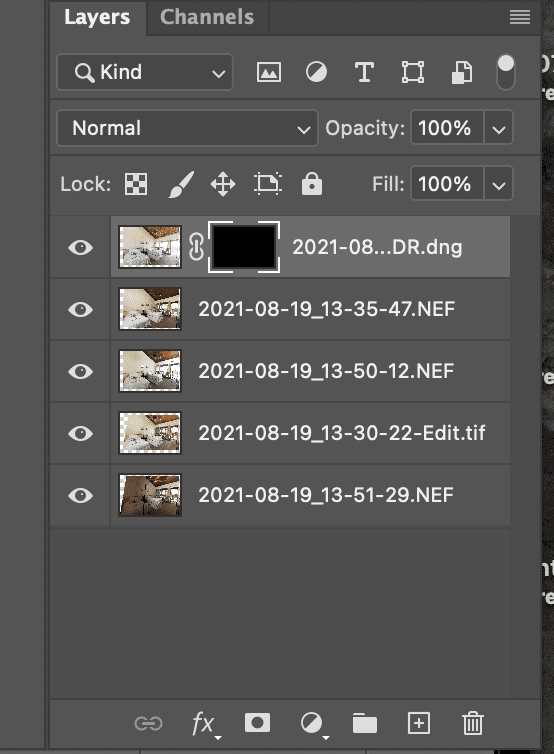
You will see this after that step. Be sure the white brackets are about the black box. If not, the following steps will not work. Check this every so often to ensure you are OK.
Click on “B”
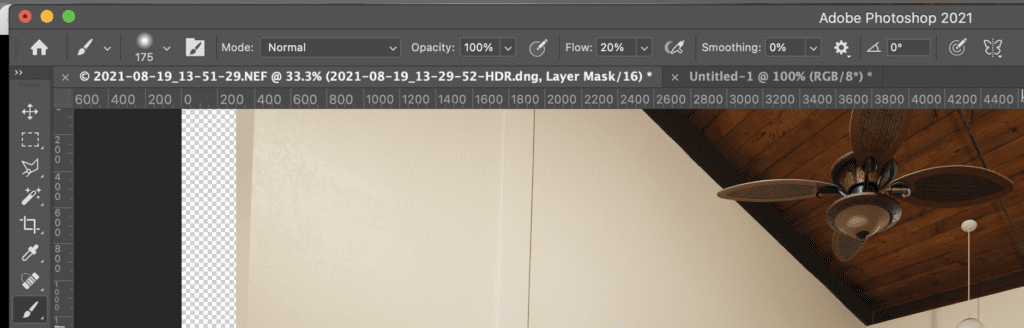
This now has you using the brush tool. Be sure your toolbar on top is normal, has an opacity of 100%, and flows at 20%. Where you see the 175 below the circle [Your number may be different], click on it, and this will pop up.
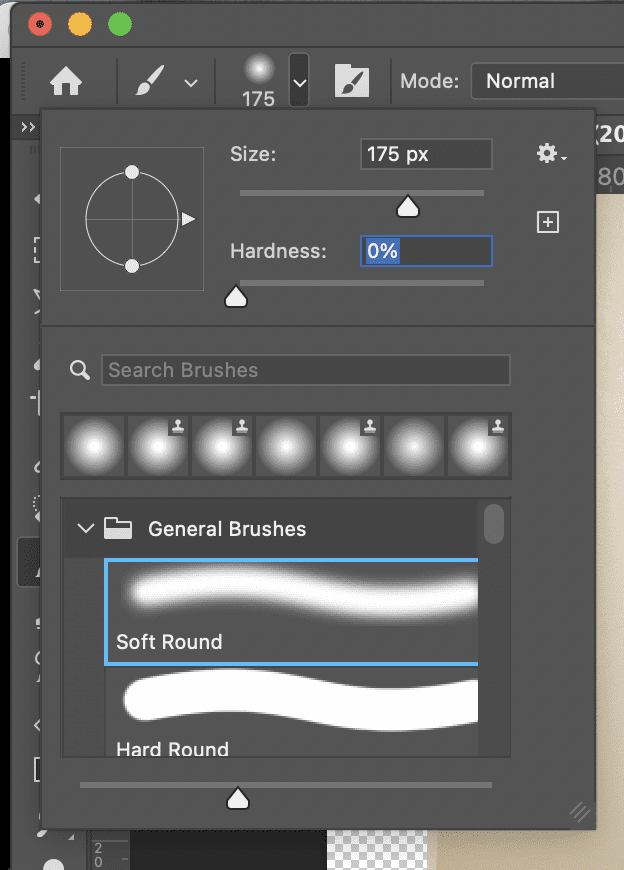
Hardness needs to be at 0%, which feathers the brush. To make the brush bigger, click on them ]; to make it smaller, click on [.
Now, we are almost ready to paint. We are not seeing the HDR; we are now seeing our first flash photo.
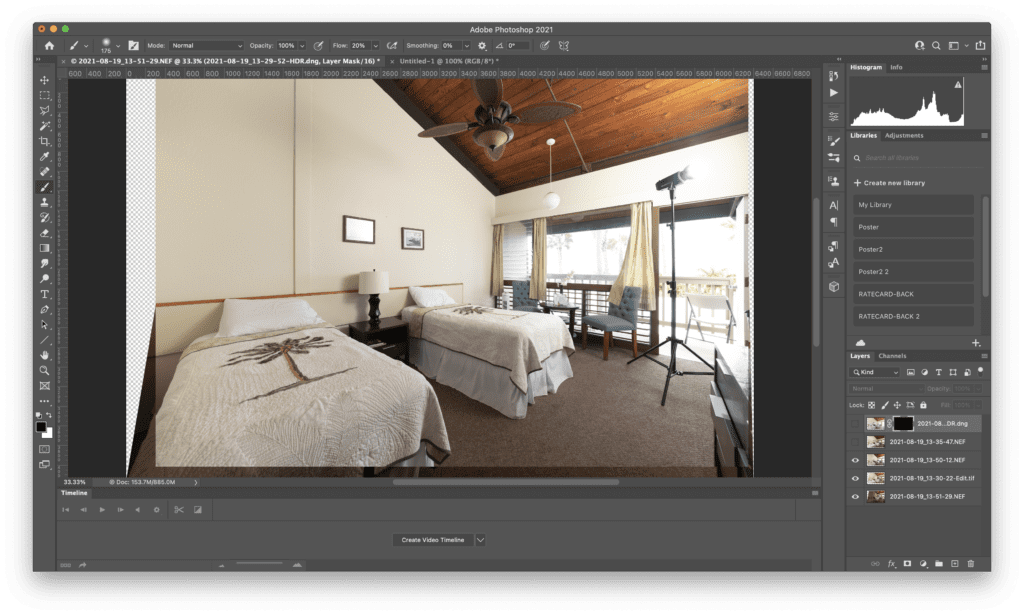
I clicked on the eye in the layers level to turn off the top two photos. I want to move the third one to just below the top HDR photo and the first Flash photo. Then, we repeat for that layer to create another hidden mask. See the instructions above on how we did that for the HDR. When you are done, it will look like this.
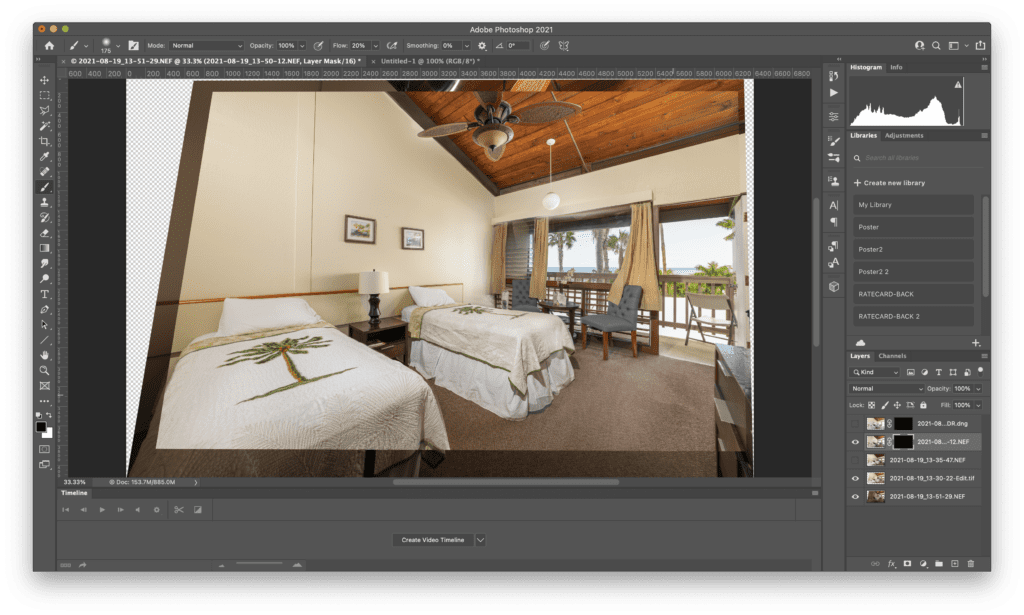
Now, be sure you press “B” so you have the brush and that the white box is on top of the black box on the left, as seen below. If the boxes are reversed, then click on “X” to toggle between them.
Brush over the shadows of the ceiling fan and the hanging light; this is what I got if you mistake toggle to black with the “X” and reverse what you did.
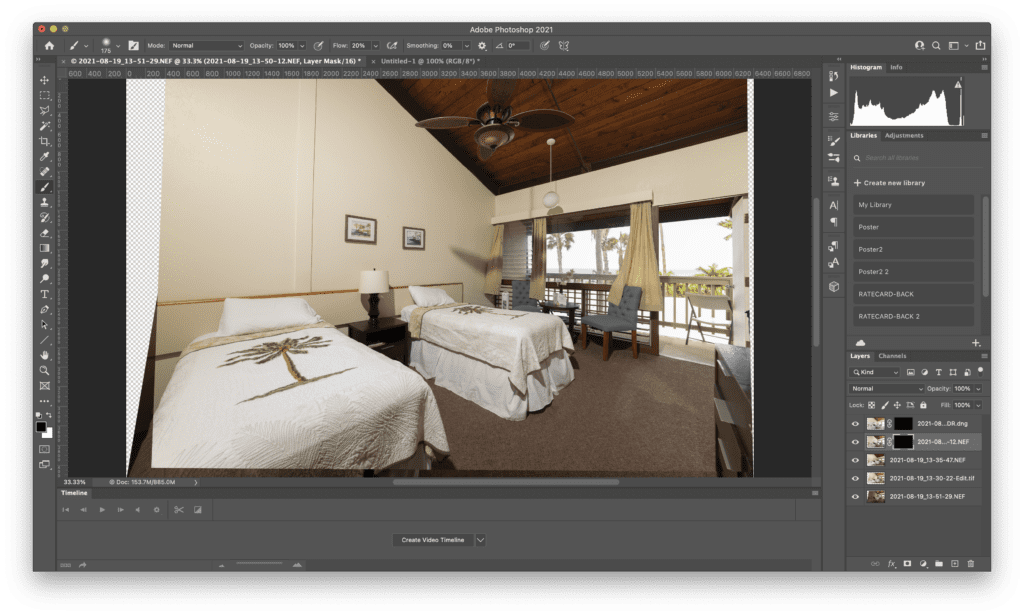
Now, I am going to click on the HDR, make sure the white brackets are around the black box in the layers, and paint over some of the other shadows caused by the flash.
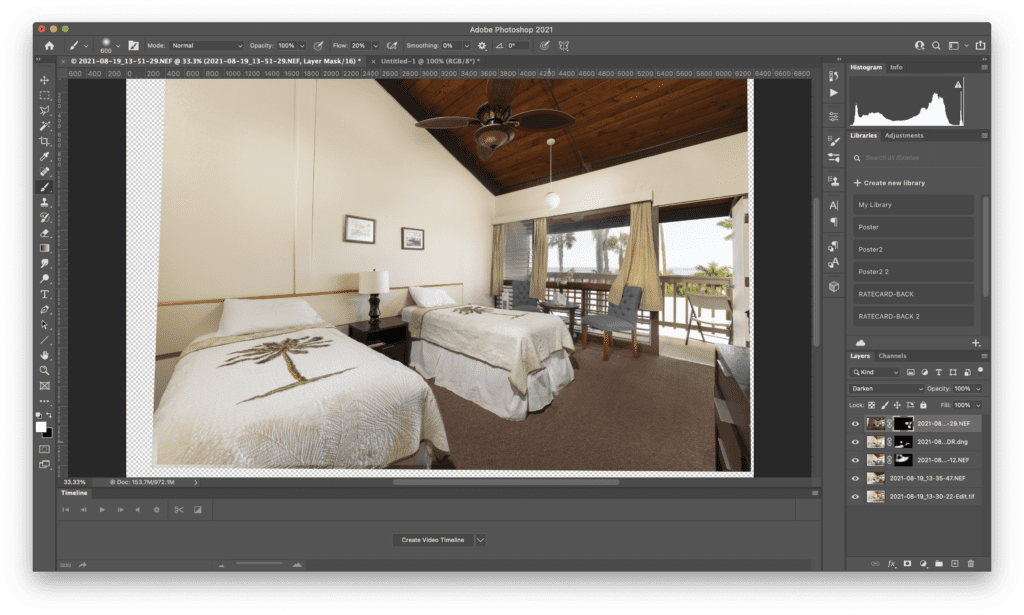
The last step is to take the Window Pull on the bottom and drag it to the top. Change it from Normal Mode to Darken and create a Layer Mask Hide. Then, using the brush, paint just the windows.
It’s not a big difference, but now you know how to do it. Select all the Layers and then click COMMAND + E to flatten them. Click on COMMAND + S to save it. Go back to Lightroom.
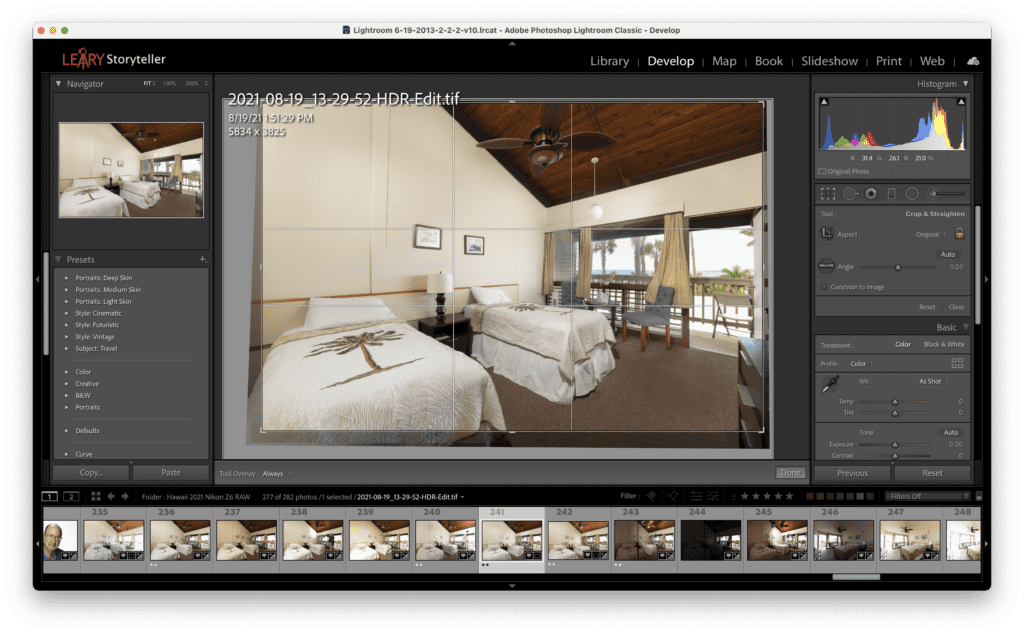
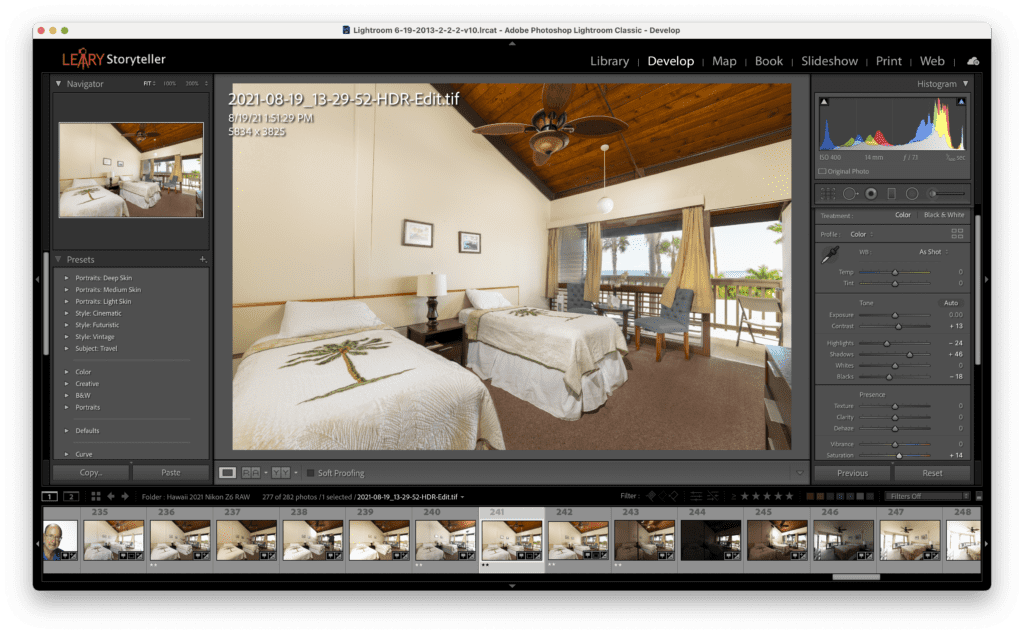
Find the image that will most likely be HDR-Edit.tif. Crop the photo, correct any last color, contrast, or other errors, and export it as a JPEG. You can see some of my changes on the right.
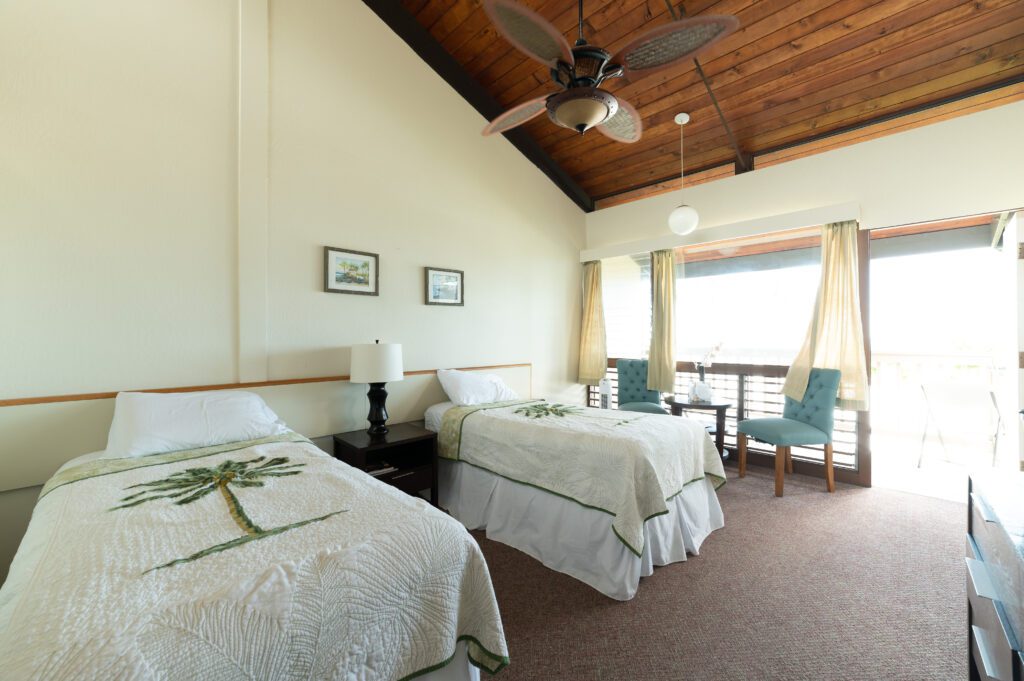
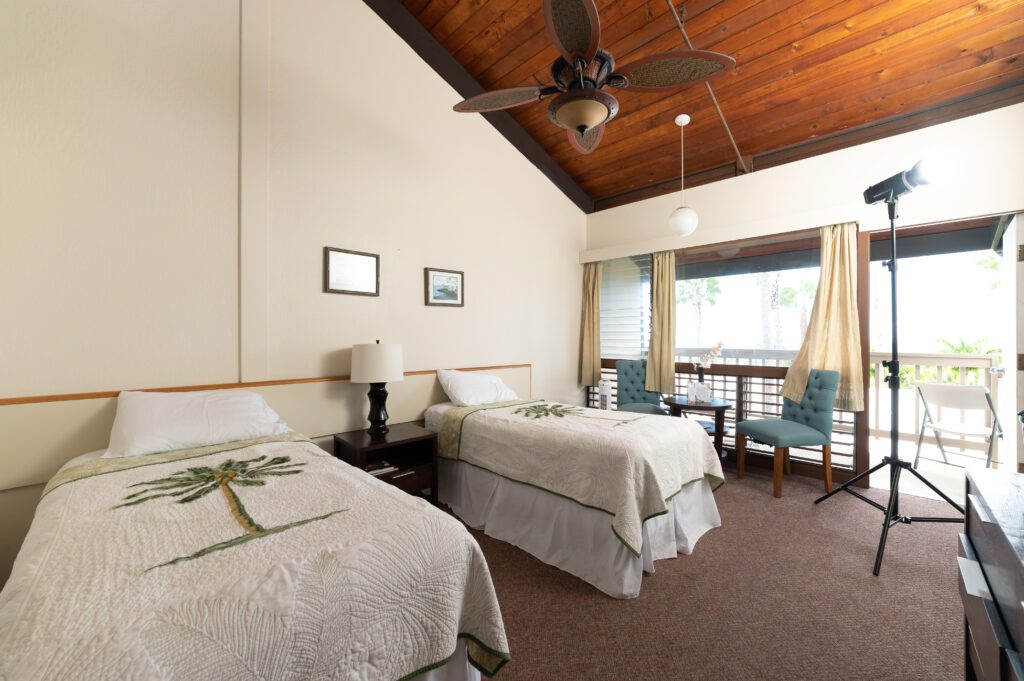
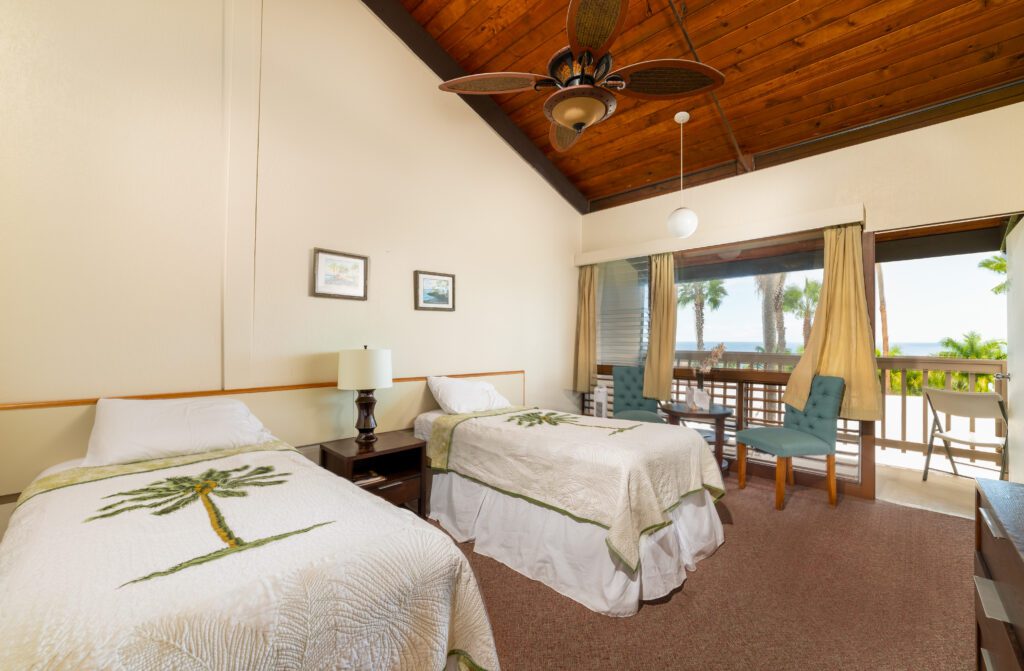
Final Image
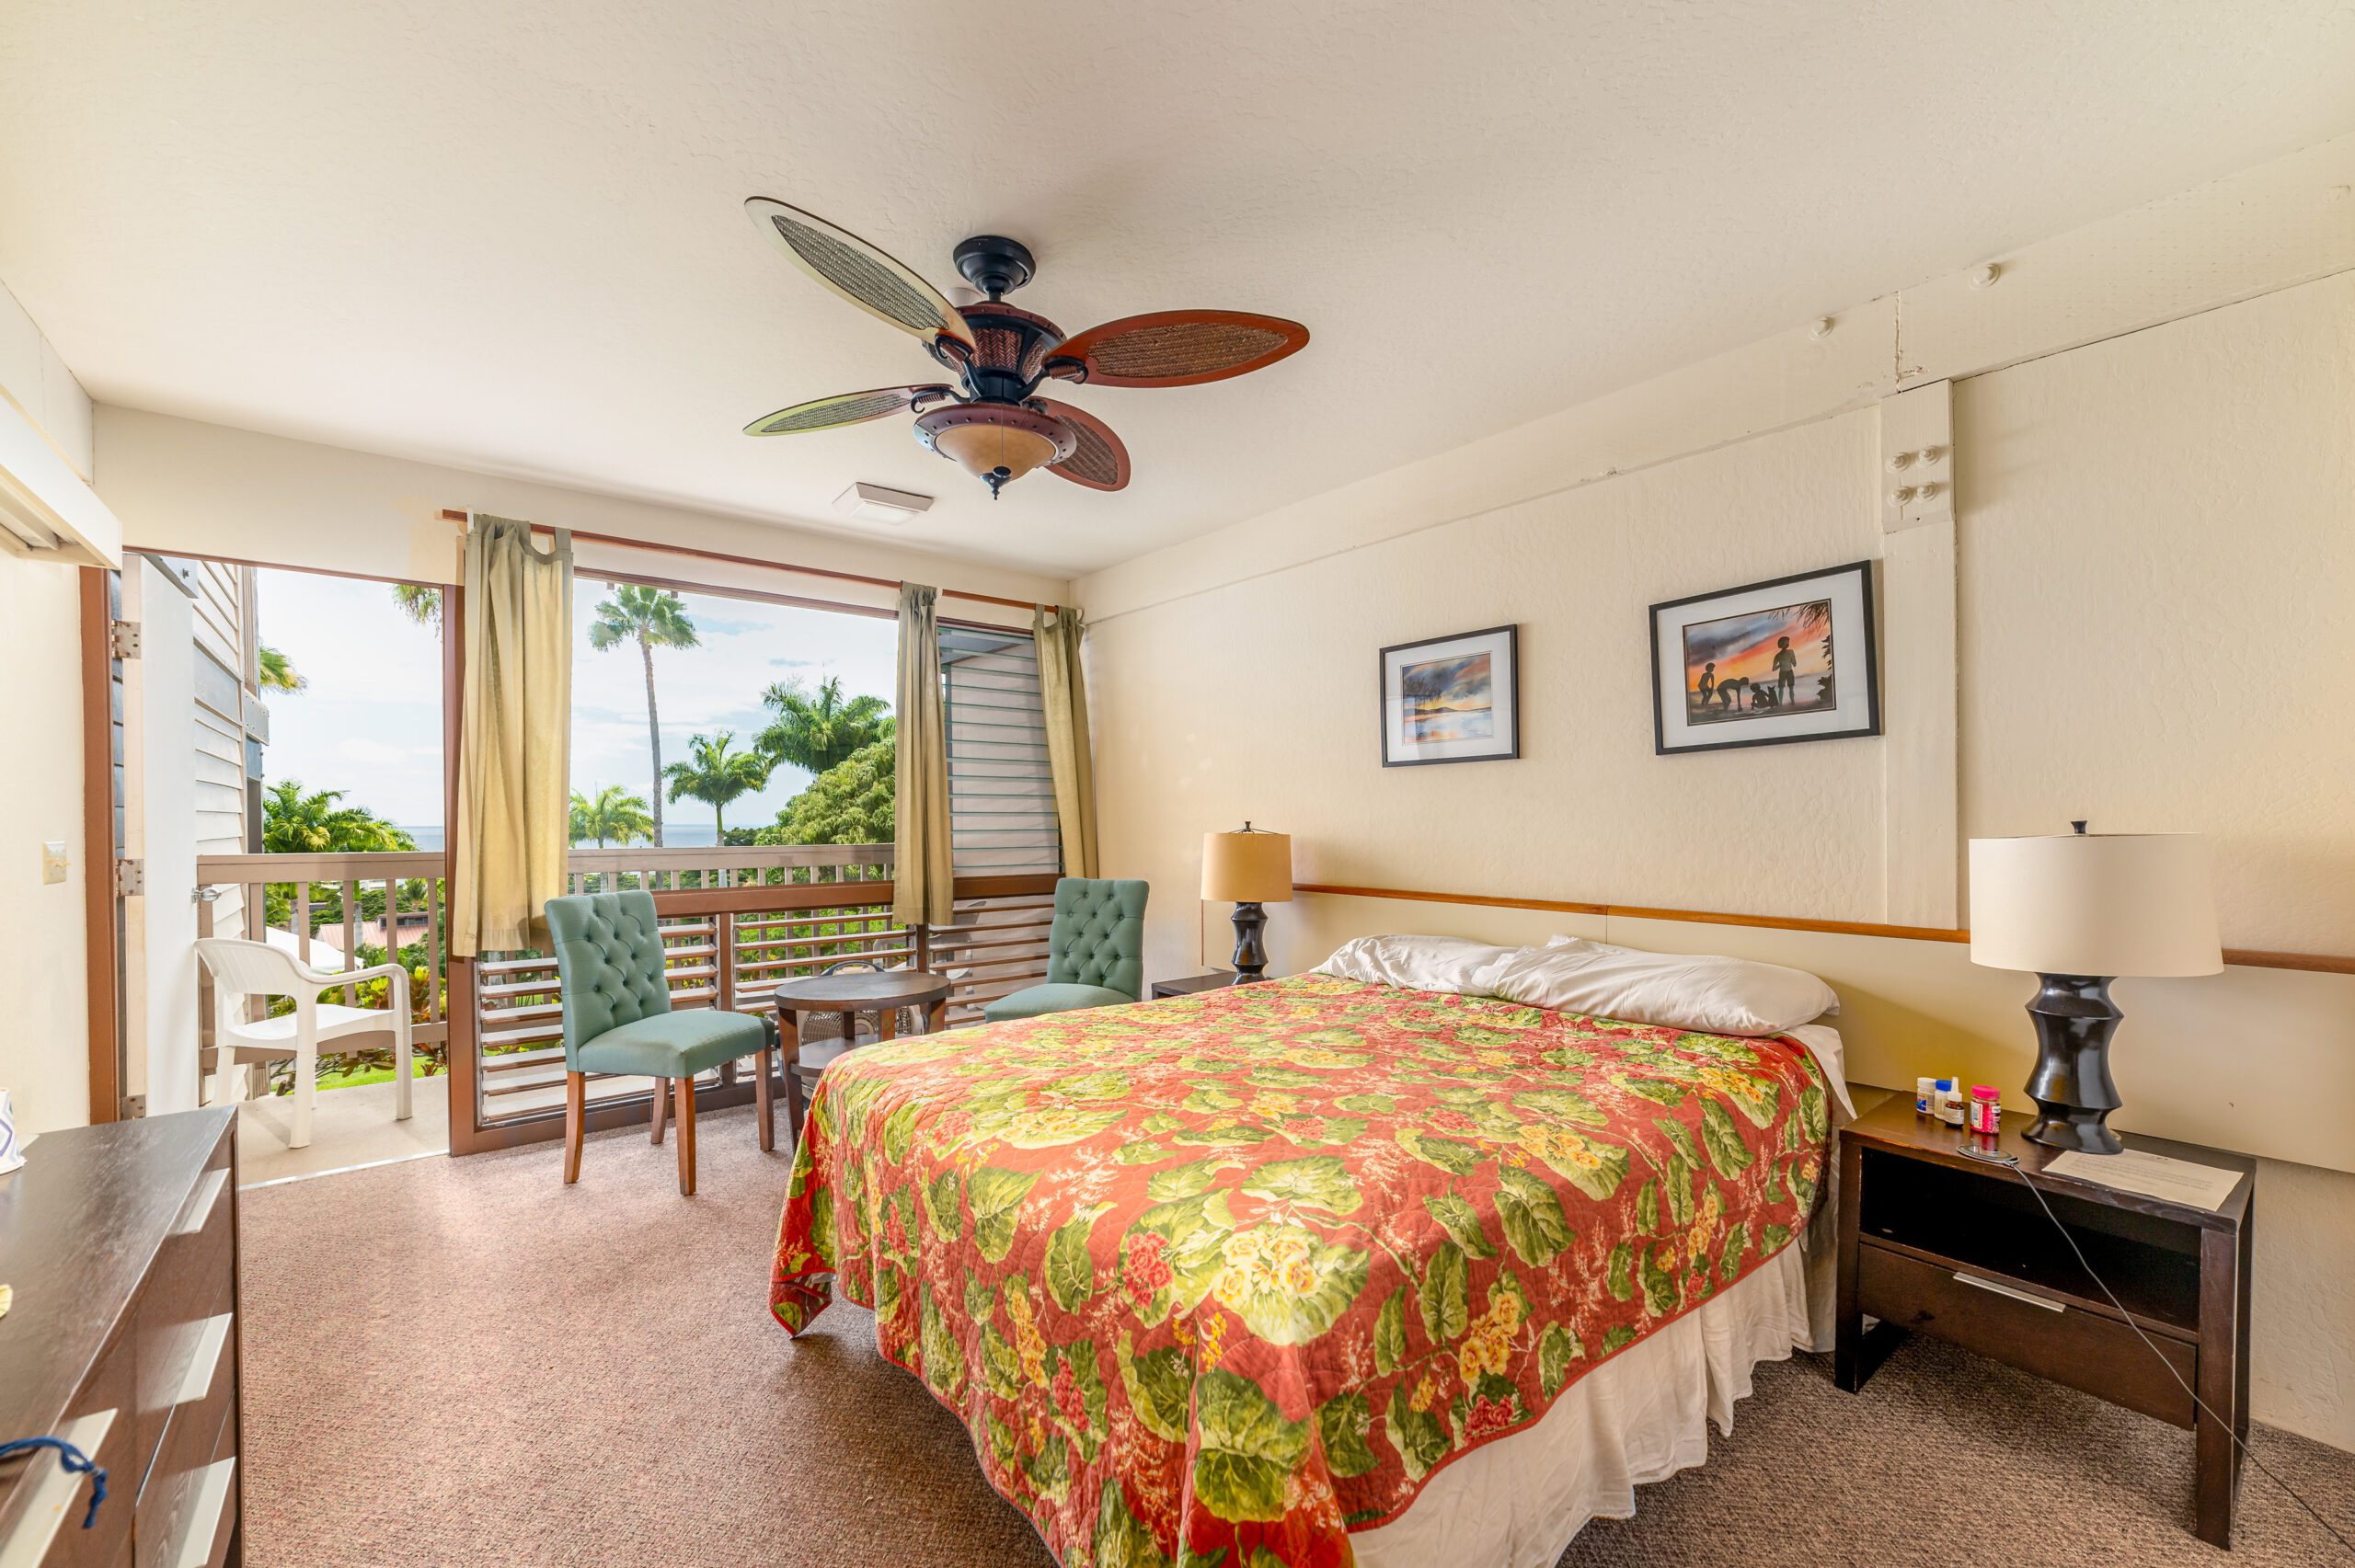
By the way, some students turned on the lights after I mentioned it to them. Christopher Morgan got a perfect photo of the adjoining room. His lens wasn’t as wide as mine, but he got a great shot.