Since 2006 I have been doing a one-week lighting workshop as part of the School of Photography program of YWAM with Dennis Fahringer in Kona, Hawaii.
This year I was asked by two of his former students to come to Dunham, Quebec, Canada, and teach the same thing, but this time to a school that will be in French and English.
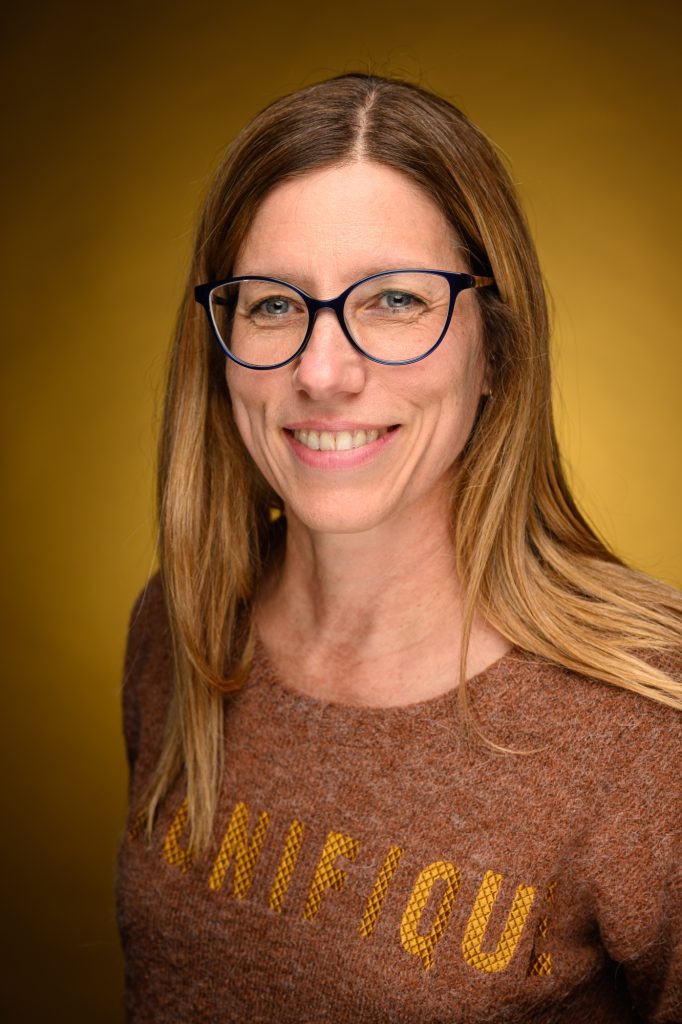
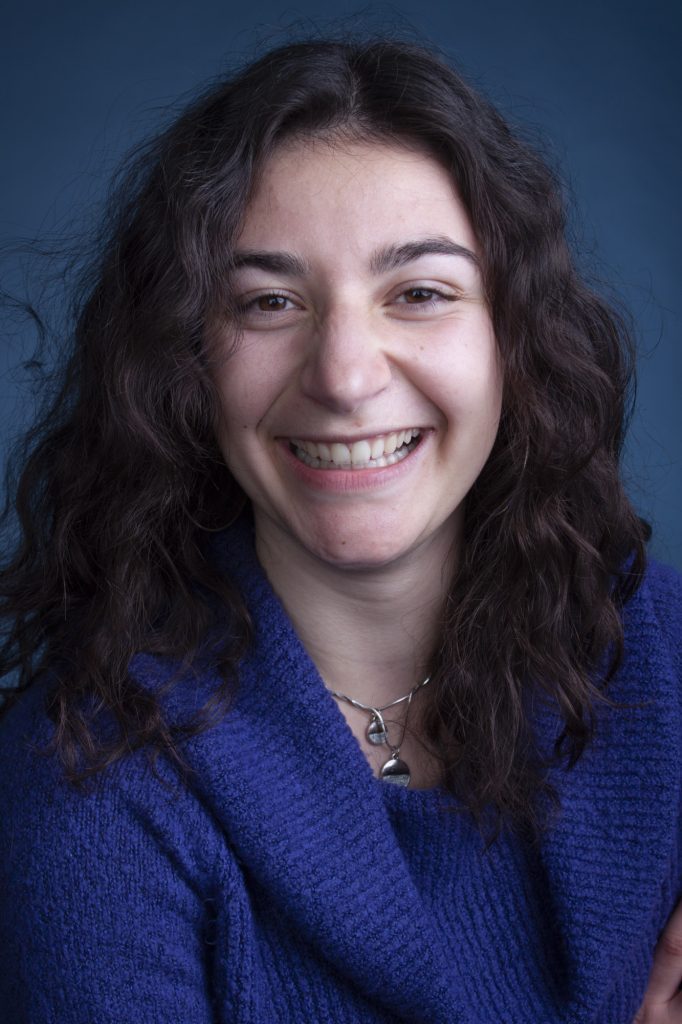
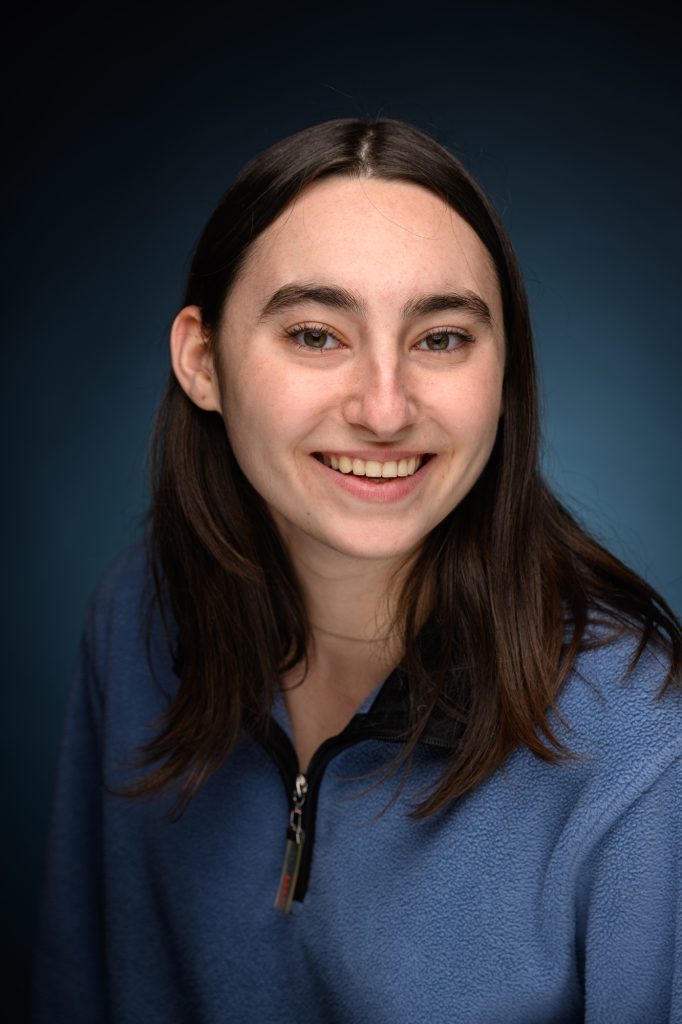
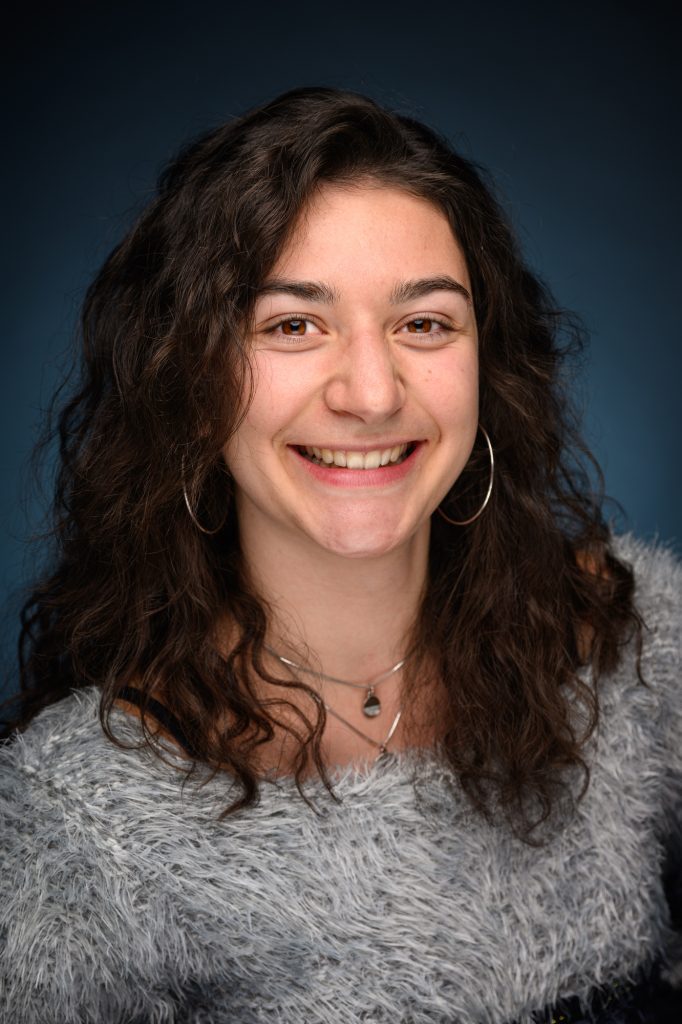
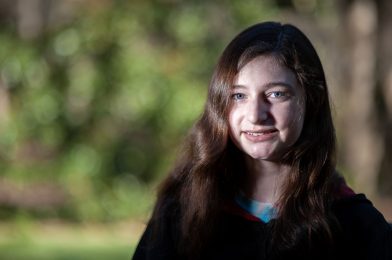
Raphael PaquetJulie Gavillet
This was their very first time leading a School of Photography for YWAM. The leaders Raphael Paquet and Julie Gavillet hosted me during the week and translated me into French.
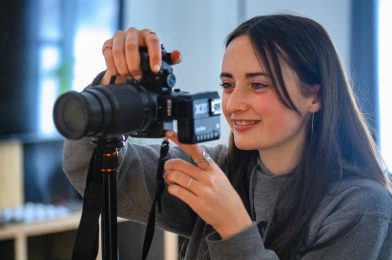
The students were learning where to place the leading light for a starting position with portraits. They also were learning not to light everything evenly.
I also told about my journey in photography and how it took time before I got the assignments I wanted. I also taught them a little about how to make a living with Business Practices.
You may be interested in a Lighting Workshop. Drop me a line if you are interested.
I have preached over and over on my blog about how Flash can improve the colors in your photos.
Flambient is even a new term you will see in photography that was being done long before. This is where the photographer blends available light with Flash.
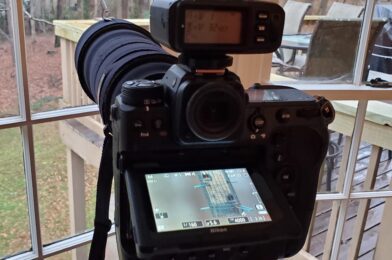
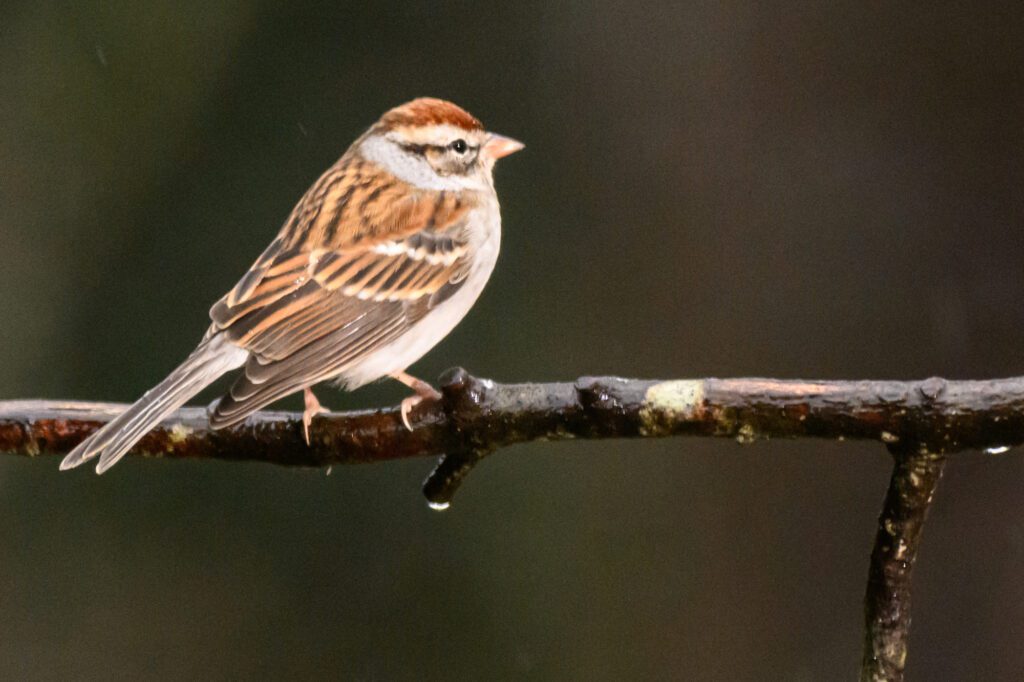
No Flash [NIKON Z 9, VR 120-300mm f/2.8G, Mode = Manual, ISO 4000, 1/160, ƒ/5.6, (35mm = 460)]
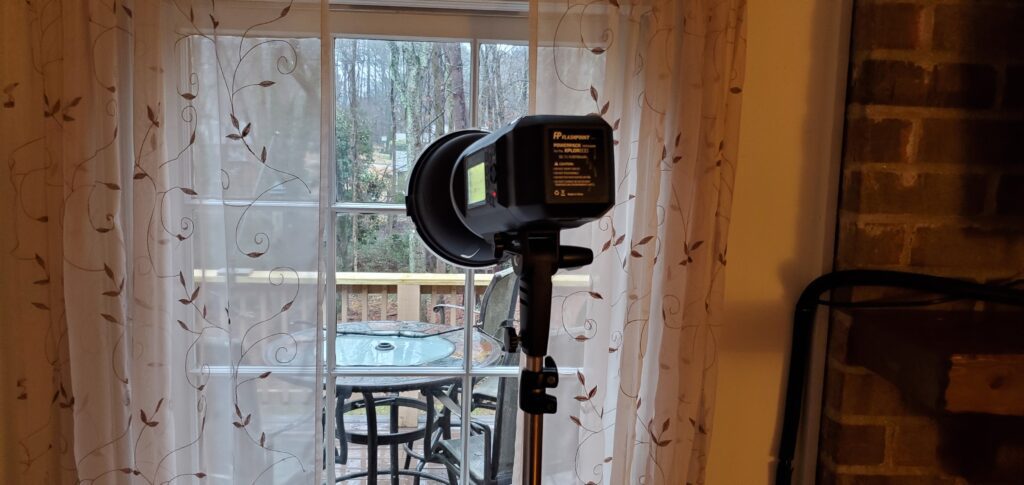
This is without a flash shot of birds on the bird feeder. I am shooting from one window of my house, and I put the Flashpoint XPlor 600 HSS TTL in another window about 15+ feet away, creating a triangle between camera, subject, and light.
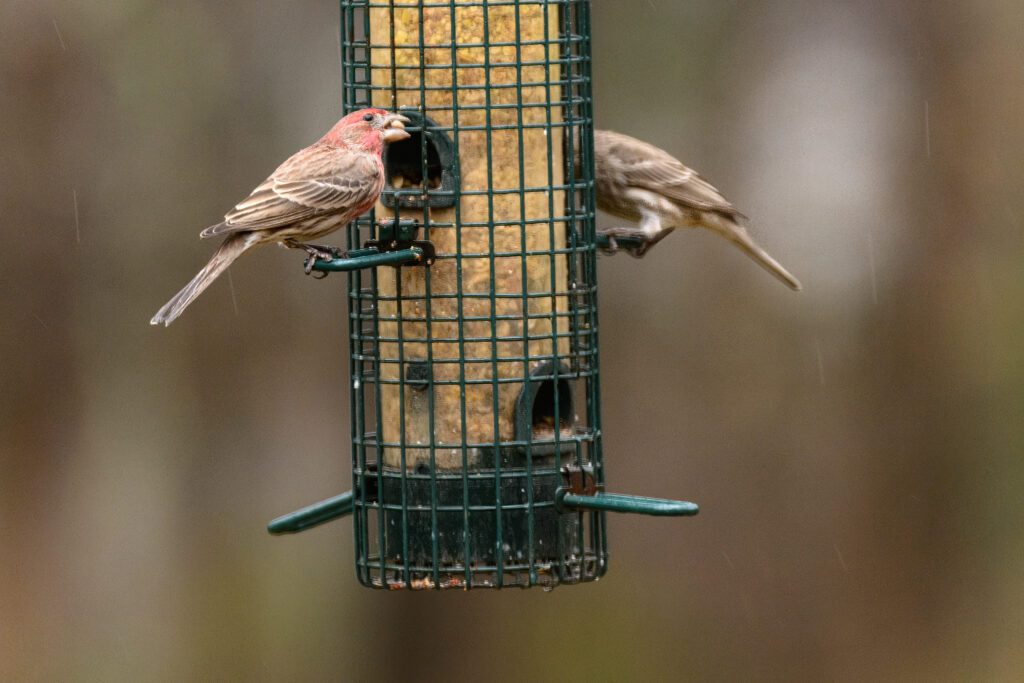
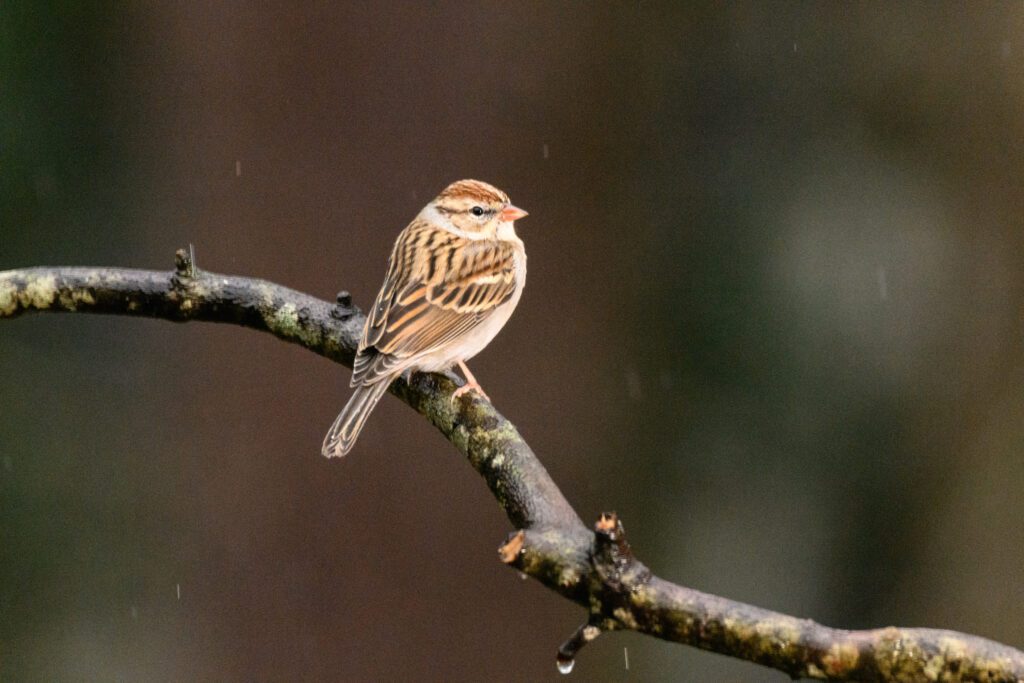
Birds at Bird feeder using the Flashpoint XPlor 600 HSS TTL [NIKON Z 9, VR 120-300mm f/2.8G, Mode = Manual, ISO 4000, 1/160, ƒ/5.6, (35mm = 460)]
The hard part of doing this is balancing available light and the flash.
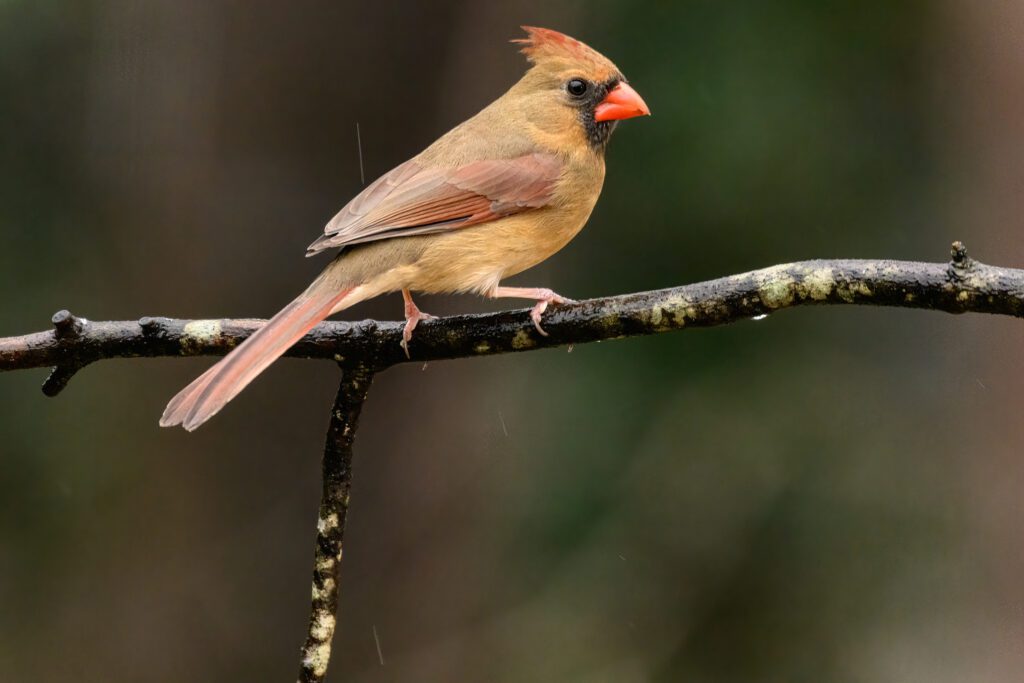
Birds at Birdfeeder
Using the Flashpoint XPlor 600 HSS TTL
[NIKON Z 9, VR 120-300mm f/2.8G, Mode = Manual, ISO 16000, 1/500, ƒ/5.6, (35mm = 380)]
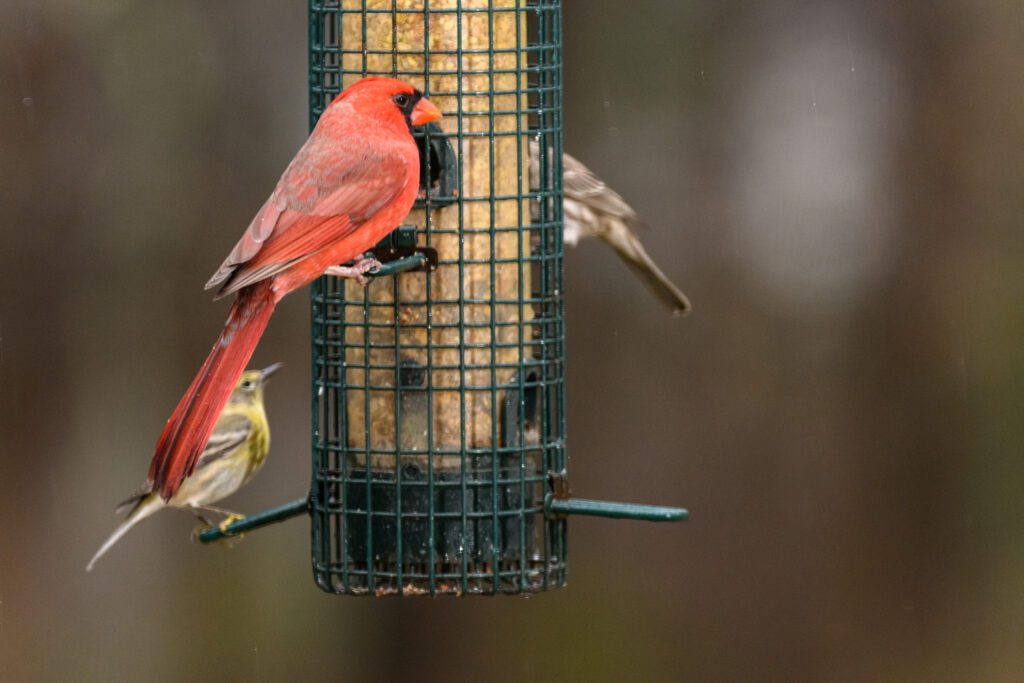
This, to me, is a little too much flash. What you choose to do will be part of your style and approach.
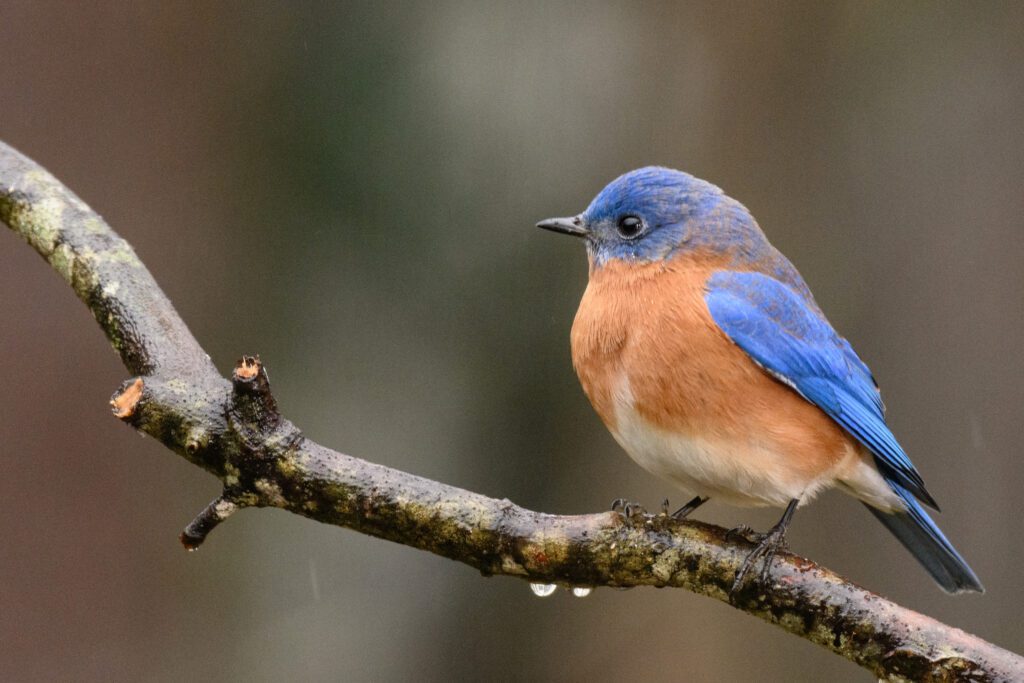
Birds at Birdfeeder
Using the Flashpoint XPlor 600 HSS TTL
[NIKON Z 9, VR 120-300mm f/2.8G, Mode = Manual, ISO 16000, 1/500, ƒ/8, (35mm = 600)]
Tip Don’t Use TTL
TTL Flash works by the flash doing a pre-flash, and then the camera takes a picture with the second flash. I think you could risk startling the subject and affecting the one with the actual moment.
Another problem is you will drain your battery for a flash much quicker, with it taking two seconds every time you take a photo.
Processed in Lightroom and Topaz AI Sharpen Birds at Birdfeeder Using the Flashpoint XPlor 600 HSS TTL [NIKON Z 9, VR 120-300mm f/2.8G, Mode = Manual, ISO 8000, 1/250, ƒ/8, (35mm = 600)] Flash set to 1/16 power.
I think you dial in the best settings to take the photo without the flash and then add the sparkle. I suggest having the flash -1 EV of the location you have before.
Birds at Birdfeeder Using the Flashpoint XPlor 600 HSS TTL [NIKON Z 9, VR 120-300mm f/2.8G, Mode = Manual, ISO 5000, 1/250, ƒ/8, (35mm = 600)] Flash set to 1/16 power
Nikon D5, Sigma 24-105mm f/4 DG OS HSM Art Lens, ISO 10000, ƒ/5.6, 1/10 – Nikon SB-900
One of the most challenging things for many beginners in photography involves shooting in a very dark location with a flash.
Cameras will pick the lowest ISO when you use a flash as their default. So what happens is then the background is black, and the subject is well exposed at best. However, in the case of this wedding photo, the couple is walking out into the dark, being backlit.
Nikon D5, Sigma 24-105mm f/4 DG OS HSM Art Lens, ISO 10000, ƒ/5.6, 1/8 – Nikon SB-900
The trick is to set the camera as if you were shooting without a flash, using a high ISO. Here I set the camera to ISO 10000. Then the flash was set to fire on TTL slow shutter sync. Slow shutter sync means the flash fires immediately at extremely short duration, and then the shutter stays open longer.
Nikon SB-900 Flash Duration
1/880 sec. at M 1/1 (full) output 1/1100 sec. at M 1/2 output 1/2550 sec. at M 1/4 output 1/5000 sec. at M 1/8 output 1/10000 sec. at M 1/16 output 1/20000 sec. at M 1/32 output 1/35700 sec. at M 1/64 output 1/38500 sec. at M 1/128 output
With my choice of ISO 10000, the flash on TTL was probably firing at 1/16 power or less. Shooting at 1/8 shutter speed created the blur of the couple; the flash froze them at about 1/10000.
Nikon D5, Sigma 24-105mm f/4 DG OS HSM Art Lens, ISO 10000, ƒ/5.6, 1/5 – Nikon SB-900
The slower shutter speeds help open up the background at low ISO. However, the slower shutter speed also introduces motion. So we have moved from 1/10 to 1/8 and finally shot at 1/5 to get the background to show up.
If you want to be sure you show where your subject is for reference, then use slow shutter speed sync with the ISO set to where you could make photos without the flash.
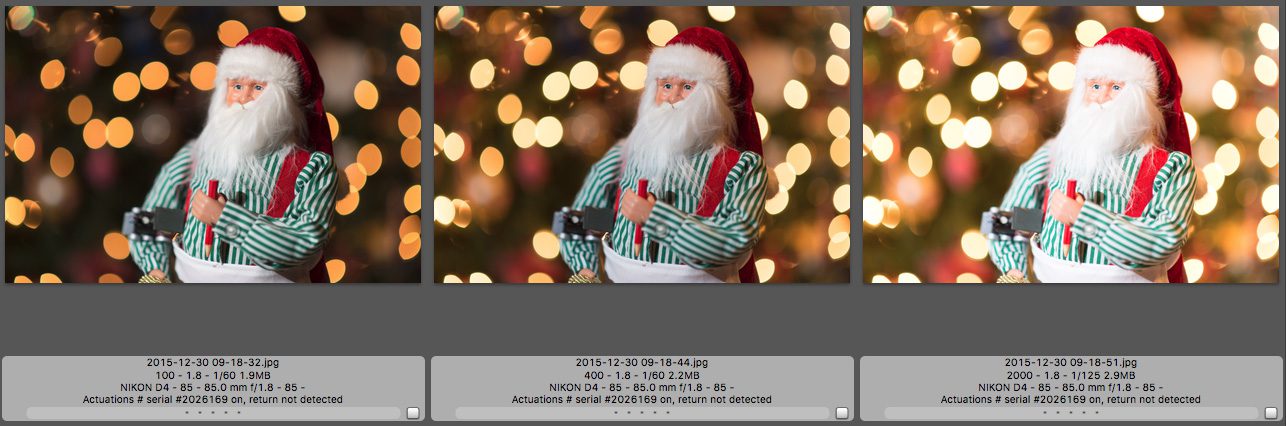
By changing your ISO when using your flash, you can change the look of the background. For example, with the camera on a tripod and using Aperture priority mode, all I did between these three photos was change the ISO from ISO 100 [far left] to ISO 400 [center] and ISO 2000 [far right].
I have the flash-off camera to the left, as shown in the diagram below. The flash setting is the normal mode. The flash is in the TTL model, which is adjusted to the scene as needed.
I did the same thing in these three and just changed one setting. The flash mode is set on “slow sync mode.”
As the ISO increases, the odds of you blowing out the subject with the flash will increase as you lower the ISO and the background becomes darker.
As you change the ISO, the shutter speed is the only other setting changing since I am in Aperture mode. Keep that shutter speed close to the lens’s focal length unless you want a blurred image. If you have a 35mm lens, try shooting at 1/30 or faster. If you shoot with a 200mm lens, you must be at 1/200 or 1/250.
For these photos, I used the flash on the camera with a white dome and bounce. The images are similar because the shutter speed adjusts to match the background and foreground subject.
If these were not on a tripod, you would see much more blur with the first shot at 1/6 shutter speed.
ISO 100, ƒ/1.8, 1/6ISO 400, ƒ/1.8, 1/25ISO 6400, ƒ/1.8, 1/500
I suggest taking a few test shots in a room with your eye, paying close attention to ensure the background is bright enough to match the subject and that the shutter speed is high enough to give me a sharp image. In this photo, I moved the camera to 1/3 shutter speed. You may want this look.
Are you controlling your camera, or is it controlling you? The more you understand how the camera works, the more creative you can be and the more you can decide for yourself what the look will be in the final product.
Reading Time: 2minutesOff-Camera Flash Setup with Nikon Speedlights
When I first wrote about using off-camera flash, I realized I needed to revisit the topic and highlight some points.
ISO, Shutter Speed, Aperture, and +/-
A few things will affect your ability to get proper exposure. Let’s set each of these on a Nikon so that everything will work.
ISO – Be sure you are not using Auto ISO. Start with the lowest ISO and adjust for various reasons. For example, you may want to up the ISO to help open the background.
Enter the menu and set the Auto FP high sync speed to 250*. Auto FP High-Speed Sync is a flash mode used for fill-flash photography under brightly lit conditions. When set, you can shoot faster than 1/250 sync speed and do this only with your Nikon Speedlight system.
Set the flash setting to Slow Sync or Rear Sync. I prefer Slow Sync for almost everything. If needed, this will fire the flash, and, the shutter may stay open for longer, but this will freeze the subject when you push the shutter. If you choose Rear Sync, the flash will fire at the end of the shutter cycle. You may not know when the flash fires using this setting.
Please refer to the older posts on this to learn how to control the amount of light on the subject and how to control the background.
First, be sure to turn the flash as far down as possible. Using the SU-800, it will go to -3 Stops.
If you still feel overexposed, your ISO is usually set too high. Lower your ISO setting.
The background is too dark.
Crank up the ISO and double-check to be sure you have Slow Sync chosen. Otherwise, you will be syncing at the lowest shutter speed, about 1/60. You may need to be slower.
The background is controlled by the camera +/- exposure compensation dial and ISO.
Flash is too bright or dark.
Remember, the control for this is the SU-800 or the master setting in the pop-up flash on the models having this control.
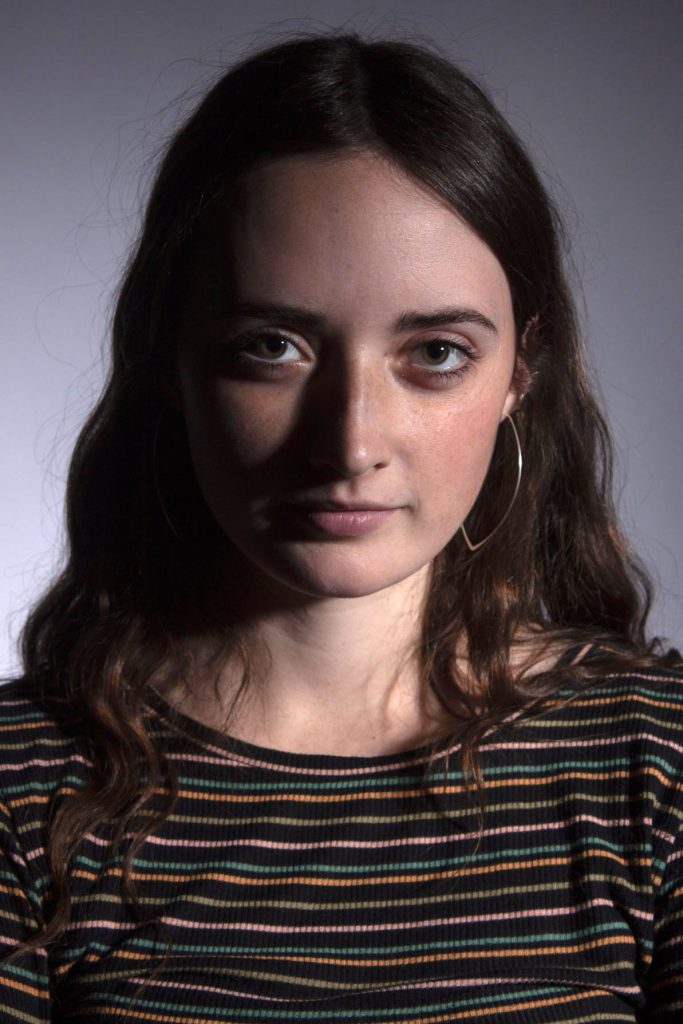
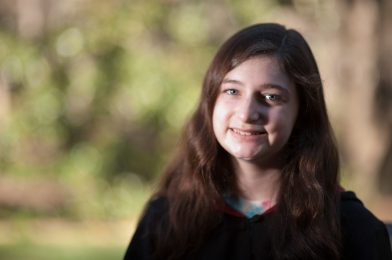
When did you start here? [Figure 2] Nikon D3, 85mm, f/1.4, ISO 200, 1/500 on Matrix metering.
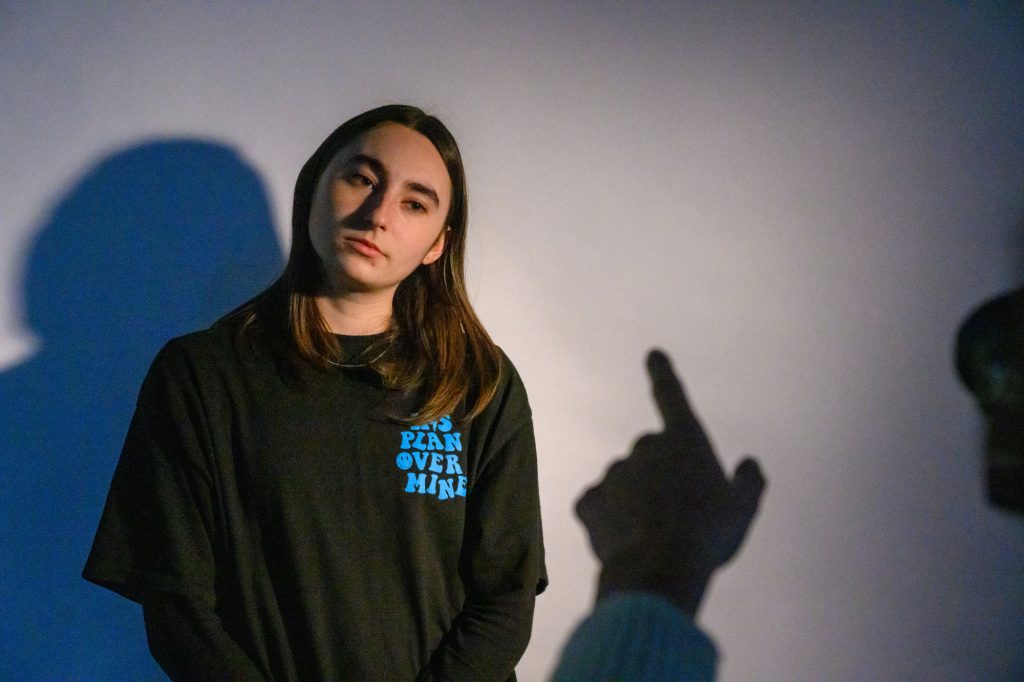
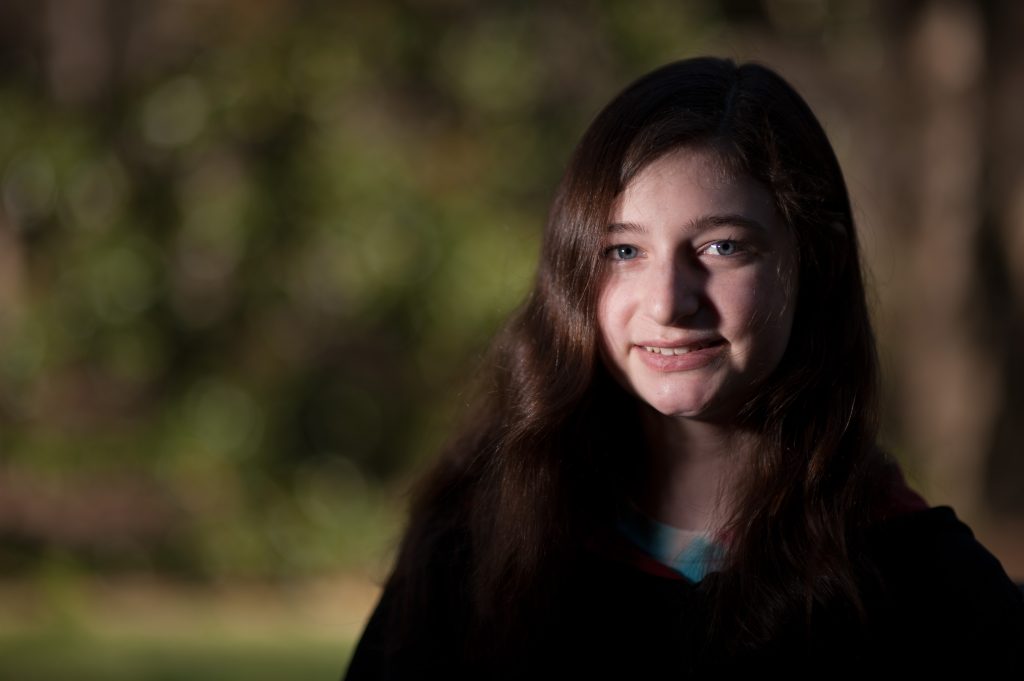
Maybe you want the light on even less of the face like this. [Figure 3]
I started this photo shoot with Figure 2. I started with a backlighted subject. Most of the light is in the background, and the subject is in the shade.
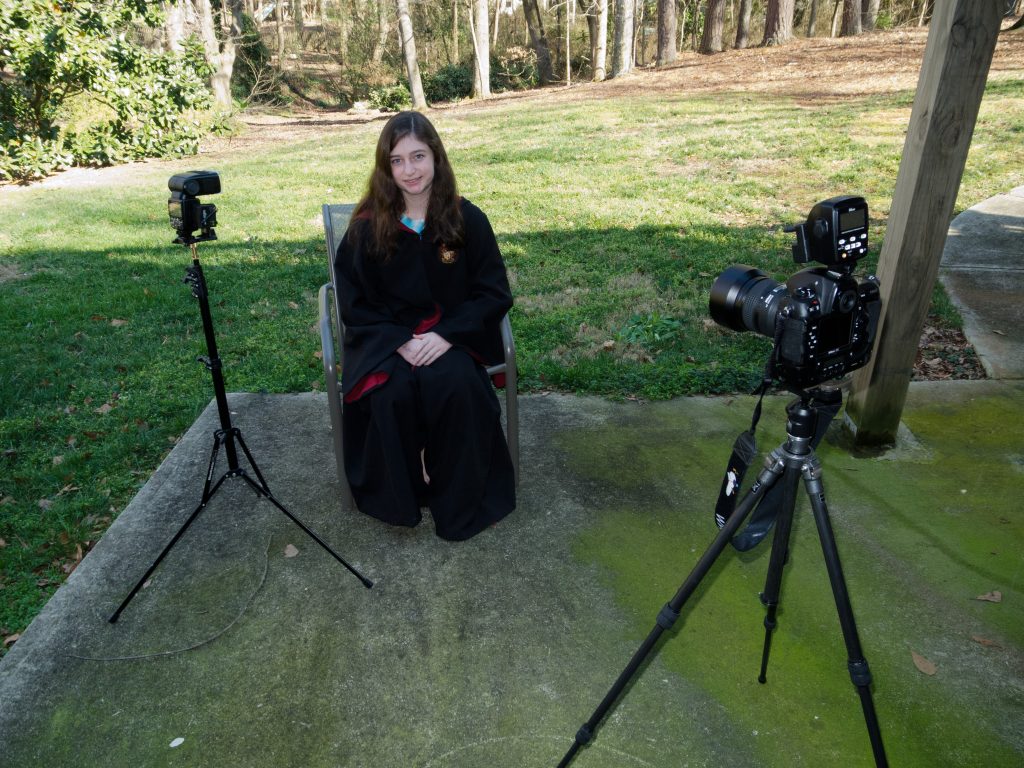
This is the setup. I used a fill flash on my Nikon P7000 to take this photo. If you look behind the model, you can see the shadow from the house and see how all the sunlight hits the background. Nikon SB900 is on a light stand with Radio Poppers PX, which helps ensure the signal from the Nikon SU800 is not lost outside in all the sunlight.
I suggest doing this assignment and taking notes to ensure you remember all your settings. While Nikon will capture the camera settings, the embedded information doesn’t show the SB900 settings; it only shows the used settings.
Shoot all these combinations; you will have 16 photos to compare the results. Add + series, and you will have 28 different ones to look through and compare.
As you can see in these shots, the background is consistent throughout each series, and the skin tone gets brighter and darker as the flash changes while the camera setting stays the same. You then adjust the camera setting and re-shoot the series.
Here, you can see me changing only the camera settings on the Nikon D3. The ISO stays the same. The aperture is the same, and dialing this under the shutter speed will adjust automatically because I am using the exposure compensation to change it. Had I chosen to shoot this in Shutter Priority and not Aperture Priority, the Aperture aperture changed from each setting instead of the Shutter Speed.
Flash: The flash is off-camera, and I am using the Nikon SU-800 to control it. I a changing the SU-800 and not the SB-900. Wha will those changes look like?
You can continue to go through the -1, -2, -3 respectfully to get more combinations. I am only changing A and not B or C because the Nikon SB-900 is set to Channel 1, Letter A.
The Camera is set at 0 Flash, which is set to flash. The flash also zoomed to 200, so I am just lighting her face, not the outfit. [Nikon D3, 85mm, f/1.4, ISO 200, 1/1000]
Camera -1, Flash 0 [Nikon D3, 85mm, f/1.4, ISO 200, 1/2000]
Camera -3, Flash +3 [Nikon D3, 85mm, f/1.4, ISO 200, 1/8000]
Now, let’s back up and talk about the Zoom on the Nikon SB-900 flash. The following three images are all shot with the Camera flashing the flash at 0, but I am zooming in on the flash as wide as it will go, from 17mm to 35mm and finally to 85mm.
Zoom at 17mm [Nikon D3, 85mm, f/1.4, ISO 200, 1/1000]
Zoom 35mm [Nikon D3, 85mm, f/1.4, ISO 200, 1/800]
Zoom 85mm [Nikon D3, 85mm, f/1.4, ISO 200, 1/800]
You can never see it happen when you push the shutter, but the Nikon Speed light system fires a pre-flash to set the exposure and then Flash the flash. w, remember the Camera is set to Aperture priority and is in matrix metering mode; I’m trying to figure all this out for you. The flash was 17mm, and the light flash fell on the model’s black robe. The camera wanted to make it darker, thus shortening the shutter speed to 1/1000. Flash hits he face with the 35mm and 85mm zoom settings, and it is at 1/800 shutter speed.
I mention this to say that when you are in TTL mode shooting in some form of auto, there are variances due to each scene. This is why you want to shoot this type of test before you shoot a real job. Change the odel’s shirt to white, and everything will change again.
Let’s mix it up more by adding a snoot to the SB900.
I use the LumiQuest snoot on the Nikon SB-900, which narrows the light to an even smaller spotlight.
I didn’t flash the flash or Camera, but the model moved slightly in these two examples. You can use the Depth-of-Field preview button to have the flash fire a continuous light to see where it is hitting the subject. I can tell ou from experience that you don’t want to do this a lot without letting the flash cool down between doing it. I burned ut the tube and had to have Nikon repair it. Do this sparingly. [Nikon D3, 85mm, f/1.4, ISO 200, 1/5000]
I pushed the depth-of-field preview button and had the model stay still to get the light where I wanted it. [Nikon D3, 85mm, f/1.4, ISO 200, 1/5000]
As you can see, everything is the same without the snoot in the setup. When using he snoot, the exposure changed a great deal even tho I only have the Camera at -3 Flash and the Flash at +3
Getting people to do something gives you better expressions. I have two techniques for keeping people engaged when I have to set up a situation and then help it become a real moment.
Pass the Pen
Many schools love to show the seminar setting for a class. When you photograph in a room with everyone around the table, Murphy’s Law states the action will be when their back are to you if you are photographing.
I will have a few moments with everyone and explain my dilemma. If I shot this naturally, it would take ten times longer because I am on the wrong side of the table when someone starts to talk. By the time I shift, the conversation has shifted.
I ask everyone to listen with their eyes, not just their ears. This really speeds up the number of usable images.
Typical conference table for a seminar class.
I then ask to borrow a pen, give it to someone, and tell everyone this person will talk. I ask them to tell us what they did the other day or what they are planning to do that is exciting. No one can interrupt them; they need to continue talking until I say Pass the pen.
Even if you do not see the pen, the person holds the group’s attention and lets me take photos of their various expressions. We all get some laughs and good stories in the process.
Even in small groups, I use the pen to help the subjects relax.
This teacher used a similar technique for classroom discussions. He had a ball of tape that he would toss to a student who raised his hand to answer a question. He tossed it to the student, and when they were done, they tossed it back to him. He was quite impressive with his tosses and catches.
As this student tosses the ball back, you can see he is engaged in the class.
Walk and Talk
When you get people walking and talking, they forget about you and engage quickly. If it is just two people, I have them walk close enough to feel each other bump occasionally. I’ve one person who talks, and the other listens. I stress the importance of looking at each other and not at the ground. It’s incredible that people in everyday conversations might look at the ground or off somewhere rather than at someone. However, for a photo to communicate their interest in each other, they must have eye contact.
Again, in the group situation, I designate who is talking and ask everyone to give them their full attention, not just their ears. To the left, my assistant is walking along with them out of camera range, pointing a flash at them. I really use the Nikon SB900 with the Radio Poppers PX system to be sure the signal from the Nikon SU800 triggers the flash consistently. The flash is zoomed out to about 28 settings to light the entire group.
Here, you can see the tour guide helping the students with the campus. For this photo, I am using a Pocket Wizard Plus II to trigger the Alien Bees B1600 being fired off to the right of the group. They are walking towards me as my VALS (Voice Activated Light Stand: AKA assistant) is carrying the light on a light stand and staying with the group out of the frame.
The couple is walking and talking to each other, a good 50 yards from me. I like using the zoom lens so that as they walk closer, I zoom out. My ALS carries the Nikon SB900 with the Radio Poppers PX system triggered by the Nikon SU800 on the camera. I’m shooting with the flash at standard setting and zoomed to 200.
The flash off camera really helps clean up the photo. Of n, you will have a shadow on one or more of the people. The other advantage of the flash is that it helps draw the audience’s attention to the subjects.
Helping keep the dark skin tones with detail is improved outside with the off-camera flash. I need to power the flash up or down on the Nikon SU800. So, I make it +1 or -1 compared to the camera’s exposure. One takes a second to look at the histogram and the LCD and see what might need adjusting. By shooting RAW, I still have lots of control in post processing, but being sure shadows have detail is essential when the dark areas can be the subject’s face in a photo like this one.
Take notice of the details in the white shirt and the dark skin of the subjects in the photo. This will work easily in a printed piece. Remember, I have one person talking and the others listening with their eyes.
TTL hot shoe Flash vs Manual Studio Strobe
As your VALS walks along with the Nikon SB900, varying their distance from the subject, the camera still compensates, making sure the power stays the same. Of course, the assistant has to remain pretty close with a hotshoe flash like the Nikon SB900 because it is not powerful enough to be much more than 10 to 15 feet away.
Now, when you VALS is carrying a studio flash, the exposure will change as they change the distance to the subject. As they get closer, the flash will get brighter, and when they move away, it will get darker. However, they can stay further away with a studio strobe, since the strobes are much more potent than a hot shoe flash. I am shooting with my Alienbees B1600, which is much more than 1/4 power. I usually run at 1/8 power. I like to use a grid spot so I am not lighting up the ground leading up to the subjects. I want to hit the faces and let it drop off a little.
Cookie Consent
We use cookies to improve your experience on our site. By using our site, you consent to cookies.