
|
Getting your Trinity Audio player ready...
|
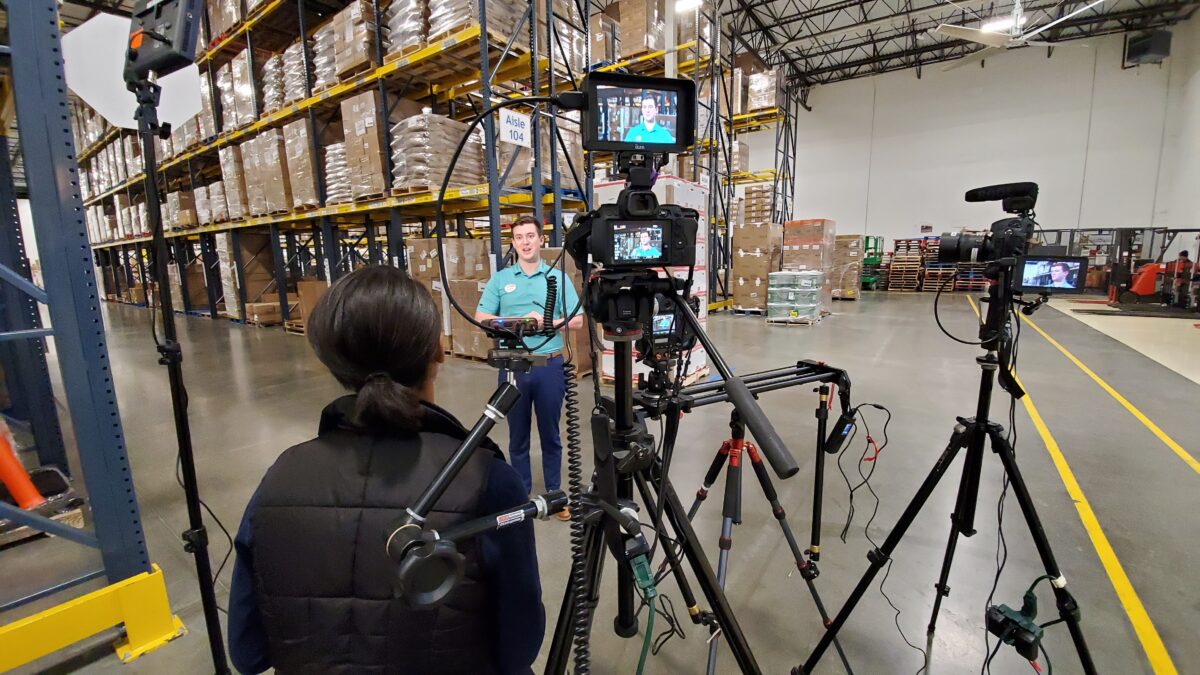
I posted this photo on my Facebook page and got a lot of comments. I thought I would write here about my setup.

My first camera, which I am not using but only this camera, is straight on and shooting a little loose—always shooting interviews on 4K. Let me crop in and do some Ken Burns Effects. The Ken Burns effect is a panning and zooming effect used in video production from still imagery. The name derives from the extensive use of the technique by American documentarian Ken Burns.
This first camera lets me get some gestures when the subject moves their hands.
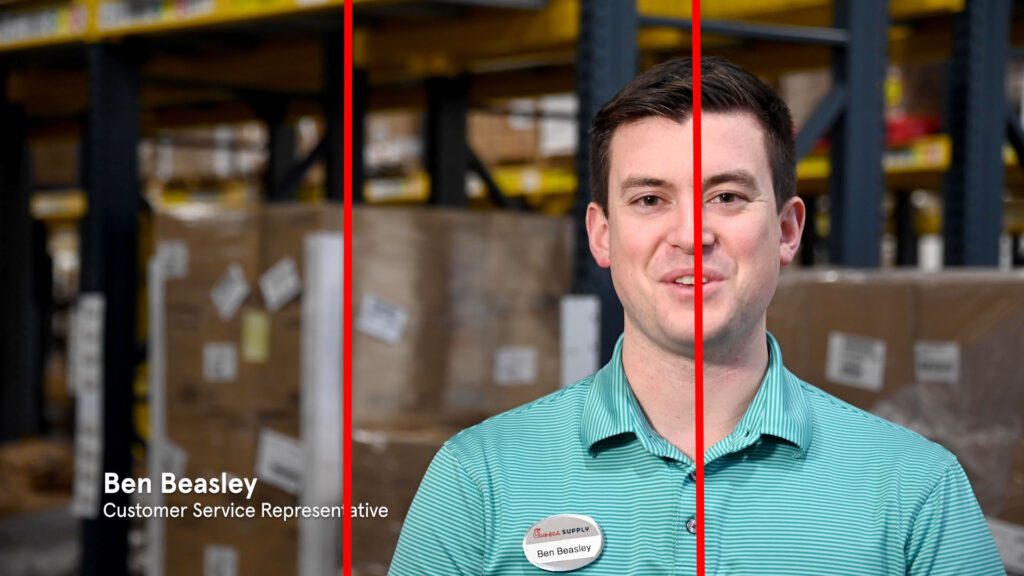
I position the subject on one of the 1/3 vertical spots in the frame and typically look to the side with more space.
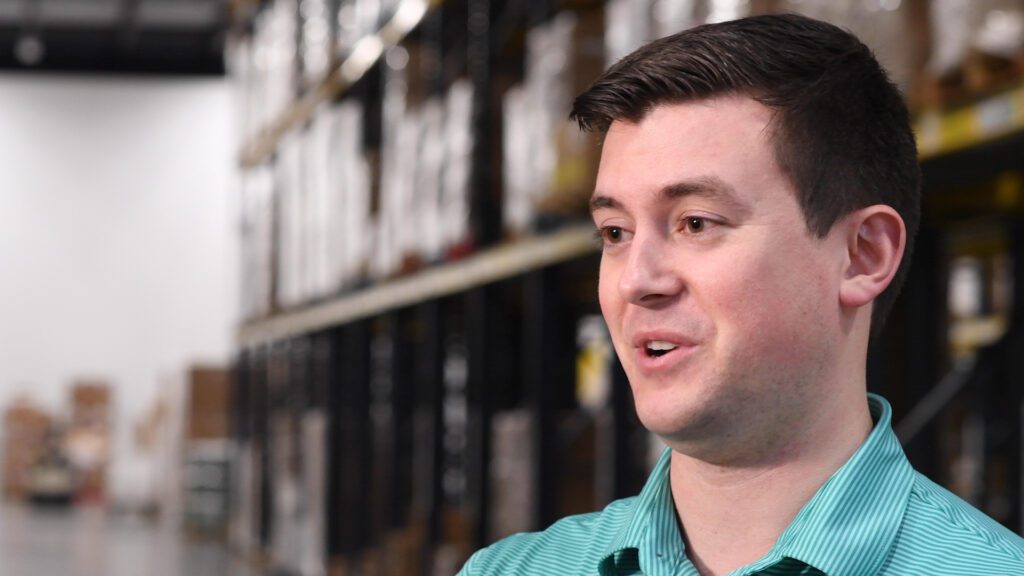
I usually put one camera to a much tighter side. I like the second camera to be tighter where I focus more on the subject’s facial expression.
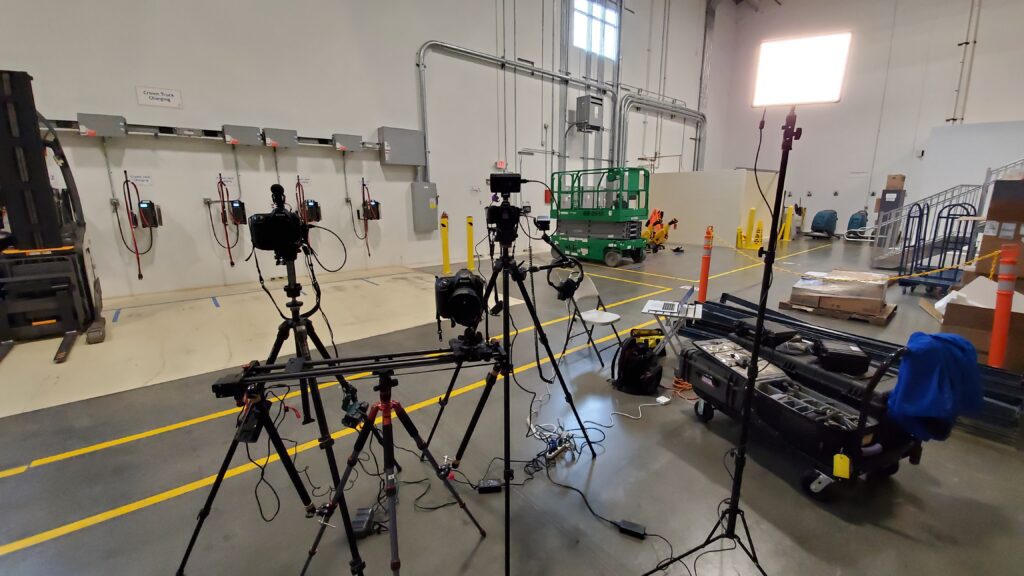
Here you can see the setup from the subject’s perspective. I have one light off at 45º to keep me from getting raccoon eyes due to the top lighting. I like having good Rembrandt-style lighting on the face for interviews. I keep the cameras all on the shadow side of the light to give me some modeling on the face.
Then the three cameras are what I call the sizzle camera. Here I am using a motorized slider constantly moving on a loop.
Couple quick tips
- FOCUS – I am trying and shooting on manual focus. To keep the person focused when they move, I typically shoot around ƒ/5.6.
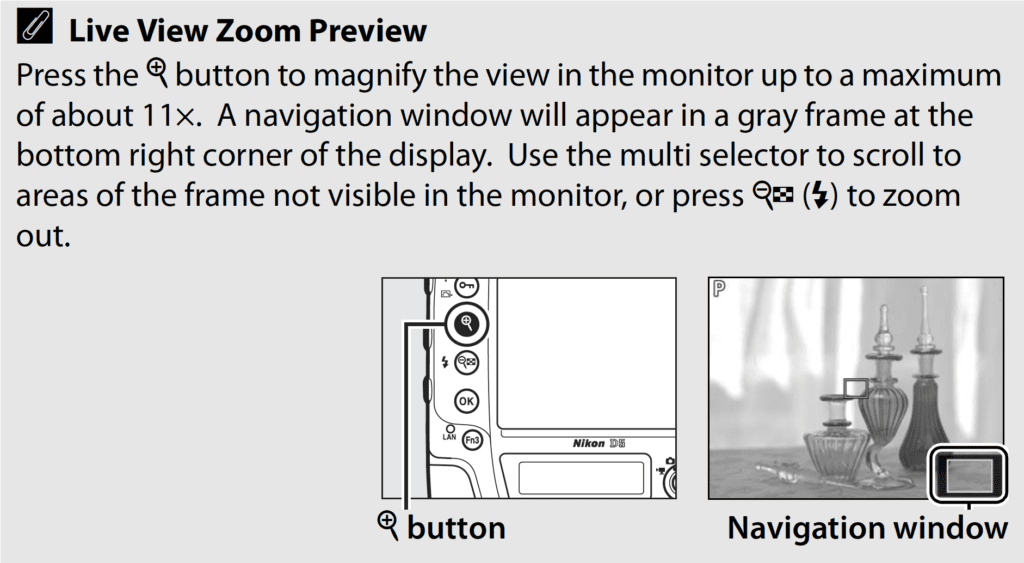
- FOCUS SETUP – Once I get the composition set, I zoom in to check the eye’s critical focus. I do this on my Cameras by pushing the + button on the back of the camera. Since both the Nikon Z6 and D5 have touch screens, I can pinch them like you would with your smartphone.
My primary microphone is typically a wireless lavalier Omni directional microphone put on a shirt near the subject’s breast bone. This is always manually adjusted using closed headphones and the audio meter on the camera.