Want better posed group photos, pick better locations

Reading Time: 3 minutes

Bulloch Hall Plantation is in Historic Roswell, GA

Location, Location, Location

Like real estate, your photos will look better when you choose your location. Springtime is the time of year for holiday parties, school dances, and even weddings. So while going into your yard and finding a clean background is a great idea, picking a location in your town that stands out may be a better idea.
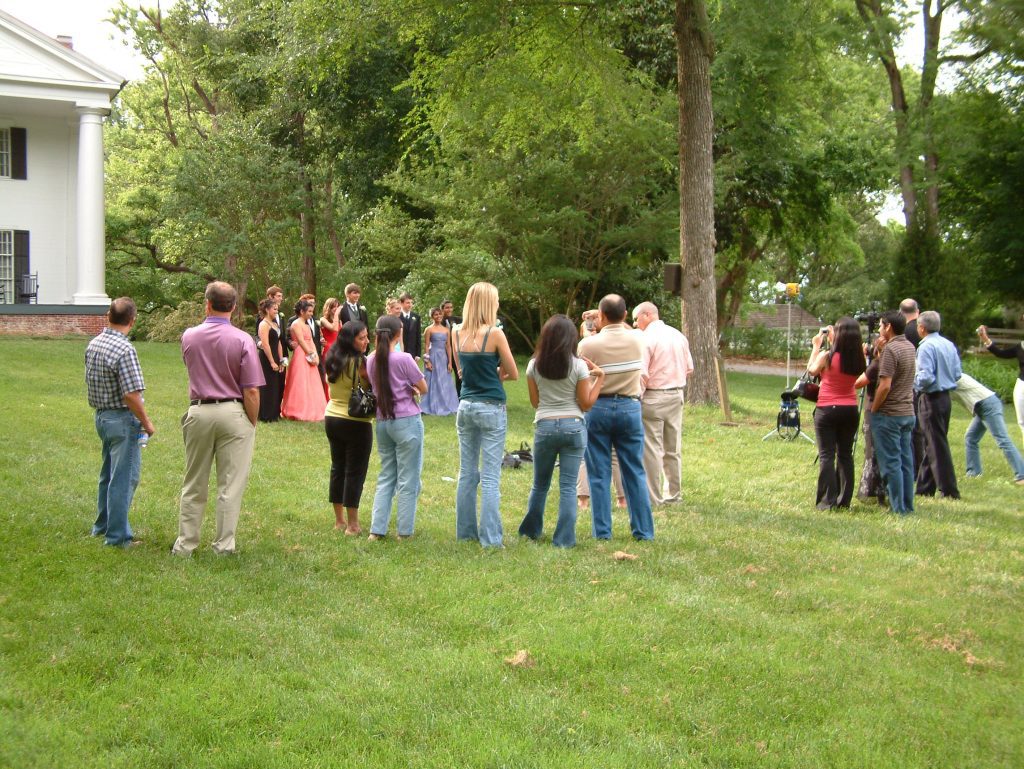
Here you can see all the parents watching as I take the group and a couple of pictures. Looking closely, you will see my one Alienbees B1600 with the original vagabond battery by Pau  Buff. It is to the far right in back [yellow head].
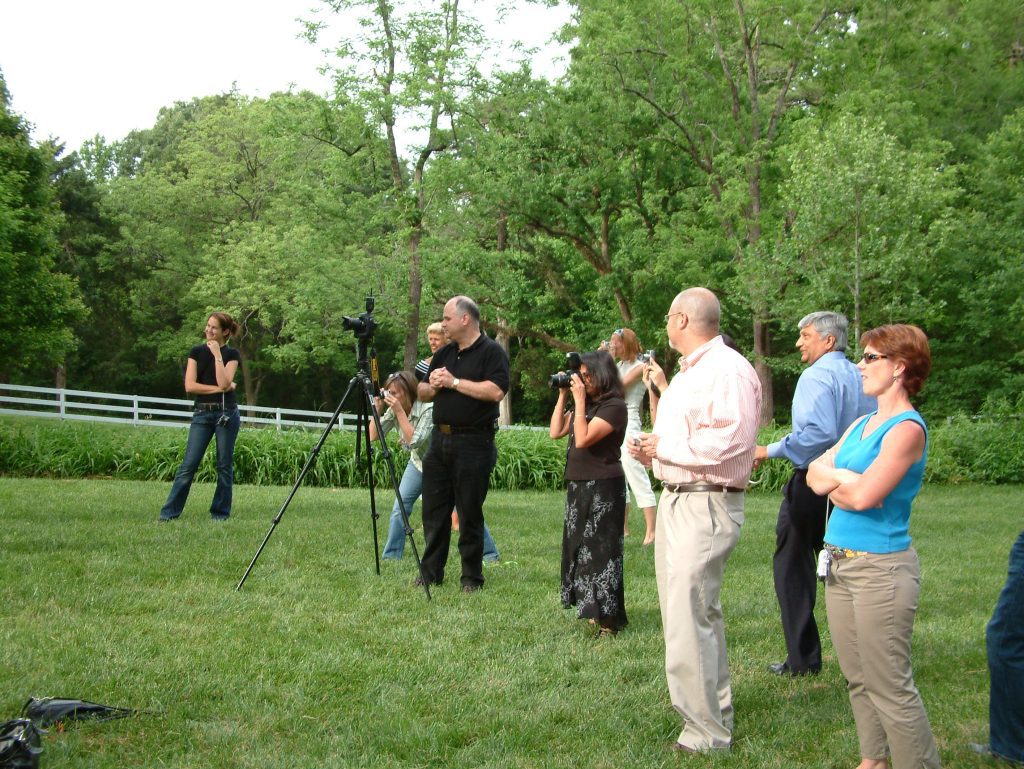
Another tip is to use a  tripod. There are a couple of good reasons to d  this. First, your photos are sharper when the camera is rock steady still. Second, if one person in a group photo blinks and another person in another photo, you can always copy and paste one person into the other image using Pho Shop.  This way, everyone will look good in one shot.
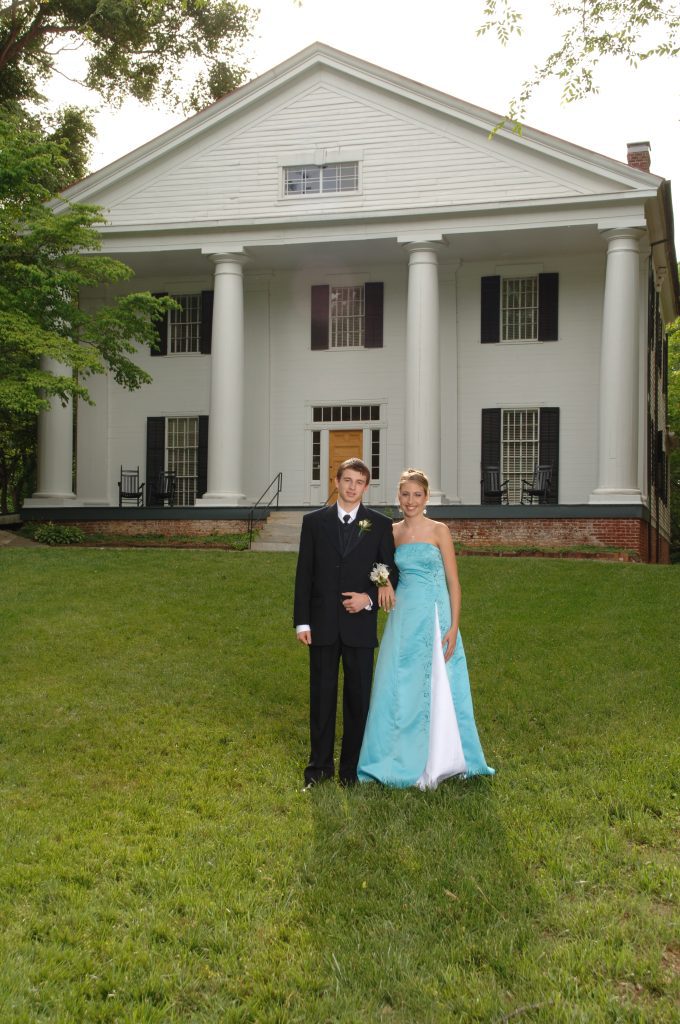
Centennial Junior/Senior Prom Bullock Hall

Fill Flash

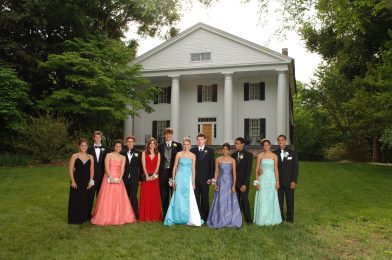
The subjects are all backlighted by the sun in all these photos. Unless you use a flash, you will have difficulty holding the background and their faces to get a good exposure.  I metered the scene: ISO 100, ƒ/8, and 1/50.  I then set the flash to ƒ/5.6 or one-stop under whatever I would have metered for the overall scene.

Here I composed a wider shot to show Bulloch Hall, where the grandparents of President Theodore Roosevelt, the 26th President of the United States, and great grandmother of Eleanor Roosevelt, First Lady from 1934-1945, lived.
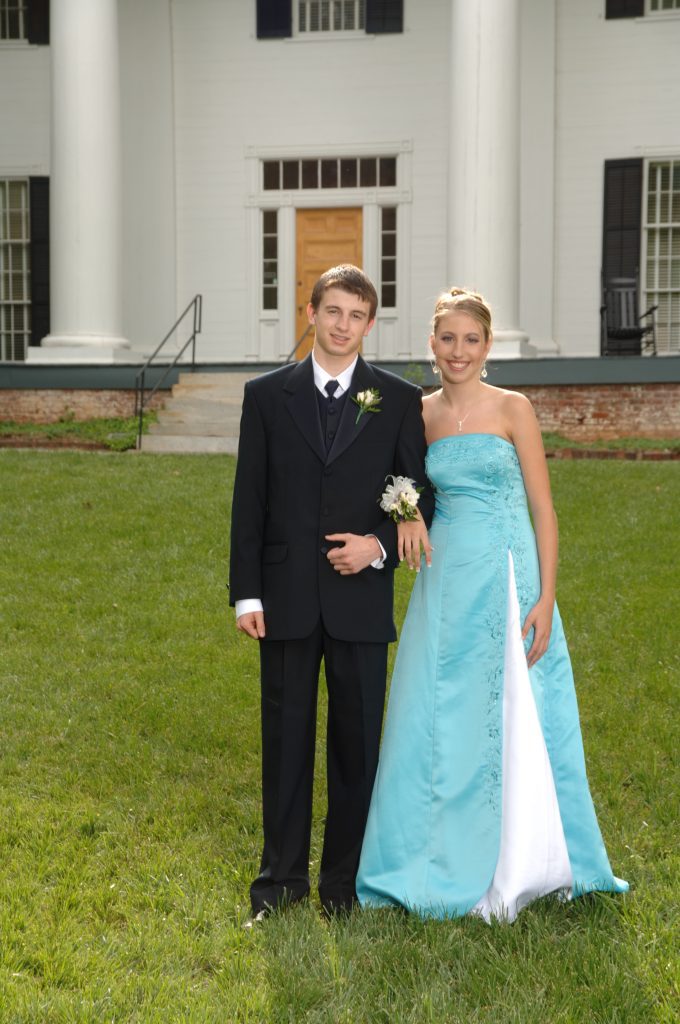
Centennial Junior/Senior Prom Bullock Hall

I like the closer composition over the wide shot.  But I did both in case couples preferred one over the other.
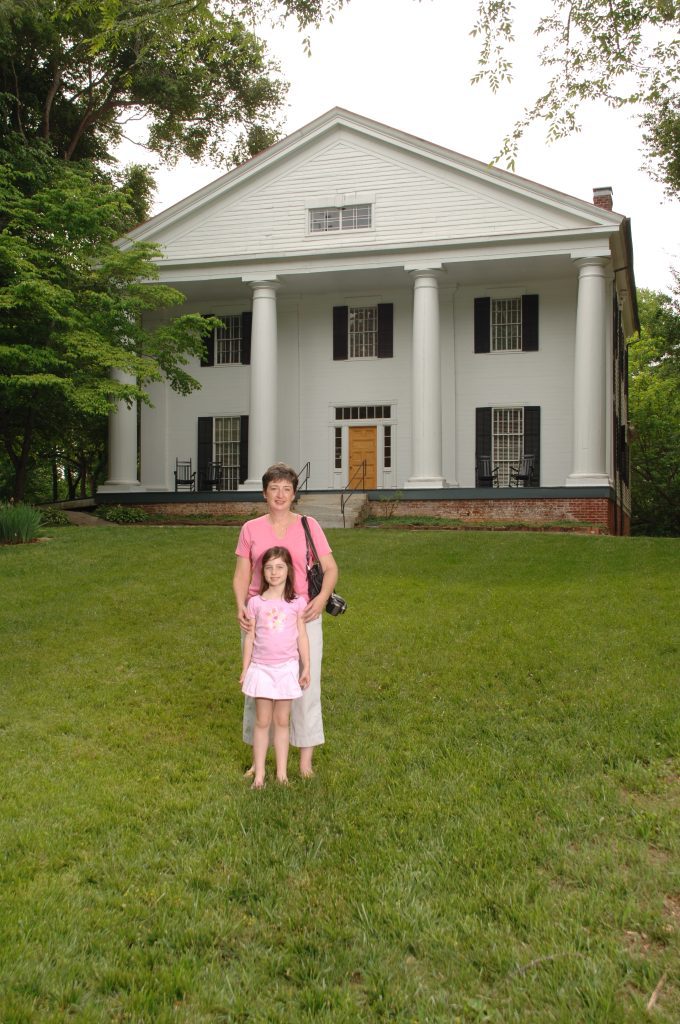
Centennial Junior/Senior Prom Bullock Hall

Whenever my family is with me, and I have gone to this much trouble for photos, I always get a picture of them.
One Light: Group Shot

Reading Time: 4 minutes
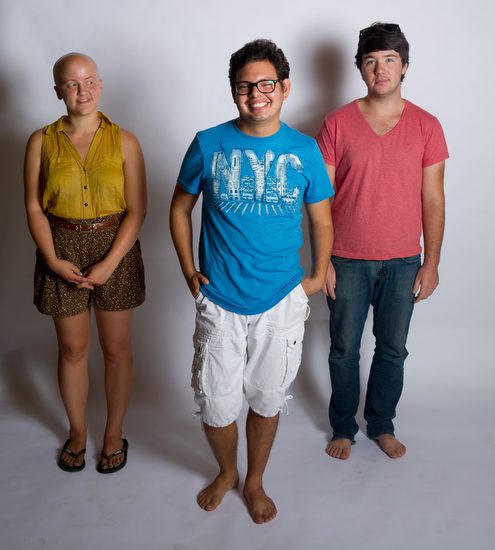
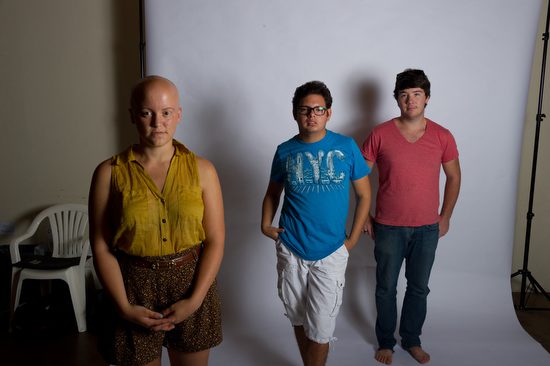
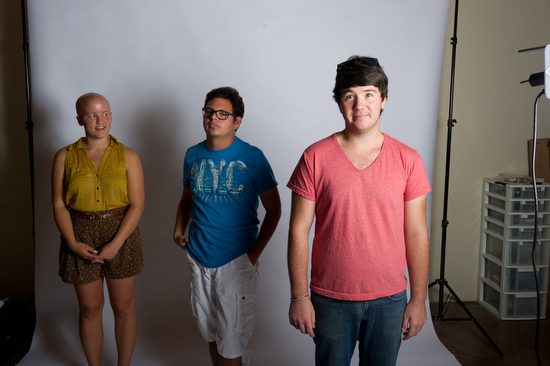
Students helped me demonstrate the issues of a problem with one light close to the group. The person closest is brighter than the others.
Here, all I have done is repositioned everyone, but the lady on the far left is still darker than the other two in the photo.
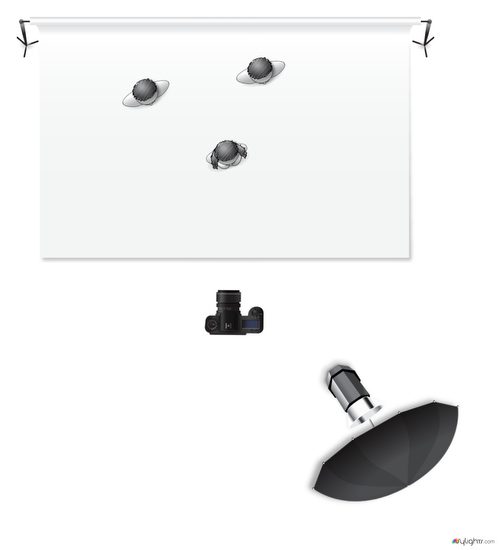
This is the lighting setup for the two photos above.

After seeing the photos above, one of the first things people think they need to do is add another light. No question this would help solve our lighting problem.

Now let’s be realistic here. Most photographers starting will have just one light and cannot justify another until they begin earning income. How do you solve the problem in just one morning?

Inverse-Square Law

We need to first start with understanding the Inverse-Square Law of Light.

In physics, an inverse-square law is any physical law stating that a specified physical quantity or strength is inversely proportional to the square of the distance from the source of that physical quantity. (Wikipedia)

In photography, an object twice the distance from a point source of light will receive a quarter of the illumination.

How this is most often used in photography is to determine your exposure. If you want to keep the same f/stop when you move a light twice the distance from the subject, you must increase the power four times. Inversely, if you move the lamp twice as close, you will need to power down the light to 1/4 the power to keep the same f/stop.

Using the Inverse-Square Law of light for a group photo

The further you move the light from a group, the less the light falling on the subjects’ faces will differ. The reason is that the distance of each subject to the light source, as compared to others in the group, will be so small a difference that they will appear to be more evenly lighted.


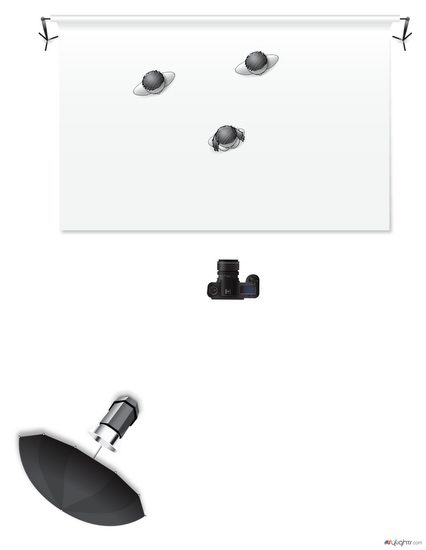
The only thing that changes from the first diagram to this one is that the light source is moved farther from the group and to the left.

As shown in the lighting diagram, I have moved the light source further from the group. I suggest moving the light as far away from the group as possible to get the most even light.

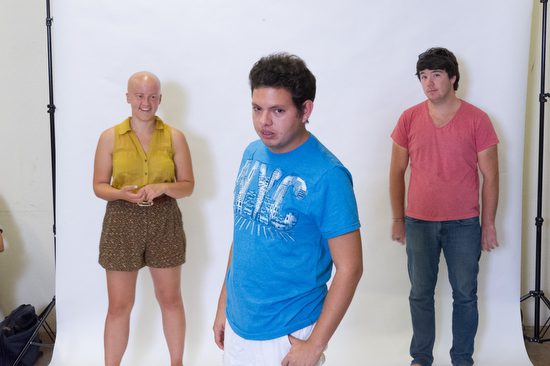
You can now see that the light is more even on everyone in the photo. One person said it is light, creating a depth-of-field effect with the flash.
While this would have solved the lighting problem by keeping the lighting the same as in the first photo, it would limit your creativity when posing with a single light. This is why moving the light back gives you more posing options and more light in a group photo.

Technical Changes

  • ISO: You may need to use a higher ISO to keep your flash effective. You may change from ISO 100 to ISO 3200. Remember that, since you are using a flash, the noise is different and can actually seem to disappear. (link to earlier blog on this)
    • Aperture: For group photos, use f/8 or higher to ensure everyone is in focus. If you use f/2, for example, your group photo above would look more like a solo act with backup singers than a musical group.
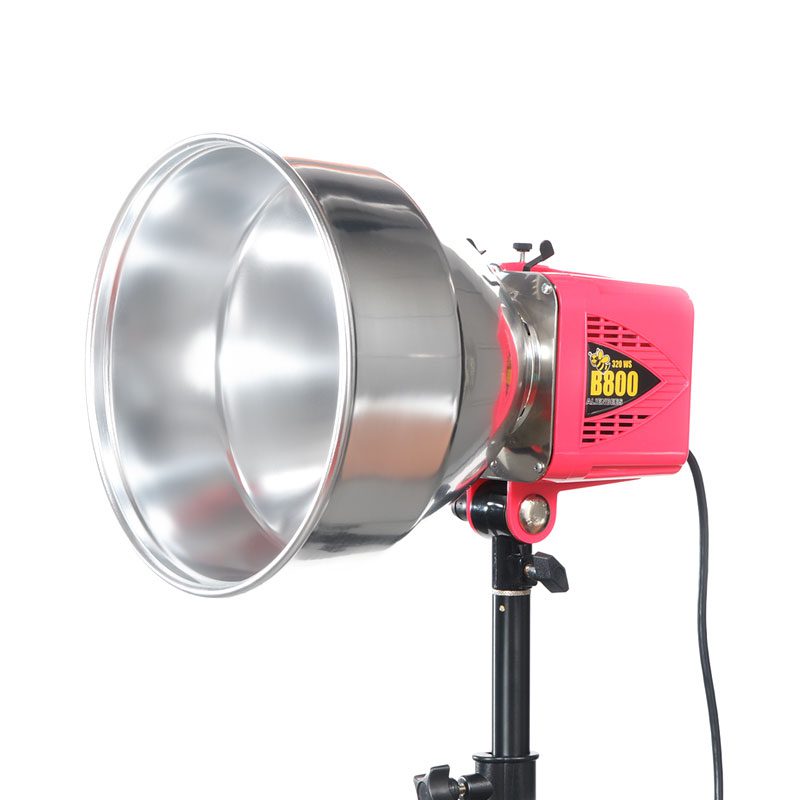
    • Studio Strobe vs Hot Shoe Flash: This is when it makes more sense to own a studio flash than a hot shoe flash. You can get more power, and the recycling time is much quicker. (Earlier Blog Post comparing hot shoe flash and studio light)

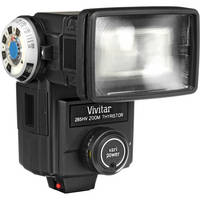
You can buy hot shoe flashes for under $90. These hot shoe flashes are not TTL, but you can use them in manual mode just as you would a studio strobe. They are just less powerful and take a while to recycle.

This is the Vivitar 285, which you get at B&H Photo for $87

Practice making a group photo and evenly lighting everyone with just one flash. Understanding and mastering this skill will help you when you have limited equipment and still need a professional group photo.