This photo was taken at the mall near us, where you could get your picture with Santa. They created an experience where you can go on an adventure to see Santa with Po and his friends. Our son loves Po, so we wanted the photo with Po even more than our photo with Santa.
They had created great backgrounds and overall experience to put families with Santa.
The key to group photos is planning — and how big you plan to use the image can make a big difference in your planning. We don’t hang wristwatches on the wall because their faces are so small you cannot tell time with them. You could have a three-inch face clock in most family rooms and say the time. In a classroom, you might need a 10-inch face. The clock face size is a good rule of thumb for determining whether someone will be recognized in a wall print at an average viewing distance.

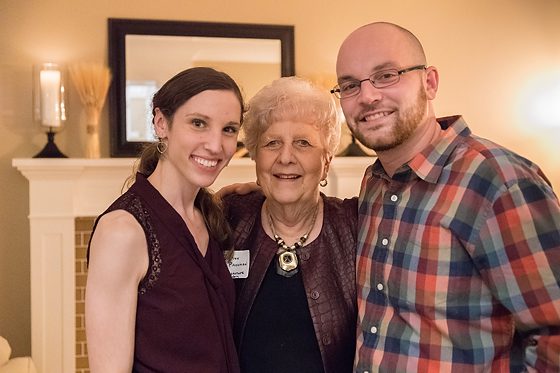
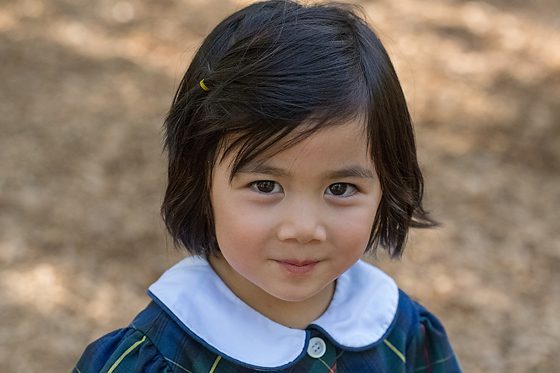
The more you show in a photograph other than people’s faces, the larger the photo needs to be to recognize the people because their face size will diminish. If your group photo is more for identification, getting everyone close together where you can see their faces should be the primary goal. Then you can run the image in a publication, and people can tell what everyone looks like.

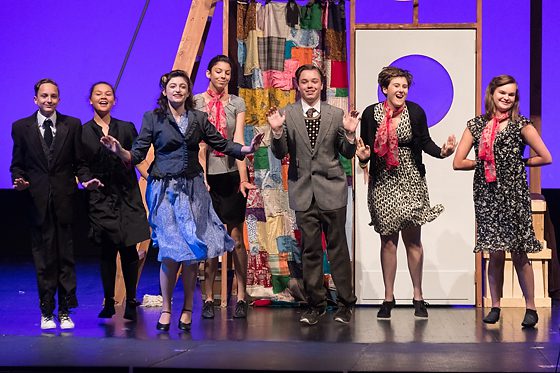
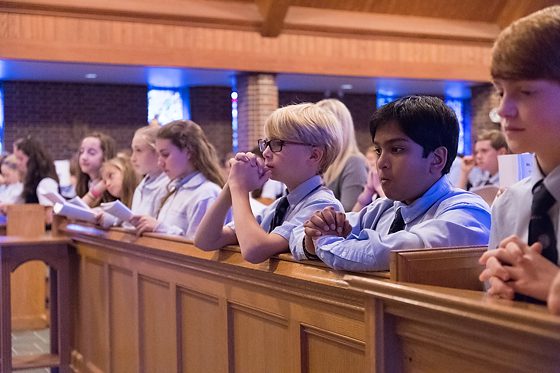
On the other hand, if your photo is more about creating a mood for a poster of, say, a hip-hop band, you will shoot much looser and space the people out and let their body language help establish the mood. For these concept/mood photos, I like to spread people out and put people at different heights (relative to their faces). I want to think in triangles. If you were to connect the dots (faces) between people, do they make triangles? Create depth by having some people closer to the camera and others further away. This will give it a more three-dimensional feel.

If you go to the music store and look at the CD covers of music groups, you can see some of the leading work done in the industry. Try copying some of these until you get the hang of it and can come up with your concepts.
If you pre-plan, have a good idea, and consider people’s sizes, you will move pretty quickly through the process. If you don’t, it goes slowly, and your photo may fall apart — because you will lose the attention and interest of the people in the image.

In scouting locations in advance, you are not only choosing a site because of the scenery but also ensuring you are there at the best time of day for a group photo. Having the sun right behind the group isn’t the best technical photo. Sometimes, a location won’t work simply because the group isn’t available at the right time of day to make the photo.
I have found that you can make any group photo in 10 to 15 minutes if you have done your homework. You may get to the location earlier, but the people in the image should be able to be placed into position immediately — and then you are just looking for good expressions.

One last thing that can significantly impact the quality of your photo has a laptop computer or TV on location to view the images as you shoot. Virtually all digital cameras will plug into a TV and let you see the picture big enough to assess the minor details — enabling you to move people only inches and improve the final product.

