
|
Getting your Trinity Audio player ready...
|
I recently upgraded my ExpoDisc, which comes with the Portrait Warming Filters. This little addition saves me more steps in Adobe Lightroom and gives me more time to enjoy life.
I have been using ExpoDisc since 2005. George Wallace invented It to help his students at San Jose State better expose themselves to Kodachrome 25. He studied with Ansel Adams and Minor White, where he learned to master the zone system.
I wrote about using the ExpoDisc a while back, but here is the basic idea of how it works.
 |
| ExposDisc goes in front of the lens, and then you use it to get an incident reading rather than a reflective reading of the light. |
 |
| Notice the direction of the light hitting the subject. Next, you move to the same position to get the light reading below. |
 |
| Could you point the camera toward the direction of the light falling on the subject? |
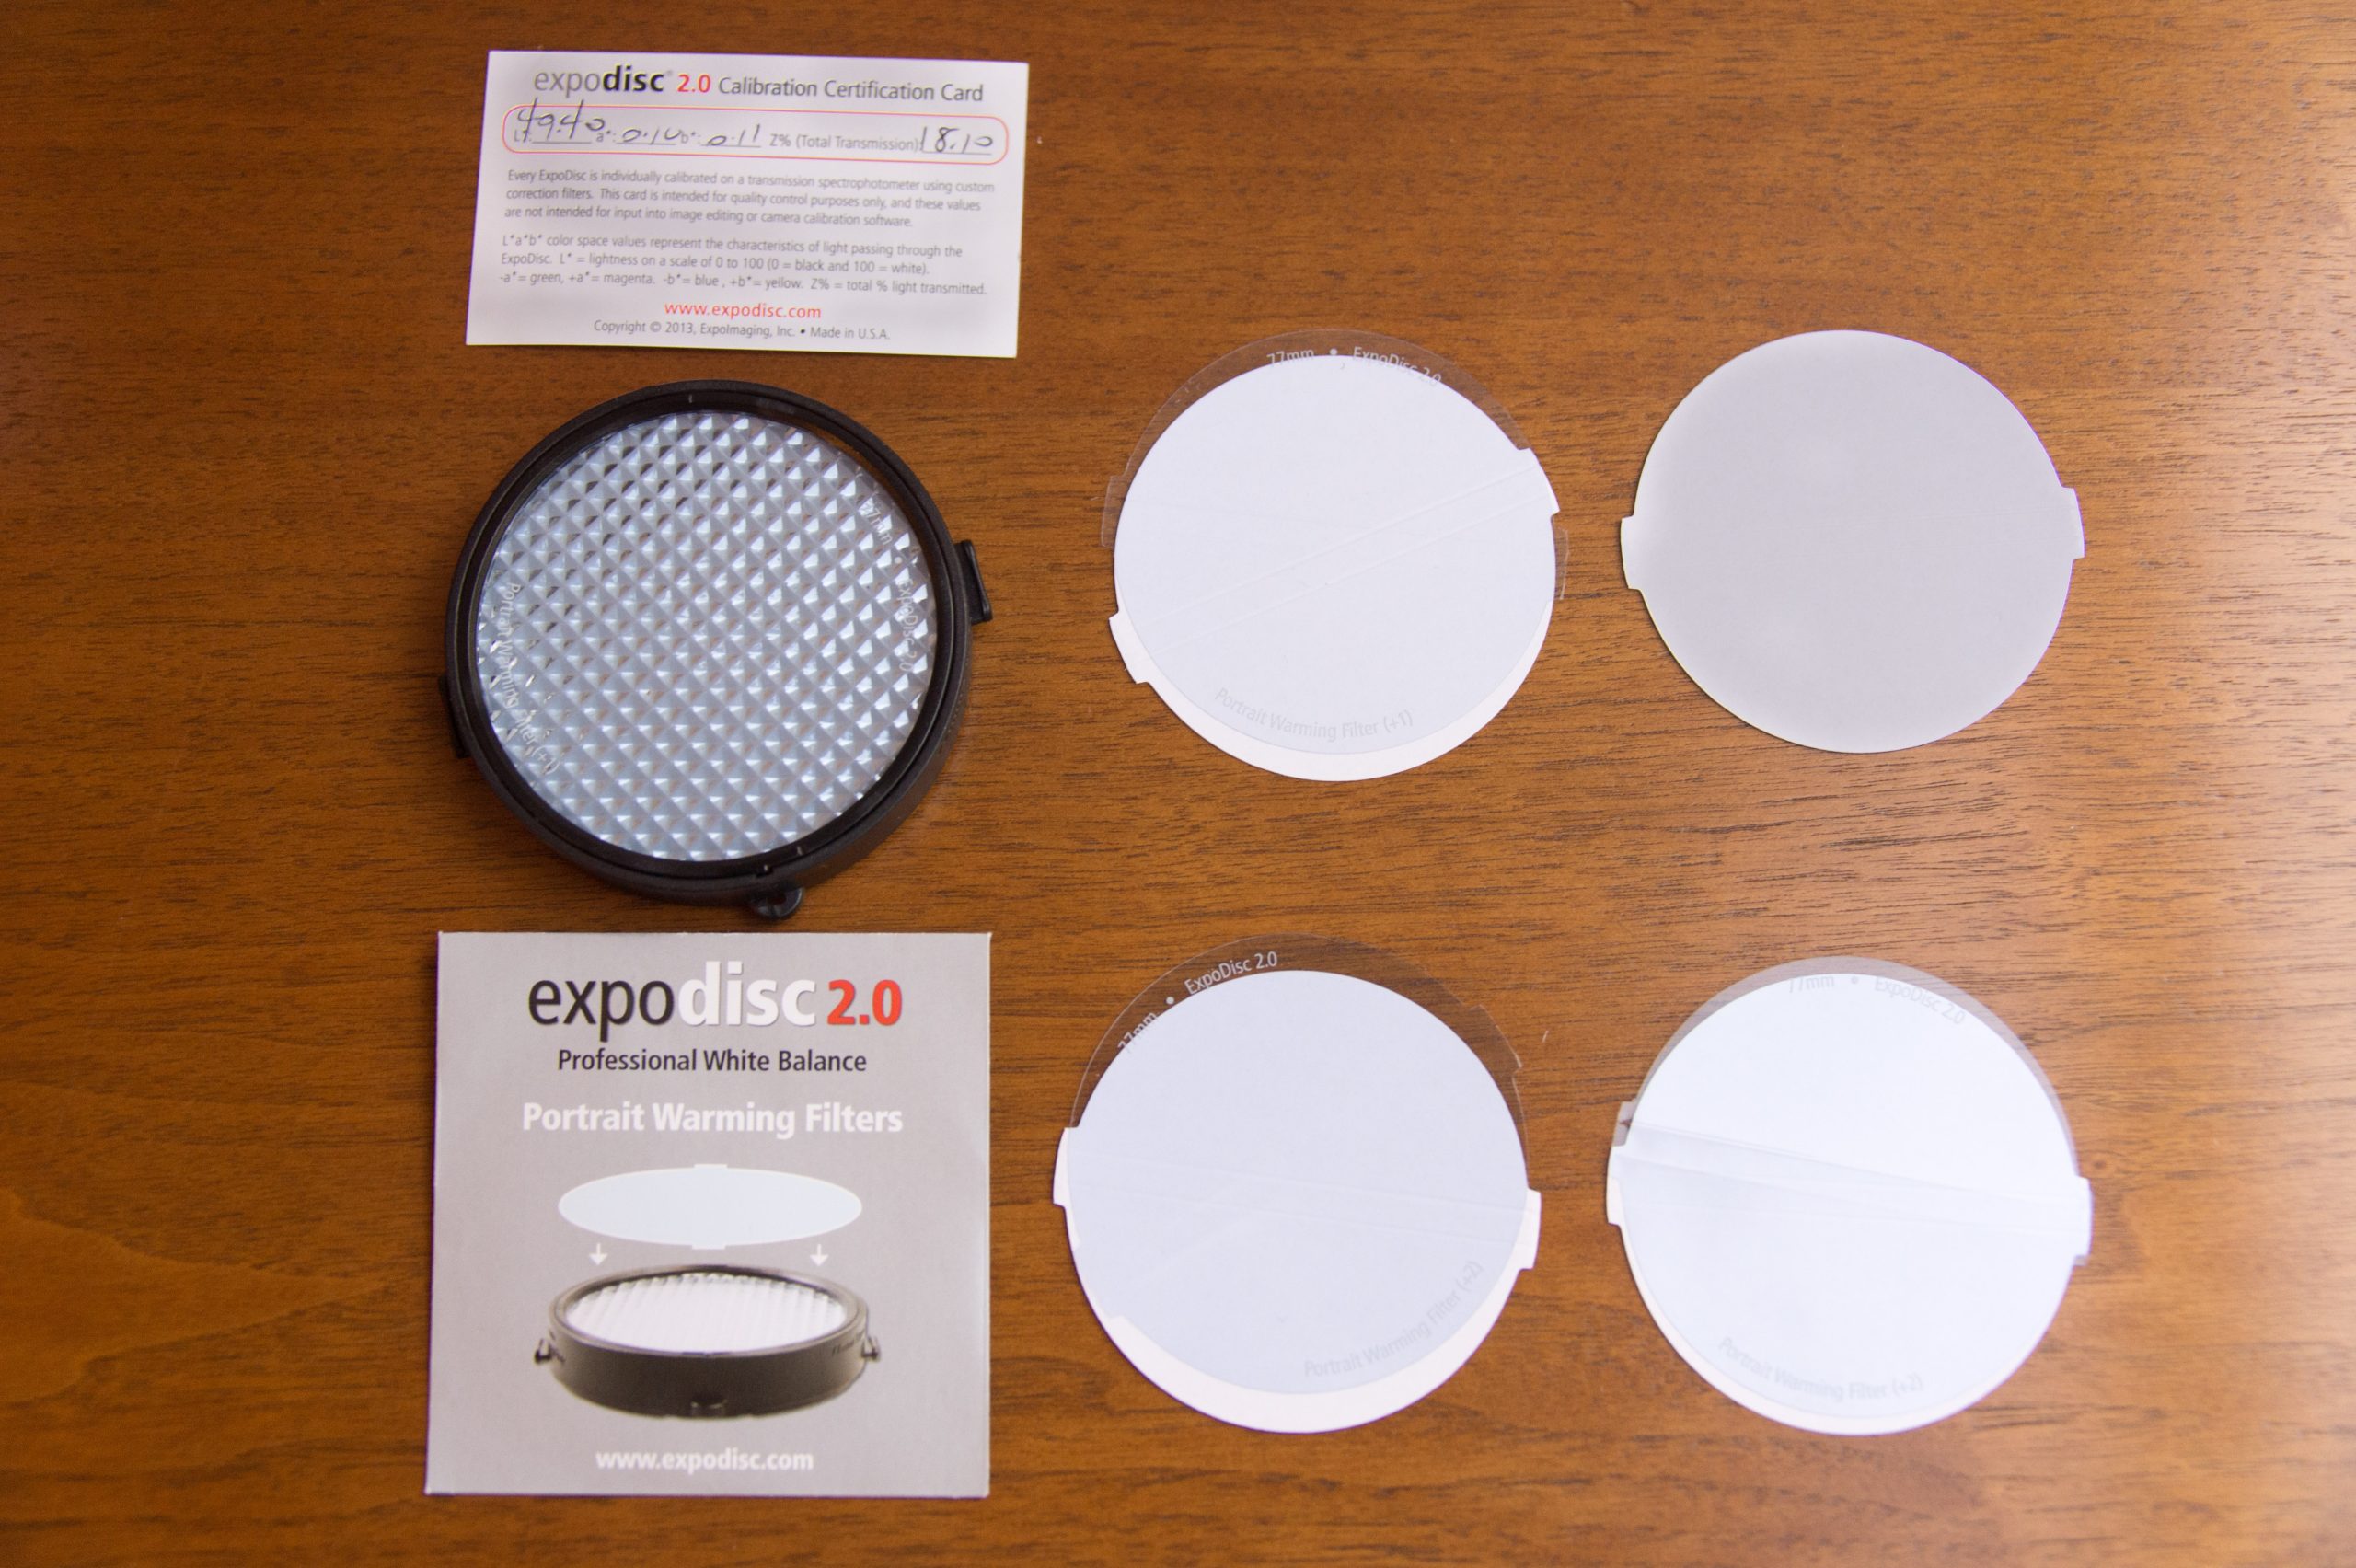
The latest upgraded version has introduced the warming filters you place before the ExpoDisc.


You can adjust the color temperature in Adobe Lightroom’s Develop Module, where I often warm up my photos. Now, I no longer need to do this. I currently use the +1 warming filter, which adds warmth to all my photos. You don’t have to use the filter if you don’t want to do this for any reason. Instead, if you want it even warmer, use the +2 or start stacking the filters. The Auto White Balance [AWB] setting on your camera looks at the scene in front of the lens, and then it will read all the colors it sees and try to make it 18% gray. So if you have a red wall you photograph, the camera will all cyan to make this red wall appear gray. If someone is in that photo, their skin will have a cyan color cast. The problem with 18% gray cards depends on the angle you hold them. You can get a glare, which will shift the camera’s color settings.
I have found that every other system I have tried that uses reflective light reading [you point the camera at the device] is not as accurate as when the camera is put into the light, making an incident reading. 
The second benefit of the newer ExpoDisc V 2.0 is it comes with a carrying case. When I first bought my ExpoDisc years ago, it came in the standard filter case, like all other filters you purchased. This new case you can put on your belt if you like and have it readily available. When I first bought my ExpoDisc, I paid over $120 for the device. Today, it comes with more options and only costs $49.95. If you consistently use ExpoDisc, I promise you that you will notice a consistent skin tone with all your images that will make people see.