Your Choice: Good Maintenance or Costly Repair

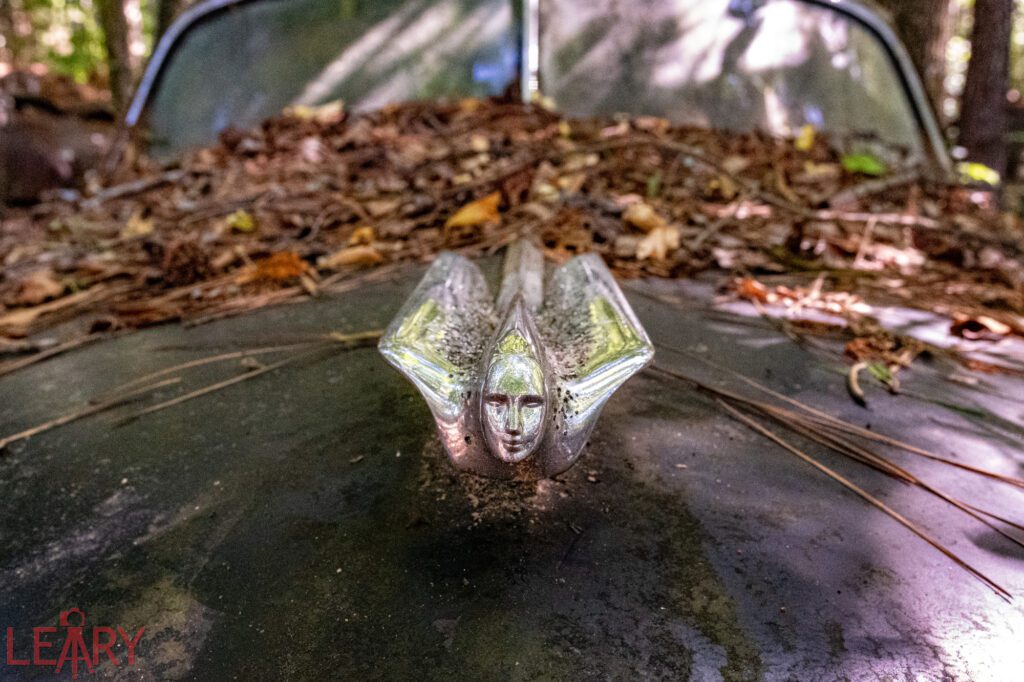
Keeping up with the regular maintenance schedule can help prevent costly cooling, transmission system, drivetrain repairs, and other components. Preventive car care reduces wear and tear of the engine and other features that extend the life of your vehicle.

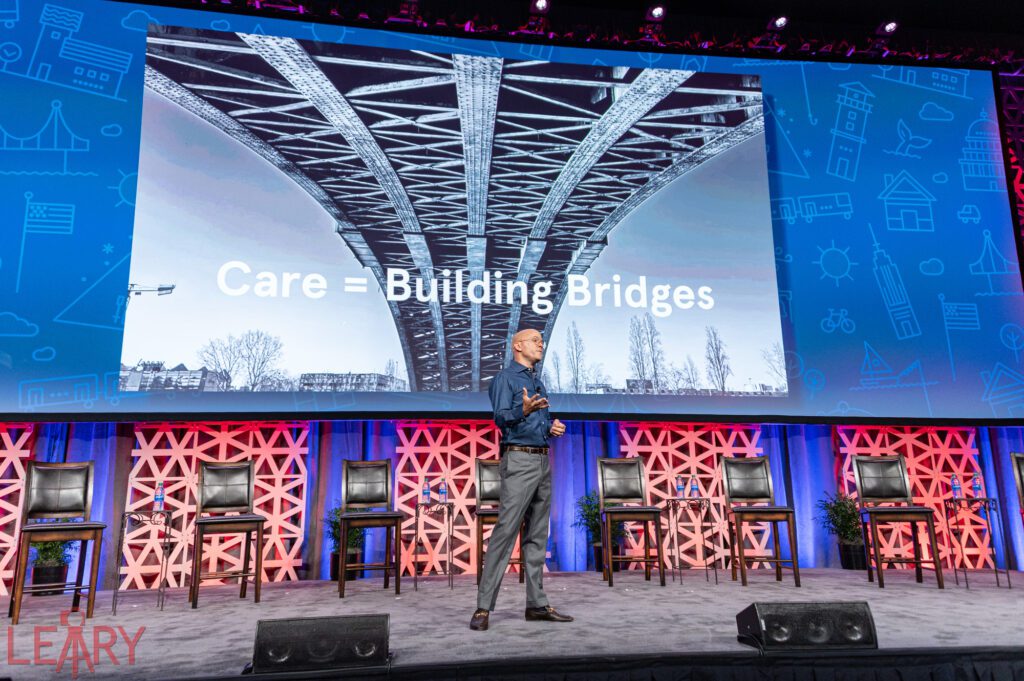
If we similarly ran our communication for organizations the same, we would be using bottom-up thinking. A bottom-up approach is piecing together systems to give rise to more complex designs as in a communications plan. It involves getting the front-line worker into the strategy meeting.

You are going to the mechanic to help you get the most out of the vehicle. Isn’t this what you want with your organization.

Before implementing your strategy or project, get those who will do the work to help guide you.

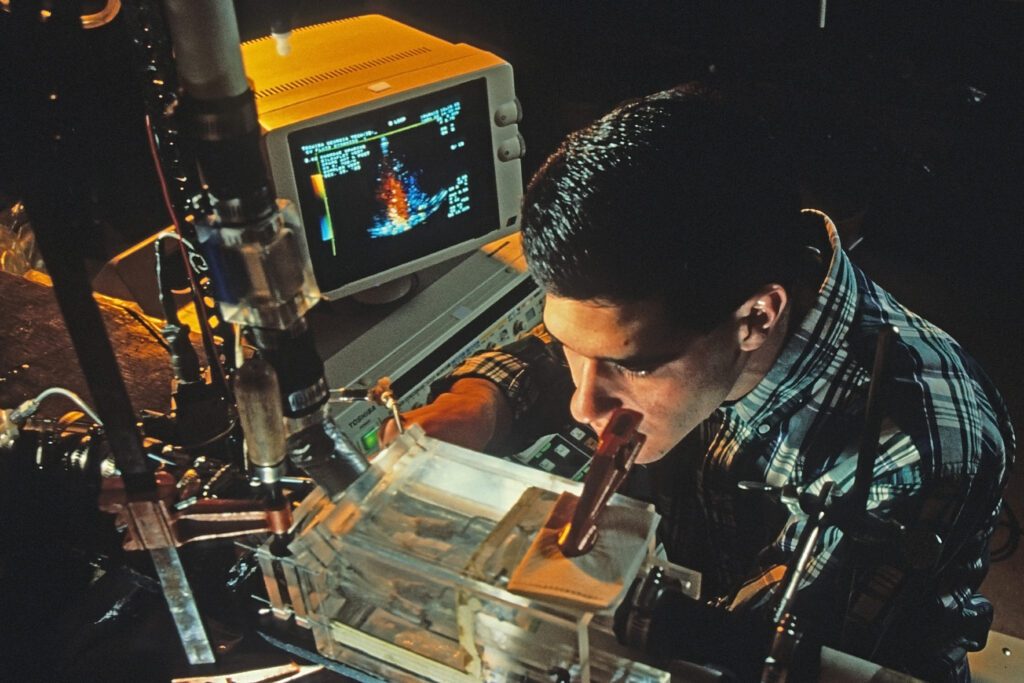
At Georgia Tech, Matt Eason and Dr. Caryn Riley prepare the new smaller engine for the ECE Future Truck. Christopher Biggers is working on the truck making final adjustments.

Which Mechanic?

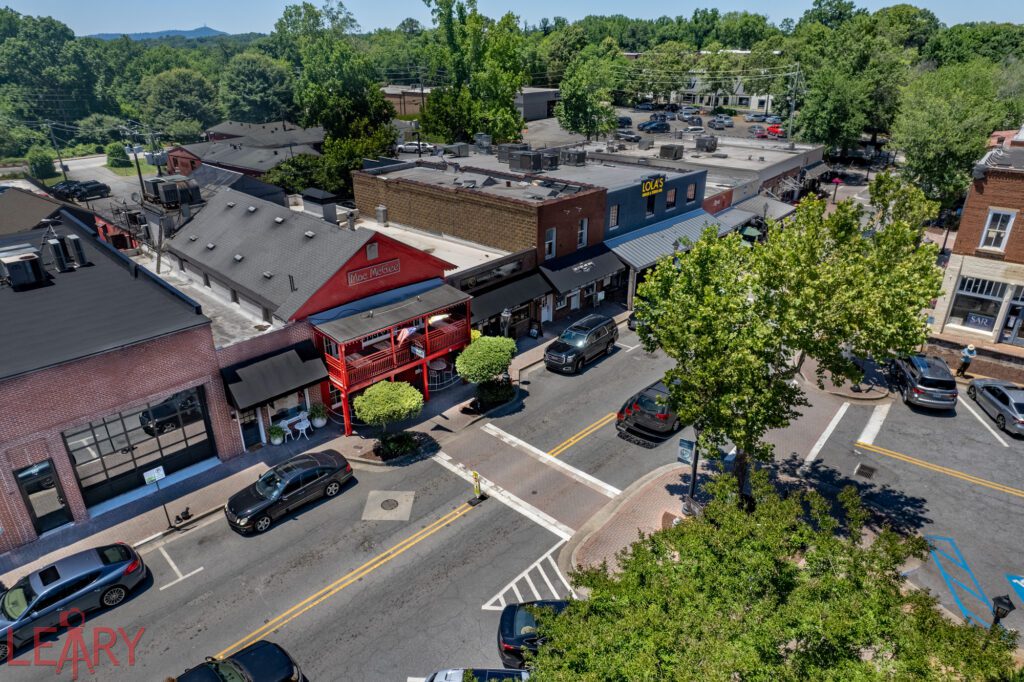
In my area, if you ask around as to what shop to take your car to when you need a repair is Roswell Auto Center. When you Google for reviews, you see things like, “Carl and Robert have always taken care of our family’s cars, and we completely trust them.” I also saw something like, “… have integrity which means a lot.”

You don’t look for young, excellent experts; the shop has a great coffee station.

Innovation session on The Power of Play

Great Communication for Organizations

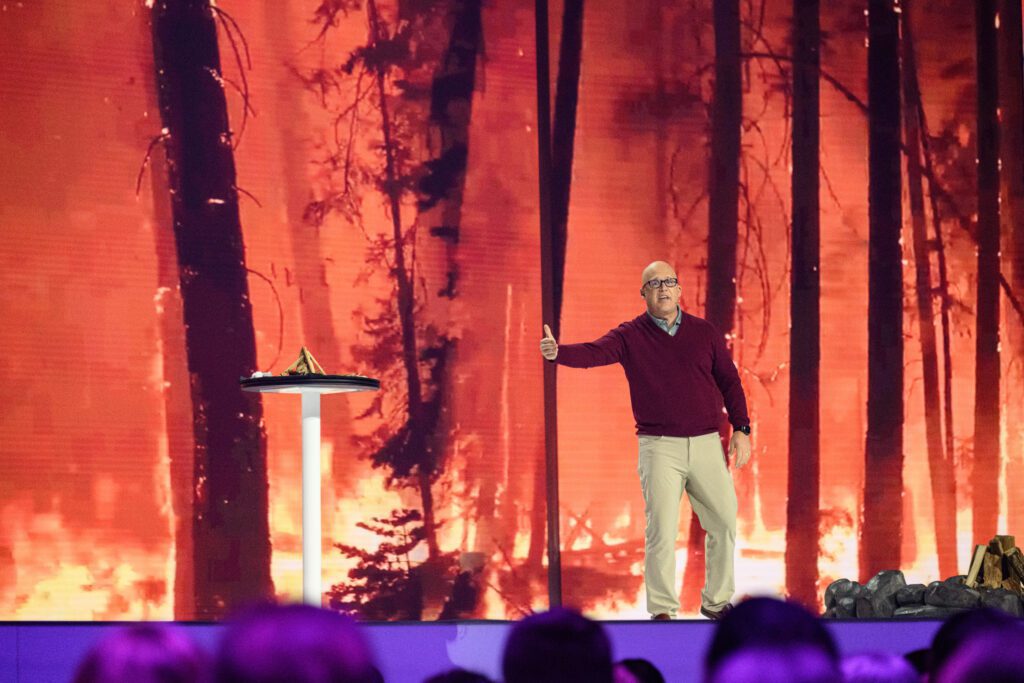
Many organizations today think the youngest people are more in touch and therefore know how to communicate with their age group. If this were true, today’s youth wouldn’t be suffering from as much anxiety.

There is a HUGE difference between being a CONSUMER of communication and a PRODUCER of communication.

Clients benefit in several ways when they include me as part of their creative team. Not only will the project be smoother and faster, but more importantly, the end product will be just as you want them to be, and your budget will go further.

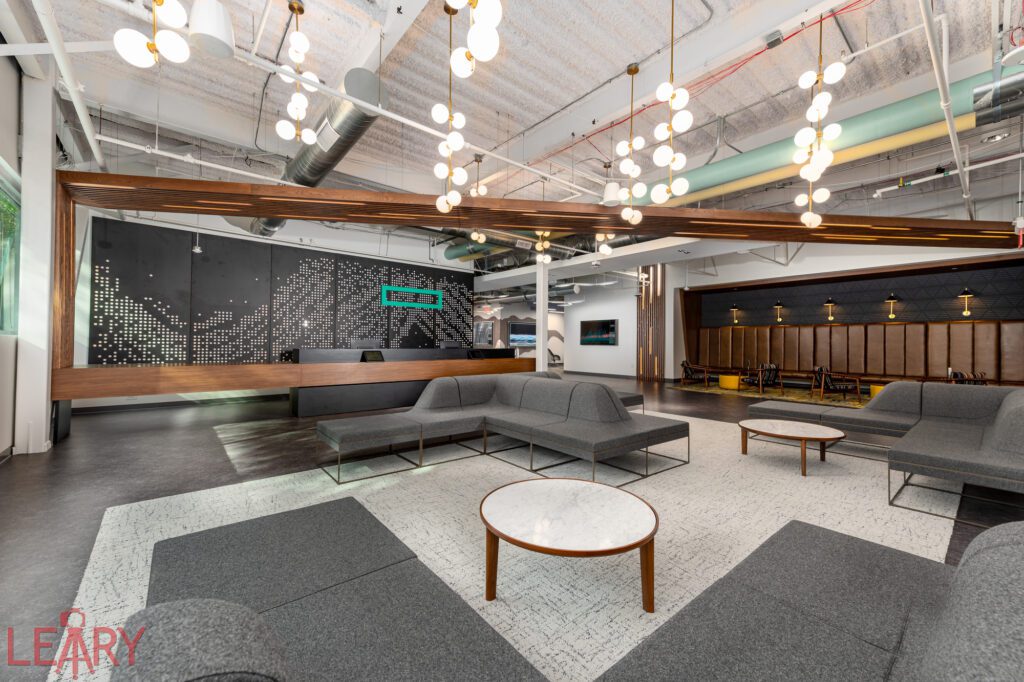
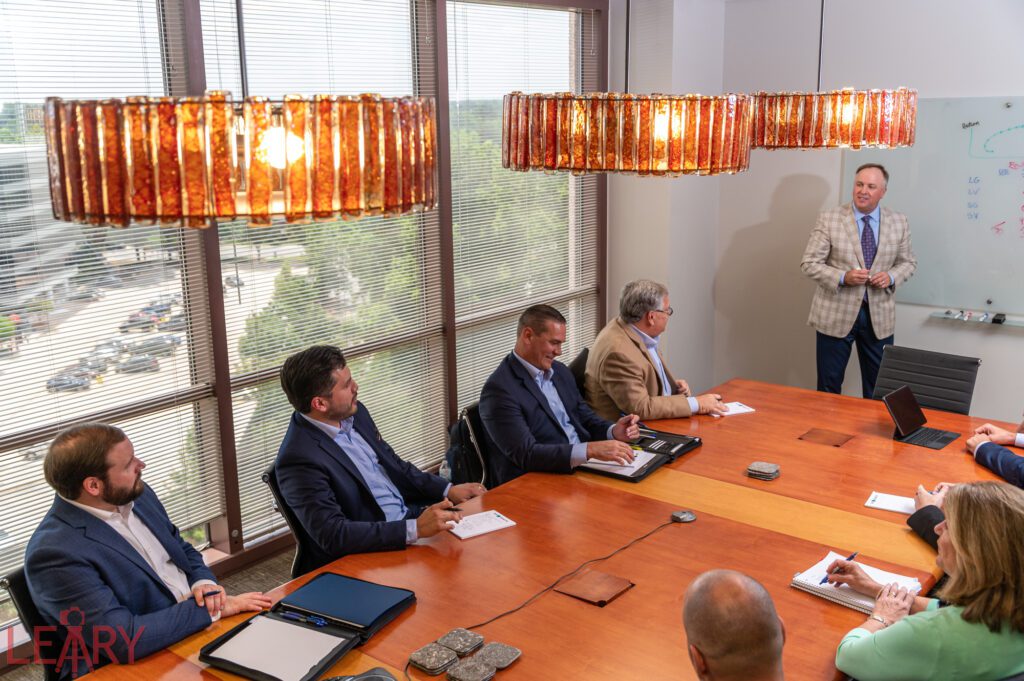
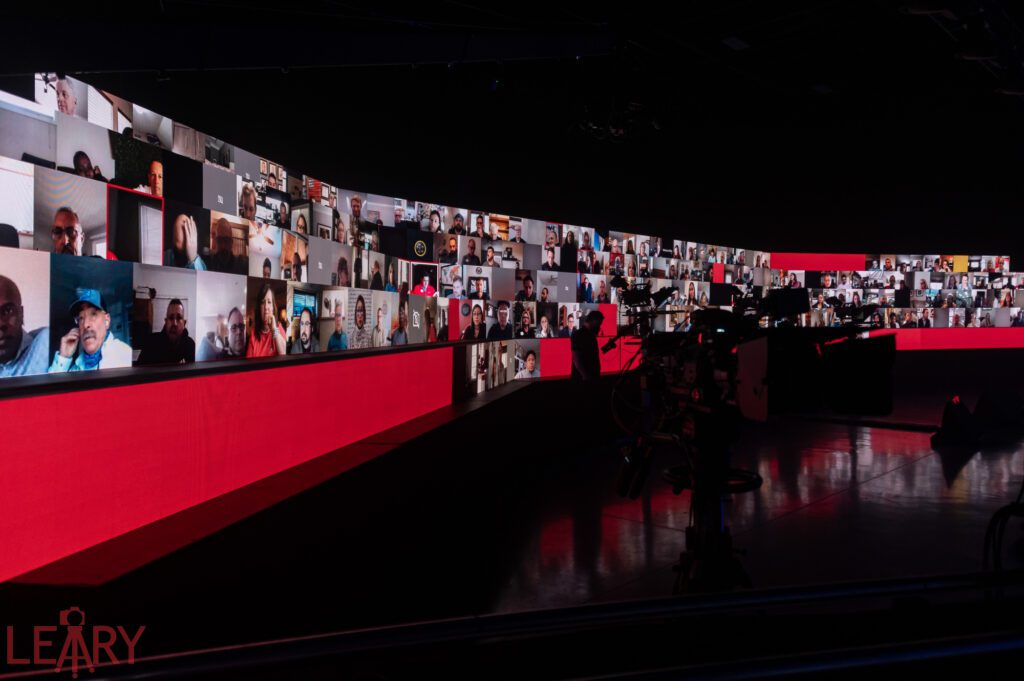
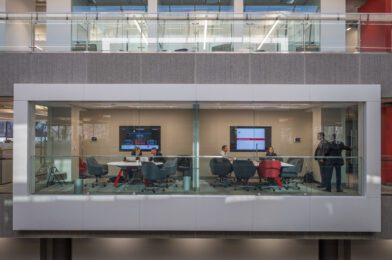
IT Team Meeting

The sooner the content producer is involved in the planning and preparation, the better.

Recently I had a client with a super tricky product to technically capture. The most significant difficulty in the process is getting the client to trust me.

I took this photo on July 27, 2019. Today I have over 273552 miles on my 2007 Sienna Van

When I took my van to the dealership a year ago, the service manager told me I needed all this work done for my engine. $4,000+ estimate. Due to a few earlier incidents of them always trying to upsell me, I took that estimate to Roswell Auto Center. They just laughed at the estimate. They said it would be cheaper and better just to replace the engine. Since I wasn’t having trouble, and that was a recommendation, I just drove it.

Then just recently had an oil puddle in my garage under my van. I took it to Roswell Auto Center. I was prepared to hear about the engine needing replacement. I got a call, and I needed a seal replaced. The guys in the shop also said this was in excellent condition.

It isn’t about getting an estimate, as you can see. It would help if you had someone with the reputation and wisdom to speak about your project.

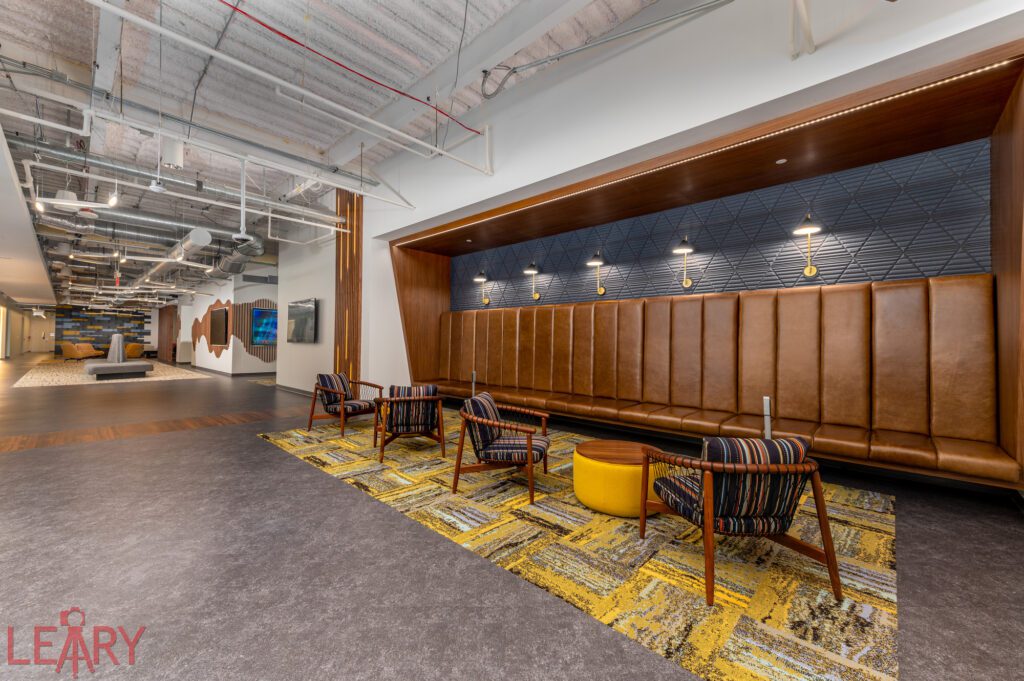
Admin Team Meeting

For a Photography Project

During the planning session, we discuss the feelings the photos need to invoke in the viewer. We can better achieve our objectives by working together from the beginning. Preplanning lets everyone concentrate on the fine details when it truly counts – on the day of the shoot.

During the actual shoot, priorities can change. Certain shots emerge as “must have” pictures, while others may become less essential than initially thought. Going for the best photos and dropping or limiting the others can stretch the budget yet still produce outstanding images.

Here is an example of stretching a photo budget. When working with universities and schools, it is more expedient, since most general classrooms look alike, to set up in only one classroom. The faculty and students rotate through the school where all the lights have been placed and the exposure and white balance determined. There is no need to move from building to building. This saves time and money.

As you consider your photo needs consider adding me to your creative team, that decision will save time and money and ensure a more productive and creative photo shoot.

I’m here to help; give me a call.

Headshot Background

So what color should you use for your background?

White? Gray? Black? or some RGB Color?

Yoko O’Brien New Start Counseling Center

Brick was famous for a while, and some still are desirable.

Chelle Leary

One thing is for sure; simple plain backgrounds will keep the attention on you and not the experience.

Where are you posting the headshot?

These Social Media use a circle for the headshot.

I think the white background works better in the circle. My second choice is a light color. The teal-colored background was the organization’s color for its brand. That worked on their website and also on social media as well.

Don’t Be This Guy

Dubbed “the new handshake,” professional headshots are now the first introduction to you, your business, and your brand—shouldn’t that intro be the best it can be? With 93% of HR professionals and recruiters tapping into LinkedIn to find quality candidates—plus candidates—plus 2 in 3 on Facebook and more than half utilizing Twitter—that headshot has countless applications in your professional life.

Using Old Photos For Today’s Headlines

Can your organization find old photos to help tell the stories of how they dealt with past challenges?

This morning some of my friends were sharing the Nebraska Department of Health and Human Services has been sharing old photos to help remind people how vaccinations throughout history helped to wipe out diseases that were taking lives.

Here is a link to their facebook page.

Today people can miss your outgoing communications. That is why it is essential to have a campaign on critical communications. Those who don’t forget your communications would stop following your content if it were the same thing just reposted. 

Your communication also can be mixed up with some other content. This helps with the entertainment factor of an exemplary communications channel. Here the team just shared an old archive photo and the story.

What visual storytelling content are you sharing on your communication channels today? 

Here is a photo from Georgia Tech in 1918 where the fans are masked.

Tips for sharing old photos

  1. Create a Digital Asset Management online catalog
  2. Create assignments to capture what happens in your organization for historical purposes in addition to your current coverages.
  3. Embed all your photos with:
    1. Captions
    2. Keywords
    3. Location 
    4. Copyright information

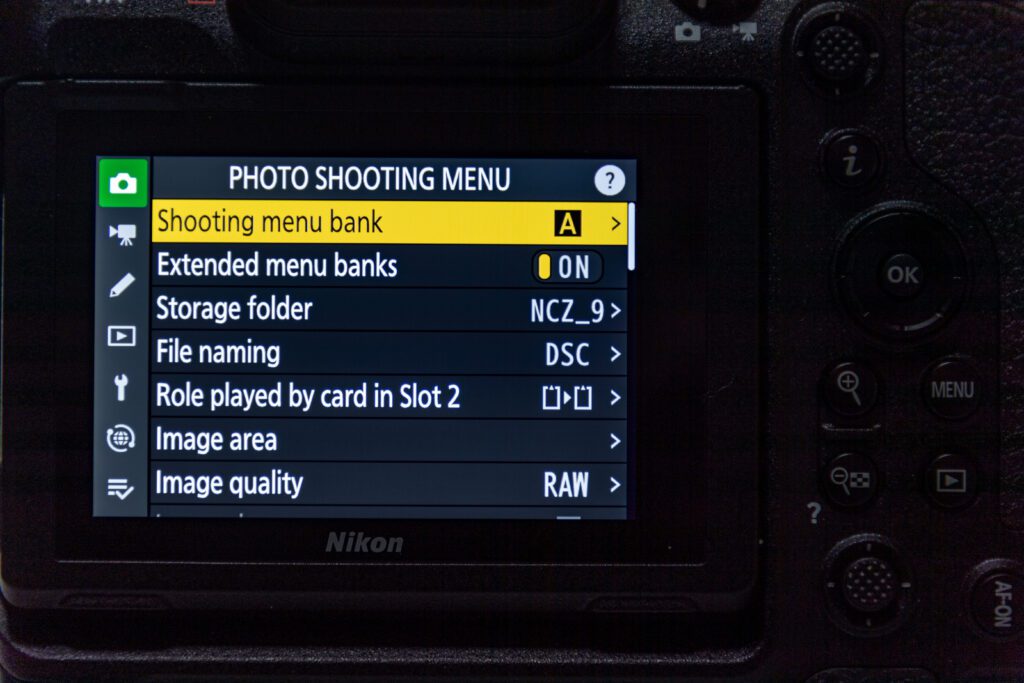
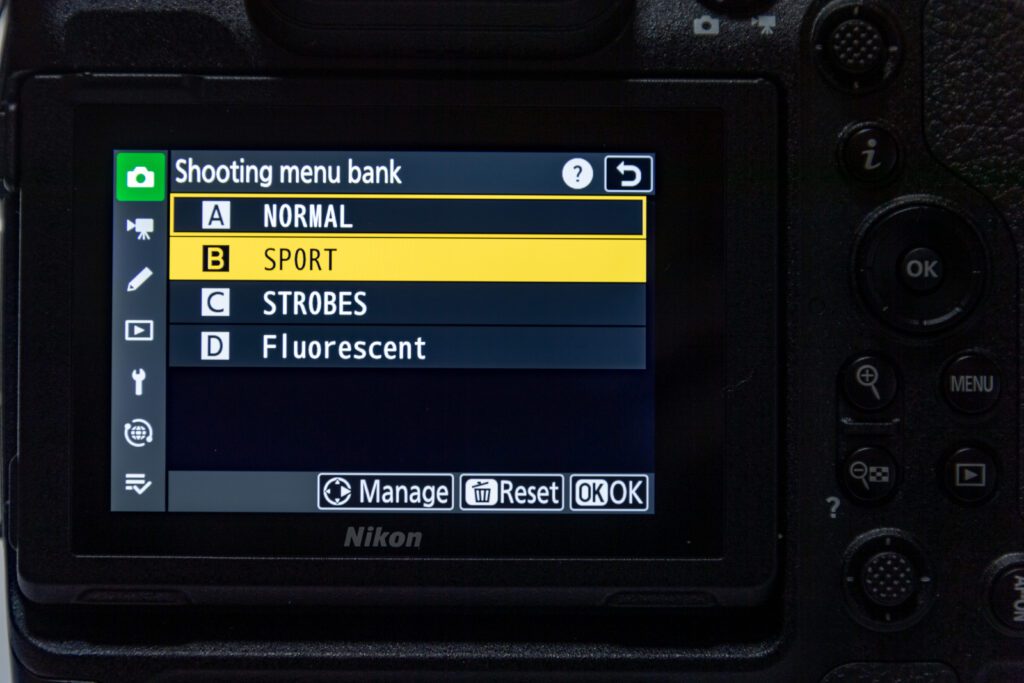
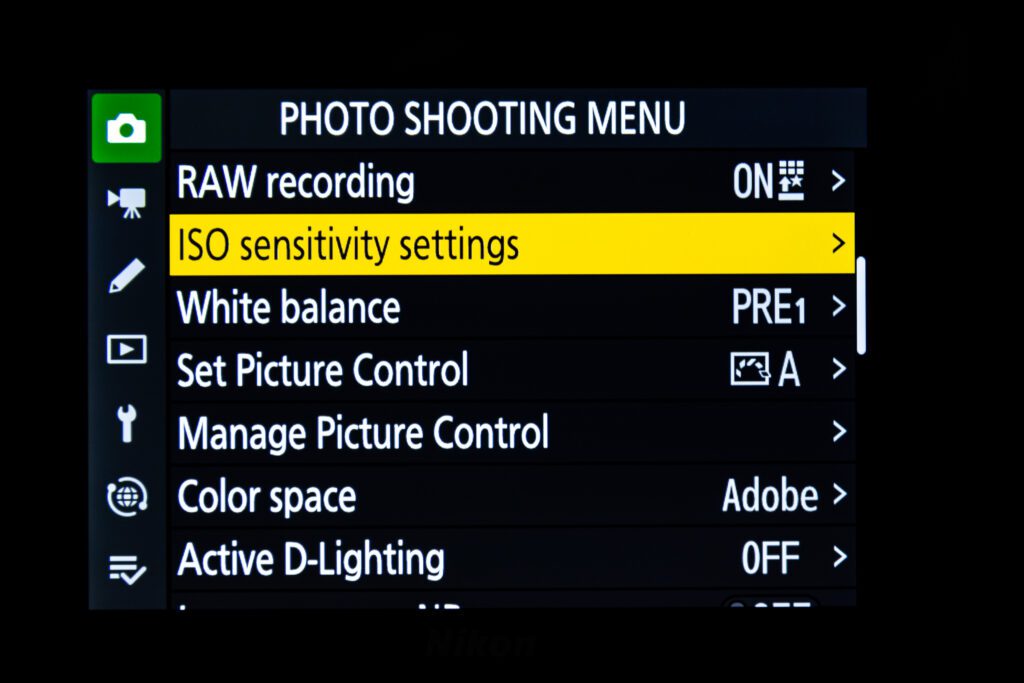
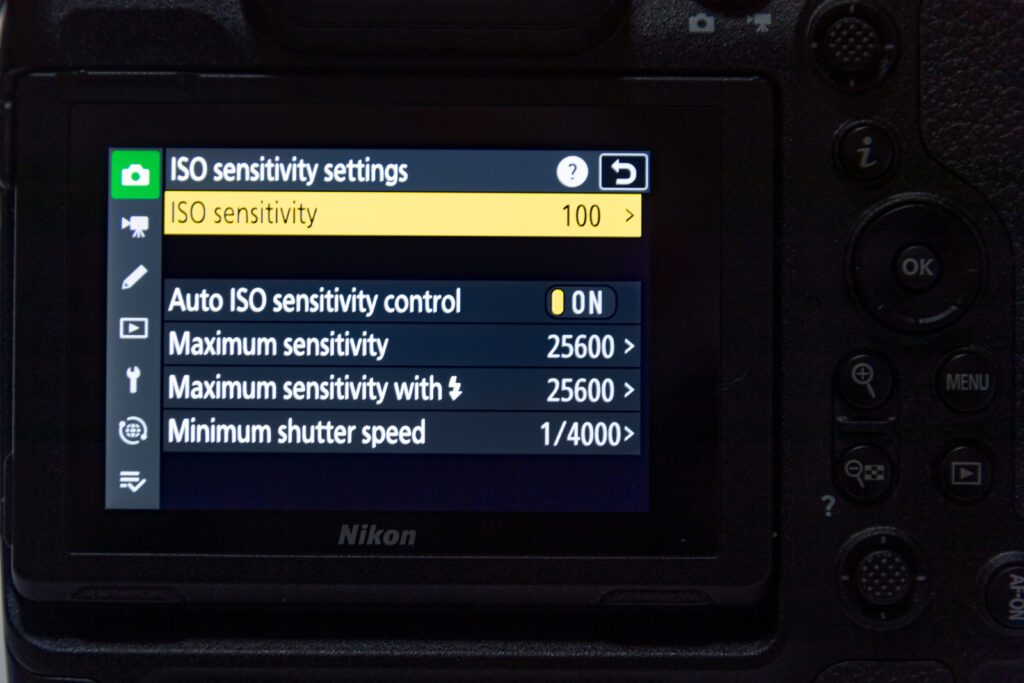
Nikon Z6 ~ Silent Mode

[NIKON Z 6, Nikon 28.0-300.0 mm f/3.5-5.6, Mode = Aperture Priority, ISO 10000, 1/200, ƒ/5.6, (35mm = 125)]

I was referred to the client for this project by my friend Daemon. Daemon said in his message to me, “The main stipulation is that you shoot silently, or with the very muted sound of that Z6. The reason is that video is being shot and using ambient mics.”

Investiture Ceremony for Honorable Regina D. Cannon [NIKON Z 6, Nikon 28.0-300.0 mm f/3.5-5.6, Mode = Aperture Priority, ISO 6400, 1/200, ƒ/5.6, (35mm = 28)]

I arrived early, and to my surprise, the lighting in the room was excellent. This past year they remodeled the room and replaced all the lighting. This is the same courtroom where the Centennial Olympic Park bomber Eric Rudolph trial took place.

ExpoDisc

I put the ExpoDisc on my lens and did a custom white balance. I then did a few test shots on solid white spots, like the walls, and looked for banding.

Banding due to using the Silent Mode. [NIKON Z 6, 28.0-300.0 mm f/3.5-5.6, ISO 6400, ƒ/5.6, 1/200]

At the Carter Center in Atlanta, this is a problem, as you can see.

Investiture Ceremony for Honorable Regina D. Cannon [NIKON Z 6, Nikon 28.0-300.0 mm f/3.5-5.6, Mode = Aperture Priority, ISO 18000, 1/4000, ƒ/5.6, (35mm = 28)]

As you can see in this program, compared to the one at the Carter Center, there is no banding. I was good to go.

Investiture Ceremony for Honorable Regina D. Cannon [NIKON Z 6, Nikon 28.0-300.0 mm f/3.5-5.6, Mode = Aperture Priority, ISO 18000, 1/200, ƒ/5.6, (35mm = 145)]

If I could shoot all the time in Silent Mode, I would. You are not announcing with the clicks that you are taking photos.

The silence helps with audio issues when they are video or sound recording, but the benefit is far beyond the sound.

Investiture Ceremony for Honorable Regina D. Cannon [NIKON Z 6, Sigma 24.0-105.0 mm f/4.0, Mode = Aperture Priority, ISO 3600, 1/200, ƒ/5.6, (35mm = 62)]

When people talk to one another, they know I am close, but with a click, you announce you are there and make people conscious of the moment. This changes how they respond to others most of the time.

Investiture Ceremony for Honorable Regina D. Cannon [NIKON Z 6, Sigma 24.0-105.0 mm f/4.0, Mode = Aperture Priority, ISO 2500, 1/200, ƒ/4, (35mm = 38)]

The Honorable Regina D. Cannon had intimate conversations with her family, friends, and colleagues. I felt like I was able to get the moments that helped define why she was chosen to be the judge. You can tell in the photos how personable she is with everyone–even with those masks on everyone.

Investiture Ceremony for Honorable Regina D. Cannon [NIKON Z 6, Sigma 24.0-105.0 mm f/4.0, Mode = Aperture Priority, ISO 2200, 1/200, ƒ/5.6, (35mm = 48)]

I hope that the next generation of the Nikon mirrorless camera can be shot with banding not being an issue. I understand this has more to do with the lights being used than the camera, but I hope one day it is solved for silent shooting. It is solved with the shutter.

Investiture Ceremony for Honorable Regina D. Cannon [NIKON Z 6, Sigma 24.0-105.0 mm f/4.0, Mode = Aperture Priority, ISO 7200, 1/200, ƒ/5.6, (35mm = 24)]

Tips for shooting in Silent Mode with Nikon Z6

  1. Arrive early & do test shots to see if banding occurs with silent mode
  2. Scout the location for the best places to be with your camera. You may need to move during the event, so plan how you will do that early.
  3. You cannot use flash in the silent mode with the Nikon Z6
  4. While your Nikon Z6 will not be heard clicking–you can be heard. Move around like a Ninja.

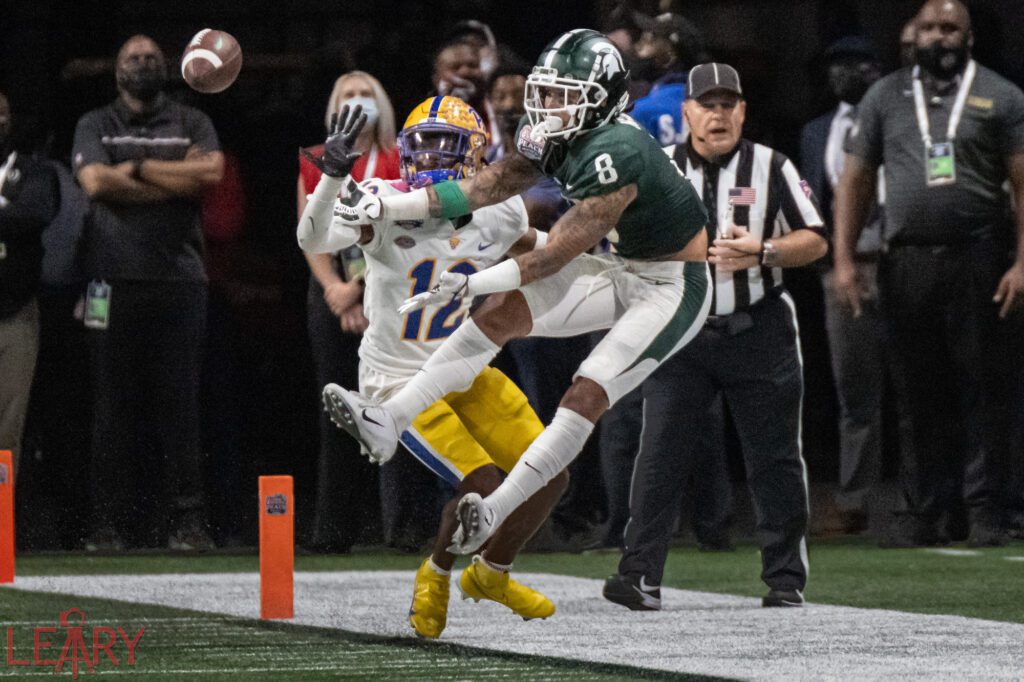
Same Game Different Client

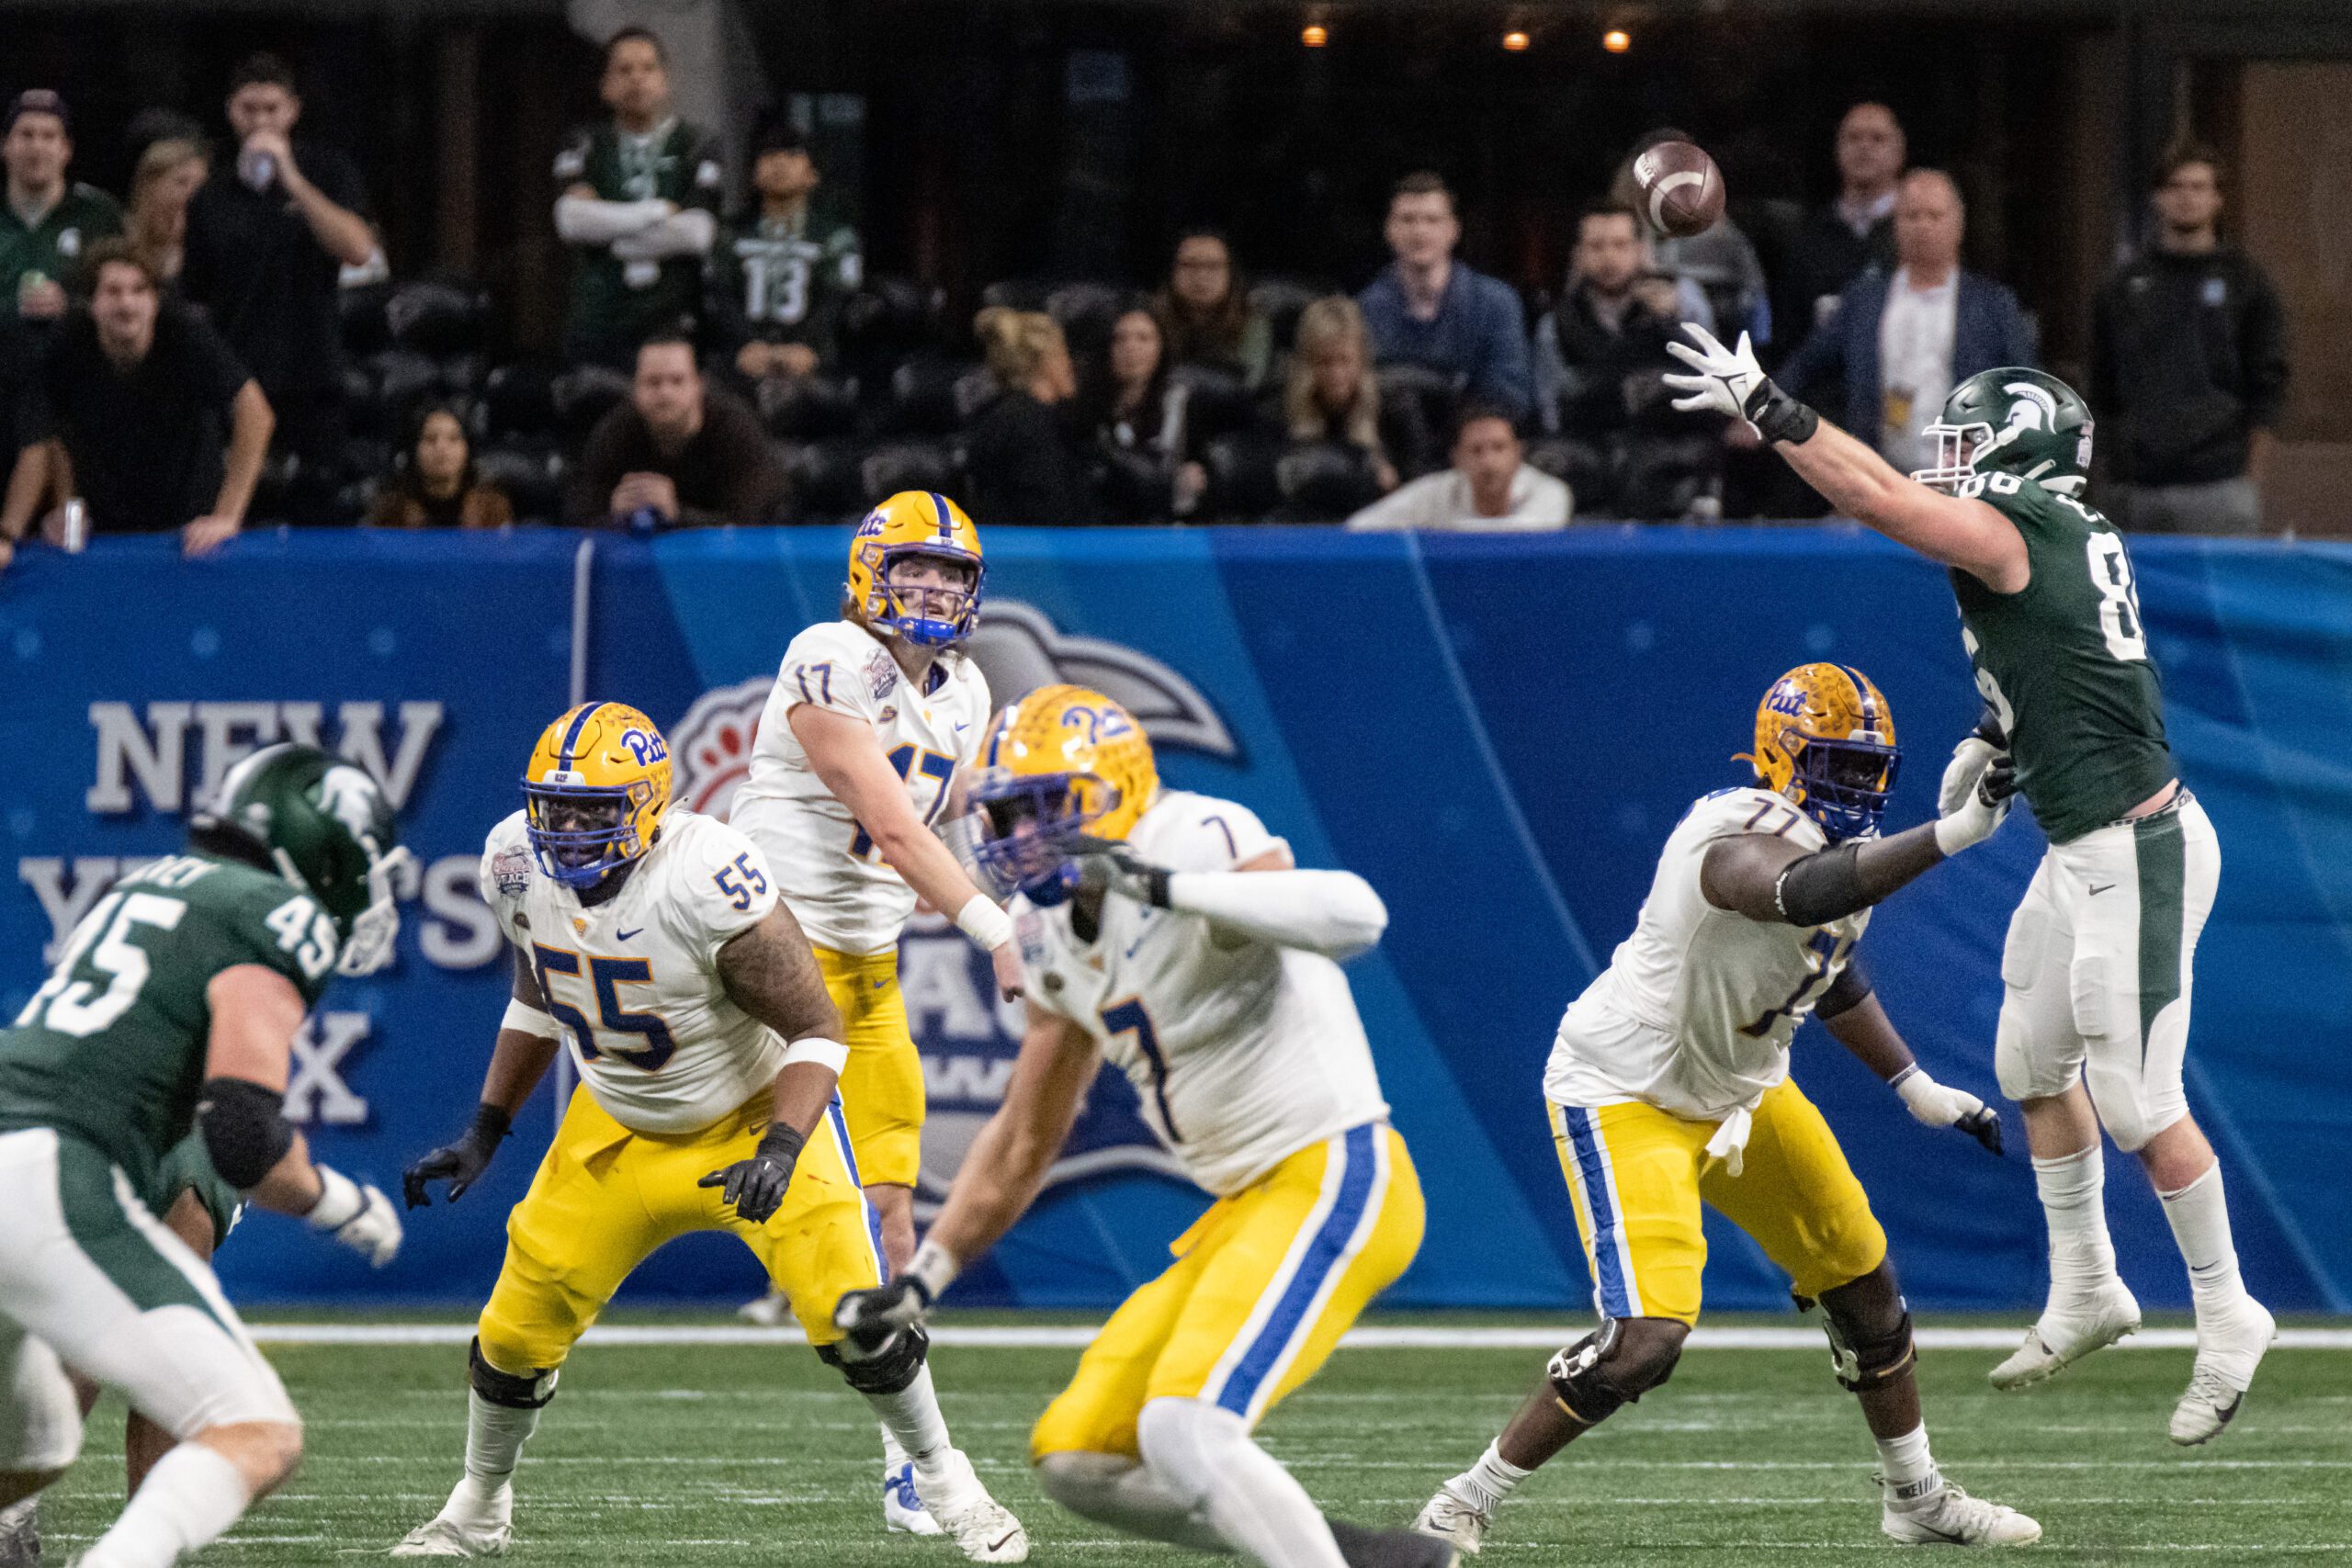
[NIKON D5, Sigma 120.0-300.0 mm f/2.8 Sport + TC-2001 2X Converter, Mode = Aperture Priority, ISO 8000, 1/4000, ƒ/5.6, (35mm = 440)]

Photojournalism

I first started shooting college football when I was a student at East Carolina University.

This photo is from the October 9, 1982 at Ficklen Memorial Stadium in Greenville, NC with an attendance of 19,521. ECU defeated Richmond 35-14. 

Back then, I was trying to get a good action photo. I would shoot sports for newspapers, Associated Press, Wire Services, and Georgia Tech.

I was either looking for the game’s play or the reaction to it.

Public Relations

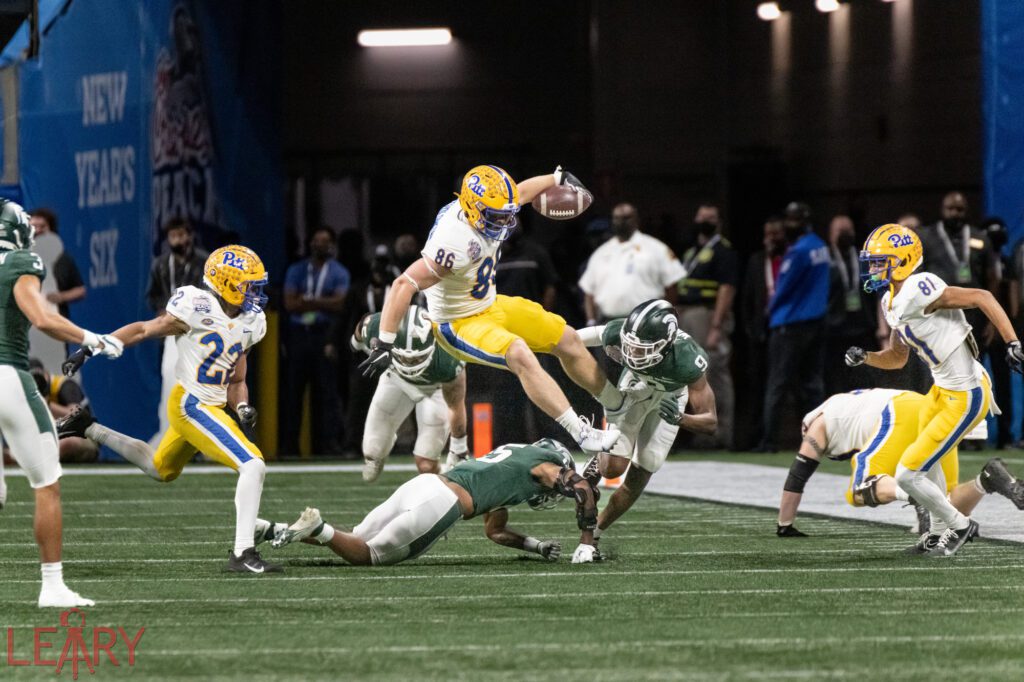
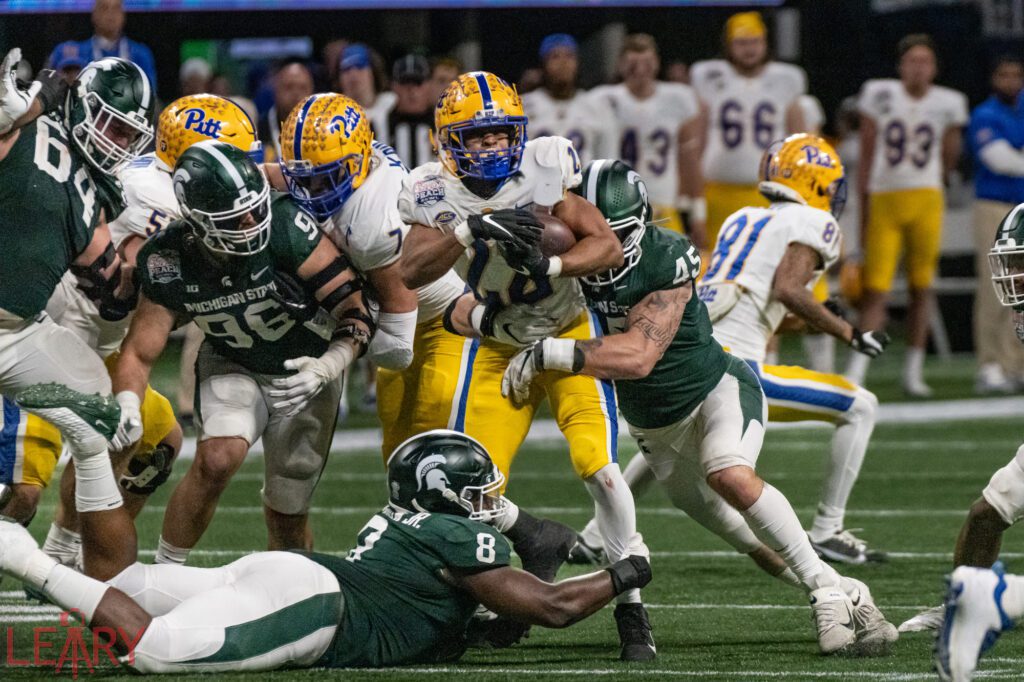
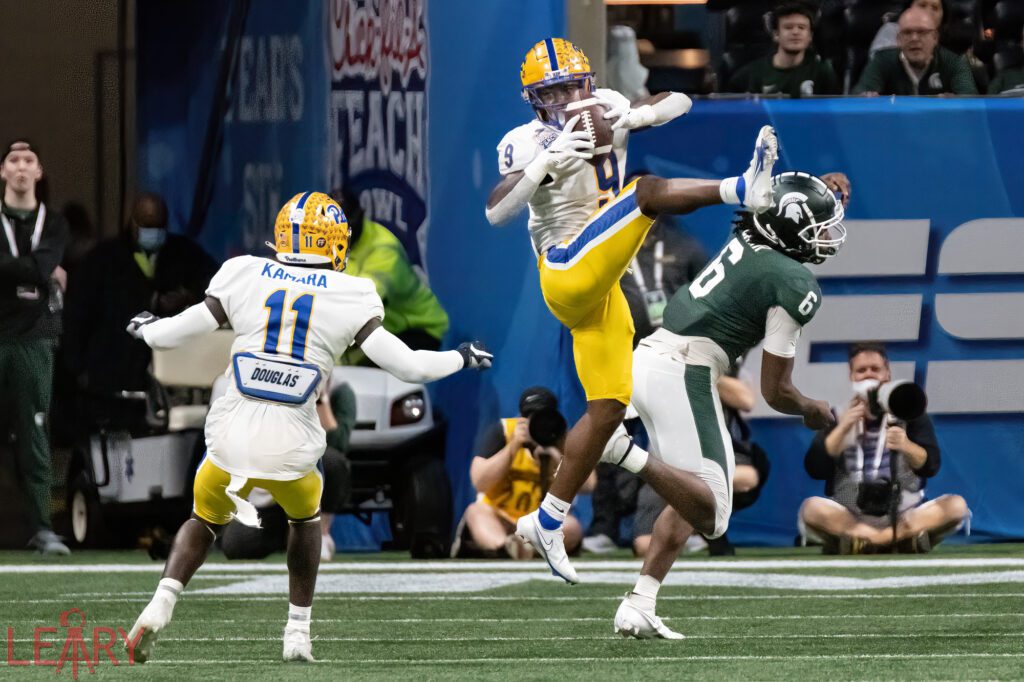
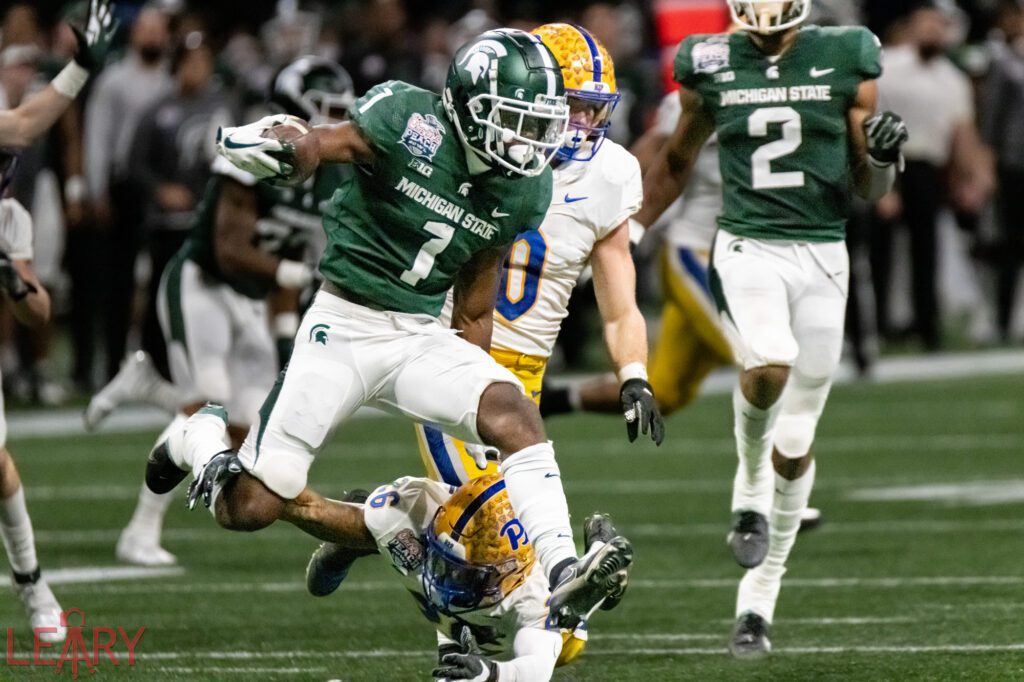
Shooting for Georgia Tech is public relations and not journalism. I was essentially advertising the school for Georgia Tech.

Georgia Tech’s Ramblin’ Wreck starts every home game by leading the football team onto the field.

You look for the celebrations after the touchdowns.

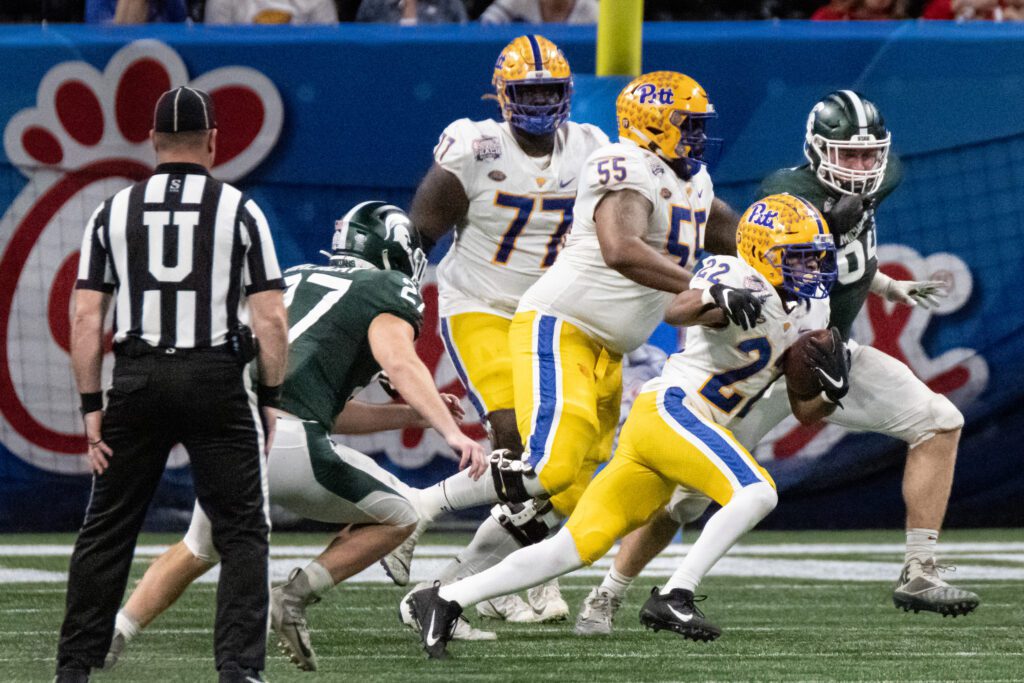
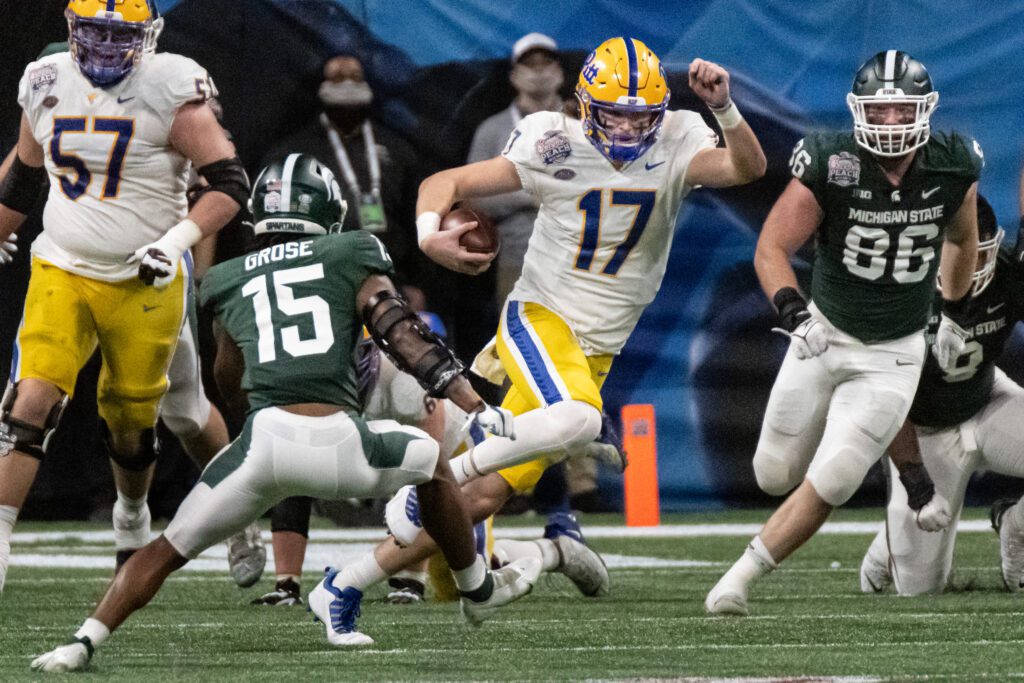
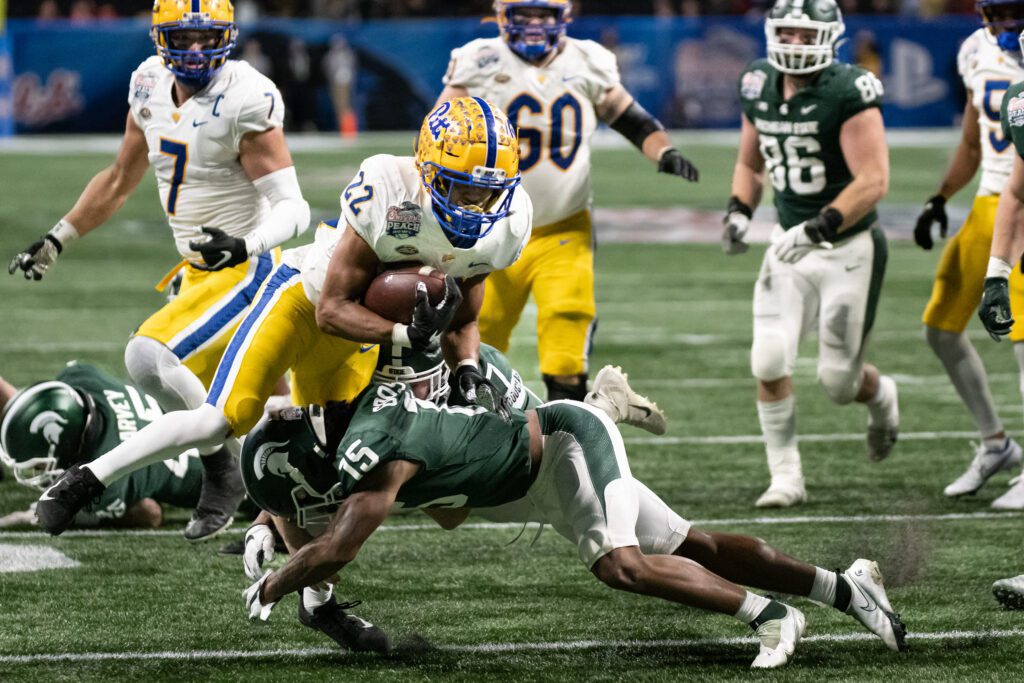
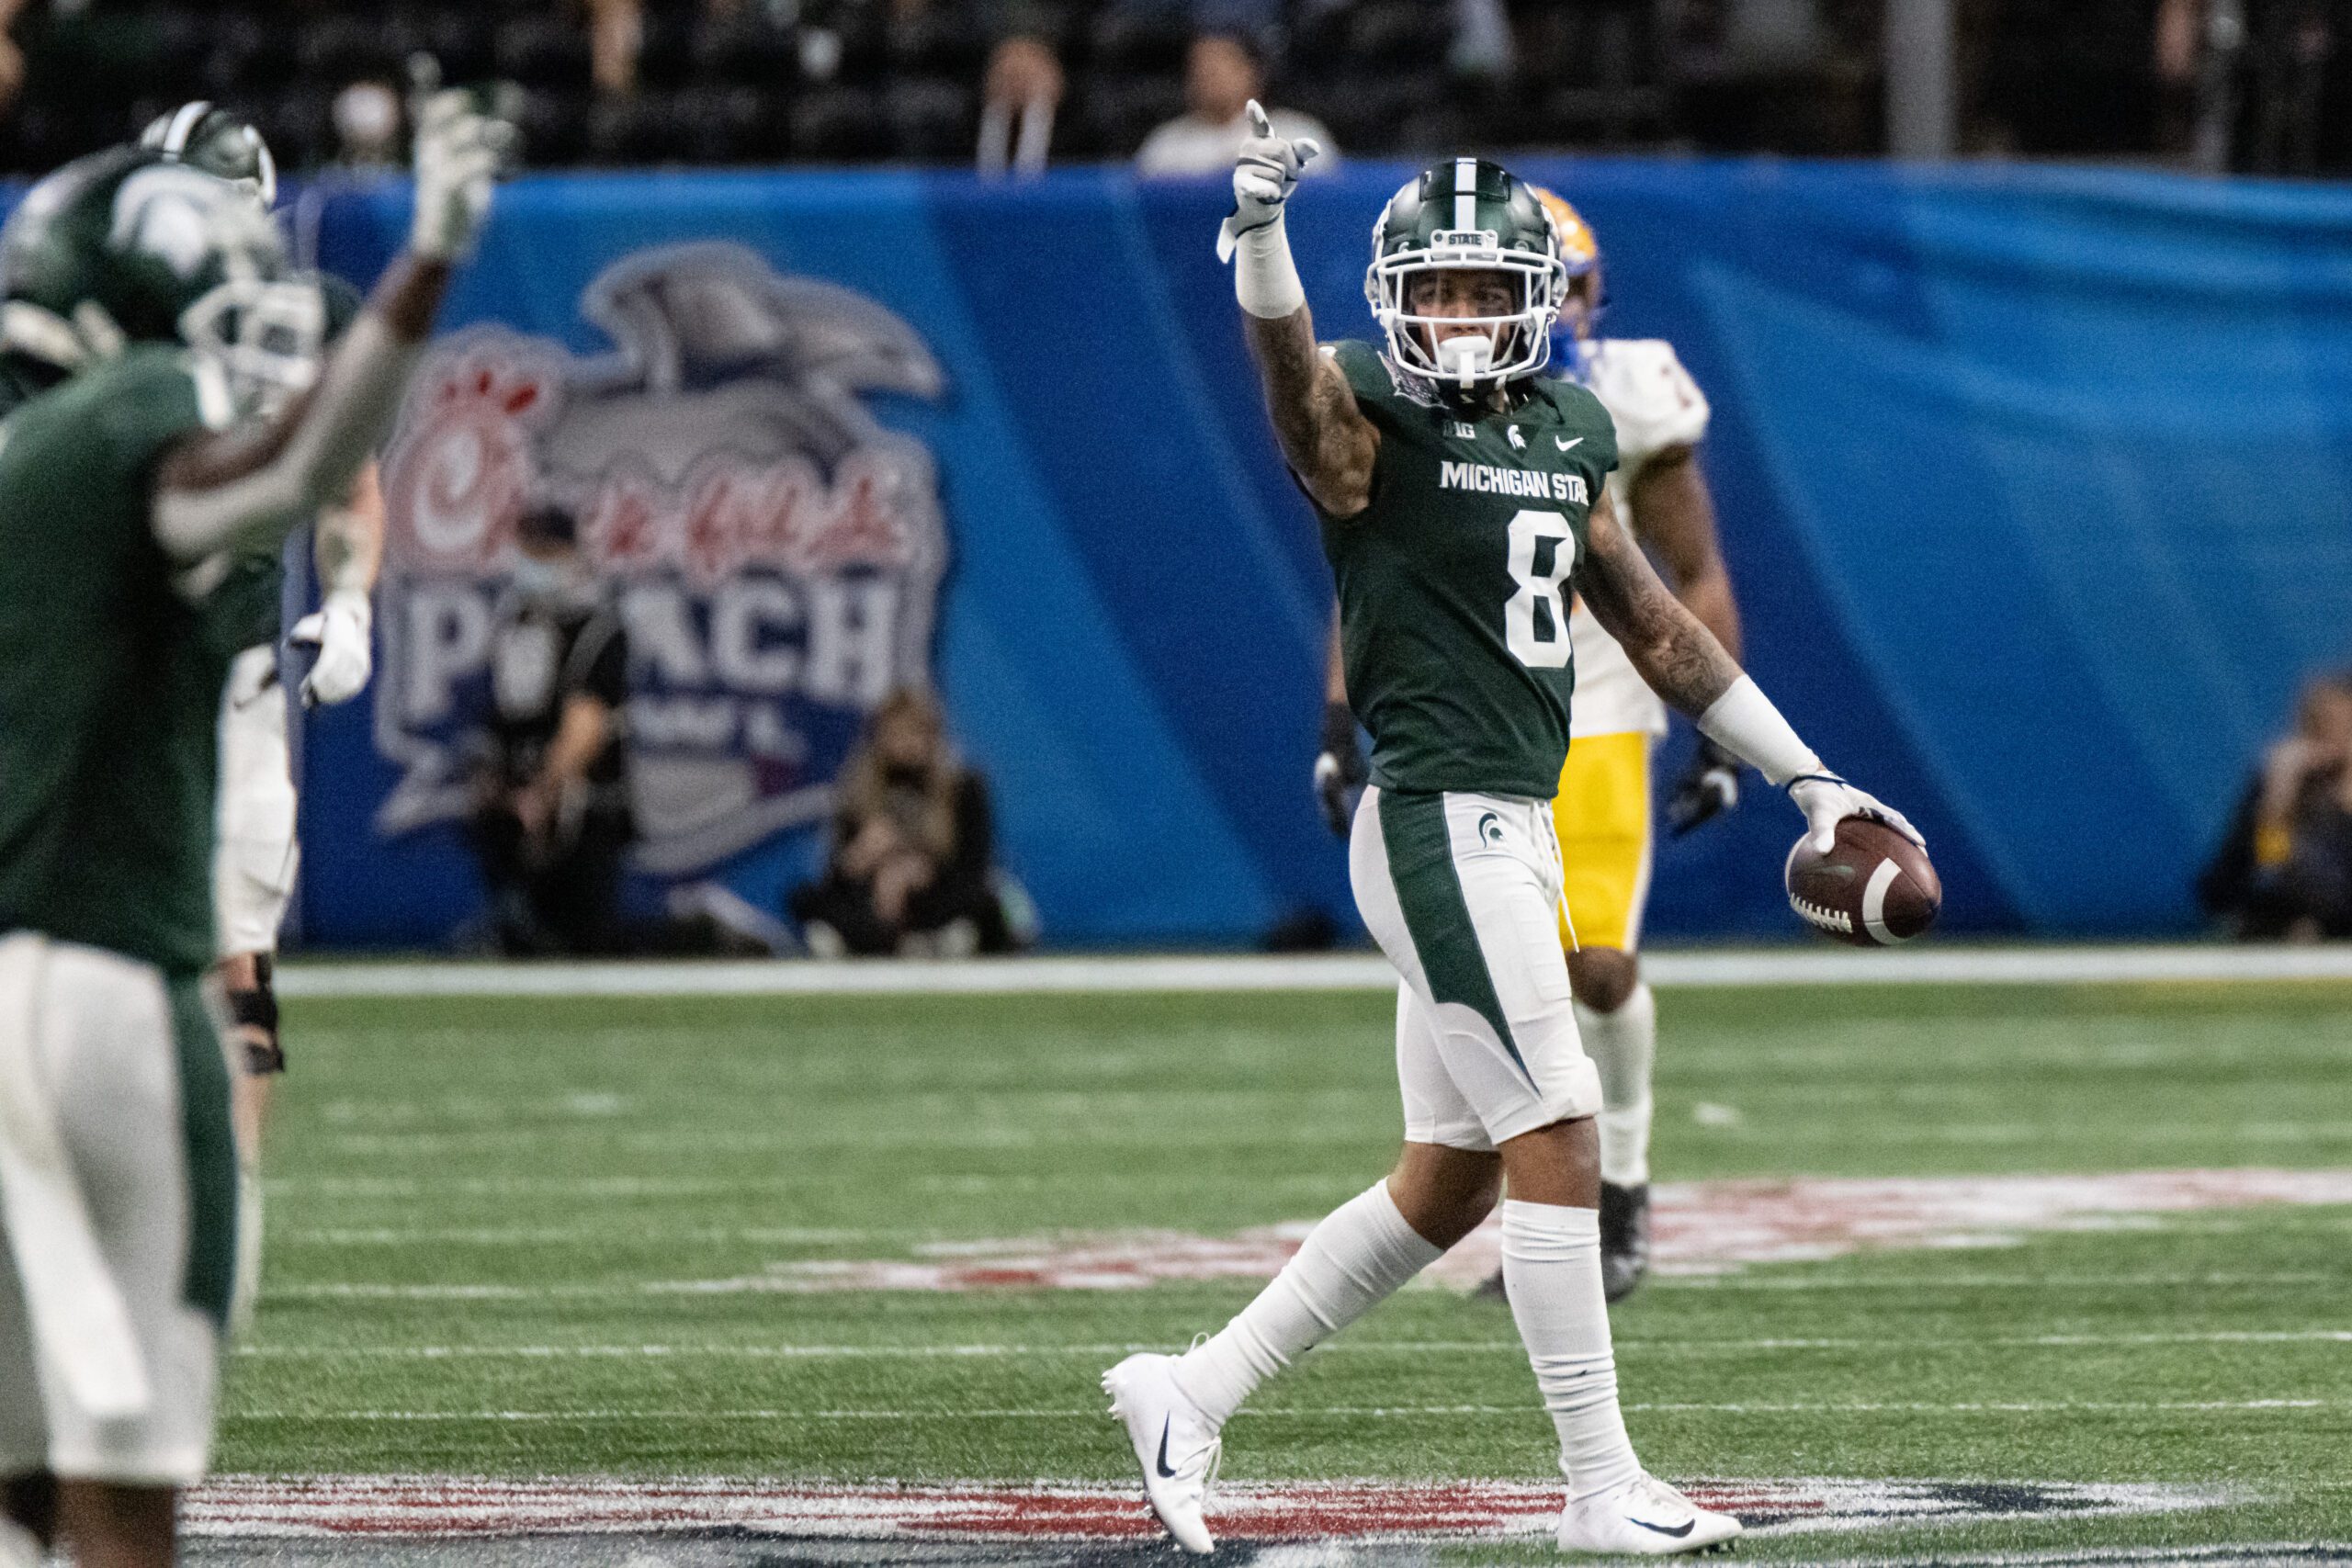
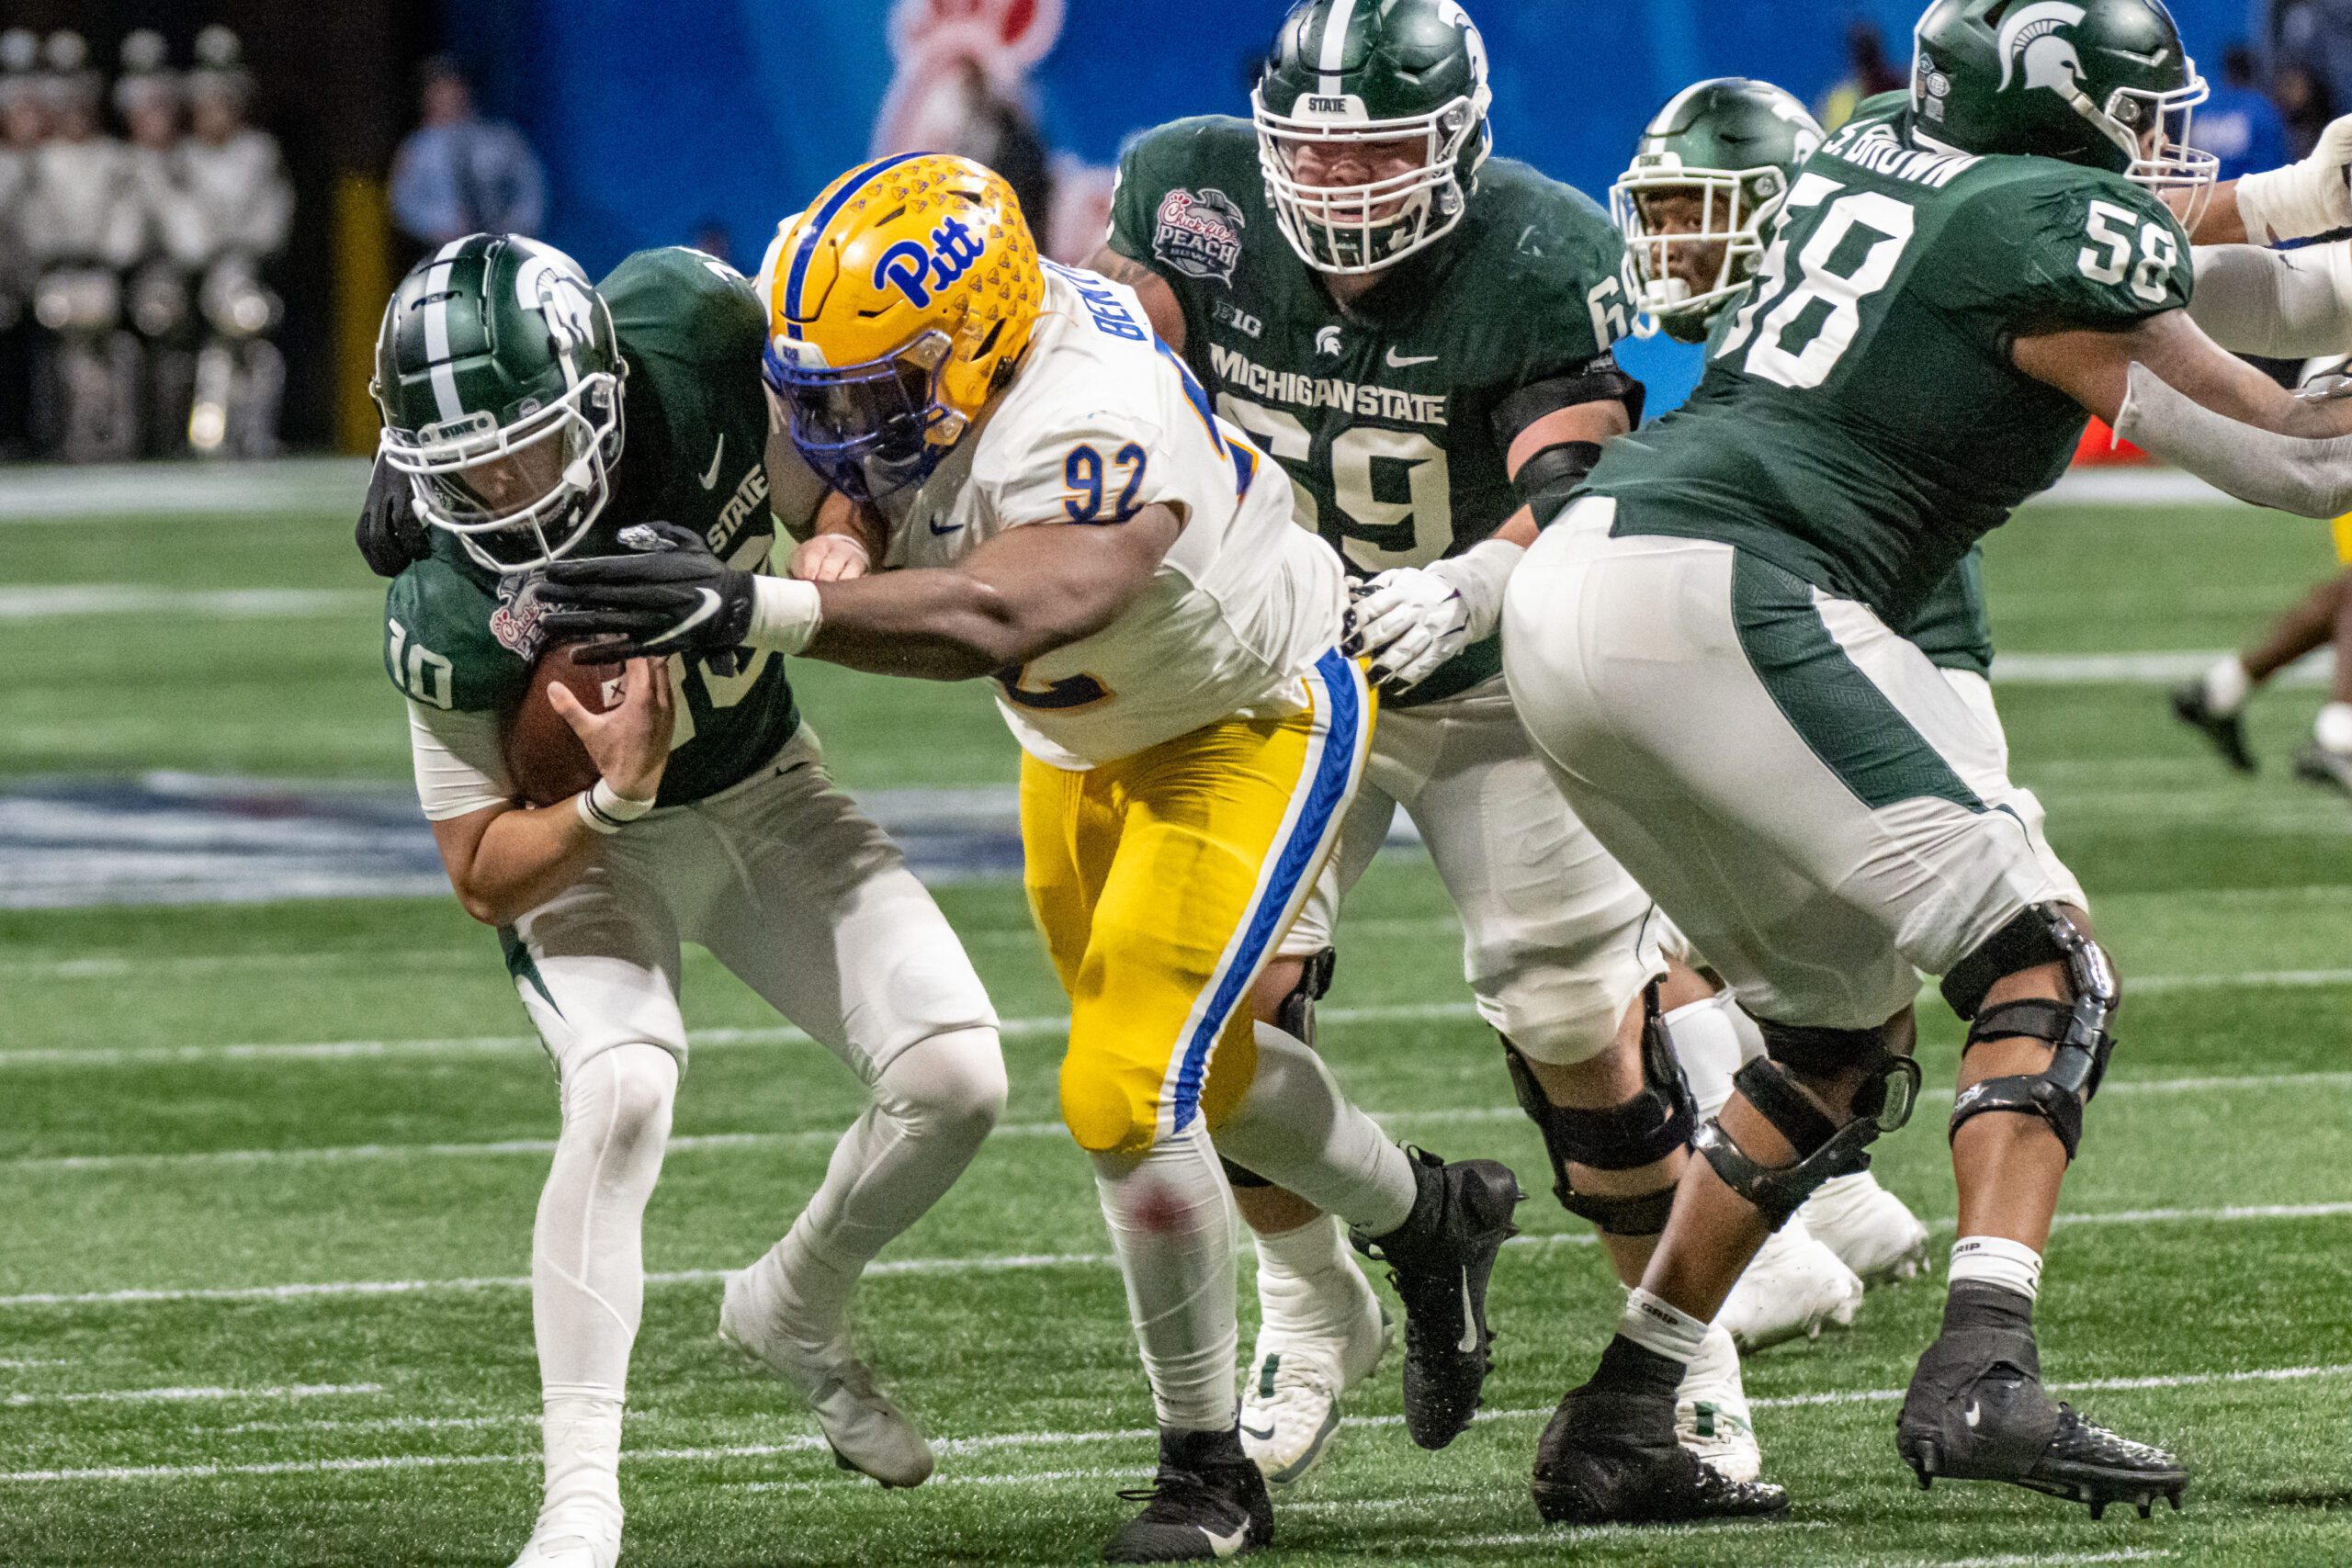
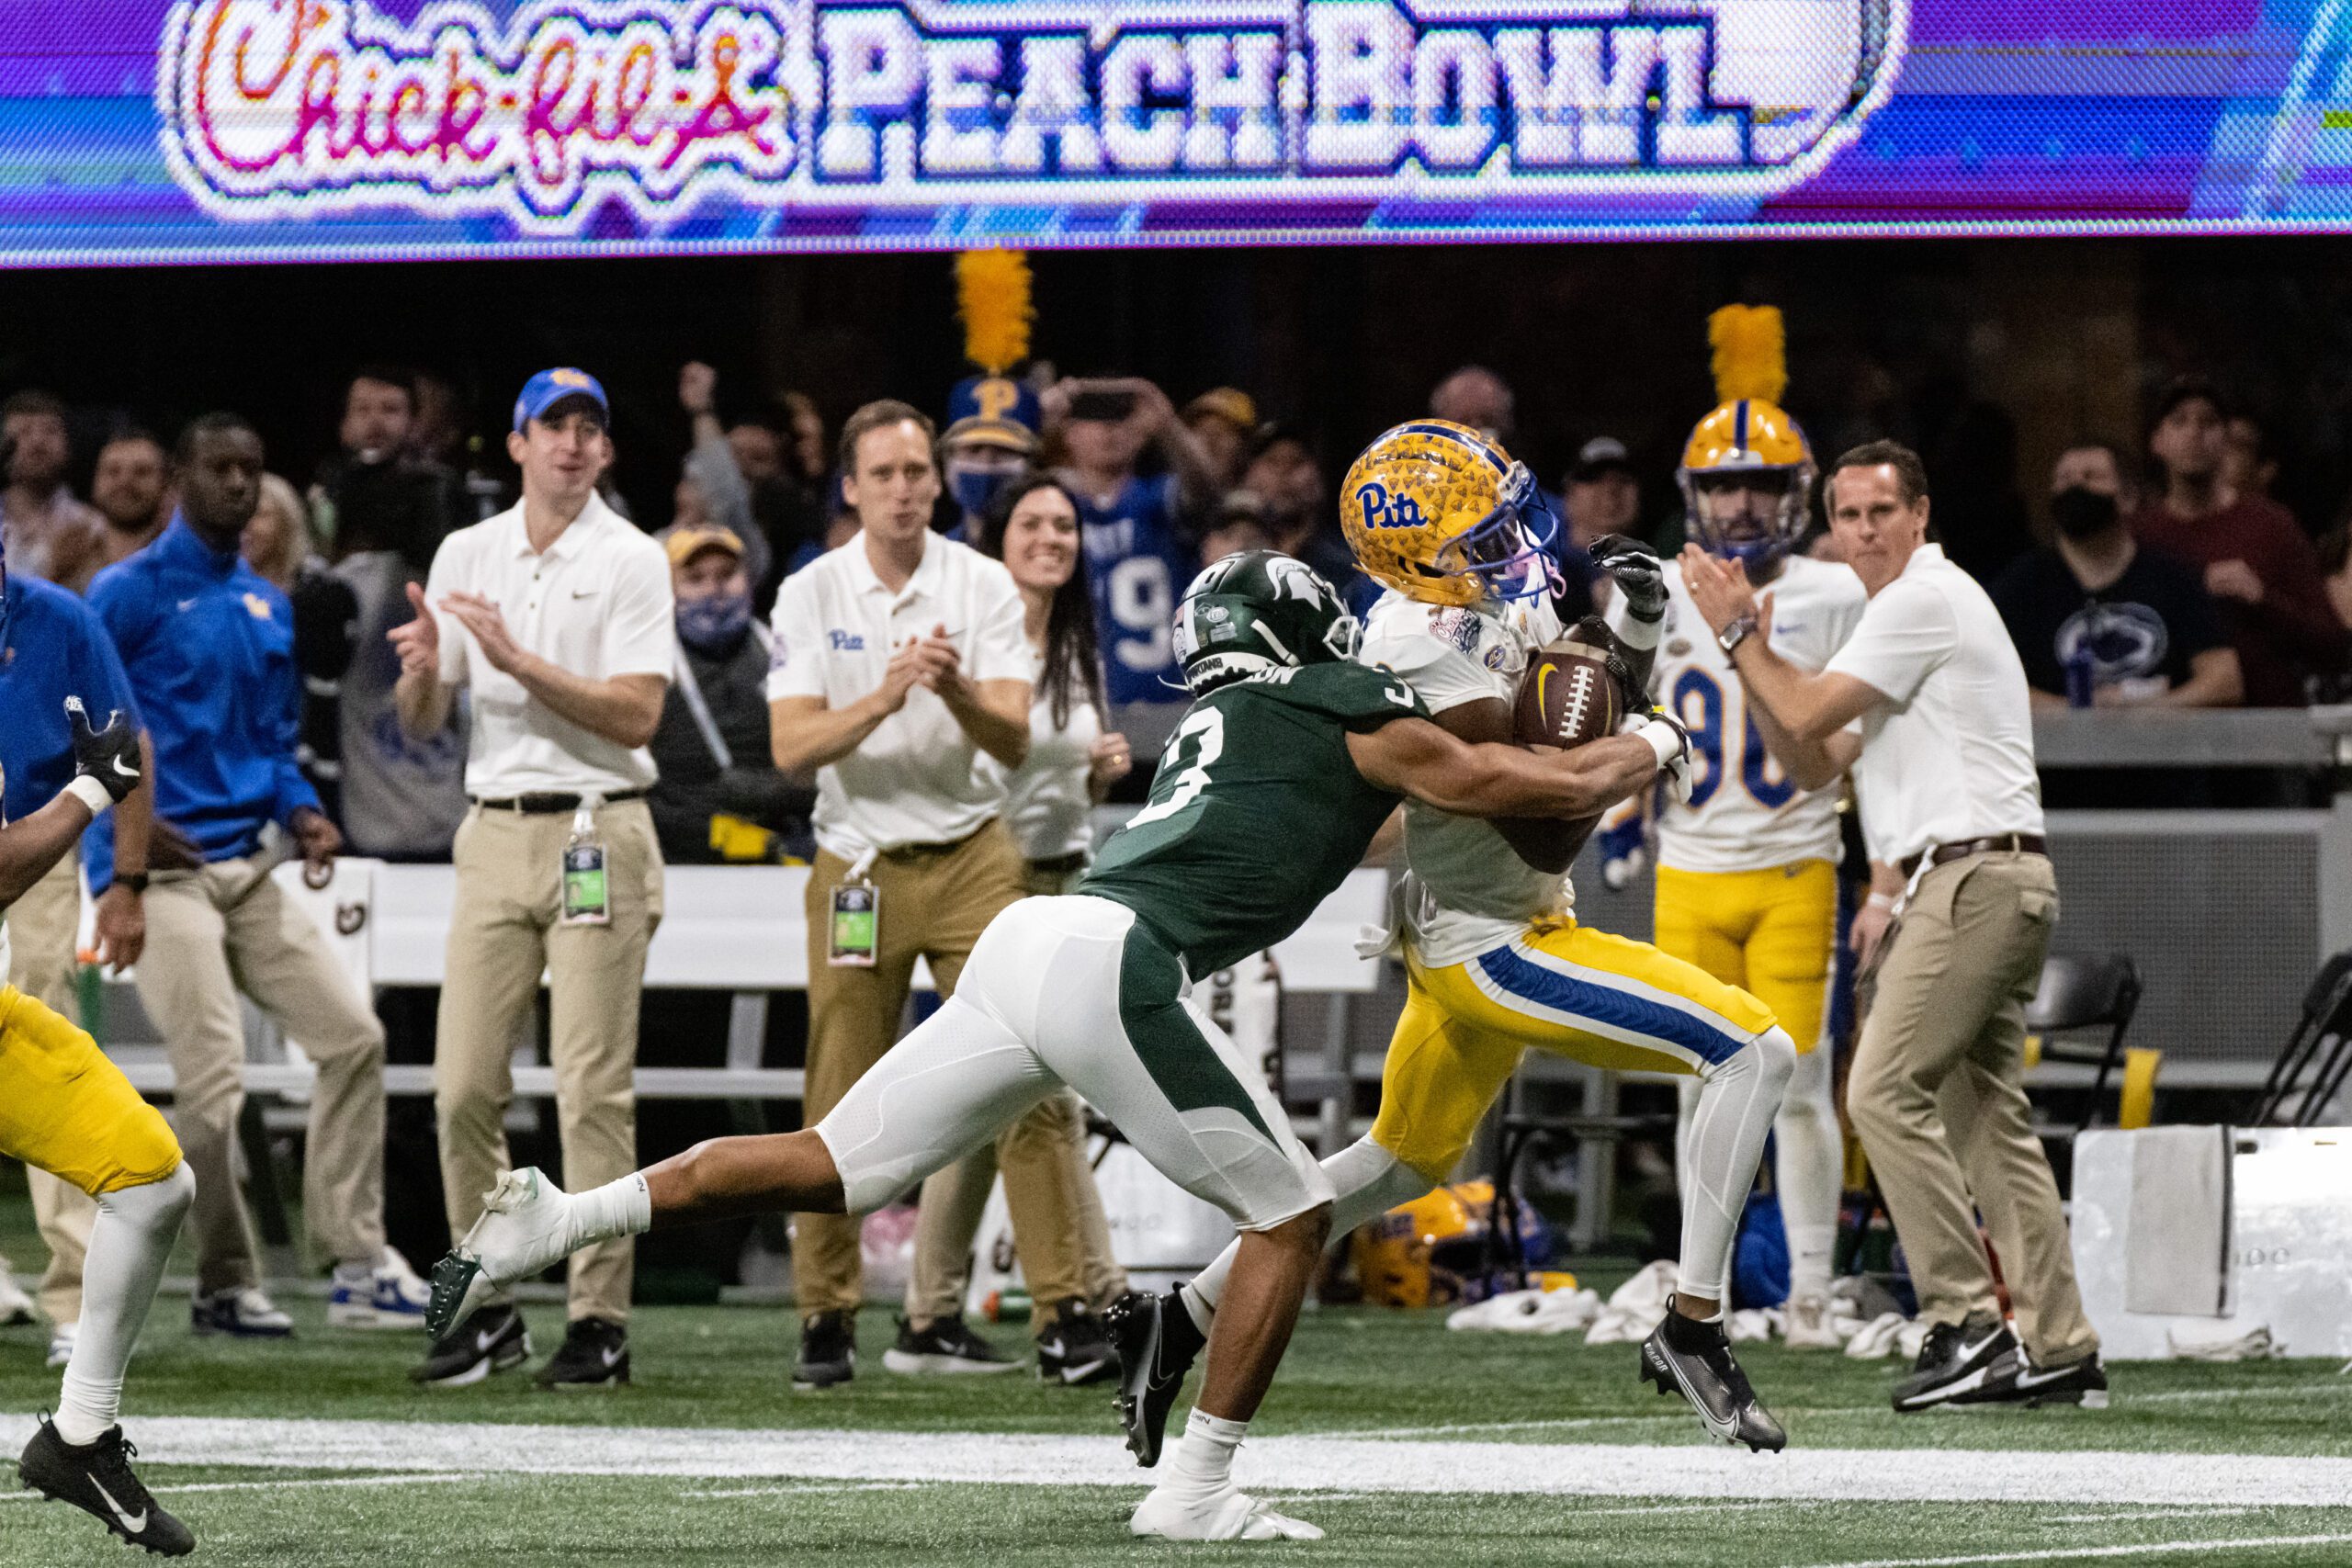
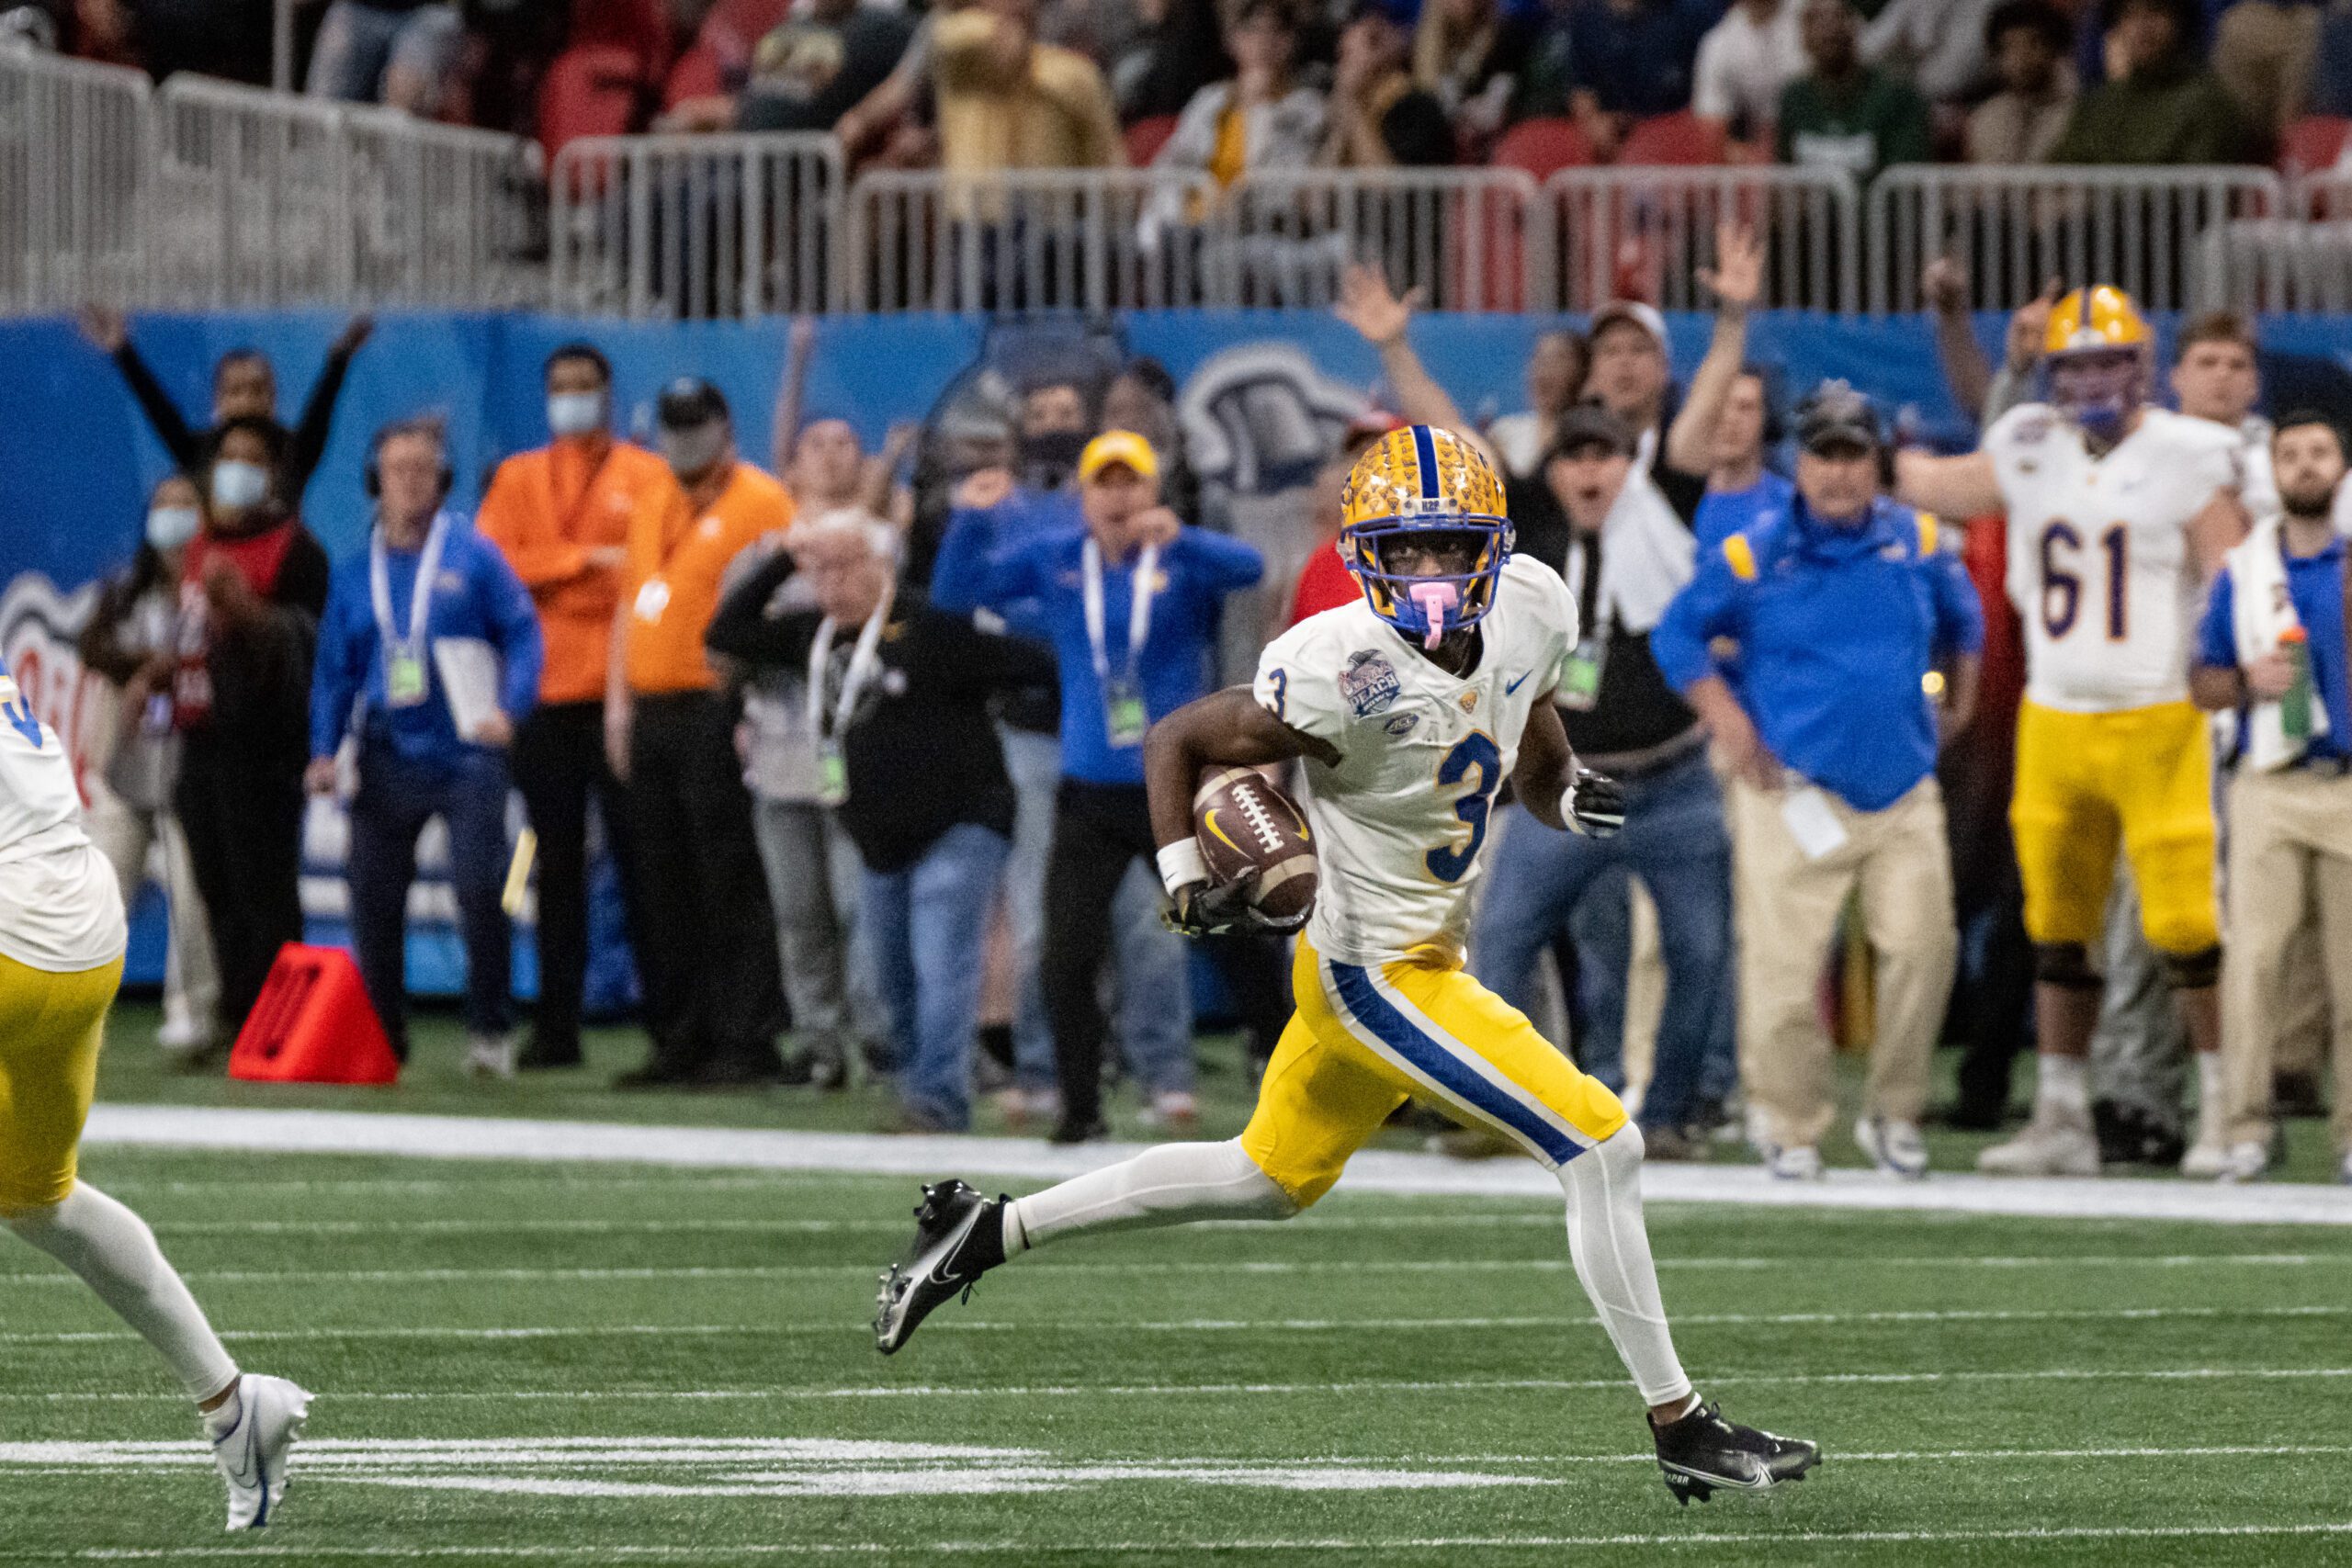
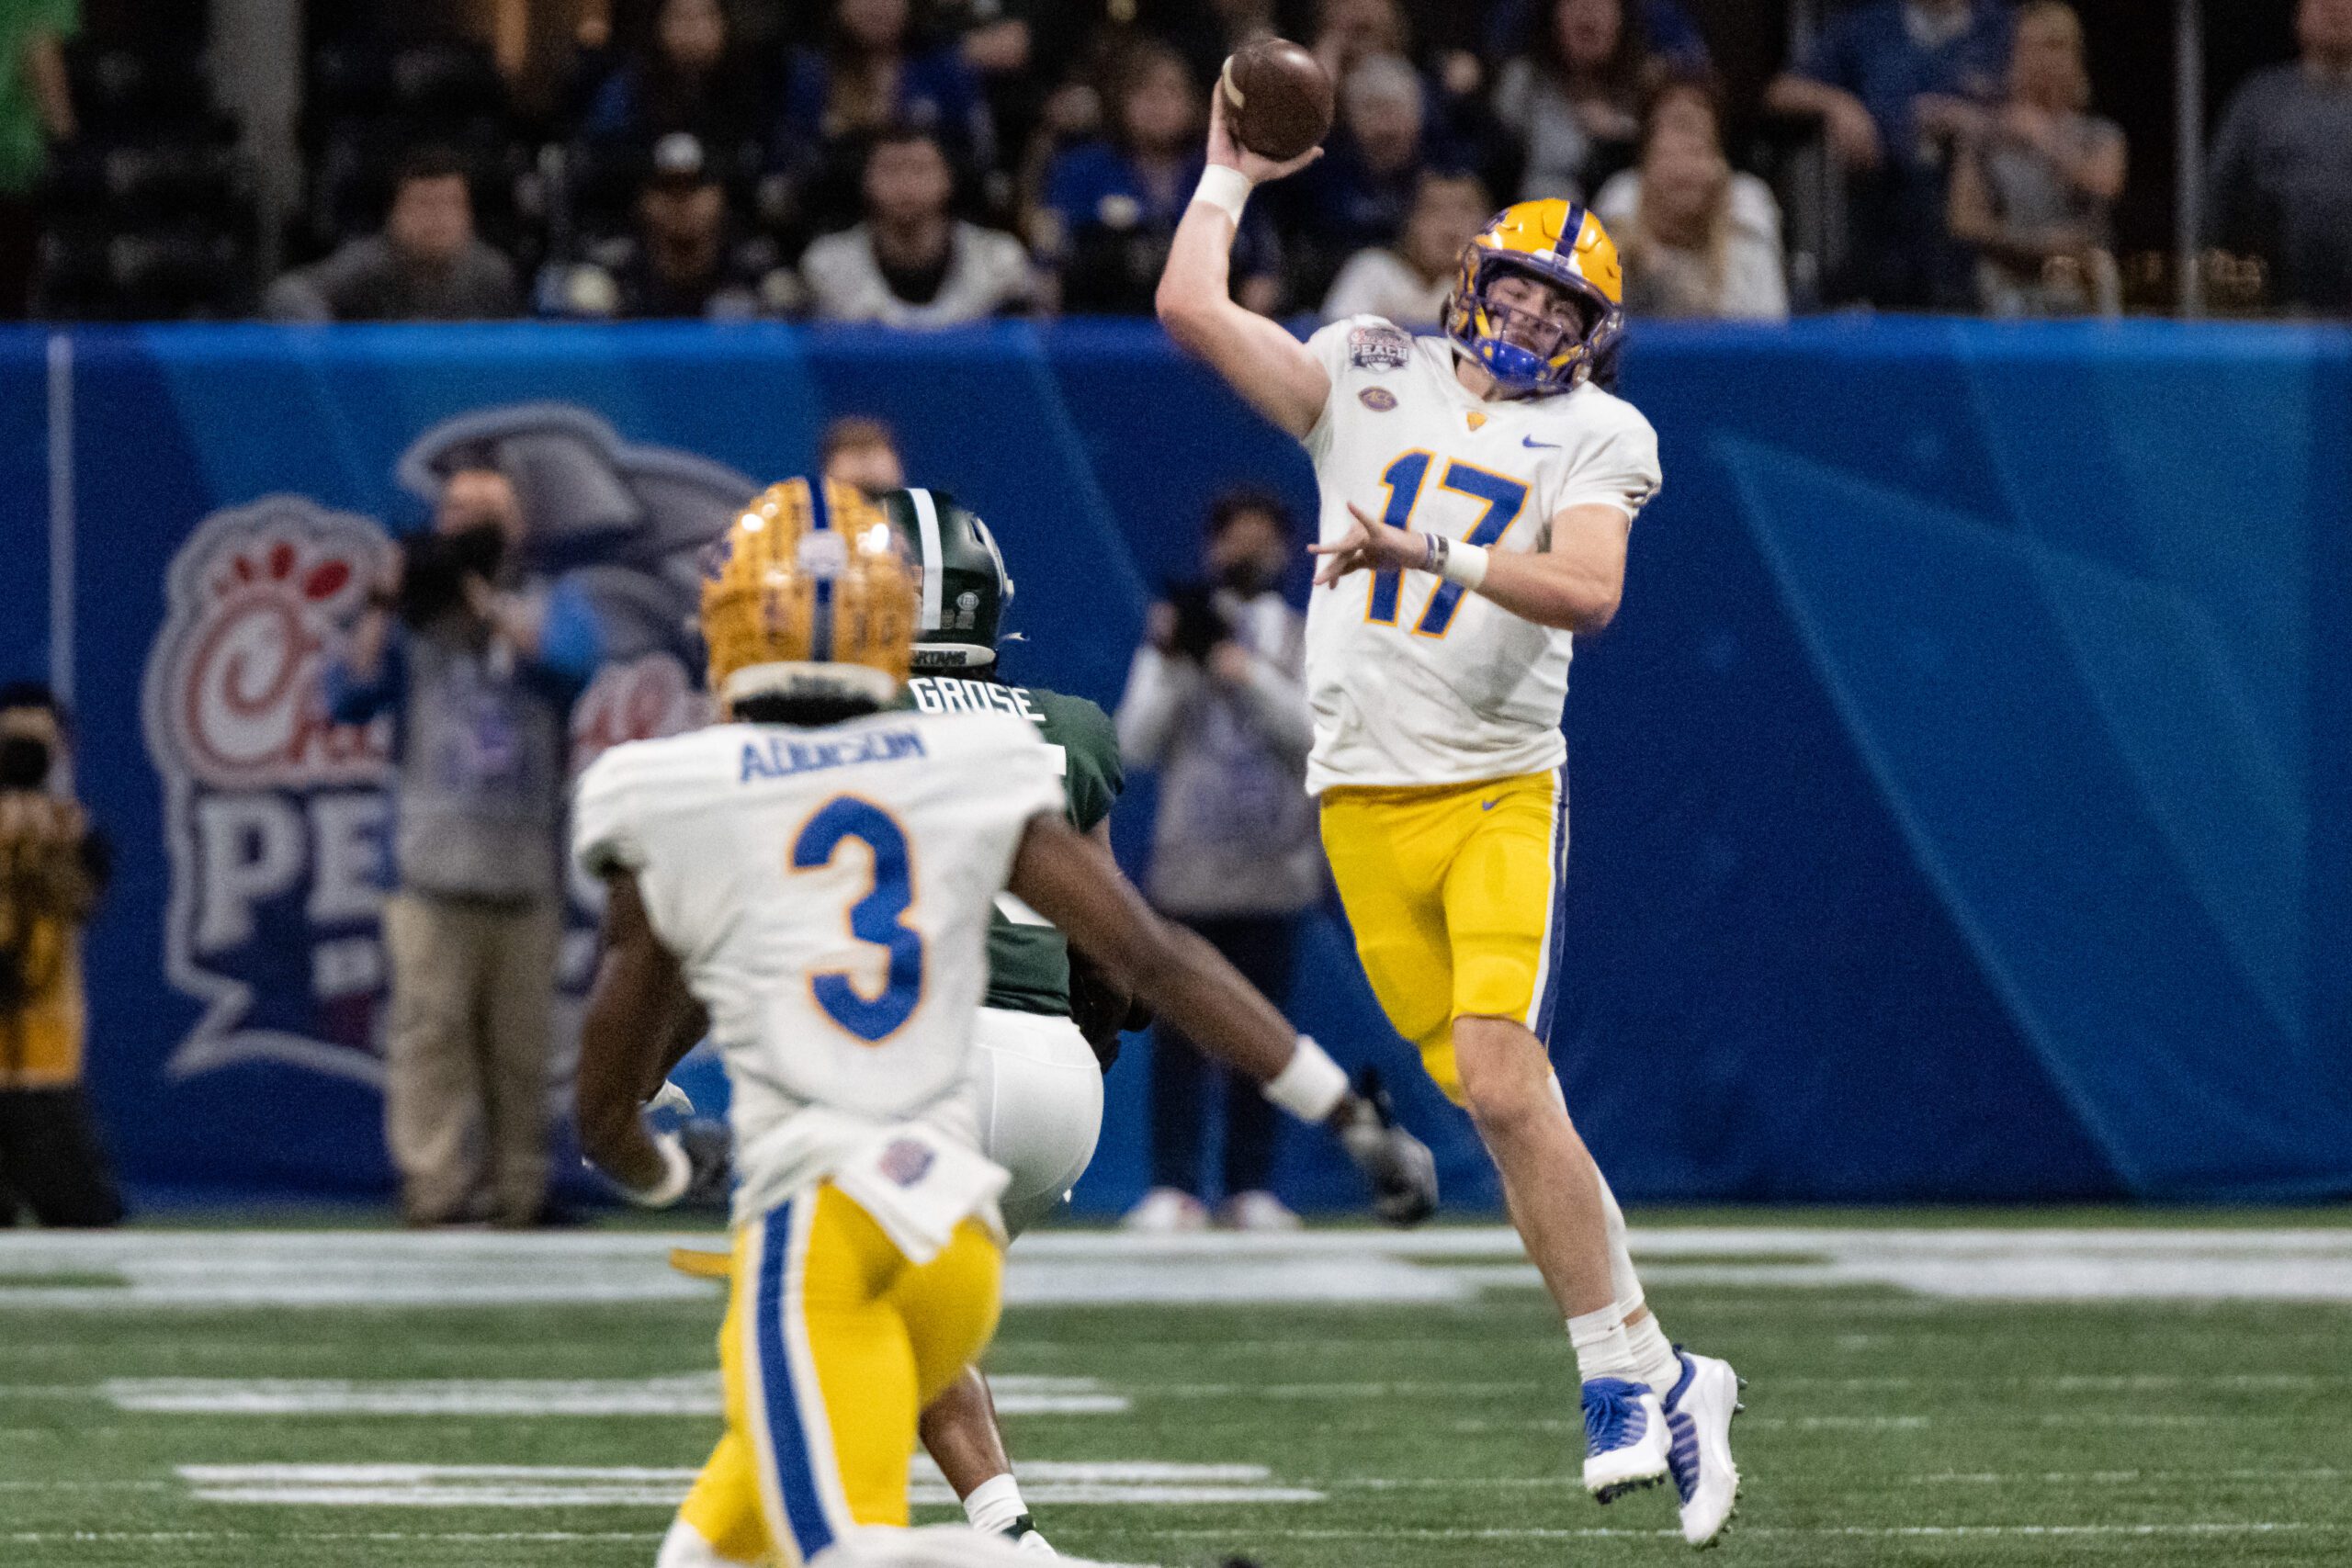
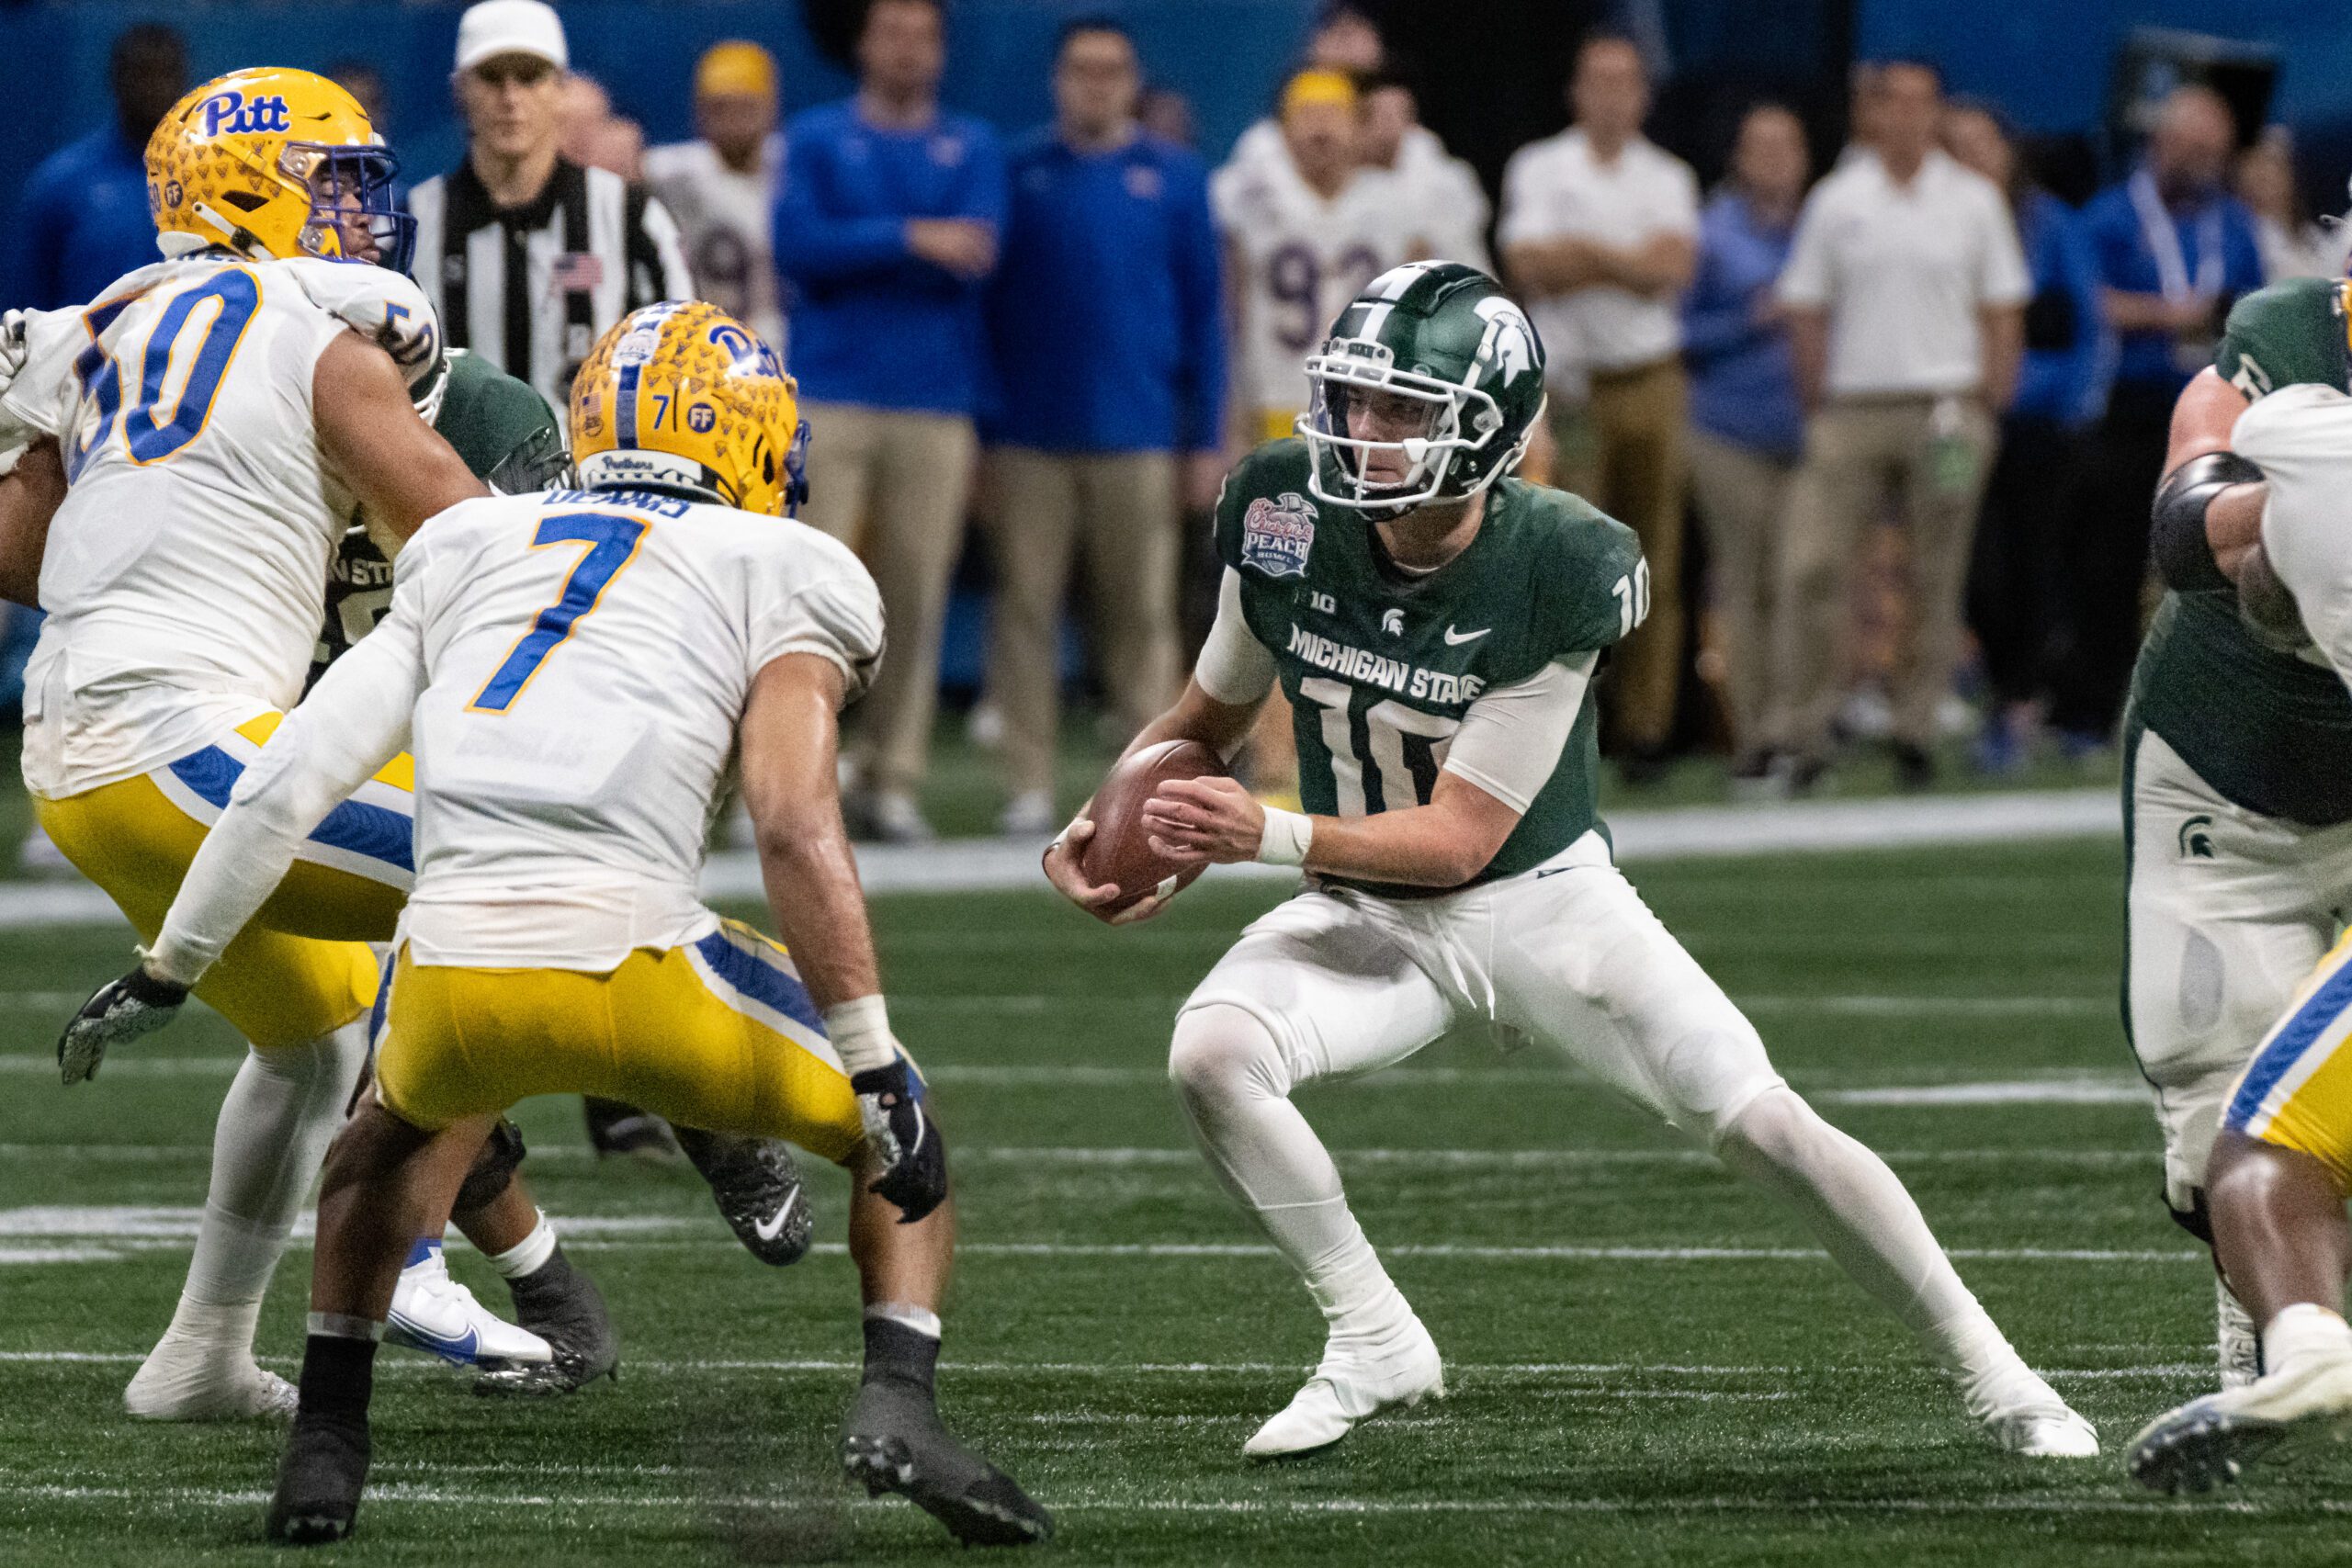
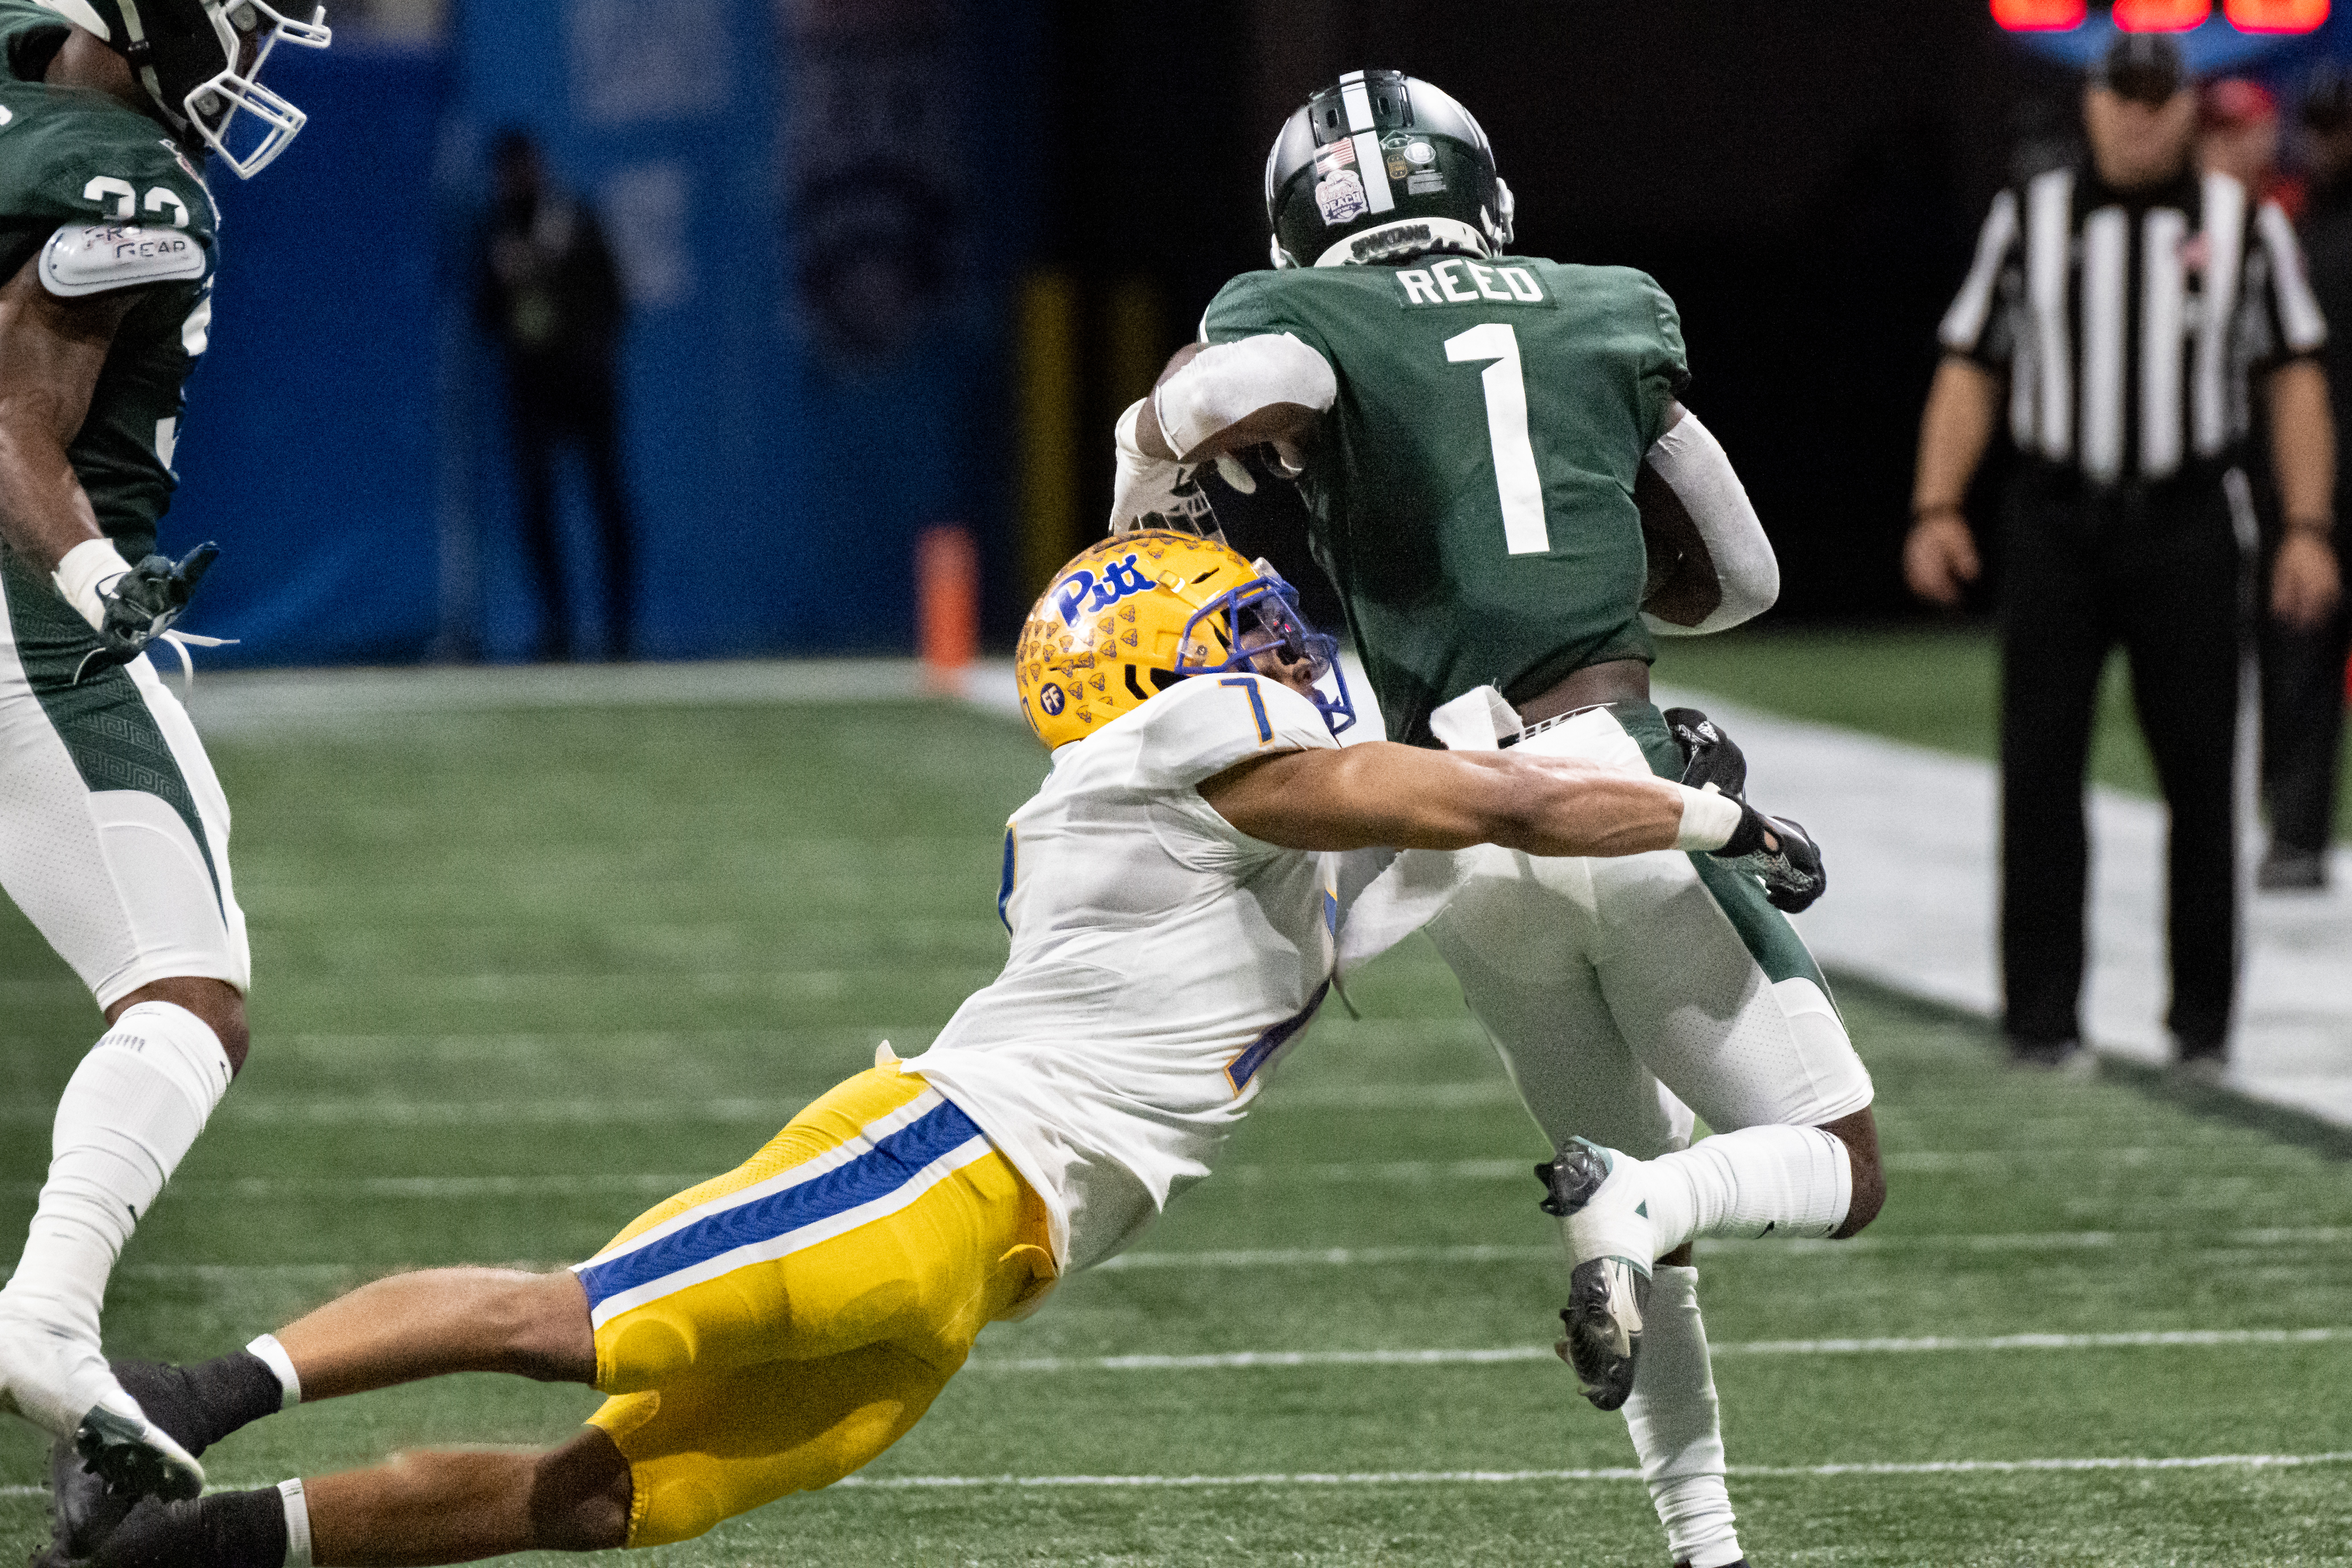
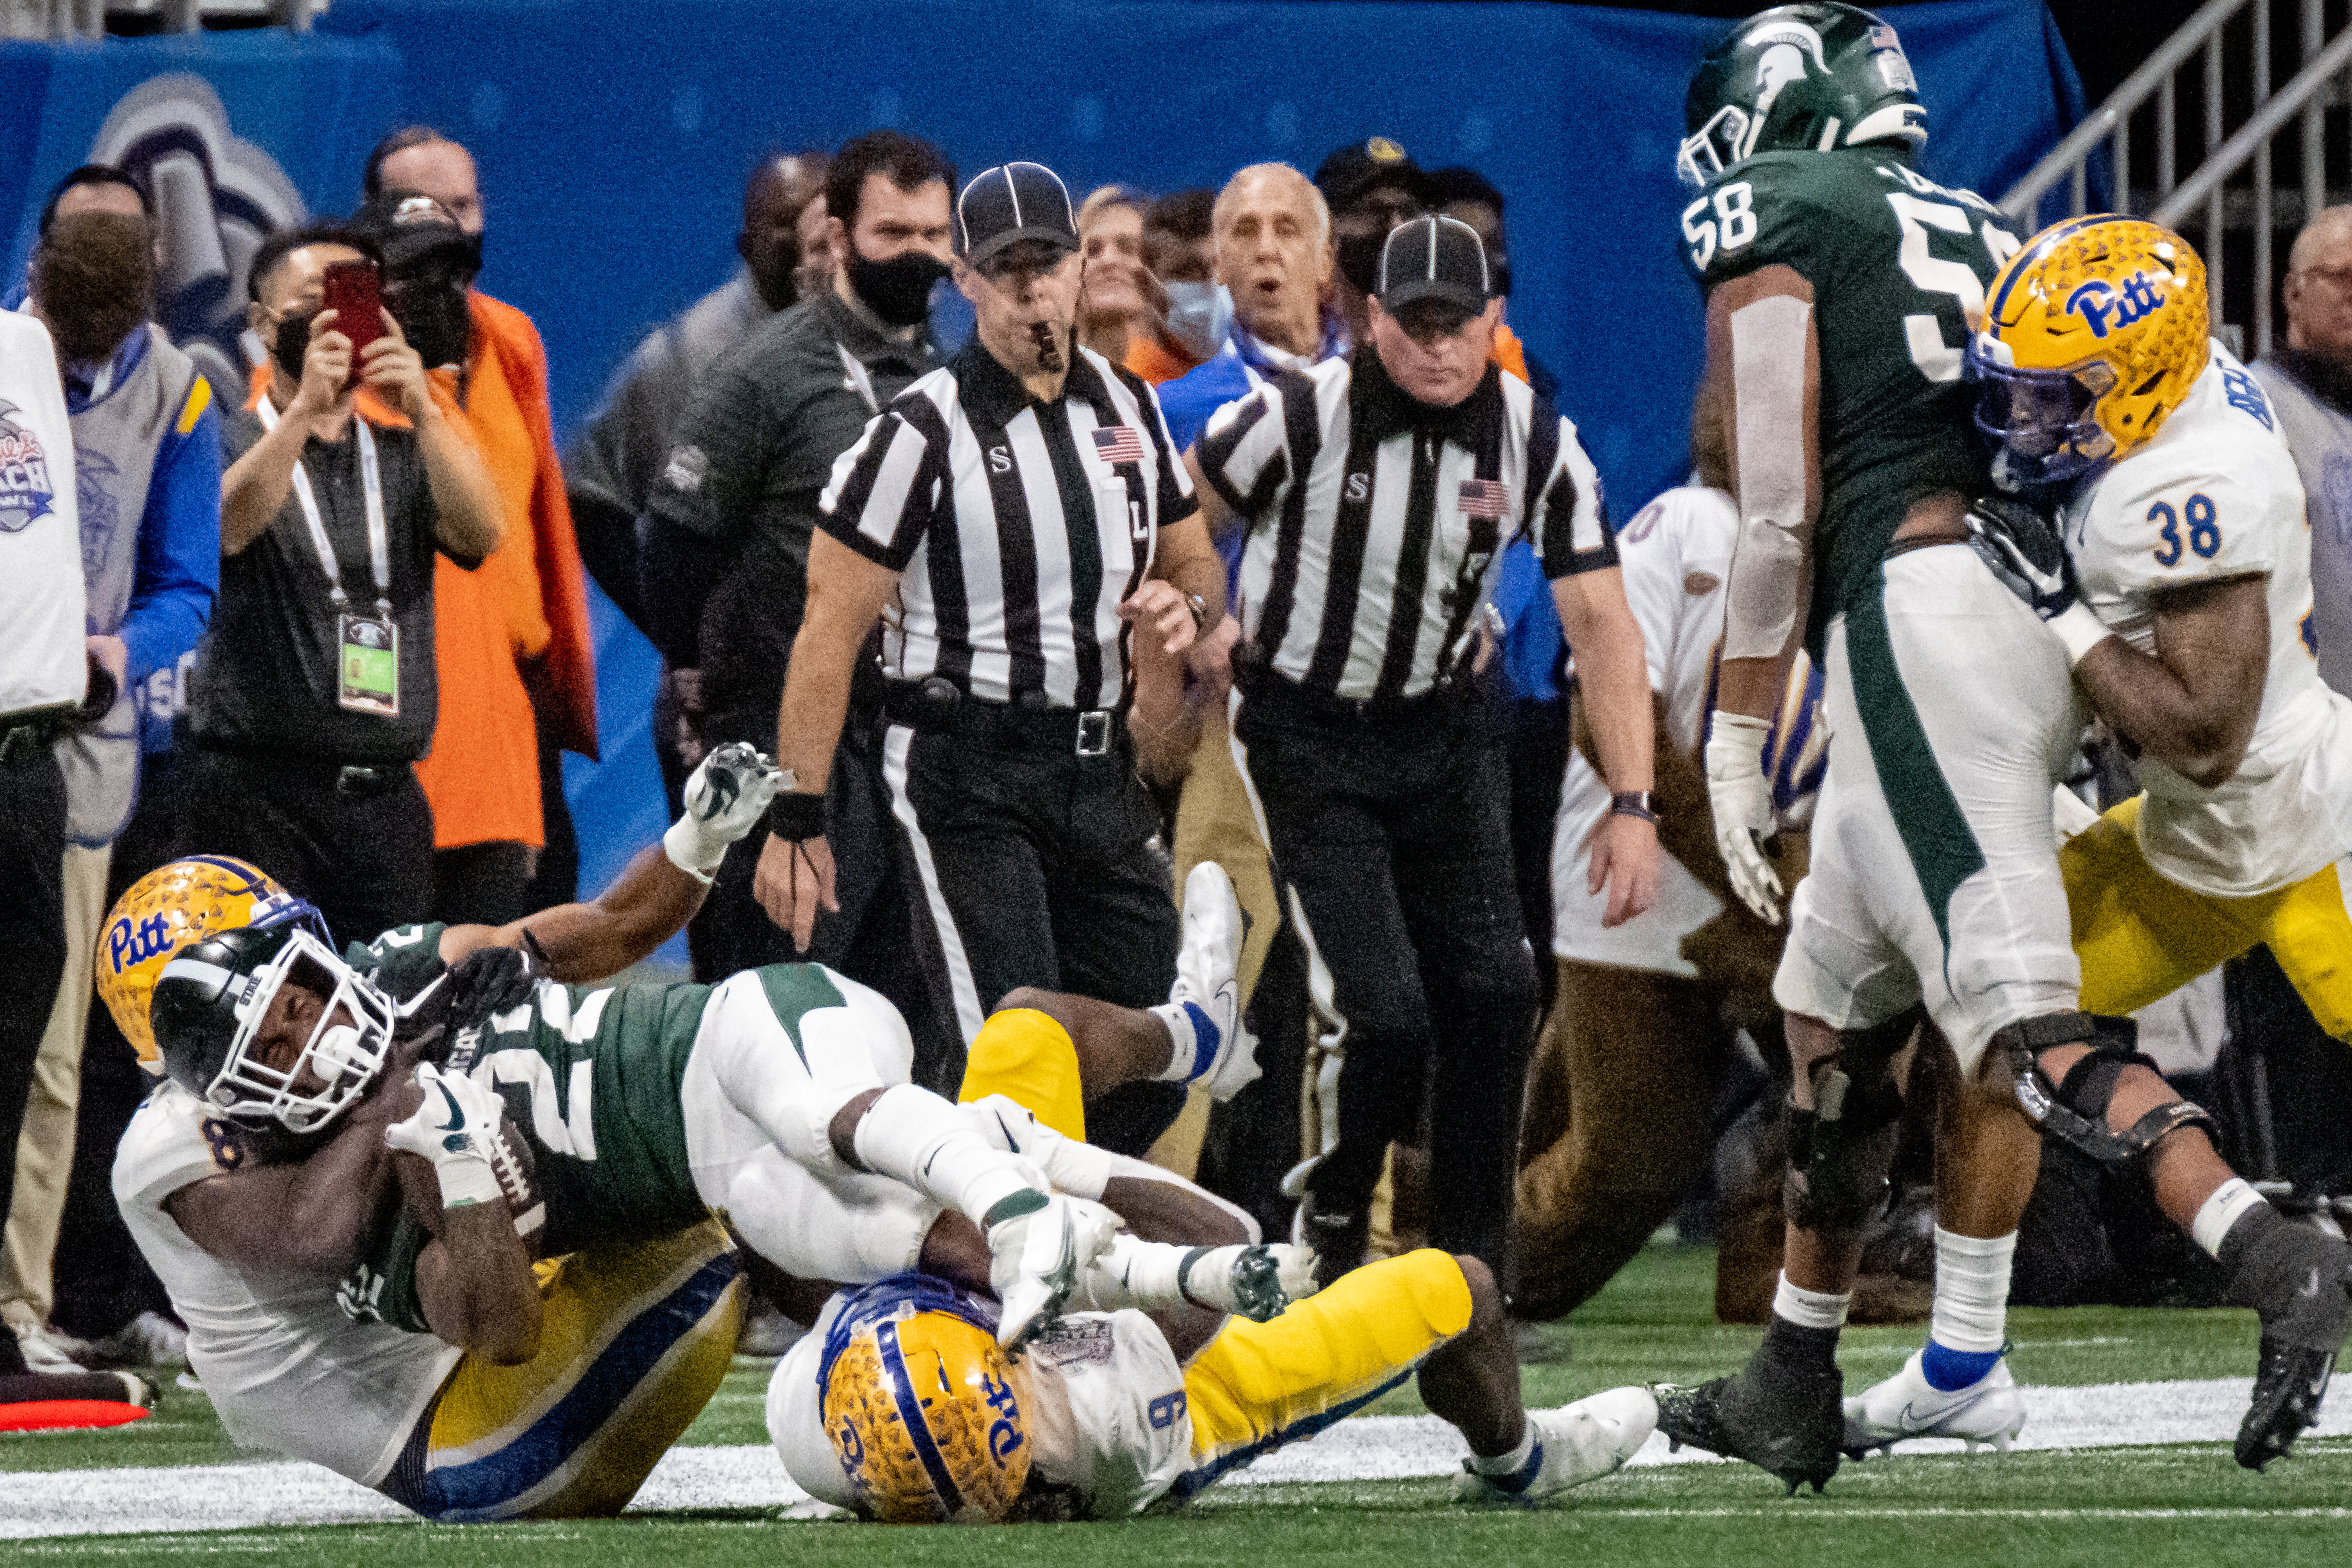
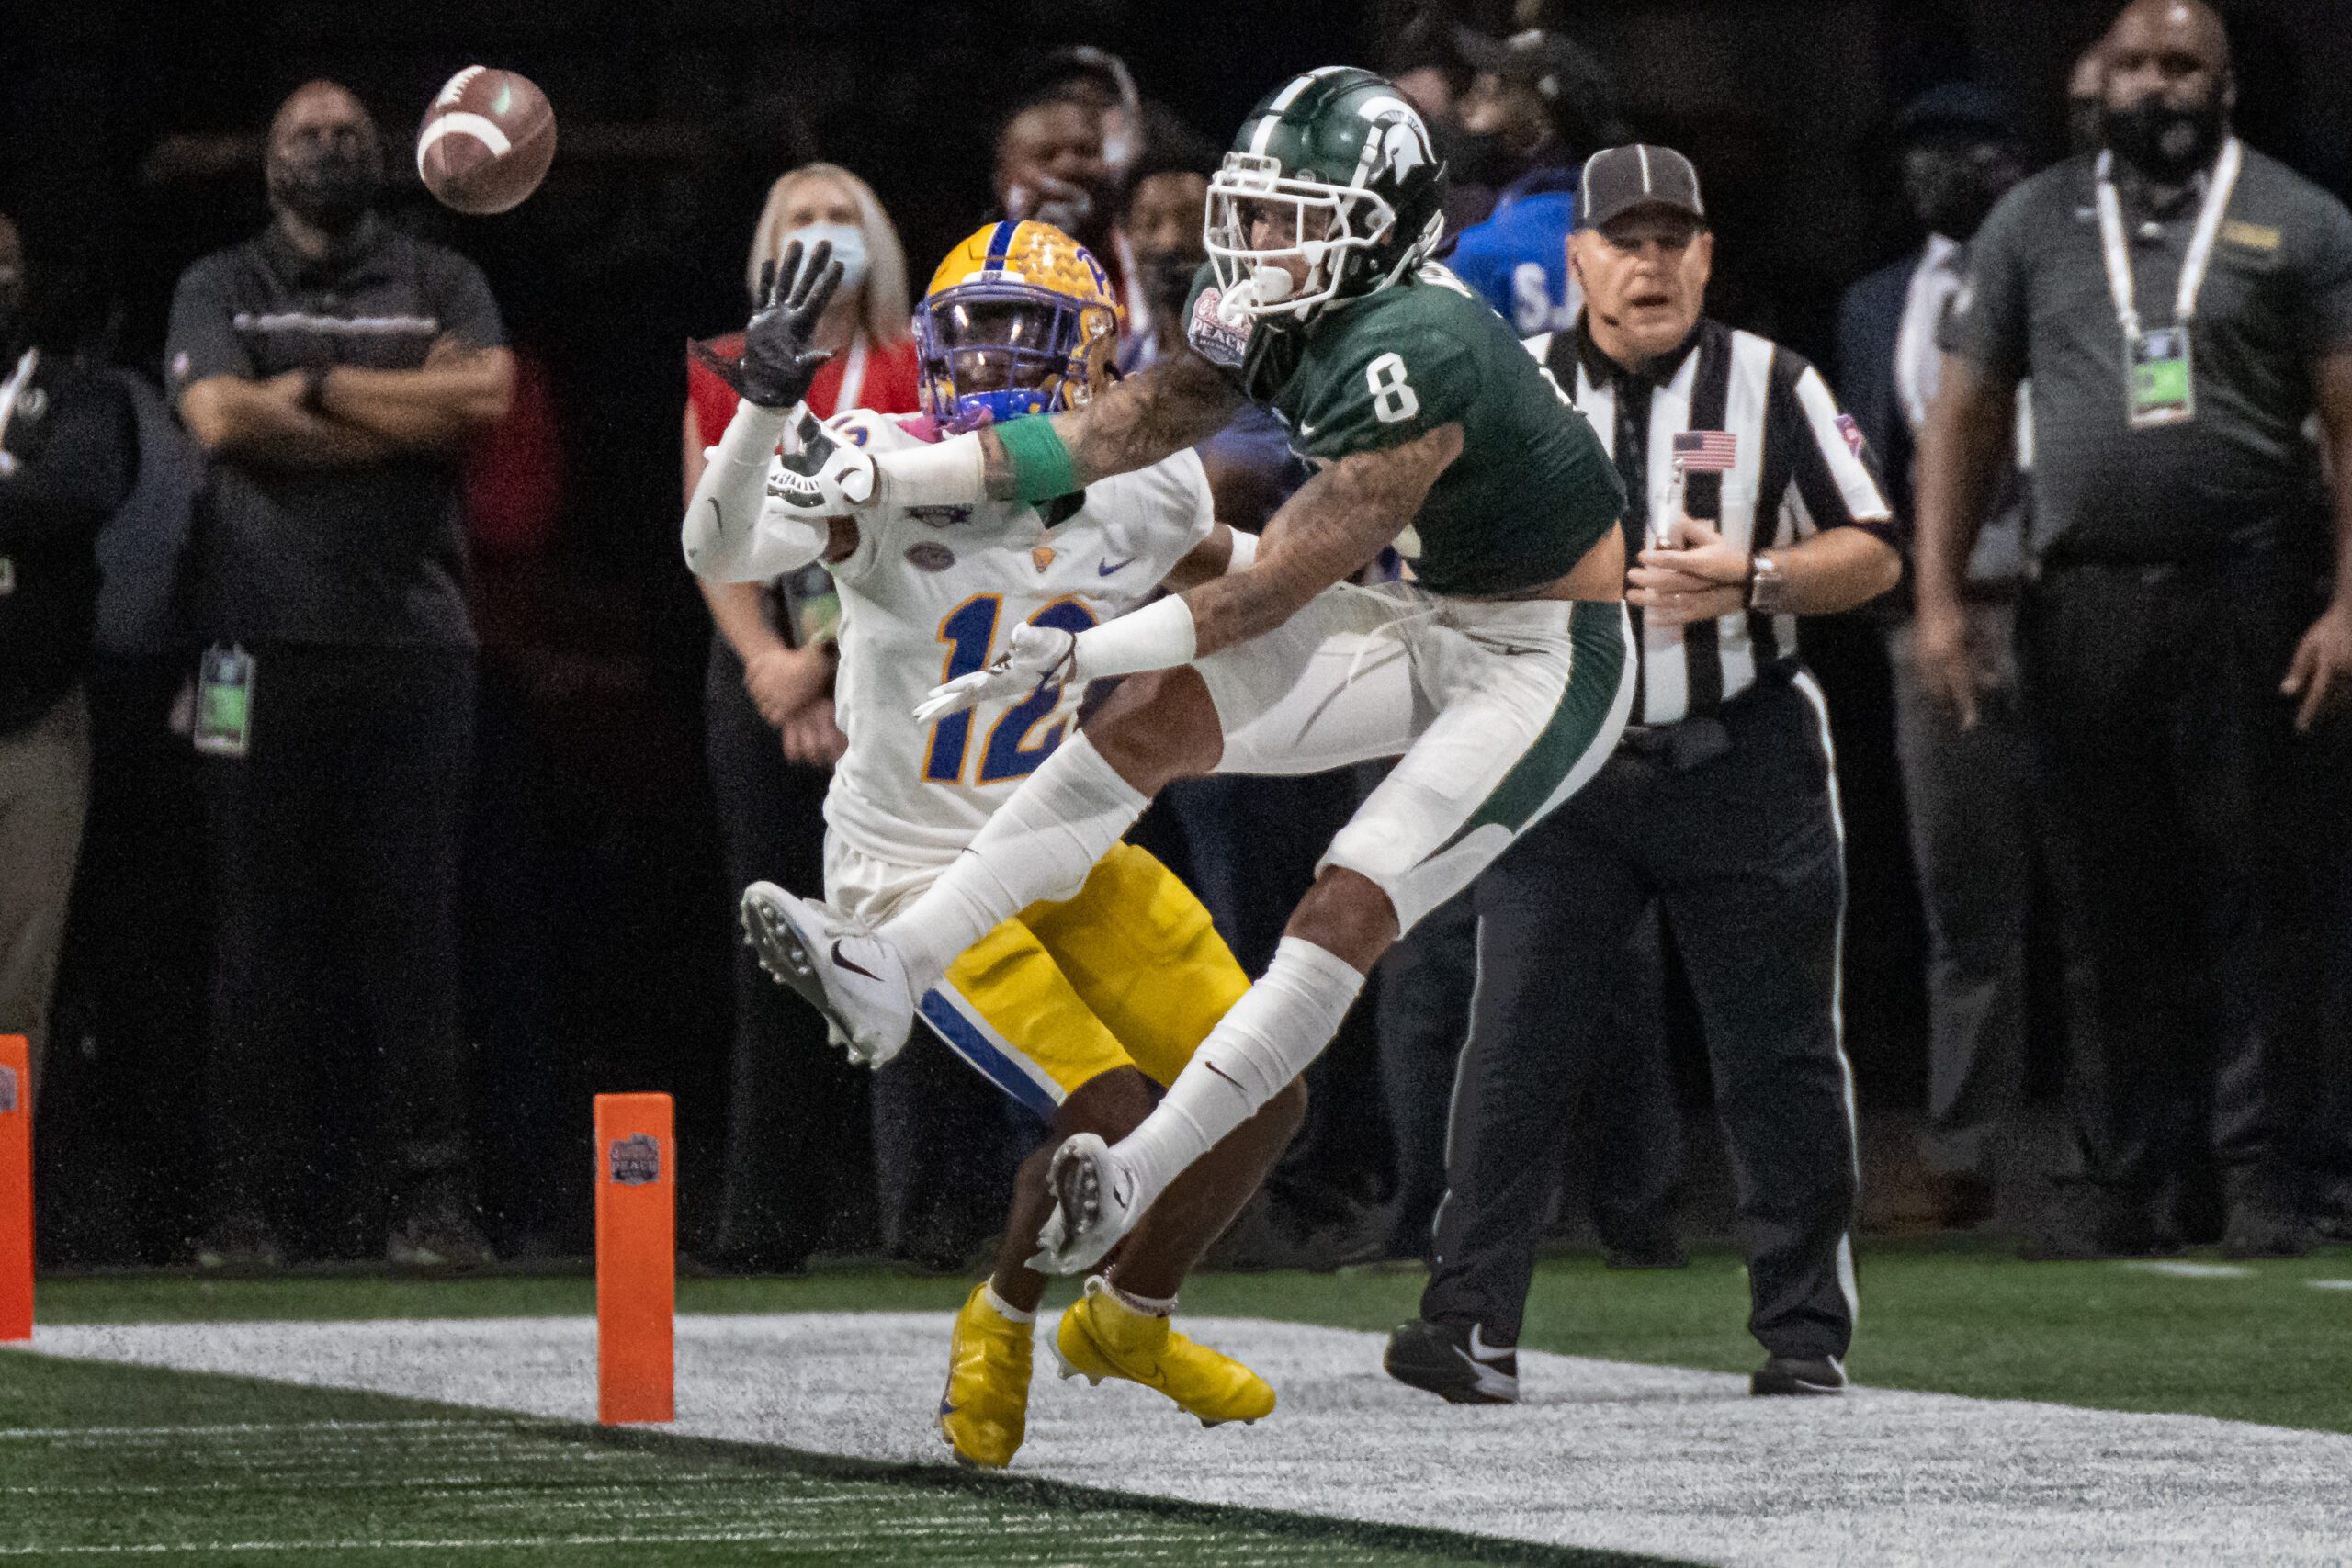
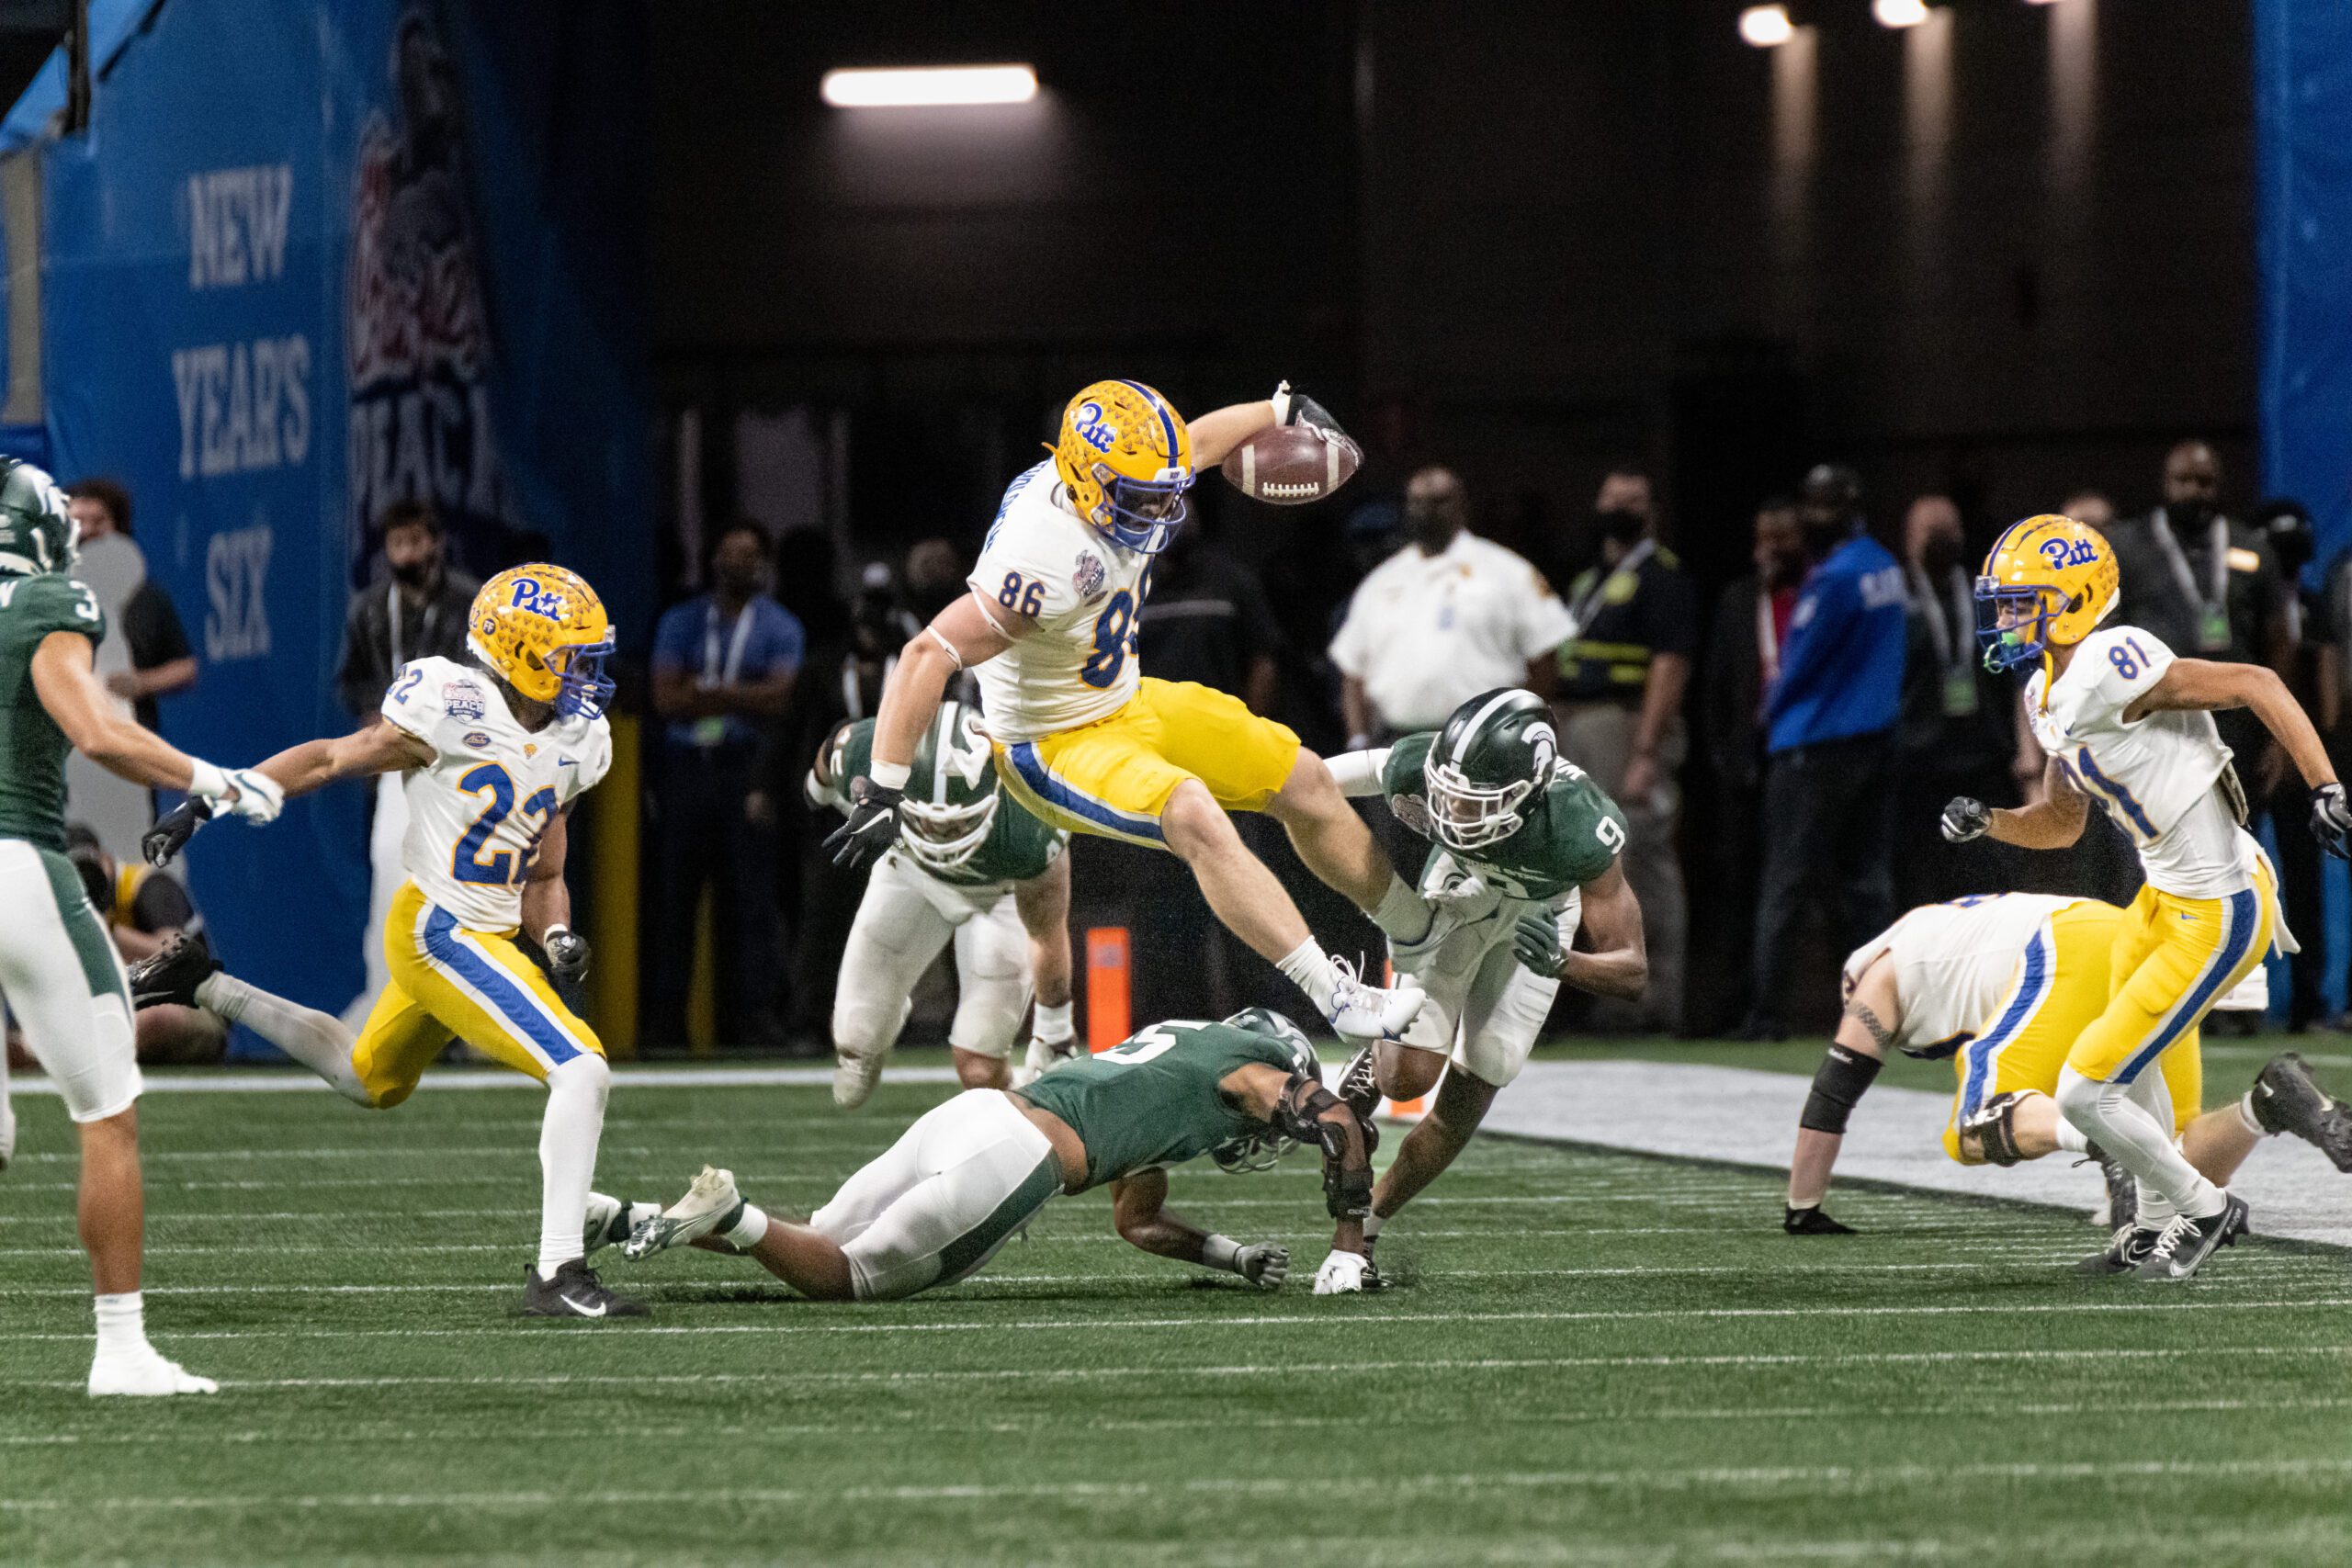
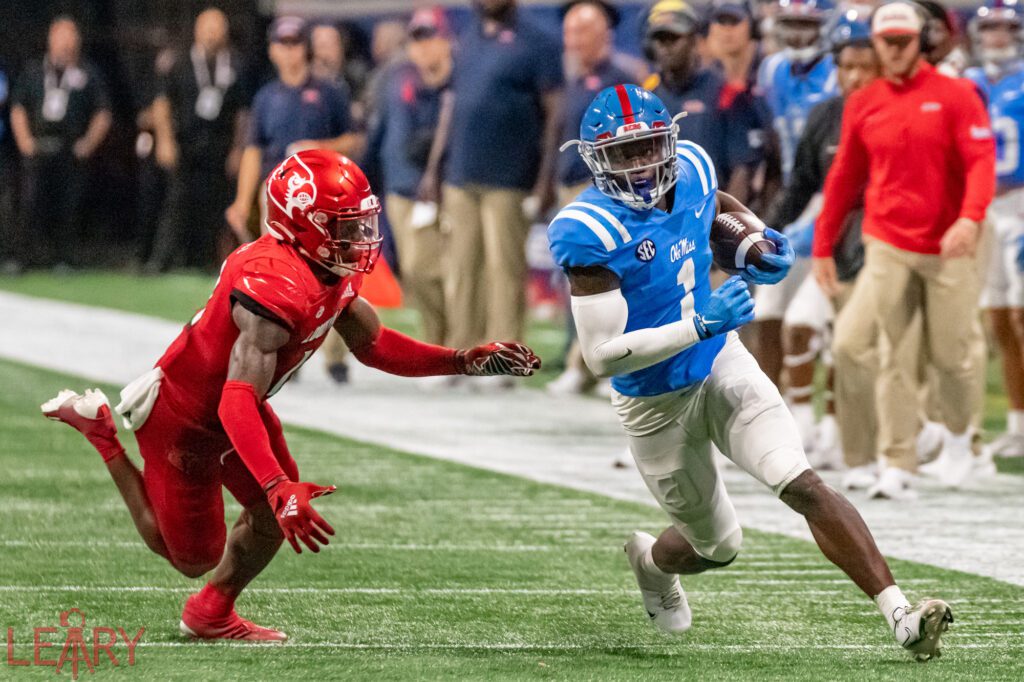
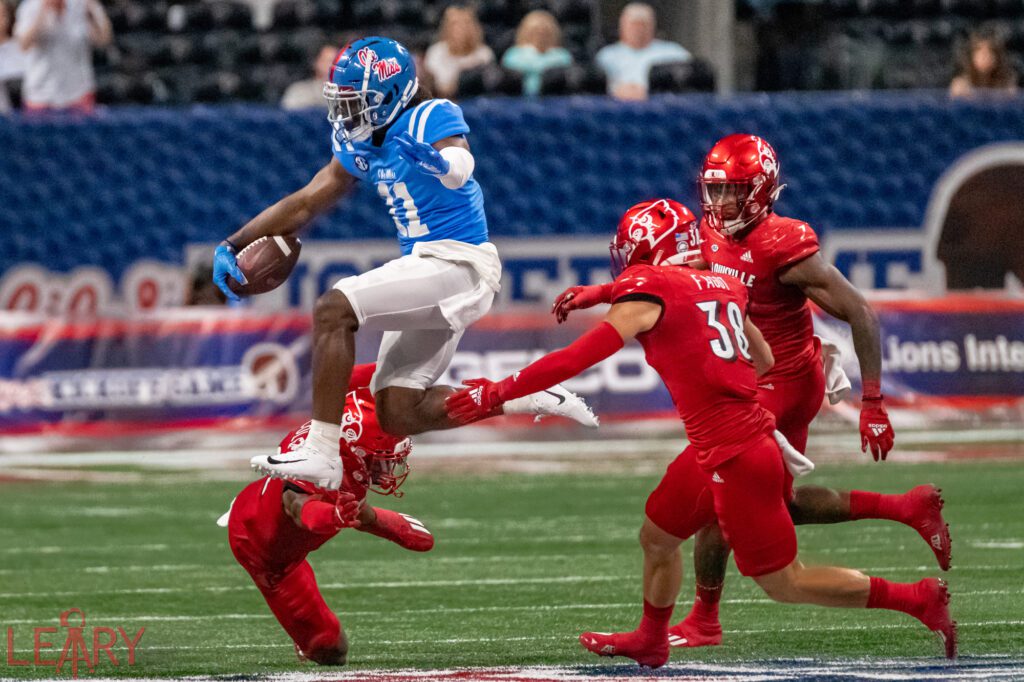
TCU 42 vs Ole Miss 3 Chick-fil-A Peach Bowl [NIKON D4, Sigma 120.0-300.0 mm f/2.8 Sport + TC2001 2X, Mode = Aperture Priority, ISO 12800, 1/800, ƒ/5.6, (35mm = 600)]

When working for a newspaper, I usually covered the hometown team mainly. I constantly covered it for the school when I worked for Georgia Tech. Wire Service I was more balanced.

Commercial

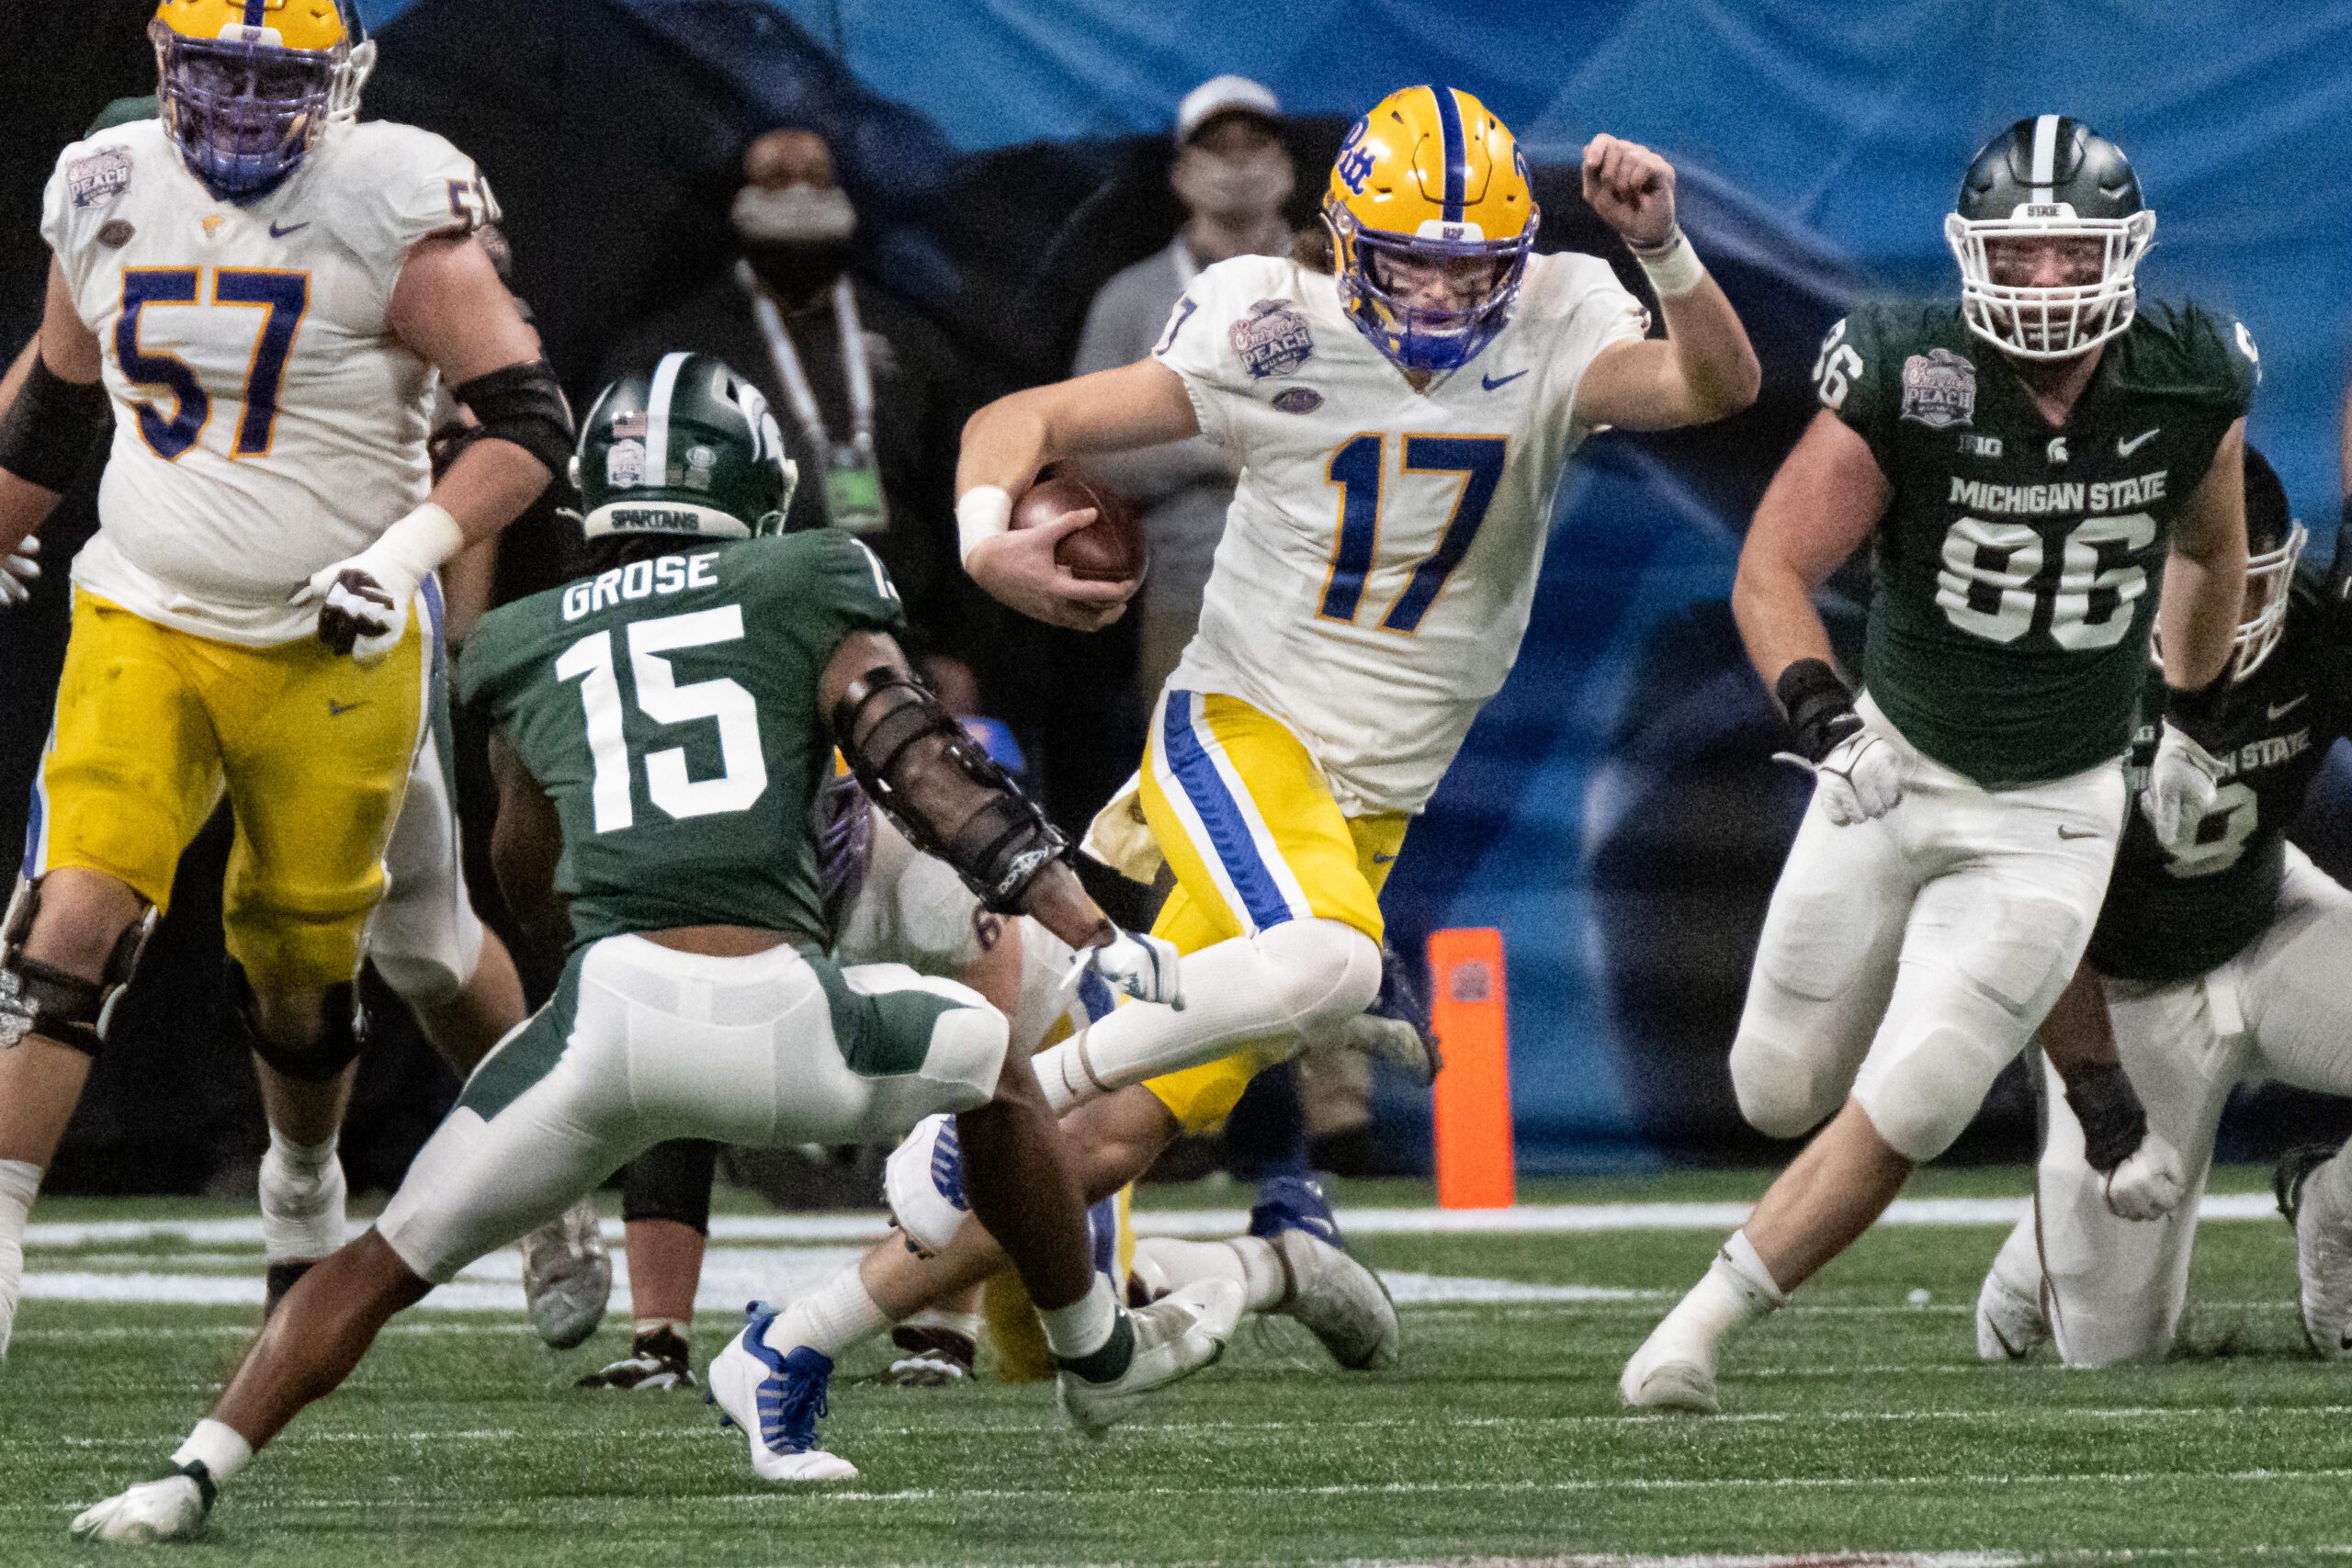
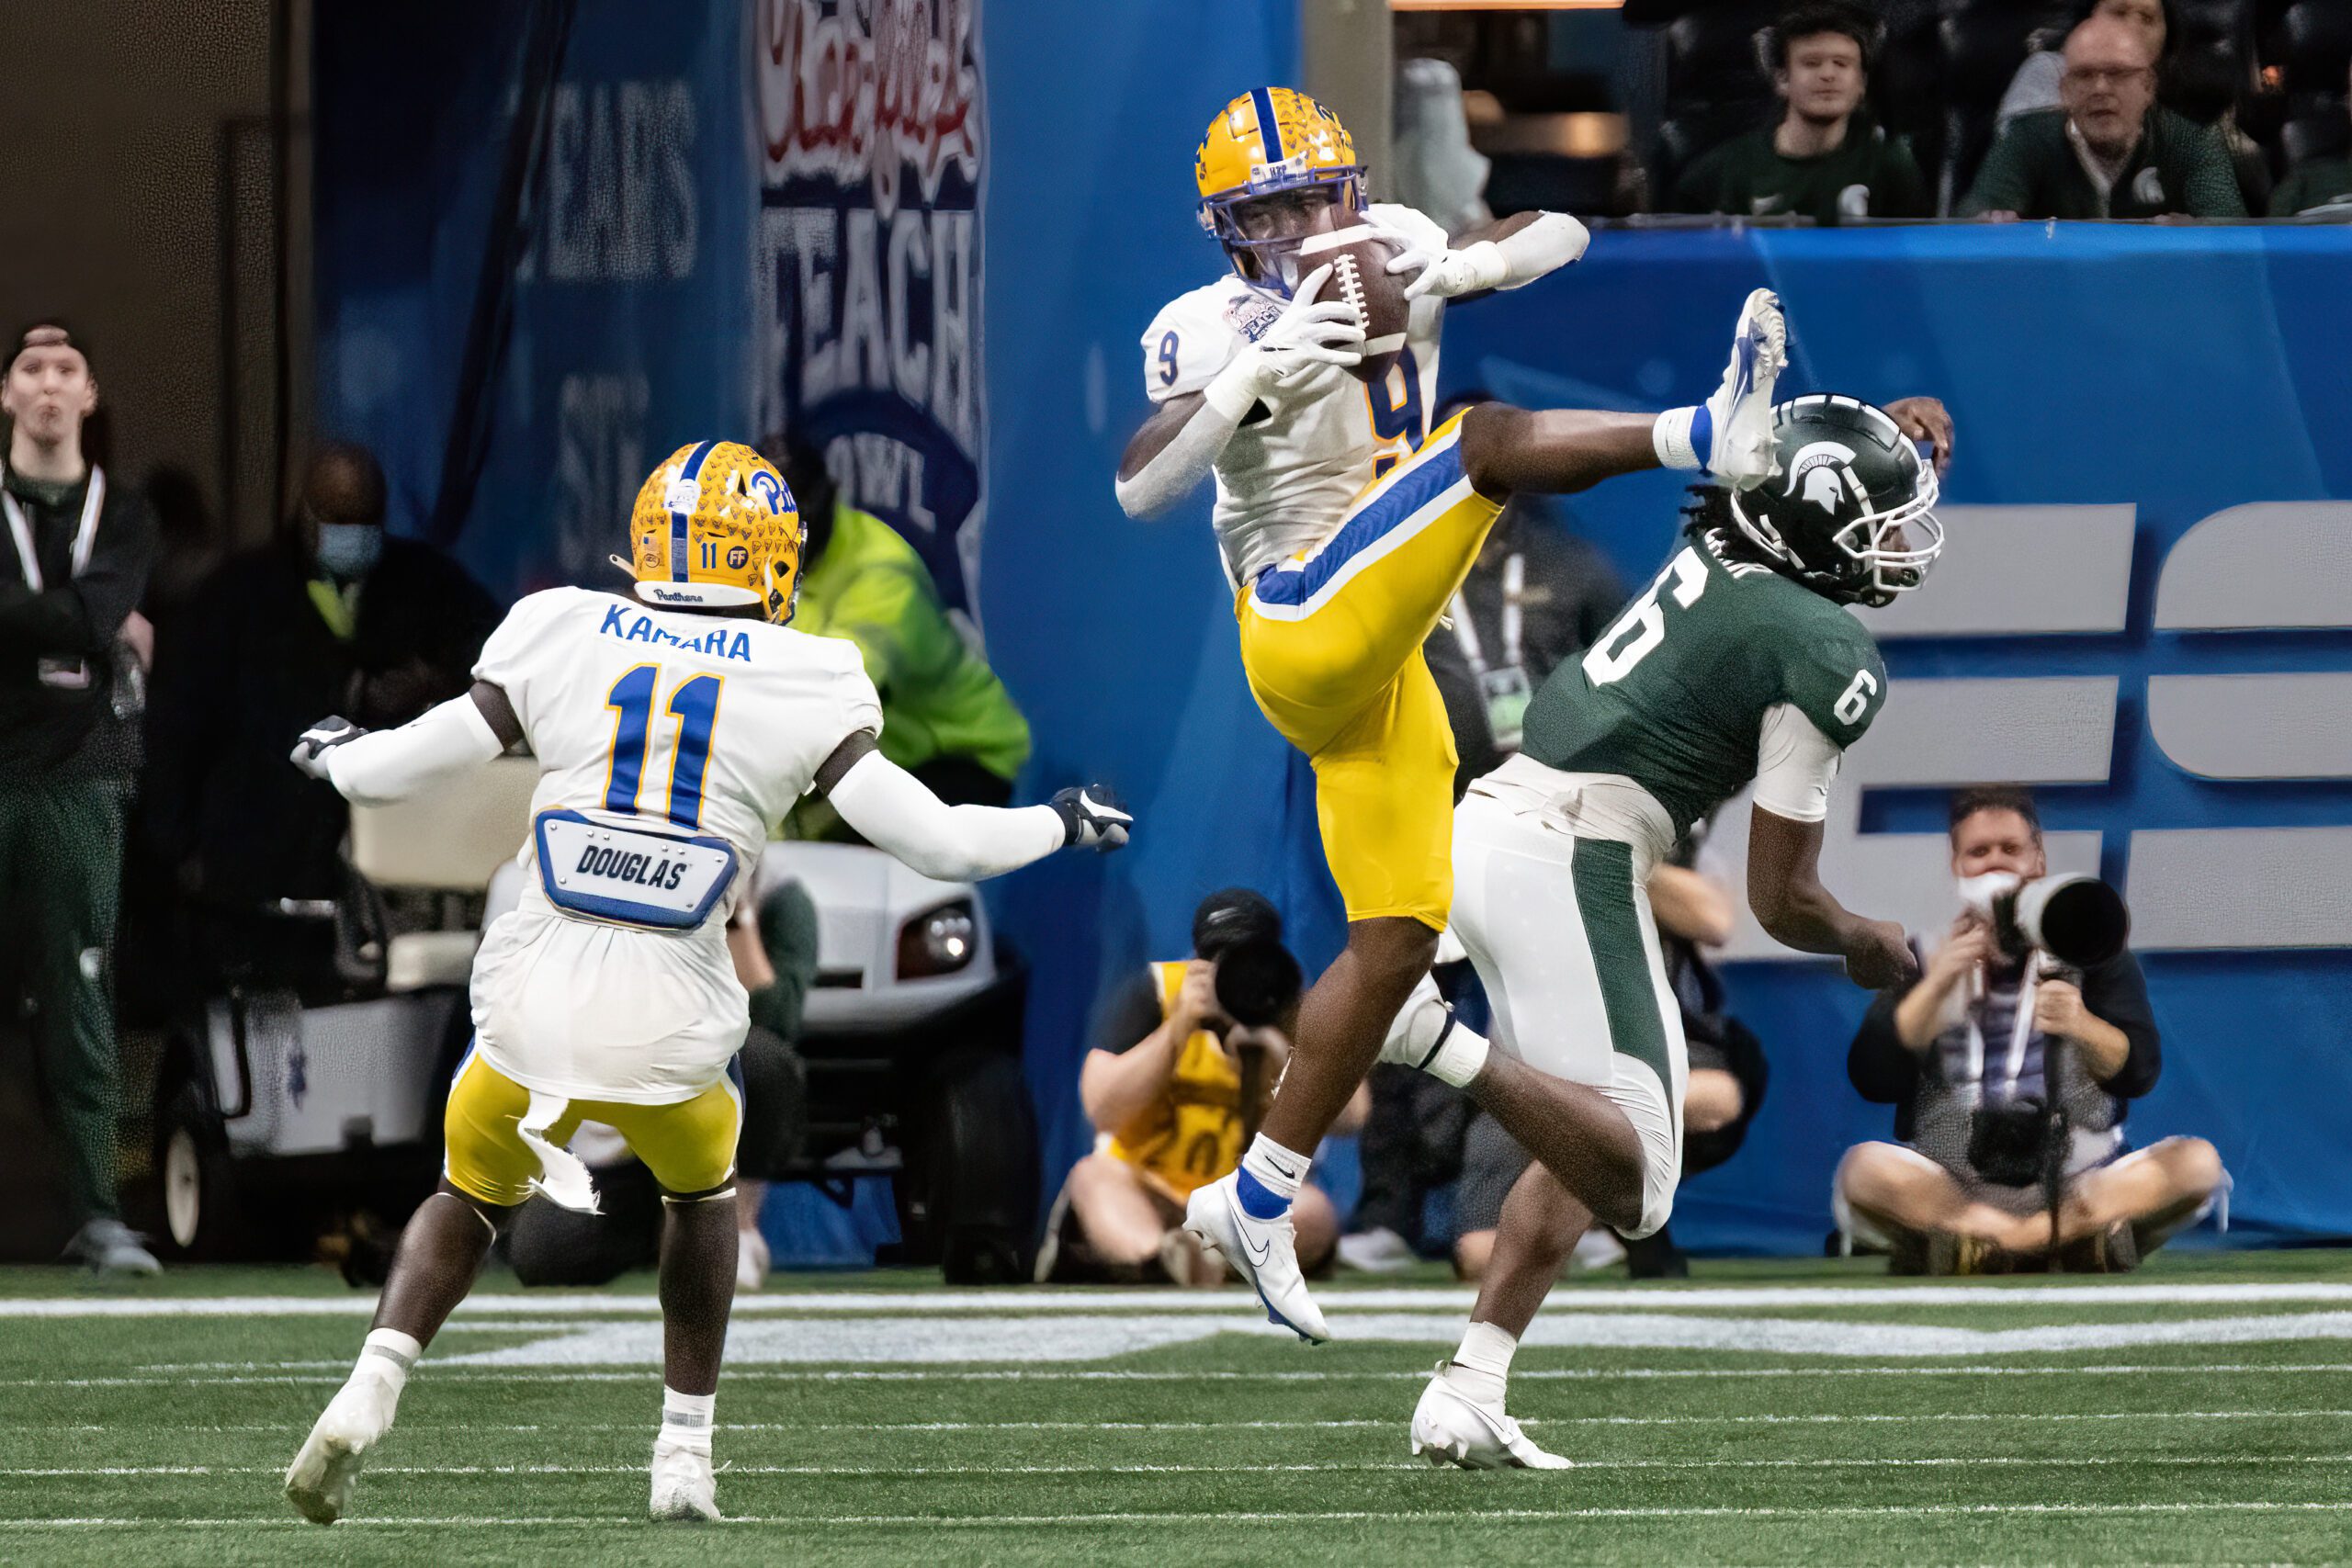
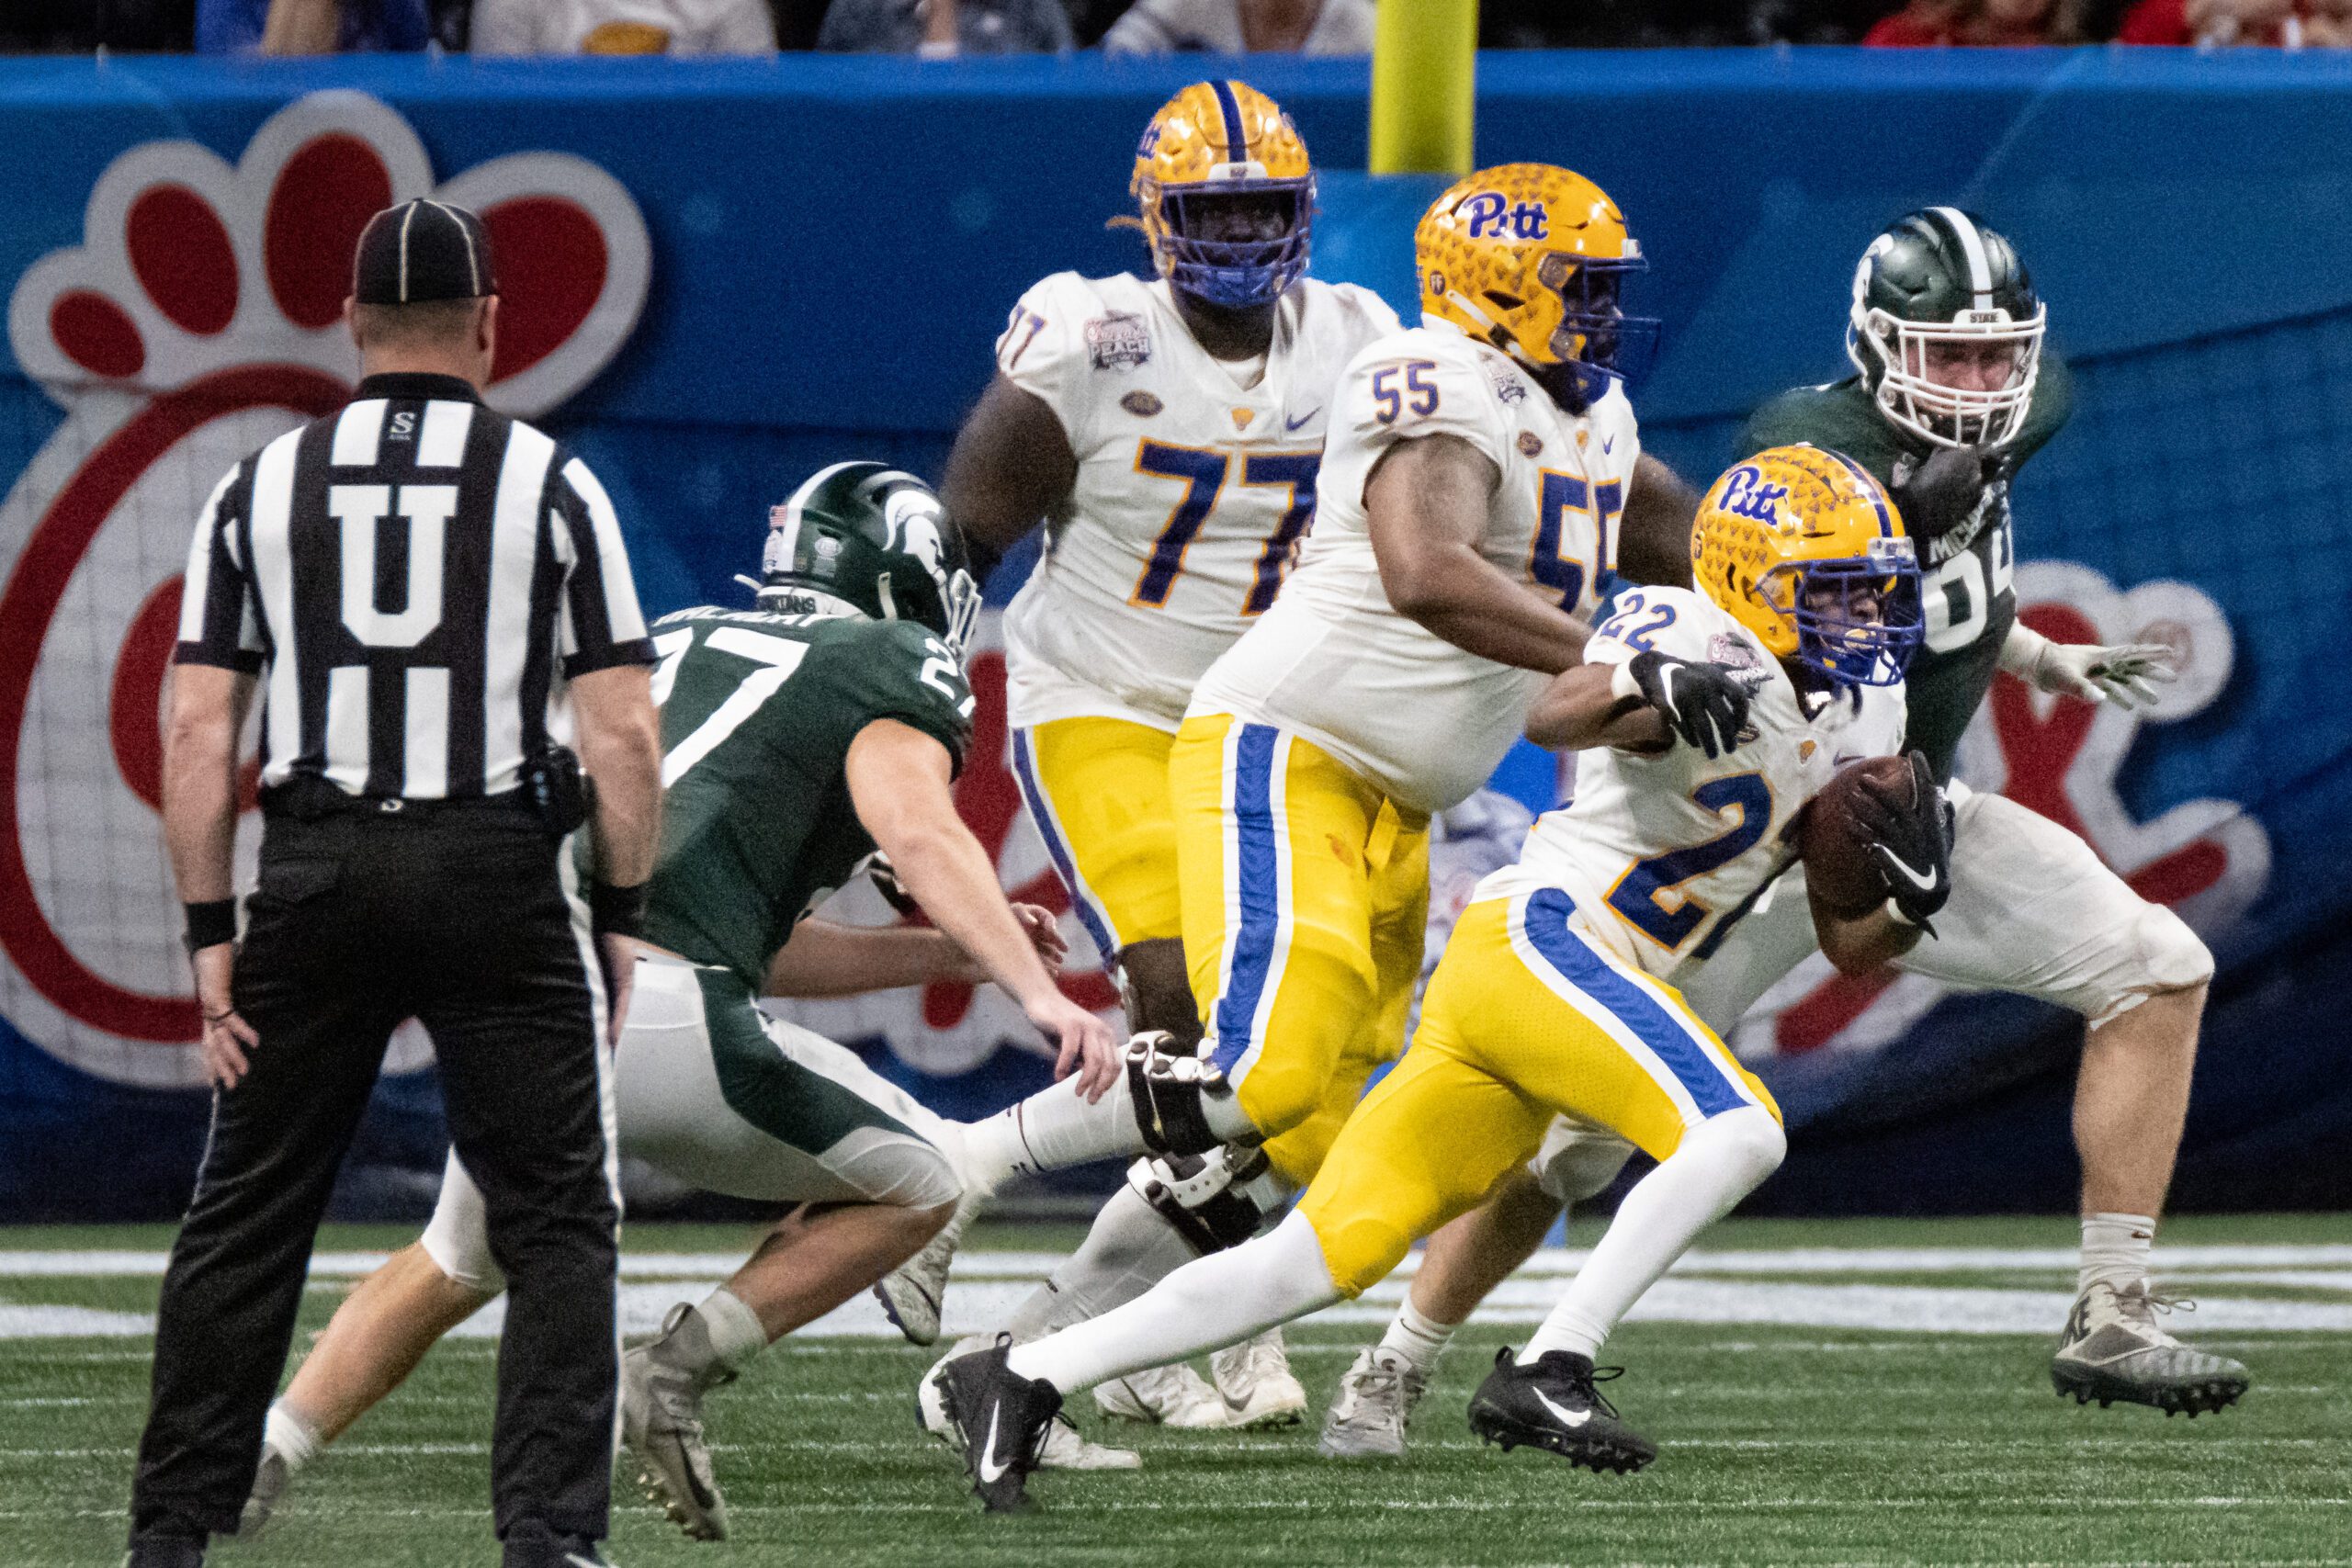
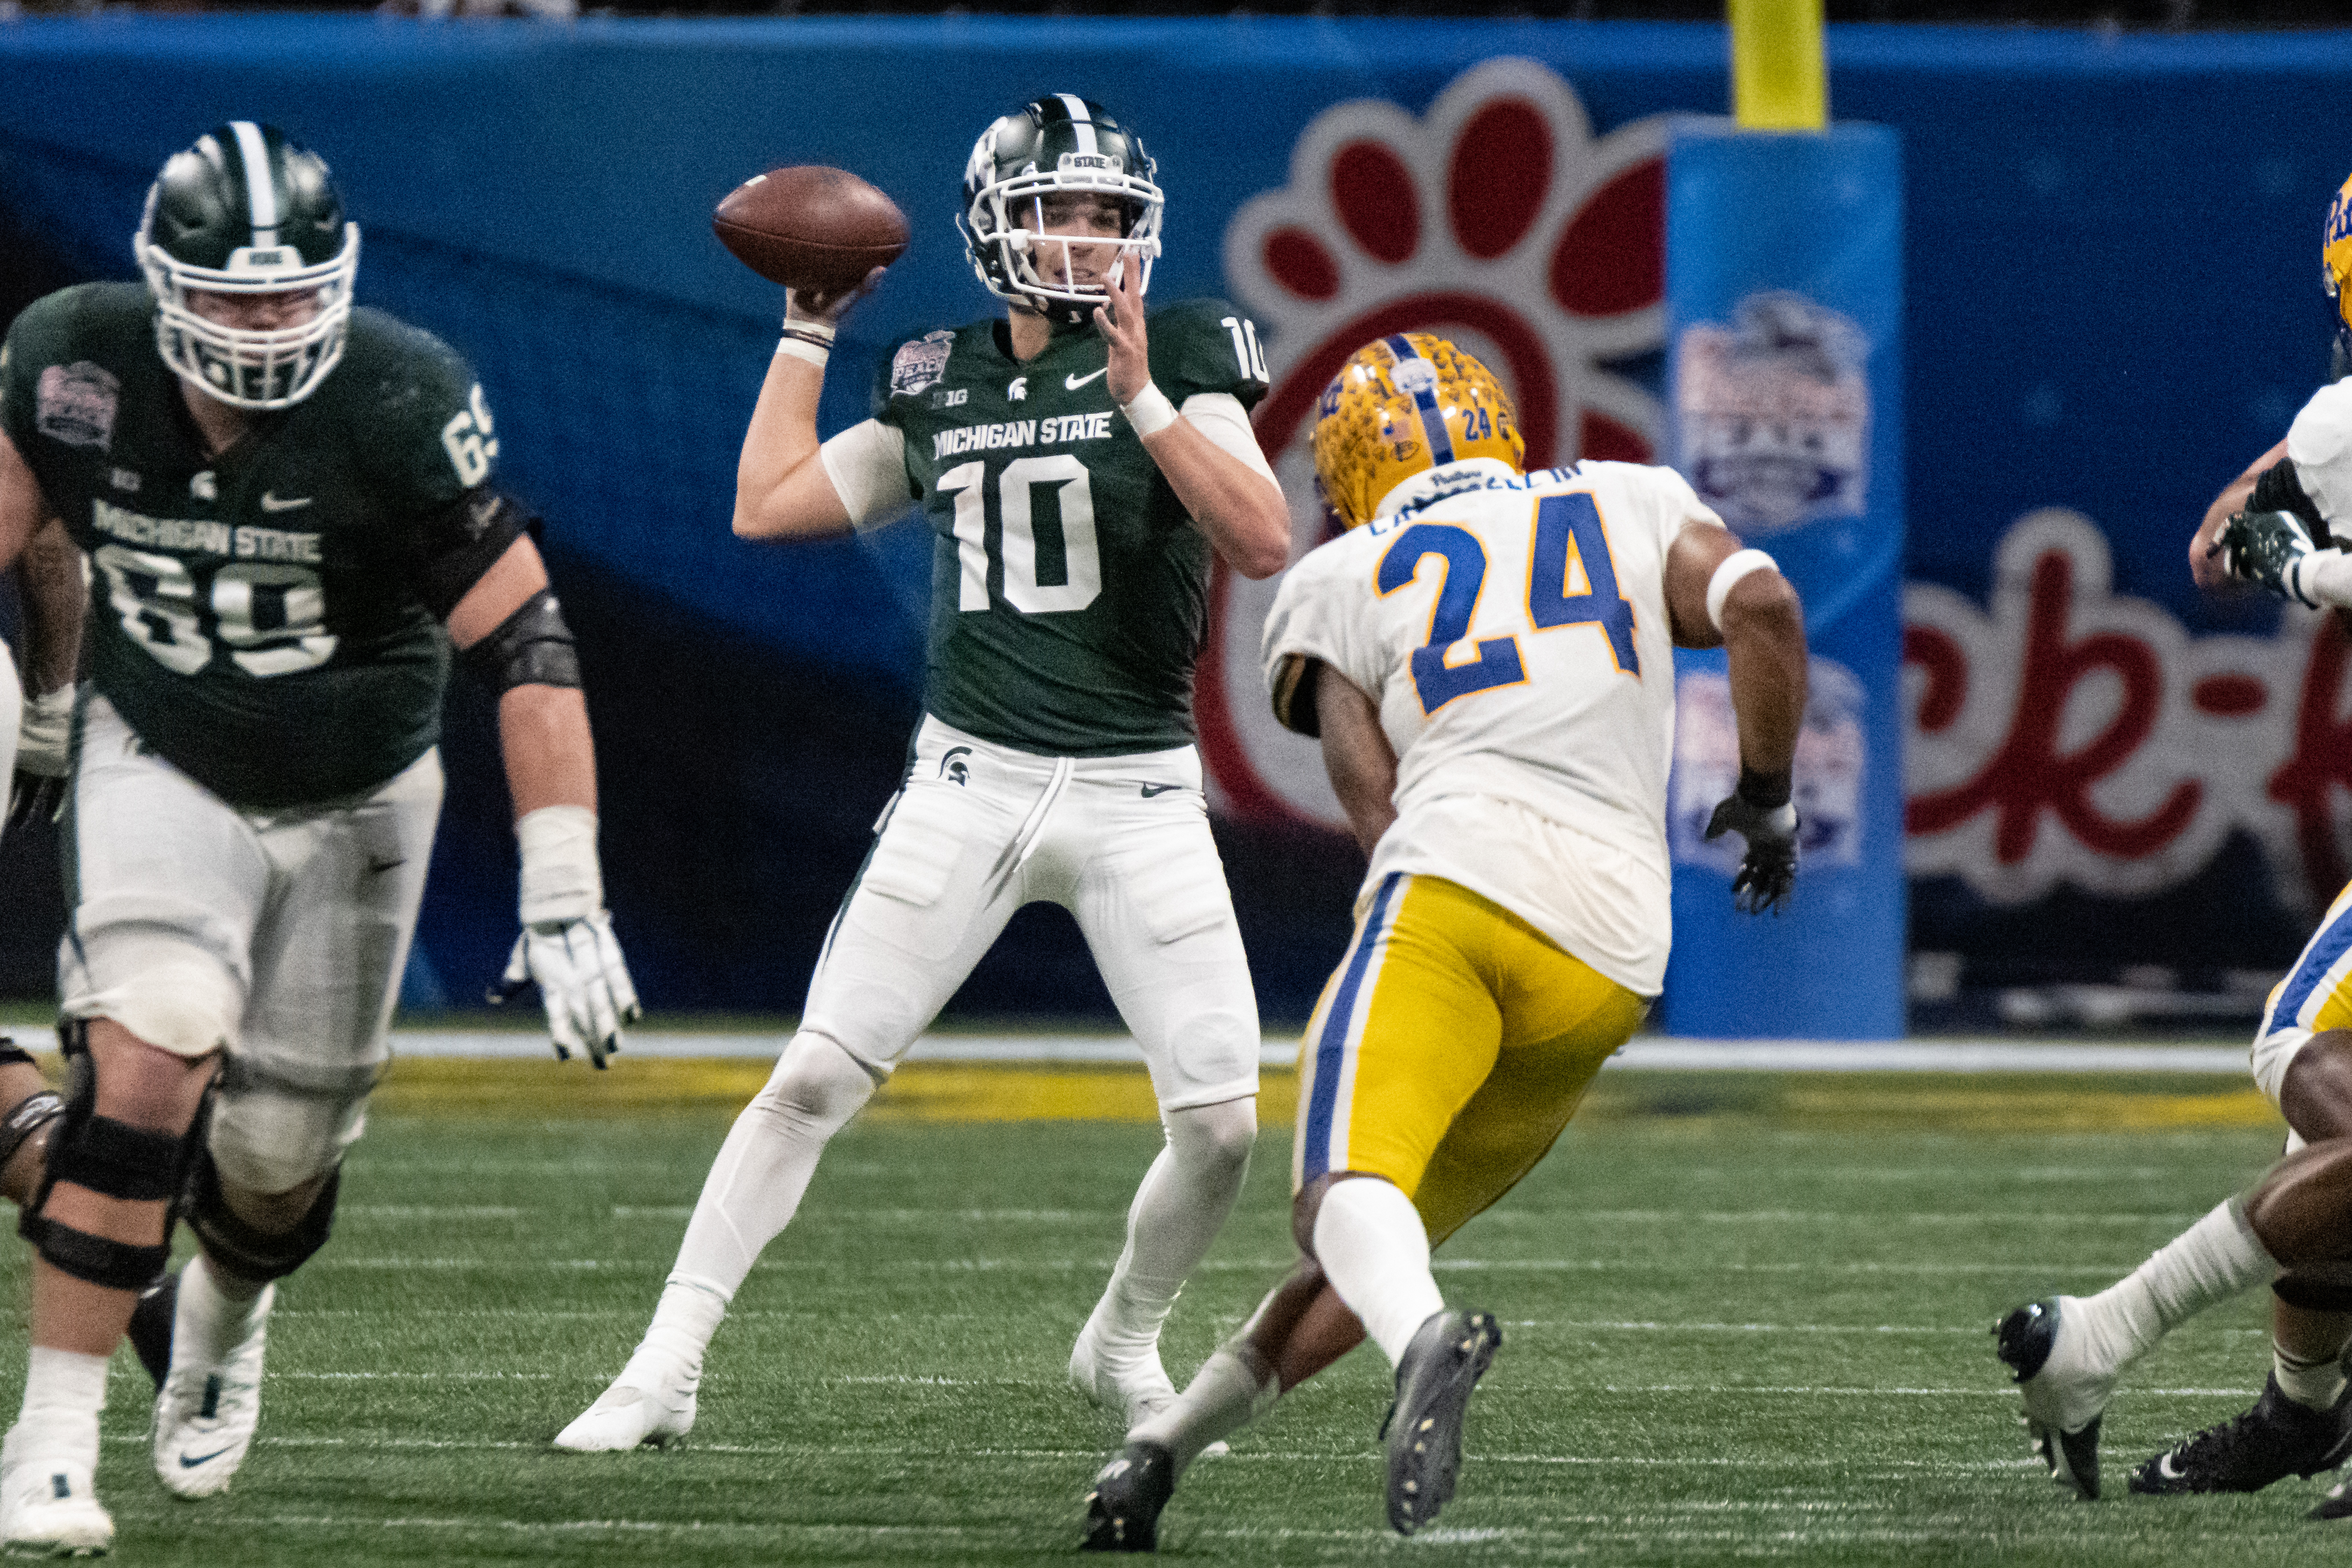
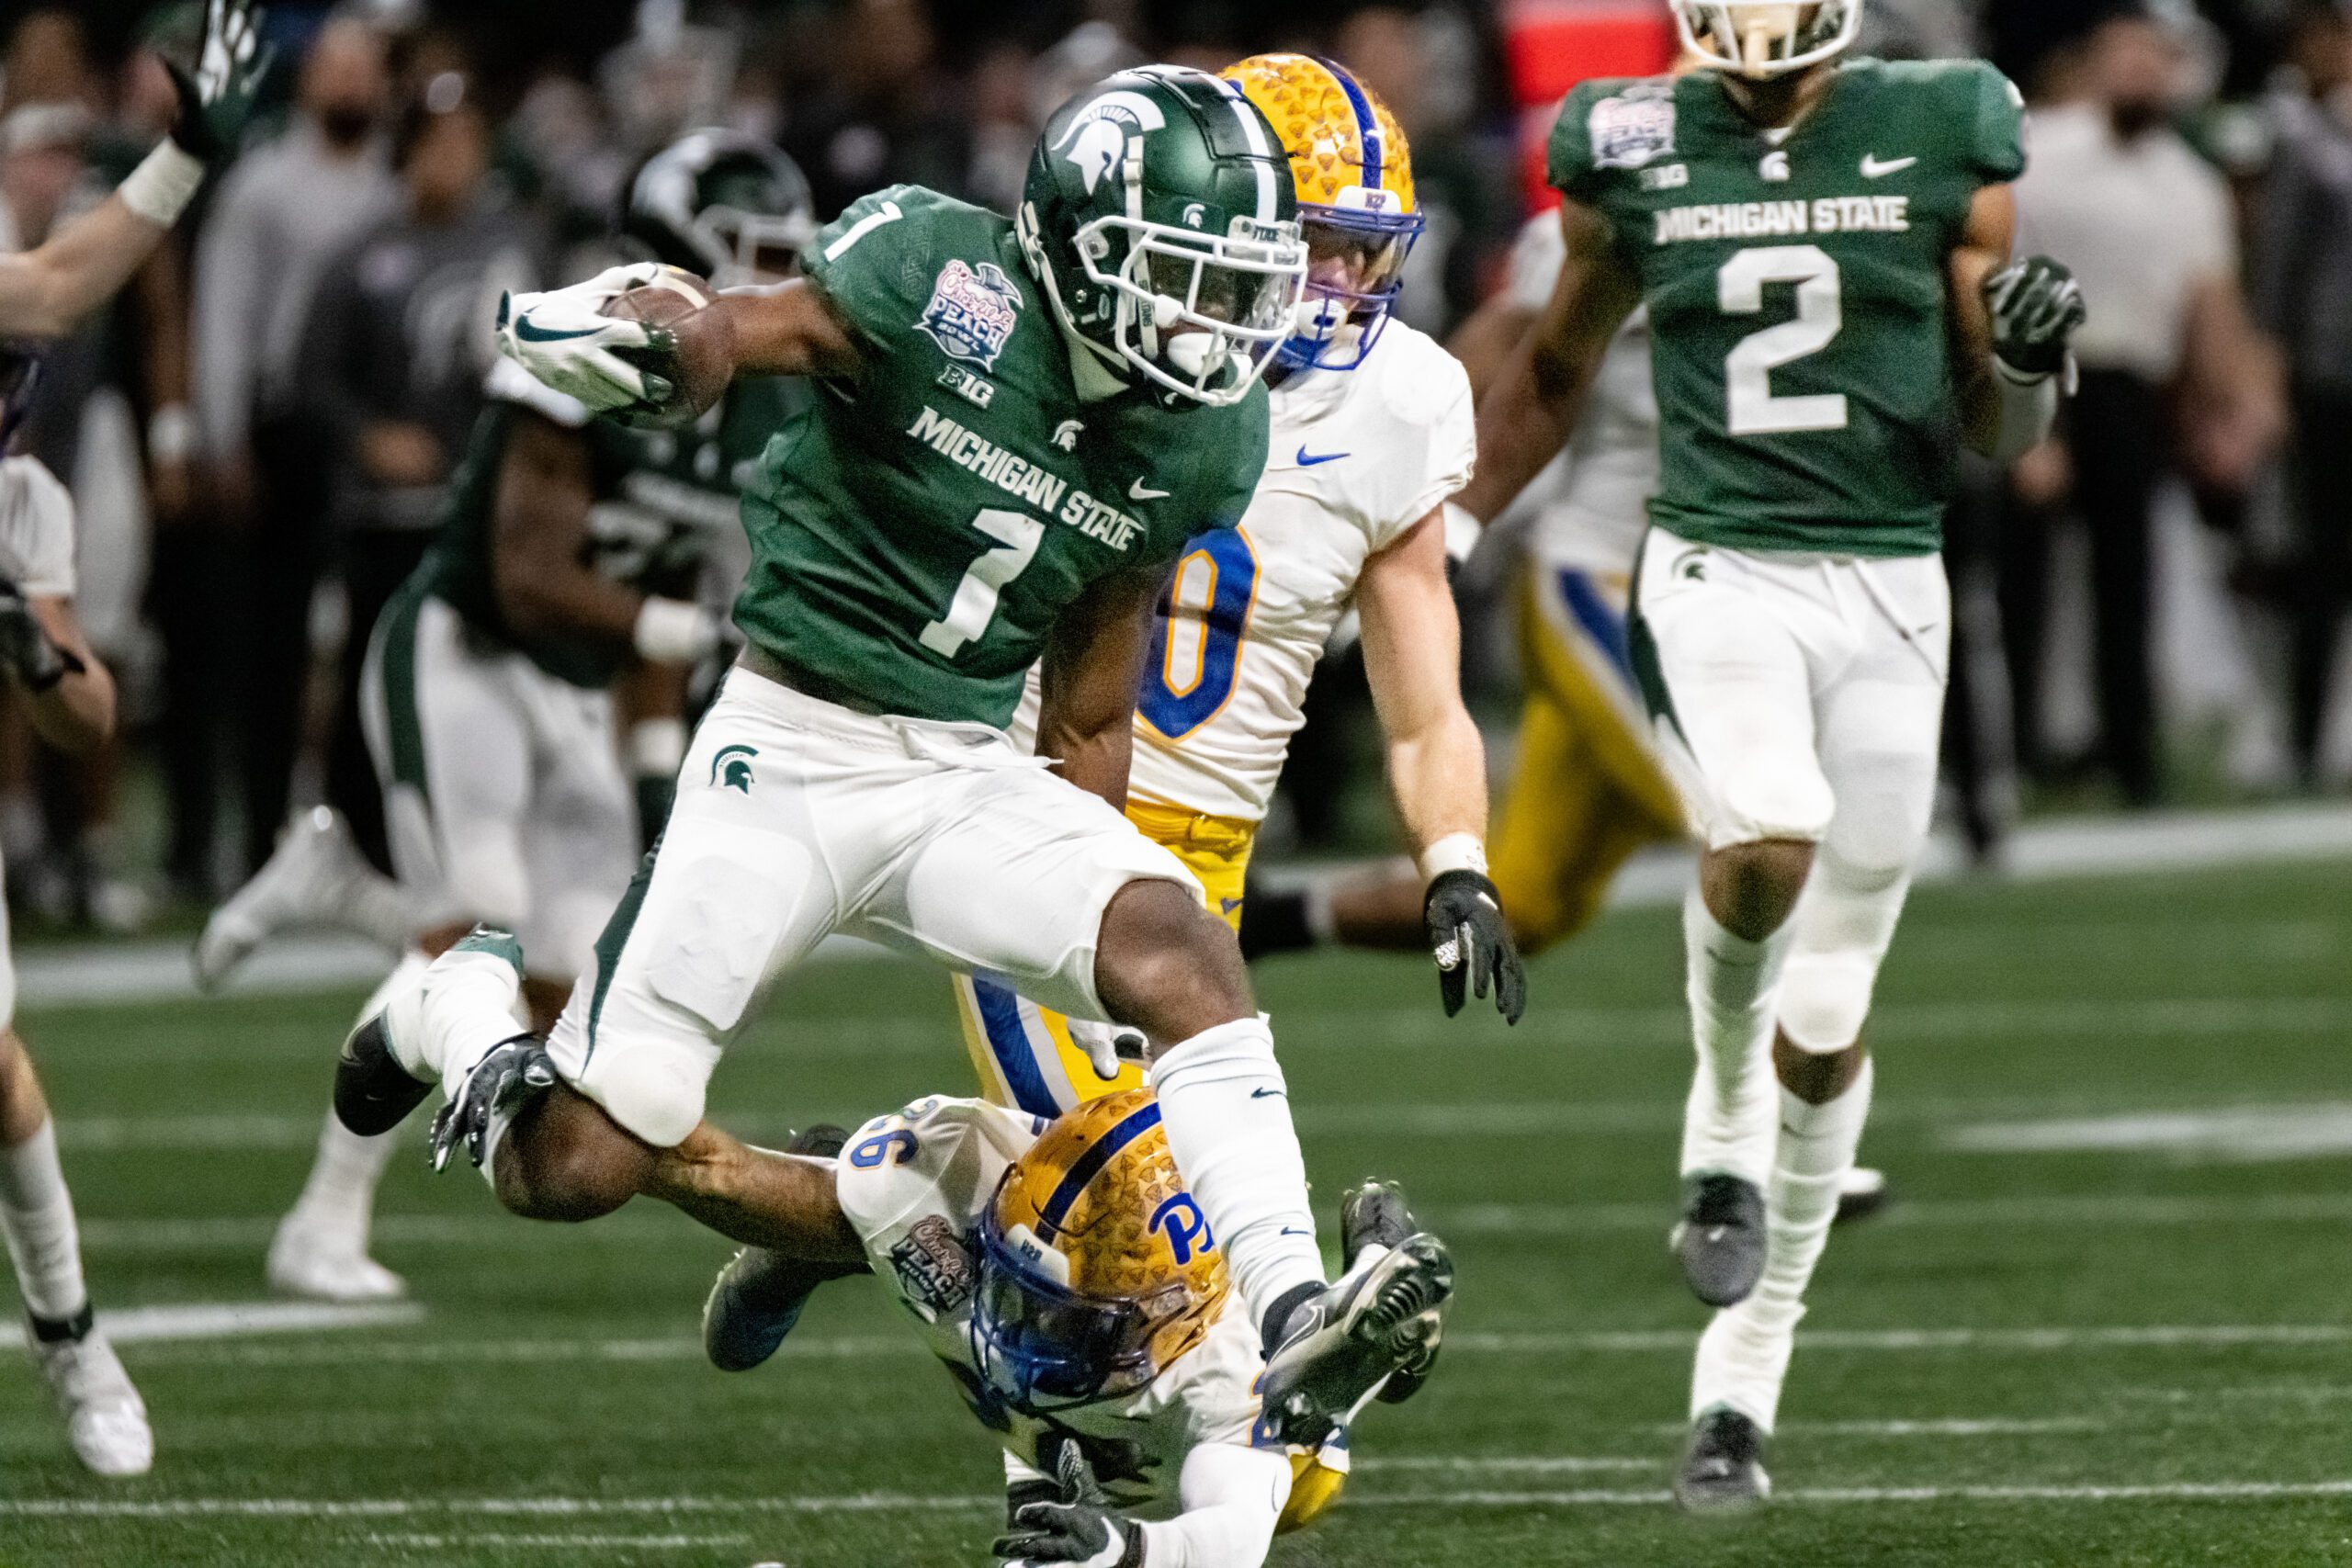
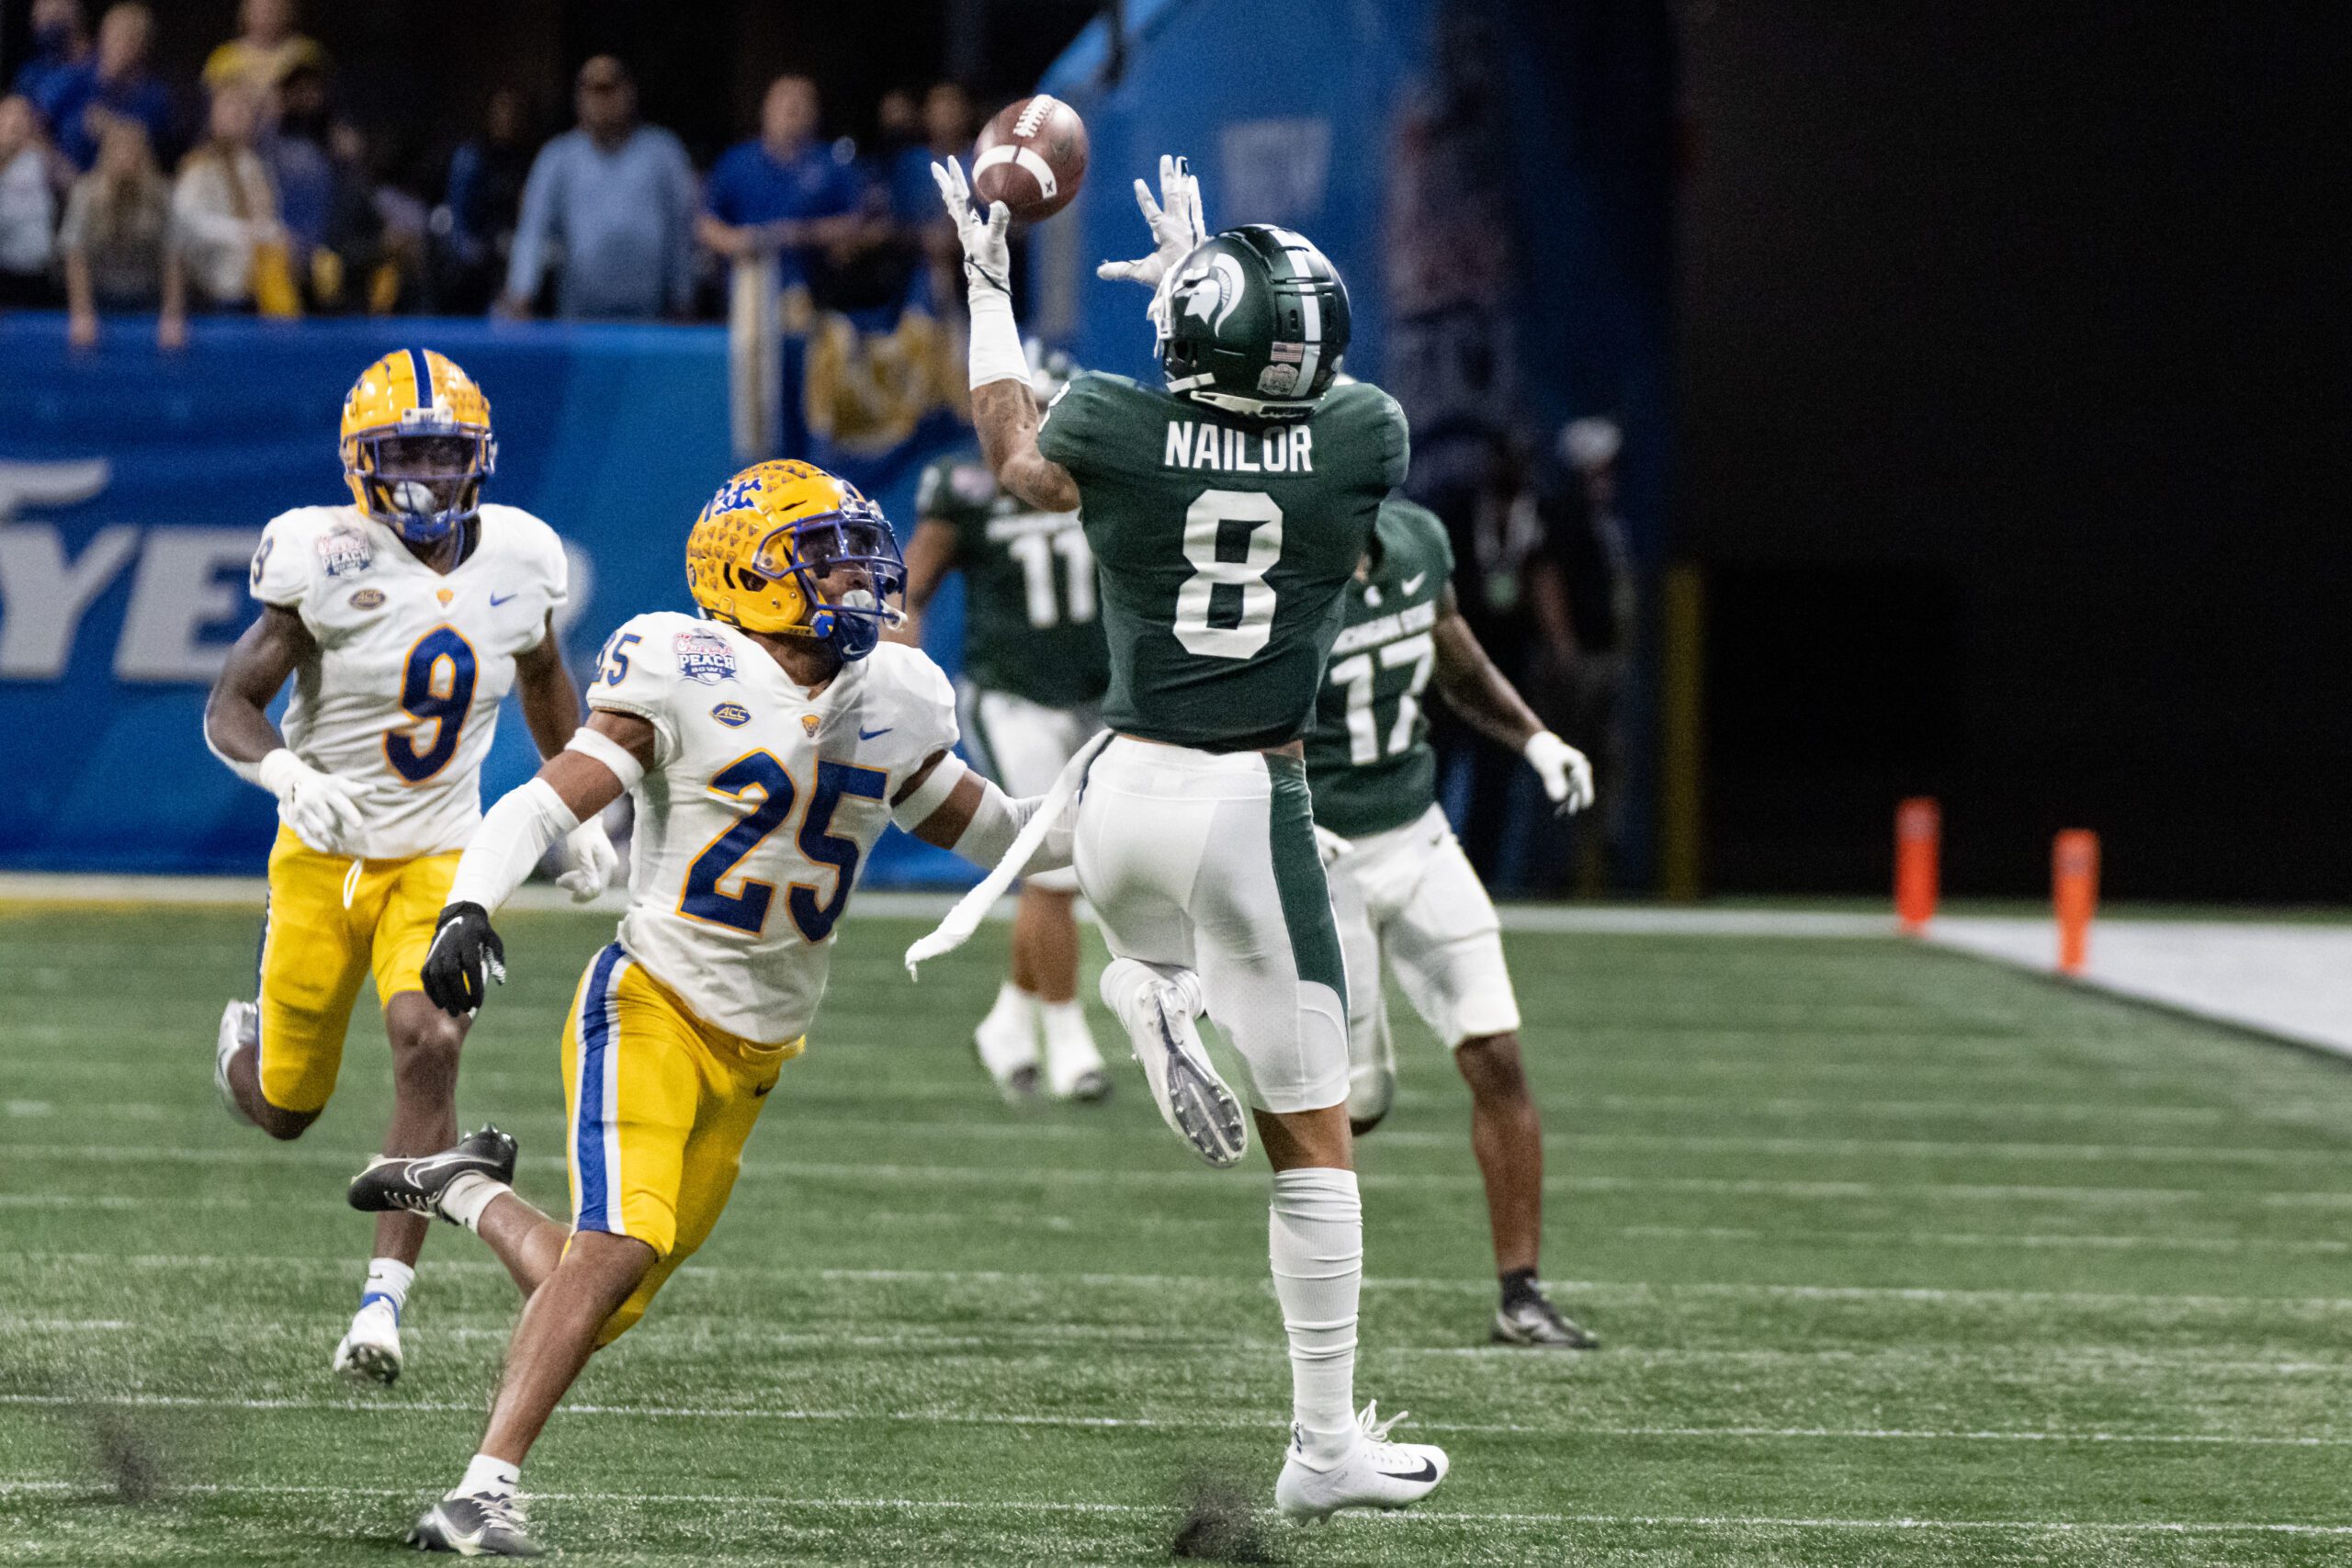
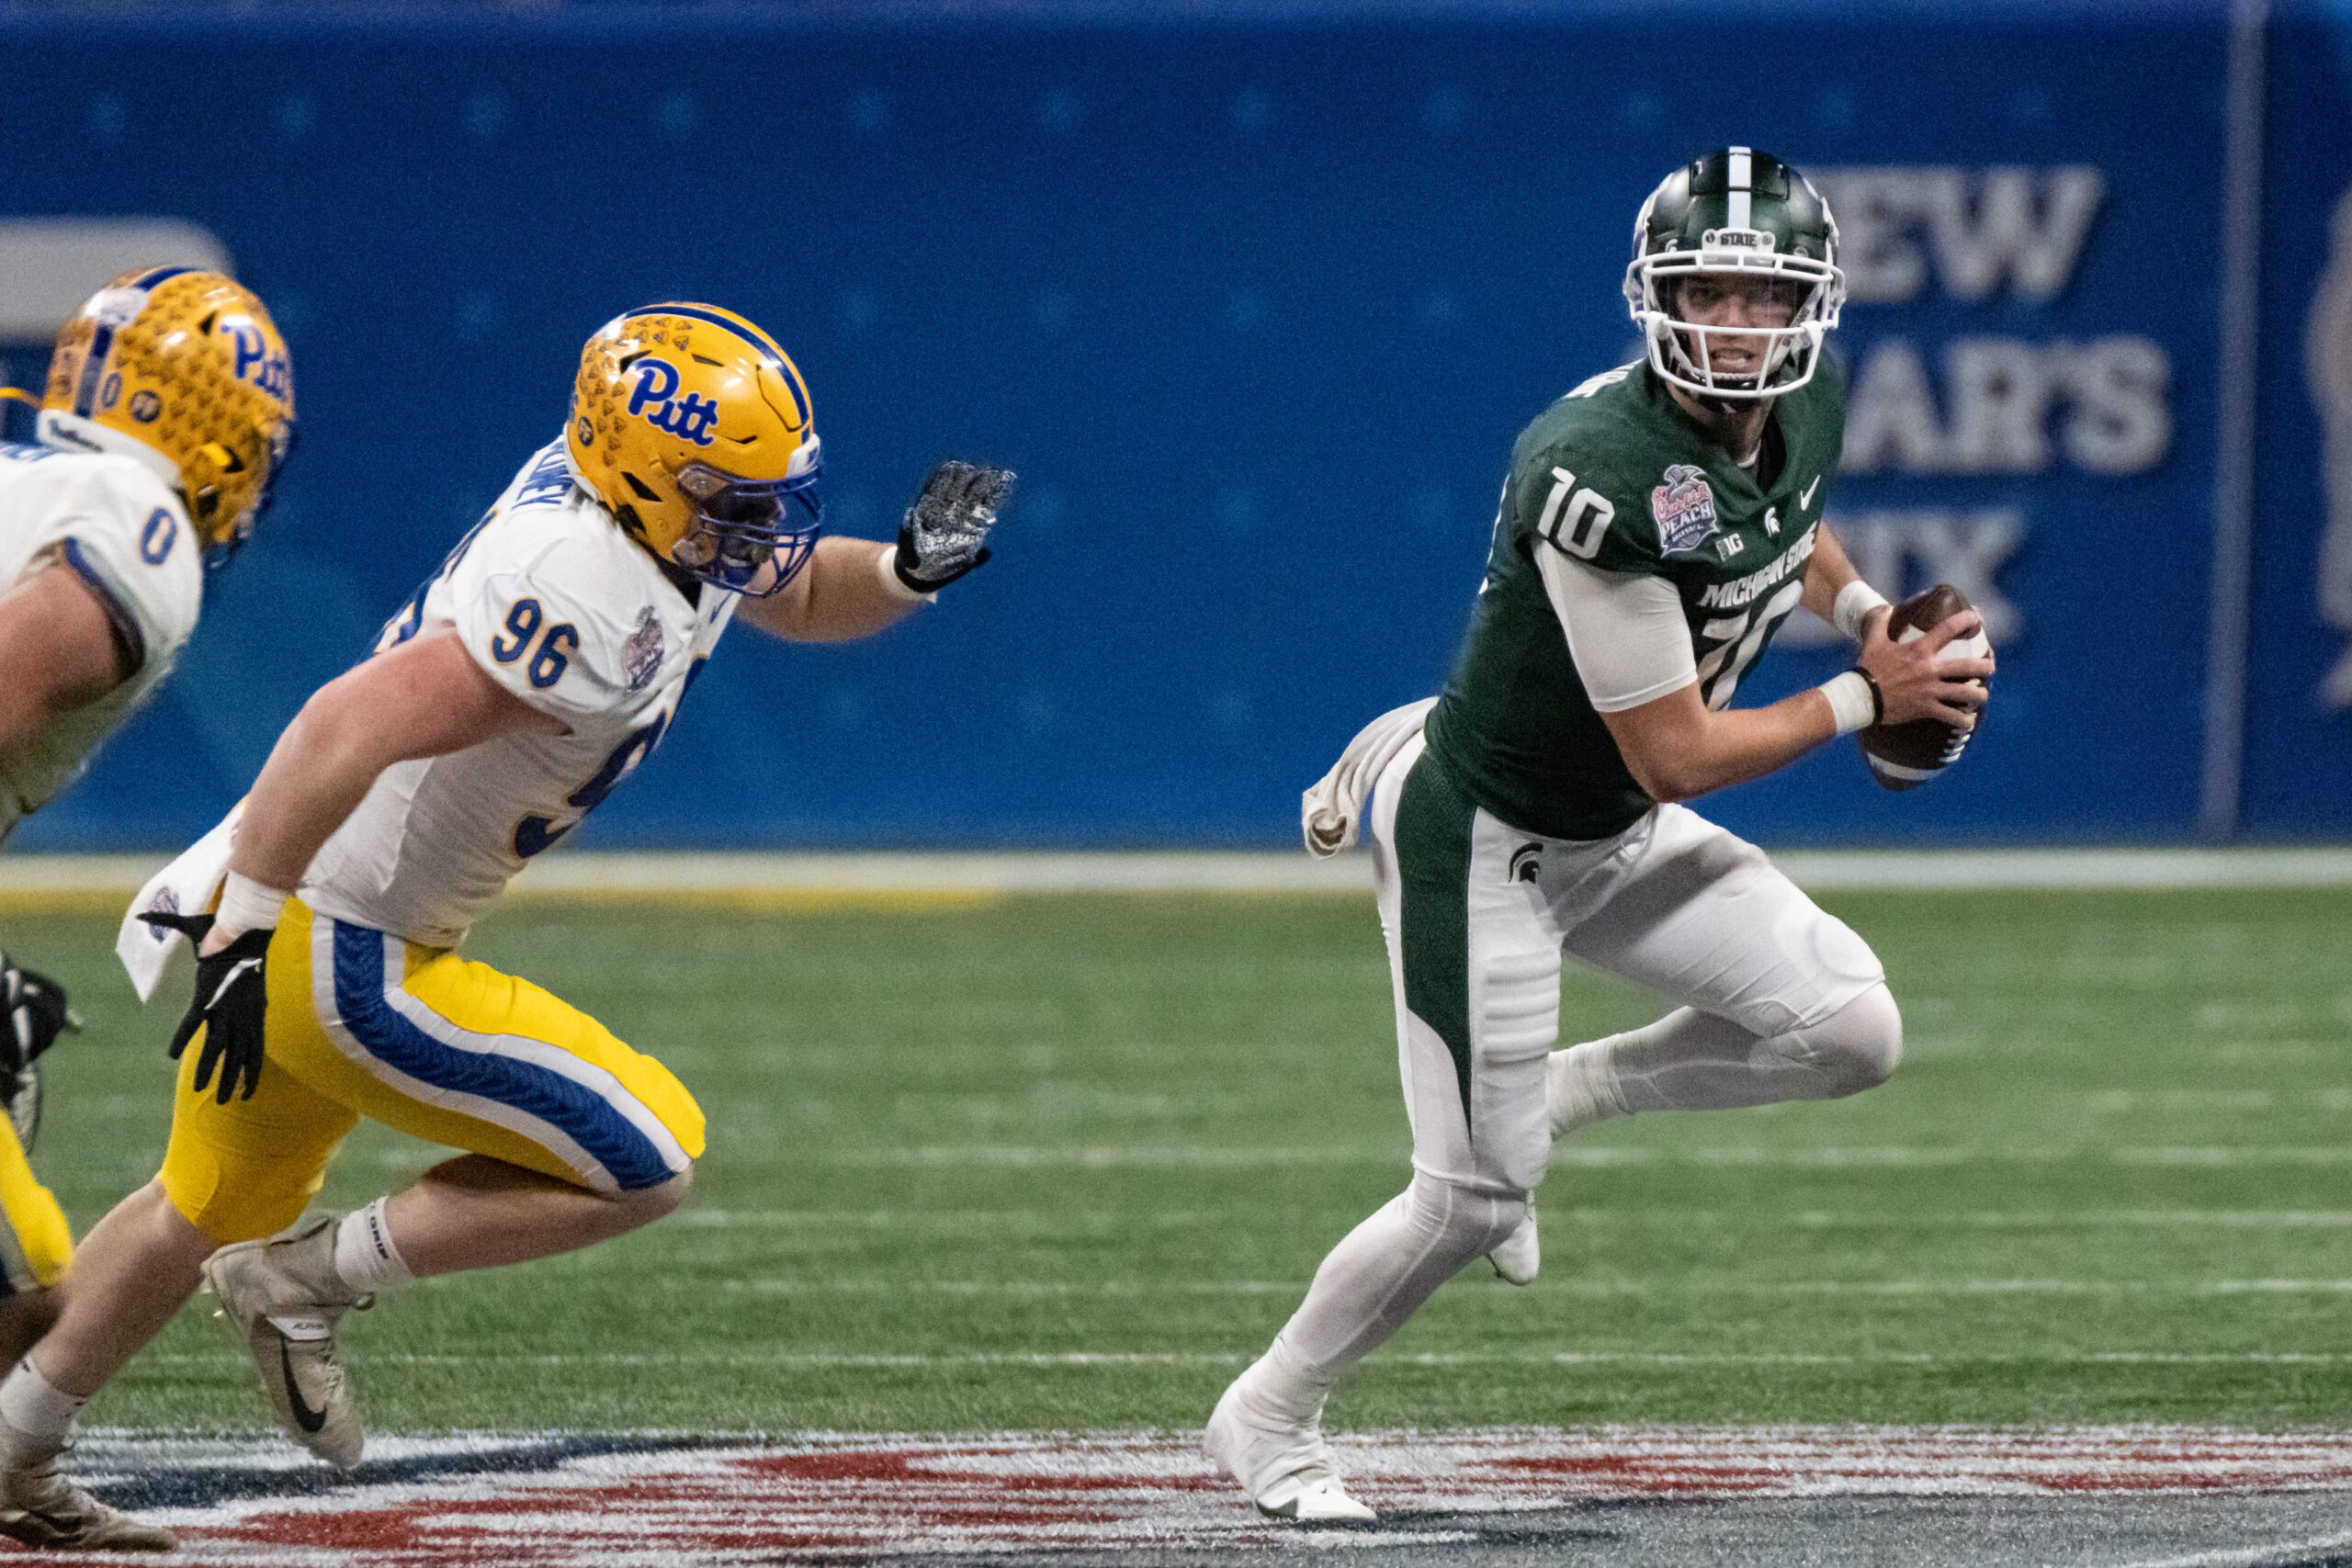
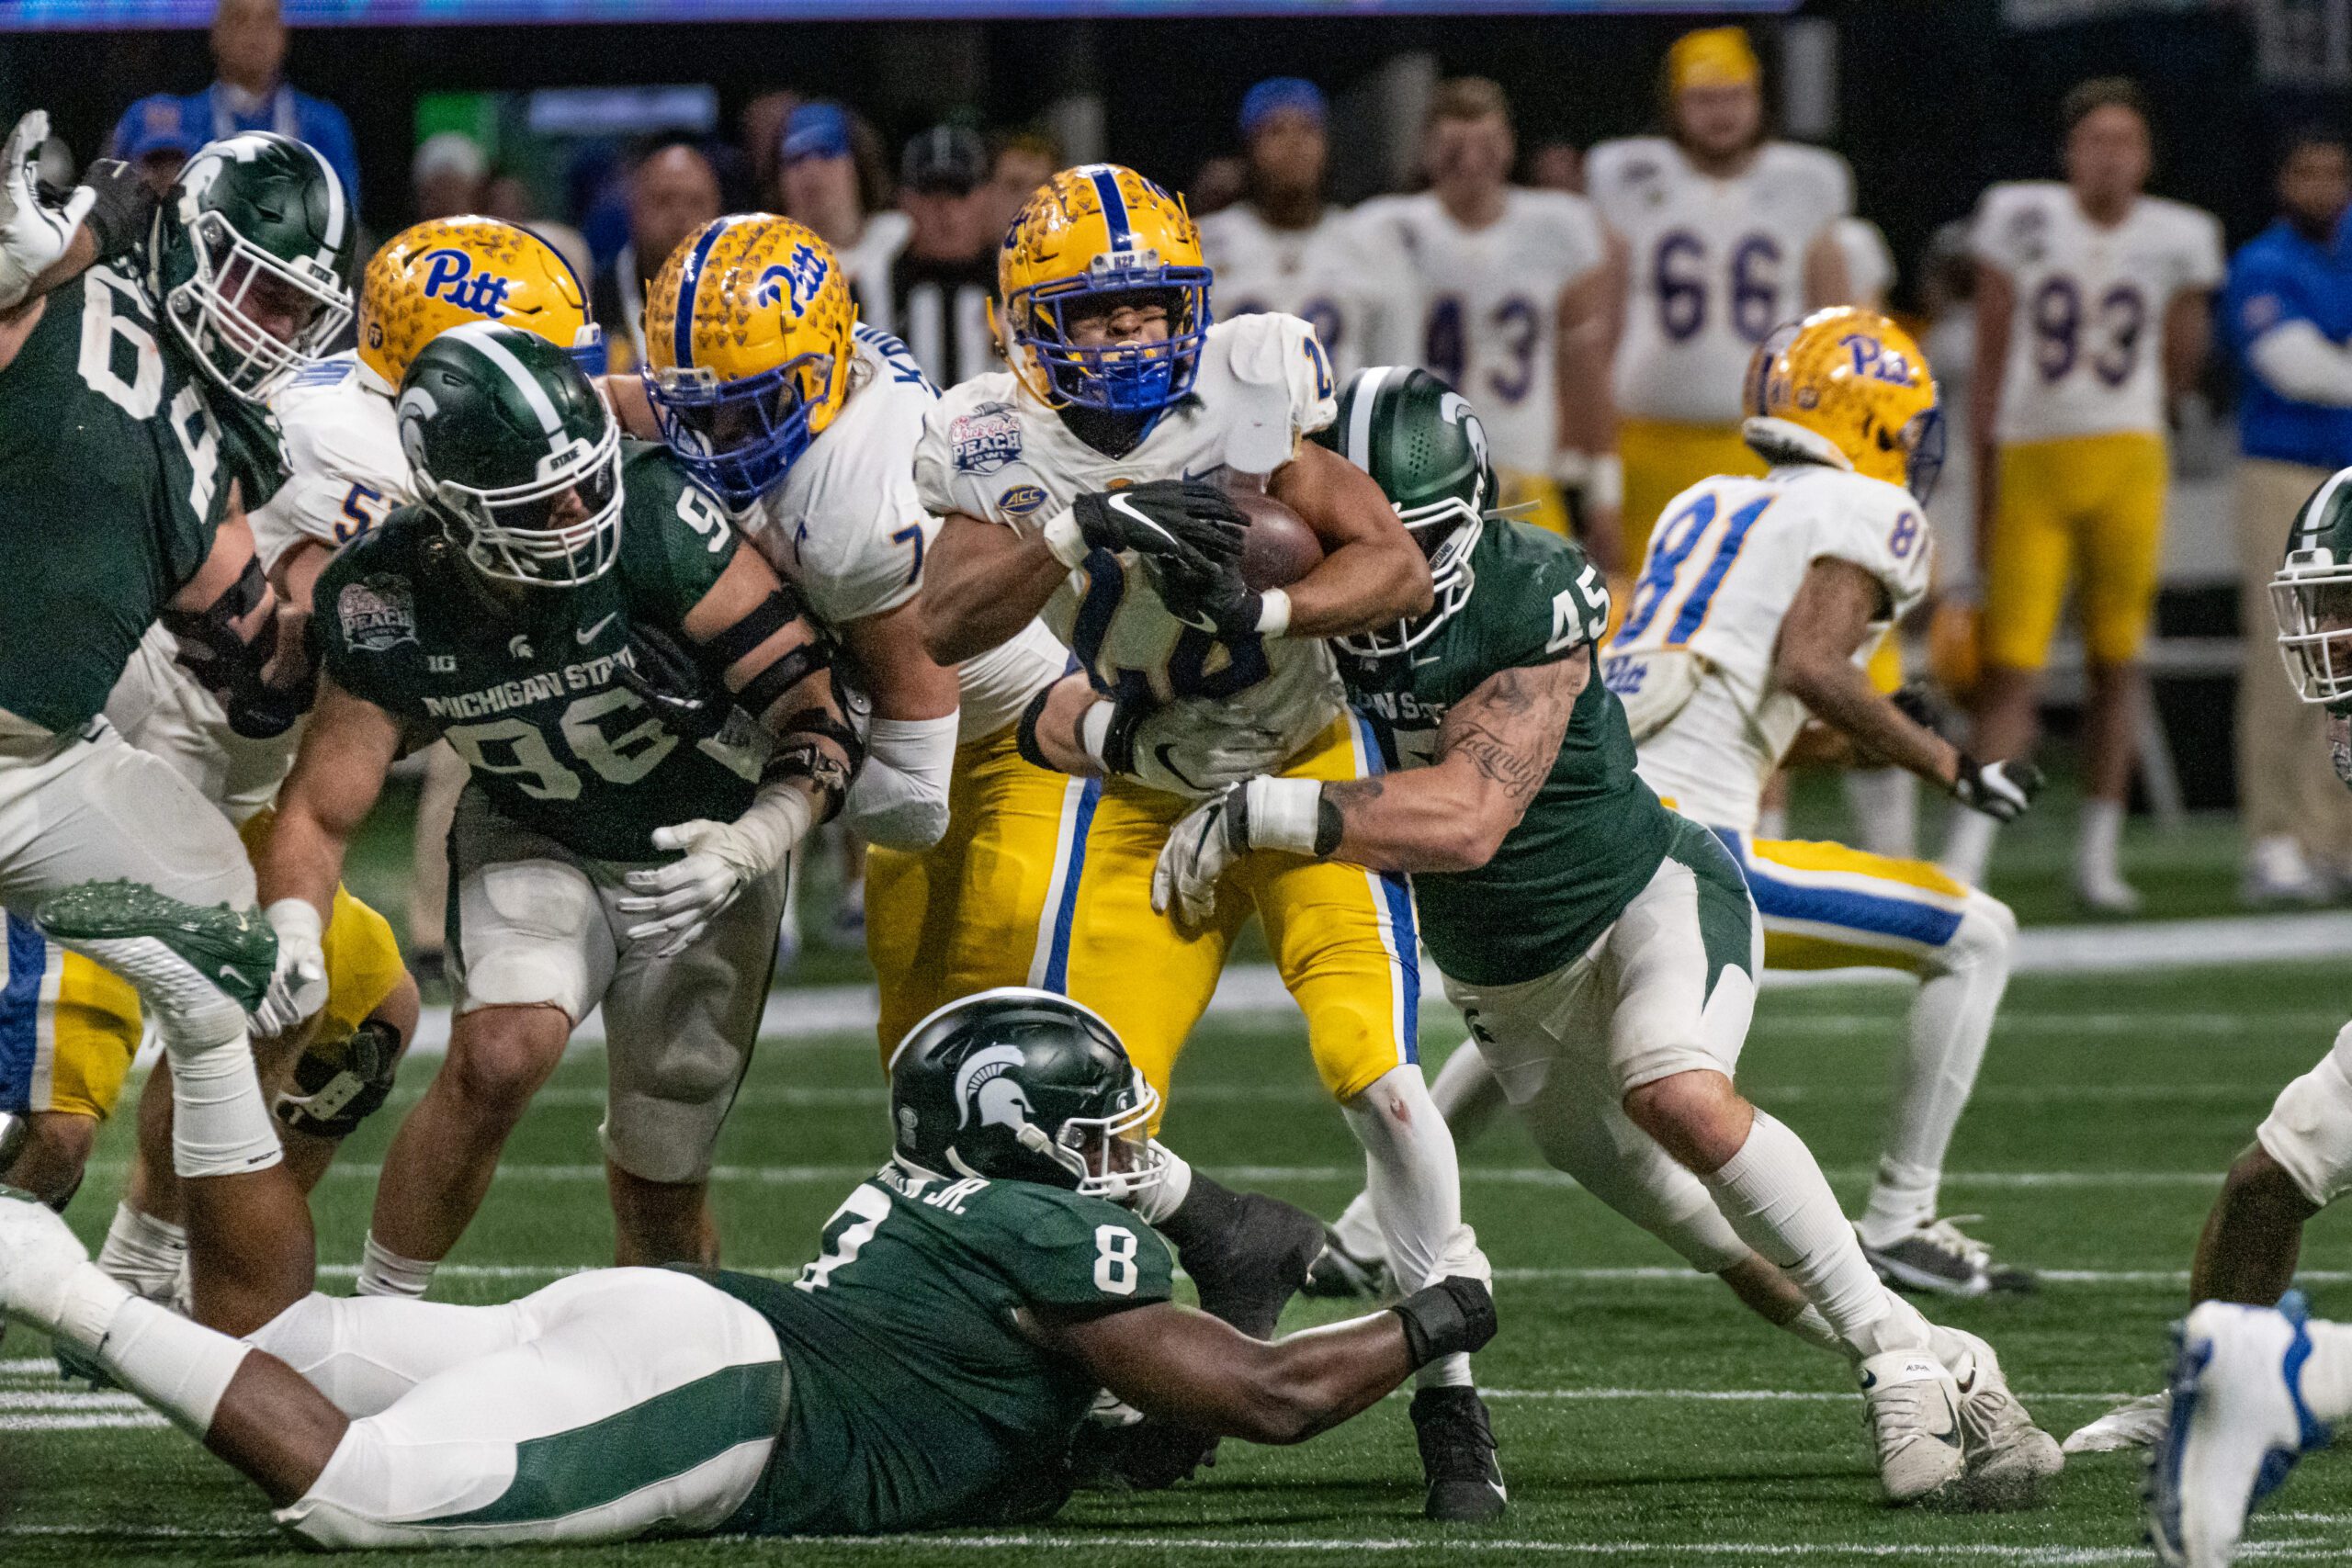
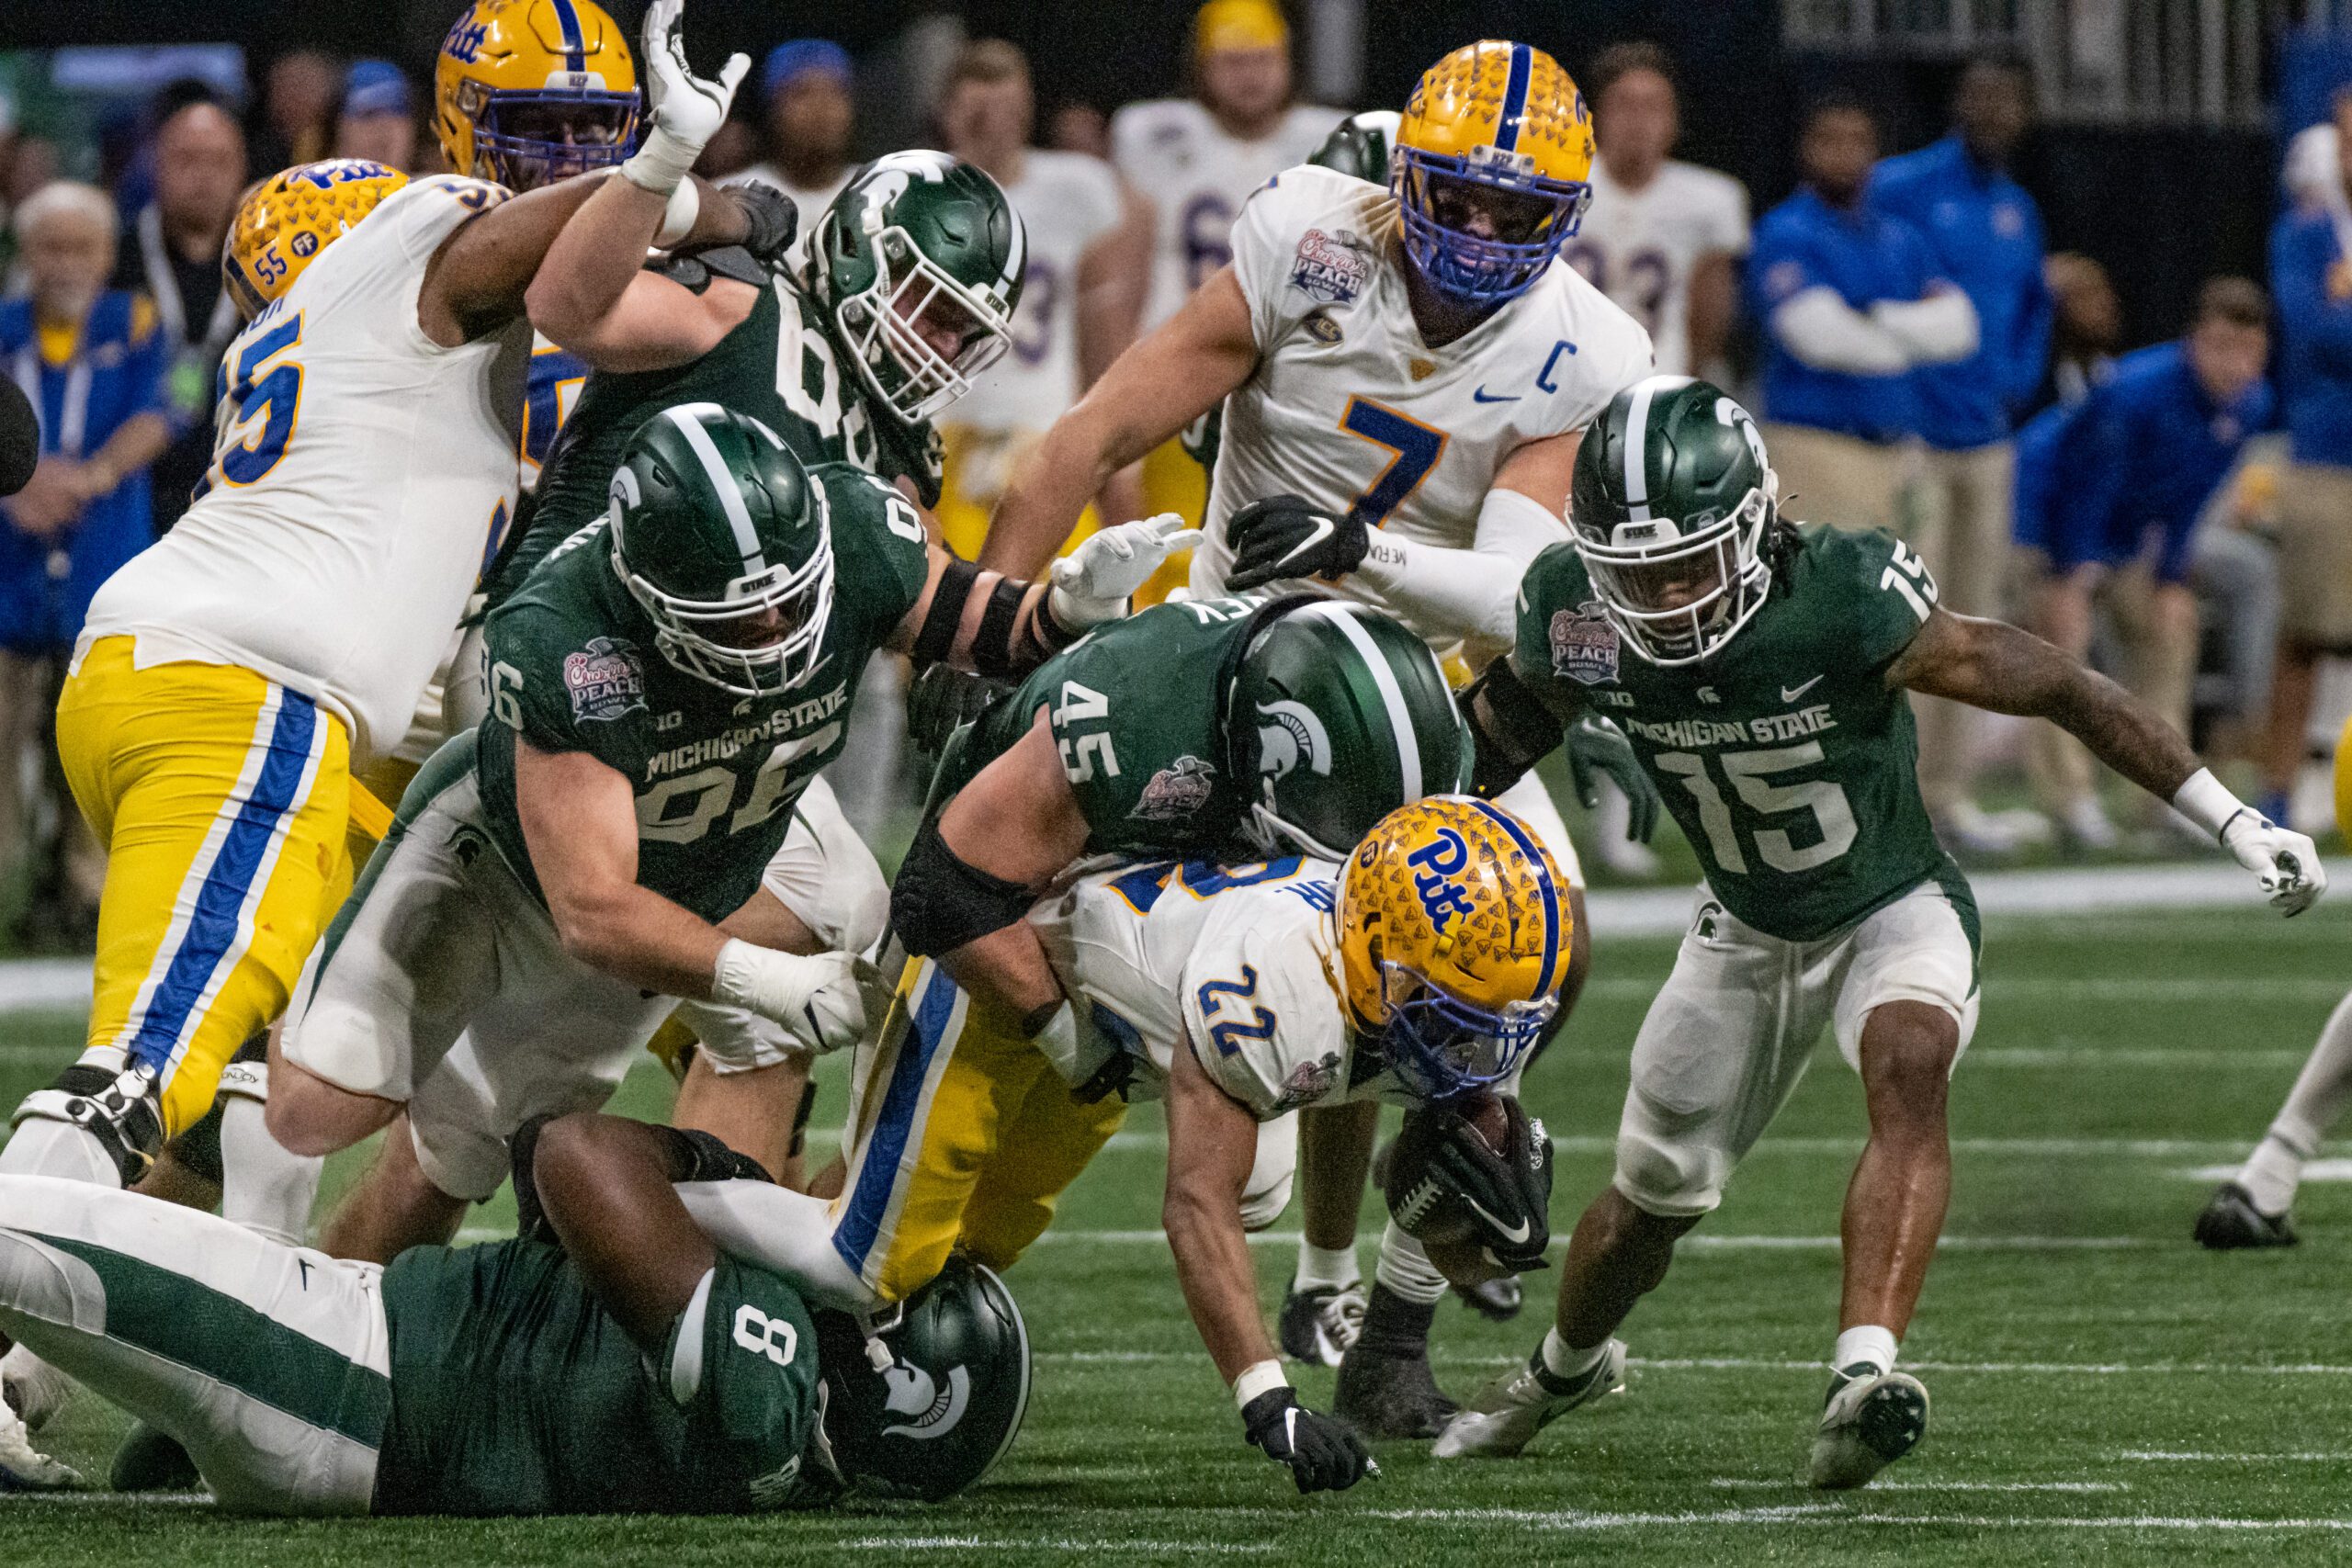
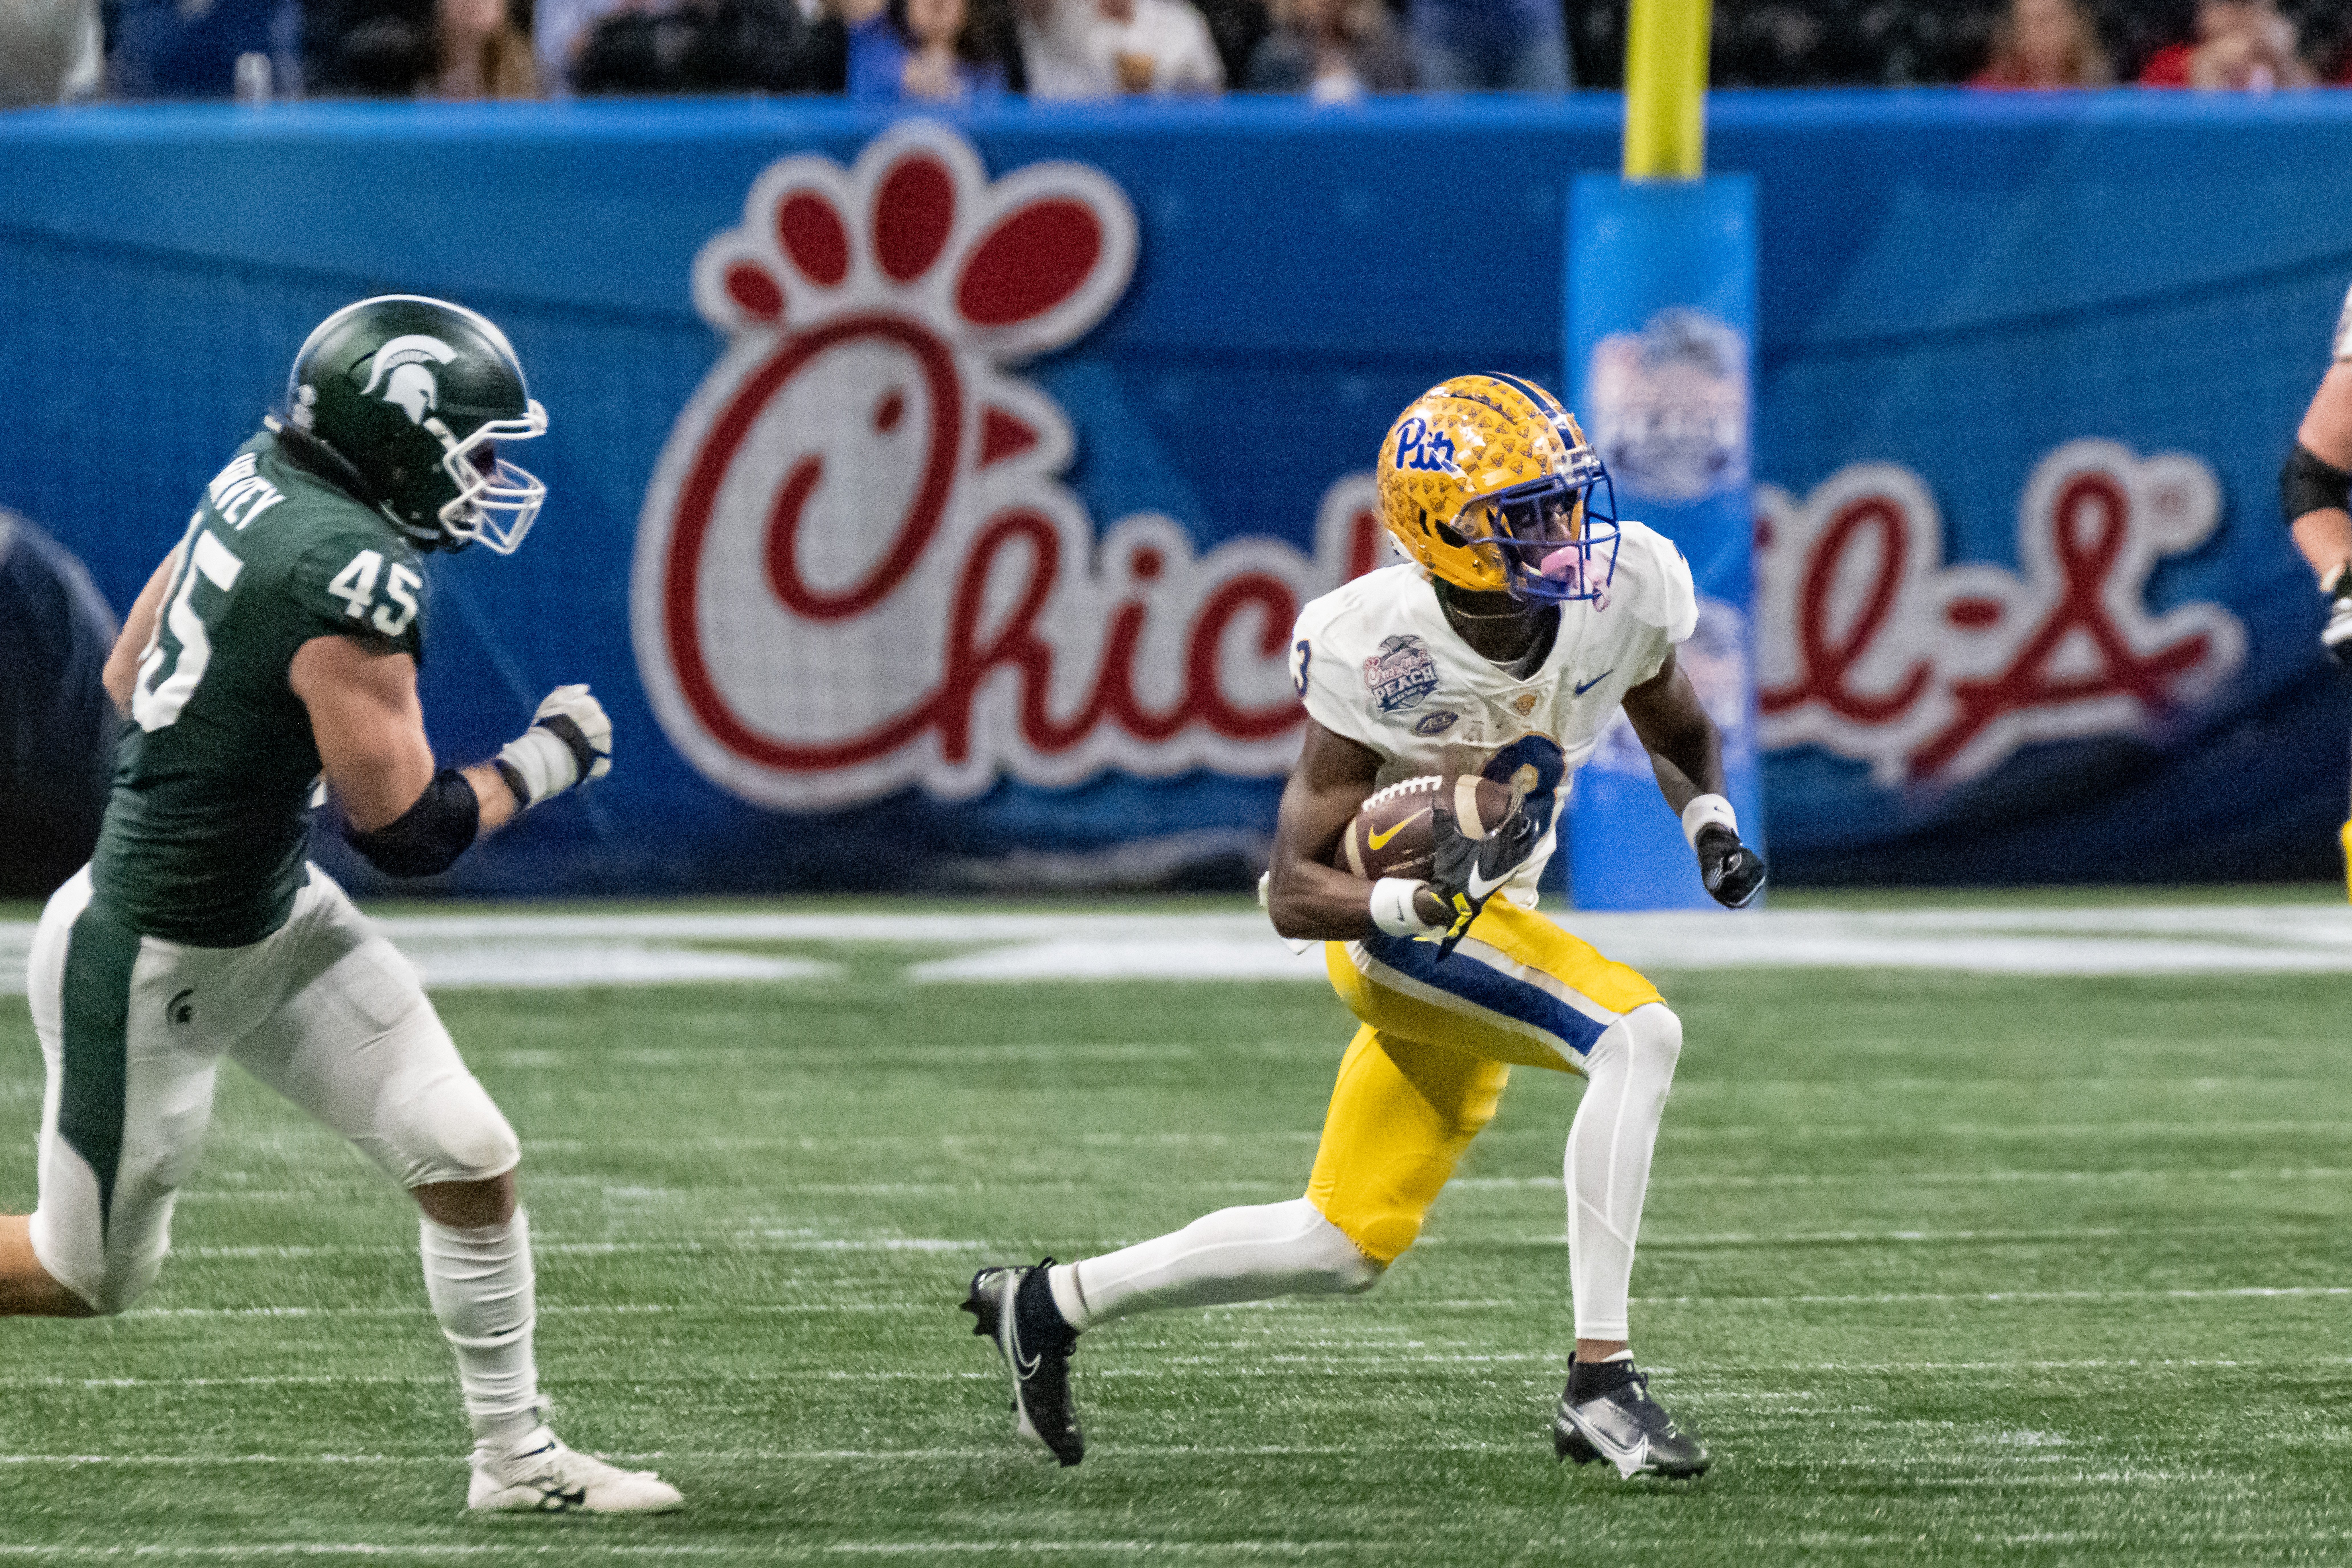
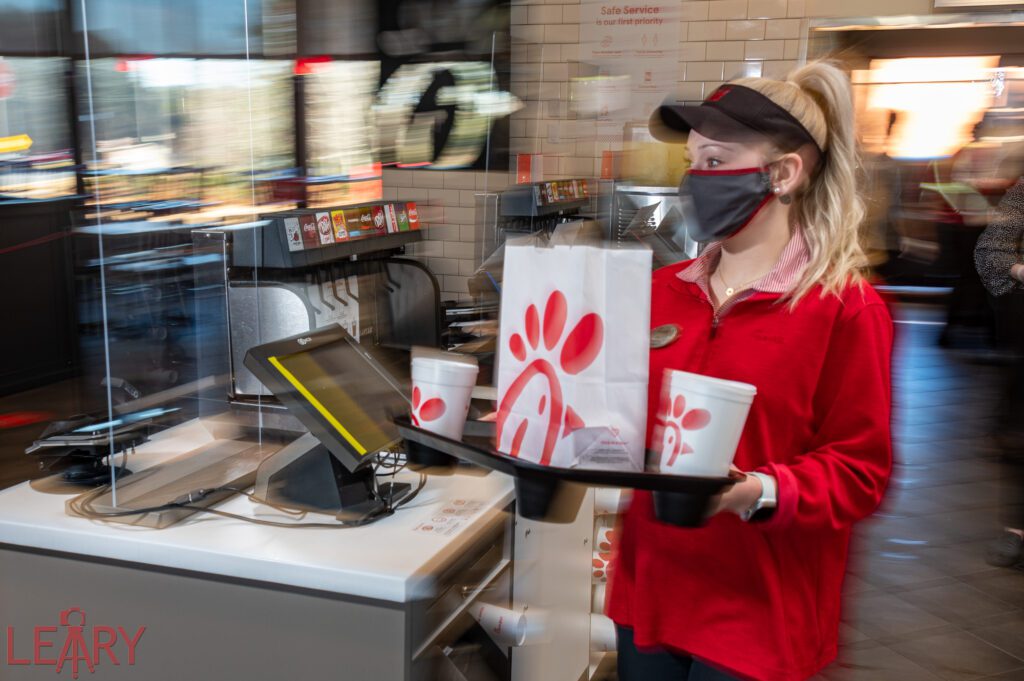
In 2008 I started covering the event for the Sponsor of the Peach Bowl–Chick-fil-A. I was still looking for the same shots, but now with a twist. I needed branding.

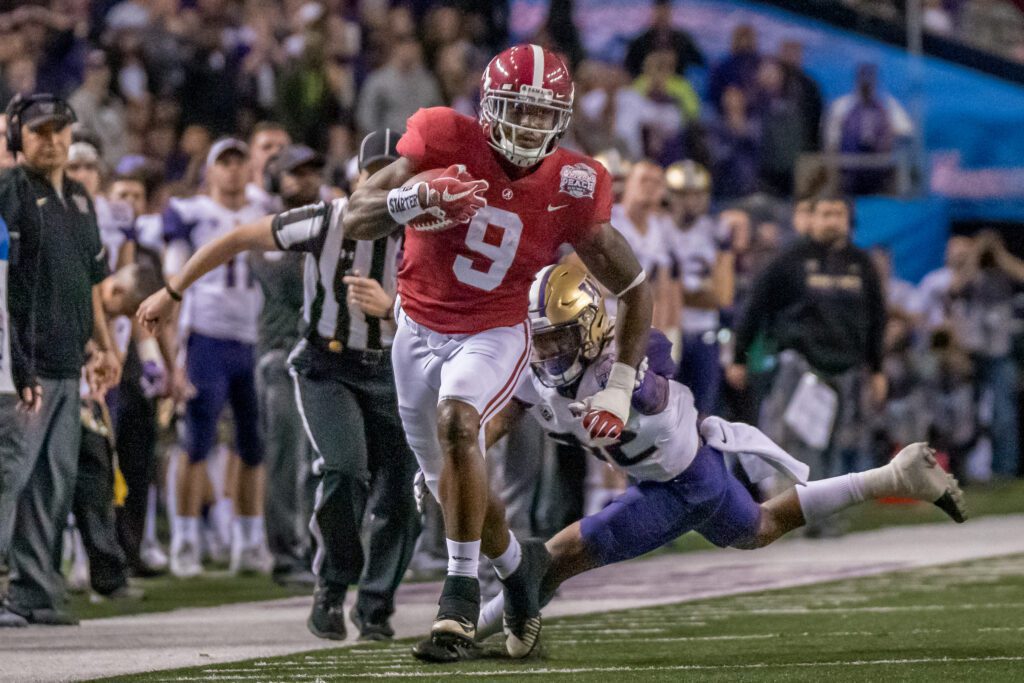
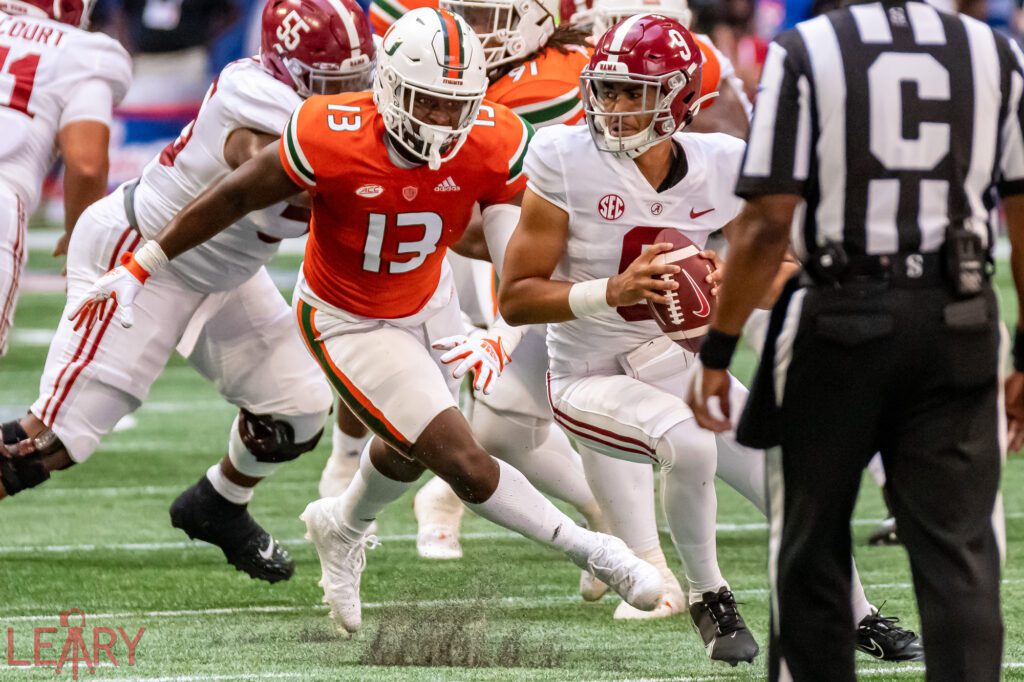
Chick-fil-A Kickoff Alabama vs Miami Chick-fil-A Kickoff Alabama vs Miami [NIKON D5, Sigma 120.0-300.0 mm f/2.8 Sport + TC-2001 2X Converter, Mode = Aperture Priority, ISO 10000, 1/4000, ƒ/5.6, (35mm = 460)]

I often shoot a little looser to get the logos into the shot.

Chick-fil-A Kickoff Alabama vs Miami Chick-fil-A Kickoff Alabama vs Miami [NIKON D5, Sigma 120.0-300.0 mm f/2.8 Sport + TC-2001 2X Converter, Mode = Aperture Priority, ISO 10000, 1/4000, ƒ/5.6, (35mm = 380)]

For the Kickoff Games this year, the teams do not have the logo for the Kickoff on the uniform.

Alabama 35 vs Virginia Tech 10 [NIKON D4, Sigma 120.0-300.0 mm f/2.8 Sport + TC2001 2X , Mode = Aperture Priority, ISO 9000, 1/2000, ƒ/4, (35mm = 300)]

In 2013 you can see the patch on the uniform. This made it so much easier. I was shooting tight shots and still had the brand.

Chick-fil-A Kickoff Alabama vs West Virginia [NIKON D4, Sigma 120.0-300.0 mm f/2.8 Sport + TC2001 2X , Mode = Aperture Priority, ISO 40637, 1/2000, ƒ/5.6, (35mm = 260)]

However, this year when I shot a tight shot, I often had no branding.

Chick-fil-A Kickoff Alabama vs Miami [NIKON D5, Sigma 120.0-300.0 mm f/2.8 Sport + TC-2001 2X Converter, Mode = Aperture Priority, ISO 6400, 1/4000, ƒ/5.6, (35mm = 250)]

My job is to find the logos around the field and the position where the action takes place between me and those logos.

Chick-fil-A Kickoff Alabama vs Miami [NIKON Z 6, 28.0-300.0 mm f/3.5-5.6, Mode = Aperture Priority, ISO 900, 1/100, ƒ/5.6, (35mm = 125)]

Nick Saban, the head football coach for Alabama, put on the Trophy Leather Helmet, which has the logo.

[NIKON D5, Sigma 120.0-300.0 mm f/2.8 Sport + TC2001 2X, Mode = Aperture Priority, ISO 5000, 1/500, ƒ/5.6, (35mm = 360)]Chick-fil-A Kickoff Alabama vs Miami Chick-fil-A Kickoff Alabama vs Miami

Had I tried to do this when I was just starting to shoot sports it would have been impossible for me. You need years of understanding a sport to anticipate the action.

Chick-fil-A Kickoff Alabama vs Miami [NIKON D5, Sigma 120.0-300.0 mm f/2.8 Sport + TC-2001 2X Converter, Mode = Aperture Priority, ISO 8000, 1/4000, ƒ/5.6, (35mm = 600)]

After a while, it is no longer luck but persistence that yields the results.

Chick-fil-A Kickoff Alabama vs Miami [NIKON D5, Sigma 120.0-300.0 mm f/2.8 Sport + TC2001 2X , Mode = Aperture Priority, ISO 8000, 1/4000, ƒ/5.6, (35mm = 340)]

Show & Tell for the Adult

Claudio Cesar Aguirre is seen in front of the Chicken Coop that was created with the help of Honduras Outreach. He is president of their community economic development. He is thrilled because now that they have an egg farm, they can now think of adding a bakery. [NIKON D4, 14.0-24.0 mm f/2.8, Mode = Aperture Priority, ISO 160, 1/100, ƒ/8, (35mm = 14)]

Show & Tell

Show and tell (or show and share) is usually the first opportunity young children have to stand up in front of a small group and speak. The chance to do a show and tell might come up in kindergarten or once they start primary school. It is a beautiful introduction to public speaking as children are often given the option of speaking about a topic they know well and are interested in. Talking about something you love always makes you love it even more!

Show and tell is used to develop storytelling ability, bridge school and home, forge connections and bonds between students, help teachers better understand their students, and enhance students’ communication skills, including feelings.

The Chattahoochee Nature Center, located in Roswell, Georgia, includes a presentation on animals and what makes these creatures special. [NIKON D2X, Sigma APO 120-300mm F2.8 EX DG HSM, Mode = Aperture Priority, ISO 400, 1/80, ƒ/2.8, (35mm = 450)]

Having your prized possessions as the talking point will emphasize your confidence, and it is always helpful to talk about something you are passionate about!

In Business You Better Be Passionate

Perhaps you’ve heard of a famous book by author Robert Fulghum? It’s called All I Need to Know I Learned in Kindergarten. It revolves around a simple yet powerful philosophy that the most basic lessons we learn as children can still apply to many adult life aspects.

Show & Tell is a cornerstone of all business. In kindergarten, you talked about your favorite item and what it meant to you.

In business, you talk about your product and what it can do for your audience.

A Suzuki Institute is an opportunity for parents, children and teachers to benefit from five days of focused attention on instrument study and the application of Dr. Shinichi Suzuki’s principles of Talent Education.[NIKON D4, 28.0-300.0 mm f/3.5-5.6, Mode = Aperture Priority, ISO 5600, 1/200, ƒ/5.6, (35mm = 28)]

Beyond getting up and presenting your product, this same technique is used to teach. In the beginning, the Suzuki method emphasizes learning music by ear over reading written musical notation. Teachers play and have the students follow. Showing with music also involves hearing.

Show & Tell Also Great For Teaching

As you bring people into your company, you must educate them on your products, procedures, and more.

Team member cleaning and sanitizing table after customer use [NIKON D5, 35.0 mm f/1.4, Mode = Aperture Priority, ISO 800, 1/400, ƒ/4.5, (35mm = 35)]

I took a variety of education courses for my master’s degree. I learned during this time why I was often struggling in some subjects. Teachers I had and even my children later didn’t understand the stages of learning.

Teachers must teach each step; students often fail if they miss a degree. A great example of this was recent for me. My daughter was upset when her supervisor said she hadn’t cleaned the bathrooms properly. She is starting at an entry-level position in a theater, where you get stuck with janitorial duties.

My daughter started to take photos to show she had done the work. The problem wasn’t that she wasn’t cleaning, but the theater had a particular way they cleaned the bathrooms. The supervisor was grading my daughter on her evaluation level of execution. See the stages above.
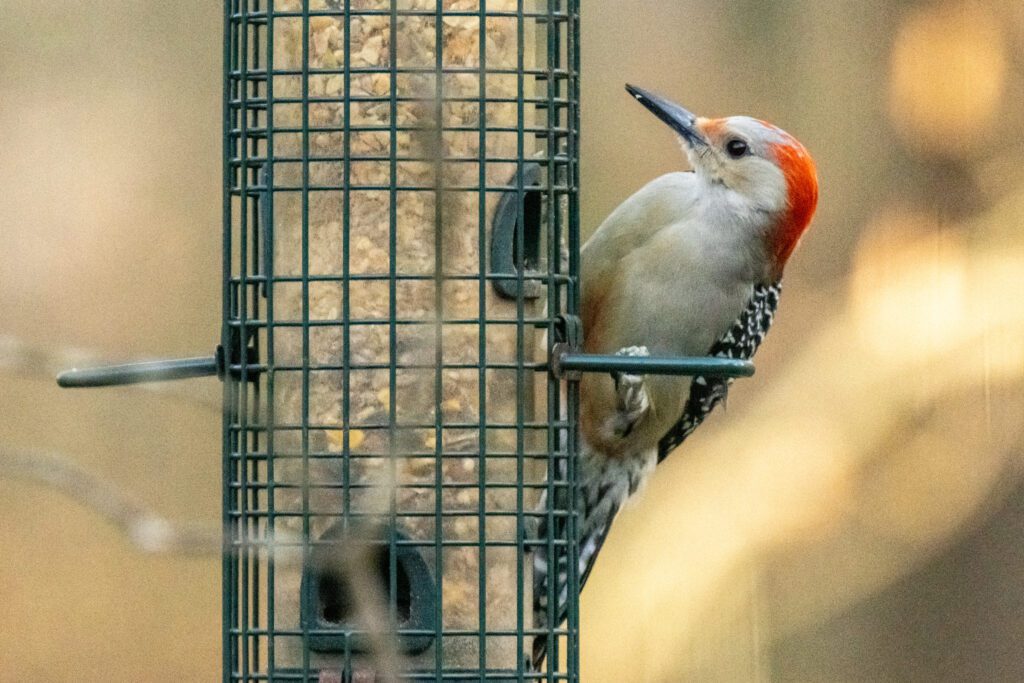
The supervisor never told or taught my daughter how to clean the bathrooms but was expecting her to do it.

There are at least two times in training that Show & Tell is used. First, a trainer shows the employee how to do something. Then, the student shows the trainer what they learned by demonstrating it back to the trainer.

Excellent training not just shows but tells why each thing is done. When employees show what they learned, they should also tell the trainer why they do it.

David Cifuentes and his family shared with the delegation from Frontera de Cristo how, since the forming of the coffee cooperative, all his family is finally together. Here he is introducing his children and grandchildren. His son went to Atlanta, GA, to work on golf courses to feed his family back in Salvador Urbina, Chiapas, Mexico. [NIKON D4, 14.0-24.0 mm f/2.8, Mode = Aperture Priority, ISO 8000, 1/100, ƒ/4, (35mm = 14)]

This coffee farmer in Salvador Urbina, Chiapas, Mexico, is showing a tour group from the US a coffee plant and how they grow coffee. Show & Tell, but with a big “Why.”

He is part of a Coffee Farmers Cooperative they formed that helped him from getting only about $30 a bag of coffee to $110 a bag. At $30, they were losing money. His son went to Atlanta, GA, to work on golf courses to send money back home for them to eat and survive. Today this coffee grower was thrilled that his family is back together again. All because they formed a cooperative. They now roast their coffee with the others in the cooperative and sell directly to the customer.

Like Kindergarten, Show & Tell is about sharing what is important to you. It is your passion. To me, this photo of the grandfather shows the coffee plant and how they grow it, ending his presentation about how those on tour are helping his family stay together and thrive in Mexico.

Ya Ya works in the metal shop in Garango, Burkina Faso, West Africa [NIKON D2X, Sigma 18-50mm F2.8 EX DC, Mode = Aperture Priority, ISO 400, 1/500, ƒ/2.8, (35mm = 30)]

Storytelling is backed up by science

There is a scientific explanation for our love of stories: when we hear a story that resonates with us, our levels of a hormone called oxytocin increase. Oxytocin is a “feel good” hormone.

When we hear facts, it activates the data processing centers in our brains, but when we listen to stories, it activates the sensory centers in our brains.

[NIKON D2X, Sigma 70-200mm F2.8 EX APO IF HSM, Mode = Manual, ISO 100, 1/200, ƒ/11, (35mm = 300)]

Neuroscientists found that when listening to a well-told story, the same areas of the brain light up on an MRI in both the storyteller and listener. Your brain, as the listener, mirrors the brain of the storyteller.
In other words, when you hear a well-told story, your brain reacts as if you are experiencing it yourself.

Give me a call, and I can help you tell your story. I will help you with the Show & Tell for your business.

Weddings Require “Going With The Flow”

Ashley Nicole Westbrook & Mark Loggins Wedding [NIKON Z 6, 24.0-105.0 mm f/4.0, Mode = Manual, ISO 1250, 1/50, ƒ/9, (35mm = 24), off camera flash with the Flashpoint XPlor 600 HSS TTL]

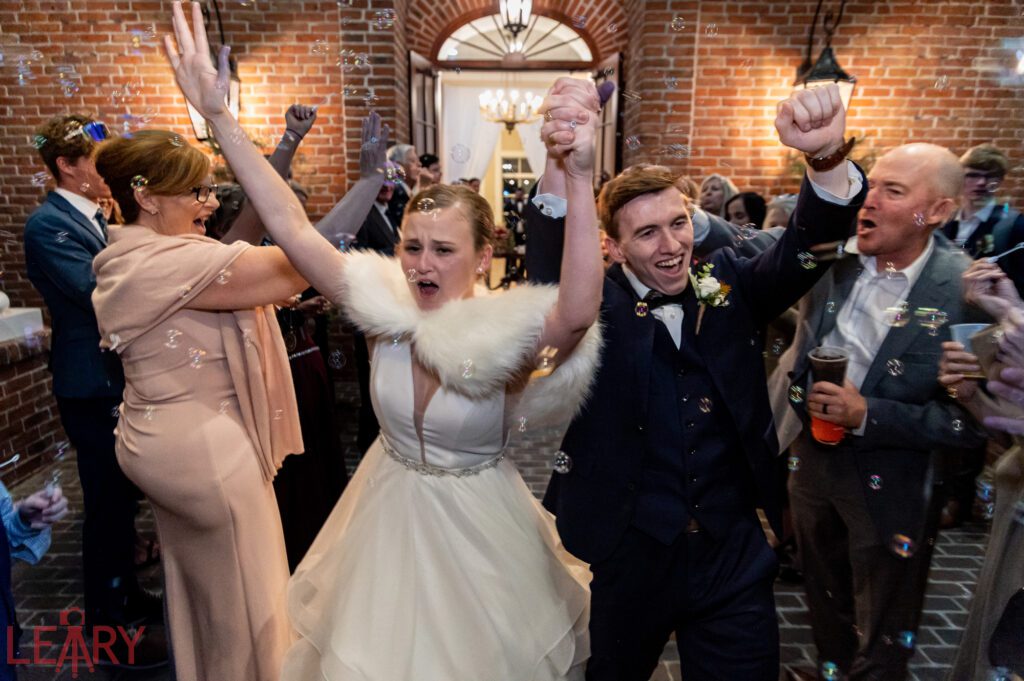
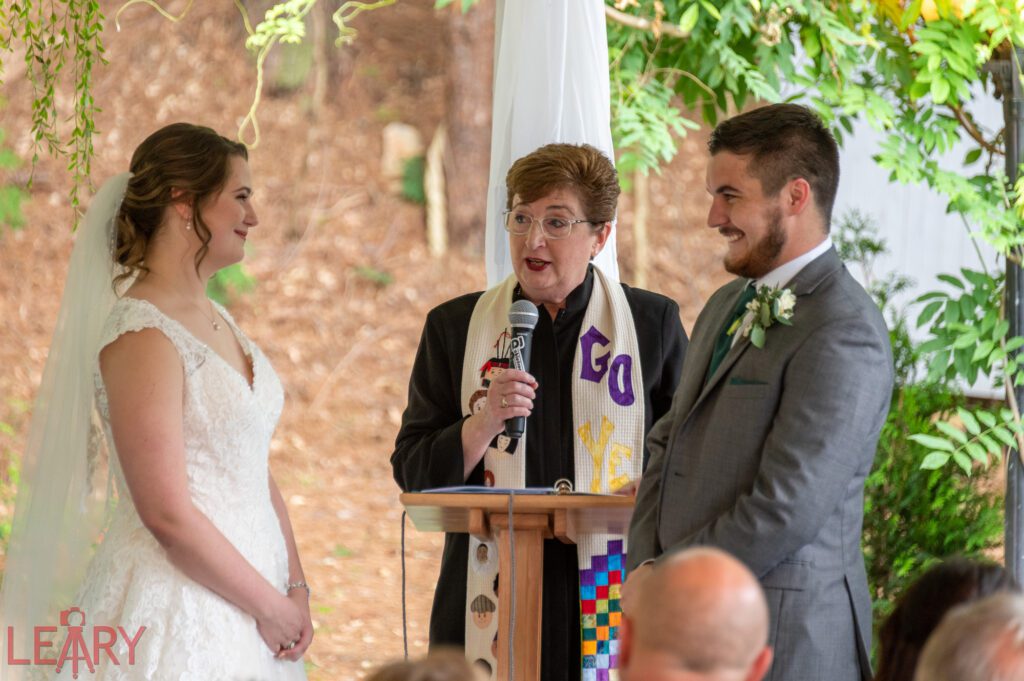
The best part of shooting weddings is helping make one of the most important days in one’s life memorable. I know that after the wedding day, very little is left for the bride and groom other than the images captured on their day.
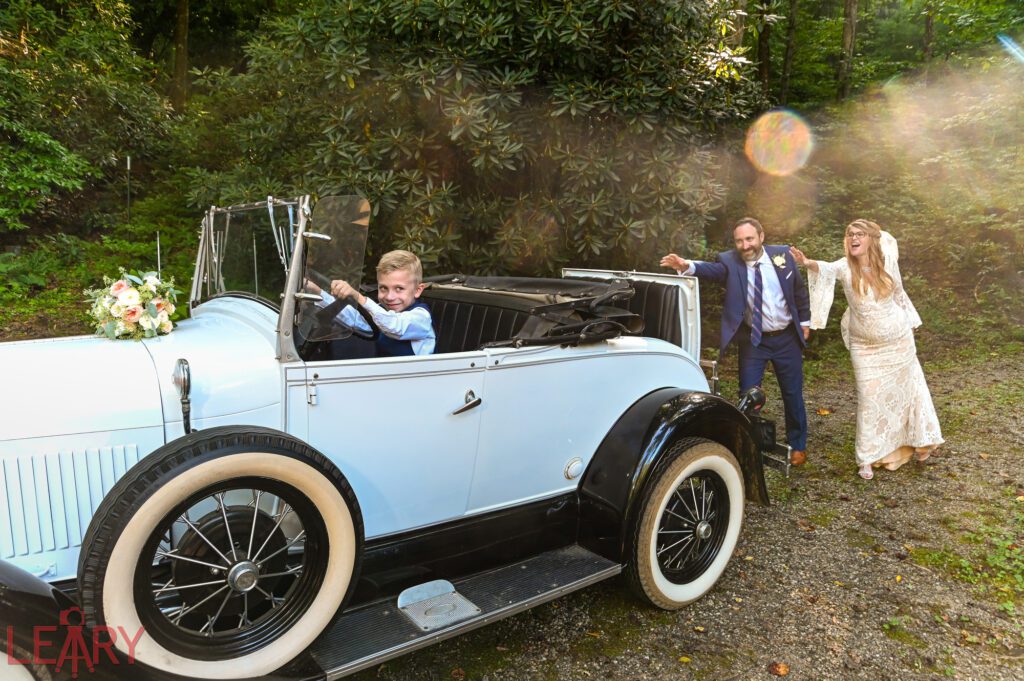
One thing I love to do for all my brides gets the photos to them quickly. I usually have all the images delivered in 48 hours.

Now weddings are often about crisis management. Plans are made, and at the last minute, things are constantly changing.

The photographer needs to be the one helping solve those issues as they rise and not the one creating a crisis for the bride or groom.

Groom & Groomsmen [NIKON Z 6, 24.0-105.0 mm f/4.0, Mode = Aperture Priority, ISO 100, 1/60, ƒ/6.3, (35mm = 24) off camera flash with the Flashpoint XPlor 600 HSS TTL]

This past year has had wedding planners and couples adjusting their plans. COVID-19 has had people have to be quarantined after coming in contact with someone who has COVID. Then people you planned to be part of the wedding must drop out.

I often find that the guys have fewer changes, are ready to go, and need little time for photos.

Bridesmaid helping the bride with her veil. [NIKON D5, 35.0 mm f/1.4, Mode = Aperture Priority, ISO 800, 1/250, ƒ/6.3, (35mm = 35)]

Hair and makeup take time with a bride. I love capturing those moments.

The bride and her son see each other for the first time after getting dressed and ready. [NIKON D5, 35.0 mm f/1.4, Mode = Aperture Priority, ISO 800, 1/40, ƒ/6.3, (35mm = 35)]

Camera & Lighting Changes

Because things change on the wedding day, you must be super flexible.

I am jumping from one location to the other as the Bride & Groom are getting ready. I am shooting inside and outside and moving from different inside areas to another inside location.

First Dance [NIKON Z 6, 24.0-105.0 mm f/4.0, Mode = Aperture Priority, ISO 1000, 1/6, ƒ/5.6, (35mm = 38)]

When the couple does their first dance, I change settings to create some motion blur to show movement. Then I have to adjust for other photos.

Finding those “moments” [NIKON D5, 35.0 mm f/1.4, Mode = Aperture Priority, ISO 3600, 1/30, ƒ/6.3, (35mm = 35)]

I am constantly looking for those “moments,” and they do not happen in the same place and with the same lighting.

Ashley Nicole Westbrook & Mark Loggins Wedding [NIKON Z 6, 24.0-105.0 mm f/4.0, Mode = Aperture Priority, ISO 5000, 1/500, ƒ/5.6, (35mm = 24)]

Some of the wedding party sneaks outside to decorate a car. Then back inside for dancing.

Mother & Son Dance [NIKON Z 6, 24.0-105.0 mm f/4.0, Mode = Aperture Priority, ISO 5000, 1/200, ƒ/5.6, (35mm = 35)]

If you were to walk behind me, taking photos on your latest camera on your phone, many of the pictures would not come out. I am adding light.

[NIKON Z 6, 28.0-300.0 mm f/3.5-5.6, Mode = Aperture Priority, ISO 100, 1/80, ƒ/4.8, (35mm = 65) off camera flash with the Flashpoint XPlor 600 HSS TTL]

While you can shoot many photos without a flash, I use it to help get better colors.

Using flash to get good skin tones [NIKON D5, 35.0 mm f/1.4, Mode = Aperture Priority, ISO 1400, 1/30, ƒ/6.3, (35mm = 35) Godox V860IIN on TTL with Magmod Sphere]

I use the Godox V860IIN on TTL with the Magmod Sphere on many photos where I cannot set up an off-camera flash. I usually have it pointing straight up.

Because I use flash a great deal to get better colors, I can turn my photos around a lot quicker than many wedding photographers.

Here are some ways Brides & Grooms can use the photos since they get these within 48 hours of the wedding.

Saying “Thank You”

While most couples dread handwriting 150 personalized notes, the deed must be done. And sooner rather than later—for gifts received after the wedding, you’re supposed to get thank-yous out within two months after you return from the honeymoon.

My couples can use their thank you cards’ photos from the wedding day.

Ashley Nicole Westbrook & Mark Loggins Wedding [NIKON Z 6, 24.0-105.0 mm f/4.0, Mode = Manual, ISO 500, 1/25, ƒ/9, (35mm = 58) off camera flash with the Flashpoint XPlor 600 HSS TTL]

Change Your Name

Once you’ve changed your social security card and driver’s license, everything else should be a piece of cake. Some places may only require a phone call. Make a list (post office, employers/payroll, voter registration office, alumni associations, and so on) and notify each organization. Change everything else!

Now for those changing their names, you may want to send cards to some people with your new name change, address, phone numbers, and email addresses.

Ashley Nicole Westbrook & Mark Loggins Wedding [NIKON Z 6, 24.0-105.0 mm f/4.0, Mode = Aperture Priority, ISO 100, 1/80, ƒ/4, (35mm = 28)]

While you have many things related to the wedding to use the photos for, you can use some of these for those holiday cards, like Christmas Cards.

Ashley Nicole Westbrook & Mark Loggins Wedding [NIKON Z 6, 24.0-105.0 mm f/4.0, Mode = Aperture Priority, ISO 1600, 1/160, ƒ/5.6, (35mm = 24)]

Usually, during the holiday, many people send out Holiday cards and even include letters to catch up with their friends and family on what has happened the past year.

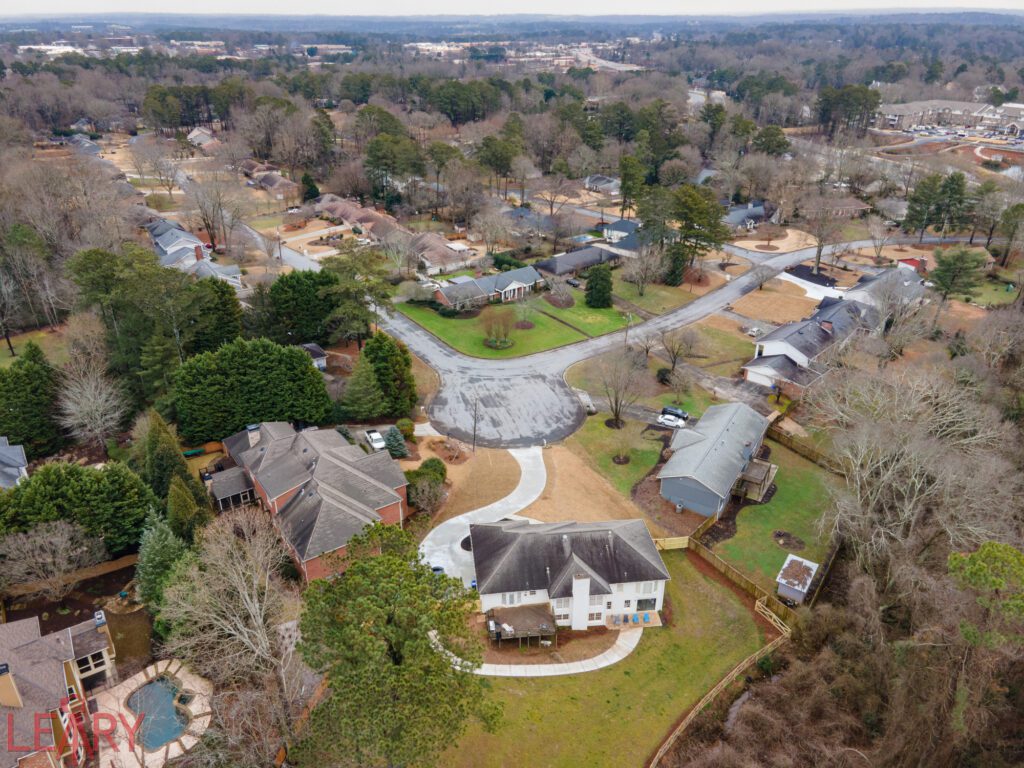
Because I am an FAA Part 107 certified drone pilot, I can take photos at weddings. Due to limitations on flying over people, I arrive early and try and get a few pictures of the venue.

Drone Shot [DJI Air 2S, 22.4 mm f/2.8, Mode = Normal, ISO 100, 1/1600, ƒ/2.8, (35mm = 22)]
Drone Shot [DJI Air 2S, 22.4 mm f/2.8, Mode = Normal, ISO 110, 1/2000, ƒ/2.8, (35mm = 22)]

Camera Crisis

While everything above is pretty normal regarding weddings, there are other things that I often deal with other than people getting ready.

My camera did not work as I usually anticipate it to in one situation. I finally reset the camera to factory settings and started over getting it so I could take some more photos.

This doesn’t happen when you are in between shootings. I had just finished shooting some photos inside and went outside. I was shooting the dress by itself and just started using my off-camera flash for the first time. The settings were not working the way I was expecting. They needed the dress for the bride to get dressed. It took me a good 5 minutes to temporarily solve the problem.

This is why brides and grooms would be best hiring seasoned pros and not having a relative with a camera shooting their first wedding to save money. After all, if someone screws up and you don’t have photos, you can’t easily reshoot everything.

Shooting Flambient Real Estate Shots

I showed how to do this in my room with a lower ceiling, but we used the high ceiling for the class’s shooting.

The photo was combined with five bracketed photos to create an HDR ambient photo using Lightroom. Then, the flash shots of the room and the images were blended into PhotoShop.

Here is the Step-by-step process

The Camera Settings to start are ISO 400, ƒ/7.1, and the Shutter speed will be based on the metering.

Shoot five bracketed exposures of -2EV, -1EV, 0EV, +1EV, and +2EV. As you can see in this example, I have to skew this up one stop.

When shooting interiors, you usually shoot one stop brighter than what the camera would say is normal. This is because most interiors have a lot of light or white walls.

Whatever the exposure is for the frame in the middle of the two over- and underexposed frames, note the shutter speed. If there is no window with light coming in like here, you would be sure your shutter speed is two times faster. I shot 1/20 for the middle shot. Based on that, I would have shot at 1/80 to be two stops darker.

However, I made it even darker to get closer to the outside exposure. So, to get the outside balanced, I shot at 1/160 using my flash to get a good exposure inside. If it is too dark or light, I adjust the power of the flash to get a good exposure.

Flash just left of camera pointed down. [NIKON Z 6, 14.0 mm f/2.8, Mode = Manual, ISO 400, 1/160, ƒ/7.1, (35mm = 14)]

I usually bounce my flash with white ceilings, but for this one, I just raised the flash about 15 feet and shot pointed down. It creates shadows that we will fix later.

2nd flash to help get rid of shadows

I put the flash here to eliminate those shadows from the light in the earlier shot.

Window Pull

Shoot another shot, blowing out around the window. Shoot so the outside is well exposed and the inside around the window is overexposed.

Exposed for outside and no flash

Shot one without the flash as a safe shot if needed due to reflections on the window.

Now to Editing

Select all five ambient shots.

When in Lightroom, correct the lens, as seen above. You should be in the Lens Corrections tab, then the Profile tab and I will check both. Your lens will usually pop up; if not, use the pull-down menu to find it.

Select all the images and right-click to get this menu to pop up. Select HDR.

It will take a second. I use the default setting you see above. When this is done, click on merge.
It will create an HDR.dng file that will open in your Lightroom film strip. You can further correct it, but I will leave it as is for this photo.

Now select the HDR the flash shots you did, and right-click. Select Edit In>Open as Layers in Photoshop.

On the far right, after all the photos have loaded, you will see them stacked in the Layers panel. Top to bottom will be in the order they were shot. Click on the top one, and holding the Shift Key, click on the last one at the bottom, selecting all of them. Go to the top menu bar to Edit and choose Auto-Align Layers, as I have done here.

You will then see this pop-up.

If the Auto is checked here, then click on OK.

You will then see any corrections where you may have bumped the camera. We will crop this in Lightroom later.

Click on your top image, which, in this case, is my Ambient HDR. Then, just above, click and change it from Normal to Luminosity.

While the top layer is still selected, we will create a Hide Mask. Hold down the Option Key on a Mac & click on this icon that the red arrow is pointed to above.

You will see this after that step. Be sure the white brackets are about the black box. If not, the following steps will not work. Check this every so often to ensure you are OK.

Click on “B”

This now has you using the brush tool. Be sure your toolbar on top is normal, has an opacity of 100%, and flows at 20%. Where you see the 175 below the circle [Your number may be different], click on it, and this will pop up.

Hardness needs to be at 0%, which feathers the brush. To make the brush bigger, click on them ]; to make it smaller, click on [.

Now, we are almost ready to paint. We are not seeing the HDR; we are now seeing our first flash photo.

I clicked on the eye in the layers level to turn off the top two photos. I want to move the third one to just below the top HDR photo and the first Flash photo. Then, we repeat for that layer to create another hidden mask. See the instructions above on how we did that for the HDR. When you are done, it will look like this.

Now, turn all the eyes on for now.

Now, be sure you press “B” so you have the brush and that the white box is on top of the black box on the left, as seen below. If the boxes are reversed, then click on “X” to toggle between them.

Brush over the shadows of the ceiling fan and the hanging light; this is what I got if you mistake toggle to black with the “X” and reverse what you did.

Now, this looks pretty good. If I had redone this photo, I would have turned the lights on before shooting. Learn from me and turn all the lights on before you shoot. Also, I wouldn’t usually have the chair holding the door open. We just got permission to shoot in here less than 5 minutes before, and I was moving fast to teach the students, who had to do this after I finished preparing them.

Now, I am going to click on the HDR, make sure the white brackets are around the black box in the layers, and paint over some of the other shadows caused by the flash.

The last step is to take the Window Pull on the bottom and drag it to the top. Change it from Normal Mode to Darken and create a Layer Mask Hide. Then, using the brush, paint just the windows.

It’s not a big difference, but now you know how to do it. Select all the Layers and then click COMMAND + E to flatten them. Click on COMMAND + S to save it. Go back to Lightroom.

Find the image that will most likely be HDR-Edit.tif. Crop the photo, correct any last color, contrast, or other errors, and export it as a JPEG. You can see some of my changes on the right.

Final Image

SOP 1 Flambient Assignment

By the way, some students turned on the lights after I mentioned it to them. Christopher Morgan got a perfect photo of the adjoining room. His lens wasn’t as wide as mine, but he got a great shot.

Photo by Christopher Morgan

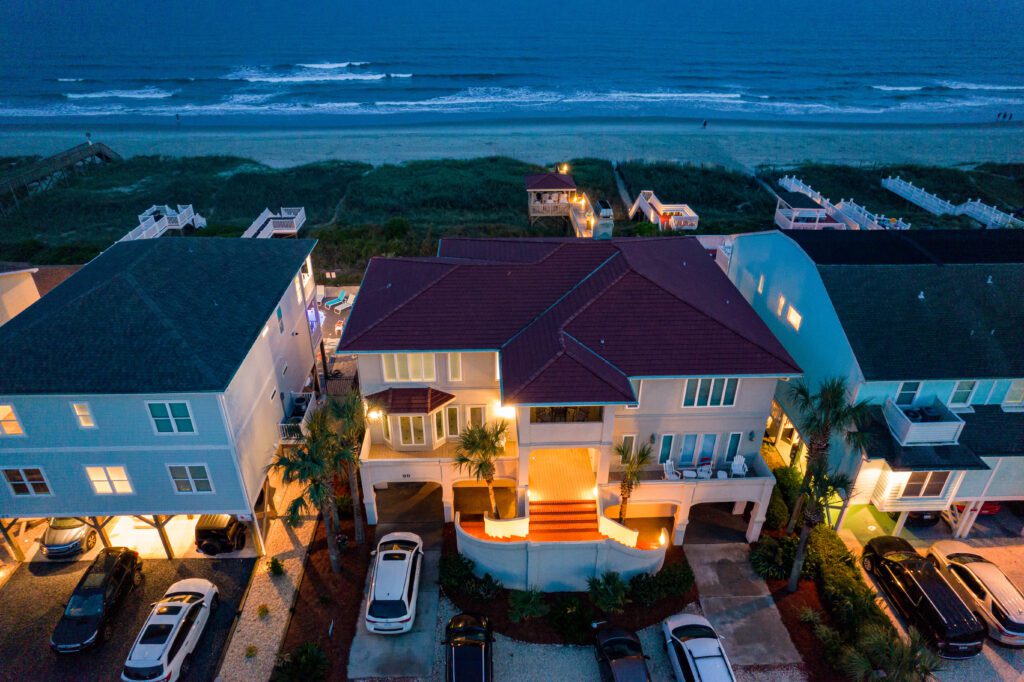
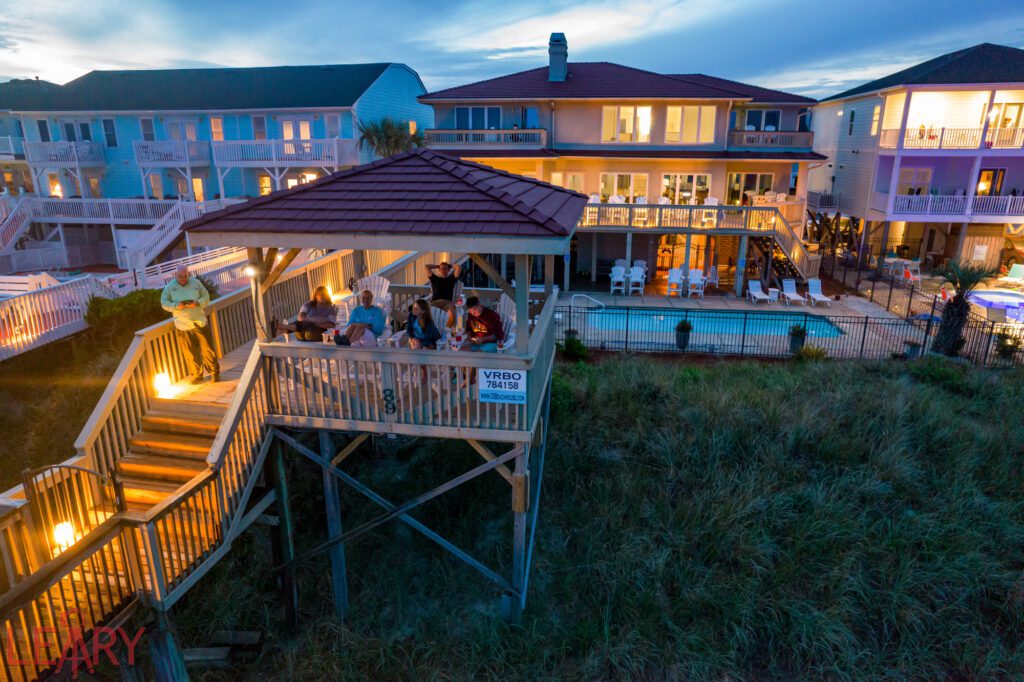
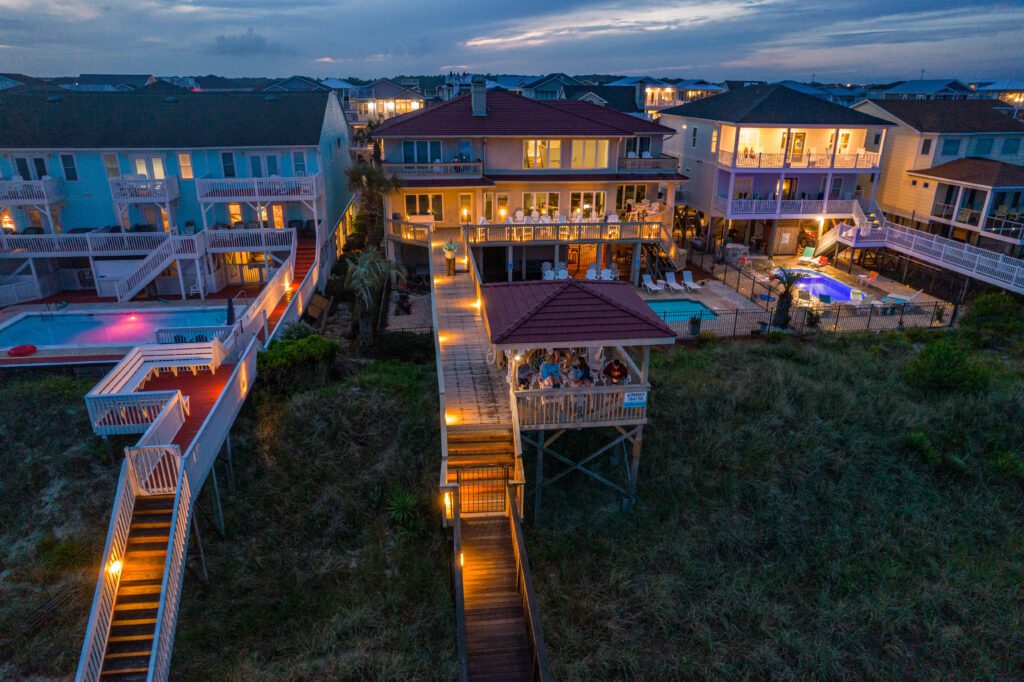
Why you want to fly a drone at Dusk or Dawn

[DJI Air 2s, Mode = Normal, ISO 300, 1/15, ƒ/2.8, (35mm = 22)]

As you can see from the photo above, much of the photo is dark, with just the areas where lights are lighting up.

University of the Nations ~ YWAM [DJI Air 2s, Mode = Normal, ISO 120, 1/1250, ƒ/2.8, (35mm = 22)]

During the day, everything has the same amount of light in the photo.

Kona, Hawaii [DJI Air 2s, Mode = Normal, ISO 110, 1/180, ƒ/2.8, (35mm = 22)]

Now here is the exact location during the daytime and nighttime.

Kona, Hawaii [DJI Air 2s, Mode = Normal, ISO 550, 1/8, ƒ/2.8, (35mm = 22)]

Here is not just an example of daytime and nighttime; this is how locations will take advantage and add colored lights to their water fountains at night.

Kona, Hawaii [DJI Air 2s, Mode = Normal, ISO 440, 1/13, ƒ/2.8, (35mm = 22)]

During the daytime, they don’t even run the fountain as much. Not as dramatic. Now there was heavy overcast when this was shot early morning.

University of the Nations ~ YWAM [DJI Air 2s, Mode = Normal, ISO 420, 1/15, ƒ/2.8, (35mm = 22)]

I hope you know why photographers like getting up before sunrise and shooting at sunset. Find a location like I did for these photos and shoot them in the daytime and then nighttime with your phone.

Graduation Announcements!

My daughter, Chelle, just finished her Bachelor of Fine Arts in Performance this summer from Columbus State University.

The Bachelor of Fine Arts (BFA) degree is considered the most prestigious bachelor’s degree you can receive in the visual arts. 

Chelle Leary [NIKON Z 6, 85.0 mm f/1.8, Mode = Aperture Priority, ISO 100, 1/2000, ƒ/1.8, (35mm = 85)]

Growing up the daughter of a photographer and majoring in theatre made her a natural in front of the camera. So, when it came time to plan for announcements, Chelle did her research and sent me some of her Pinterest boards on ideas.

The one on the left is with the flash, and the one on the right is without flash. See how much it helps. You can’t get this photo with your phone’s camera. It would help if you had the flash.

She wanted some photos in a park in Columbus, Georgia. I had her stand on the edge of the shade of the tree. The sun is catching her hair to give us a hair light, but she can easily open up her eyes because she doesn’t have the sun on her face—no squinting in these exterior photos.

This is the flash I am using off camera to take these photos.

Chelle Leary [NIKON Z 6, 85.0 mm f/1.8, Mode = Aperture Priority, ISO 100, 1/1000, ƒ/1.8, (35mm = 85)]

The trigger I use on the camera to talk to the flash by radio built into the transmitter and flash.

After getting a few shots outside, we moved inside. Chelle wanted colored lights as well as capturing her Halloween-themed decorations.

Chelle Leary [NIKON Z 6, 24.0-105.0 mm f/4.0, Mode = Manual, ISO 100, 1/3, ƒ/9, (35mm = 35)]

The flash to the left has an orange gel, and the one on the right has purple gel. The camera is on a tripod.

Note the camera specs. I am using a shutter speed of 1/3 second. This was to get the lights on the wall to show up.

Chelle Leary [NIKON Z 6, 24.0-105.0 mm f/4.0, Mode = Manual, ISO 100, 1/13, ƒ/9, (35mm = 24)]

We just played around, got different looks and expressions, and saw what we could create together.

Chelle Leary [NIKON Z 6, 24.0-105.0 mm f/4.0, Mode = Manual, ISO 100, 1, ƒ/9, (35mm = 52)]

Now I love the Nikon Z6 camera. I am letting it focus on her eyes. I have never really needed anything above 24 megapixels.

Chelle Leary [NIKON Z 6, 24.0-105.0 mm f/4.0, Mode = Manual, ISO 100, 1/8, ƒ/4, (35mm = 52)]

I changed the aperture from ƒ/9 to ƒ/4 to focus more on Chelle, but I like the ƒ/9 because that lets me pull the background into more focus and let you know a little more about how much she loves Halloween. Doesn’t everyone enjoy dressing up, playing like someone else, and indulging in candy?

Tips

The experts agree it is tacky for grads to mention gift registries or suggestions on an invitation, making it hard for guests to know what to give; guests can seek recommendations when they RSVP, advises Post. Many people automatically think of giving the graduate money as a present.

On college graduation announcements, you should always include your name, school, the year of your graduation, and the degree you received. You shouldn’t abbreviate the title of your degree. Spell out “Bachelor of Arts” or “Bachelor of Science” instead of putting “B.A.” or “B.S.”

What is Chelle doing?

Chelle is working at the Springer Opera House. The Springer Opera House is a historic theater at 103 Tenth Street in Downtown Columbus, Georgia. First opened on February 21, 1871, the theater was named the State Theatre of Georgia by Governor Jimmy Carter for its 100th anniversary season, a designation made permanent by the 1992 state legislature.

Sunrise Time-Lapse

This is the setup that I used to take this time-lapse. Using a 32″ Slider and made a 90-minute time-lapse. Shot with my Nikon Z6 using Samyang 14mm ƒ/2.8.

Shot a photo every 9 seconds for 600 images. I took 30 frames off due to needing to change a setting. So the time is 19 seconds rather than 20. This is one part of a larger project. I am using maybe 8 to 10 seconds of this time-lapse. That will either be a clip or sped up.

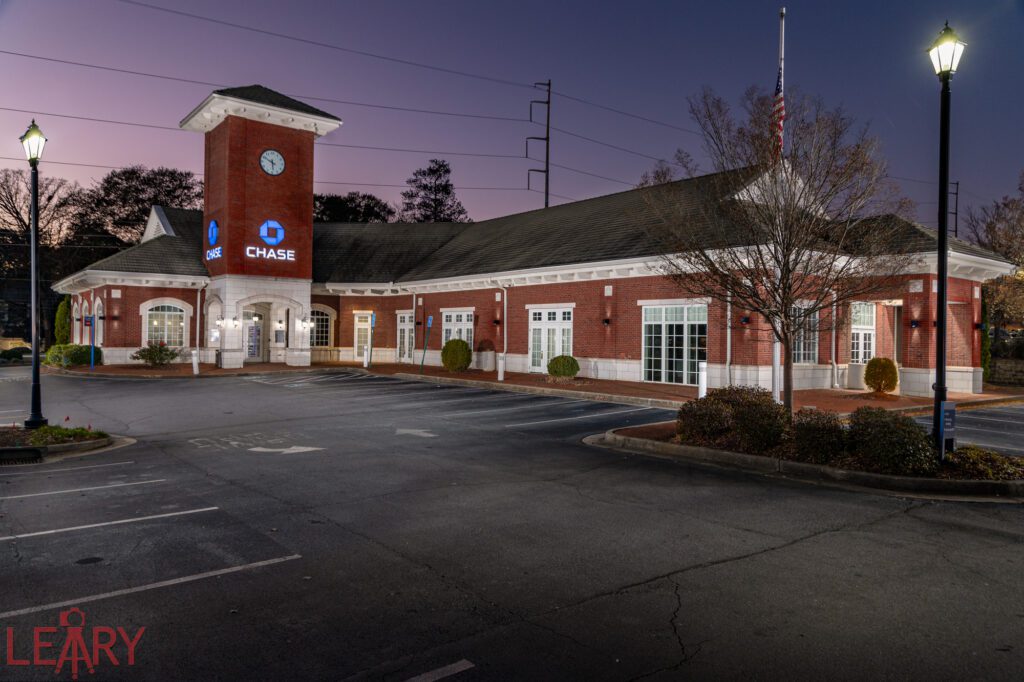
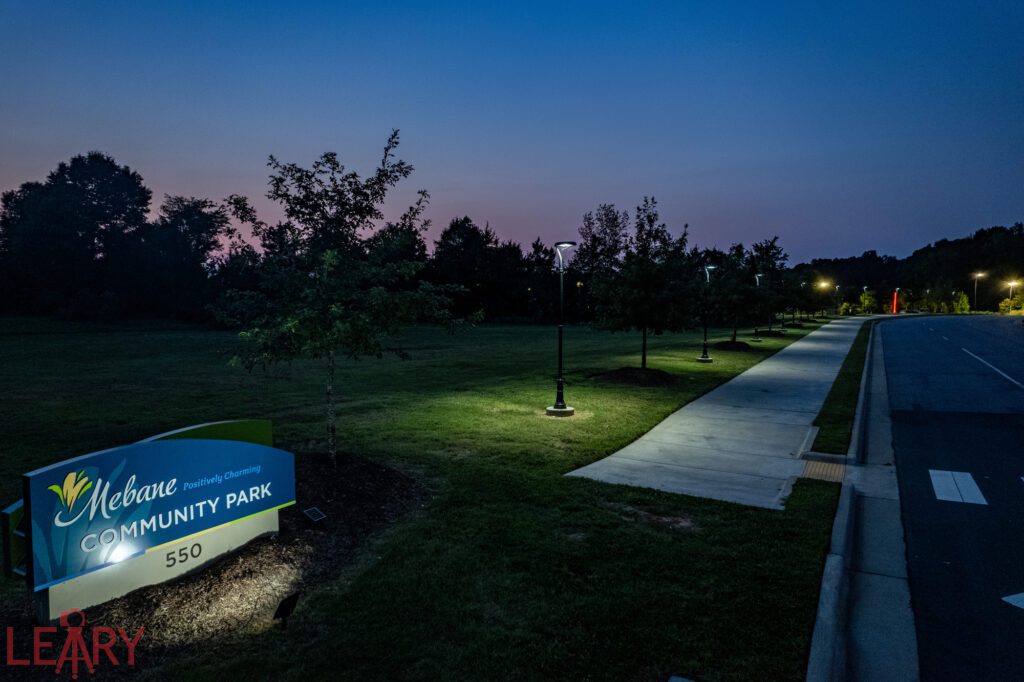
Here are some drone shots to show the location we were working with to make the time-lapse. The client is the one who made the street Solar LED Lights.

[DJI Air 2s, Mode = Normal, ISO 100, 1/1600, ƒ/2.8, (35mm = 22)]
[DJI Air 2s, Mode = Normal, ISO 110, 1/1250, ƒ/2.8, (35mm = 22)]
[DJI Air 2s, Mode = Normal, ISO 150, 1/3200, ƒ/2.8, (35mm = 22)]
[DJI Air 2s, Mode = Normal, ISO 150, 1/2000, ƒ/2.8, (35mm = 22)]
[DJI Air 2s, Mode = Normal, ISO 140, 1/2500, ƒ/2.8, (35mm = 22)]

Don’t Forget Your Camera!

Shot this barn on Yellow Creek Road in Ball Ground, Georgia [DJI Air 2s, Mode = Normal, ISO 140, 1/2000, ƒ/2.8, (35mm = 22)]

I am starting to plan those little outings with friends that were impossible just a couple of months ago. I am only planning these outings with my friends who have gotten their vaccinations for COVID-19.

Gibbs Gardens [NIKON Z 6, 24.0-105.0 mm f/4.0, Mode = Aperture Priority, ISO 100, 1/640, ƒ/4, (35mm = 75)]

We drove up to Ball Ground, Georgia, to visit Gibbs Gardens for the day. One of the things I love about the gardens is the bronze statues. Most are depictions of children enjoying the parks. I think the artist did an excellent job of capturing their expressions.

Gibbs Gardens [NIKON Z 6, 24.0-105.0 mm f/4.0, Mode = Aperture Priority, ISO 110, 1/100, ƒ/4, (35mm = 24)]

People from my generation or older grew up with our parents telling us to go outside, and most of us did just that. We played all day long until our parents would holler to get us back in for dinner. We had not heard of kidnappings during my years growing up.

Gibbs Gardens [NIKON Z 6, 24.0-105.0 mm f/4.0, Mode = Aperture Priority, ISO 100, 1/100, ƒ/4, (35mm = 105)]

When I was young, you could see me on this tractor peddling through Kennedy Home, an orphanage where my father worked as a pastor/chaplain on the campus.

My sister and I with my grandparents at Kennedy Home in Kinston, NC.

Later during primary school, I was on my bike exploring my neighborhood. I remember the fun of going through the woods and stumbling upon beautiful scenery. Gibbs Garden’s scenery is a better version of those scenes but still made me appreciate getting out and exploring.

Gibbs Gardens [NIKON Z 6, 24.0-105.0 mm f/4.0, Mode = Aperture Priority, ISO 100, 1/125, ƒ/4, (35mm = 62)]

I enjoyed seeing the reflections in the water at Gibbs Gardens.

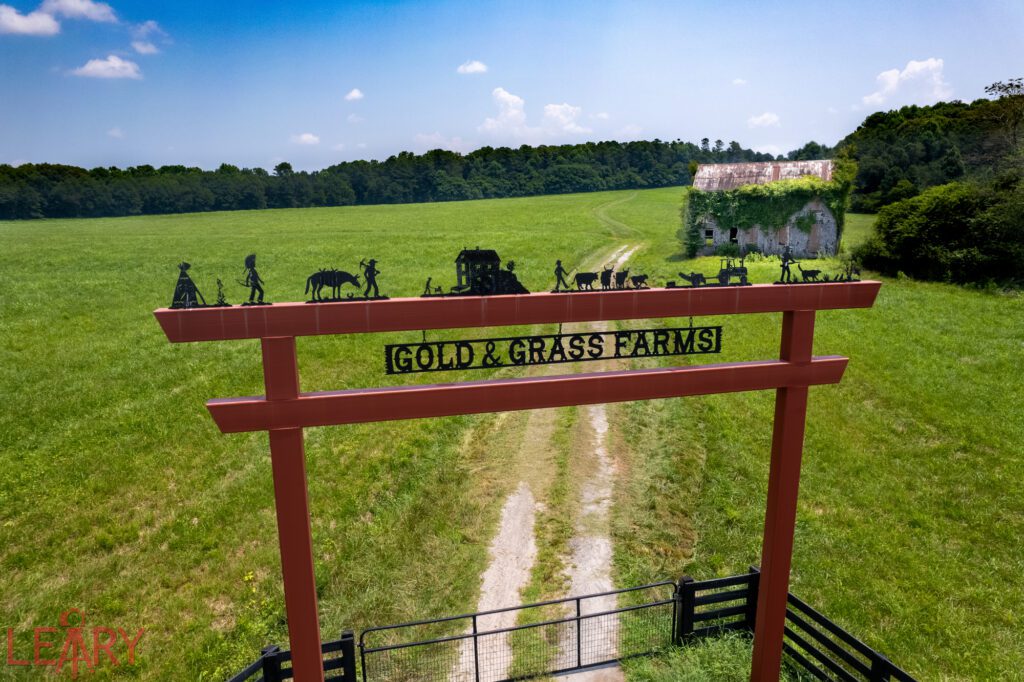
While driving to Gibbs Gardens, I told my friend I wanted to stop by this farm scene on the way back. My friend reminded me of it, and not only did I quit, but I also got out my drone to get a different perspective. The very first photo is of the entrance to the farm.

[DJI Air 2s, Mode = Normal, ISO 110, 1/3000, ƒ/2.8, (35mm = 22)]

We didn’t go in, but I sent the drone up and above to get some different photos of this abandoned building on the farm.

[DJI Air 2s, Mode = Normal, ISO 110, 1/1000, ƒ/2.8, (35mm = 22)]

This past year I helped a few families organize their photos. Because they were isolated at home, they explored their photos. I hope you did as well. I just wanted to remind you to be sure you take pictures as you explore once again beyond your home.

Be sure and put copies up on Google Photos, Amazon Photos [free with prime], or something else to help preserve these photos for your family generations from now.