
How do you get this result? [Figure 1]
 |
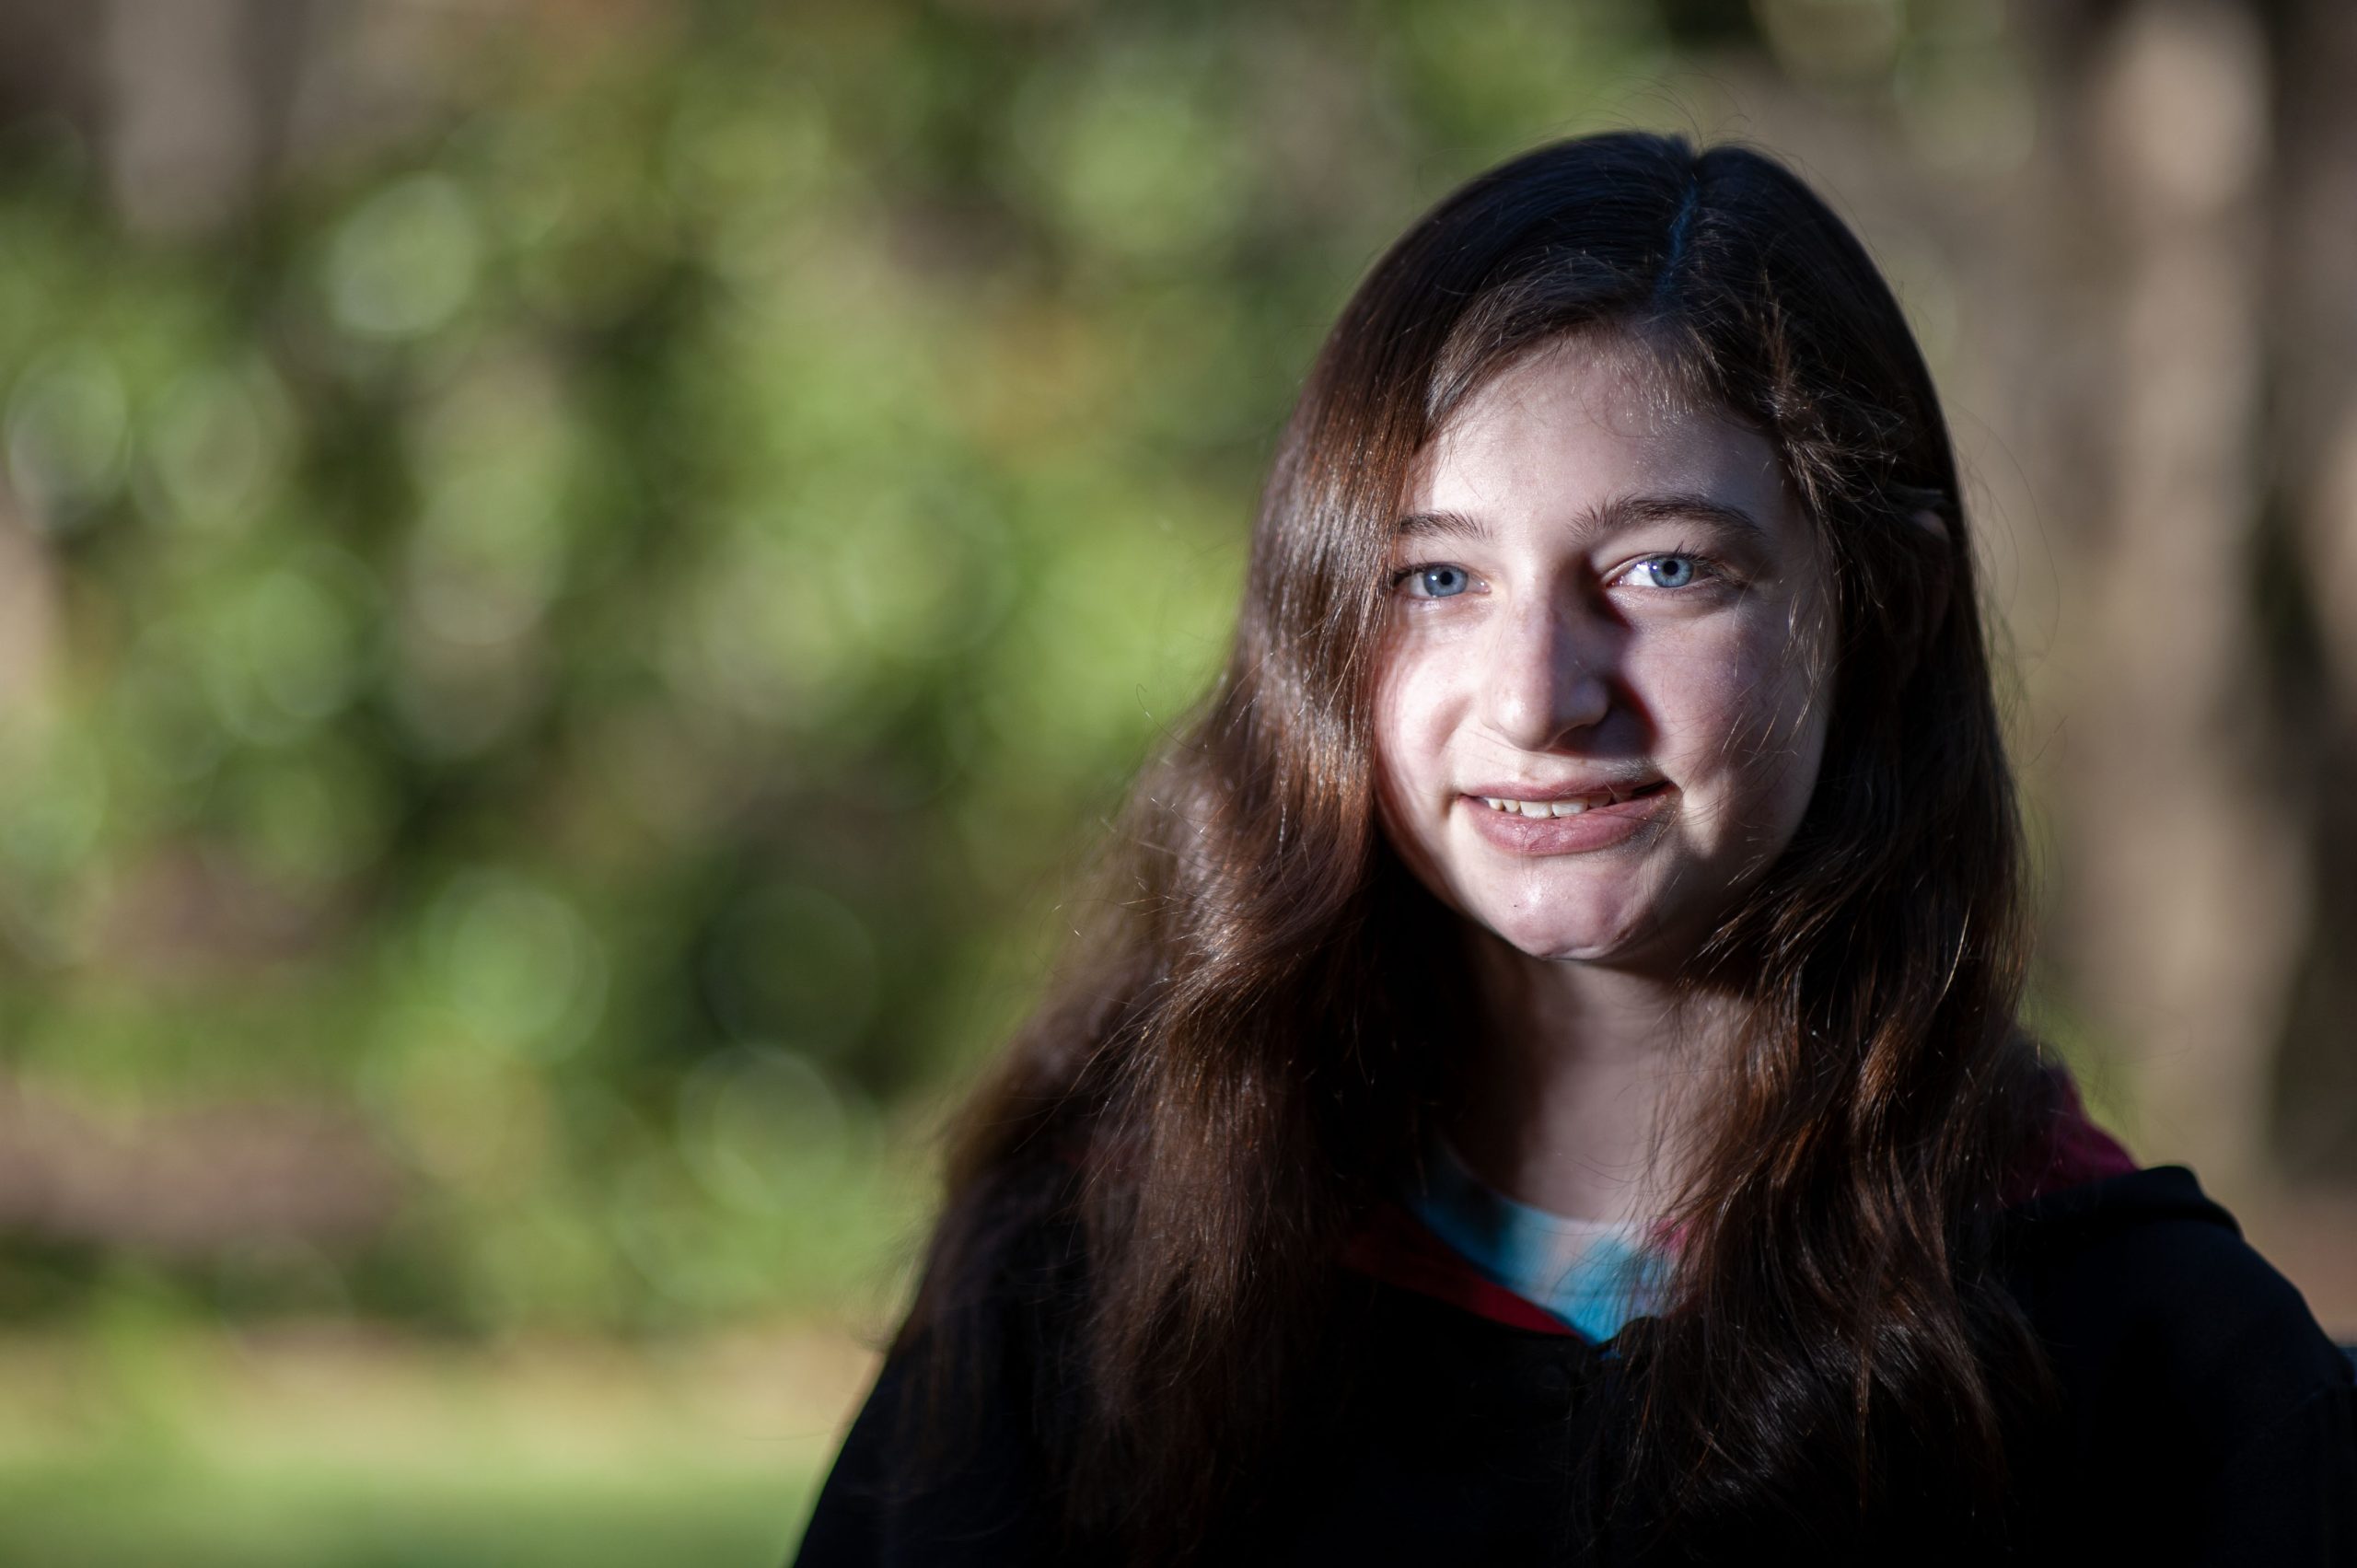
| When did you start here? [Figure 2] Nikon D3, 85mm, f/1.4, ISO 200, 1/500 on Matrix metering. |
 |
| Maybe you want the light on even less of the face like this. [Figure 3] |
I started this photo shoot with Figure 2. I started with a backlighted subject. Most of the light is in the background, and the subject is in the shade.
 |
| This is the setup. I used a fill flash on my Nikon P7000 to take this photo. If you look behind the model, you can see the shadow from the house and see how all the sunlight hits the background. Nikon SB900 is on a light stand with Radio Poppers PX, which helps ensure the signal from the Nikon SU800 is not lost outside in all the sunlight. |
I suggest doing this assignment and taking notes to ensure you remember all your settings. While Nikon will capture the camera settings, the embedded information doesn’t show the SB900 settings; it only shows the used settings.
 |
| Shoot all these combinations; you will have 16 photos to compare the results. Add + series, and you will have 28 different ones to look through and compare. |
 |
| As you can see in these shots, the background is consistent throughout each series, and the skin tone gets brighter and darker as the flash changes while the camera setting stays the same. You then adjust the camera setting and re-shoot the series. |
Here, you can see me changing only the camera settings on the Nikon D3. The ISO stays the same. The aperture is the same, and dialing this under the shutter speed will adjust automatically because I am using the exposure compensation to change it. Had I chosen to shoot this in Shutter Priority and not Aperture Priority, the Aperture aperture changed from each setting instead of the Shutter Speed.


Flash: The flash is off-camera, and I am using the Nikon SU-800 to control it. I a changing the SU-800 and not the SB-900. Wha will those changes look like?


You can continue to go through the -1, -2, -3 respectfully to get more combinations. I am only changing A and not B or C because the Nikon SB-900 is set to Channel 1, Letter A.
 |
| The Camera is set at 0 Flash, which is set to flash. The flash also zoomed to 200, so I am just lighting her face, not the outfit. [Nikon D3, 85mm, f/1.4, ISO 200, 1/1000] |
 |
| Camera -1, Flash 0 [Nikon D3, 85mm, f/1.4, ISO 200, 1/2000] |
 |
| Camera -3, Flash +3 [Nikon D3, 85mm, f/1.4, ISO 200, 1/8000] |
Now, let’s back up and talk about the Zoom on the Nikon SB-900 flash. The following three images are all shot with the Camera flashing the flash at 0, but I am zooming in on the flash as wide as it will go, from 17mm to 35mm and finally to 85mm.
 |
| Zoom at 17mm [Nikon D3, 85mm, f/1.4, ISO 200, 1/1000] |
 |
| Zoom 35mm [Nikon D3, 85mm, f/1.4, ISO 200, 1/800] |
 |
| Zoom 85mm [Nikon D3, 85mm, f/1.4, ISO 200, 1/800] |
You can never see it happen when you push the shutter, but the Nikon Speed light system fires a pre-flash to set the exposure and then Flash the flash. w, remember the Camera is set to Aperture priority and is in matrix metering mode; I’m trying to figure all this out for you. The flash was 17mm, and the light flash fell on the model’s black robe. The camera wanted to make it darker, thus shortening the shutter speed to 1/1000. Flash hits he face with the 35mm and 85mm zoom settings, and it is at 1/800 shutter speed.
I mention this to say that when you are in TTL mode shooting in some form of auto, there are variances due to each scene. This is why you want to shoot this type of test before you shoot a real job. Change the odel’s shirt to white, and everything will change again.
Let’s mix it up more by adding a snoot to the SB900.
 |
| I use the LumiQuest snoot on the Nikon SB-900, which narrows the light to an even smaller spotlight. |
 |
| I didn’t flash the flash or Camera, but the model moved slightly in these two examples. You can use the Depth-of-Field preview button to have the flash fire a continuous light to see where it is hitting the subject. I can tell ou from experience that you don’t want to do this a lot without letting the flash cool down between doing it. I burned ut the tube and had to have Nikon repair it. Do this sparingly. [Nikon D3, 85mm, f/1.4, ISO 200, 1/5000] |
 |
| I pushed the depth-of-field preview button and had the model stay still to get the light where I wanted it. [Nikon D3, 85mm, f/1.4, ISO 200, 1/5000] |
 |
| As you can see, everything is the same without the snoot in the setup. When using he snoot, the exposure changed a great deal even tho I only have the Camera at -3 Flash and the Flash at +3 |