
|
Getting your Trinity Audio player ready...
|
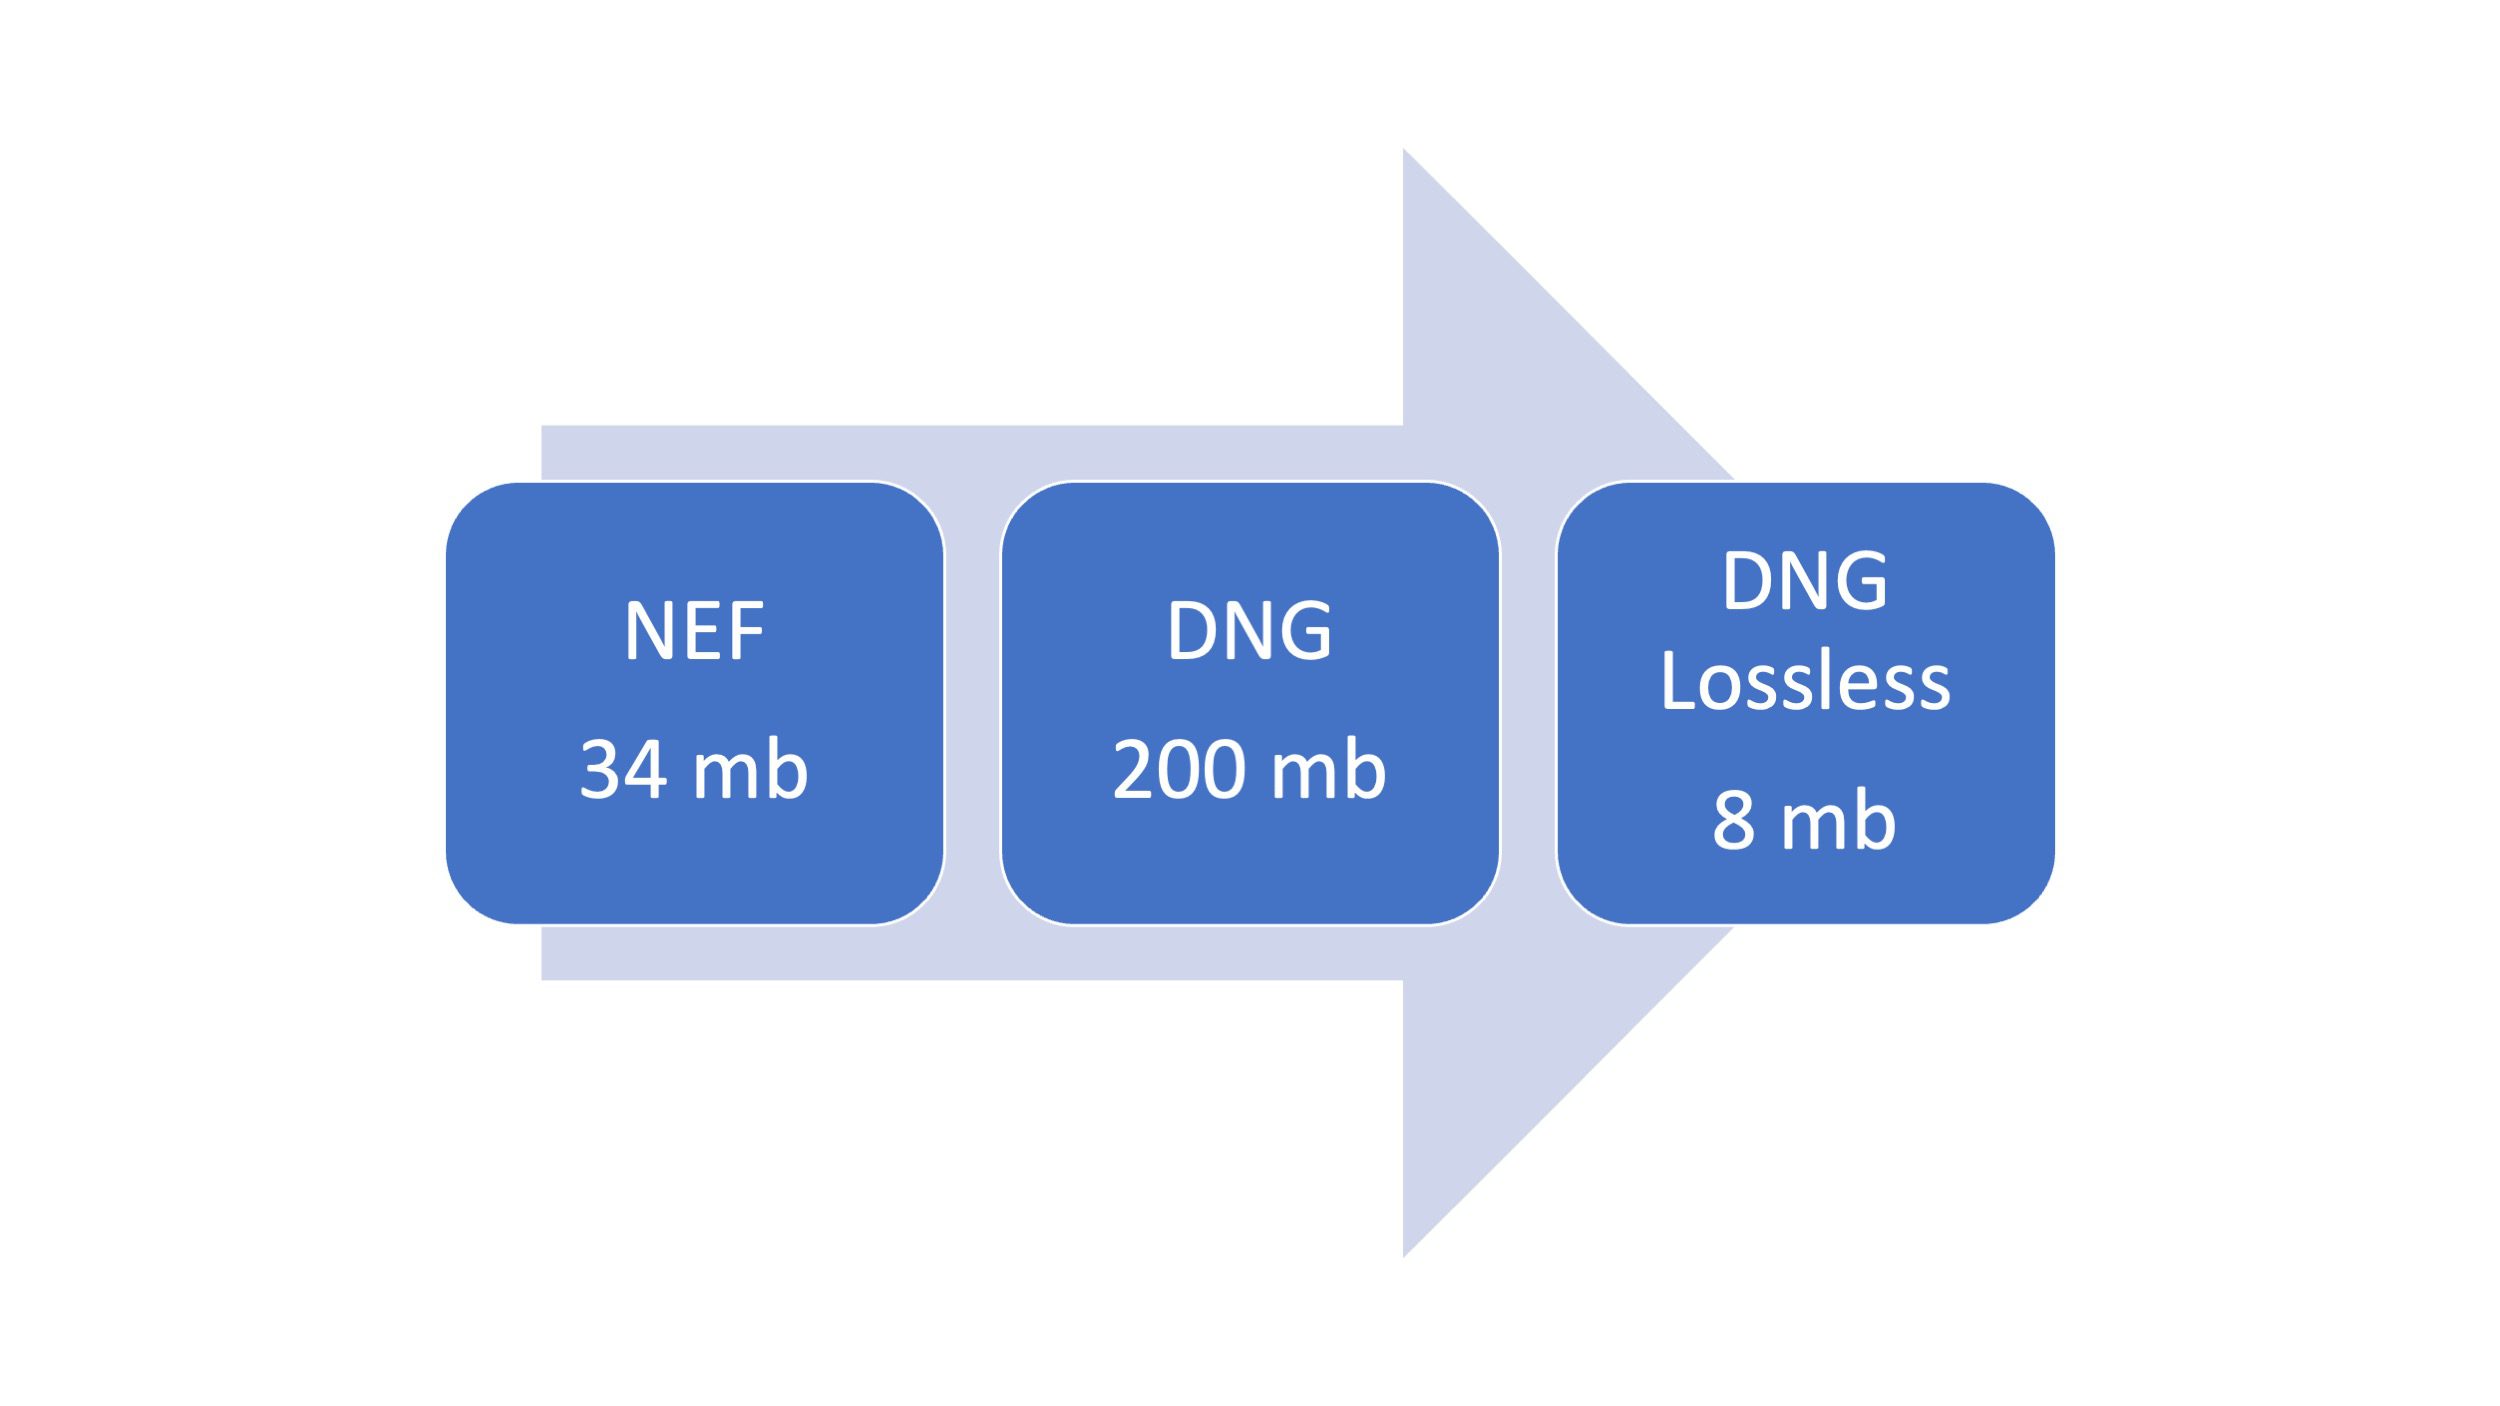
With the release of DXO PureRAW 3 and Lightroom’s new Denoise in the last couple of weeks, many photographers are enjoying the impressive results. However, some are struggling with the new DNG RAW file sizes. For example, I have seen my Nikon Z9 NEF files go from 34 MB to as large as 200 MB in DNG format. As a result, I began to investigate if there was a way to reduce the file size without compromising image quality.
When shooting RAW, you have several choices, ranging from uncompressed RAW to the Nikon Z9 NEF HE*, a high-efficiency file. But what if you want to keep using the DNG format? Well, Adobe Lightroom has a solution that can help.
Lightroom has a feature called Lossy DNG compression, which allows you to reduce the size of your DNG files while maintaining image quality. This compression technique works by removing some of the image data that is considered unnecessary, resulting in smaller file sizes. In addition, the compression is done in a way that is not visible to the naked eye so that you won’t notice any degradation in image quality.
Using Lightroom’s Lossy DNG compression is easy. When you import your photos into Lightroom, you can choose to convert them to DNG files and enable the lossy compression option. Alternatively, you can select your existing DNG files and convert them to Lossy DNG files.
It’s worth noting that Lossy DNG compression is irreversible, so keeping your original files as backups is essential. However, the compression technique can save you considerable disk space, which is especially useful for photographers who take many photos.
In conclusion, if you’re struggling with large DNG RAW file sizes, Lightroom’s Lossy DNG compression technique is an effective solution that can help you save disk space without sacrificing image quality. So give it a try and see how much space you can save!
How do you convert RAW images into lossy DNG?
The following steps explain converting existing RAW images to lossy DNG using Lightroom.
- In Lightroom, press the Shift + G key to enter the grid view
- Select the photos you wish to convert to DNG
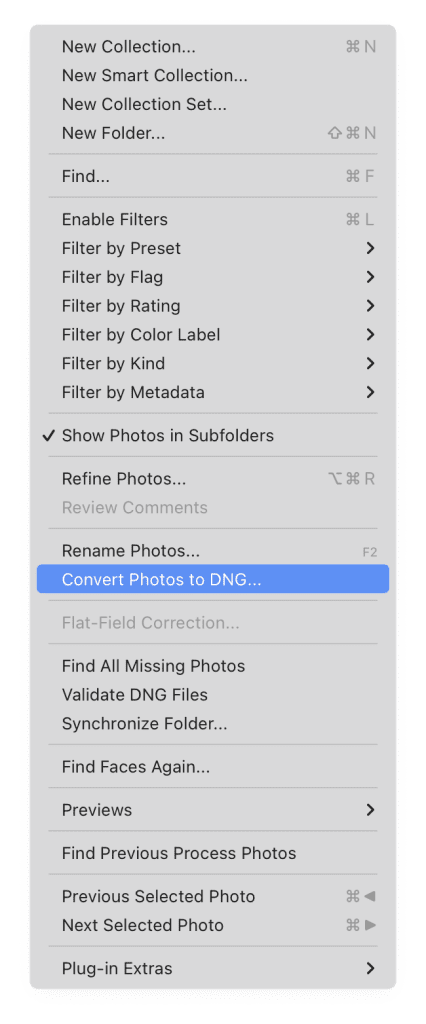
- Go to Library > Convert images to DNG
- Make sure you select the right preferences in the dialogue box that appears.
- Only convert RAW files – Select this checkbox to convert RAW files
- Delete original file after conversion – Select this checkbox to delete original RAW files.
- File type – Select a lowercase extension
- Compatibility – Choose the latest version, Camera Raw 7.1 and later
- JPEG preview – Medium size preview will do just fine; by selecting a full size, the conversion may take longer
- Embed fast load data – This allows images to load faster in the Develop module, so it is a good idea to have this option enabled
- Use Lossy Compression – Select this checkbox to convert a RAW file to a lossy DNG file
- Embed Original RAW file – Leave this box unchecked. This option is provided to have the original RAW file in your converted DNG file, but this will increase the storage size of the file significantly. If you want the original RAW files, save them as a backup.

- As a final step, click Ok to convert to lossy DNG. Be prepared, for it may take a long time for the conversion to complete.
I am still keeping my NEF file, this is a way to save on space that the Denoise process creates massive DNG, and I want this to be smaller.