You can see the blur in the volleyball even with strobes being used due to the 1/250 sync limitation.
TTL Flash offers some advantages over manual flash. I use the Nikon Speedlight system, which has given me an edge over many other photographers who do not use the system.
Three things make me choose my Nikon Speedlights over the manual flash: 1) I have no sync speed limitations, 2) quick—I don’t have to pause to take readings and then set the camera, and 3) I can shoot at wide-open f/stops.
You can see the blur of the basketball due to the slow shutter speed with the strobes.
Unlimited sync speeds
When you can shoot at any shutter speed, you open the possibilities for many things.
You can shoot at a high shutter speed to stop the action, like 1/2000 or 1/8000 of a second. When the shutter is open at 1/250 sec for manual flash, there is enough movement in sports to have some motion blur. You see this in hockey and basketball.
You can control the background—outside! You can crank that shutter speed up and underexpose the background by, say, 2 or 3 stops, and then up your flash output 2 or 3 stops to expose a subject yet underexpose the background properly. This is great for getting those dark blue skies behind a subject.
The TTL flash easily figured the correct amount of fill flash on the fly here.
Fast
Sometimes, you don’t always have time to take flash readings and then set the camera. News events are a good example of when you need to be ready. Recently, I photographed the founder, president, and son of the president for an article. These folks are known to change their minds at the last second and ask you to photograph them just about anywhere—this is when having a TTL portable flash lets you adjust on the fly.
Taking a flash into the rain forest where coffee is grown in the mountains of Mexico lets me pull it out under all the shade to make the photo look like sunlight.
Wide-open f/stops
Many photographers today shoot with an f/1.4 lens. If you go outside to shoot, you cannot use a manual flash because shooting at f/1.4 means shooting at a very high shutter speed. The TTL high-speed sync lets you shoot with a flash.
To shoot large groups outside, you need those high f/stops that often require manual flash. The TTL system must be flexible and have a high sync shutter speed. What I hope you now know is that both systems have advantages. Don’t buy both systems right away. Buy one and learn how to use all its benefits. Once you cannot deliver photography to clients because your system is limited, buy the next system and discover all it can do.
When covering an event, I try to think of it as telling a story. So there are seven things I try to always have in my coverage. This week, I discovered that my friend Mark Sandlin, Director of Photography for Southern Living, uses this same list. The list is what all photojournalists have drilled into them.
Mark Sandlin, Director of Photography at Southern Living
Opener: Sets the scene for the story
Decisive moment: The one moment that can by itself tell the story
Details: Besides being like visual candy to the report, help often with transitions–especially in multimedia packages
Sequences: give a little variety to a situation
High overall shot: Gives a good perspective on how the elements all fit together.
Closer: Besides the classic shot of the cowboy riding off into the sunset, there are other visual ways to help bring the story to a close
Portraits: These photos are great for introducing the characters of the story
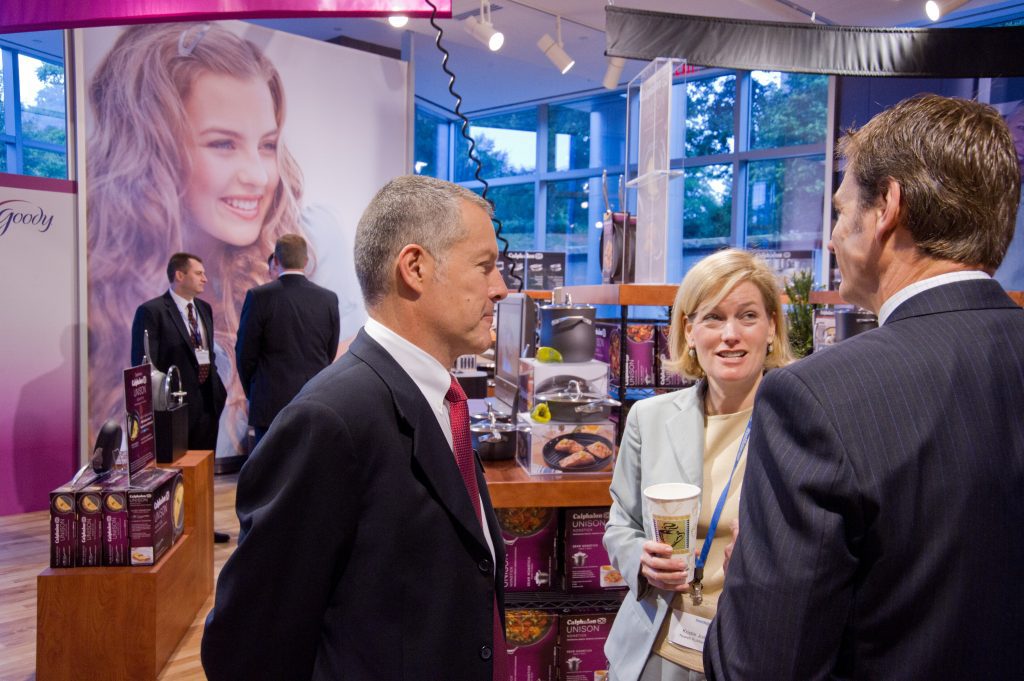
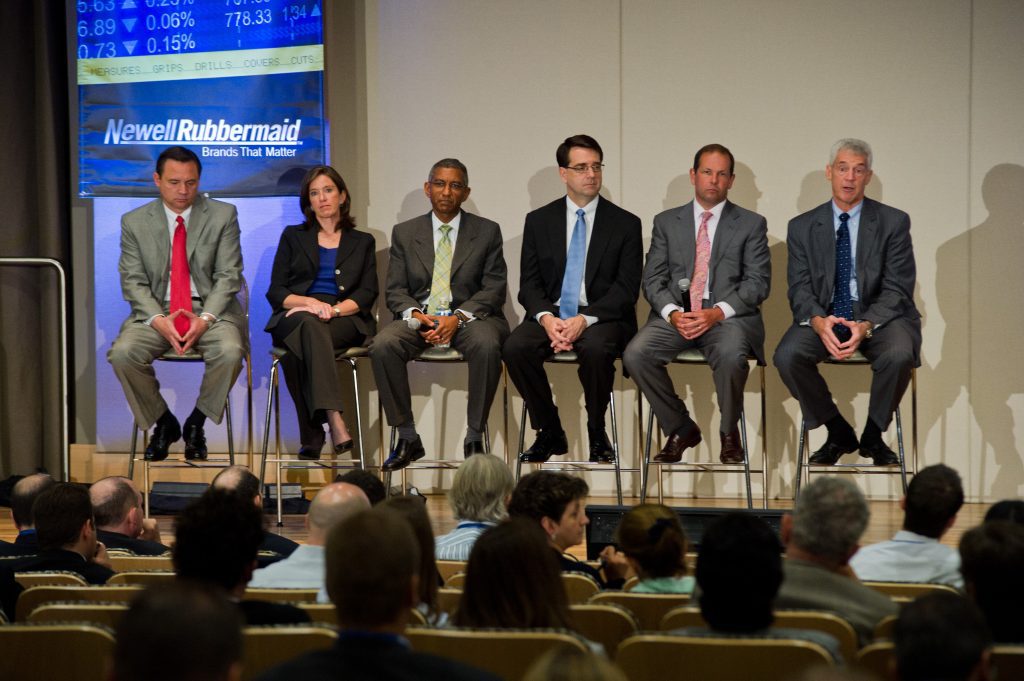
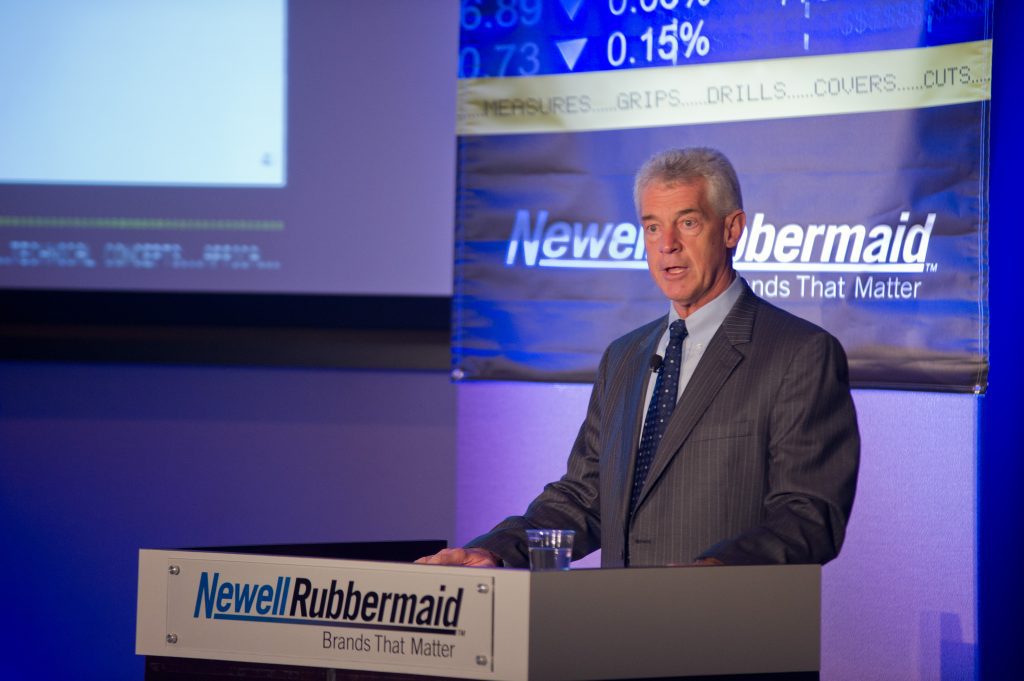
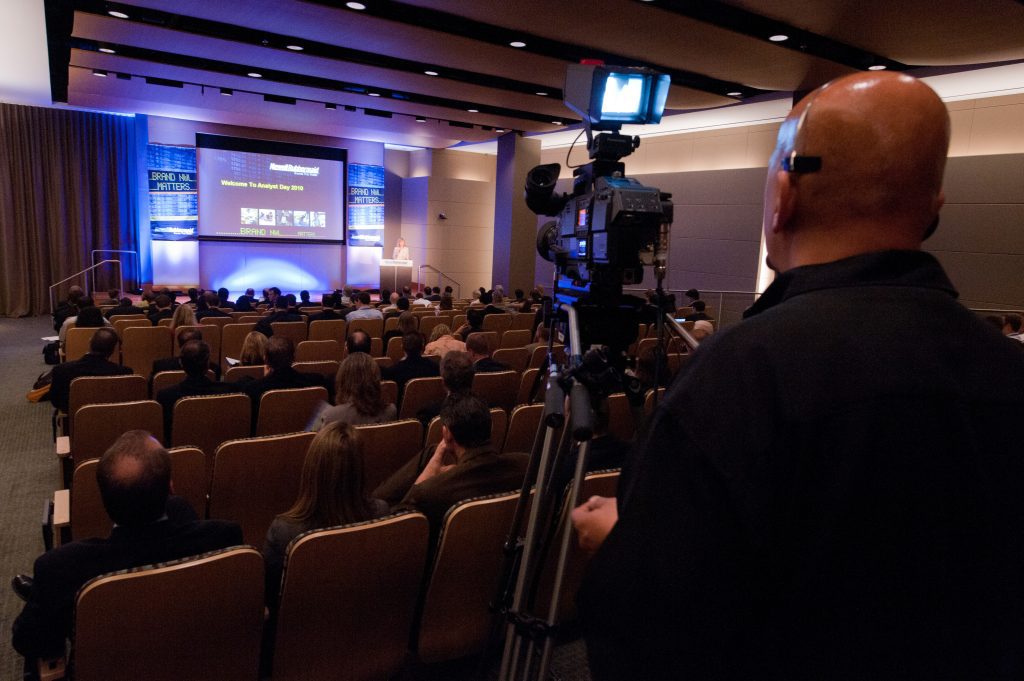
Below are photos from an annual meeting where the investors come in, and the company gives them an overview of what they have done and where they are going.
One thing I am working hard to do is to make each photo have an impact on engaging the audience. I use light, angles, composition, and, most important, expressions of people to engage the viewer. I wanted my photos to help this company communicate they are vibrant and viable in today’s market.
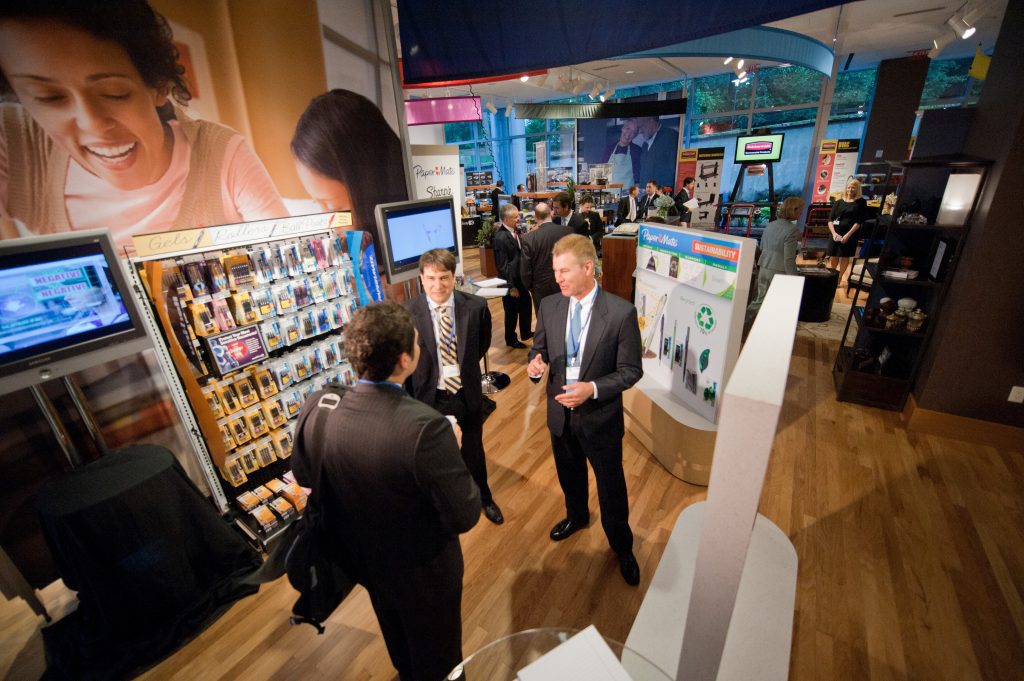
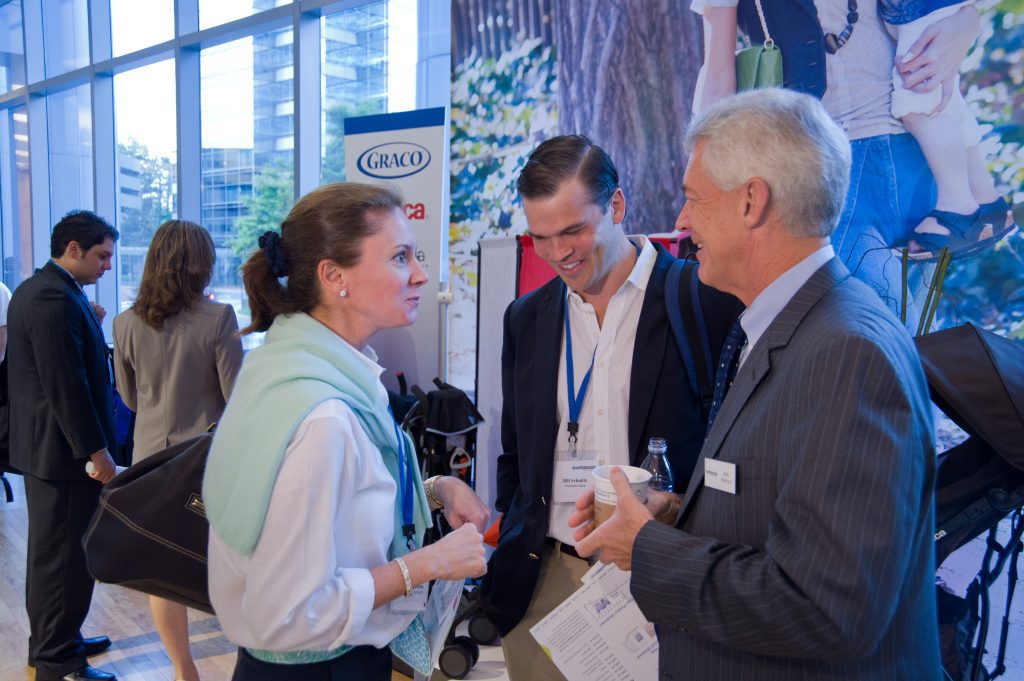
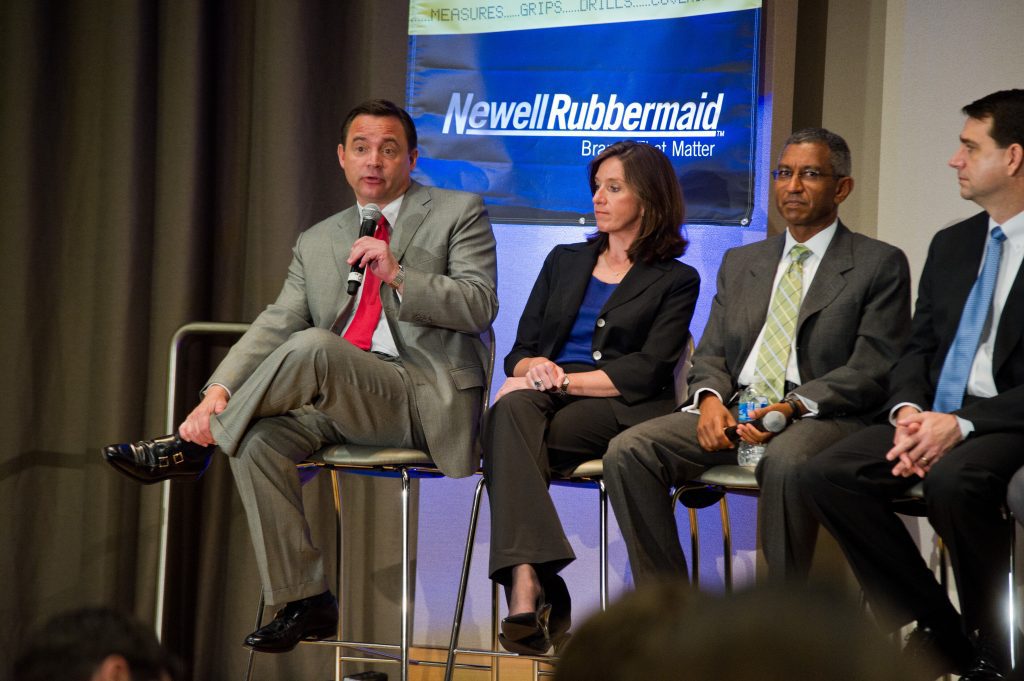
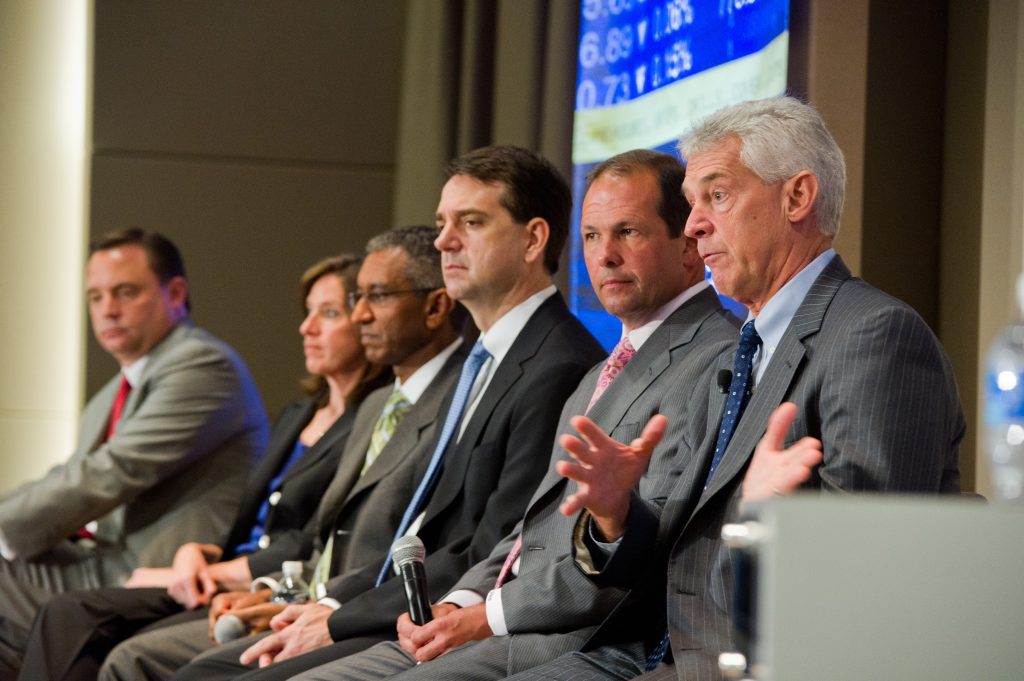
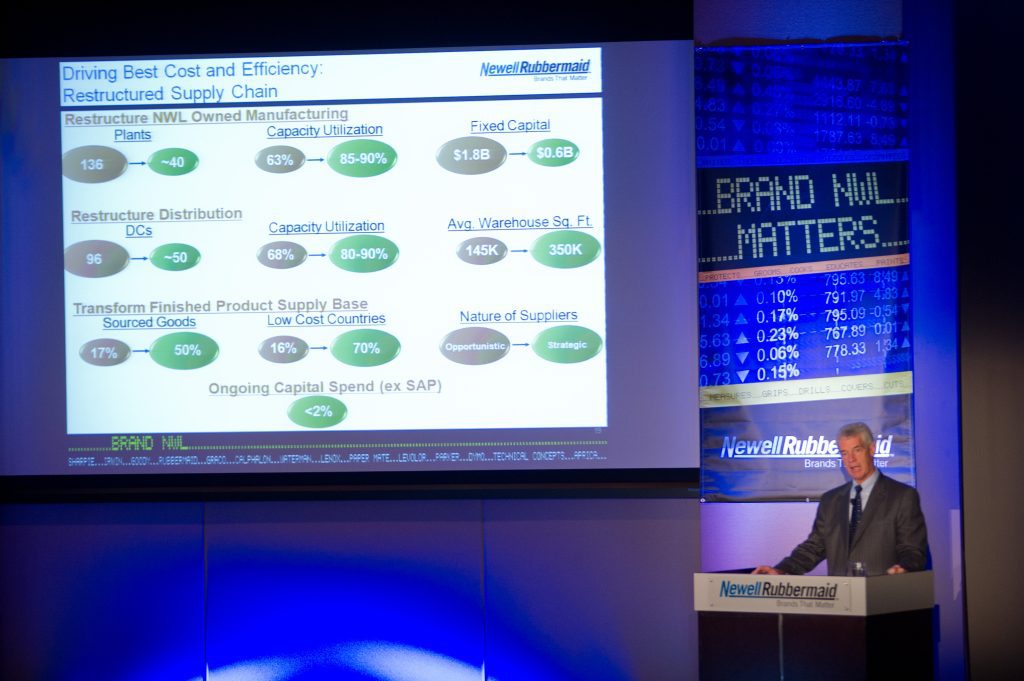
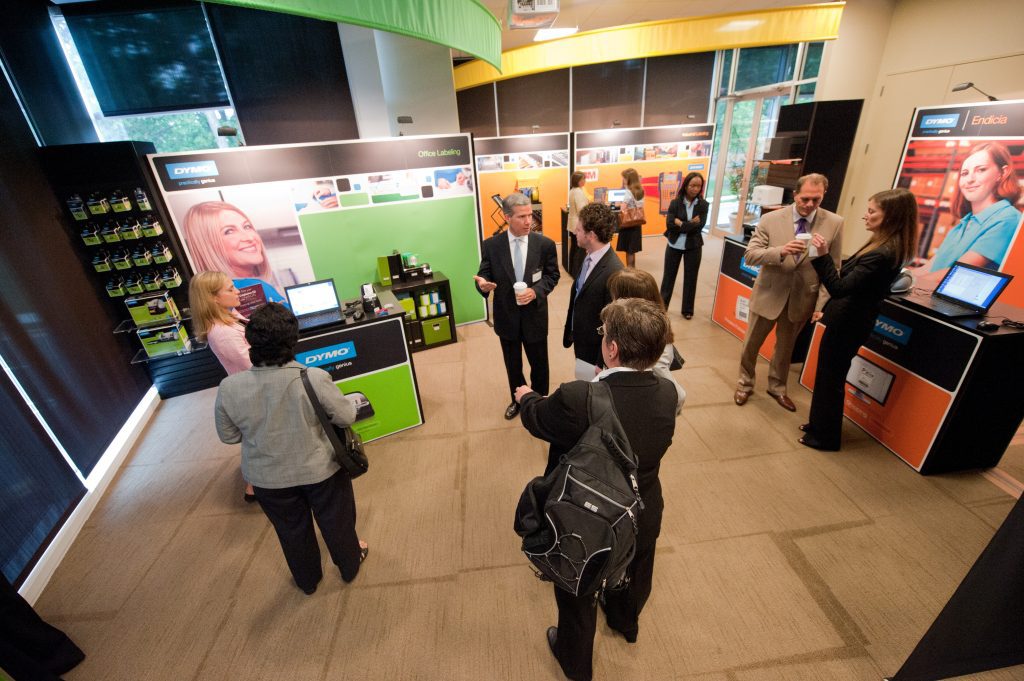
This photo shows how the attendees could interact with the leadership team. I wanted to show them engaging in conversation, so I shot a few to capture not just a good expression finally, but use the environment to draw you in. If you notice, even the lady in the mural seems to be paying attention to the conversation in the foreground.Details, for me, are a way to have fun. So I am looking for unique angles, colors, and light to help create impact and entertain the audience.A high angle is usually successful today because it is unique to our everyday l es. Seldom are we tall enough to see this angle, so it looks different than you just walking ar nd. Even the lady in this mural looks from above to see what is below.The man to the far right is the CEO, and while he will be on stage later in more formal roles, I like to show him as more relaxed and approachable. Again, I am using the lines from the window to help draw you into the picture. I want you to see the conversation first in the foreground, and then you should drift to the background. Again, visual composition keeps you engaged.While you can see everyone on the panel, and I always shoot the obvious, it isn’t as compelling to me as in other angles below. But I always need to be sure everyone on the panel is well-seen in one photo in case they require this.As a panelist responds to the question, you will often find that the rest of the panel may or may not be engaged.In this photo, the CEO is the focal point, and while the other panelist is not looking directly at him, you can see from their expressions and slight turning of their heads to catch what he is saying as showing they are engaged.PowerPoint presentations can be challenging to capture the slide and the speaker in one photo. Thank goodness they had a spotlight on the speaker and had it balanced. If you organize an event like this–always have a spotlight on the speaker to make them not disappear into the dark.While this isn’t a close-up portrait, I think it is a lovely portrait of him working in this situation.As I mentioned, they were streaming on the web, and I have a photo that can help say that for them.Another high overall shot to help tell another part of the story.
The decisive moment photo should be the one that is used alone and not part of the package could tell the story. Which of the ones above did you see that would work for you?
Did you notice the sequence of the panel? Now the hard part is often a closer. Sometimes you don’t have an ending. No closer is because you want to communicate. There was so much to see. You want to leave the audience visually craving for more rather than wrapping it up to say well, that is everything.
I suggest sitting down before you arrive to shoot a story, thinking through everything you know about the assignment, and making a list. Then, write down on a notepad that you will carry with you the outline of the seven shots. Under each one, list a couple of options for each.
As you shoot your story, check off the photos that you get. Then, use your notepad to get the names of people for the captions.
Once you have everything checked off on your list, don’t stop shooting. I continue to shoot more photos, but now I may be looking more and taking fewer shots. I cherry-pick the moments I think will be better than I already have.
I want to thank my friend Mark Sandlin for reminding me of what I do with every assignment so I can share this with you.
By the way, Mark said he wished he had said one more thing to those attending the class. He wanted to say, “if you haven’t made any mistakes, you are trying hard enough.”
Cookie Consent
We use cookies to improve your experience on our site. By using our site, you consent to cookies.