
|
Getting your Trinity Audio player ready...
|

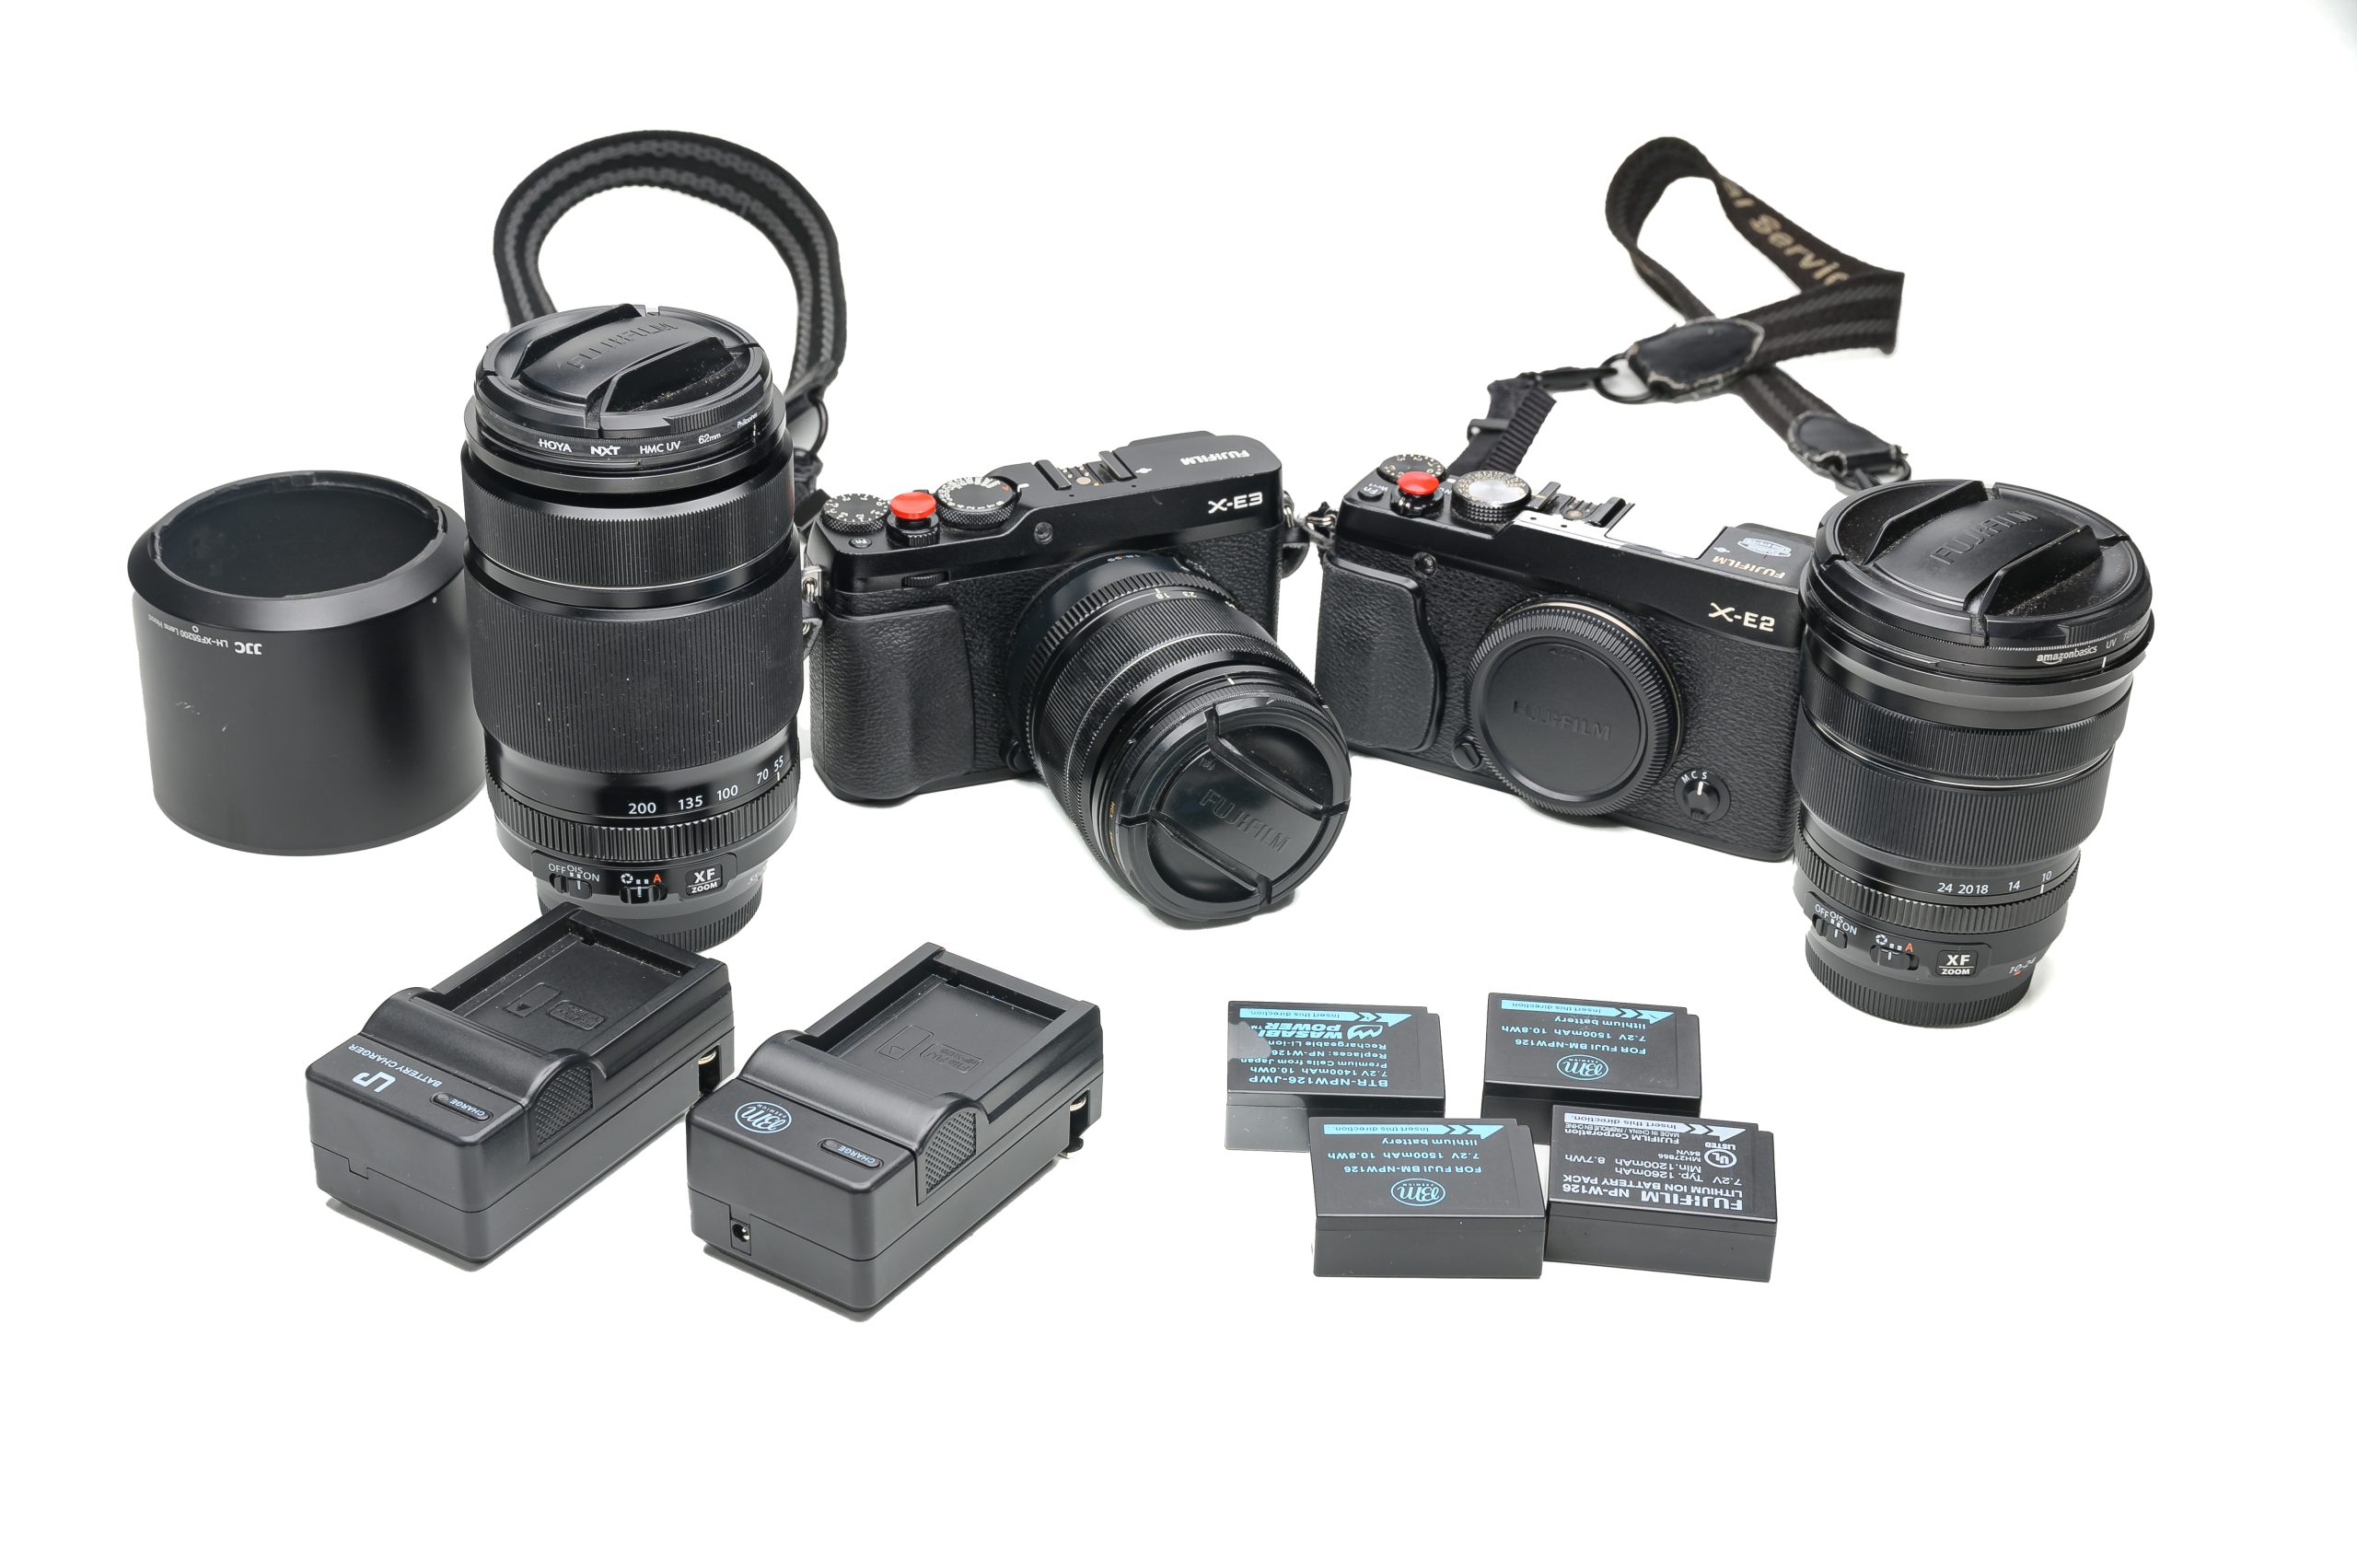
Here in this photo is the setup I am using to demonstrate the manual focus of the Fuji X-E2.
When you switch the focus mode selector to M (manual), you can turn the focus on the lens.

The switch is on the front of the camera, as you see. It would be excellent for you to override the Auto Focus and grab the focus, but that isn’t possible now with the camera. Overriding autofocus is something I would love for Fujifilm to add as a feature in the next firmware update.

When you look through the finder or on the back with the LCD screen, the view will look like this before you touch the focus or push the shutter release halfway down.

When you start focusing, the camera will zoom in if you have the MF Assist turned on. I highly recommend using it because it is better than the traditional DSLR because you cannot zoom in and see the details to focus on this critically.
By pressing and holding the center of the command dial, you display the MF Assist menu. You get to choose between two options: Focus Peak Highlight or Digital Split Image.
The Focus Peak Highlight–highlights the high-contrast outlines. Rotate the focus ring until the subject is highlighted. Focus Peaking works for me the best or most of the time. For example, I used it to get the image below here.

Digital Split Image: Displays a split, black-and-white image in the center frame. Frame the subject in the split-image area and rotate the focus ring until the three parts of the split image are correctly aligned.

Here you can see the Digital Split Image. The clue that you know which one you are using is the Digital Split Image assist in B&W.

Press the center of the command dial to zoom in on the active focus area during shooting, which also works in AF Mode. It will show you the focus point where ever it is in AF Mode. Just press again to return to full frame. Focus zoom is unavailable in focus mode C or when PRE-AF is on.