Nikon Z9 Using HSS With Flashpoint XPlor 600 HSS TTL Can Cause Lines But Not So Much With Godox V860IIN

In this past blog post, “Venetian Blind Type Of Lines With Z9 And High-Speed Sync Flash,” I talked about how I got lines when using High-Speed Sync. I discovered this after shooting on a job.

First, I returned to the client and reshot all those affected and even more people. So you make it suitable for the client.

What Is High-Speed Sync?

The maximum shutter speed used with high-speed sync (HSS) flash varies depending on the camera and flash unit used. Most cameras and flash units can generally support HSS up to their maximum sync speed, typically around 1/250th of a second. However, some newer cameras and flash units are capable of HSS at even higher shutter speeds, up to 1/8000th of a second or higher.

It is important to note that the maximum shutter speed that can be used with HSS is not the same as the maximum flash sync speed, which is the fastest shutter speed at which the flash can properly synchronize with the opening and closing of the shutter. Flash sync speed is typically lower than the maximum shutter speed used with HSS.

To use HSS, you must set your camera to a high shutter speed and your flash to HSS mode. Consult your camera and flash unit’s documentation for specific instructions on how to do this.
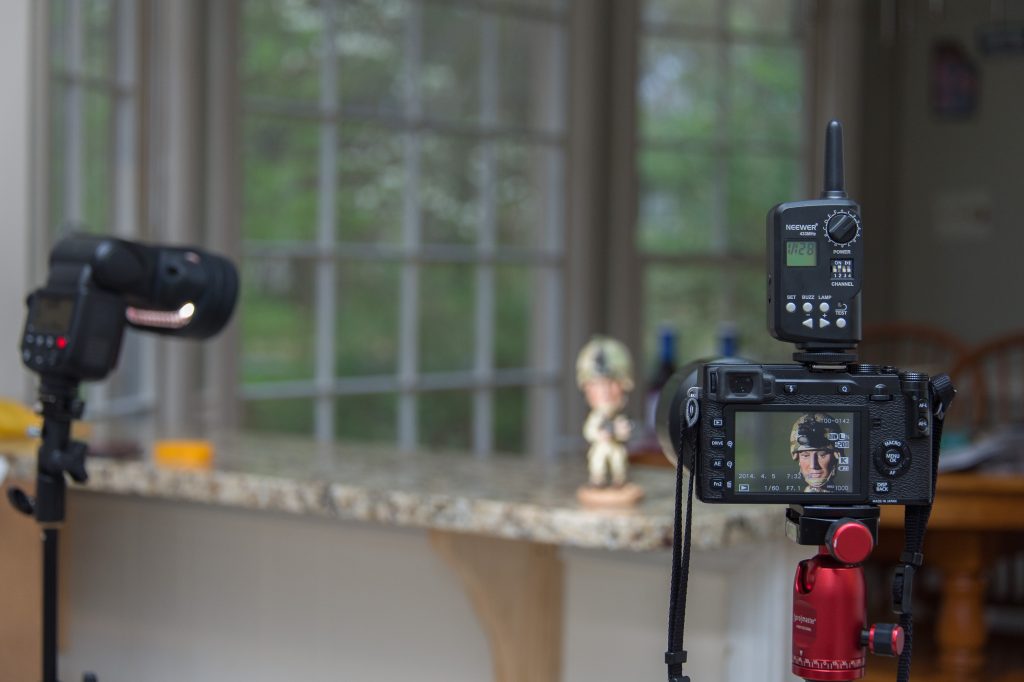
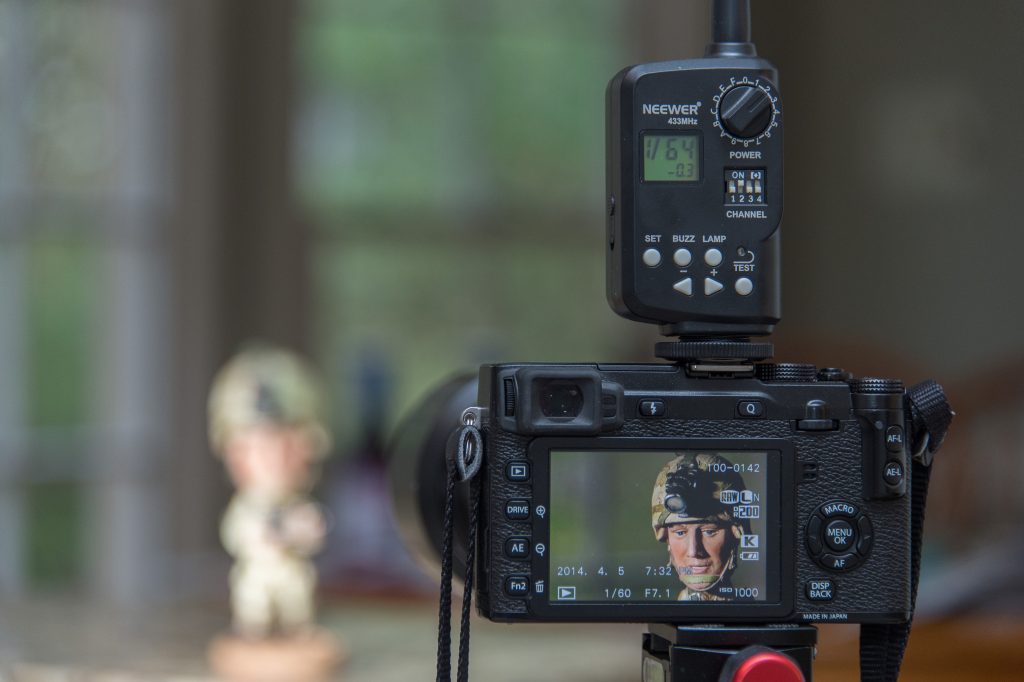
My Controlled Test

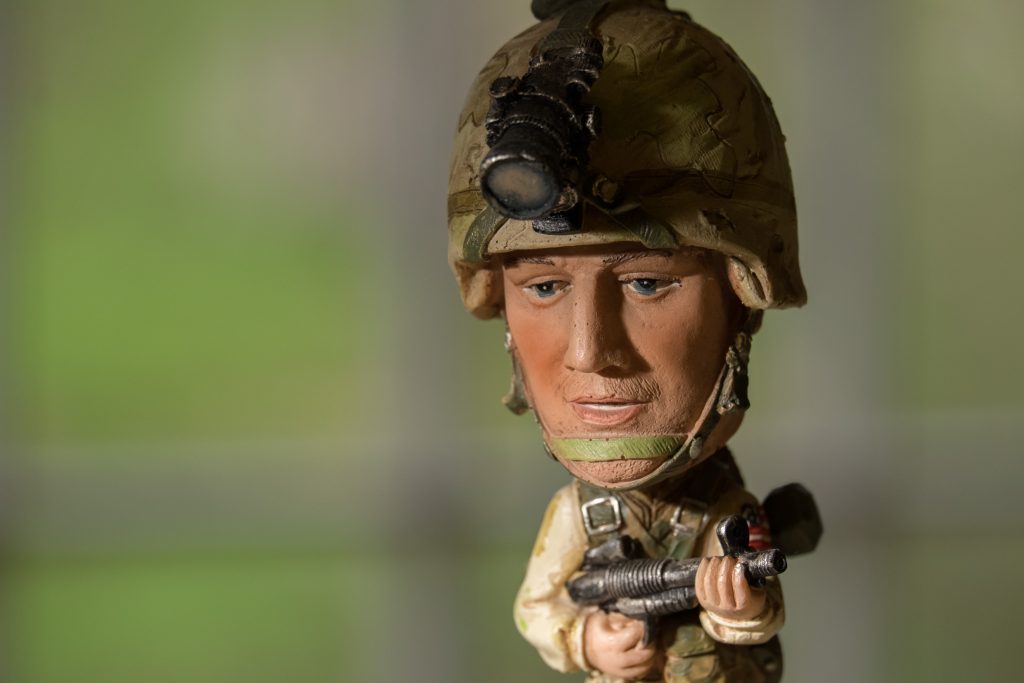
When shooting outside, I try and have my subject backlit or at least in the shade so they are not squinting in the photo. Then I add a flash at 45º off the axis of the camera and then 45º above their eyes to help create some modeling using the shadows from the eyes, cheekbones, and nose.

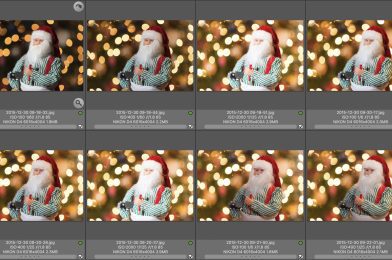
Under each photo are the settings for each image. I only changed the ISO and let the camera pick the shutter speed. I started with ISO 25600 and went down by one stop.

[NIKON Z 9, NIKKOR Z 24-120mm f/4 S, Mode = Aperture Priority, ISO 25600, 1/8000, ƒ/4, (35mm = 93)]
« of 9 »

The lines disappeared when I went back and went by the third stop between ISO 12800 and ISO 6400. So it appears that ISO 8000 for this particular scenario is where I got the best results. This changed my shutter speed at ISO 12800, which was 1/6400, to 1/5000 at ISO 8000.

Testing High-Speed Sync with XPLOR 600 [NIKON Z 9, NIKKOR Z 24-120mm f/4 S, Mode = Aperture Priority, ISO 8000, 1/5000, ƒ/4, (35mm = 93)]
Testing High Speed Sync with XPLOR 600 [NIKON Z 9, NIKKOR Z 24-120mm f/4 S, Mode = Aperture Priority, ISO 12800, 1/6400, ƒ/4, (35mm = 93)]

There was a slight variation at the same ISO of 12800 with a shutter speed of 1/8000.

Testing High-Speed Sync with XPLOR 600 [NIKON Z 9, NIKKOR Z 24-120mm f/4 S, Mode = Aperture Priority, ISO 12800, 1/8000, ƒ/4, (35mm = 93)]

I am guessing that since most descriptions I have seen about HSS, the flash is pulsing and that at a shutter speed of faster than 1/5000 with the Flashpoint XPlor 600 HSS TTL lines show up.

Test With Godox V860IIN

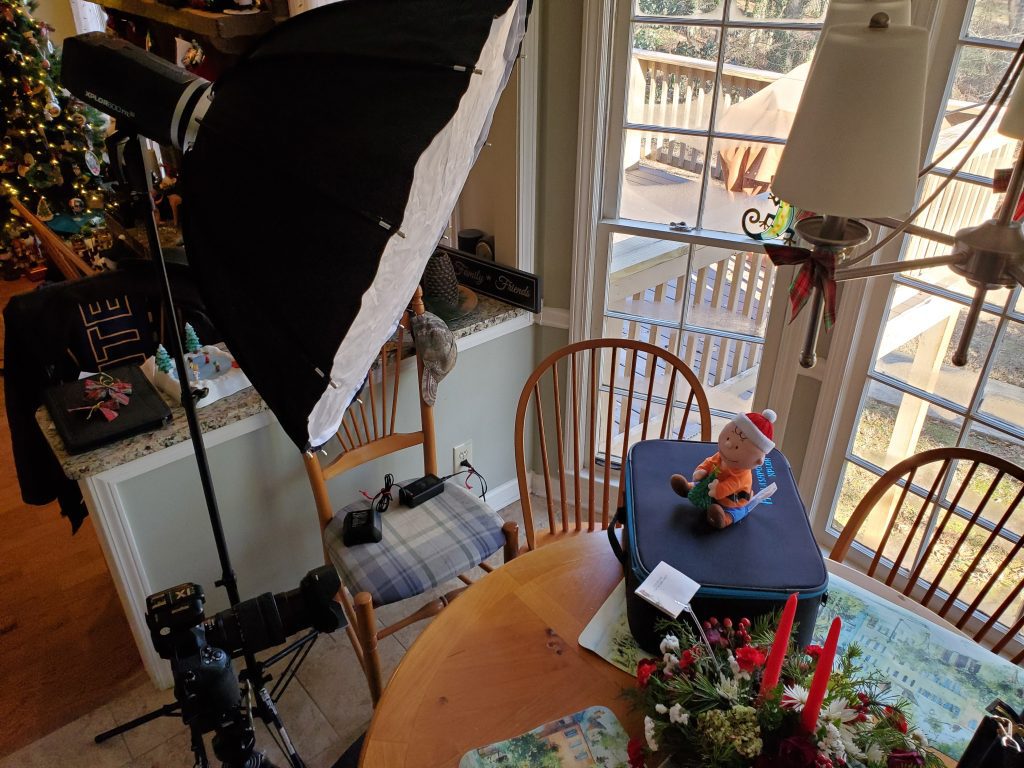
Now when I ran the same test and only switched out to the Godox V860IIN inside the softbox, I got different results. For example, see below in this gallery.

[NIKON Z 9, NIKKOR Z 24-120mm f/4 S, Mode = Aperture Priority, ISO 12800, 1/8000, ƒ/4, (35mm = 79)]
« of 6 »

I believe a difference is attributed not to the Nikon Z9 camera but to the flash unit. I think the pulsing flash isn’t that consistent with the XPLOR 600.

I did try it a few times, and I did get the lines to show up with the Godox V860IIN. I think this is due to shooting fast and the unit not being fully charged, but not sure. I know it is less of a problem with this flash than the XPLOR 600 TTL.

[NIKON Z 9, NIKKOR Z 24-120mm f/4 S, Mode = Aperture Priority, ISO 10000, 1/6400, ƒ/4, (35mm = 79)]
Closeup of the above photo [NIKON Z 9, NIKKOR Z 24-120mm f/4 S, Mode = Aperture Priority, ISO 10000, 1/6400, ƒ/4, (35mm = 79)]

How To Use Slow Sync TTL Flash

Slow Sync TTL flash is a technique that allows you to achieve a balanced exposure between the ambient light and the light from the flash. It is beneficial when you shoot in low light conditions and want to capture the background and subject in focus.

To use Slow Sync TTL flash, you must set your camera to “Slow Sync” or “Rear Curtain Sync” mode, depending on your camera model. You will also need to set the flash to “TTL” (through-the-lens) mode, which allows the flash to communicate with the camera and adjust the flash output based on the light-metering information gathered by the camera.

I am testing slow sync at different ISO settings. [NIKON D4, 85.0 mm f/1.8, Mode = Aperture Priority, ISO 400, 1/60, ƒ/1.8, (35mm = 85)]
[NIKON D4, 85.0 mm f/1.8, Mode = Aperture Priority, ISO 6400, 1/500, ƒ/1.8, (35mm = 85)]

Here are the steps to use Slow Sync TTL flash:

  1. Set your camera to “Manual” mode and select a slow shutter speed (1/30 sec or slower). This will allow the ambient light to be captured in the image. Remember the Exposure Triangle. You can change the ISO as a way to control exposure. The benefit of using a higher ISO is that your flash becomes more powerful.
  2. Set the flash to “TTL” mode and mount it on your camera’s hot shoe or, even better, off-camera using a radio remote designed to work with your flash and camera.
  3. Point the flash at your subject and take a test shot.
  4. Review the image and adjust the flash output as needed. You can use the flash compensation setting on your camera or flash to increase or decrease the flash output.
  5. Take the final shot.

Keep in mind that the Slow Sync TTL flash can produce some ghosting or blur in the image if the subject or camera moves during the exposure. To minimize this effect, use a tripod or a stable surface to support the camera and keep the subject and camera as still as possible. You can also raise the ISO so that your shutter speed can increase.

Tips on mixing flash with available light

Flash can be a valuable tool for illuminating a scene or subject in low light conditions or adding fill light to a photograph in harsh lighting conditions. However, when using flash, it’s essential to consider how the flash will fit into the overall exposure of the picture.

Flash is typically treated as a separate light source when considering the exposure triangle. This means that you will need to adjust the aperture, shutter speed, and ISO to expose the photograph based on the available light properly and then use the flash to add additional light as needed.

Flash on a light stand and radio remote to trigger the flash on the camera. Flash is 45º off the axis of the lens.

One way to think about this is to use the available light to expose the background and then use the flash to light the subject. In this case, you would set the aperture, shutter speed, and ISO to expose the background properly and then use the flash to add light to the subject. The flash can be adjusted in terms of power and placement to achieve the desired lighting effect.

I exposed first for the background with the camera. Then I turned on the flash and turned the power up and down until I got the balance I wanted with the background.

It’s important to note that flash can be a very powerful light source, and it can be easy to overexpose the photograph if you are not careful. It can be helpful to use the camera’s histogram or a handheld light meter to get an idea of the overall exposure of the photograph and make any necessary adjustments.

Final results with the flash.