As a freelance photographer, I know it is crucial to grow and evolve to continuously succeed in a competitive market. However, growth can also bring challenges, and if not approached carefully, it can lead to the downfall of your business.
One significant danger of growth is the potential for the business to outgrow you. When starting, it’s easier to understand every aspect of your business, from client relations to editing techniques. However, as your business grows and you take on more clients, it can become challenging to maintain the same level of control and involvement.
This can result in a decline in the quality of your work, decreased client satisfaction, and, ultimately, decreased profitability. To avoid these outcomes, freelance photographers must continuously improve their skills and develop their craft.
Additionally, having a clear growth strategy and regularly evaluating and adjusting your plans are crucial for sustainable growth. This will help you stay on track and achieve your long-term goals.
In conclusion, growth is a critical component of success for freelance photographers. By continuously improving your skills, having a well-thought-out growth plan, and regularly evaluating and adjusting your strategy, you can ensure your business continues to thrive and succeed as you grow.
Here are five inspiring quotes on the topic of growth and continuous improvement:
“Growth is never by mere chance; it is the result of forces working together.” – James Cash Penney
“The only way to do great work is to love what you do.” – Steve Jobs
“Successful people do what unsuccessful people are not willing to do. Don’t wish it were easier, wish you were better.” – Jim Rohn
“The only limit to our realization of tomorrow will be our doubts of today.” – Franklin D. Roosevelt
“Successful and unsuccessful people do not vary greatly in their abilities. They vary in their desires to reach their potential.” – John Maxwell.
These quotes remind us that growth and success result from hard work and determination and that we can reach our full potential by continually striving to improve.
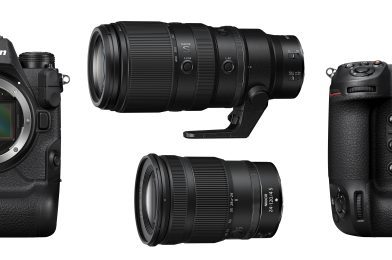
Using two Nikon Z9 cameras to cover events can provide photographers with a versatile and efficient solution. One camera equipped with the Nikon 24-120mm lens offers a wide range of focal lengths that are ideal for capturing wide-angle shots and portraits, while the other camera equipped with the Nikon 100-400mm lens provides longer focal lengths that are useful for telephoto shots, such as zooming in on details or capturing far-off subjects.
The Nikon Z9 is a high-end camera that is well-suited for event photography. Its fast autofocus, high resolution, and fast frame rate make it an ideal choice for capturing quick-moving action and keeping up with fast-paced events. In addition, the camera’s high-resolution viewfinder and tilting LCD screen make it easy to compose and review shots, even in challenging lighting conditions.
[NIKON Z 9, NIKKOR Z 24-120mm f/4 S, Mode = Aperture Priority, ISO 800, 1/250, ƒ/4, (35mm = 50)]
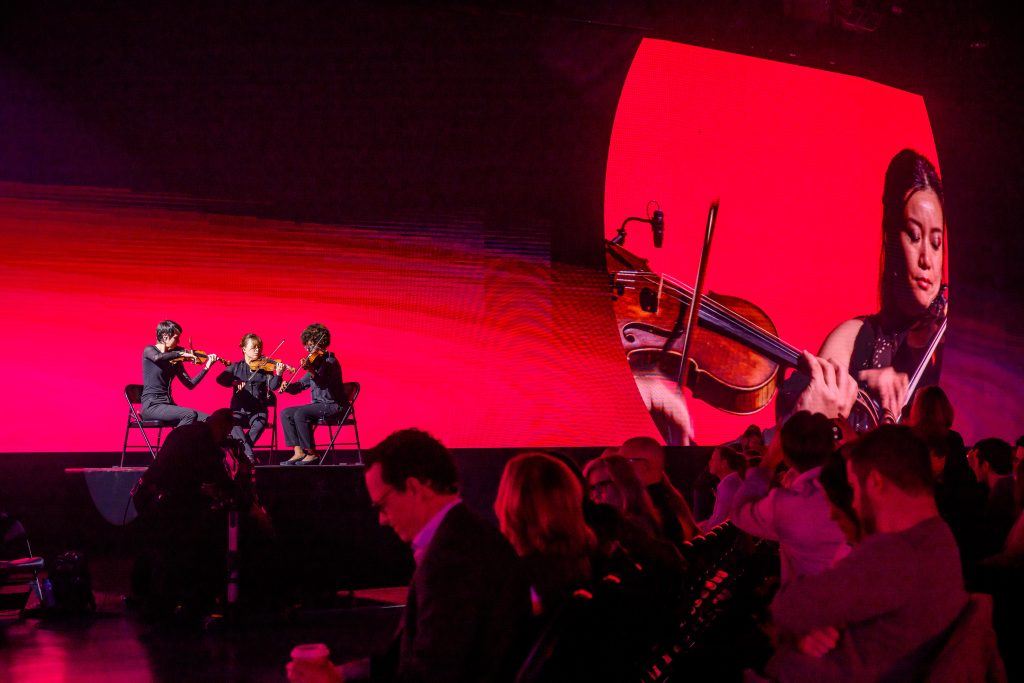
When using two Nikon Z9 cameras, photographers can quickly switch between lenses to take advantage of different focal lengths and shooting perspectives. For example, during an event, the photographer could use the 24-120mm lens to capture wide-angle shots of the entire scene and then switch to the 100-400mm lens to zoom in on a speaker up on the stage.
[NIKON Z 9, NIKKOR Z 100-400mm f/4.5-5.6 VR S, Mode = Aperture Priority, ISO 4000, 1/250, ƒ/5.6, (35mm = 210)]
In addition, having two cameras also provides a backup in case one camera malfunctions. This can be especially important during high-stakes events where missing a vital shot could have serious consequences. Finally, two cameras allow photographers to have multiple memory cards to help store and organize photos.
Overall, using two Nikon Z9 cameras with different lenses offers a flexible and efficient solution for event photography. With the ability to quickly switch between wide-angle and telephoto perspectives, photographers can capture a wide range of shots and provide comprehensive event coverage.
How I Carry The Gear
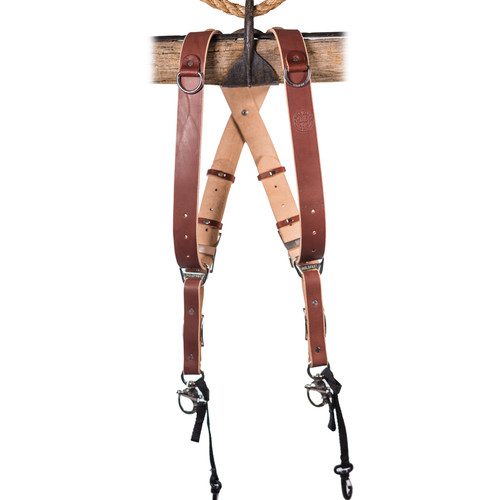
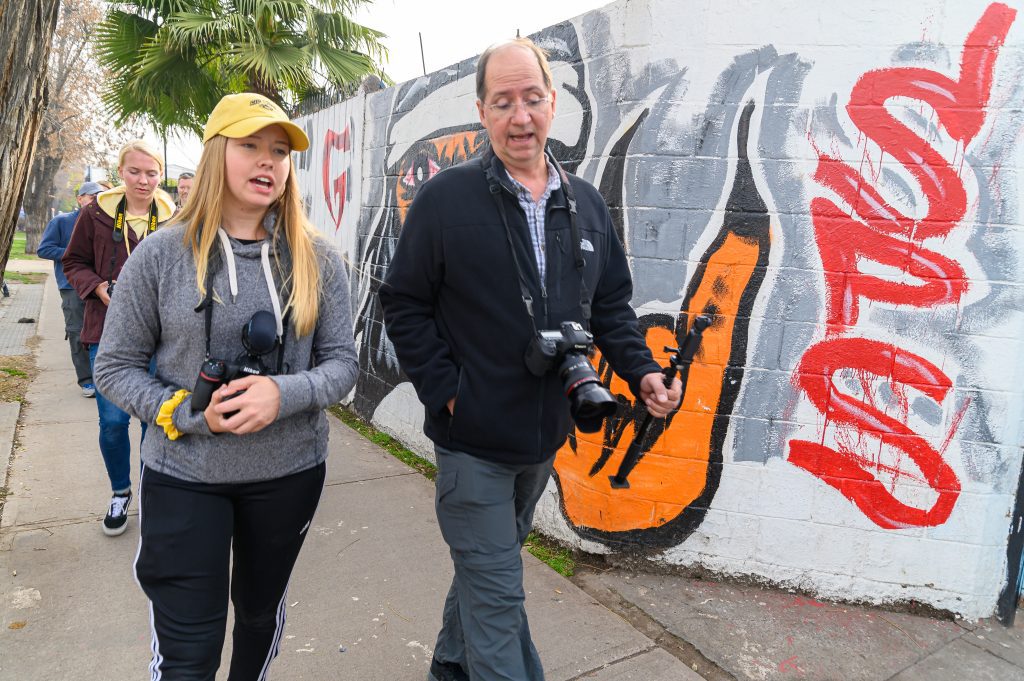
The HoldFast MoneyMaker 2-Camera Harness is an excellent solution for photographers who need to carry multiple cameras while covering events. The harness is durable, stylish, made from chestnut English bridle leather, and features black hardware. It allows you to comfortably have two cameras at your hips, with the straps forming an X pattern across your back for added support.
The speed clutch mechanism of the MoneyMaker Harness is a standout feature, allowing your camera to easily slide along the harness to your eye level when you’re ready to shoot. This mechanism will enable you to quickly and easily access your camera, ensuring you don’t miss a critical shot.
Attaching your cameras to the harness is a breeze. Screw the two camera accessory clips into the 1/4-20″ tripod threads of each camera or lens. There are two metal D-rings on each strap’s front and back, which can be used to attach optional camera straps and accessories. If needed, you can attach an optional camera leash to the front D-rings, securely securing a third camera to the harness.
[NIKON Z 9, NIKKOR Z 24-120mm f/4 S, Mode = Aperture Priority, ISO 1100, 1/250, ƒ/4, (35mm = 26)]
In conclusion, the HoldFast MoneyMaker 2-Camera Harness is ideal for event photographers needing multiple cameras. Its sturdy construction, ease of use, and versatility make it a must-have accessory for photographers who need to be ready for anything while on the job.
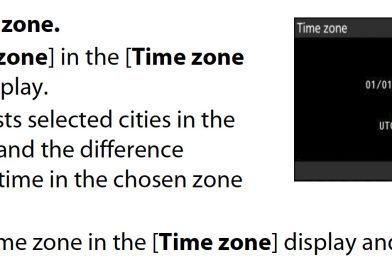
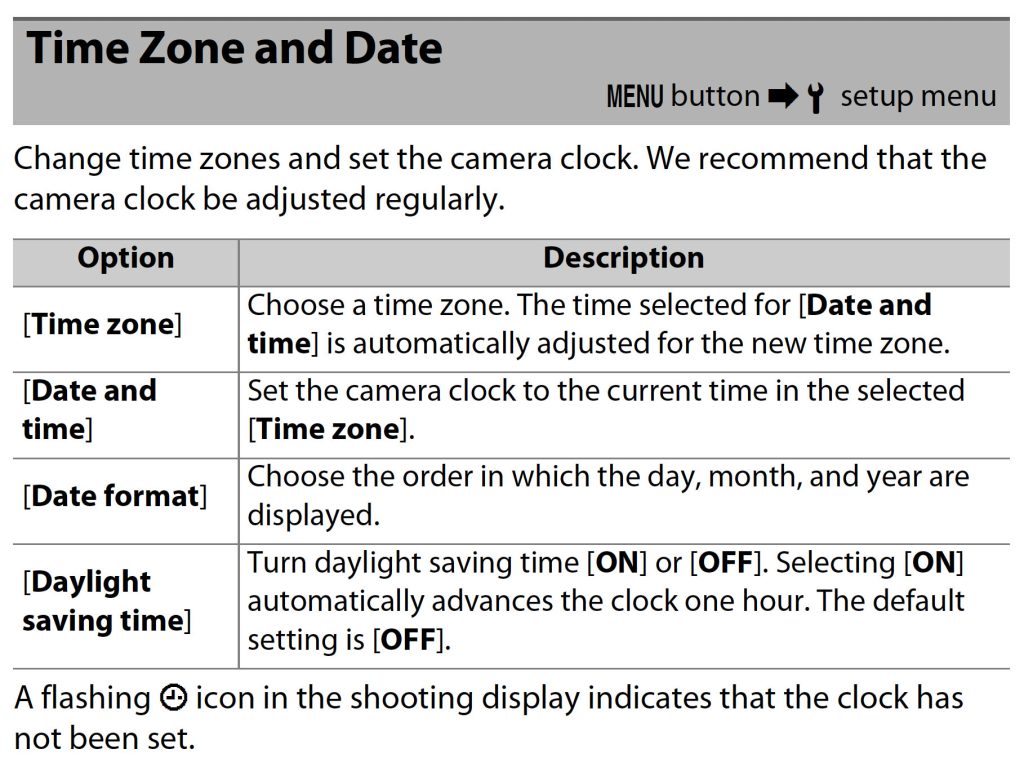
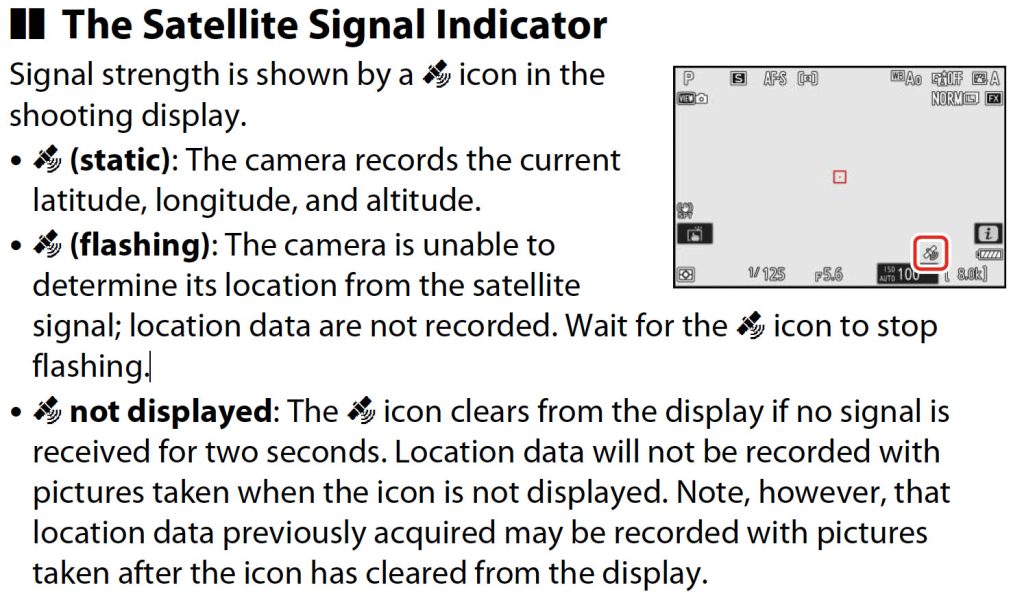
When traveling to different time zones, it’s important to remember to adjust your camera settings rather than changing the clock itself. This is especially true for the Nikon Z9, which has a built-in location data unit that records the camera’s current latitude, longitude, and altitude, as well as the current time (coordinated Universal Time, or UTC).
One of the main advantages of adjusting the time zone setting rather than the clock is that it ensures all your images will sync with each other when sorted by capture time. This can be especially helpful when working with multiple photographers, as it makes it easy to ensure that everyone’s images are correctly aligned.
To adjust the time zone setting on your Nikon Z9, ensure the location data function is turned on. This can usually be done by going into the camera’s settings menu and selecting the appropriate option. Once this is done, you can set the clock to synchronize with the time reported by the location data function.
It’s also worth noting that when you turn on the location data function, the Nikon Z9 will automatically adjust the time to the correct time zone for your region. This means that you won’t have to worry about manually changing the time every time you travel to a new location.
In conclusion, when traveling to different time zones, remember to adjust your camera settings rather than changing the clock. This will ensure that your images are correctly aligned and that you can efficiently work with other photographers. Also, remember to turn on the location data on Nikon Z9 and turn on the option to synchronize the camera clock with the time reported by the location data function.
As we age, it’s natural to have concerns about how our abilities will change and how they might impact the things we enjoy. For photography enthusiasts, the fear of losing the ability to navigate the complex menus and settings on cameras and the memory recall required to process RAW files using software like Lightroom and Photoshop can be particularly daunting.
But it’s important to remember that just because we may experience age-related changes in our brain and memory doesn’t mean we have to give up the things we love. On the contrary, we can employ many strategies to maintain our cognitive abilities and enjoy photography as we age.
One strategy is to stay active and engaged in activities that challenge our brain, such as learning new photography techniques or taking on more complex photo editing projects. Keeping our minds busy and engaged can help maintain cognitive function and reduce the risk of age-related decline.
Another strategy is to seek assistive technologies that can help simplify capturing and editing photos. For example, artificial intelligence (AI) is increasingly used in photography to automate tasks and make it easier for users to achieve professional-quality results with minimal effort.
For example, AI-powered photo editing software can automatically adjust exposure, color, and other settings to achieve a desired look without requiring extensive manual adjustments. Similarly, AI-powered cameras can automatically change settings based on the scene and subject, making it easier to get the shot you want without navigating complex menus.
In conclusion, aging can be daunting, but it doesn’t mean we have to give up the things we love. On the contrary, by staying active and engaged, seeking out assistive technologies, and utilizing artificial intelligence, we can continue enjoying photography throughout our lives. And with technological advances, the future looks bright for photography enthusiasts of all ages.
As a photographer, one of the most important things to consider is how to back up your images correctly. Whether you’re a professional or an amateur, you’ve likely spent countless hours capturing the perfect shot, and the last thing you want is to lose all of that hard work due to a technical glitch or equipment failure.
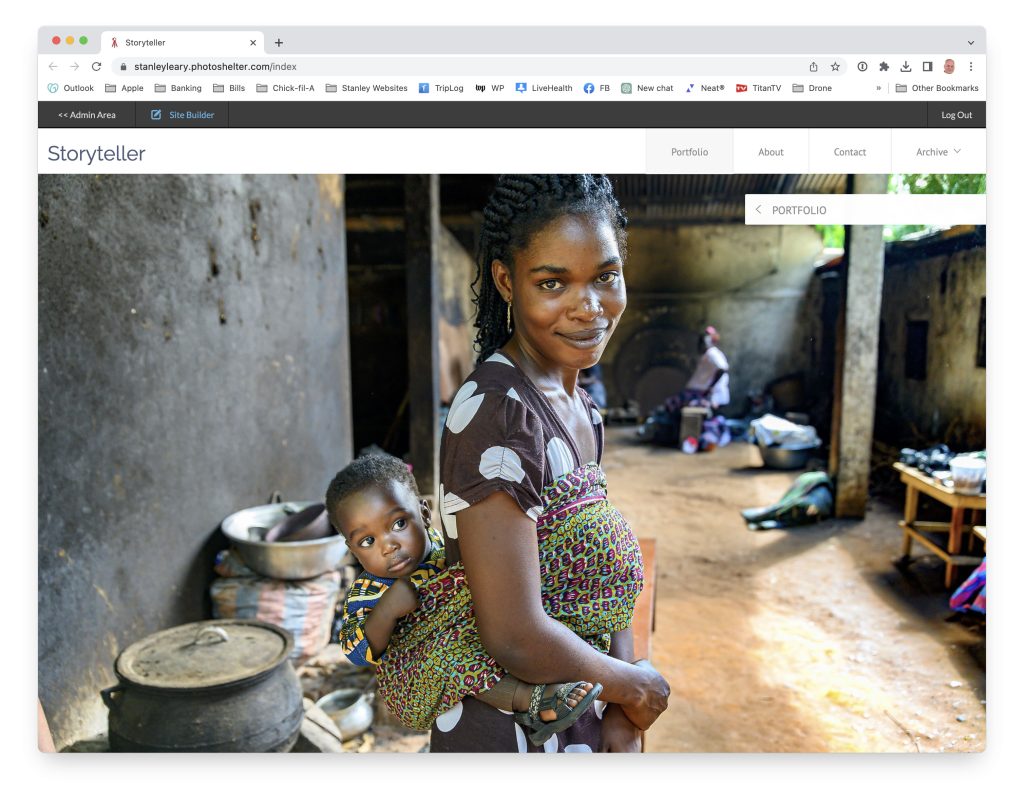
For years, I had used the basic plan on PhotoShelter, a popular online storage platform for photographers. Unfortunately, I had never considered upgrading my plan, so I wasn’t taking advantage of one of the essential features for photographers – backing up your images online.
That all changed recently when my good friend Ron Sherman mentioned that he had unlimited storage on his PhotoShelter account for around $500 a year. I was shocked to realize I had missed out on this valuable feature, and I immediately upgraded my plan.
Since then, I’ve been uploading all of my images to PhotoShelter, taking advantage of the platform’s geographically redundant servers to ensure that my pictures are safe and secure. This is the “C” in the A, B, & C of a backup plan, as the A & B have multiple copies on different devices.
In December 2022, when ASMP member John Harrington did his business practices presentation in Atlanta, he also mentioned keeping all of his files on PhotoShelter. This further reinforced my decision to upgrade my plan, and I am now confident that my images are protected.
The next step is to reach out to my clients and let them know that I have their images archived on PhotoShelter. This way, if they ever need access to those images again, they know I have them saved and available.
In conclusion, I am glad to have discovered this “diamond in the rough” and taken advantage of the benefits of PhotoShelter’s unlimited storage plan. I highly recommend this service to any photographer looking for a reliable and cost-effective way to back up their images.
We’ve all been there – on both ends of the relationship where we are the one making the phone call and interrupting our friend, or where we are the one working on a project and our friend calls. As creatives, we understand the importance of focusing on our work to be successful, but we also value our friendships and want to be good friends. Unfortunately, this can create a sense of inner conflict and lead to guilt or frustration.
When a creative is in the zone, their mind is entirely focused on the task at hand, and it can be difficult for them to disengage and shift their focus to something else, such as a phone call. This can make them feel more frustrated with themselves because they may feel unable to control their attention and focus.
On the other hand, when we make phone calls and interrupt our friends, we may not realize the impact of our actions. We may think that our friend is just busy and no big deal, but in reality, they may be in the middle of a project and fully immersed in the process. This can lead to frustration for both parties, as the creative may feel they missed an opportunity to connect with their friend and let them down.
1st Row: Jason Getz, Dana Miserez Mixer, Johnny Crawford, & Kerry Lammi; 2nd Row: Dick Walters, Mark Sandlin, & Stanley Leary; 3rd Row: Berrie Smith, & Robin Rayne Nelson
So, what can we do to balance our work and our relationships? One solution is to schedule time specifically for our friends. By setting aside time to focus on our relationships, we can be more intentional about being fully present. This can help to alleviate guilt or frustration when we are working on a project and a friend calls. Additionally, by scheduling time to be with friends, we can better balance our time between work and relationships, which can be essential for maintaining a healthy work-life balance. It can also prevent us from missing important moments and memories with friends and loved ones, which can be valuable for our overall well-being.
In conclusion, it can be challenging for creatives to balance work and relationships. However, by scheduling time specifically for our friends, we can ensure that we can be fully present for them while also being able to focus on our work. This can help us to maintain a healthy work-life balance and to avoid feelings of guilt or frustration. Remember, it’s essential to balance our work and relationships so that we don’t miss out on the critical moments and memories with our loved ones.
Meghan Duncan & James Dockery enjoy talking shop, but also have become close friends through multiple Storytellers Abroad Workshops. Here they are in Santiago, Chile walking on their way to lunch with the team.
What about work and our relationships on the job?
Being results and relationship-focused means balancing the need to achieve specific goals and objectives with maintaining positive relationships with colleagues, clients, and other stakeholders. In addition, this approach recognizes that workplace success often depends on individual performance and the ability to collaborate and communicate with others effectively.
Being results-focused means setting clear goals and working diligently to achieve them. This includes being efficient and productive, taking the initiative and consistently delivering high-quality work.
On the other hand, being relationship-focused means building and maintaining positive relationships with others. This includes being a good listener, empathetic, and able to communicate effectively and collaborate. It also means being aware of the impact of one’s actions on others and making an effort to build trust and respect.
By balancing these two priorities, one can achieve personal and professional success while fostering a positive and productive work environment.
Left to Right: Bob Carey, Mark Sandlin, Bill Bangham, Kent Harville, Jim Veneman & Stanley Leary [photo by Gibbs Frazeur]
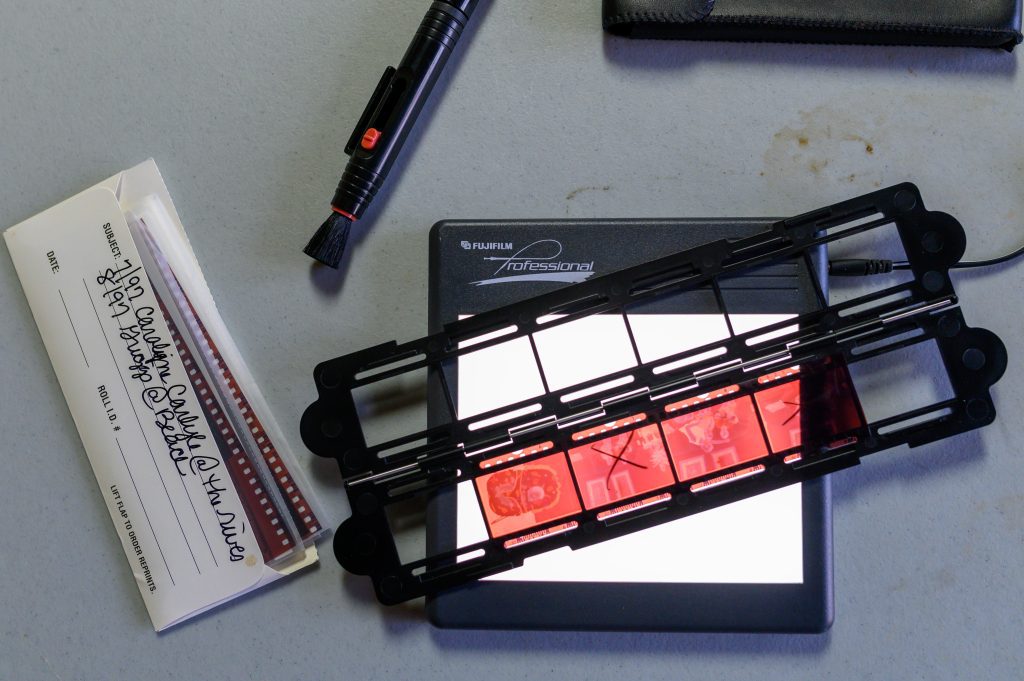
Copying color negatives using the Nikon Z9 & Nikon ES-2 Film Digitizing Adapter Set
Here are the basic steps to follow:
Mount the 60mm ƒ/2.8 macro lenses on your camera and attach the Nikon ES-2 Film Digitizing Adapter Set to the lens.
I use the Auto ISO with ISO 64 for the lowest setting, 1/60 shutter speed, and Aperture Priority of ƒ/8. Matrix metering and the one thing that changes with exposure is your ISO. It will hover around ISO 100-200 most of the time. I am shooting RAW and exporting it to JPEGs.
I have the camera tethered to my computer using a USB-C cord and the software Plugin. Go to that website for instructions. Once the plugin is installed, you will restart Lightroom when you select tethering.
Put a light [Light Panel] to light up the diffuser. See photo.
Do a custom white balance. The white plastic diffuser will serve as the grey card.
Insert the color negative into the negative holder, ensuring it is properly aligned and focused.
Compose the shot and adjust the focus as needed. I liked seeing just around the negative. You can shoot tighter if you choose.
Take a test shot and check the exposure with Lightroom.
Once you are satisfied with the composition and exposure, start copying away.
Copying color negatives using the Nikon Z9
It’s a good idea to use a tripod for stability and take some test shots before the final copy. I used a copy stand.
Once your negatives are prepared, go to Lightroom and select the negative CMD+A on Mac or CTRL+A on PC (or group of negative) you want to convert, and open Negative Lab Pro.
On the Mac, you can open Negative Lab Pro by hitting the CTRL + N shortcut key. Or by going to File -> Plug-in Extras -> Negative Lab Pro.
On Windows, go to File -> Plug-in Extras -> Negative Lab Pro to open. Or if you have the Windows Hotkey running (new in v1.2), use the hotkey combo for the nationality you have selected in your Lightroom language preferences:
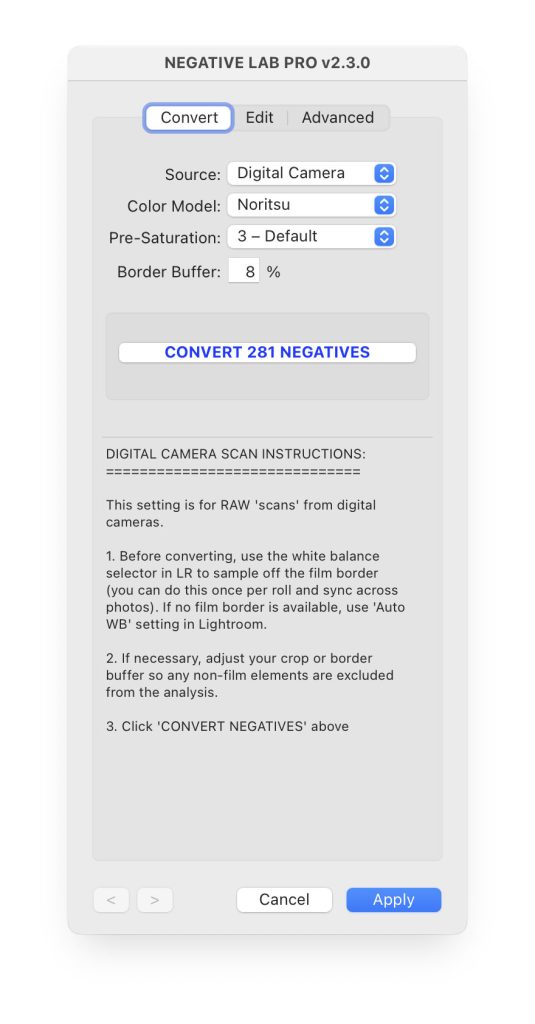
Conversion Settings
Before you begin the conversion process, you have a few options to help shape your final conversion. This happens BEFORE the conversion process because Negative Lab Pro needs the data as input for calculating the conversion itself.
Don’t worry too much about getting it right the first time. You can always experiment later. Just un-convert your negative, try different settings, and re-convert. And since this is all non-destructive, you can also make virtual copies in Lightroom if you want to compare!
COLOR MODELS
Color Models help get your scans closer to the classic colors that were previously only attainable through pro lab scanners.
Basic This color model offers a more neutral rendition of colors (for those who do not want to emulate lab scanners and are more interested in color accuracy).
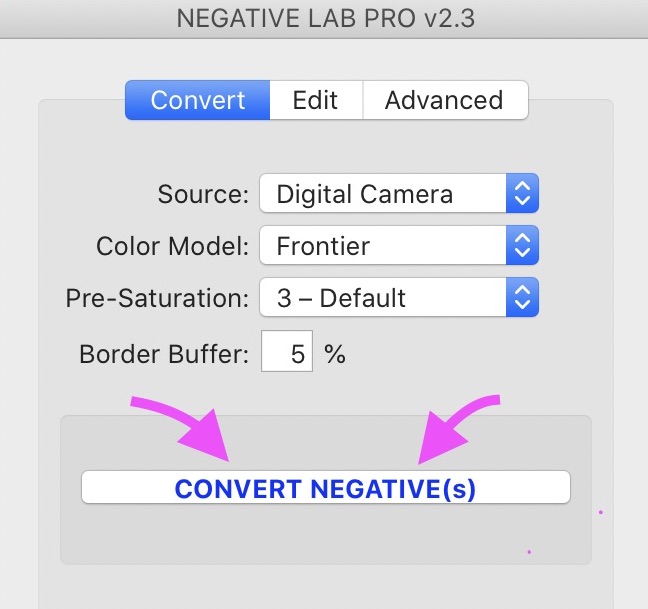
Frontier Based on the Fuji Frontier scanner. This model produces beautiful the teal-blues, golden yellows, and warm tints, which are widely associated with the film.
Noritsu This color model is based on the Fuji Noritsu scanner. While it shares many of the qualities of the frontier scanner, it is generally not as warm.
B+W You should use this mode whenever you’re working on the black-and-white scan (or you want to convert a color negative to black-and-white).
NONE This turns off all the settings affected by the color model section and defaults to your profile before opening Negative Lab Pro. This is useful if you want to use your own profile/calibration/color settings, as this will ensure that NLP doesn’t override those existing settings when you open it.
Once ready, just hit the “CONVERT NEGATIVE” button to initiate the conversion.
Depending on your computer, this can take a while, especially the more photos you choose to run at one time.
When it is finished, you can go one by one and adjust each photo. I suggest playing with all the sliders to get a feel for what each one does. The idea is to get the best color and exposure before clicking on the Apply button. I clicked on the arrows in the bottom left and went one photo at a time, color correct, exposure and contrast, etc. So I was working with about 280 images. It takes a little time to finish all of them, but when I click on apply, you can always select an image in Lightroom, relaunch Negative Lab Pro, and change your settings.
Workflow Tips & Tricks
There are a couple of little “hidden” features of Negative Lab Pro that can speed up your workflow and help in a pinch:
To reset any individual setting, just single-click on the setting name. For instance, if you want to zero out the “Brightness” slider, click “Brightness,” and it will be reset to zero. (Several users have suggested a “double-click” on the slider itself, but this isn’t feasible in the SDK)
Where you see it, click the ⟳ button to cycle through dropdown options. It can be unpleasant to repeatedly click on the dropdown box to see the different options. It’s much faster to click the ⟳ button and cycle through the options until you find the one you want!
Hover your mouse cursor over most setting names to get more details about that setting. For instance, hover over the “Tones” setting name to see a description for the tone profiles.
You can get more accuracy over the sliders by clicking the number box beside it and using the UP and DOWN arrow keys to change it. Holding the SHIFT key while you do this will make larger steps.
Once you select an edit box, you can use the TAB and SHIFT-TAB shortcuts to jump between boxes.
For many of the controls, even if you reach the max of the slider, you can still push it further by directly changing the number in the box. For instance, even though the “Brightness” slider maxes out at 30, you can now edit the number up to 50.
Once you click Apply, you are back in Lightroom.
All the sliders in Lightroom will not behave the same way with the color negatives you have converted. This is why Negative Lab Pro suggests doing all this work in their software. Fixing dust, burning, dodging, and other touches up are best done in Lightroom.
On the afternoon of May 20, 2013, a significant and highly violent EF5 tornado-ravaged Moore, Oklahoma, and adjacent areas, with peak winds estimated at 210 mph (340 km/h), killing 24 people and injuring 212 others.
Photographs hold a special place in our hearts and minds. They capture moments of joy, love, and laughter and preserve memories of people, places, and events that are important to us. But what happens when these precious photographs are lost due to fires, floods, or other disasters? The loss can be devastating, leaving us with sadness, loss, and grief.
Some common expressions and comments from people who have lost photographs due to fires and other disasters include:
“I lost all my memories.”
“I feel like a part of me is gone.”
“I wish I had taken more pictures.”
“I wish I had backed them up.”
“I’m so sad that my family’s history is gone.”
“I feel like I’ve lost a piece of my past.”
“I wish I could go back in time and save them.”
Hurricane Sandy was an extremely destructive and intense Atlantic hurricane, the largest Atlantic hurricane on record as measured by diameter. Its tropical storm-force winds spanned 1,150 miles (1,850 km).
It’s important to remember that photographs are often irreplaceable, and the memories they hold are priceless. That’s why taking steps to protect and preserve our pictures is so important. Here are a few tips on how to do just that:
Please back up your photographs digitally: One of the easiest and most effective ways to protect them is to back them up on your computer or cloud-based storage service. This will ensure you have a digital copy of your photographs if the physical copies are lost or damaged.
Keep your photographs in a fireproof safe: A fireproof safe can provide extra protection for your pictures in case of a fire. Choose an appropriately sized safe for your collection that is certified as fireproof.
Organize and label your photographs: A system for organizing and labeling your pictures can make it easier to find what you’re looking for and to preserve your memories.
Share your photographs with others: One of the best ways to preserve them is to share them. Share them on social media or print them out and give them as gifts. The more people who see and enjoy your photographs, the more likely they will be preserved for future generations.
Volunteers and homeowners clean up after the Moore, Oklahoma Tornado.
If you lose photographs due to fires or other disasters, it’s important to remember that it’s not the end of the world. While you may feel a sense of nostalgia and longing for the memories and moments captured in the photographs, it is still possible to remember them through other means, such as talking to people there or trying to recreate the memories in different ways.
A strong F3 tornado (with wind speeds estimated around 175 mph) touched down 4.4 miles south of Wartburg in the Mossy Grove community, killing five people and injuring 28 on November 10, 2002.
It’s also important to remember that photographs are not the only way to preserve memories. We can also preserve memories through diaries, videos, and other forms of documentation. And even if all physical forms of memory are lost, the memories will remain in our hearts and minds.
In conclusion, photographs play a vital role in preserving memories, and protecting and preserving them is essential. By backing up your pictures digitally, keeping them in a fireproof safe, organizing and labeling them, and sharing them with others, you can ensure that your memories will be preserved for years.
This photo is from my dad’s side of the family. I know the man on the far left is my great-grandfather, who owned the blacksmith. He is H. P. Sewell.
I am reminded quite often how important having photographs can help shape an organization’s culture and success within society.
Photographs can be helpful to an organization in a variety of ways, including:
Providing visual documentation of the organization’s history: Photographs can capture the people, places, and events that have shaped the organization over time, which can help to tell the organization’s story and provide context for other historical records.
Helping with branding and reputation: Photographs can create a positive brand image and reputation by showcasing the organization’s commitment to social responsibility, environmental sustainability, or philanthropy.
Providing context for other historical records: Photographs can provide context for other historical records, such as financial and personnel records, by visually representing the people and events that these records document.
Helping with marketing and public relations: Photographs can create engaging and informative marketing and public relations materials, such as brochures, websites, and social media posts.
Helping foster employee engagement and retention: Photographs of employees, past and present, can help employees understand and appreciate the organization’s history and culture, which can increase their engagement and loyalty.
L/R John Milsaps, Lt Governor Mark Taylor, Mayor Bill Campbell, Wayne Clough, Susan Mendheim, CEO & Pres. of Midtown Alliance, & Buck Stith groundbreaking for the new Technology Square being built by Georgia Tech in Midtown Atlanta, Georgia
If an organization doesn’t photograph these things, it may miss out on these benefits. They may also struggle to provide a complete and accurate picture of the organization’s history, making it more challenging to make informed decisions about its future. Additionally, in the case of legal and regulatory compliance, not having these photographs may result in non-compliance and fines. Overall, it’s crucial for an organization to identify what photographs are essential to its history and to ensure they are captured and preserved for future reference.
Dodge Viper
What is the type of subjects organizations should photograph?
An organization should photograph various things to create a comprehensive historical record. Some examples of things that should be photographed include:
People: This includes employees, past and present, as well as key figures in the organization’s history, such as founders, CEOs, and board members.
Places: This includes photographs of the organization’s facilities, such as offices, factories, and warehouses, as well as significant locations related to the organization’s history, such as the location of its first office or factory.
Products include photographs of the organization’s current and past developments and product prototypes and early versions.
Events: This includes photographs of key events in the organization’s history, such as product launches, company anniversaries, and significant milestones.
Equipment and machinery: This includes photographs of equipment, machinery, and technology the organization used, which can give insight into the company’s operations and industry.
Workplace culture and environment: This includes photographs that capture the company culture, employee interactions, and work environment, as well as the company’s social responsibility and community engagement.
Industry and competitors: This includes photographs of industry trends and events and pictures of the organization’s competitors, which can provide valuable insights into the organization’s industry and market.
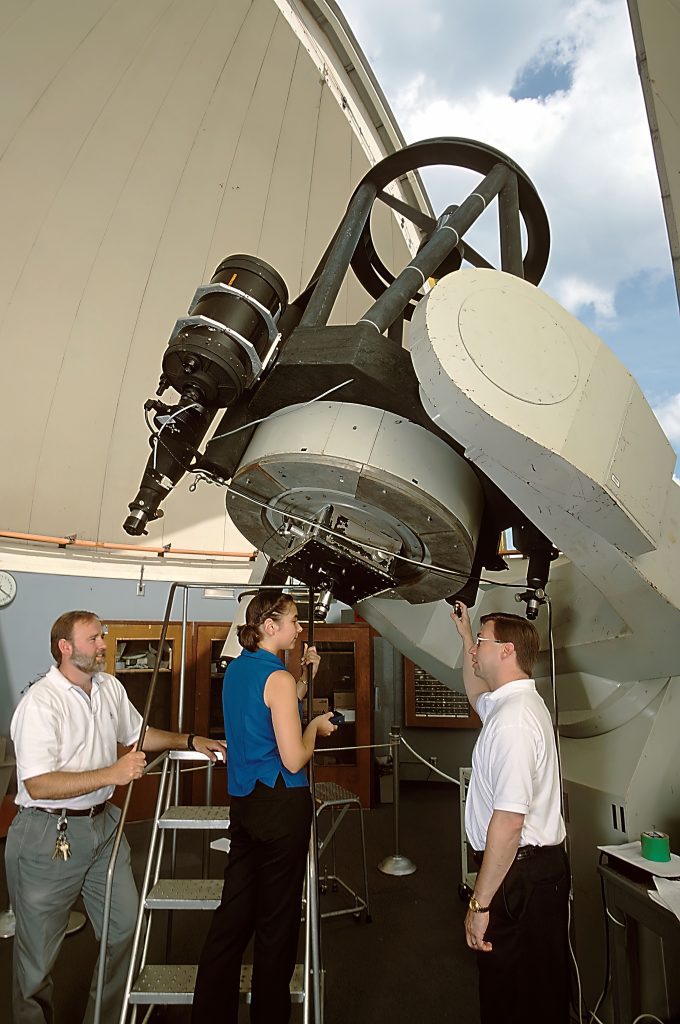
Georgia Tech Atmospheric Science undergraduate student Jennifer King looks through a 36-inch telescope at the Fernbank Science Center as to her left, Ed Albin of the Science Center, and her professor from Georgia Tech, James Sowell, supervise her.
It’s essential to keep in mind that photographs should be taken with a purpose and not just for the sake of taking them; a certain level of curation is necessary to make sure that the pictures that are taken are relevant to the organization’s history and will be helpful in the future.
Archiving Your Photographs
There are several ways that an organization can curate their photographs today; some of the best practices include:
Digital Storage: One of the most efficient ways to store and curate photographs today is by using digital storage solutions such as cloud-based storage, digital asset management (DAM) systems, or even simple digital folders on a shared drive. These solutions make it easy to organize, store, and retrieve photographs and also allow for easy sharing and collaboration.
Metadata and tagging: Metadata and tagging are essential for any digital asset management system. Adding information like date, location, and subject makes searching and finding specific photographs easy.
Image editing and retouching: It may be necessary to edit or retouch photographs to improve their quality or remove any sensitive information before storing them. This can be done using image editing software such as Adobe Photoshop or Lightroom.
Backup and disaster recovery: It’s essential to backup all photographs in case of system failure or other disasters. This can be done by storing copies of the pictures on multiple devices or in various locations.
Access control: It’s essential to ensure that photographs are only accessible to authorized personnel. This can be done by setting up user accounts and permissions or by using encryption or other security measures.
Archiving and preservation: It’s important to keep photographs in a format accessible in the long term. This can be done by using non-proprietary file formats and regularly migrating the files to new formats as technology evolves.
Regularly reviewing: Review the photographs, identify which are essential for the organization’s history, and discard the ones that are no longer needed.
By implementing these best practices, an organization can effectively curate its photographs, ensuring they are organized, accessible, and secure for future reference.
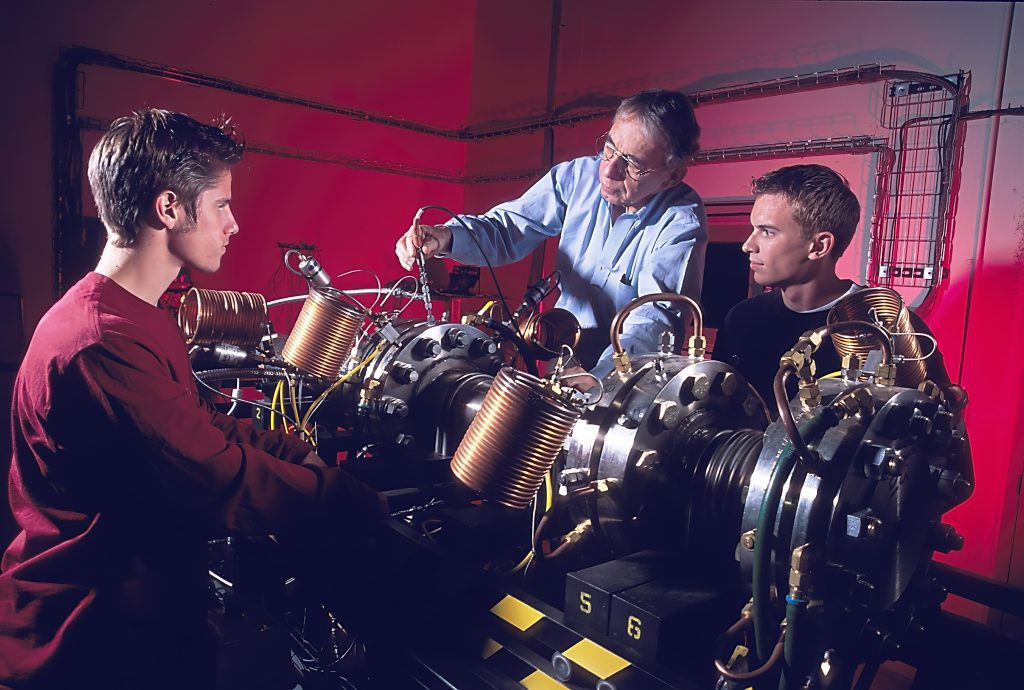
Danny Puckett, Dr. Ben Zinn & Matt Christopher are working on a jet engine in the combustion lab at Georgia Tech.
Why Is Capturing Your Organization In Photographs Is Important
If an organization doesn’t photograph these things, it may miss out on these benefits. They may also struggle to provide a complete and accurate picture of the organization’s history, making it more challenging to make informed decisions about its future. Additionally, in the case of legal and regulatory compliance, not having these photographs may result in non-compliance and fines. Overall, it’s essential for an organization to identify what photographs are necessary to its history and to make sure they are captured and preserved for future reference.
My great-grandfather, Henry Leary, and great-grandmother, Rebecca Frances Derring with their family. My Grandfather James Stanley Leary is in the middle. I am named after him.
As we go through life, we tend to accumulate a lot of memories and mementos that hold special meaning to us. One of the most powerful ways to preserve these memories is through photographs.
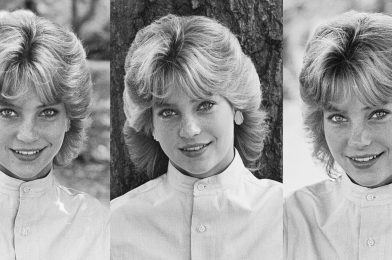
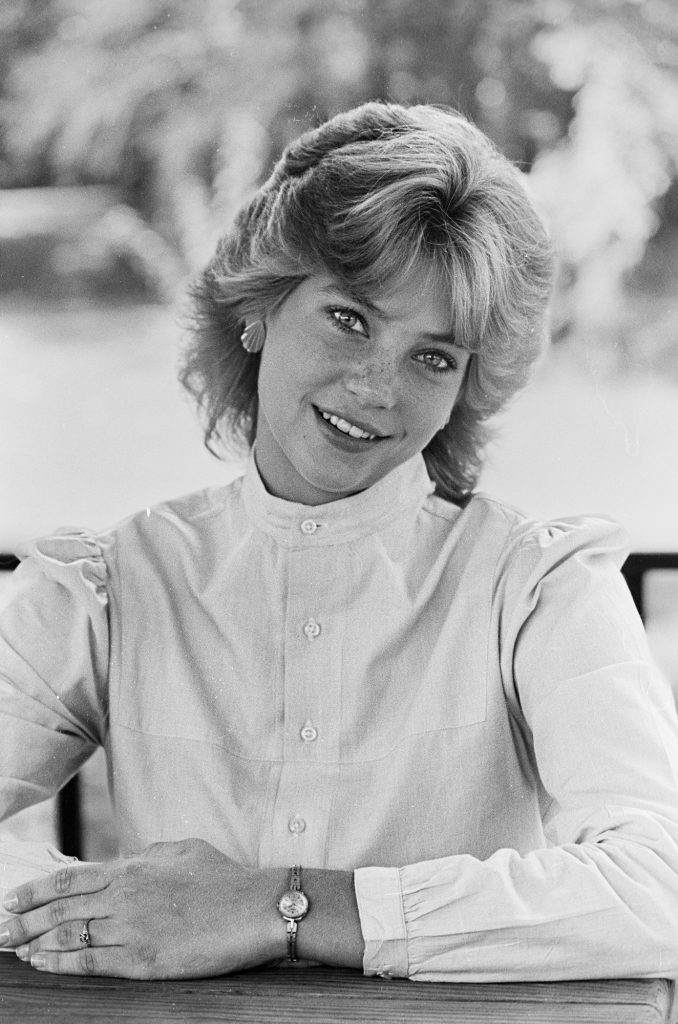
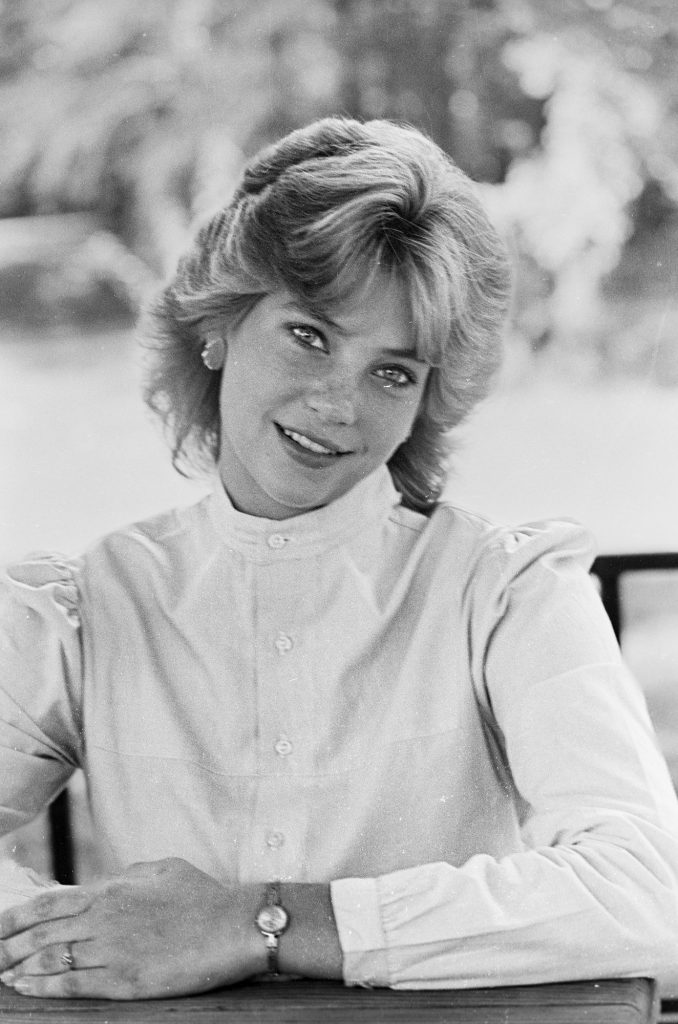
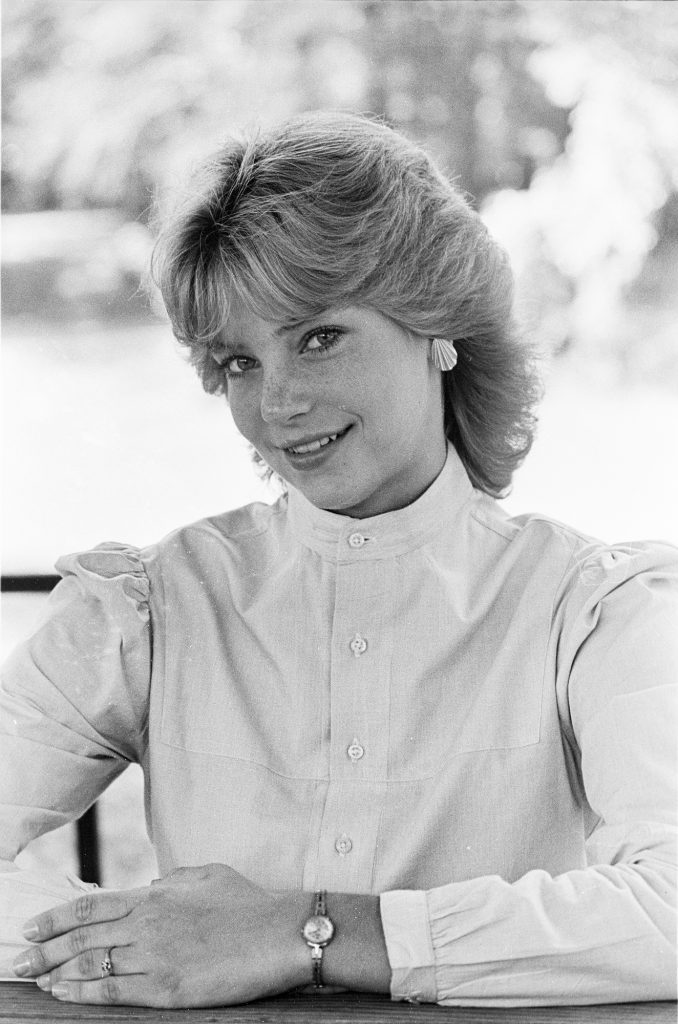
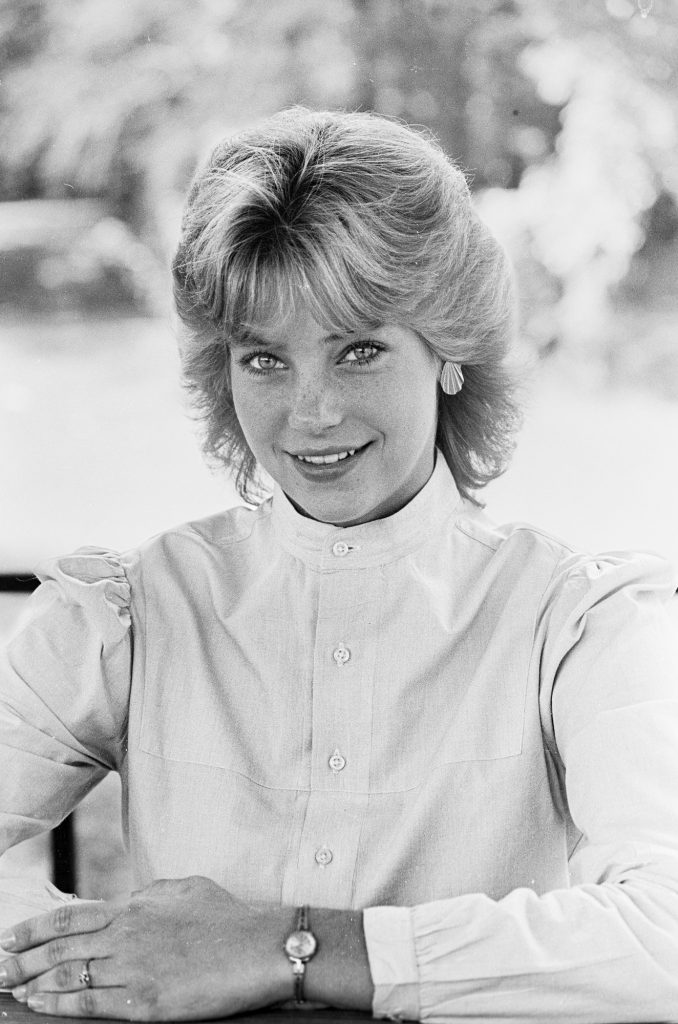
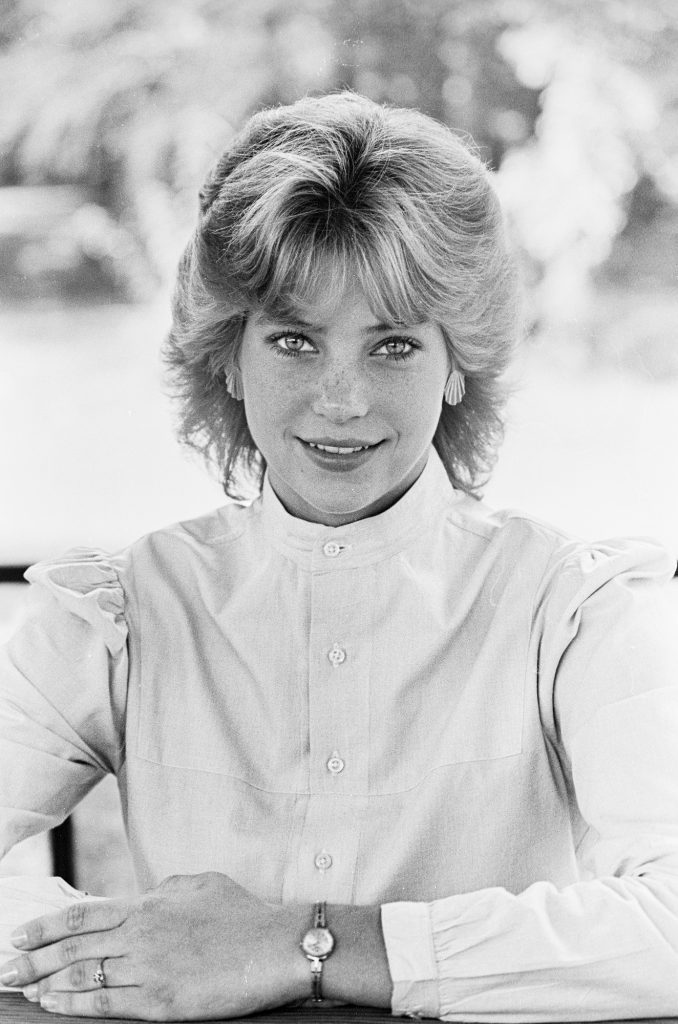
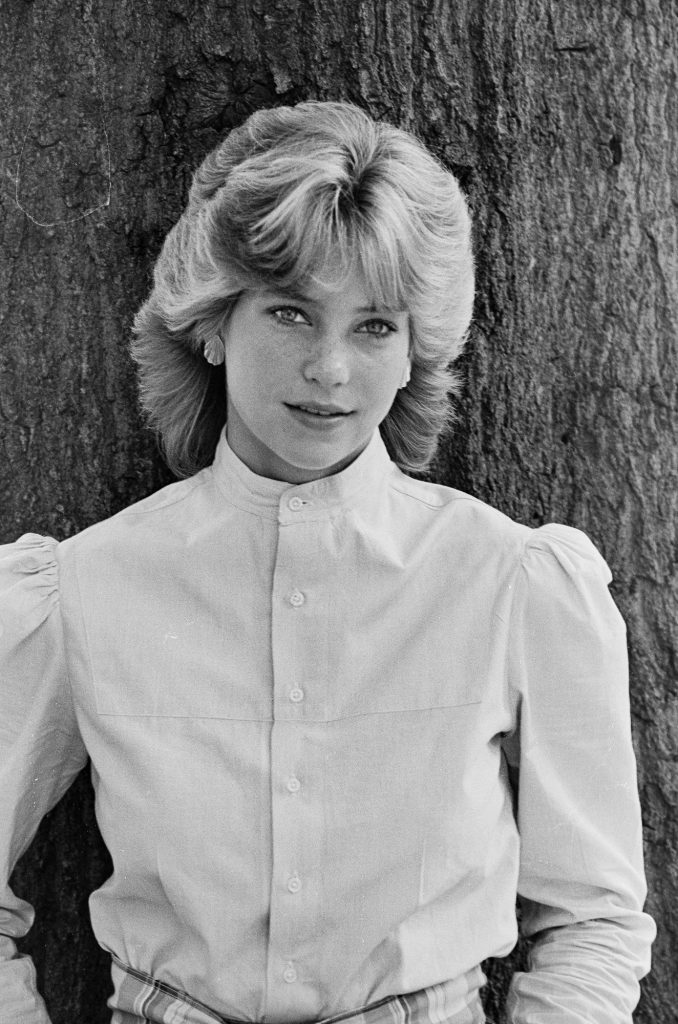
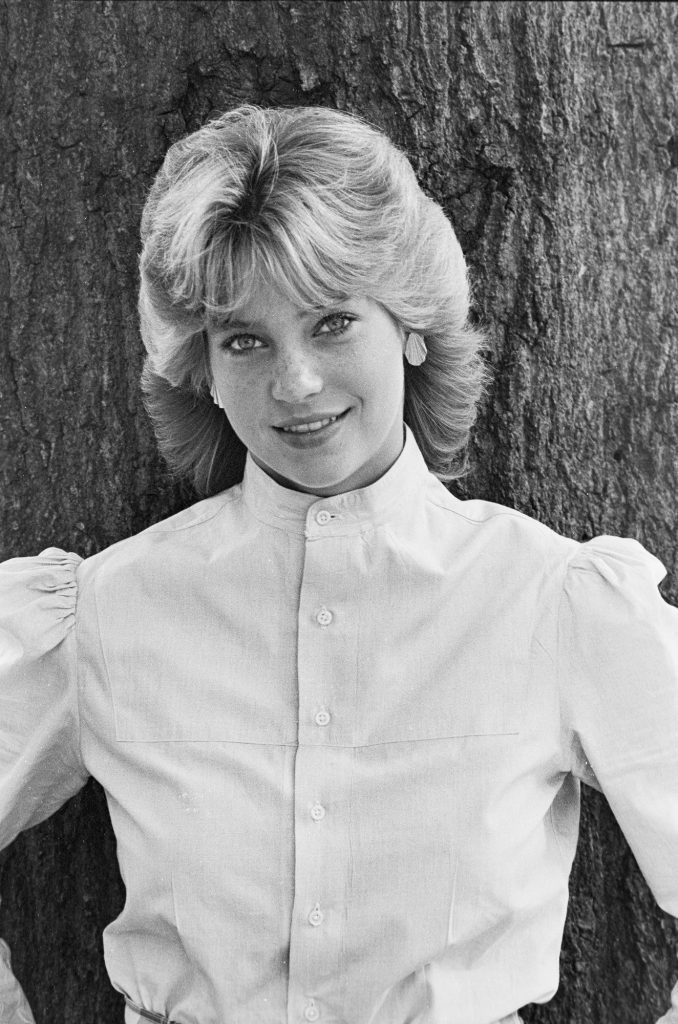
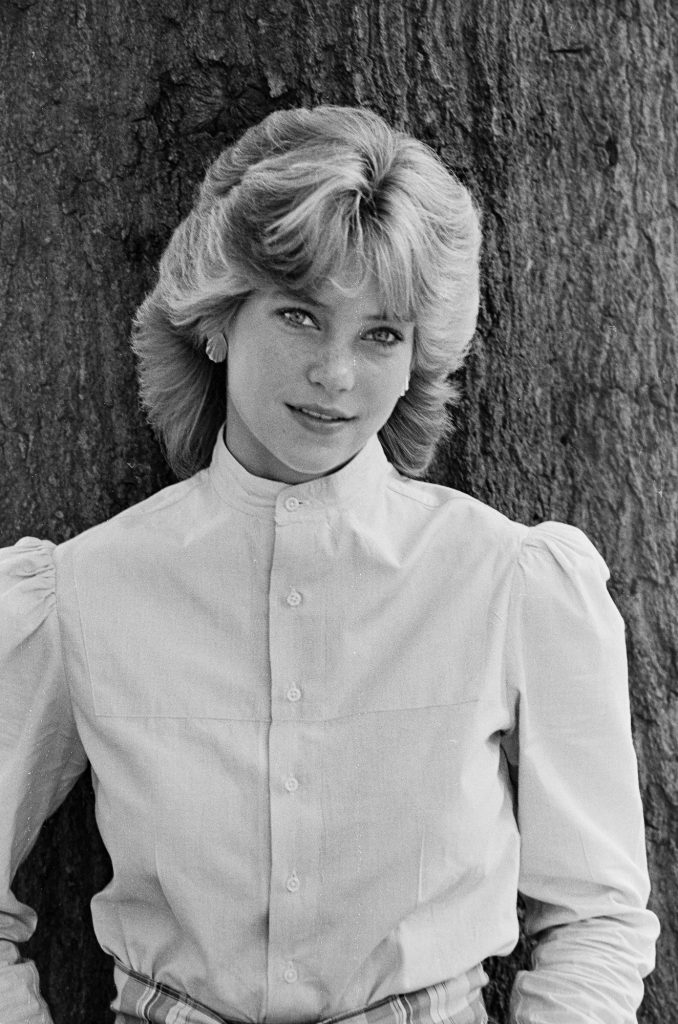
Recently, I received a text message through Instagram from a woman who stumbled upon a photo I had taken of her many years ago. She shared with me how much the picture meant to her and her son, and it got me thinking about the importance of photographs in preserving our history for future generations.
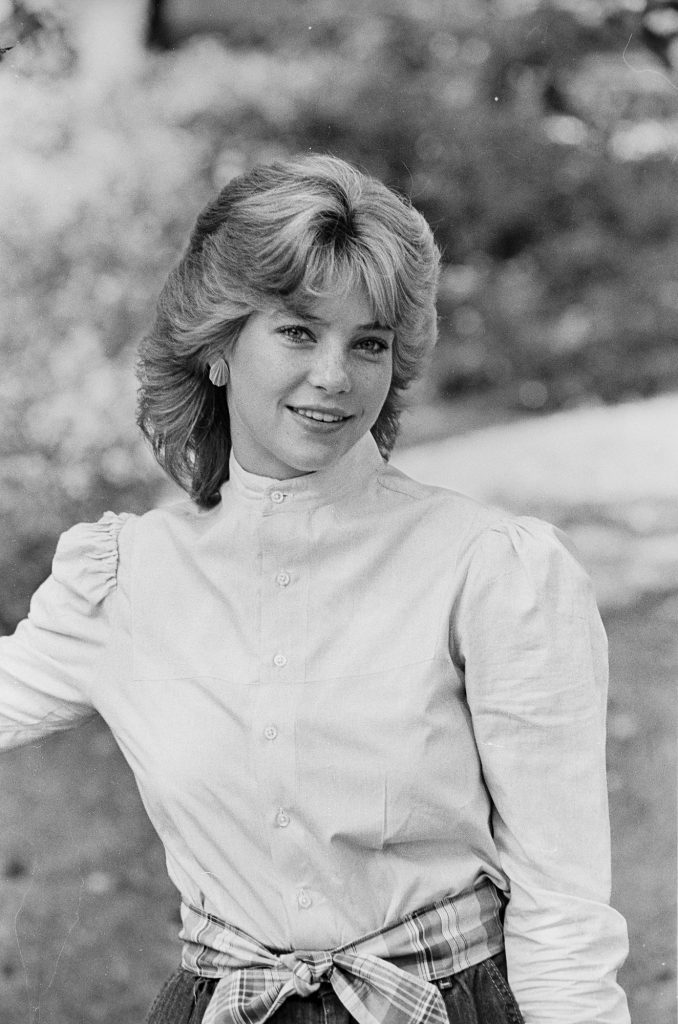
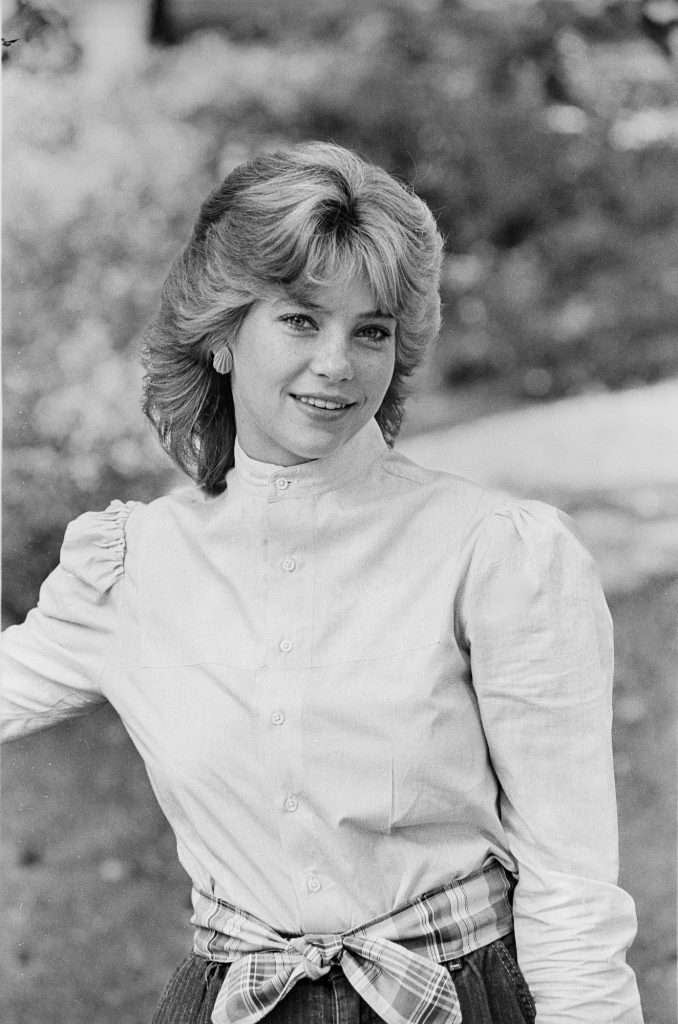
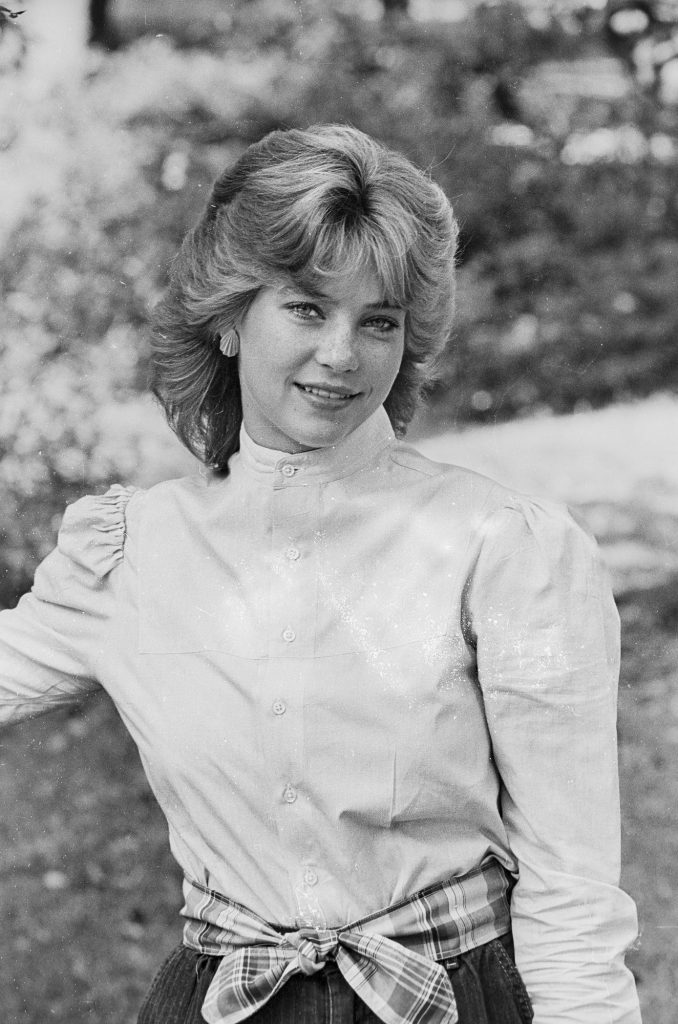
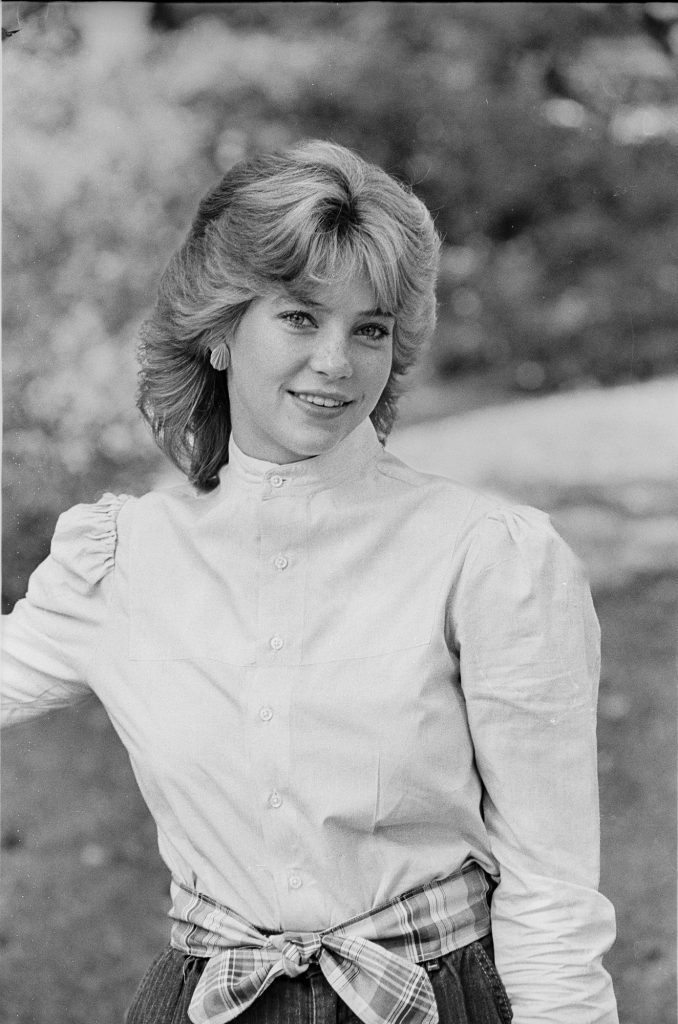
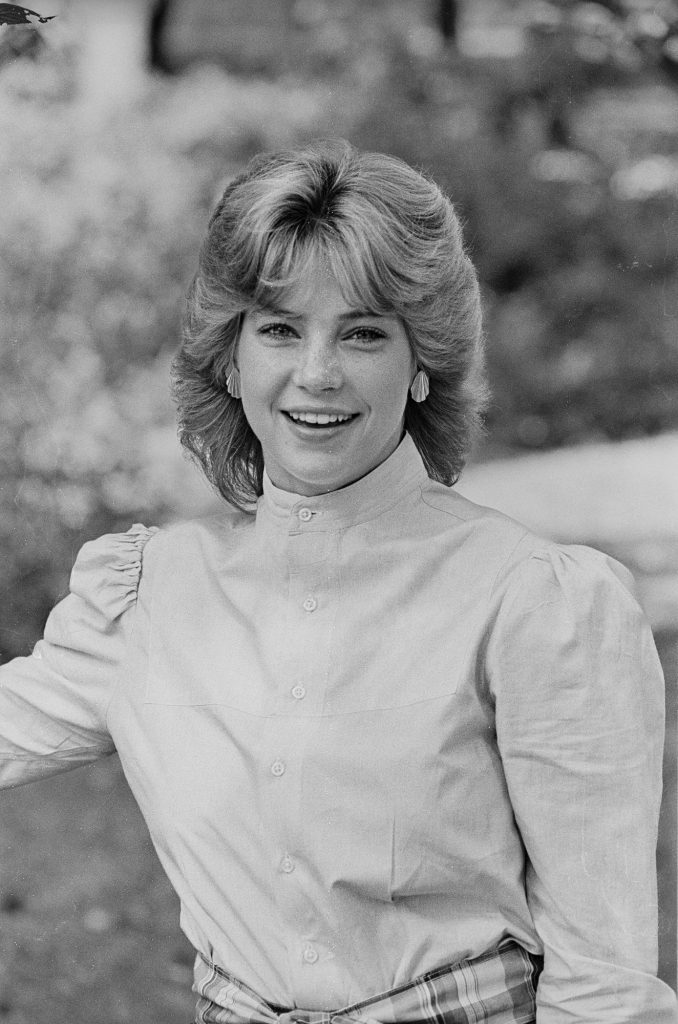
Hi —I was going through some old memorabilia that I kept for years and that photo was one of them. I was taking photos from my phone and then tossing most away because of storage. I showed the photo you took (homecoming court/pirate) and showed my son, and he said “I love that photo of you mom, you have to keep that one” He is 18. I turned it over and saw your name. Then I looked you up, and your Instagram showed you still shooting photos, so I was seeing if it was you. I remember you also from the ECU newspaper. I worked there in 1982/1983 typesetting.
Photos uniquely transport us back in time, reminding us of the people, places, and experiences that have shaped our lives. They allow us to relive special moments and share them with others, bringing back memories that may have been forgotten.
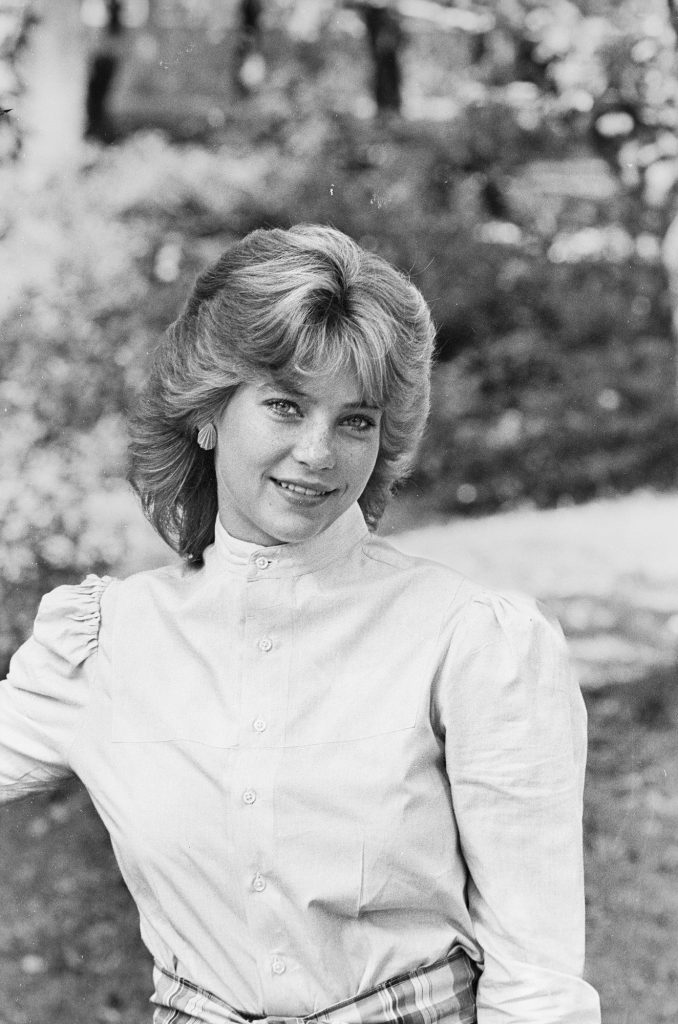
In this case, I could find the original negatives of the photos and scan them for her, allowing her to have a higher-quality version of the image to keep forever. It was such a joy for me to give her these memories in a more tangible form.
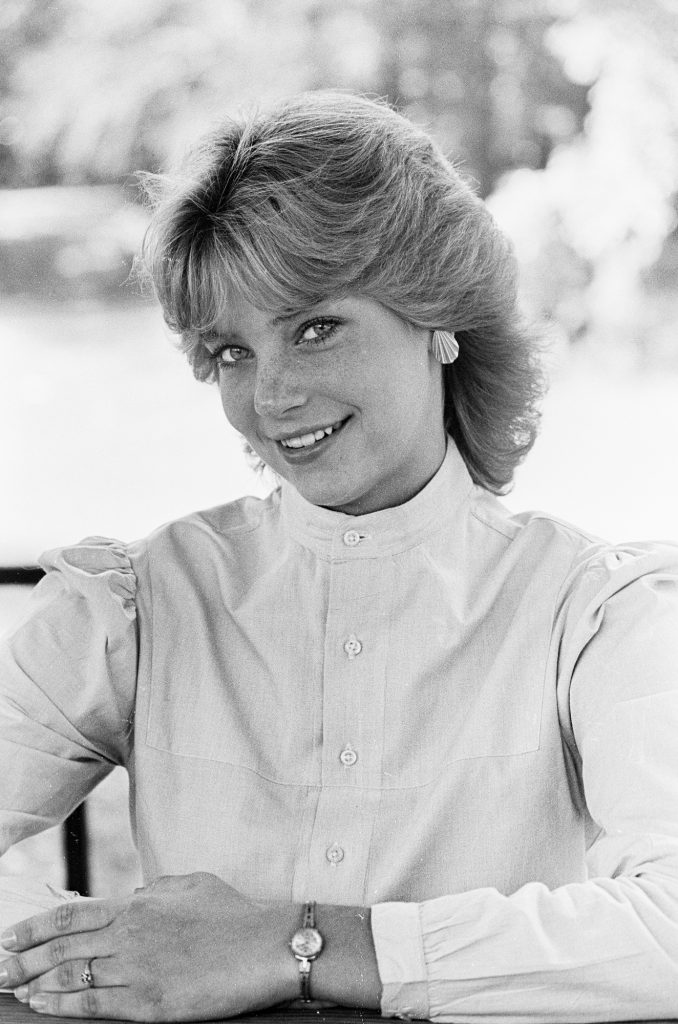
Amy Peterson
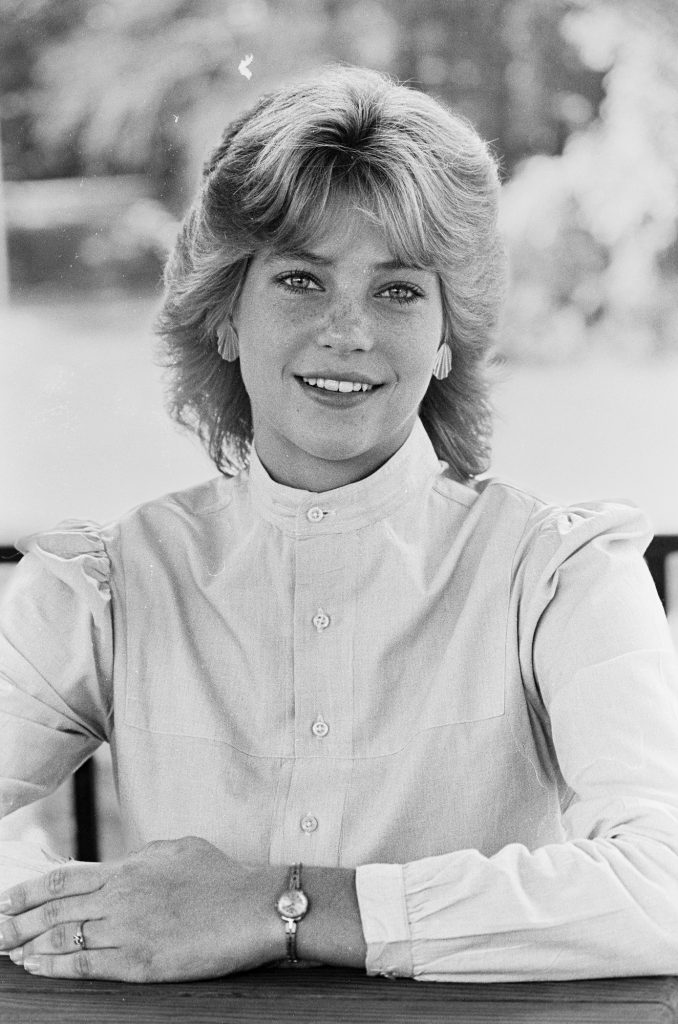
Amy Peterson
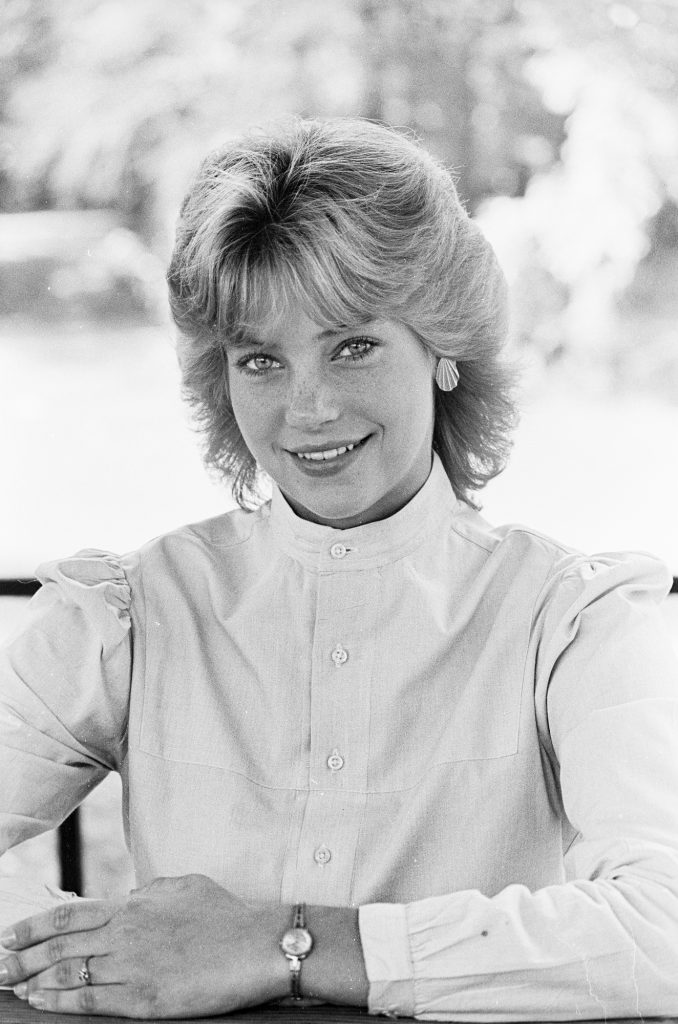
Amy Peterson
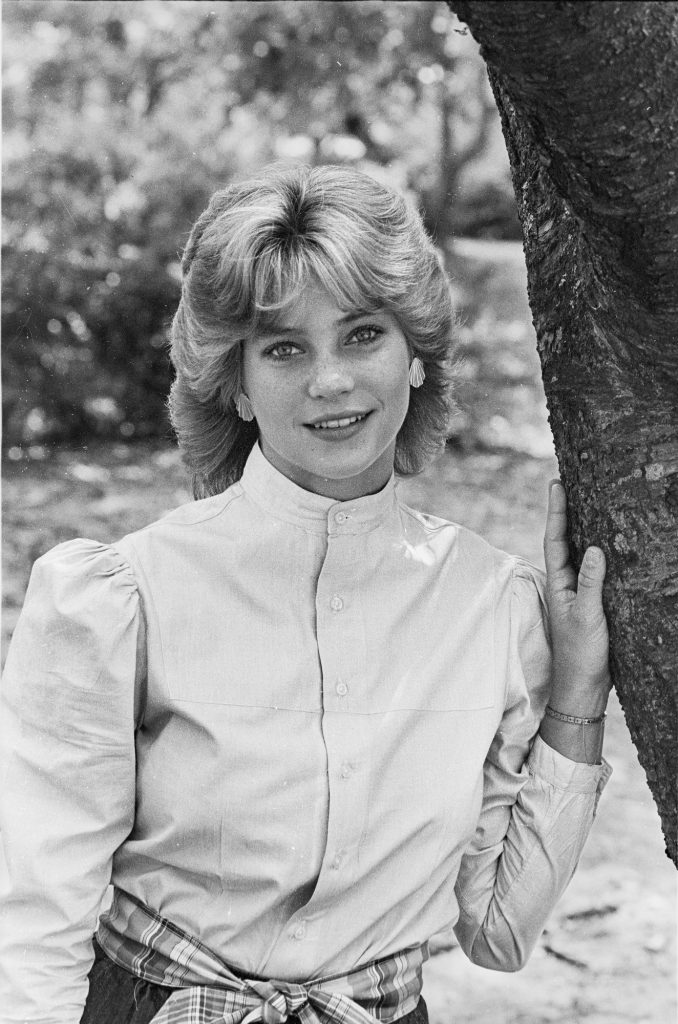
Amy Peterson
Amy Peterson
Amy Peterson
Amy Peterson
Amy Peterson
Amy Peterson
Amy Peterson
Amy Peterson
Amy Peterson
Amy Peterson
Amy Peterson
Amy Peterson
Amy Peterson
Amy Peterson
Amy Peterson
Amy Peterson
Amy Peterson
Amy Peterson
Amy Peterson
Amy Peterson
Amy Peterson
This experience reinforced the importance of preserving our photographs for future generations. Whether it’s through digitizing old negatives or simply keeping physical copies of our photos, we must take the time to ensure that our memories are passed down to those who come after us.
Photos are more than just a way to capture a moment in time; they are a way to preserve our history and ensure that the memories of our loved ones live on. So next time you come across an old photo, take a moment to appreciate it and consider how you can preserve it for future generations.
Starting a photography business can be challenging and exciting, but it’s essential to understand that different types of photography have other revenue streams. Therefore, when starting, it’s necessary to consider which types of photography will provide a faster revenue stream, as this can help you establish your business and build a sustainable income. This blog post will explore different types of photography and how their revenue streams compare, so you can make an informed decision when starting your photography business.
Some types of photography, such as headshots and event photography, can provide a faster revenue stream than others, such as fine art or nature photography. This is because headshots and event photography have a shorter lead time between when the job is booked and when payment is received. This can be especially important when you’re just starting, as it can help ensure a steady income stream while building your business.
Additionally, focusing on certain types of photography can help you develop your skills and build a portfolio that will attract more clients. By starting with a kind of photography with a faster revenue stream, you can establish your business, develop your skills and then move on to your real specialty.
This blog post will take a closer look at the different types of photography and how their revenue streams compare, so you can make an informed decision when starting your photography business. We will also explore ways to market your skills and attract clients, so you can earn money faster and build a sustainable income.
Pier at Night Ocean Isle Beach, North Carolina. [NIKON Z 6, 24.0-105.0 mm f/4.0, Mode = Aperture Priority, ISO 100, 30, ƒ/11, (35mm = 105)]
A Short Marketing Lead Time
Marketing your skills in a specific type of photography can be a great way to focus your efforts and see a faster return on investment. One area of photography that can be particularly lucrative is headshots. Headshots like business cards, LinkedIn profiles, and website bios are typically used for professional purposes. However, they are also often needed for actors and models.
Headshots typically have a faster return on investment than other types of photography, such as shooting for annual reports. This is because headshots are often needed on a more regular basis and have a shorter turnaround time. For example, a business owner or actor may need new headshots every few years, whereas an annual report is only produced once per year. Additionally, headshots are often less complex to shoot, meaning you can take on more clients in a shorter period.
Another advantage of focusing on headshots is that they can be done in a studio or on location, and they don’t require as much equipment as other types of photography. This can help to keep overhead costs low, allowing you to charge lower rates while still making a profit.
When marketing your headshot photography skills, it’s essential to focus on the specific needs of your target market. Business owners and actors will have different needs, so it’s vital to tailor your marketing and services to meet those needs. For example, business owners may be looking for a more traditional, professional look, while actors may be looking for something more creative and expressive.
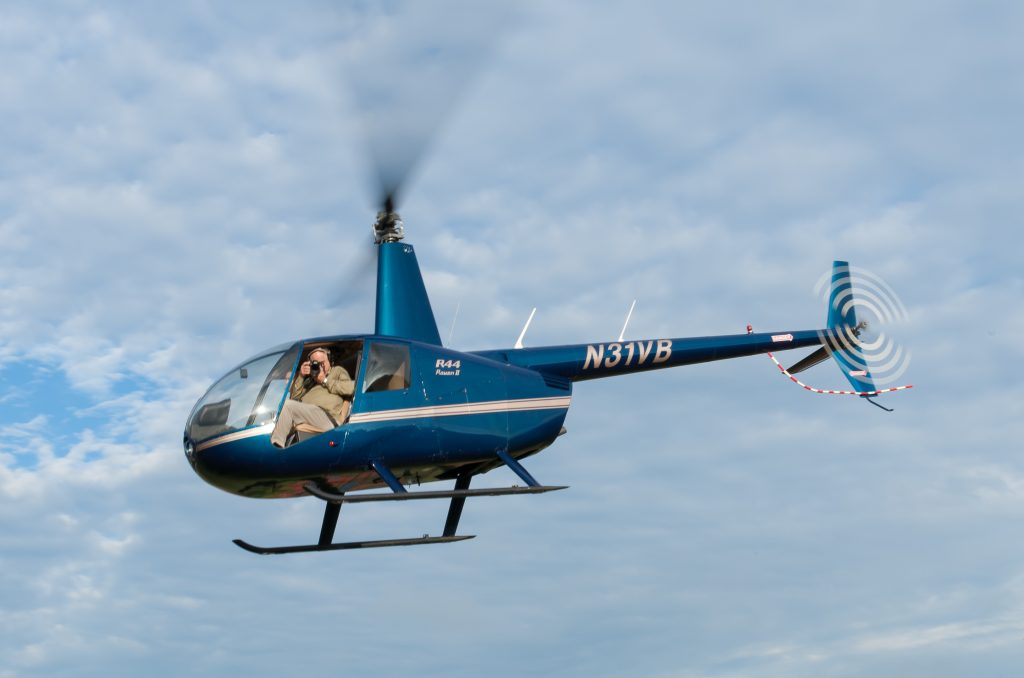
Stanley is doing aerial photography from a helicopter. photo by Craig Carden
Other Types Of Photography Which Require Longer Lead Time
Several types of photography other than headshots can be profitable but may take longer to market. Some examples include:
Wedding photography: This type of photography is in high demand, but it can take time to build a reputation and establish yourself as a reputable wedding photographer. It also takes time to build relationships with wedding planners and other vendors in the industry.
Commercial photography includes shooting for advertising campaigns, product catalogs, and other commercial use. It can be pretty profitable, but it can take time to develop relationships with clients and build a portfolio of work that demonstrates your skills.
Fine art photography: This type of photography is focused on creating art through photography. It can be pretty profitable, but it can take time to establish yourself as a reputable fine art photographer and to build a market for your work.
Nature and wildlife photography: This type of photography can be pretty profitable, but it can take time to build a reputation and establish yourself as an expert in this field. Additionally, traveling to remote locations for shoots can be costly and time-consuming.
Corporate and Event photography: This type of photography requires a lot of planning, coordination, and execution. This can be profitable, but it takes time to build a reputation, establish relationships with corporate clients, and get repeat business.
These types of photography require a lot of dedication, hard work, and patience. Building a reputation and a following takes time, and it’s essential to be willing to invest the time and effort required to make it happen.
Zack Arias is taking questions at PhotoShop World.
As a photographer, it’s essential to be aware of the questions you’re asking when seeking advice or troubleshooting issues with your photography. Photographers may not get the answers they need because they’re not asking the right questions.
One common problem is that photographers may not be clear on what they’re trying to achieve. So before reaching out to others for help, it’s essential to have a clear idea of what success looks like for you and your photography. This will help you craft more specific and targeted questions and increase the chances of getting helpful answers.
Another issue is that photographers may not identify the core problem they’re trying to solve. Instead of asking general questions about photography techniques or equipment, take some time to think about your issue’s root. Are you having trouble with lighting? Are you struggling to capture motion? By identifying the core problem, you’ll be able to ask more focused questions that will lead to more meaningful answers.
As a storyteller and social worker, I have found that asking the right questions can be the key to success. By taking the time to understand what you’re trying to achieve and what the core problem is, you’ll be able to craft questions that will lead to solutions that will help you improve your photography and take your craft to the next level.
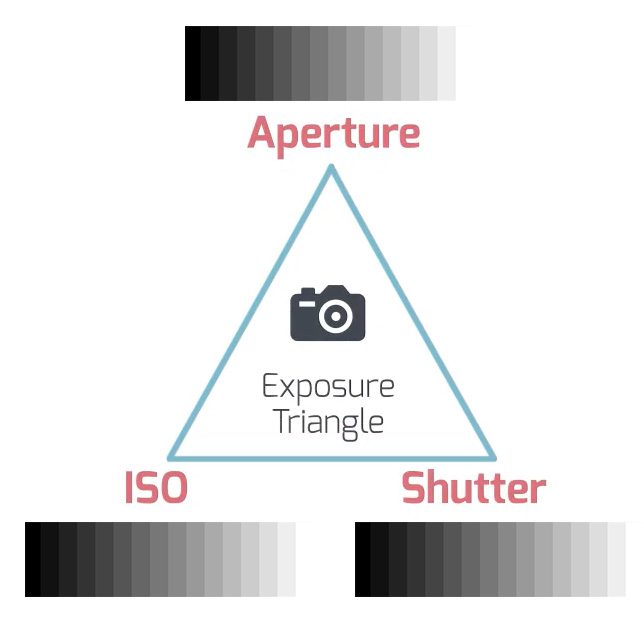
Start With The Exposure Triangle
The exposure triangle is a fundamental concept in photography that refers to the relationship between aperture, shutter speed, and ISO. These three elements work together to control the amount of light that enters the camera and affects the final image. As a photographer, it’s essential to understand how to balance these elements to create the desired effect.
One common issue photographers face a tendency to over-emphasize low ISO settings. While a low ISO can be beneficial in certain situations, such as when shooting in bright daylight or with a tripod, it’s not always the best solution. A higher ISO may sometimes be necessary to achieve the desired shutter speed or aperture.
For example, a fast shutter speed is often more important than a low ISO when shooting action or sports. However, to freeze the motion, the photographer needs to use a fast shutter speed; to do that, a higher ISO may be necessary. In other situations, such as low-light photography, a wide aperture or longer shutter speed may be more important than a low ISO.
I had installed the White Lighting light to the left while on staff at Georgia Tech. I then, as a freelancer, put in my Alienbees B1600 lights to give me enough light to shoot a basketball in the Alexander Memorial Coliseum.
You May Need Flash Or A Constant Light Source
It’s important to remember that the exposure triangle is not set in stone, and adjusting the settings based on the situation and the desired outcome is essential. In some cases, even if the ISO, shutter speed, and aperture are set correctly, the lighting situation may require additional light sources such as flash or reflectors to achieve the desired result. As a photographer, it’s essential to be aware of these options and know when to use them.
In conclusion, the key to successful photography is understanding the exposure triangle and balancing aperture, shutter speed, and ISO based on the situation and desired outcome. Knowing when to prioritize one over the other and being aware of additional light sources will help you to create the images you want and improve your photography skills.
You cannot shoot this with auto-focus for so many reasons. You preset your focus and then use an aperture that gives you enough depth-of-field, as you see here, to get the players in focus. I had to properly shoot at ISO 800 to expose the photo with a ƒ/6.7 aperture. [NIKON D100, Sigma 15-30mm f/3.5-4.5, Mode = Manual, ISO 800, 1/180, ƒ/6.7, (35mm = 22)]
Cookie Consent
We use cookies to improve your experience on our site. By using our site, you consent to cookies.