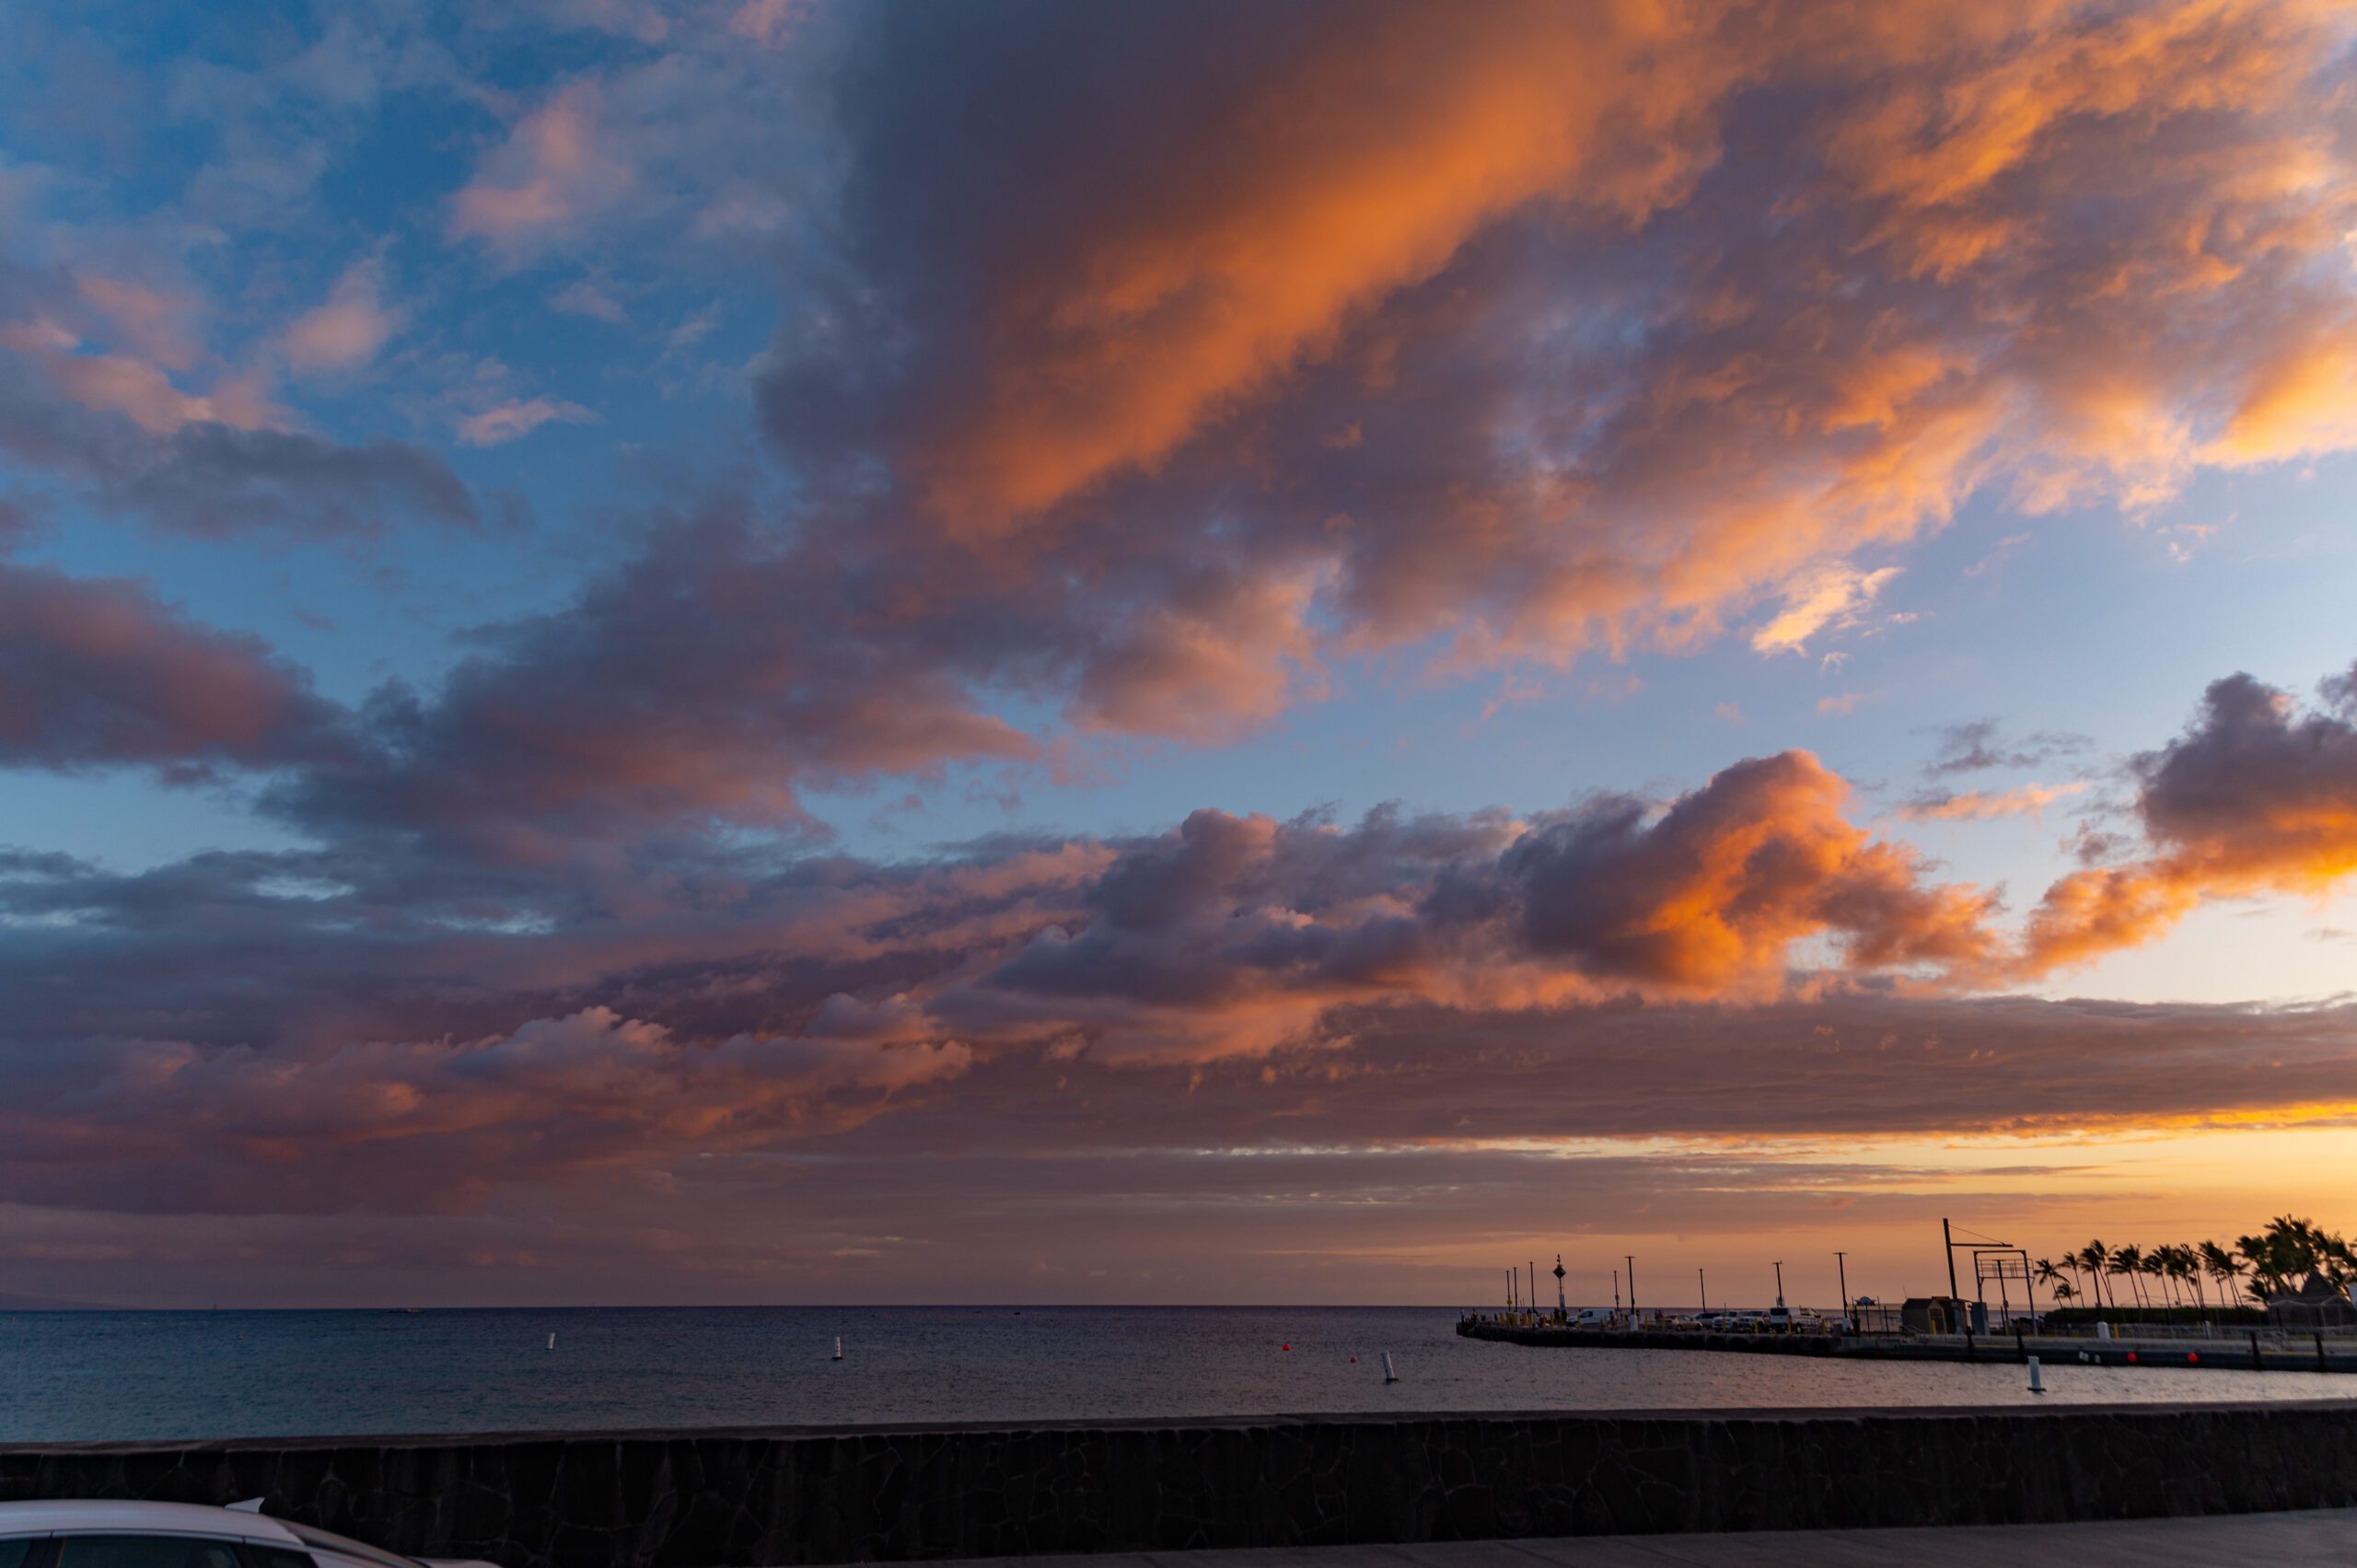
[NIKON Z 6, VR Zoom 24-105mm f/4G IF-ED, Mode = Aperture Priority, ISO 250, 1/500, ƒ/4, (35mm = 24)]
We often enjoy photographing sunsets and even talk about the Golden Hour of light for photography. The Golden Hour (sometimes called the Magic Hour) is usually defined as the first and last hour of sunlight in the day when the exceptional quality of light yields stunning photographs.
I have found that when it comes to matching the artificial light of buildings within the Golden Hour, it shrinks to just minutes of suitable time for great light.
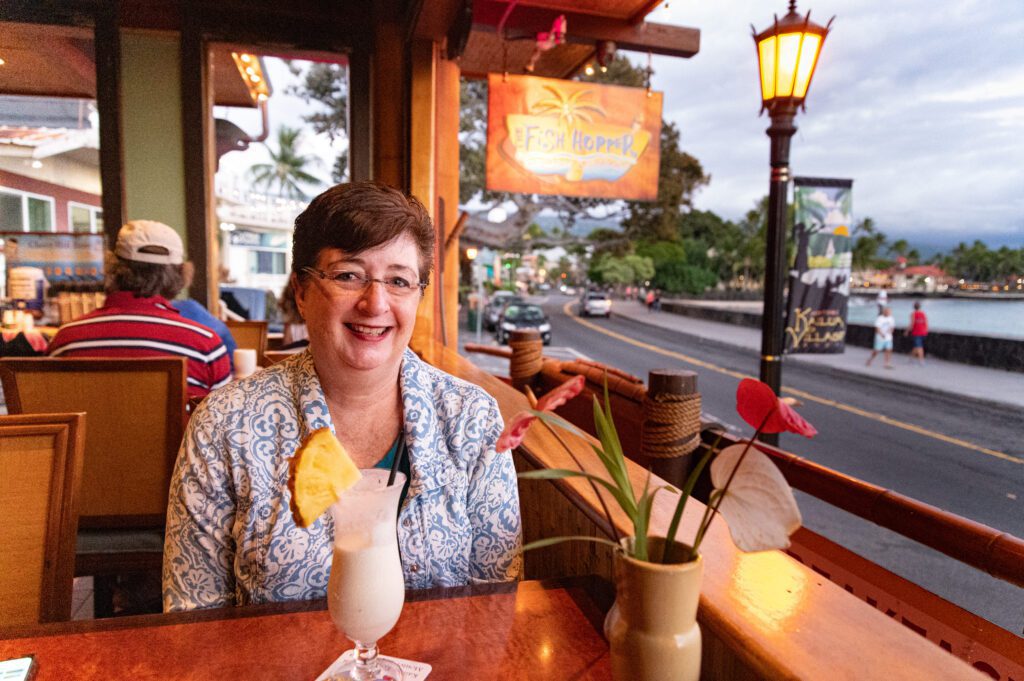
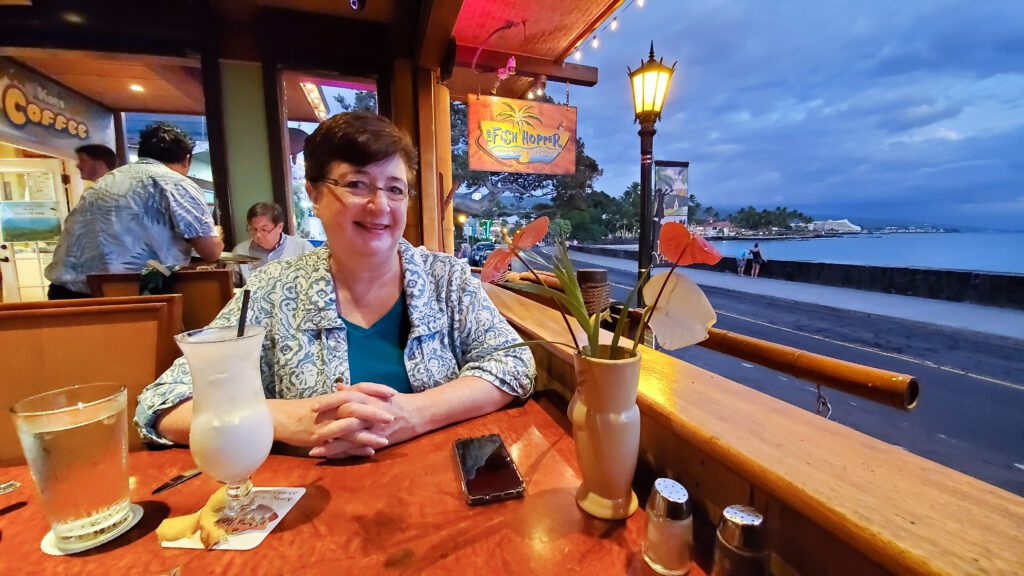
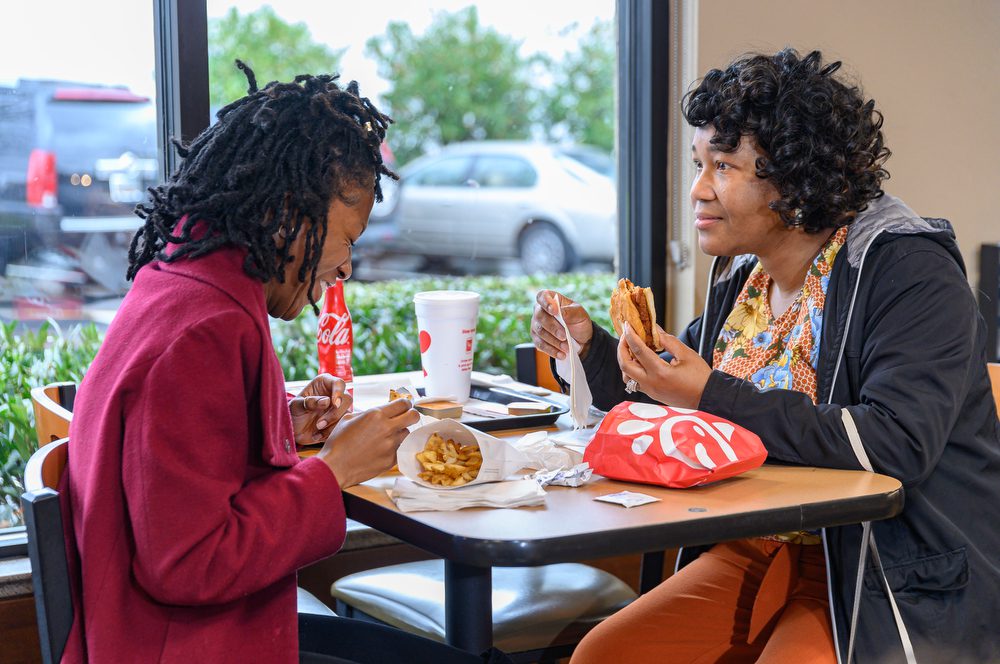
Dinner at The Fish Hopper, Kona with my wife Dorie. [NIKON Z 6, VR Zoom 24-105mm f/4G IF-ED, Mode = Aperture Priority, ISO 18000, 1/500, ƒ/4, (35mm = 24)]
Now the difference between this photo where the light outside is balancing well with the restaurant’s light was just a few minutes between too much light and too little light from the sun.
Dinner at The Fish Hopper Kona
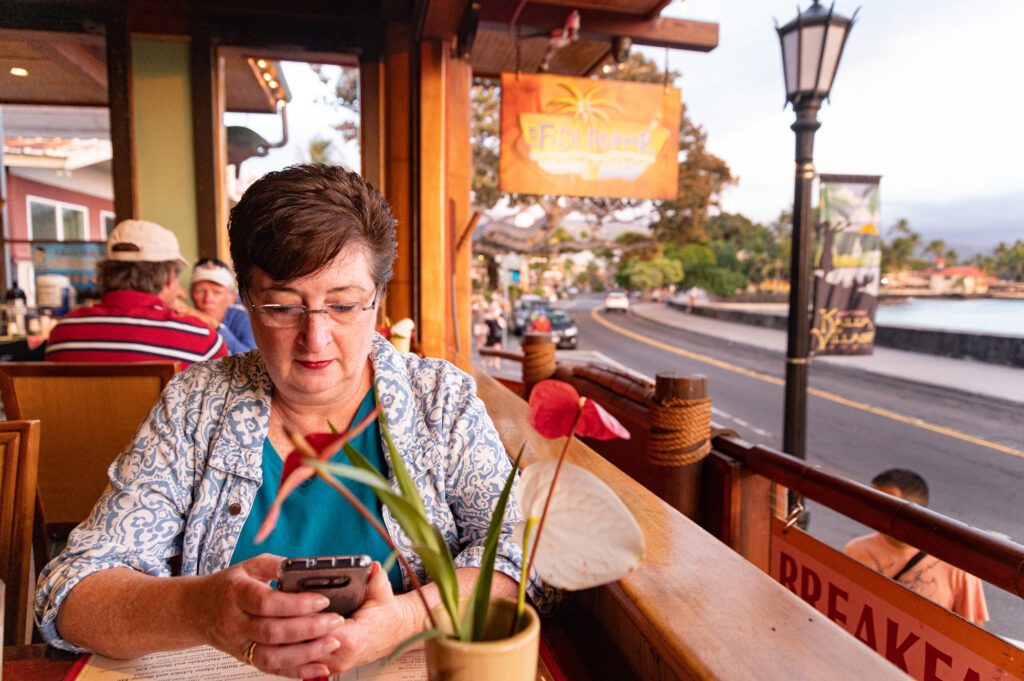
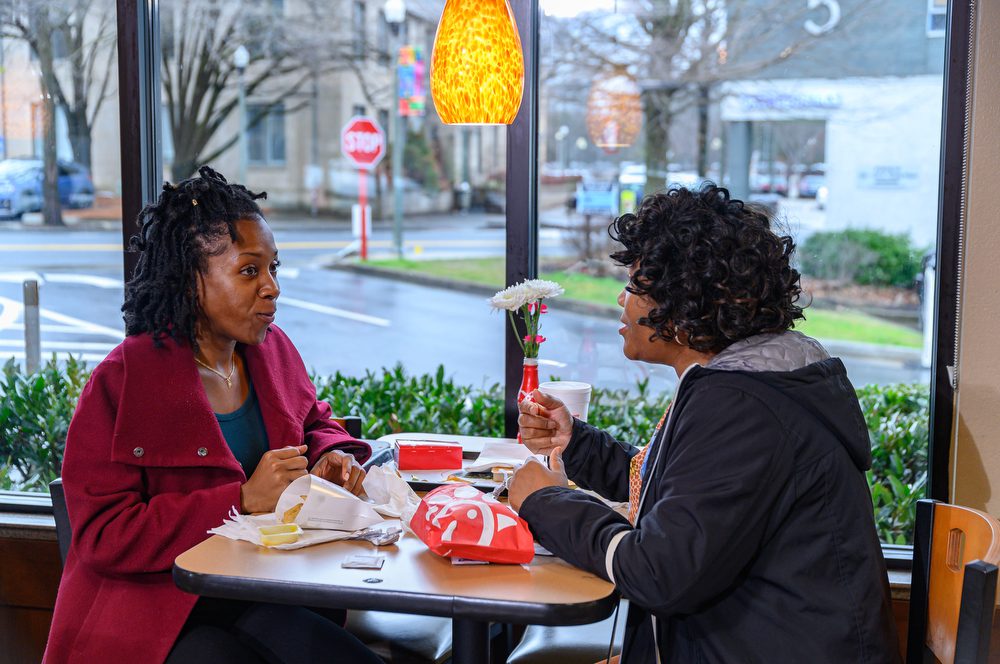
[NIKON Z 6, VR Zoom 24-105mm f/4G IF-ED, Mode = Aperture Priority, ISO 3200, 1/500, ƒ/4, (35mm = 24)]
The top photo of my wife was shot at 6:32 pm. Right about the time of sunset. This one just above was shot at 6:18 pm.
Dinner at The Fish Hopper Kona
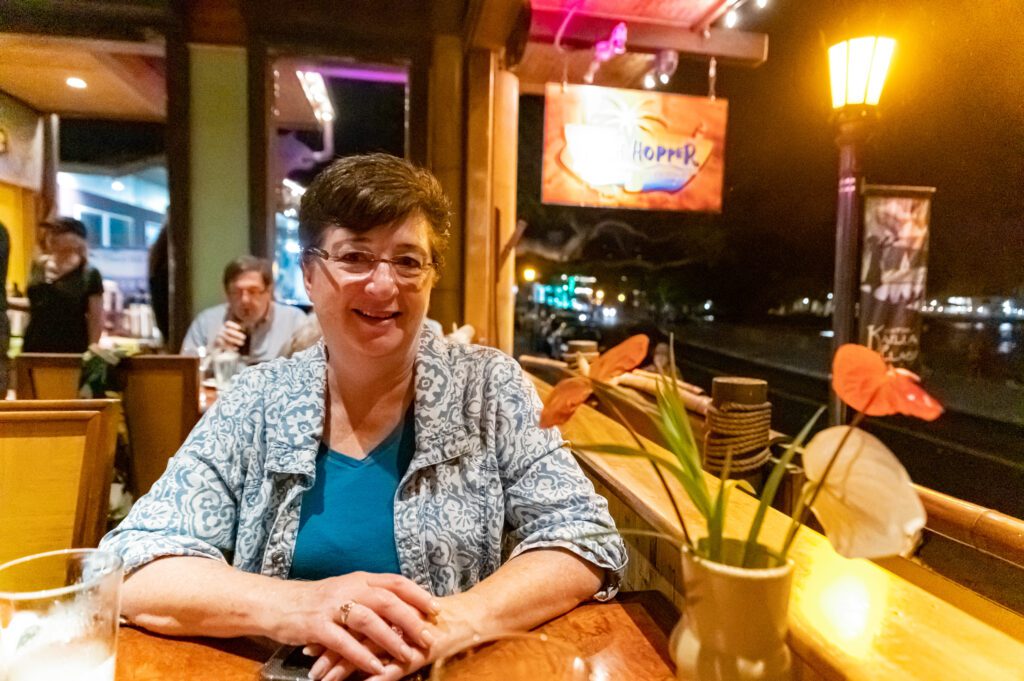
[NIKON Z 6, VR Zoom 24-105mm f/4G IF-ED, Mode = Aperture Priority, ISO 51200, 1/200, ƒ/4, (35mm = 24)]
From my many years of shooting, I have noticed that from the time of actual sunset to when balancing light with artificial lights like here, you have about 15 to 20 minutes tops for good photos. I think there is a 5-minute window for the best pictures.
Dinner at The Fish Hopper Kona
[SM-G973U, , Mode = Normal, ISO 800, 1/17, ƒ/2.2, (35mm = 13)]
My favorite shot was done on my Galaxy S10 phone and with a wide-angle lens. That is 13mm, equivalent to the 35mm camera. This is shot at 6:40 pm, 13 minutes after sunset.
By the way, the food and atmosphere of The Fish Hopper in Kona, Hawaii, are excellent. The waitress was one of the best we have ever had. Big shout out to Bridget Kaleki Butler for the recommendation.
Photo above [NIKON Z 6, VR Zoom 24-105mm f/4G IF-ED, Mode = Aperture Priority, ISO 100, 1/60, ƒ/6.3, (35mm = 35) flash used was Flashpoint XPLOR 600 HSS TTL Monolight w/ R2 2.4GHz using the R2 Mark II ETTL Wireless Flash Trigger for Nikon -1 EV setting with TTL]
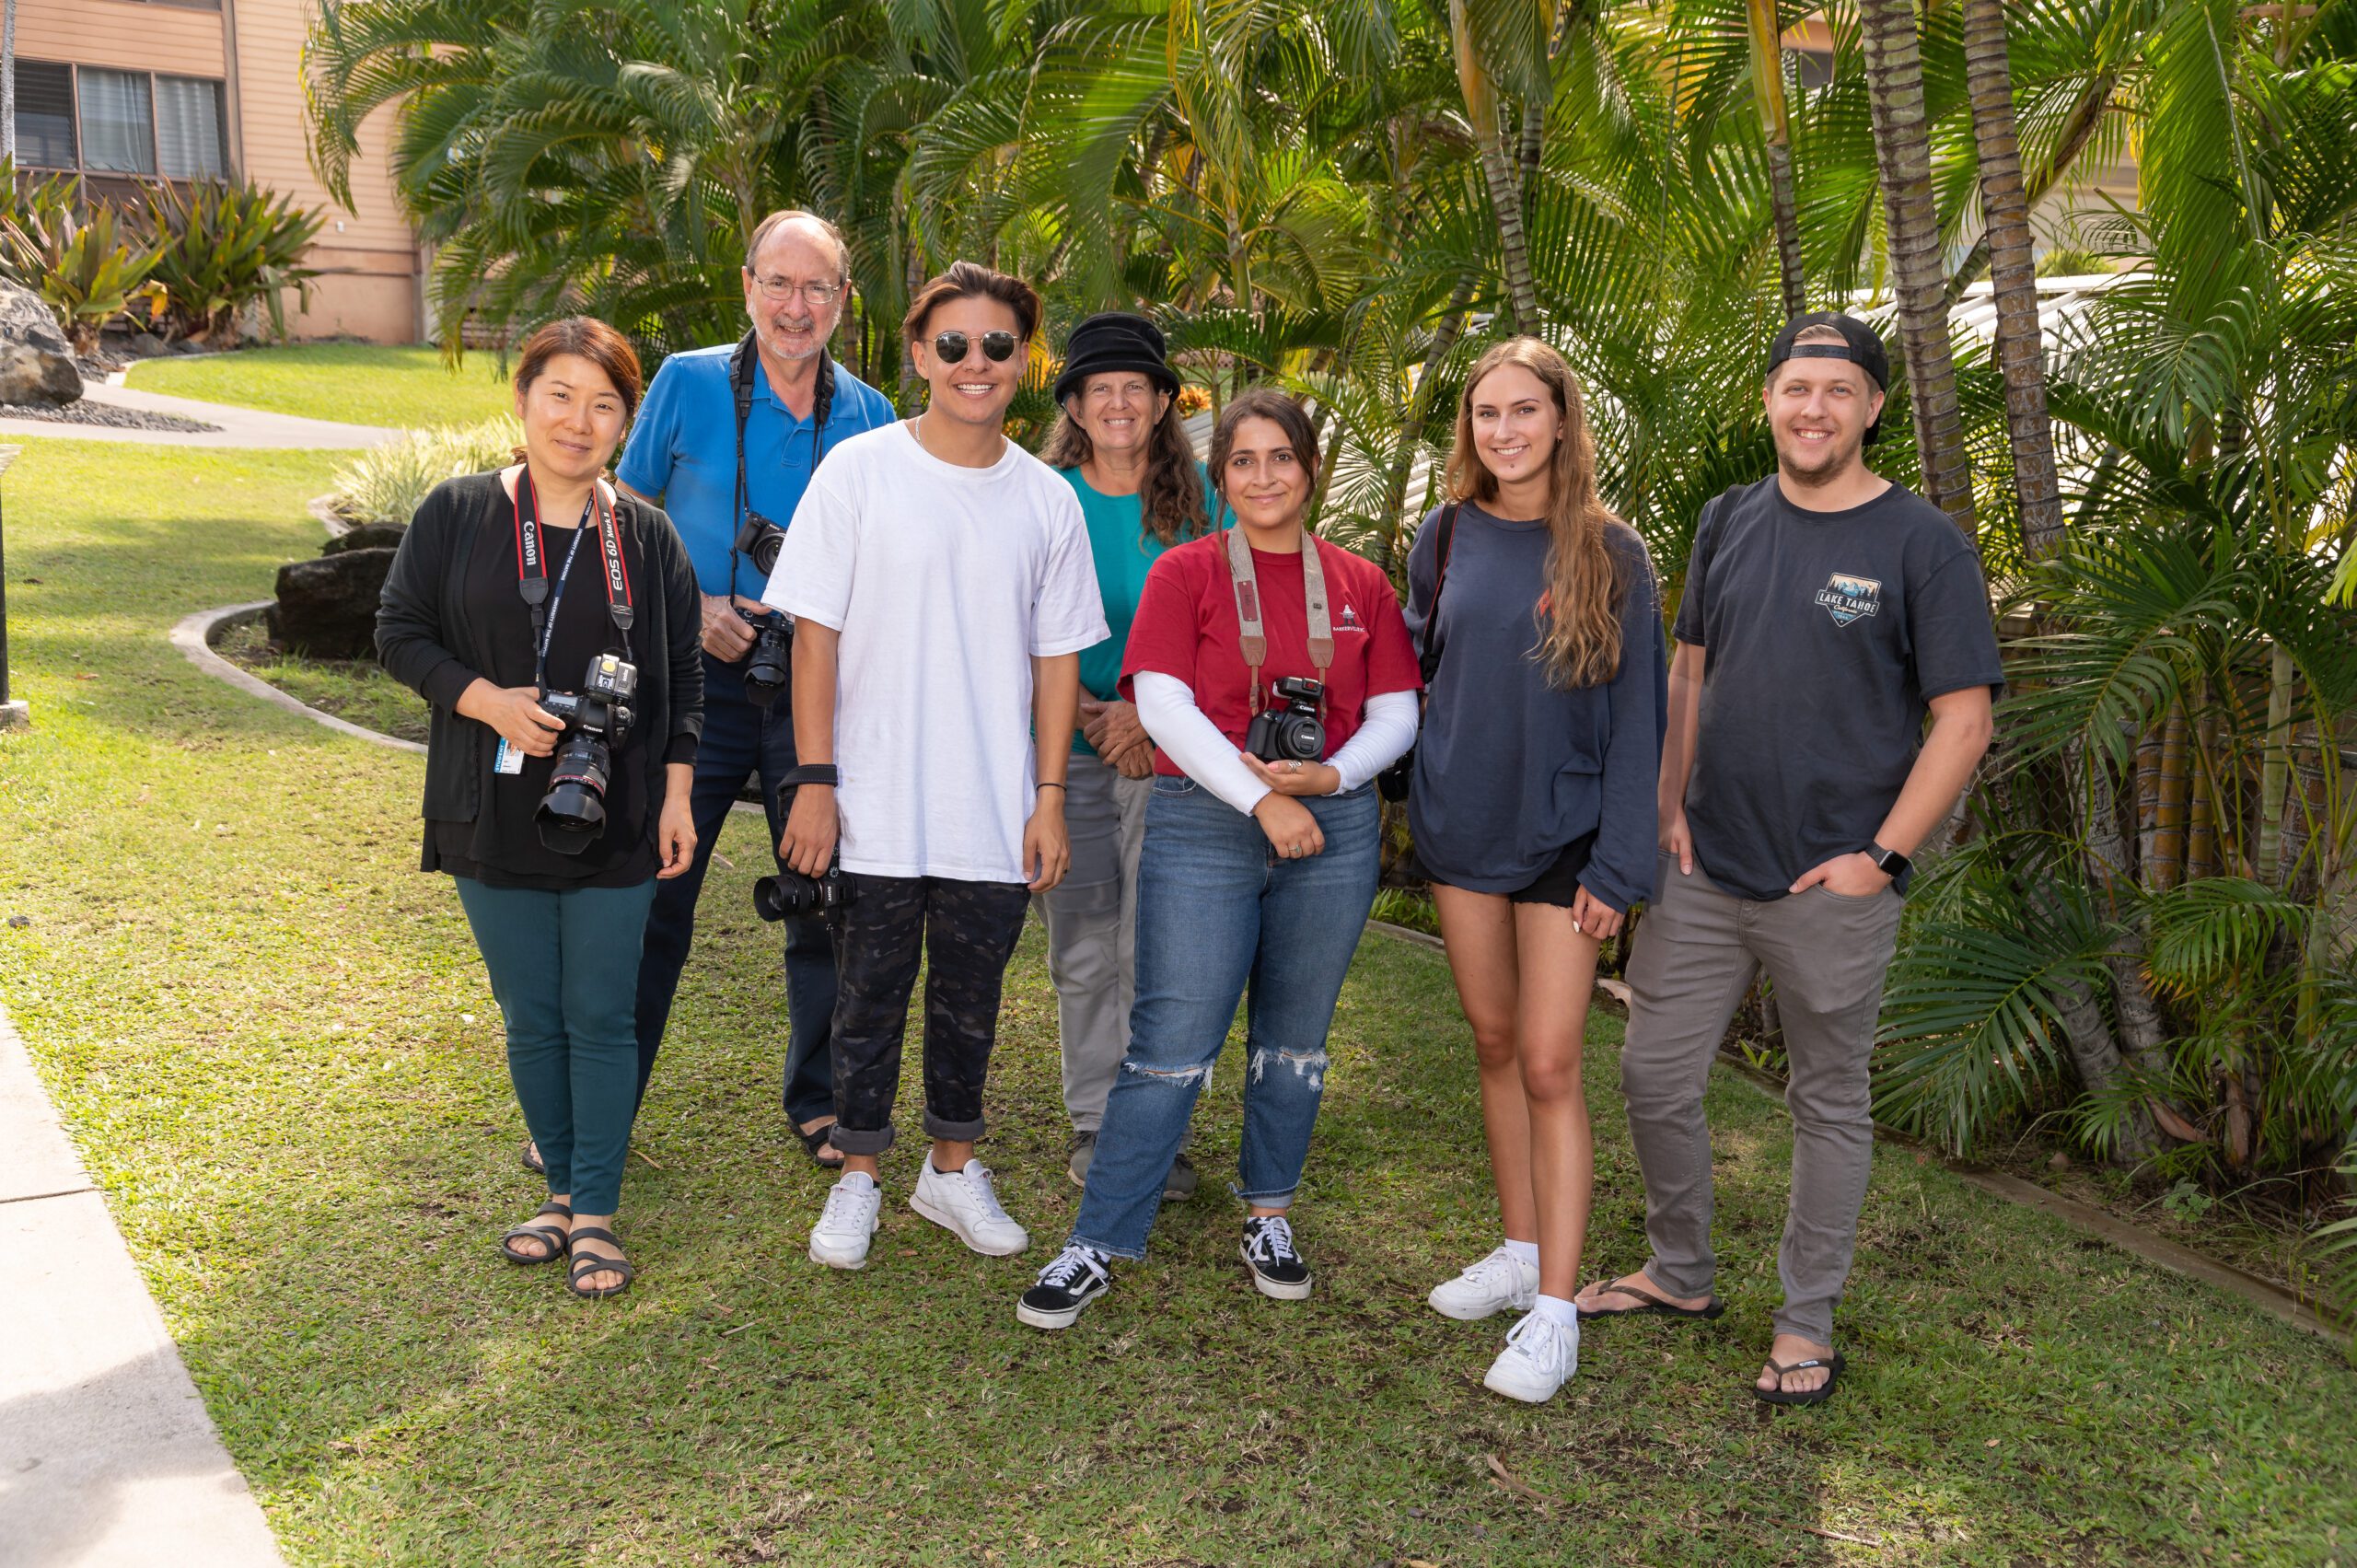
Every year since 2006, Dennis Fahringer has invited me to teach his School of Photography 1 student at the University of Nations in Kona, Hawaii, studio lighting.
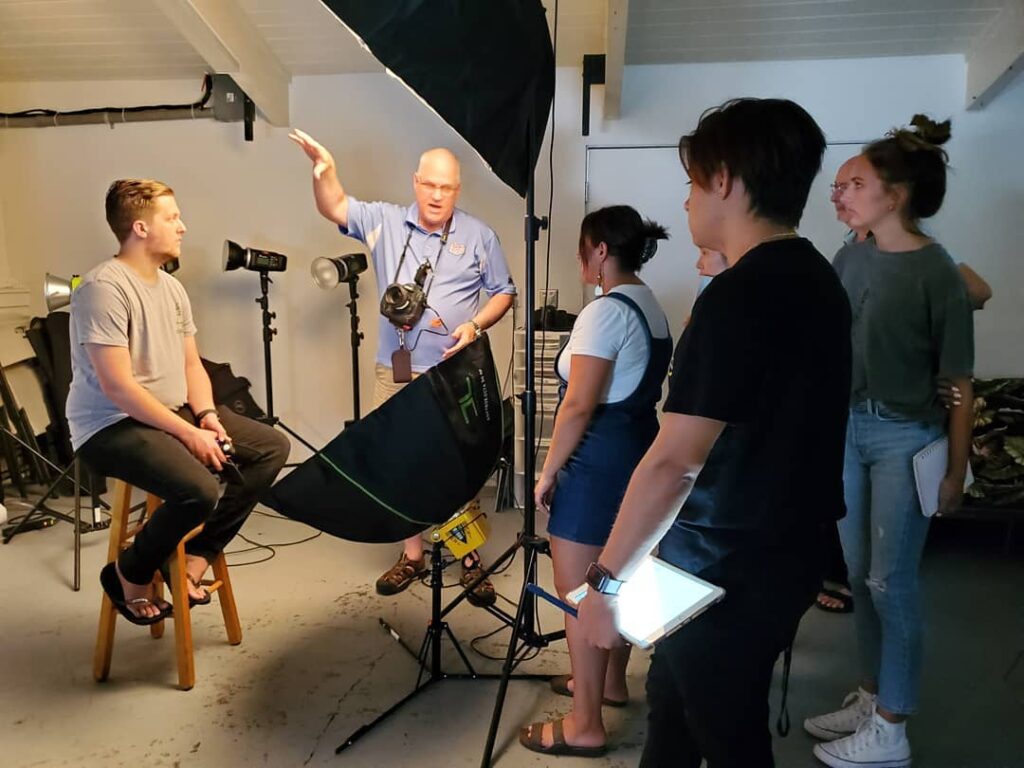
Stanley teaching “Butterfly Lighting” photo by Dorie Griggs
While I was initially asked to teach only studio lighting, I have also introduced some business practices.
I believe every successful business starts with the customer, discovering what needs/wants they have and creating a business that meets those needs/wants. Too many photography programs only teach how to do photography and never give their students the one thing that will determine their ability to do this as a career and not a hobby–business skills.
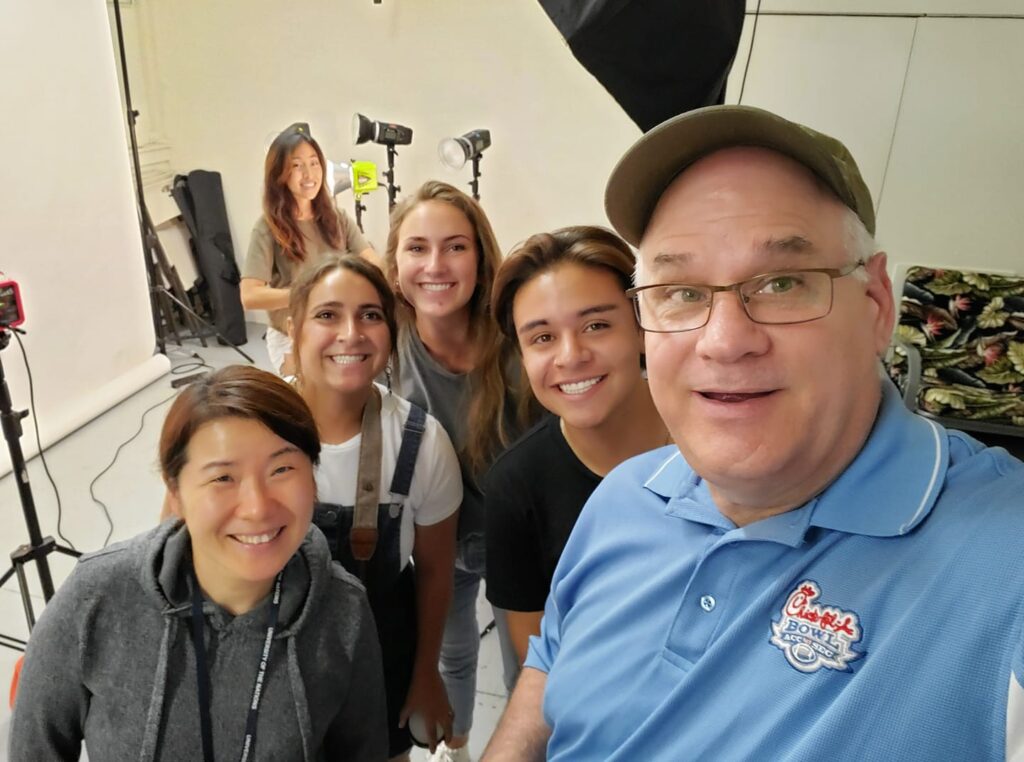
selfie was taken with the class in the photo studio
Dennis caps the class at 16 students. He usually has a waiting list. This year we only had four students. This just meant this class got even more one-on-one time with their instructors.
This year, the students were from four countries: Colombia, South Korea, Canada, and the USA. Some years, we had as many as nine different countries represented. They fly to Kailua-Kona, Hawaii, and spend three months doing just photography. I believe Dennis has put together one of the best foundation courses for photography I have ever seen.
On my first day, I teach how to turn on the studio flashes, adjust their power, and make them work with your camera. Their first lighting assignment is to start with just one light and learn how to place it in the starting place for most portraits. That is 45º to the side of the camera and then 45º above their eye level. When done correctly and the subject is looking at the camera, you will get the classic lighting style of Rembrandt.
Butterfly lighting is a portrait lighting pattern in which the key light is placed above and directly centered with a subject’s face. This creates a shadow under the nose that resembles a butterfly. It’s also known as ‘Paramount lighting,’ and it is named for classic Hollywood glamour photography.
The lighting ratio in photography compares key light (the primary source of light from which shadows fall) to fill light (the light that fills in the shadow areas). The higher the lighting ratio, the higher the image’s contrast; the lower the ratio, the lower the difference.
For the mixed lighting assignment, they were to use one light to improve the photo. I asked them to hand in two images—one without the light and the second showing how the light improved the picture.
I also asked that each photo have a caption. There are two reasons for this. First, it is easier to find the image later if the text is embedded in the metadata. Second, most clients will also benefit from having this information. We were not using the AP Style for captions, but more of a social media style. This was their first attempt at writing captions for most of them.
Myoungsuk Kim said, “This week has taught me that I can take photos not just for me, but for others.” That was one of the best things I could have heard.
Most people want to do photography and get paid, but they are usually self-centered in their photography. It is when you realize that when you make photos that others enjoy and, more importantly, use, they will pay you to do this, making it possible to do this for a living.
“The evidence is overwhelming: The best way to get what you want is through serving others.”
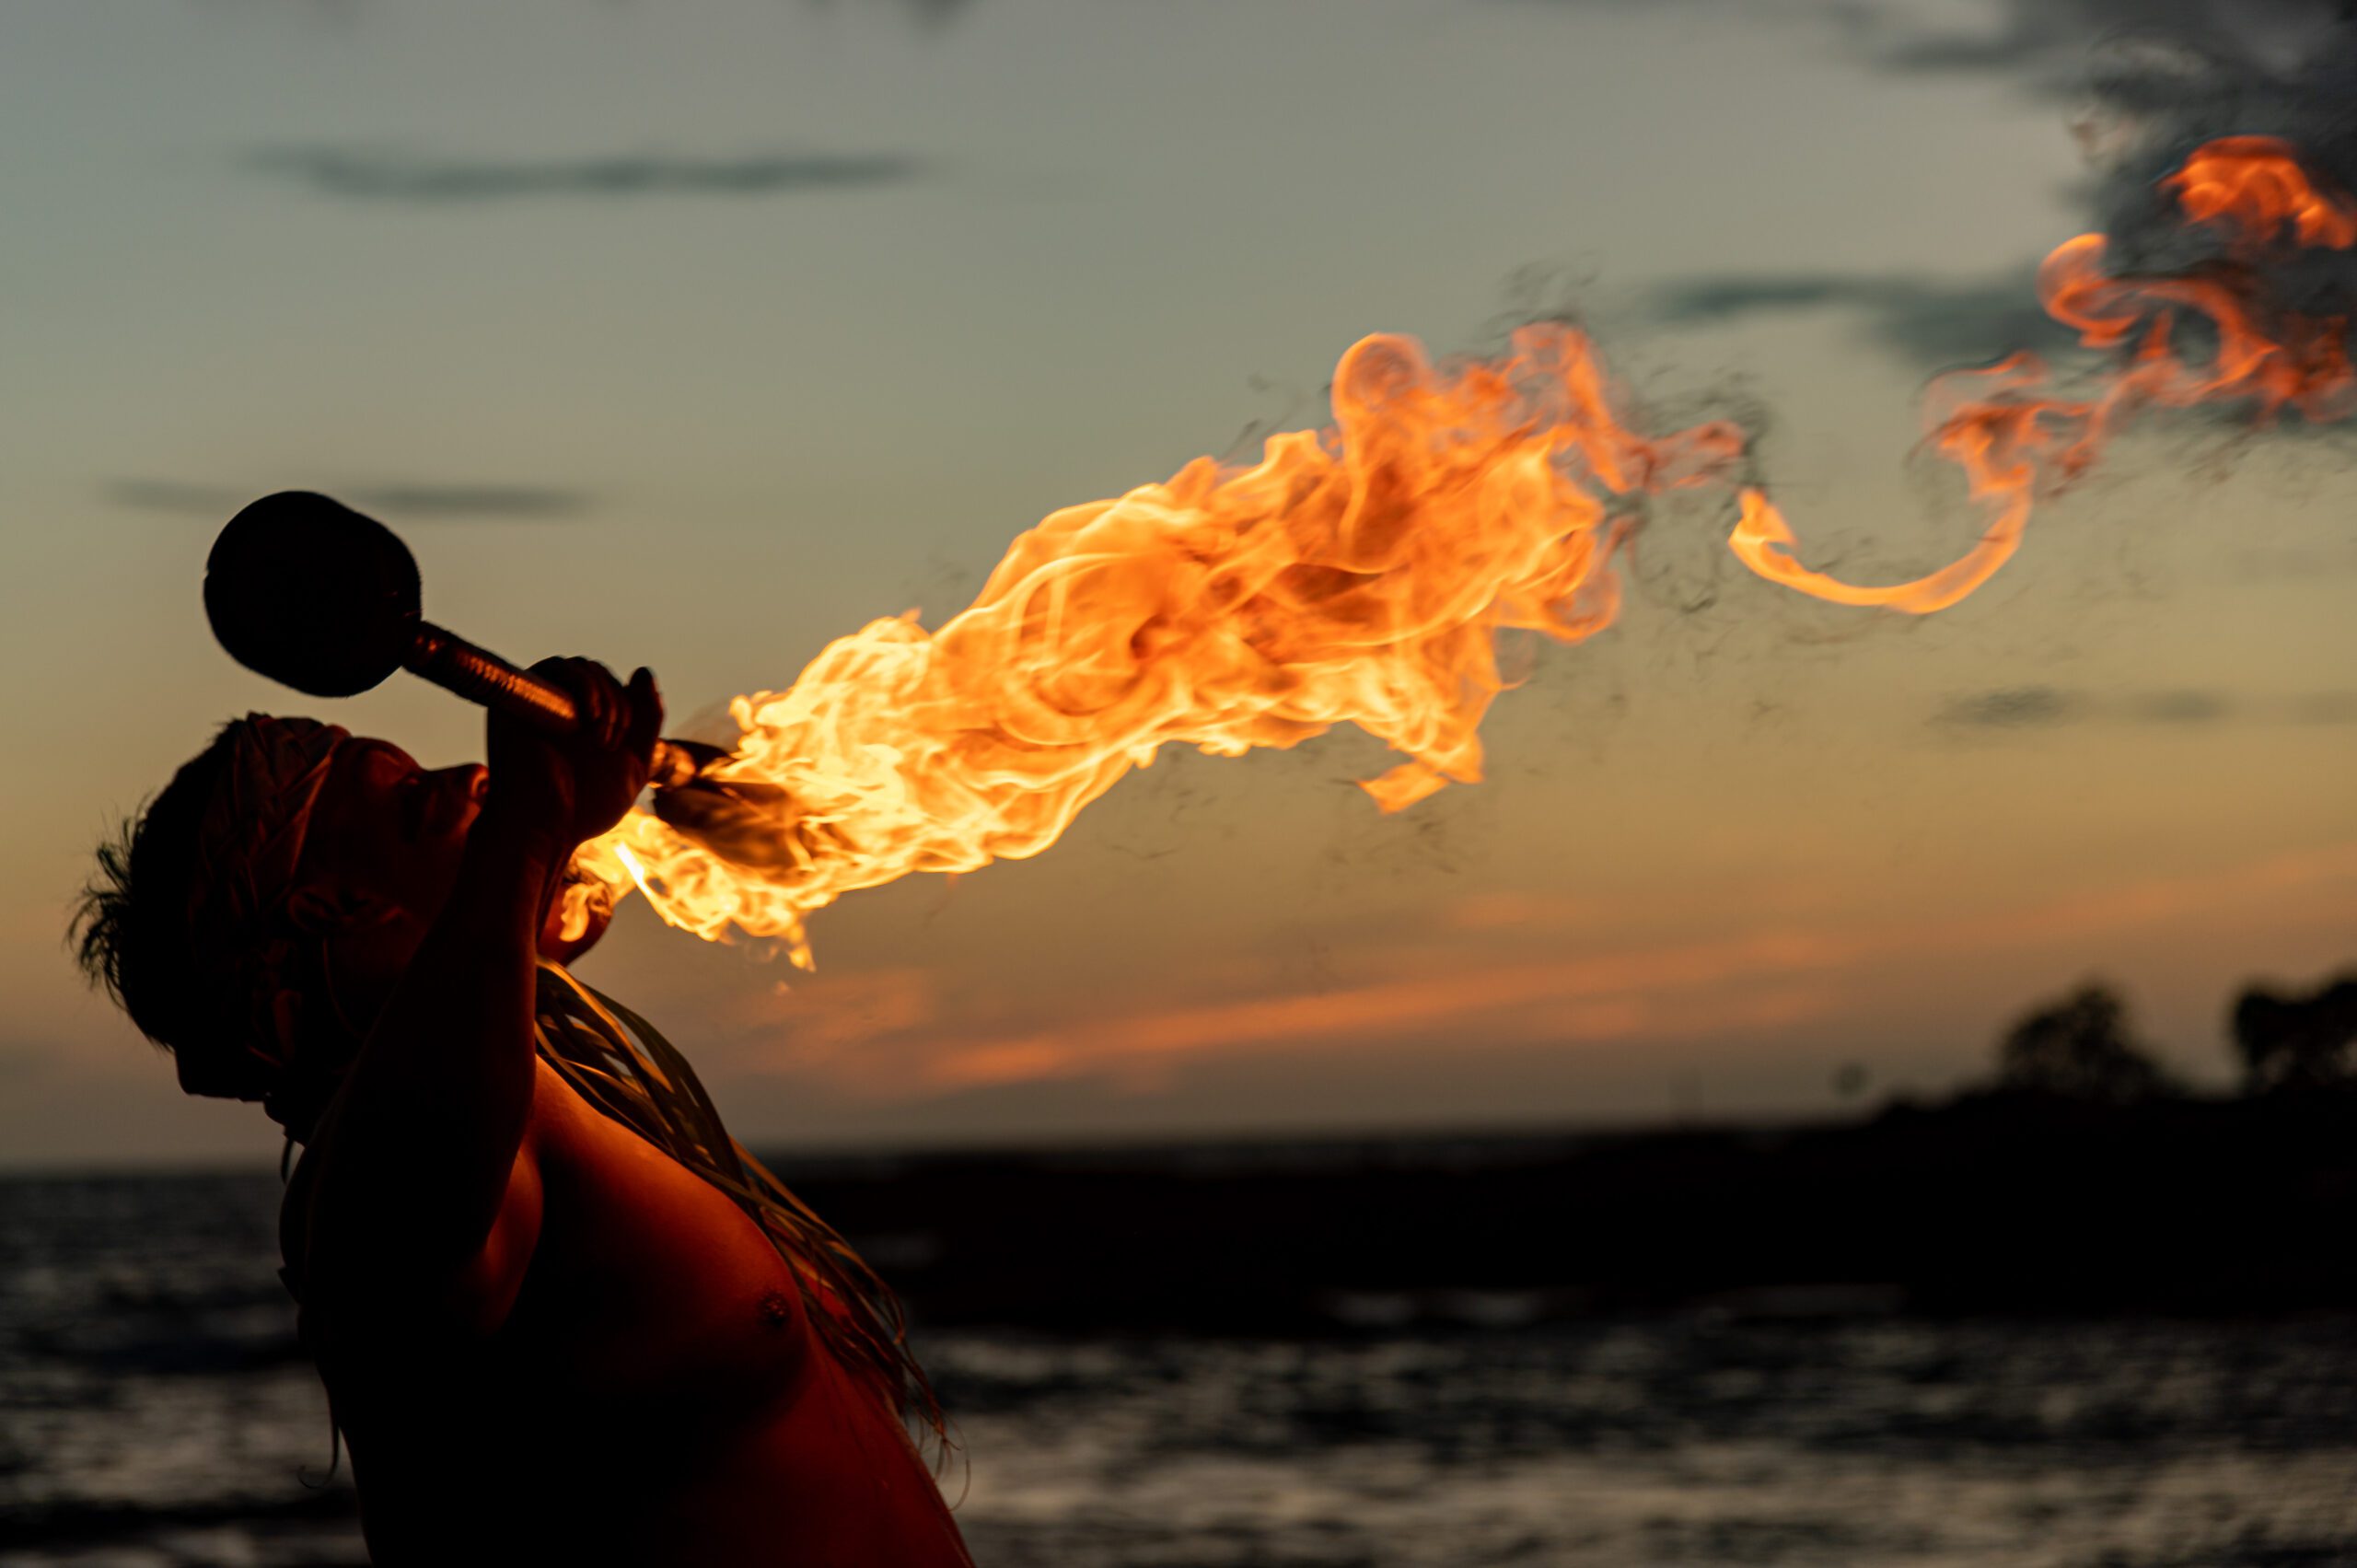
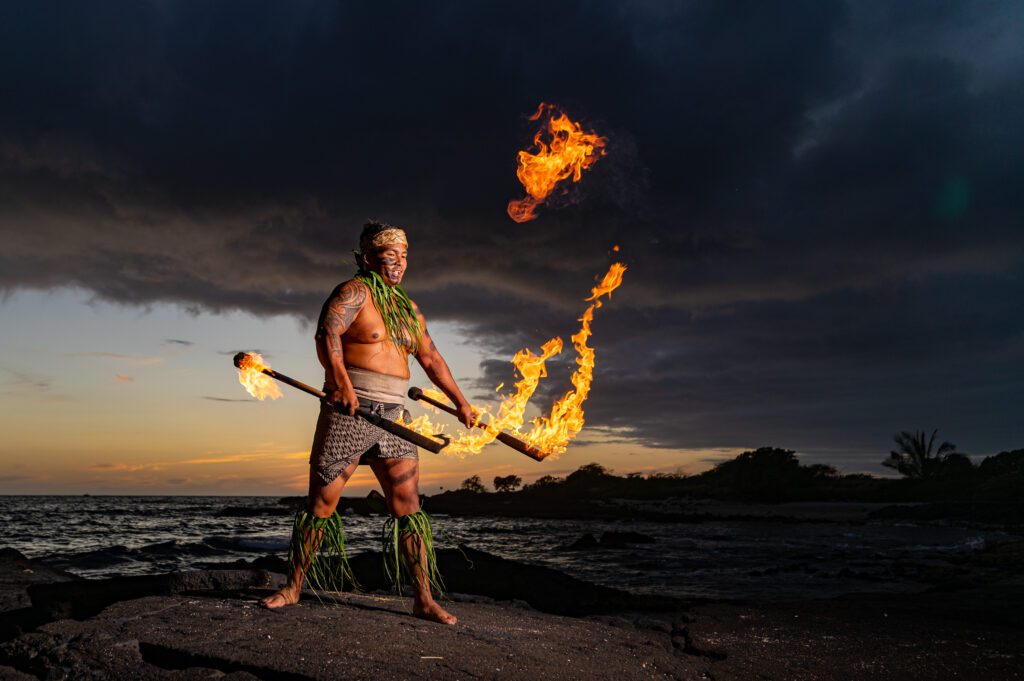
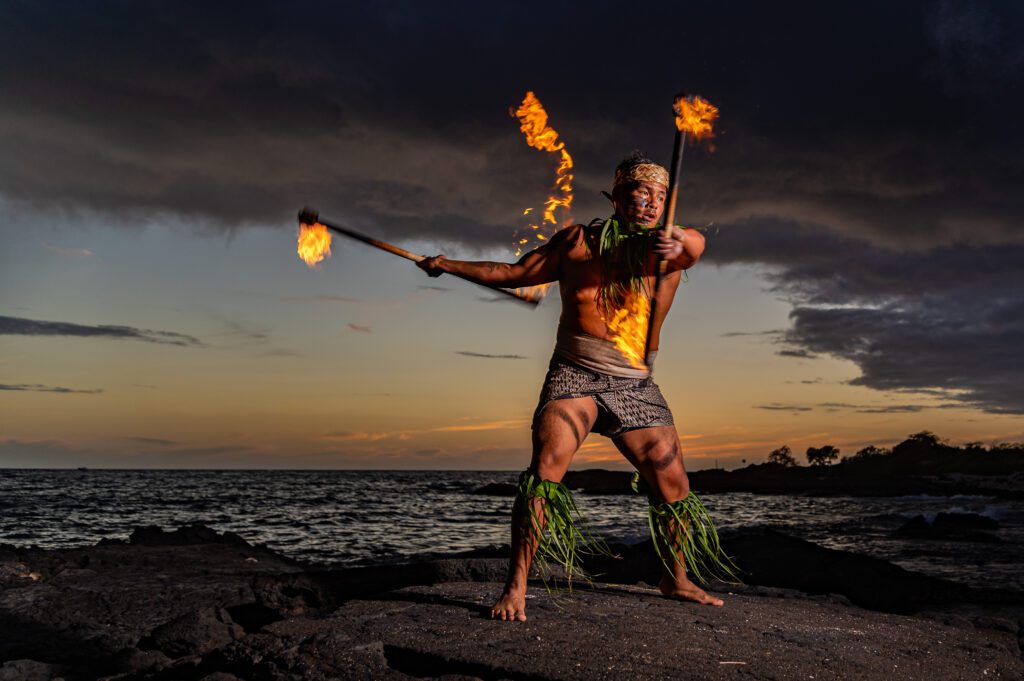
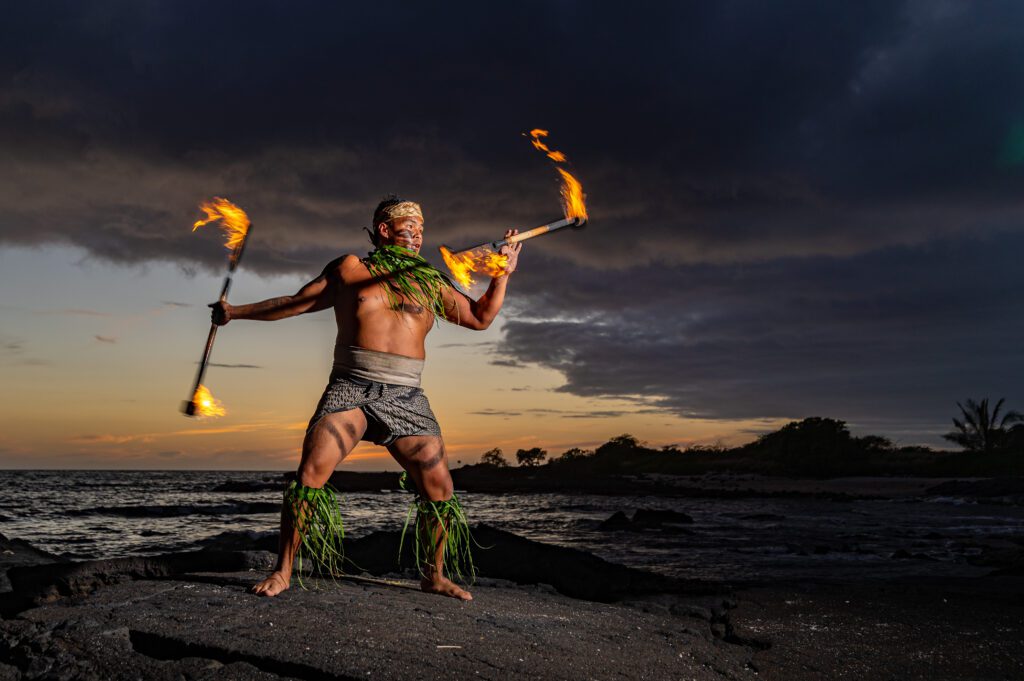
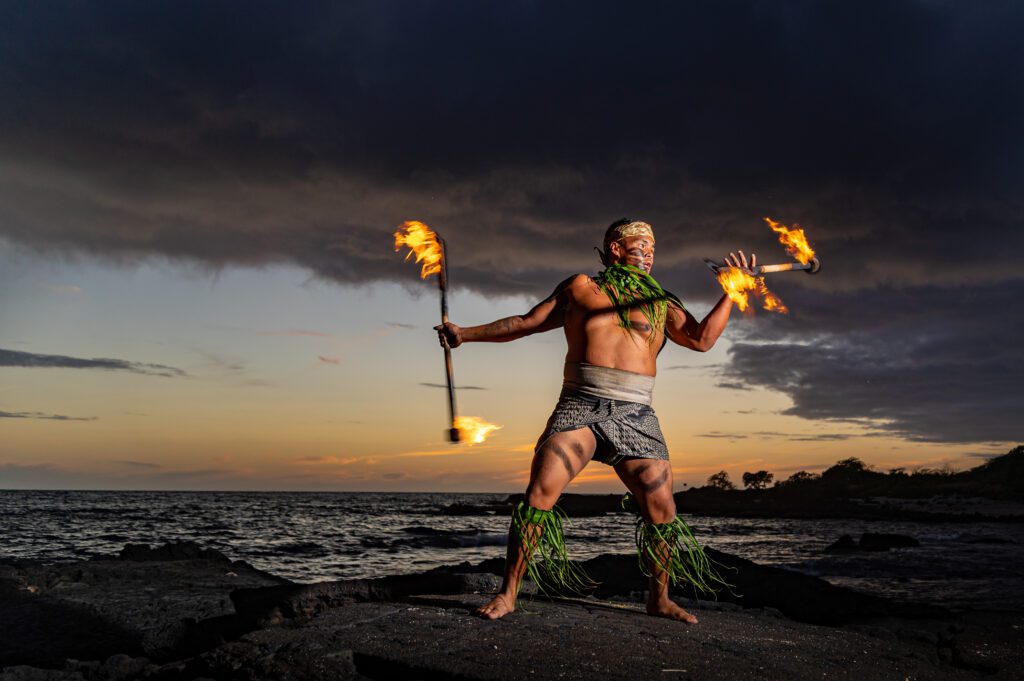
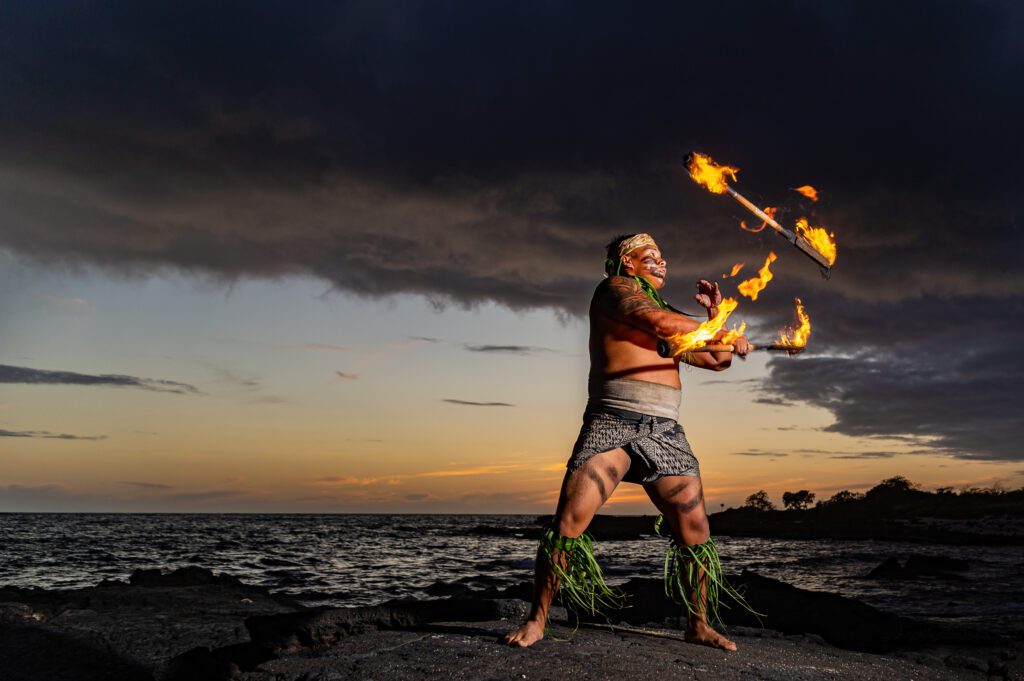
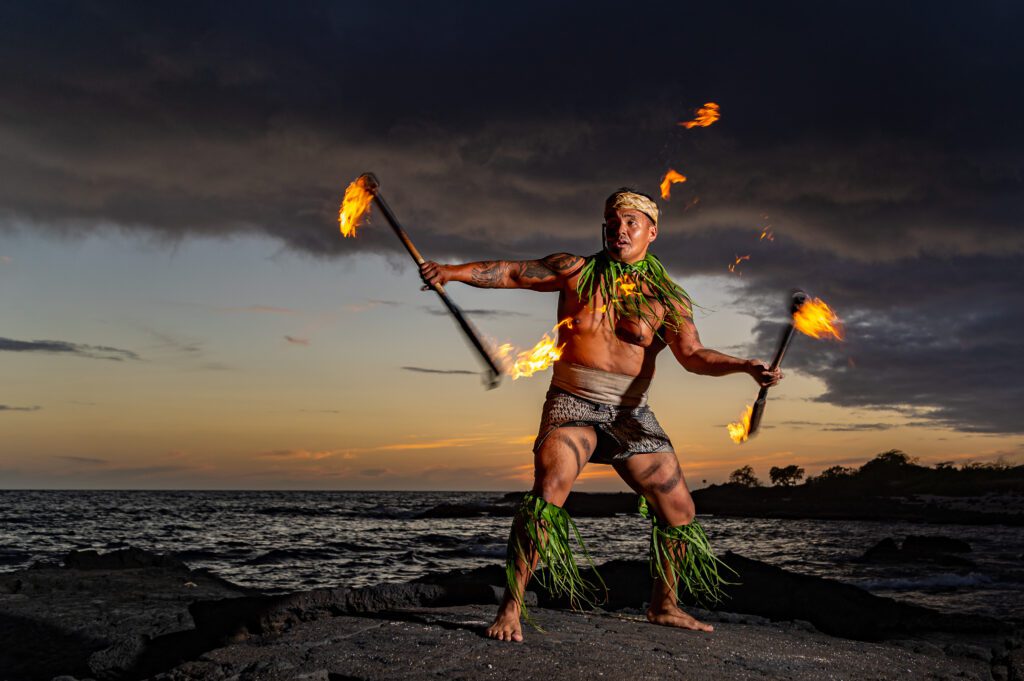
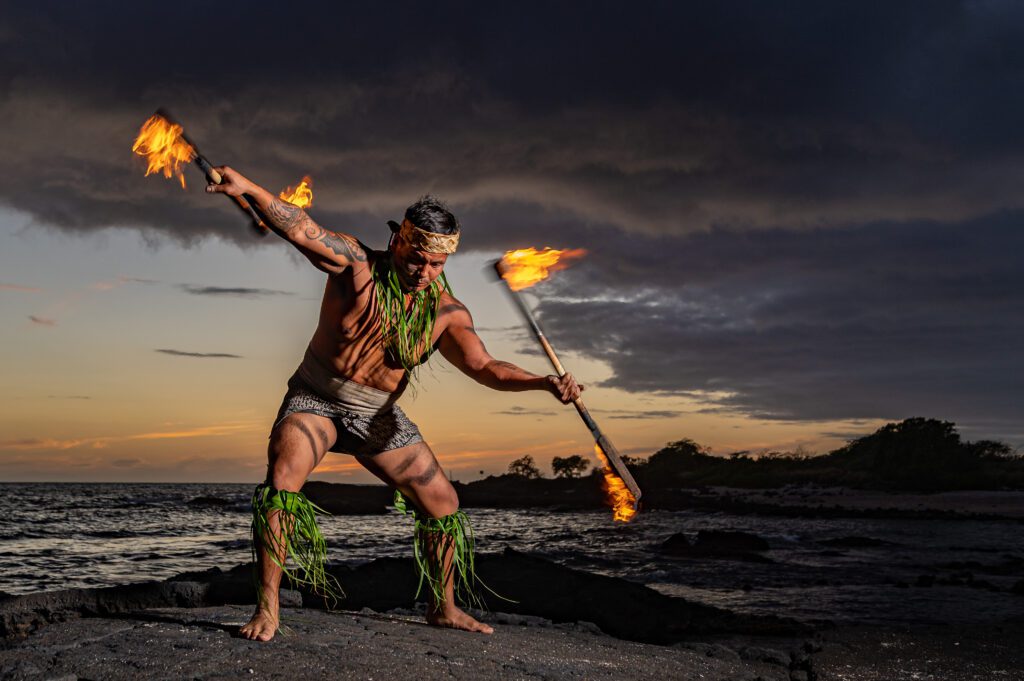
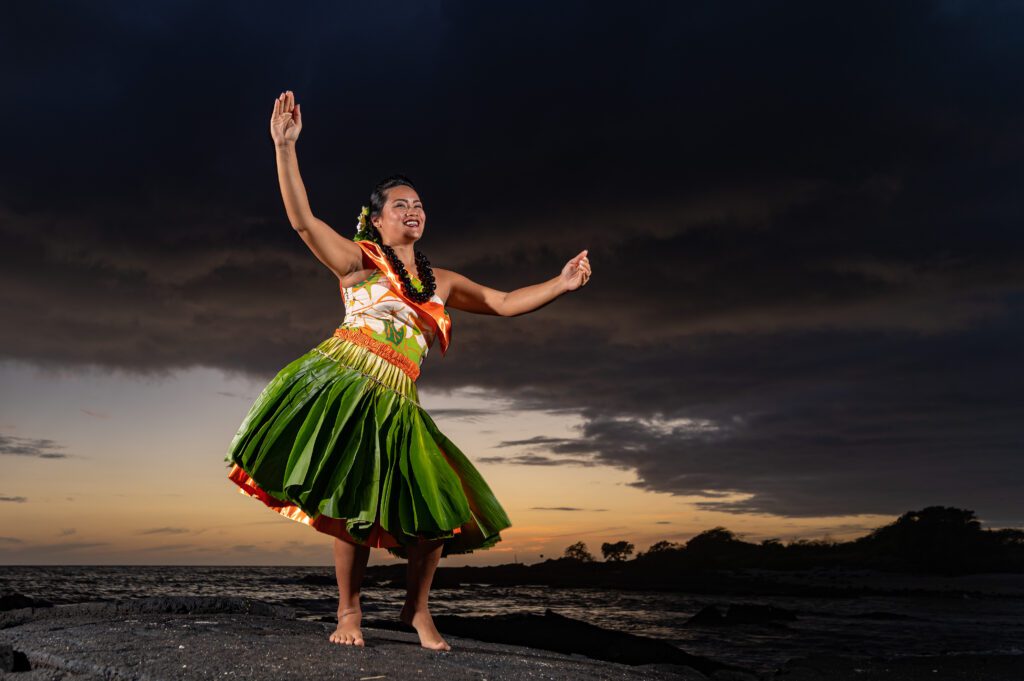
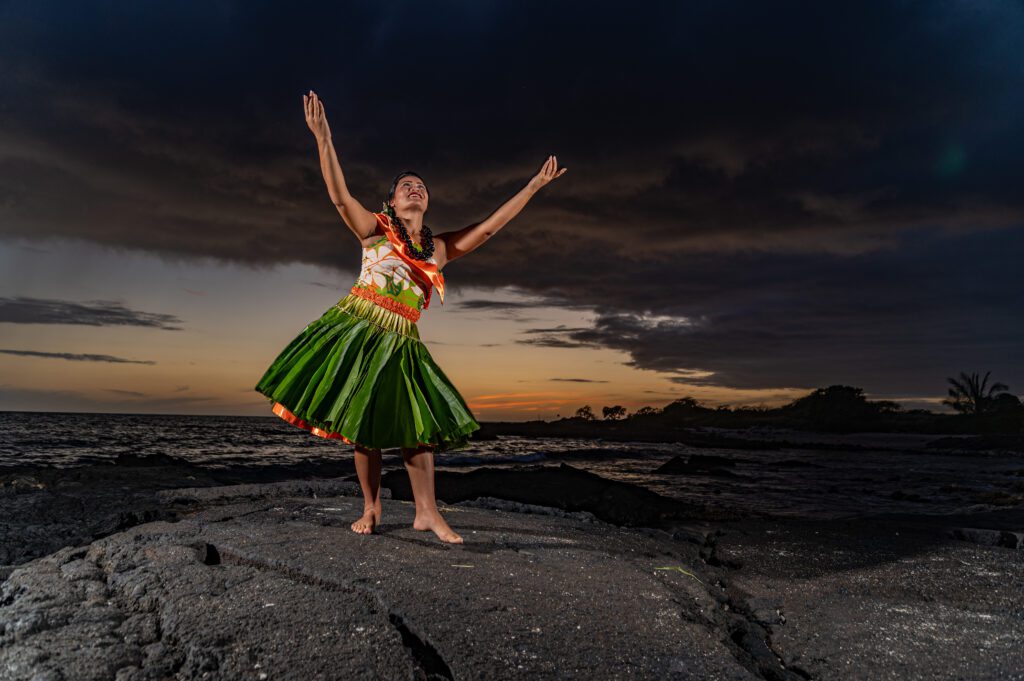
The photo above is of Don Senas, Fire Dancer [NIKON Z 6, VR Zoom 24-105mm f/4G IF-ED, Mode = Aperture Priority, ISO 100, 1/320, ƒ/4, (35mm = 75)]
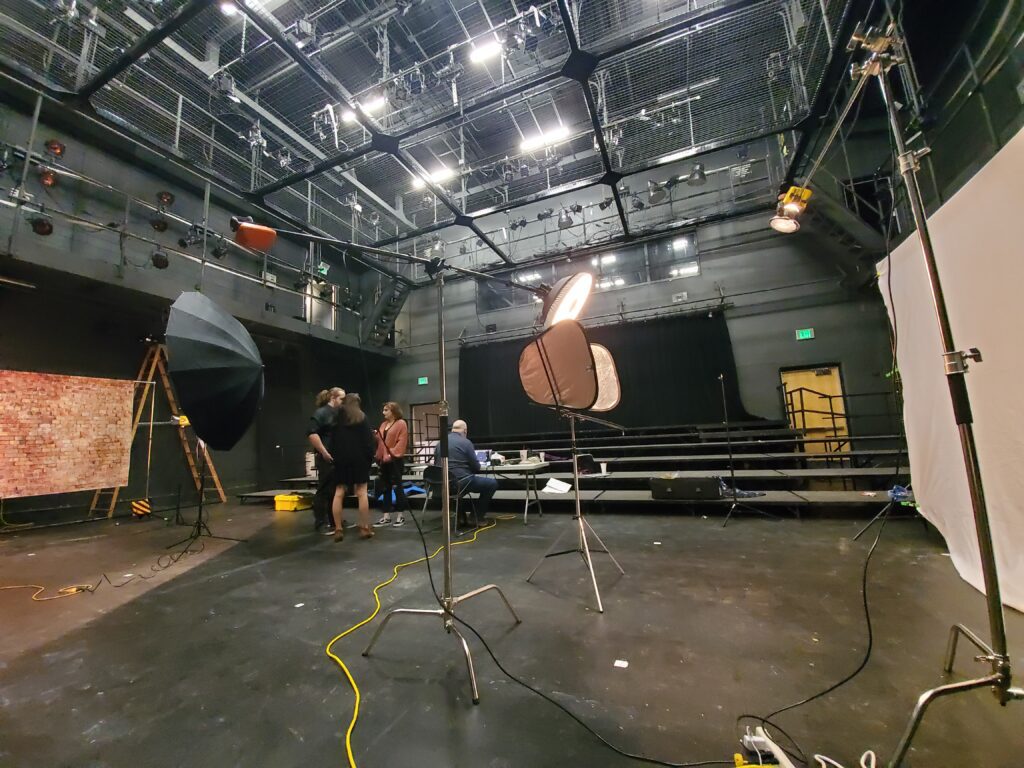
This week, I have been teaching how to use studio strobes to help improve one’s photography.
Last night was the only time I had the class join me for an actual photo shoot that they could watch, take some photos to help remember the occasion, and primarily have the opportunity to observe pros and what they do on a photo shoot using studio strobes to improve the lighting.
Fire Dancer
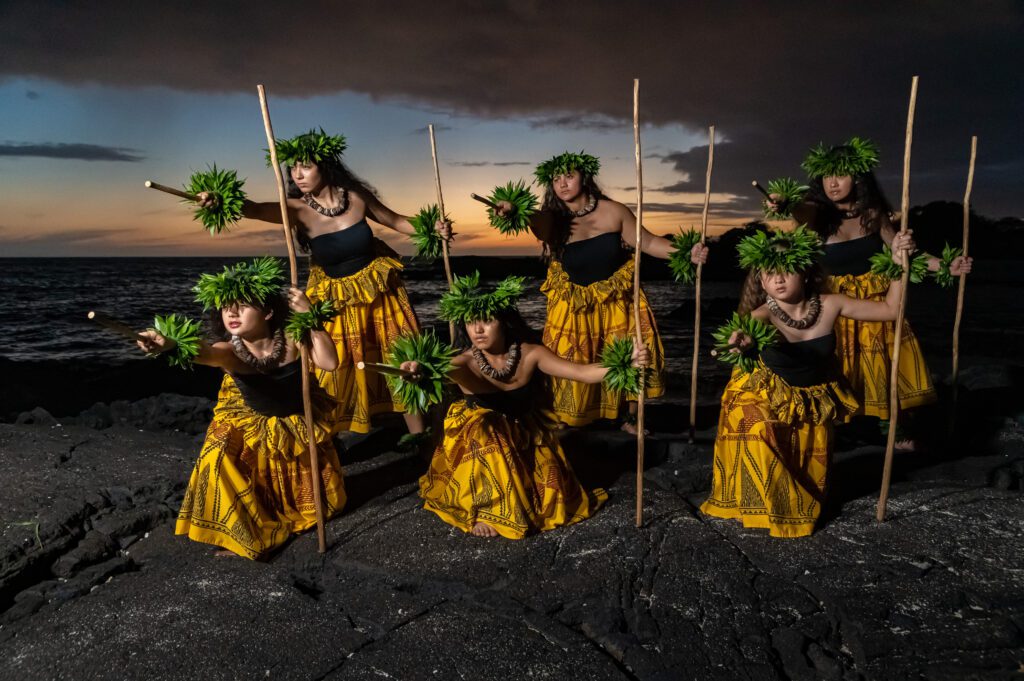
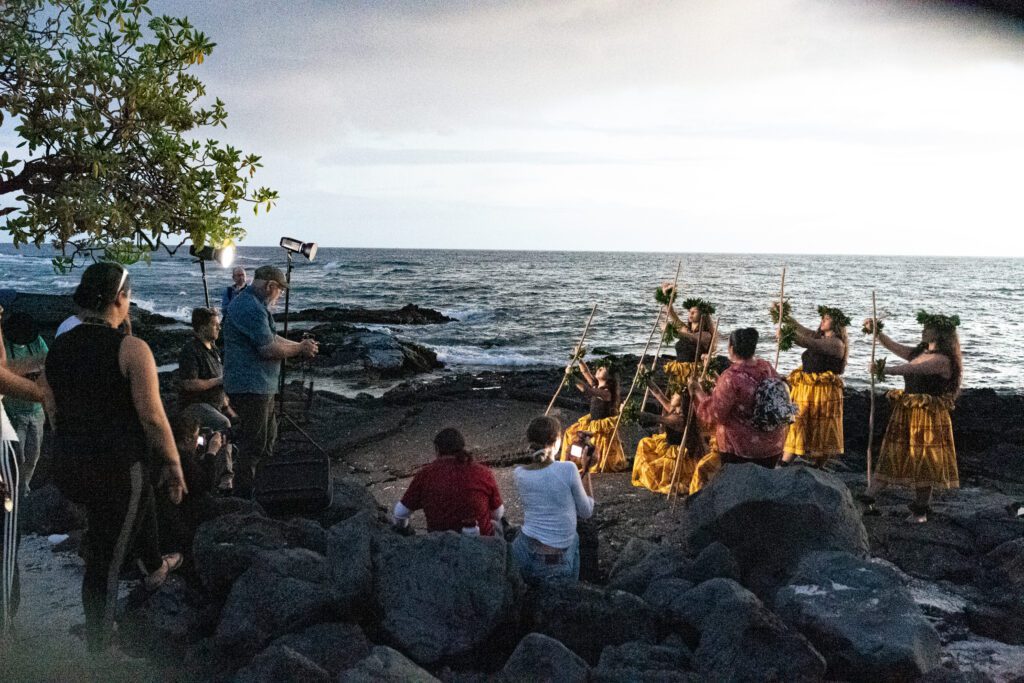
Six hula keiki (children) in Hawaiian
[NIKON Z 6, VR Zoom 24-105mm f/4G IF-ED, Mode = Aperture Priority, ISO 100, 1/250, ƒ/4, (35mm = 24)]
My wife, Dorie Griggs, took a video on her phone of me taking the photos and the students watching. Here is that video:
You can see the strobes off to the side at about 45º from the camera angle.
All those were shot at these settings: [NIKON Z 6, VR Zoom 24-105mm f/4G IF-ED, Mode = Aperture Priority, ISO 100, 1/160, ƒ/4, (35mm = 24)]
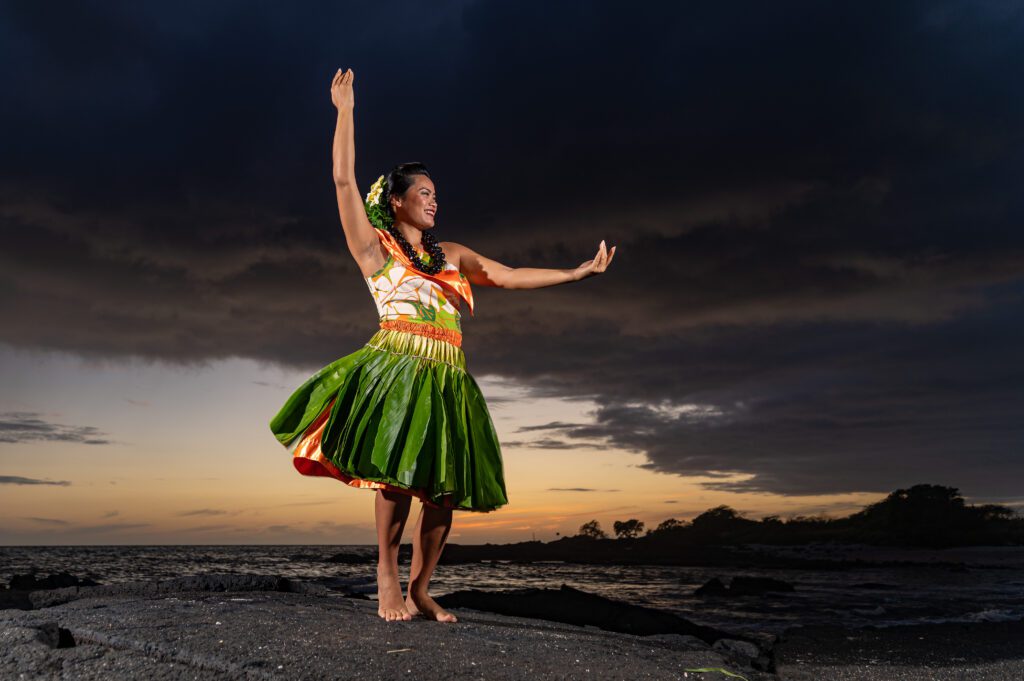
Brooke Valle Anderson [NIKON Z 6, VR Zoom 24-105mm f/4G IF-ED, Mode = Aperture Priority, ISO 100, 1/60, ƒ/4, (35mm = 24)]
These photos are of Brooke Valle Anderson, a Hawaiian Dancer. She is with Island Breeze. They do luau shows on the Big Island.
Hula keiki (children) in Hawaiian dress [NIKON Z 6, VR Zoom 24-105mm f/4G IF-ED, Mode = Aperture Priority, ISO 12800, 1/60, ƒ/8, (35mm = 28)]
Brooke also works with a Hula Keiki (children’s) after-school program where the children learn different dances.
Dorie Griggs photo of me teaching [NIKON Z 6, VR Zoom 24-105mm f/4G IF-ED, Mode = Aperture Priority, ISO 100, 1/2500, ƒ/4, (35mm = 24)]
Hula keiki (children) in Hawaiian [NIKON Z 6, VR Zoom 24-105mm f/4G IF-ED, Mode = Aperture Priority, ISO 1600, 1/60, ƒ/4, (35mm = 24)]
Earlier in the day, I taught the class how to use an off-camera strobe to complement the existing light. Here are some of the shots I took to show them how to do this before they each spent the afternoon shooting an assignment to create an environmental portrait and use the flash to improve the photo.
[NIKON Z 6, VR Zoom 24-105mm f/4G IF-ED, Mode = Aperture Priority, ISO 100, 1/2500, ƒ/6.3, (35mm = 68)]
They were to hand in a before-and-after photo, like I am showing here.
[NIKON Z 6, VR Zoom 24-105mm f/4G IF-ED, Mode = Aperture Priority, ISO 125, 1/500, ƒ/6.3, (35mm = 75)]
I also gave them a PDF for the assignment. Here is a link to the project if you’d like to try this.
Here are a couple of examples I showed them that are “Environmental Portraits”
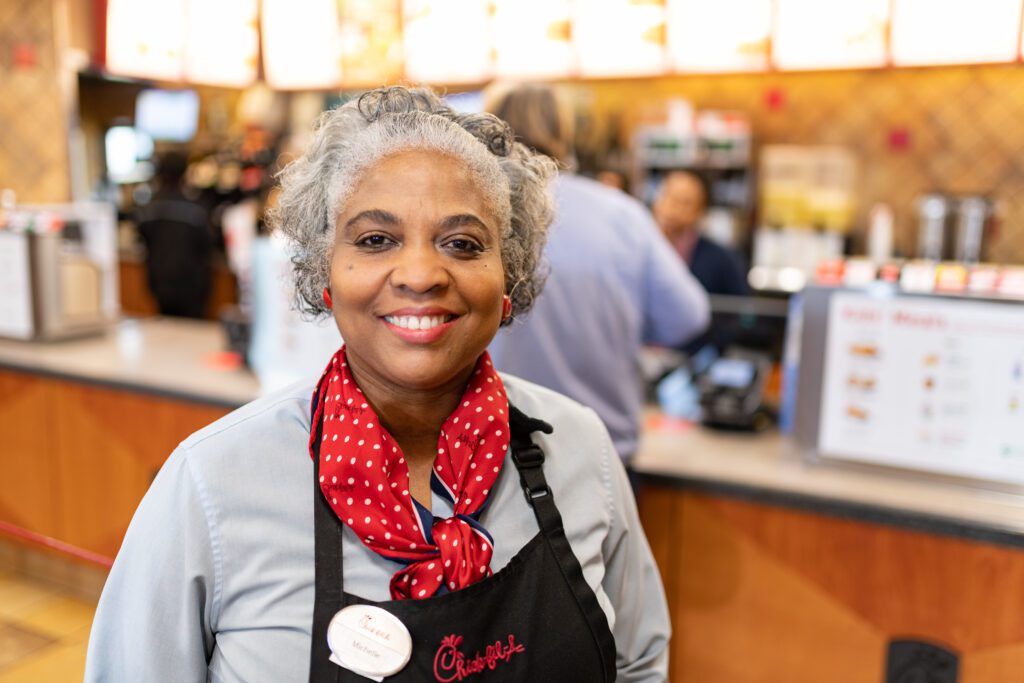
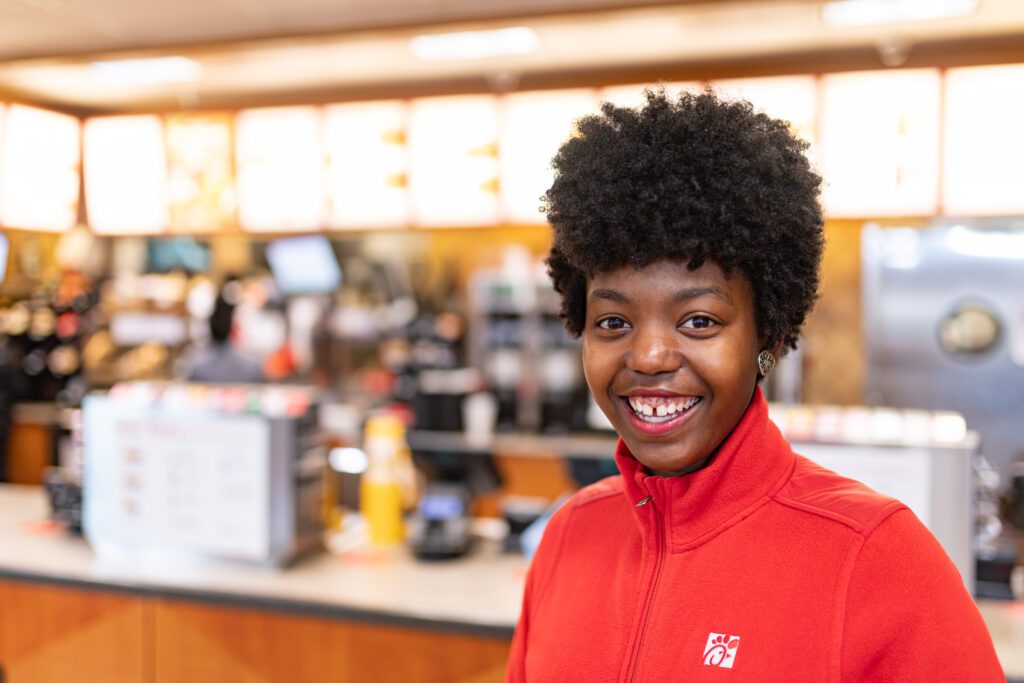
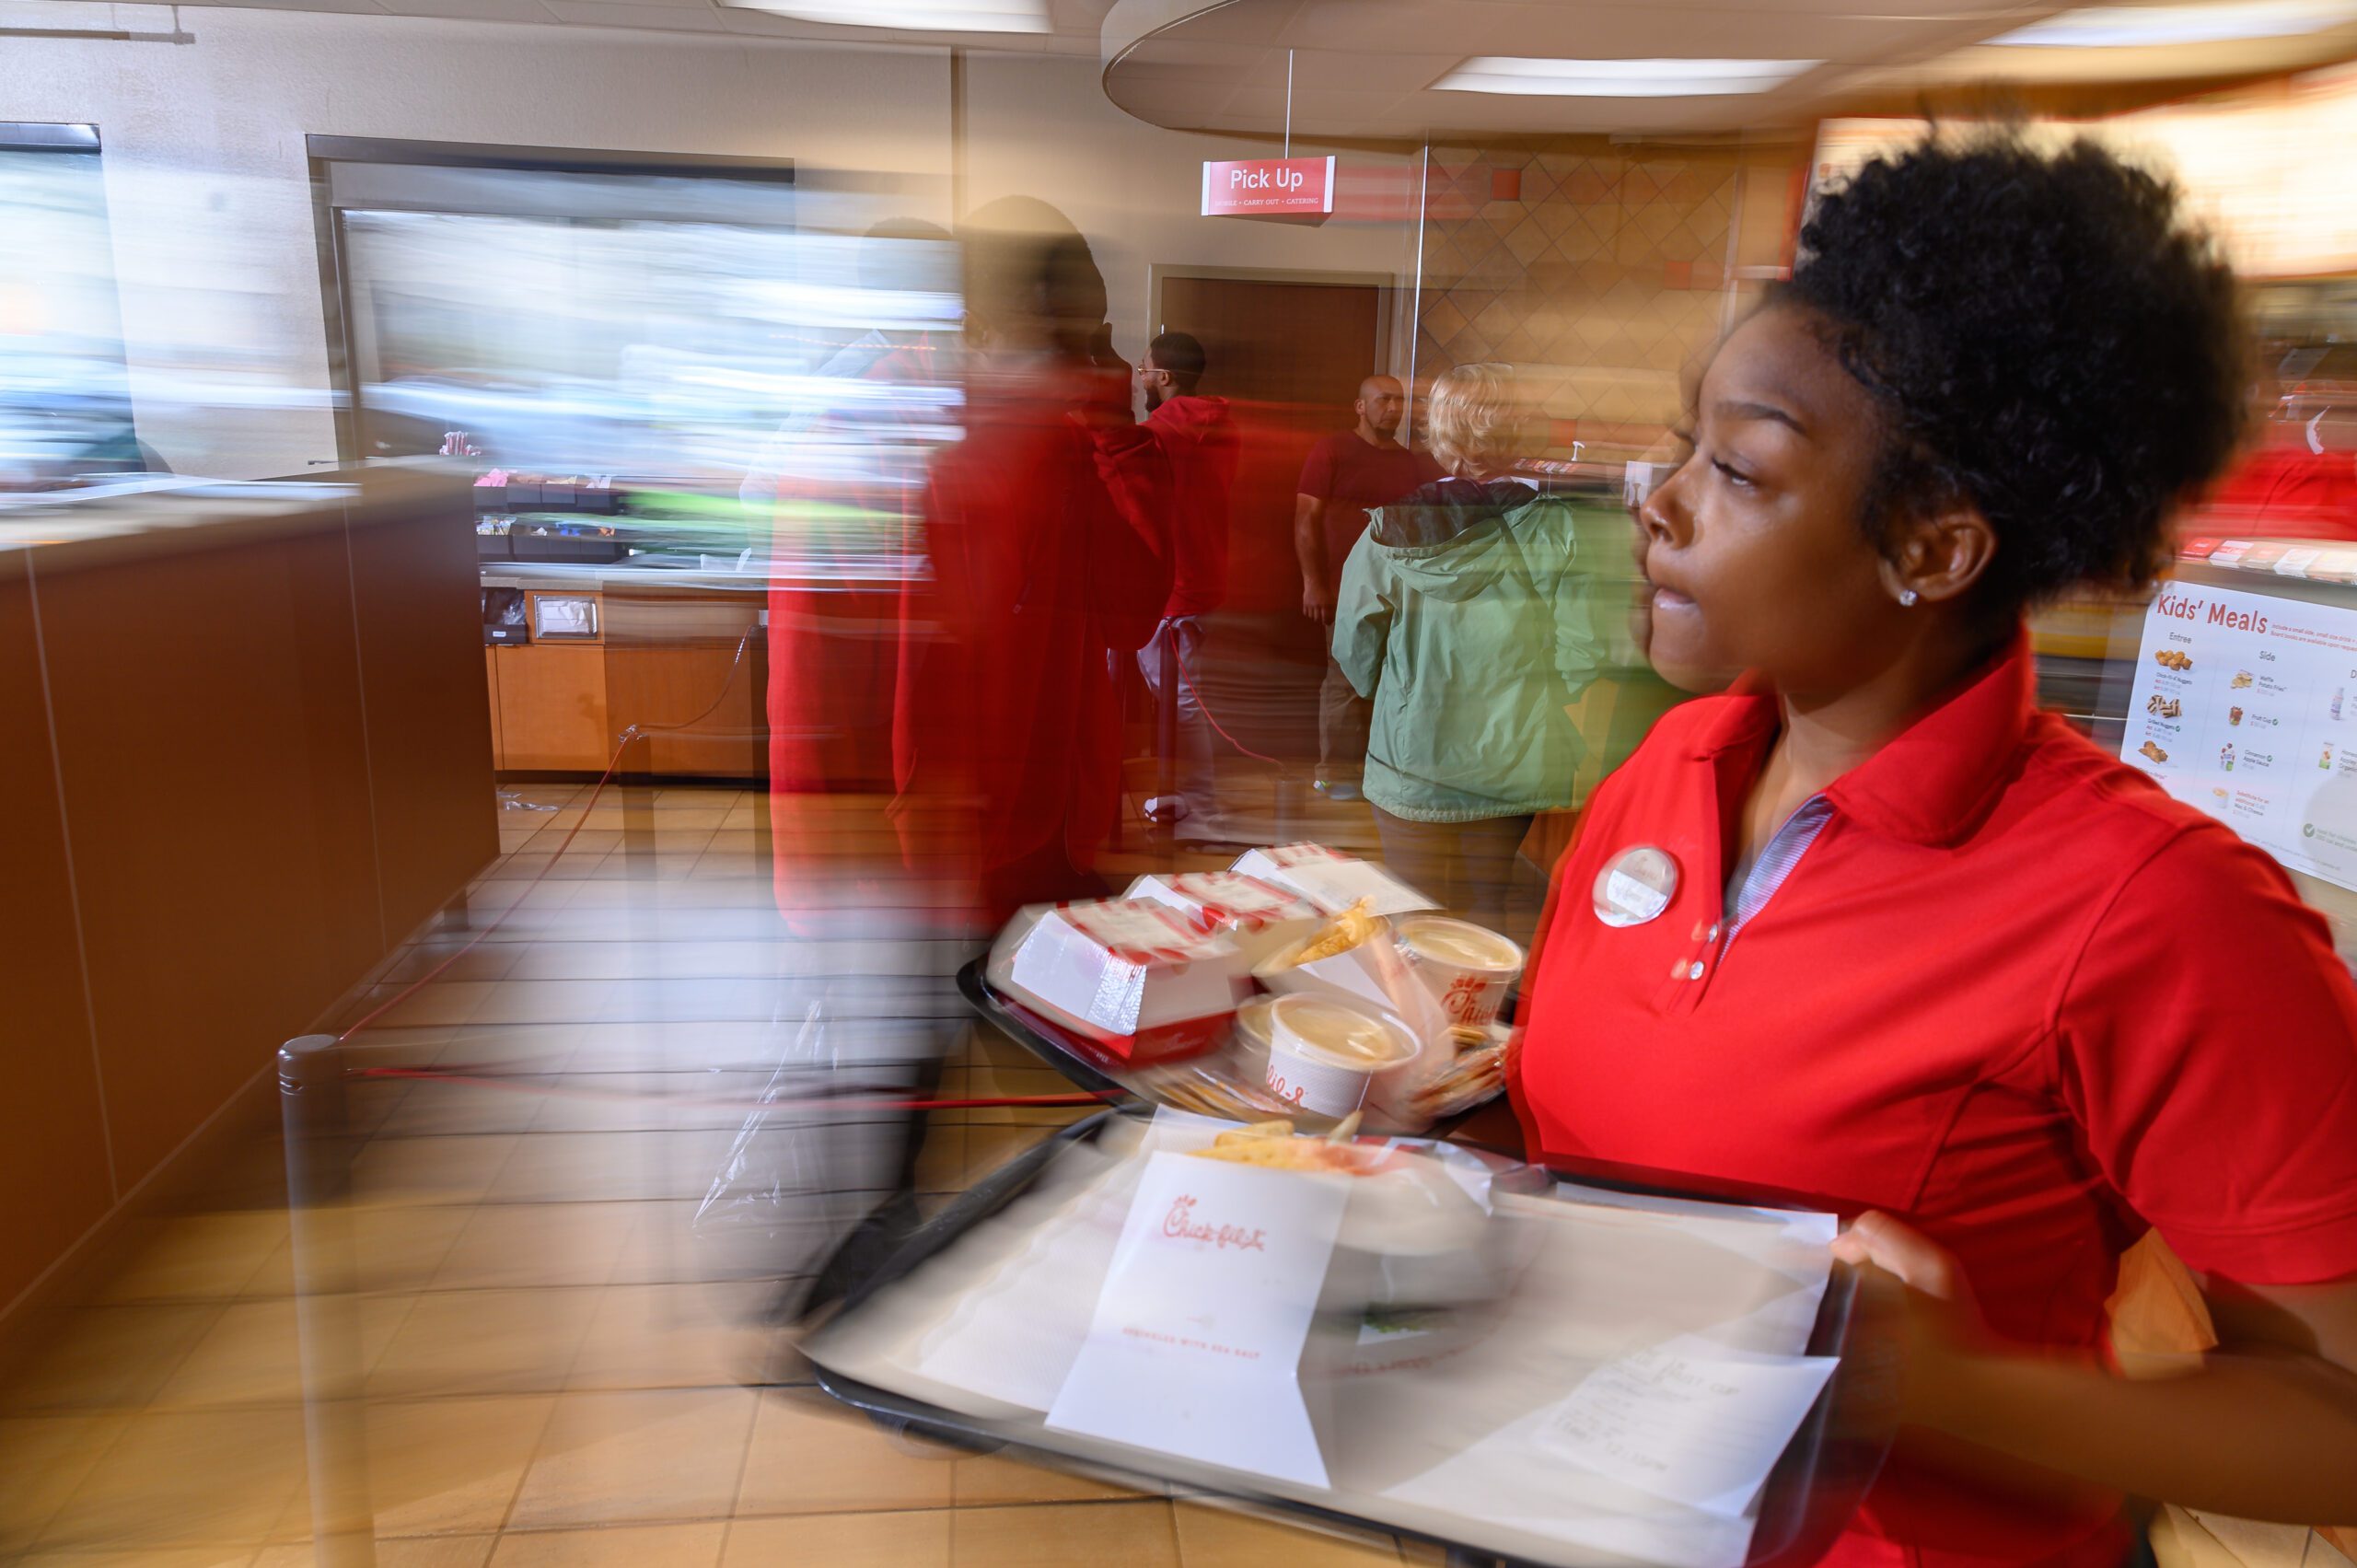
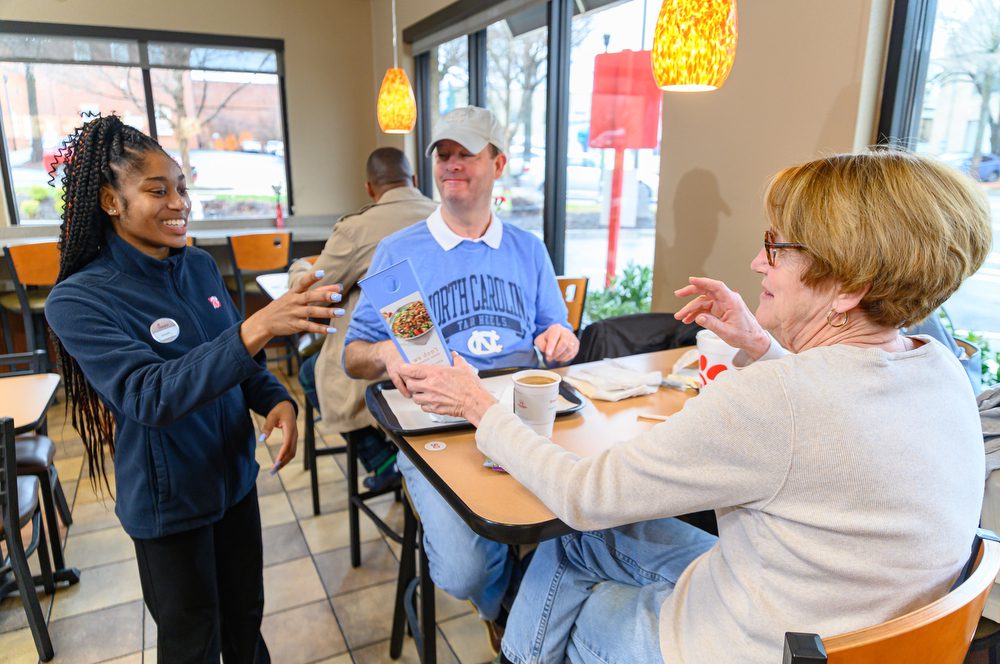
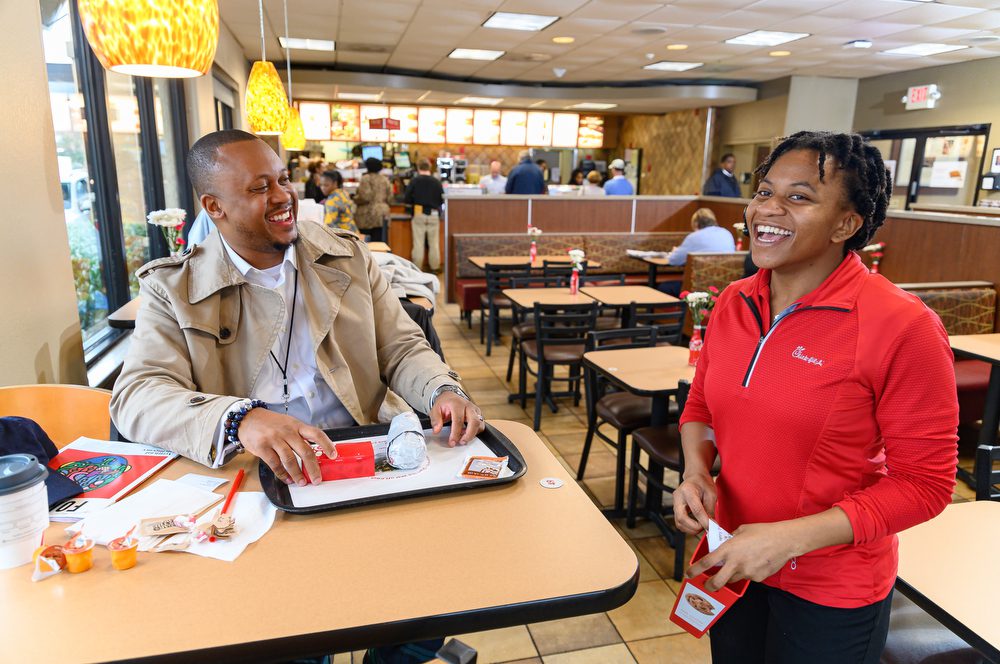
Here are some that would also work for this assignment from my photo shoot at a Chick-fil-A. All of these also utilize a strobe to enhance the lighting.
Catering delivery vehicle
This was my final assignment during my time on the Big Island of Hawaii, where I taught students in the School of Photography 1 at the University of the Nations. The last assignment they did is the one that I do more than any other lighting setup.
I am adding just one light off the camera to help light a person’s face to help draw the audience to them quickly in a photo.
“If you want to be a better photographer, stand in front of more interesting stuff.”
Settings for photo above: [NIKON Z 6, 24.0-105.0 mm f/4.0, Mode = Manual, ISO 100, 1/6, ƒ/9, (35mm = 24)]
I shoot a lot in restaurants. The hardest part of these photo shoots is that there are four walls, and three are all glass. Just the front counter isn’t backlit during the daytime hours.
Dining Room
[NIKON Z 6, 24.0-105.0 mm f/4.0, Mode = Aperture Priority, ISO 1000, 1/160, ƒ/4, (35mm = 24)]
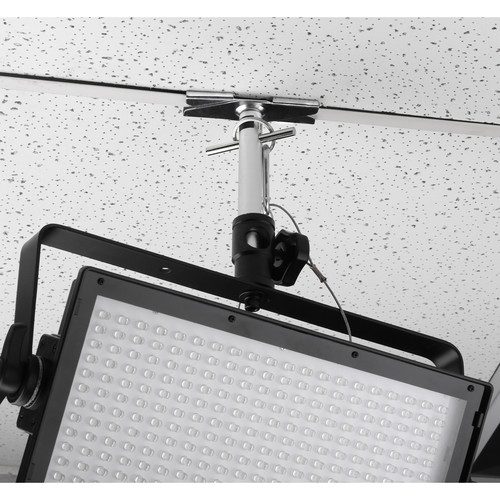
I love to hang strobes from the drop ceilings using a bracket.
Not the light I use but same bracket
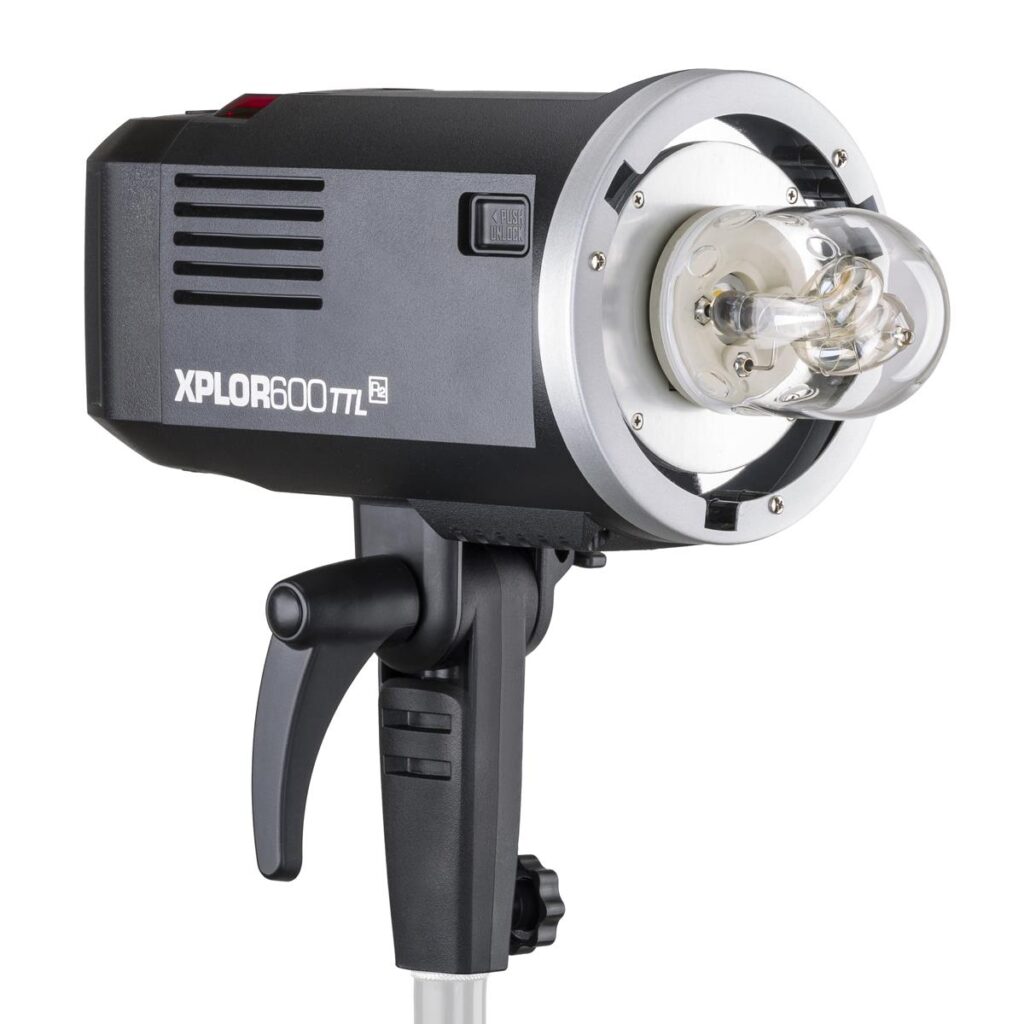
I just used the Flashpoint XPLOR 600 HSS TTL Battery-Powered Monolight as a bare bulb and pointed the light straight up.
That lets me keep the outside windows from being blown out in the background and gives me great light on people’s faces most of the time.
Dining Room
[NIKON Z 6, 24.0-105.0 mm f/4.0, Mode = Aperture Priority, ISO 1000, 1/125, ƒ/4, (35mm = 24)]
The light from the window is lighting the employee, and the strobe in the ceiling is lighting the customer in this photo.
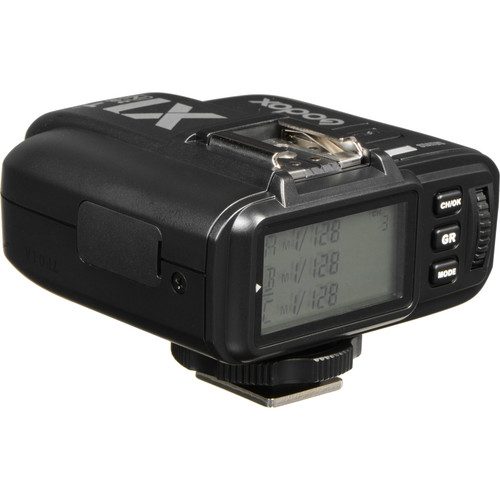
The other great thing about using this setup is that the strobes are battery-powered, so there are no cords. I am adjusting the power with the Godox X1T-N TTL Wireless Flash Trigger Transmitter.
I could change the lights’ power even though they were mounted on the ceiling away from the camera. I first check to see what the existing light settings would be and then set the camera to use that ISO and settings so that the flash is just cleaning up the light and where there are shadows [like the man’s face would have been] are no longer silhouettes.
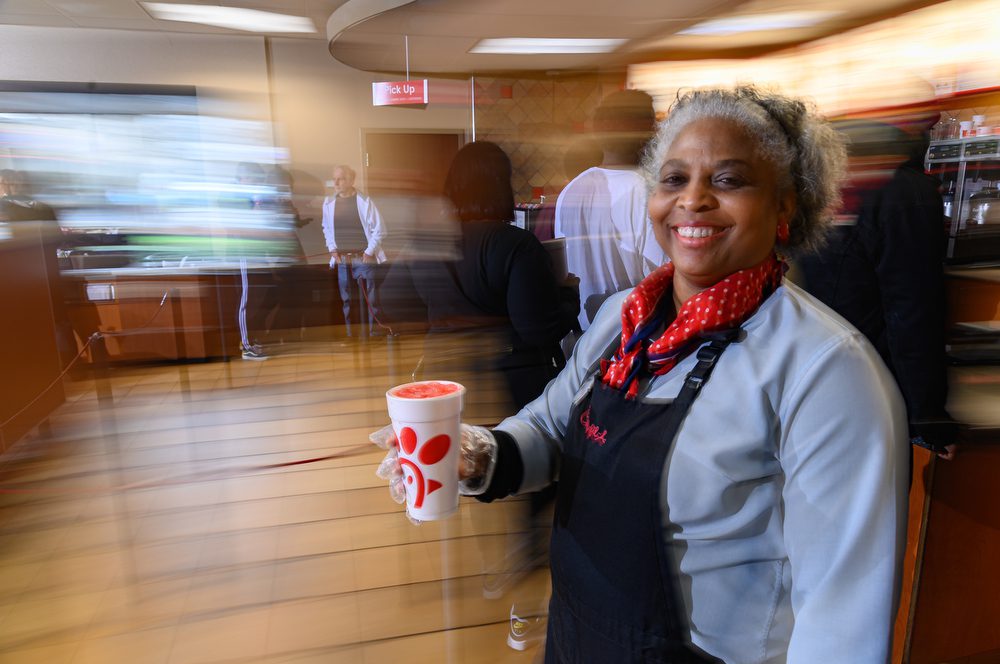
[NIKON Z 6, 24.0-105.0 mm f/4.0, Mode = Manual, ISO 100, 1/6, ƒ/9, (35mm = 24)]
Now to get the photo like the one here and the very top photo, I just slowed the shutter speed to 1/6 and cranked the aperture up to ƒ/9 and ISO 100. As I mentioned, the flash is on the ceiling, and since it is TTL, it just popped in to get a clean light on the face, and then my panning blurred the rest of the photo.
Dining Room
[NIKON Z 6, 24.0-105.0 mm f/4.0, Mode = Aperture Priority, ISO 1000, 1/125, ƒ/4, (35mm = 75)]
Just getting the flash off the camera is my best tip. Try mounting the moment to the ceiling rather than on a light stand.
Try some experimenting. You don’t always shoot the lowest ISO and at the flash sync speed when shooting with the Flashpoint XPLOR 600 HSS TTL Battery-Powered Monolight.
Dining Room
[NIKON Z 6, 24.0-105.0 mm f/4.0, Mode = Aperture Priority, ISO 1000, 1/320, ƒ/4, (35mm = 52)]
If you don’t have a good headshot, you need one in today’s business world. For actors they need them for all the shows they are in. For the average person you need one as part of your resume, which many use LinkedIn as the way to deliver a resume.
I have steered away from picture backgrounds because they can look fake. However, recently more and more people want photos outside on location.
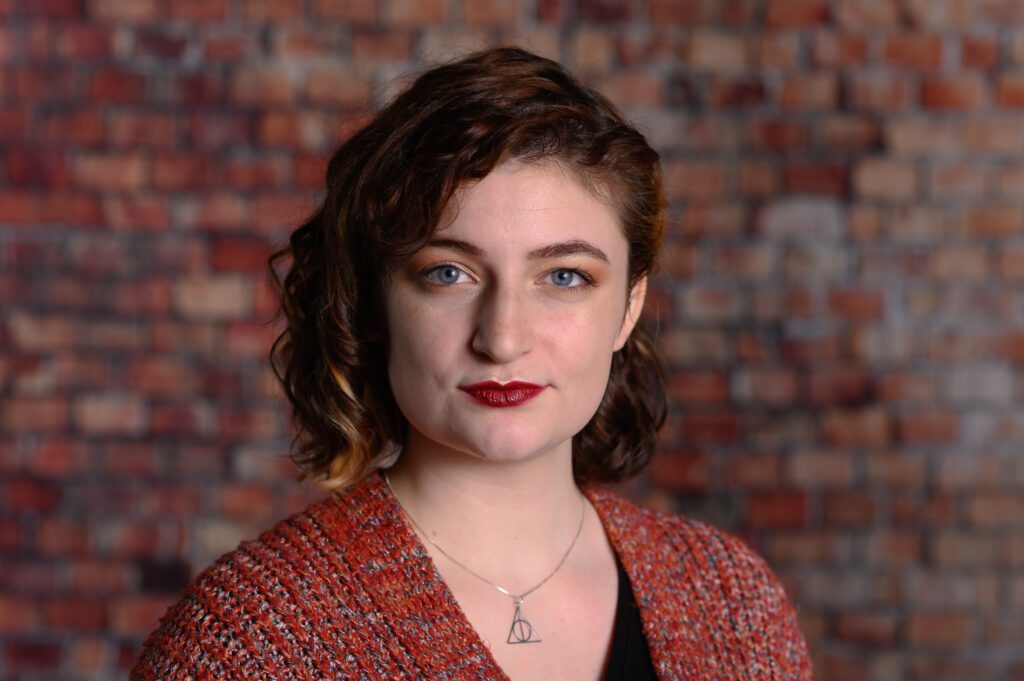
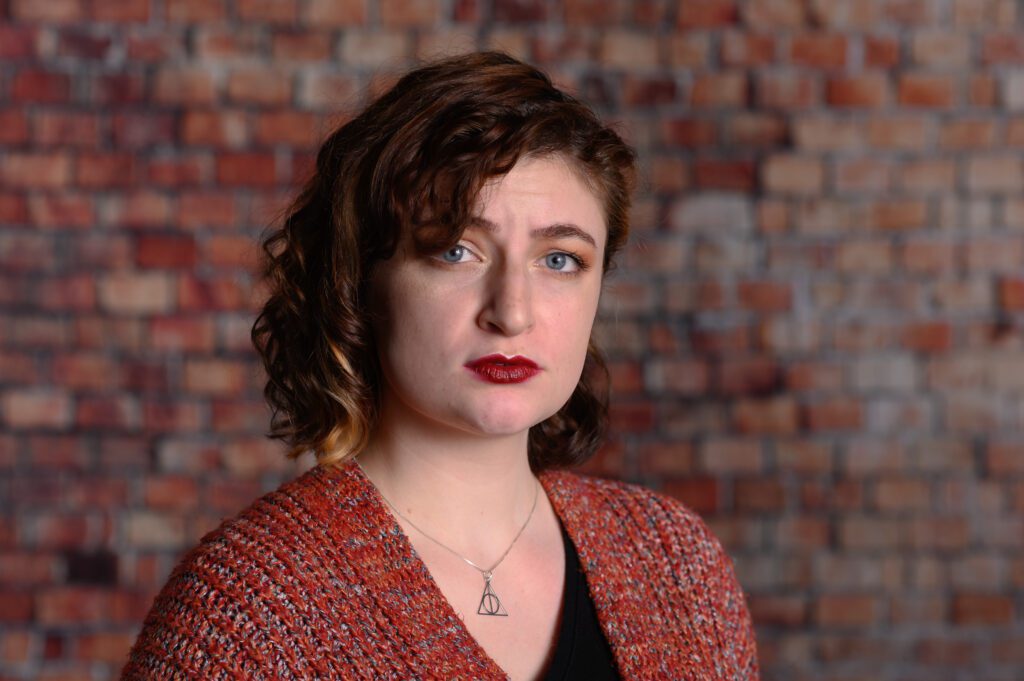
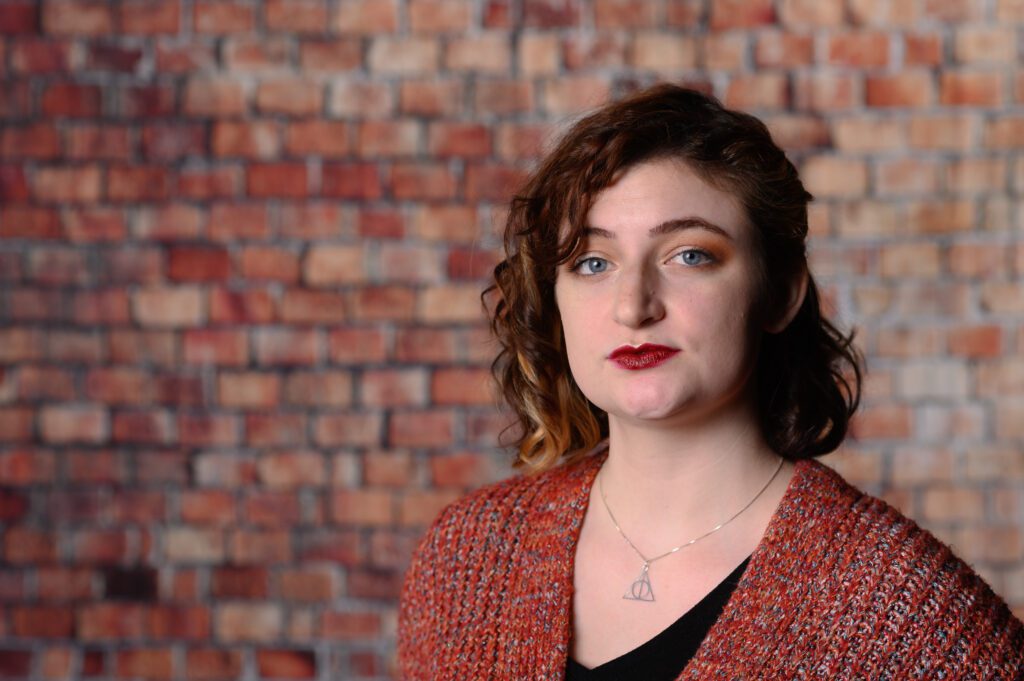
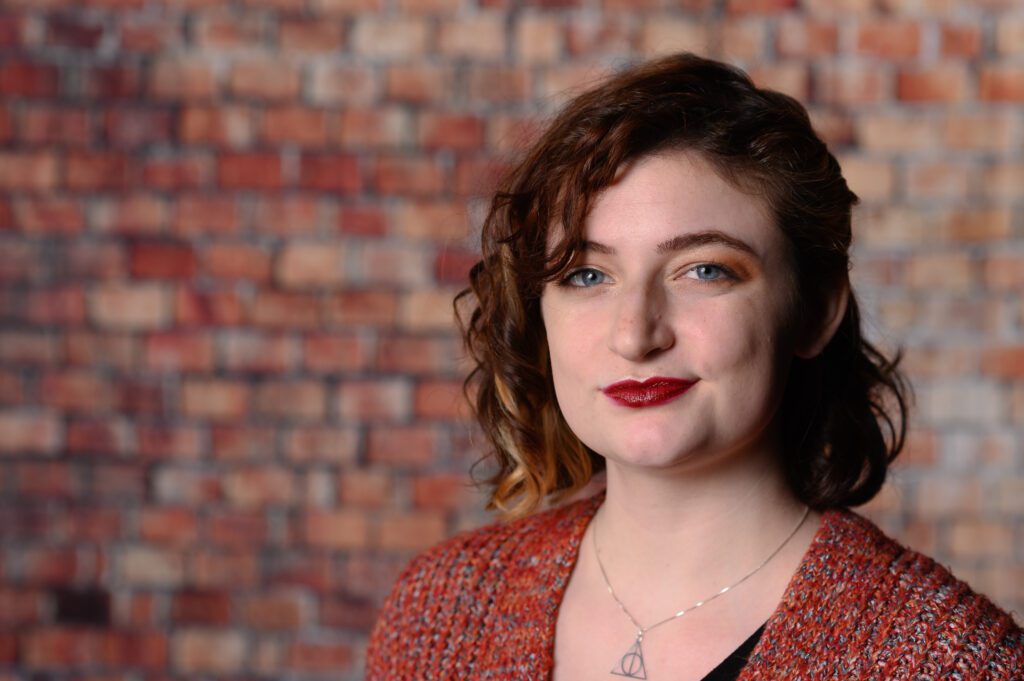
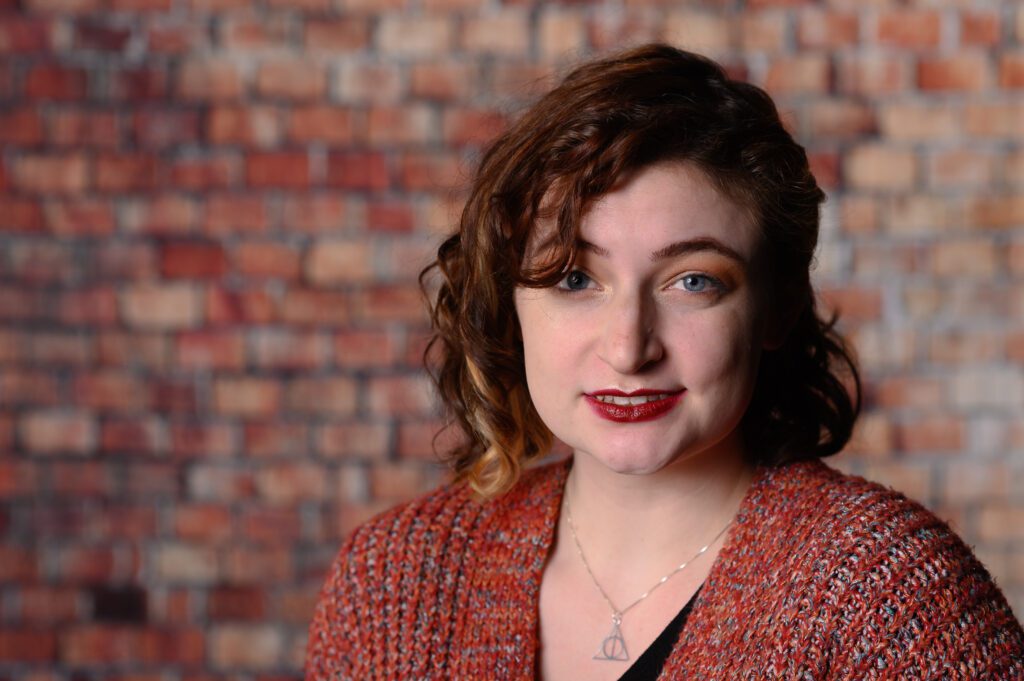
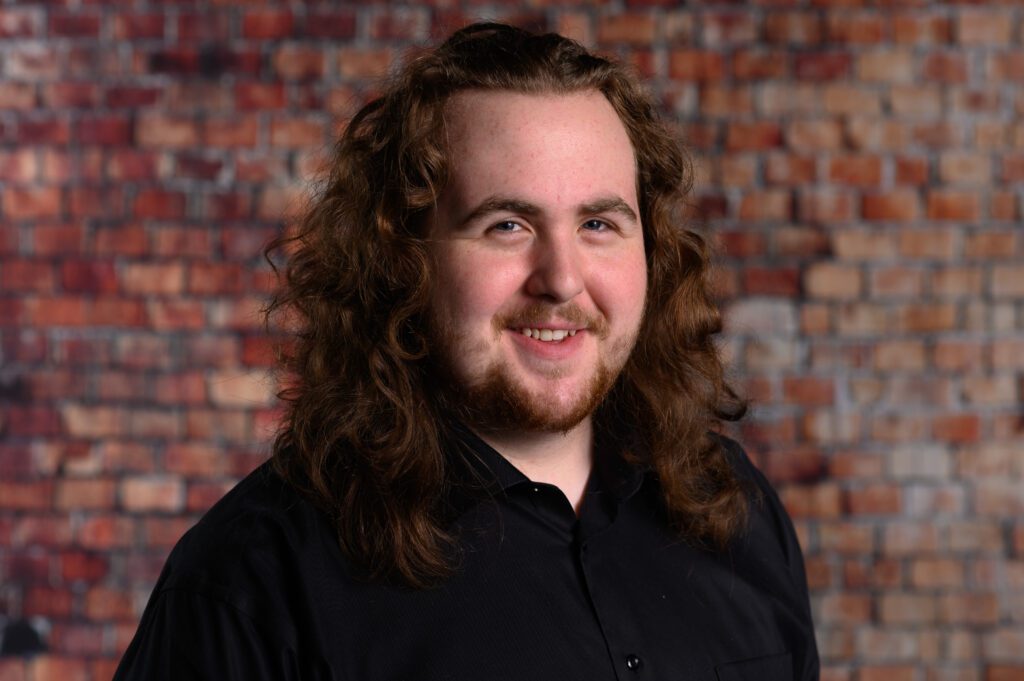
Katie King
[NIKON Z 6, 85.0 mm f/1.8, Mode = Manual, ISO 50, 1/125, ƒ/4.5, (35mm = 85)]
So while the traditional solid background works for inside portraits, outside portraits on weather-challenging days are challenging to do with your model.
Bought this on Amazon. Click on image for more information.
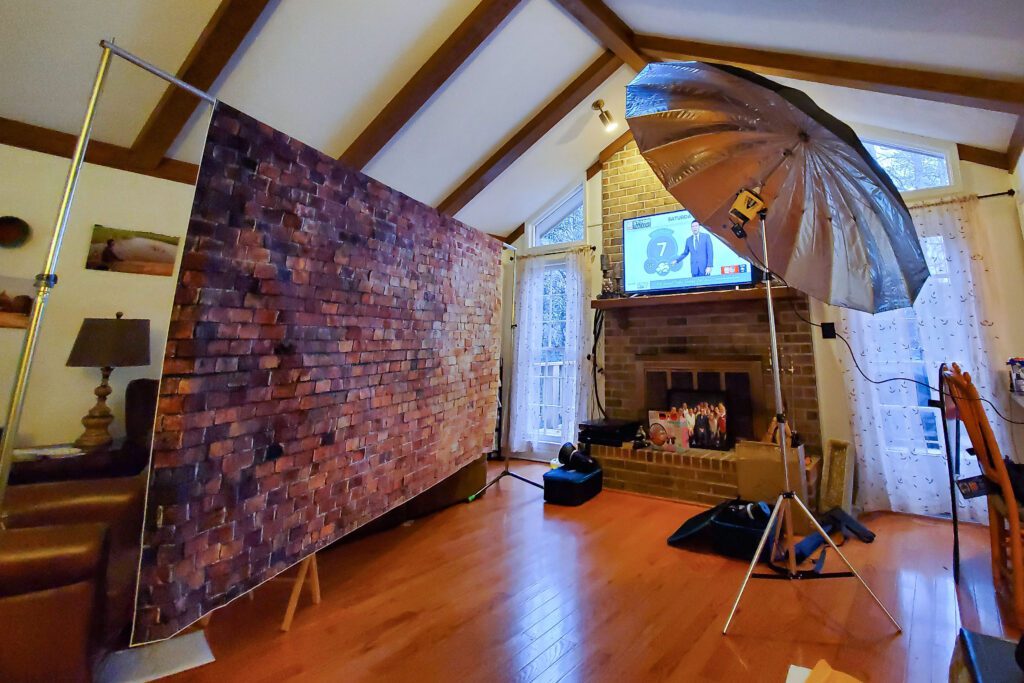
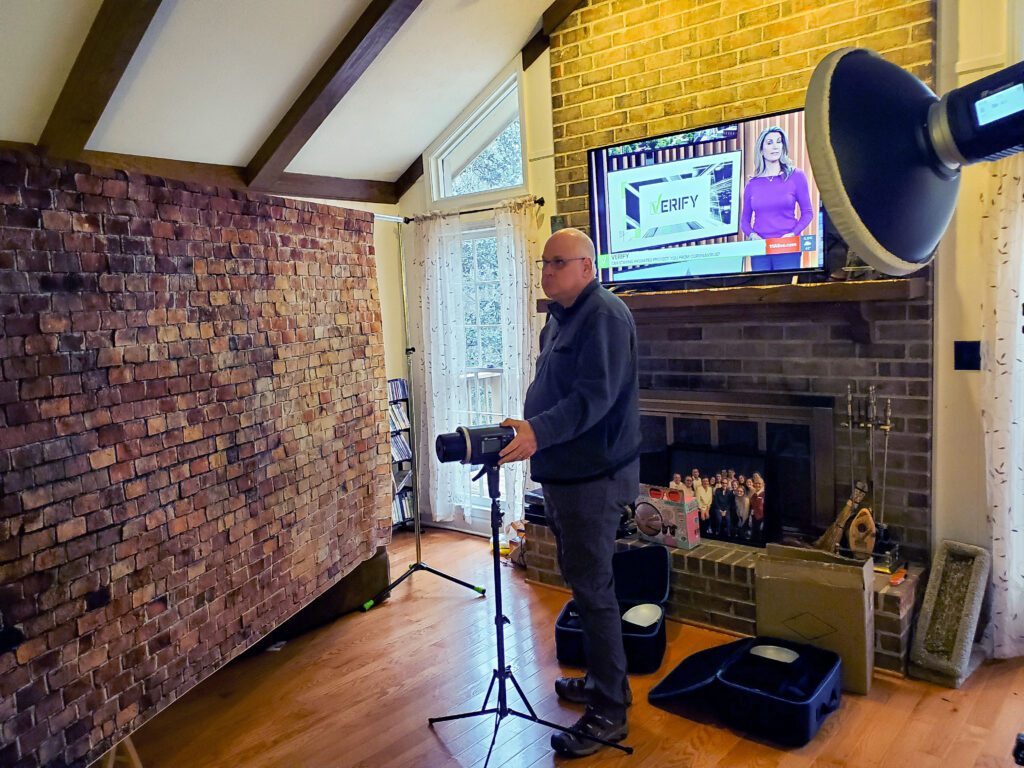
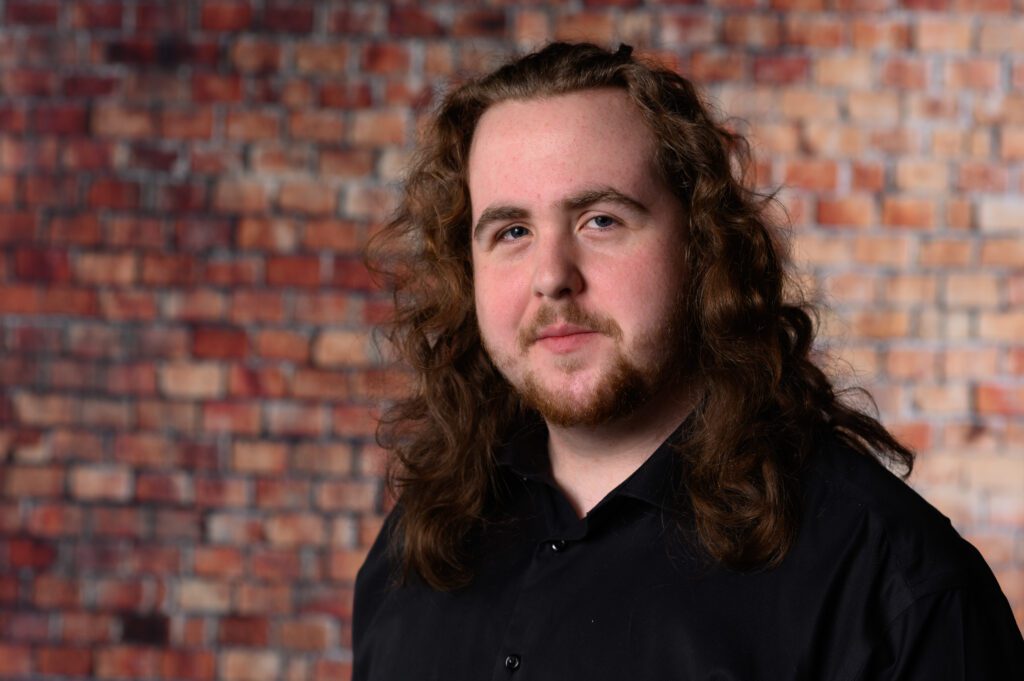
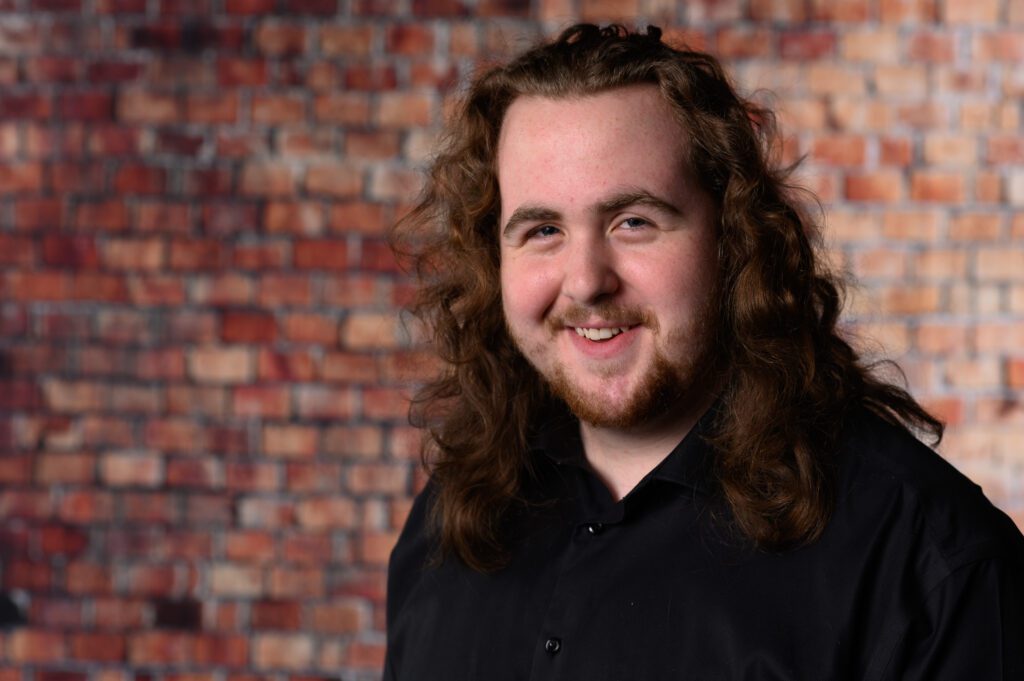
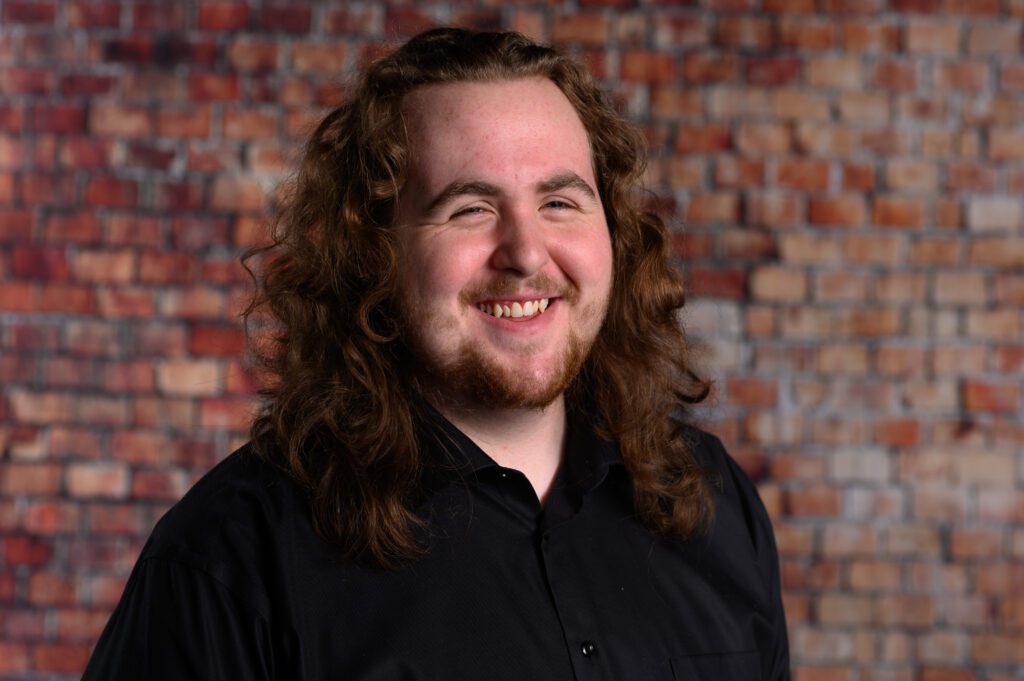
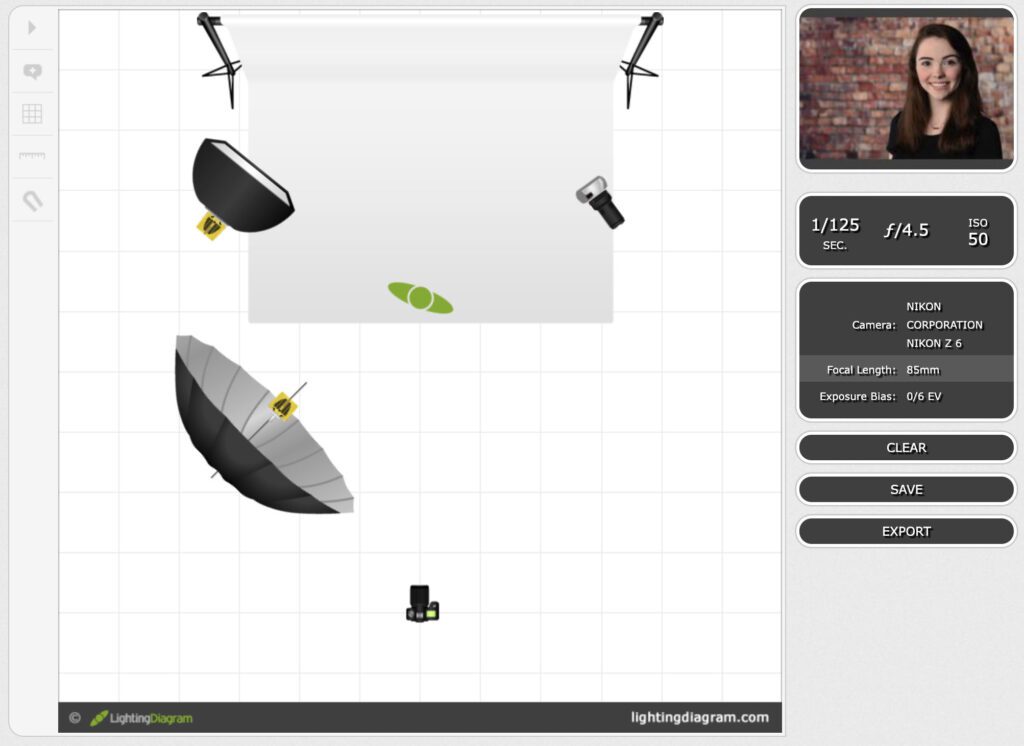
So this is the setup I used to do actor headshots at Columbus State University in Columbus, Georgia.
Photo by Dorie Griggs [SM-G970U, Mode = Normal, ISO 640, 1/29, ƒ/2.2, (35mm = 13)]
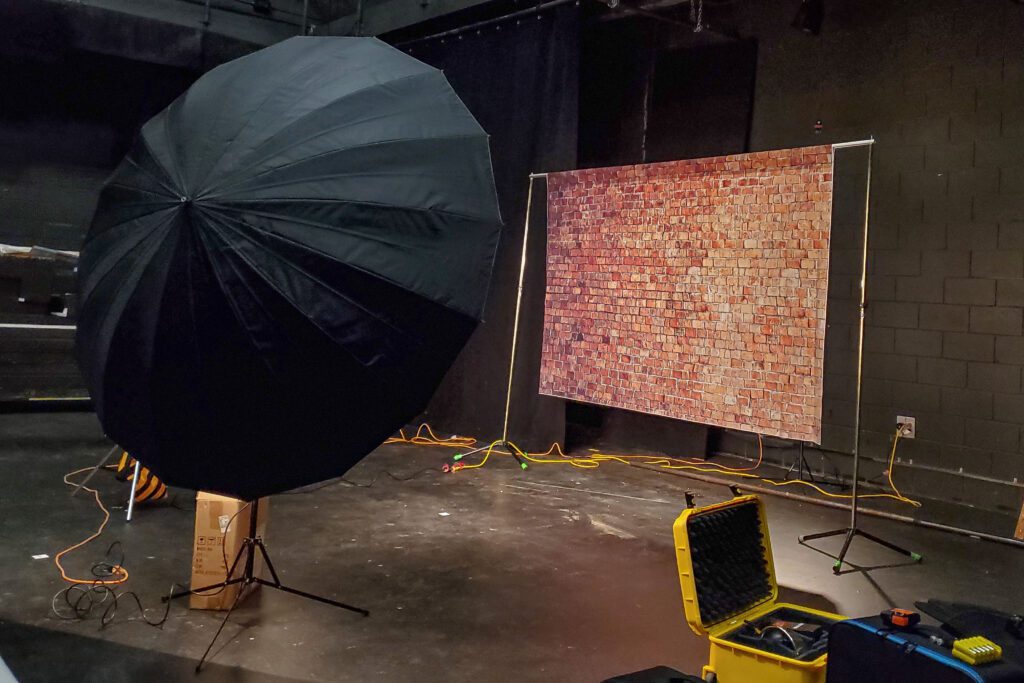
Before I shot the models with it on location, I did some testing in my house.
Photo by Dorie Griggs [SM-G970U, , Mode = Normal, ISO 320, 1/39, ƒ/2.4, (35mm = 26)]
I tried a few lighting setups. I went with the Pall Buff 86” Soft Silver PLM™ Umbrella. It produces a steady, feathered falloff with very soft shadows.
Photo by Dorie Griggs [SM-G970U, , Mode = Normal, ISO 1250, 1/9, ƒ/2.2, (35mm = 13)]
I had two setups. One with an extensive white muslin background that I could make grey or white depending on the light I put on the background.
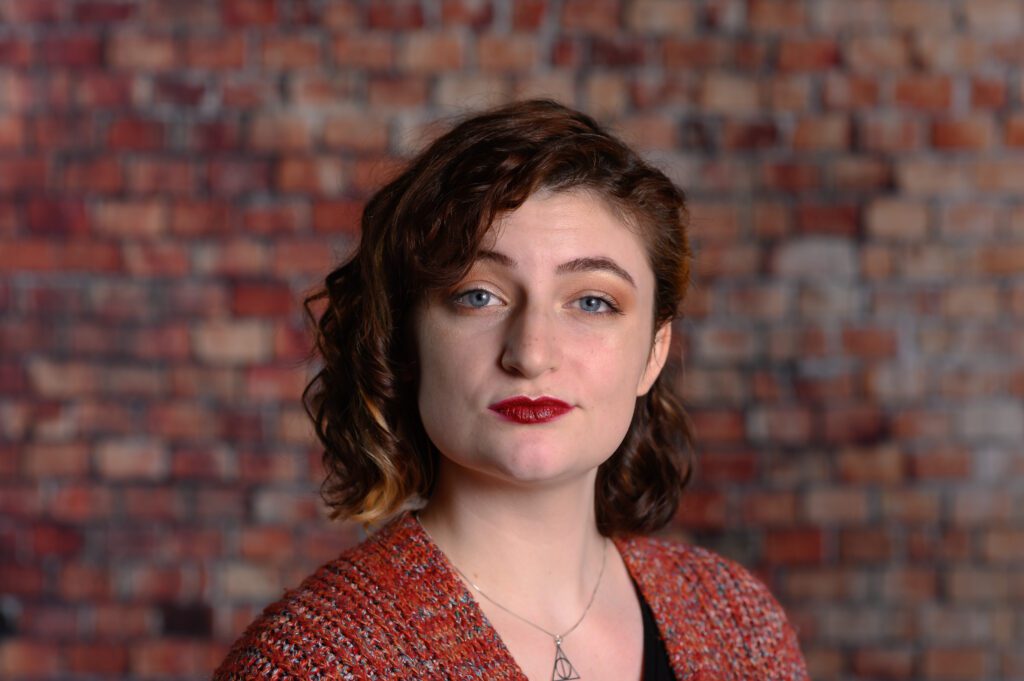
Katie King
[NIKON Z 6, 85.0 mm f/1.8, Mode = Manual, ISO 50, 1/125, ƒ/4.5, (35mm = 85)]
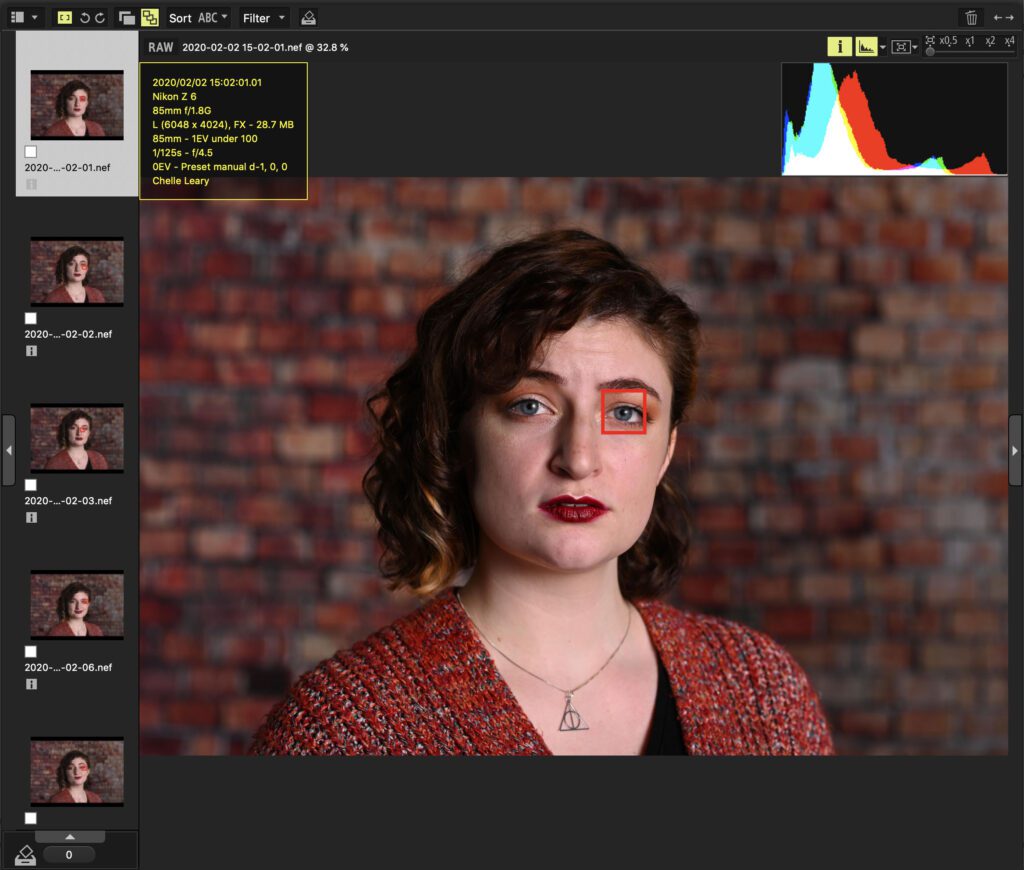
My wife took a video when I was shooting my daughter in the brick background.
I did less coaching with Chelle since she had done this many times before and needed no real direction. For others doing this for the first time, I did more instruction.
I shot with my Nikon Z6 with the focus setting on AF-S and Auto Area with the AF face/eye detection turned on. Using the Nikon ViewNX-i software will let you see where you were focused when the photo was taken, as you can see here. This is great for troubleshooting your focus.