|
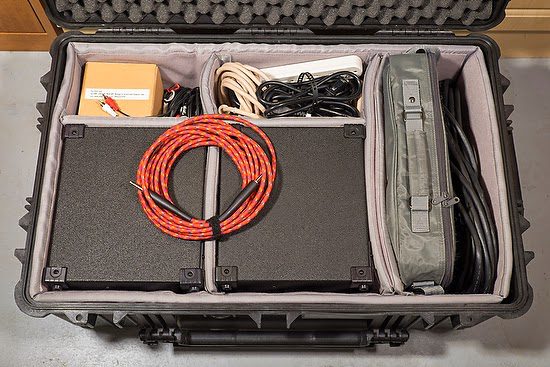
| Fuji X-E2, 18-55mm, ISO 200, ƒ/13, 1/180 |
The fastest way to become successful is to study a master craftsman’s work. A few things involve learning the master’s, not just being aware of their work.
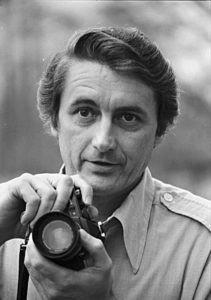
Don Rutledge, my mentor and friend for so many years until he passed away in 2013, knew more about other photographers than anyone else I have ever known. I learned about a scrapbook he put together early in his career and continued to add for many years.
Don clipped magazines for many years and studied those photos that moved him, and this was in the early 1950s. Back then the magazines like LIFE and LOOK were on almost everyone’s coffee tables across America. He also looked at magazines like Mirror, National Geographic Magazine, and Sepia to add a few more names.
Don was studying psychology at the time and used many skills that he learned about observation and things like body language to analyze the styles of those early photojournalists.
Don was creating sections on different photographers like Eugene Smith and Robert Capa. He noticed many of these photographers had credit lines that showed Black Star, a photo agency based in New York City, represented them.
Read more about my mentor Don Rutledge in my blog post about mentors.
 |
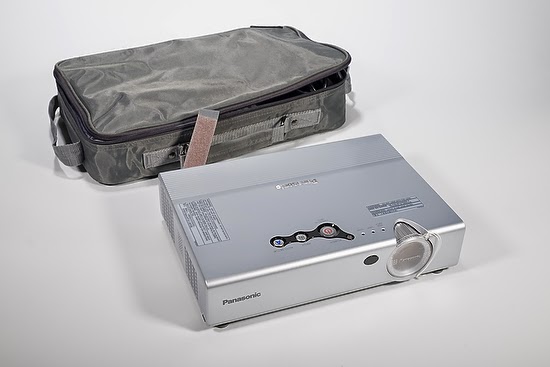
| Fuji X-E2, 18-55mm, ISO 200, ƒ/13, 1/180 |
My collection of photographers’ work grew and continues to grow even today. As a result, my library of photographers is more extensive than most any library I have seen.
Don and I would talk for hours about the masters’ styles, how they could consistently shoot a particular manner, and why it resonated so well with the audience.
Here are a few tips that I think will help you start your scrapbook of the masters.
- Find those photographers that are recognized historically as greats in the industry.
- Read their biographies
- Buy books of their work
- Study their composition and figure out how this is so compelling
- Look at those current photographer’s work that is in fad right now
- Why is their work considered great today?
- Read reviews by critics.
- Hear them speak in person & if you are lucky, ask them questions
- Buy their books
- Copy their work. When you can copy another photographer’s approach, it helps you understand how to do it yourself. Unless you pull off another photographer’s style or technique, you may not just realize what other photographers are doing.
- Buy prints of the masters and hang them in your home. The photographs will remind you that you are setting the bar for your work to match.
- Learn to be a good critic yourself. Learn how to articulate each of the master’s styles and distinguish their work from each other.
- Remember, even the masters shoot some crap. Learn to distinguish an artist’s pieces of work from other elements they produce. Be careful not to think that everything they shoot is excellent because they are big names. This skill will take many years to perfect for you.
- Get together with other photographers and discuss the masters. Ask people to share their thoughts.
You see, the quickest way to success is to stand on the shoulders of those who went before you.