| Nikon D5, Sigma 120-300mm ƒ/2.8 DG OS HSM | S, Sigma TC-2001 2x, ISO 9000, ƒ/5.6, 1/400 |
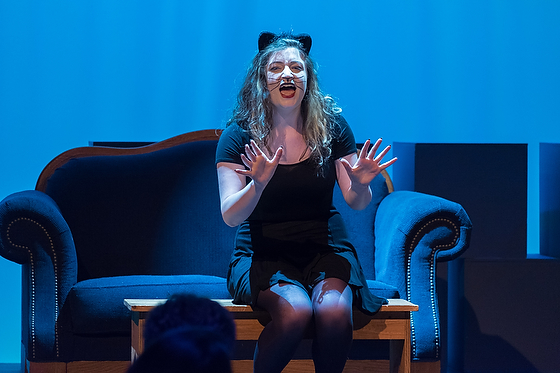
Last night I enjoyed watching my daughter playing the Witch in the musical Into the Woods at her high school.
It made me think of my high school musical Lil’ Abner thirty-four years earlier.

Here is one of two photos I have of me from that performance. I gave my camera to a friend and asked them to take some photos. They took maybe three photos total. When shooting a film, people were careful because each time you pushed the button, it was like spending a dollar.
It is just a copy of the print from that show that I could find.
 |
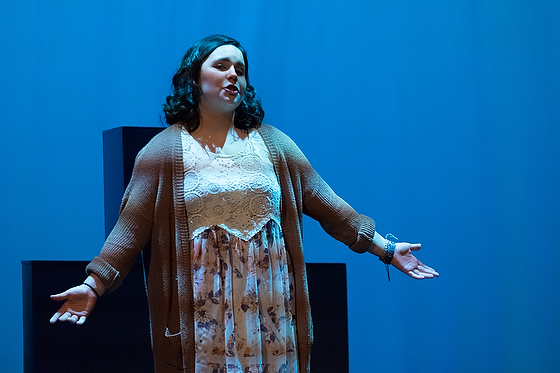
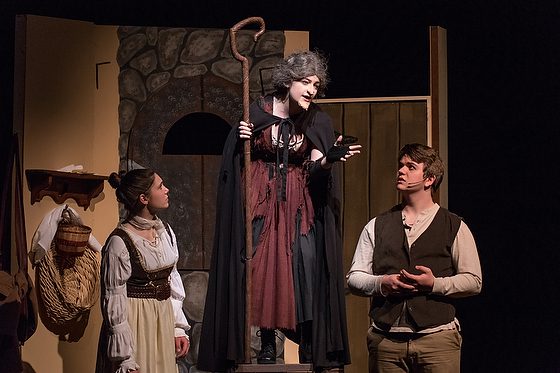
| Nikon D5, Sigma 120-300mm ƒ/2.8 DG OS HSM | S, Sigma TC-2001 2x, ISO 5000, ƒ/5.6, 1/125 |
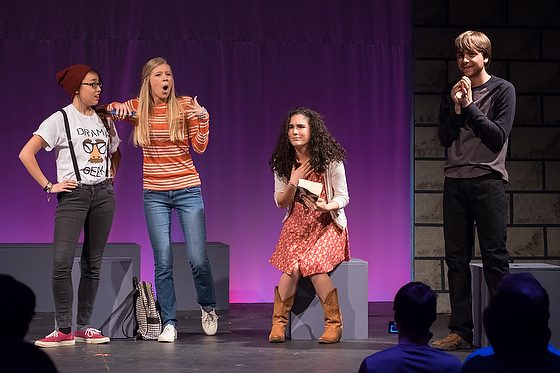
The main characters in the musical Into the Woods are Little Red Riding Hood, Jack and the Beanstalk, Rapunzel, Cinderella, and several others. Into the Woods ties all those other stories into a story of a baker and his wife. But, unfortunately, the Witch cast a spell on the couple.
It makes you think about the next generation. As I am watching this, I realize I am now watching the next generation as actors on the stage as my friends, and I did years ago. Some of my friends went on to Broadway from that cast in high school.
 |
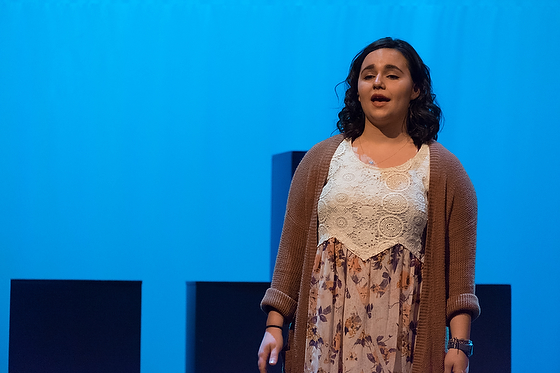
| Nikon D5, Sigma 24-105mm f/4 DG OS HSM Art Lens, ISO 7200, ƒ/4, 1/80 |
My daughter has our family flying in from all over the country to see her as the Witch. I hope that in thirty-four years, all these photos and videos I have been making of my daughter will help her tell her story to her children.
What I hope to do with my photos of our family is to help preserve the story of our family so that the generations to come will be able to look back and see the legacy.
 |
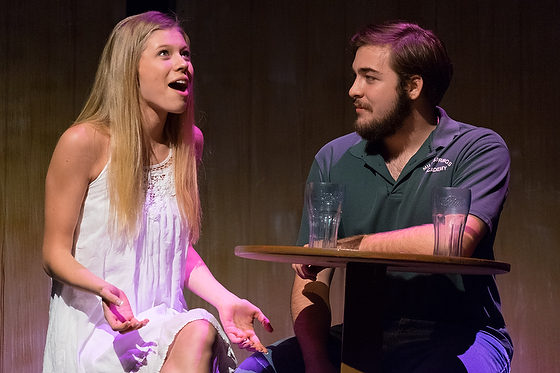
| Nikon D5, Sigma 120-300mm ƒ/2.8 DG OS HSM | S, Sigma TC-1401 2x, ISO 7200, ƒ/4, 1/400 |
What are you doing to help preserve your family’s story? Are you capturing some moments you can share in the future?

Today’s cameras let us capture situations that were so challenging to capture on film when I was in high school.
 |
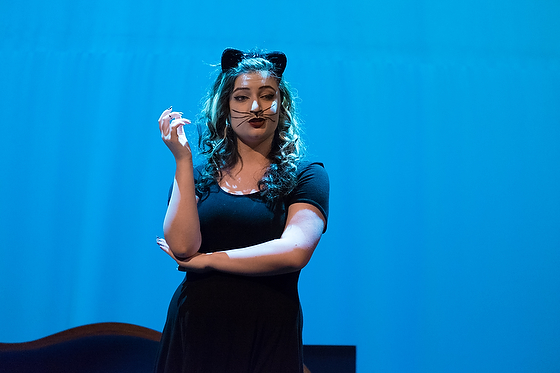
| Nikon D5, Sigma 120-300mm ƒ/2.8 DG OS HSM | S, Sigma TC-1401 2x, ISO 7200, ƒ/4, 1/400 |
Tips
- Take photos of live performances and events of your family
- Share the images now through social media
- Store images – have the pictures of at least three places. With today’s Cloud solutions, I recommend putting the photos here as one way to preserve them.
- Create hard copies
- Prints
- Photo Books
- Include Text!!!!! Take the time to write down things like who is in the picture and what is happening. Think of writing a caption as you would see in a newspaper or magazine. Could you attach it to the photo? [metadata]
- Have a plan on how you will pass your photos to future generations for them to have and cherish.