
Crisis Situation
“Can you provide prints onsite?” was a client’s question to me. I hated making prints with inkjet printers through the years, and some of the other solutions were just too expensive to justify.
Suppose you owned one and did any amount of printing; you most likely have had to clean the heads due to getting banding across prints. Making prints just was so time-consuming for me.
When I had this request, the very first thing was feeling the emotions of stress.
Solution
I first went to my friend for the past 20+ years Pete Casabonne. Pete manages PPRPix. In the past, I did my printing with in-house labs that I managed. When this got in the way of me shooting more assignments, we outsourced that at Georgia Tech to PPRPix.
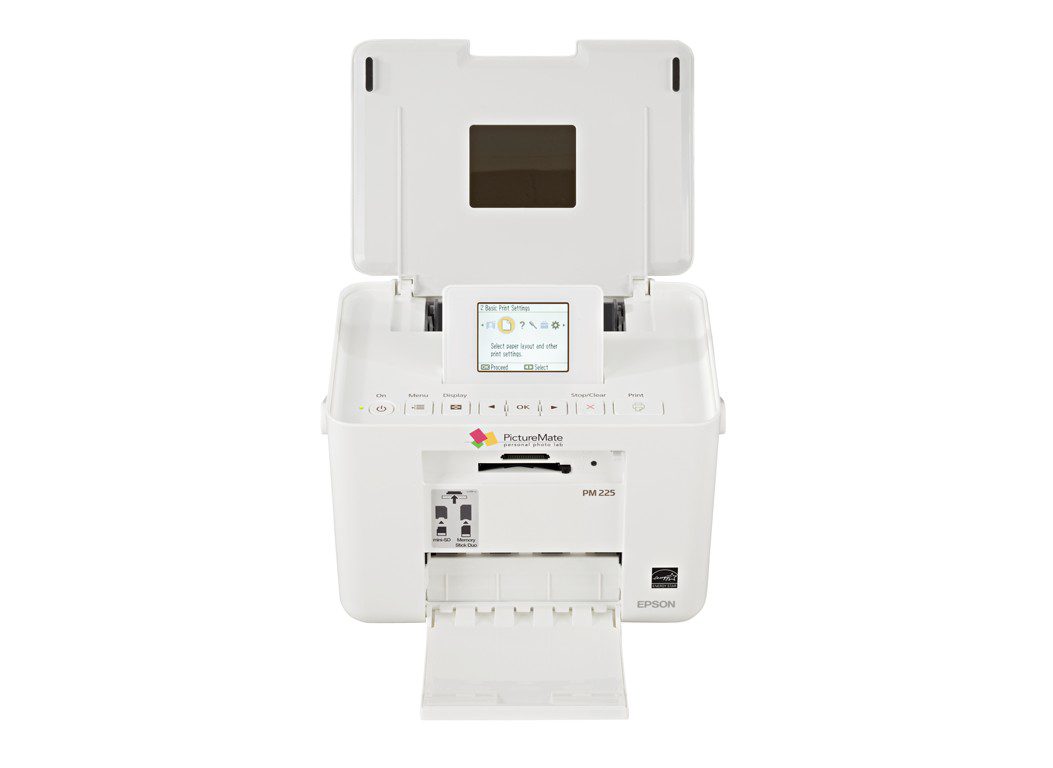
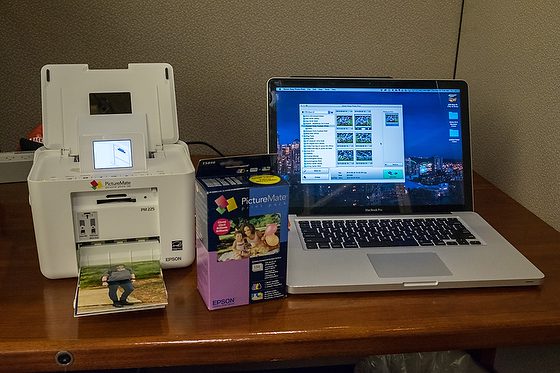
Talking with Pete and then doing some research on my own, I found the Epson PM225 PictureMate Charm Compact Photo Inkjet Printer for $199.
To set up the Charm the first time, you slide the four-color ink cartridge into the slot in the back of the Printer. Next, you rotate the handle back and out of the way, open the top cover to turn it into an input tray and open the front cover to turn it into an output tray. Then load paper in the paper tray, plug in the power cord, and you’re ready to print from a memory card, using the control panel and tiltable LCD on the top of the Printer or from a PictBridge camera.
If you want to print from a computer instead (or also), run the automated installation from the supplied disc and plug in a USB cable. When you open the box, you should be ready to print your first photo within 10 minutes—or less if you don’t need to install the driver on a computer.
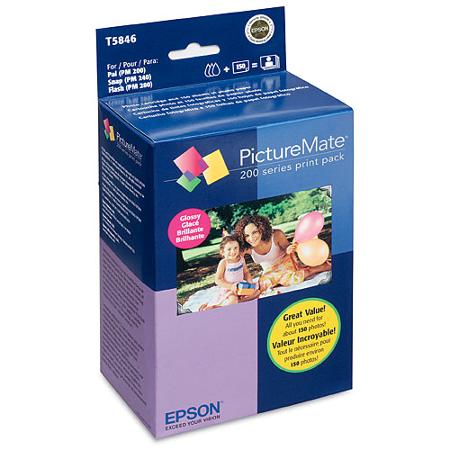
For glossy photos, the cost works out to just 25.3 cents each, based on the $37.99 (direct) price for a print pack with enough ink and paper for 150 photos. The cost is 32.3 cents per photo for matte images, based on a $32.29 (direct) price for enough ink and paper for 100 photos.
The combination of fast speed, low cost per page, and high-quality prints earned it a spot as PC Magazine Editors’ Choice for 4- by 6-inch dedicated photo printers.
I will be writing my review of its performance after using it in a Photo Booth in a couple of weeks.
PRODUCT HIGHLIGHTS
- 5760 x 1440 dpi
- Print 4.0 x 6.0″ Photo in 37 Seconds
- Print from Memory Cards
- Borderless Prints
- 2.5″ Color LCD Preview Display
- Portable, Weighs only 7.9 lb
- Dry, Scratch, & Water-Resistant Prints
- Grab the handle and take PictureMate Charm to parties, events, the office, and even your vacation getaway.
- Smudge, water, and fade-resistant photos
- With on-board photo editing, you can crop, enhance, remove red-eye, and more.
- Choose from various layouts and print in black-and-white, color, or sepia
- Print stacks of photos at an everyday, low print price
- Compatible with any digital camera
- The Charm operates for hours on a single battery charge (with an optional rechargeable battery)
- Print wirelessly with the optional Bluetooth adapter

This screenshot of the Epson Easy Photo Print software will let you print from your computer.

Once you select your images, you can crop and make minor adjustments and choose if you want index print [contact sheet], borderless or bordered prints, and more adjustments. I prefer shooting RAW and editing all my images using Adobe Lightroom. Once you install the printer driver, you are just picking the Epson PictureMate as your Printer.
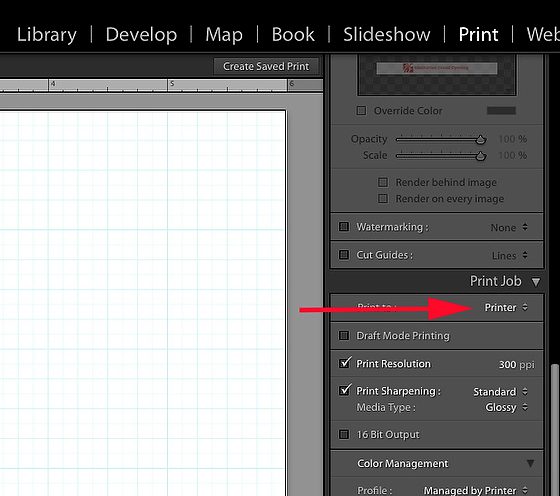
In Adobe Lightroom Print Module, go to the Print Job tab and select Printer.
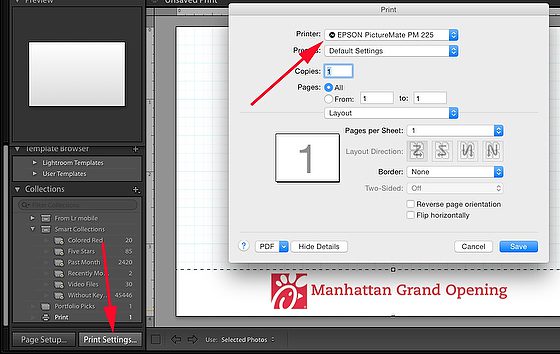
On the lower left, pick the “Print Settings,” and then this will pop up where you choose the EPSON PictureMate PM 225.
Tethered Shooting
I will use my Nikon D4 to shoot photos of people at a Photo Booth wireless. I will use my CamRanger to sync to my Macbook Pro. Here is an earlier blog post on how that works.
Here is how you set up Lightroom to automatically have those images appear so you can immediately edit/print the photos.
Simple Photo Frame Effect – Add a Custom Border with Text or Image
Here is a great video to help you create text. To add logos and text, I make those in PhotoShop and select graphics instead of text. Little practice, and you will be doing this with ease. Watch this video for a walk-through of the steps.