In storytelling, time is not merely a concept; it’s a crucial ingredient that enriches narratives, adding depth and authenticity. While some stories unfold swiftly, like the turning of a page, others demand patience, unfolding gradually like a flower in bloom. As a photographer and storyteller, I’ve come to appreciate the intricate relationship between time and storytelling, primarily when chronicling the lives of our backyard visitors, the Red-Shouldered Hawks.
Every story, whether captured through a camera lens or penned on paper, has its beginning, middle, and end. However, in the vast tapestry of life, we’re often just capturing a fleeting moment—a mere slice of someone’s grand narrative. This realization struck me profoundly this year as I embarked on the journey of documenting the nesting habits of these majestic birds.

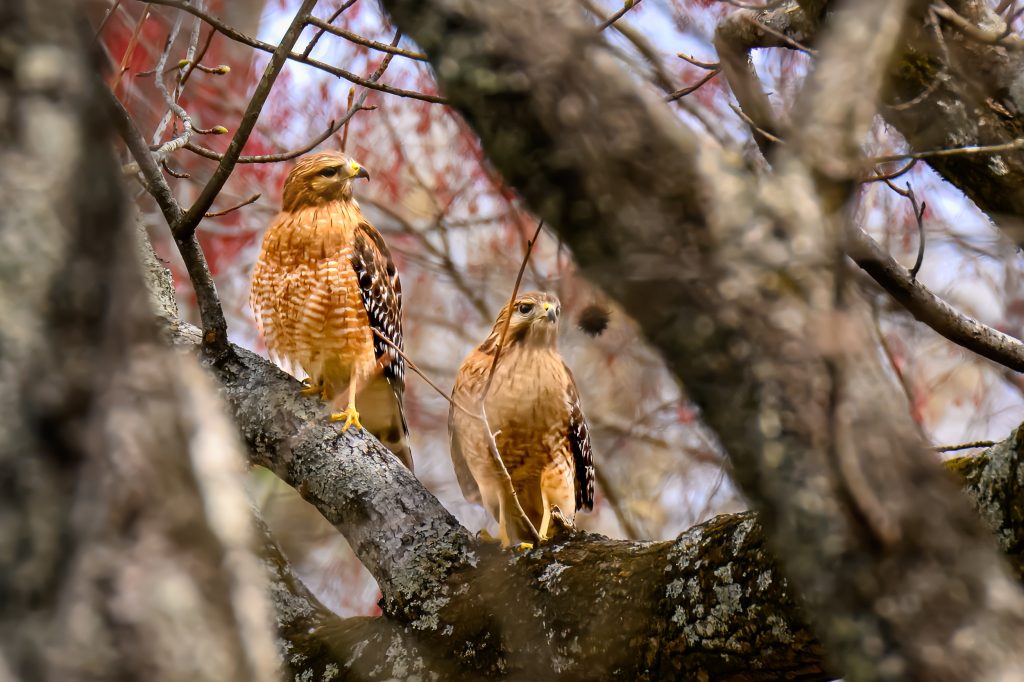
In February, the Red-Shouldered Hawks began their annual nest-building ritual as the air still carried a hint of winter’s chill. Armed with my camera, I observed the intricate dance of courtship and the meticulous construction of their nest. Yet, little did I know that this was just the prologue to a much larger tale.
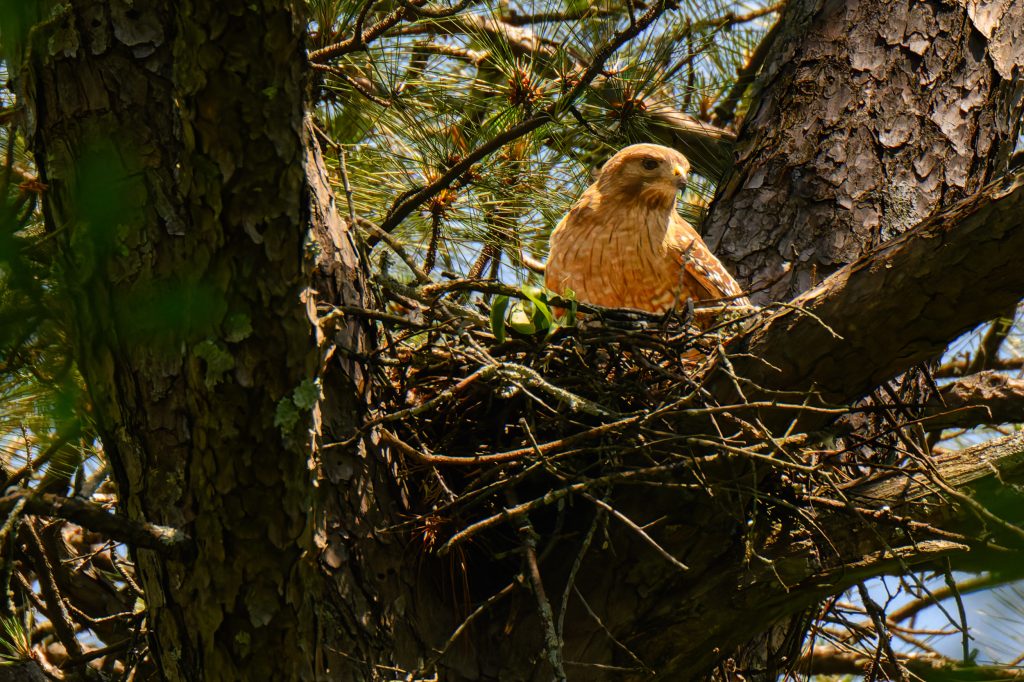
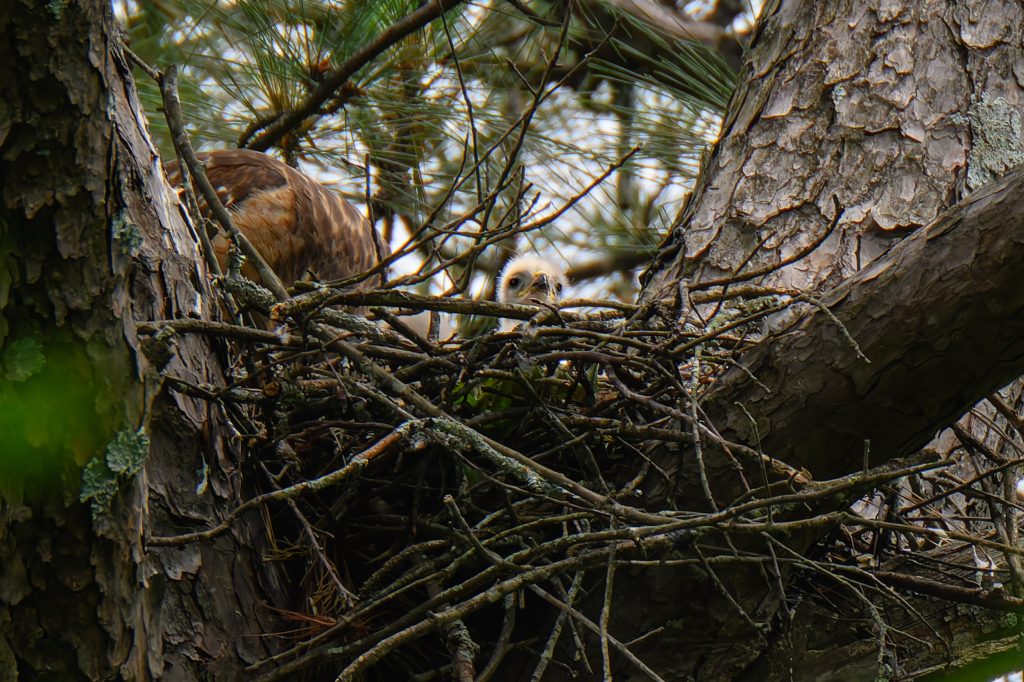
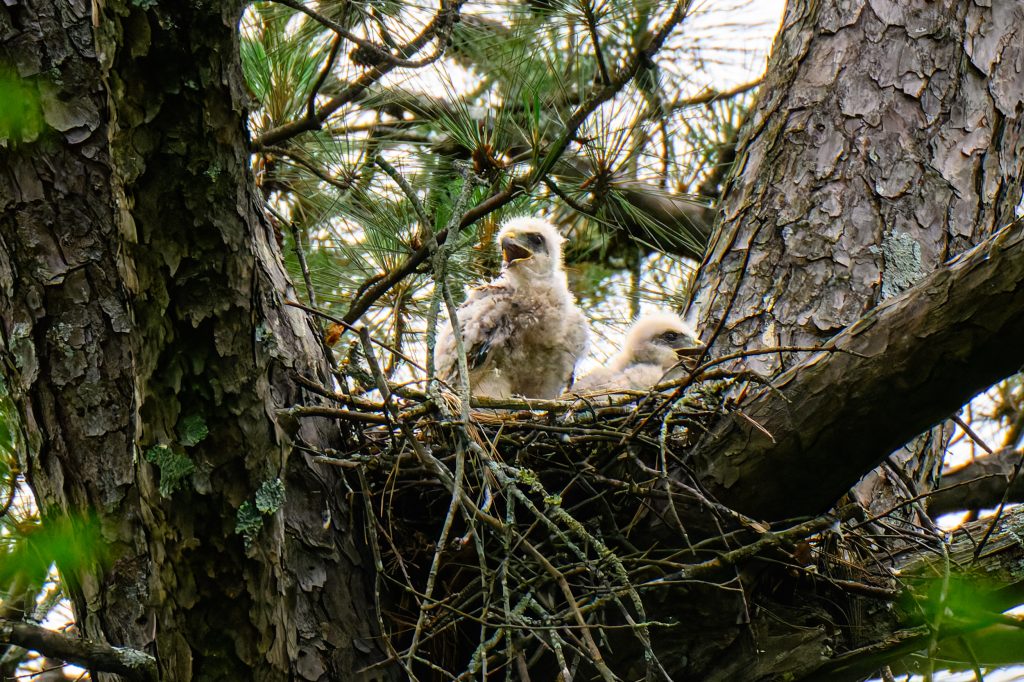
The laying of eggs marked the next chapter in this avian saga. The nest became a cradle of life each day, sheltering the precious cargo within. Yet, unlike the instant gratification of modern life, hatching these eggs demanded patience. It wasn’t until late April that I caught my first glimpse of a newborn chick, a testament to the passage of time and the gradual unfolding of nature’s wonders.

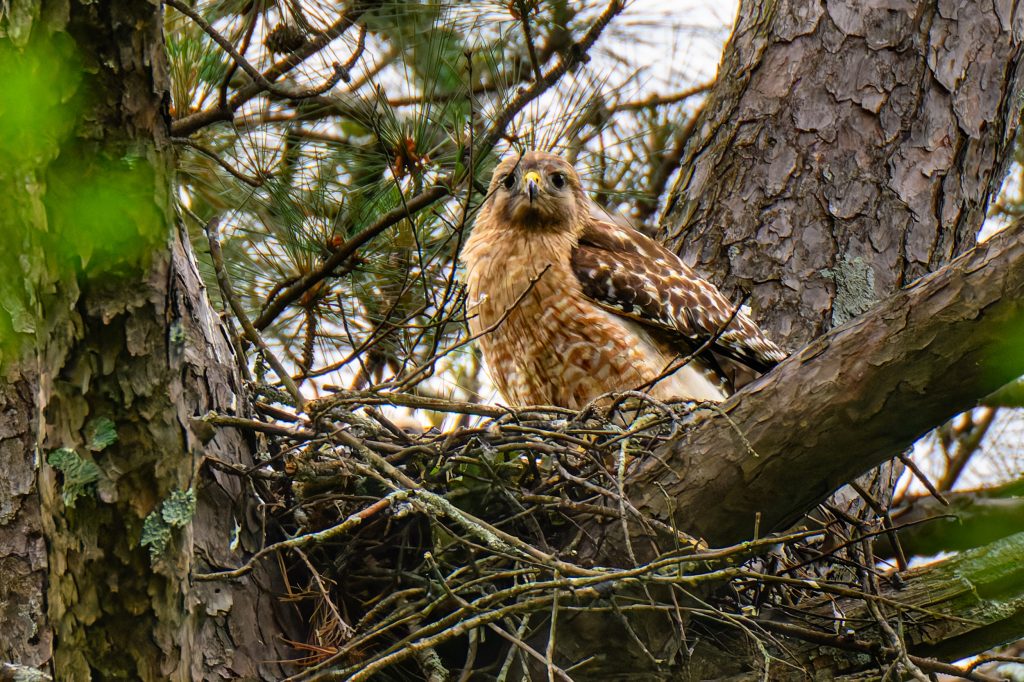
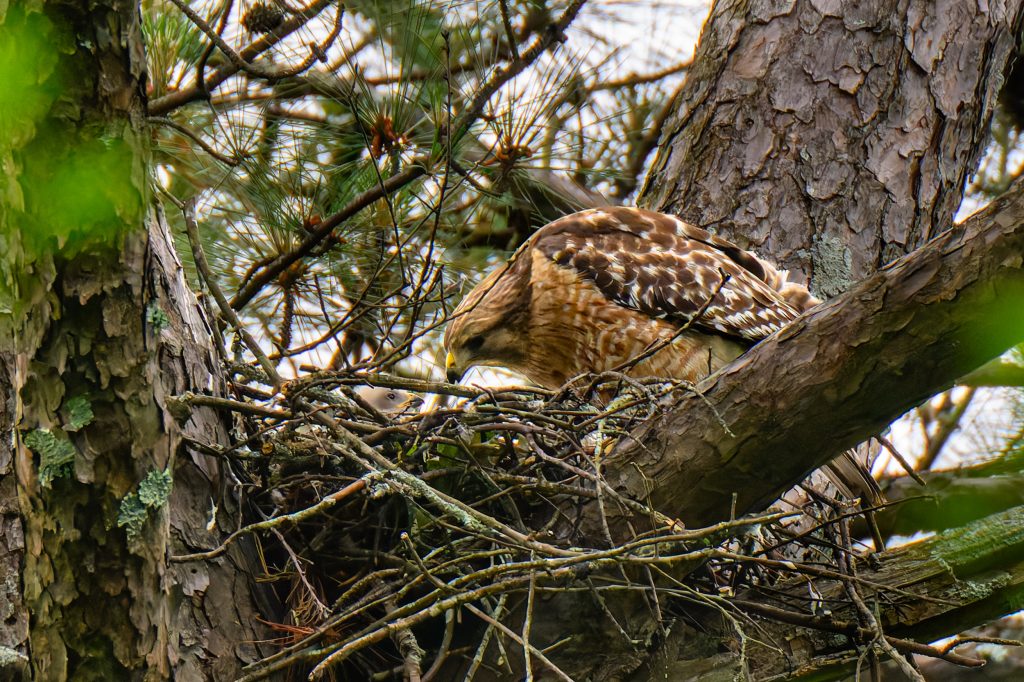
As weeks turned into months, I witnessed the fledglings’ growth and transformation. From the safety of their lofty perch, they ventured into the world, their parents dutifully providing nourishment and guidance. And with each passing day, I realized that storytelling isn’t merely about capturing moments; it’s about immersing oneself in the subject’s world, understanding their journey, and translating it into a resonant narrative.

The journey of storytelling, much like the life cycle of the Red-Shouldered Hawks, requires careful planning and investment of time. It’s about delving deep into the subject’s world, allowing their story to unfold organically. Here are some tips to guide fellow storytellers on their quest:
- Define Your Purpose: Before embarking on a storytelling endeavor, ask yourself why this story matters. What message do you hope to convey, and why is it worth telling?
- Craft a Story Arc: Every compelling story follows a narrative arc—introduce characters, build tension, and culminate in a resolution. Understand the arc of your story and let it guide your narrative.
- Visuals Speak Volumes: While words weave the narrative, visuals serve as windows into the soul of your story. Choose your visuals wisely, ensuring they complement and enhance the narrative.
- Invest Time: Rome wasn’t built in a day, and neither are great stories. Be willing to invest the time necessary to understand your subject and truly capture its essence.
In conclusion, storytelling is a journey that requires patience, dedication, and a willingness to embrace the passage of time. By immersing ourselves in the lives of our subjects and allowing their stories to unfold at their own pace, we unlock the true power of storytelling. So, fellow storytellers, let us embark on this timeless journey together, capturing the beauty and complexity of the world one story at a time.