Rim light can be critical in portraits

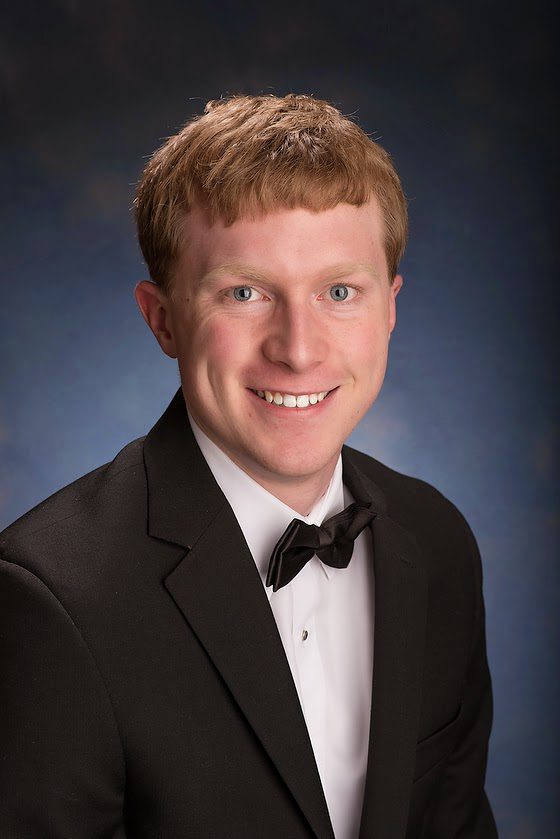
Nikon D750, Nikon 85mm ƒ/1.8G, ISO 100, ƒ/9, 1/200

My friend contacted me and wanted me to reshoot their son’s senior photo but match the background. Here is one of the photos from the session. Below are the lighting diagram and settings for the image.

The softbox on the camera’s right is -2 EV compared to the leading light on the left. Depending on the subject’s face, I would alter the setup so the one he was facing was the leading light and the other light was acting like a fill.

To make this photo work, I believe the hair light behind the subject helped to rim light the issue just enough to separate him from the background. Without it, the tux would have blended with the background and created a near merger.

My preference is a muted background which, for me, helps to separate the person from the background. So, I just changed the background and added a light to the background. Below is the lighting diagram for you.

Your goal should be that the background compliments the subject and doesn’t do anything to distract from the subject. You also want to be sure your subject doesn’t blend into the background. As with all rules, there are times to break them.

Your photos look dull? Maybe it is the setting

Location, location, location

While real estate agents tell you this makes all the difference in price, it also makes a different in photography.

We can take the same subject and put them in different settings and what a difference it can make.

Get your subject on the edge of the shade of trees or overhangs outside and not deep inside where the light falls off.  Use the open sky to light the subject.

Darker backgrounds verses lighter backgrounds makes a huge difference. Out of focus highlights go from just a small dot to a huge out of focus round ball.

Color choices also make a huge difference in a photo. Complementary colors or the same colors work great. They give you a totally different look and feel.

While you will hear often to watch your backgrounds, it is just as important to watch those foregrounds as well.

My preference is to have darker backgrounds and even as possible.

Remove the color

When you convert the photos to black and white you can see how the light values affect the photo much easier.  This is where keeping a light or dark background really becomes more apparent. My preference here is the darker background. You have the subject leap off the screen in comparison.

With the lighter background now the background pulls your eye away from the subject way too much. This also means your subject’s face will be most likely in the shadows.

All those green leaves and pink flowers now are just a muted grey.

Tips:

Choose your location wisely. If you are shooting portfolio shots and you have models pick a great spot. Shooting photos of a bride as a simple church setting gives a totally different feel than the same bride at a cathedral.

Walk around the subject. Once you have the subject in a location, take the time to walk around the subject exploring the backgrounds and foregrounds.

Bring the subject to the edge of the shade.  By keeping the subject just on the edge you can use the open sky to help light their faces and keep the backgrounds darker. Also, since they are not in the direct sunlight they will not be squinting.