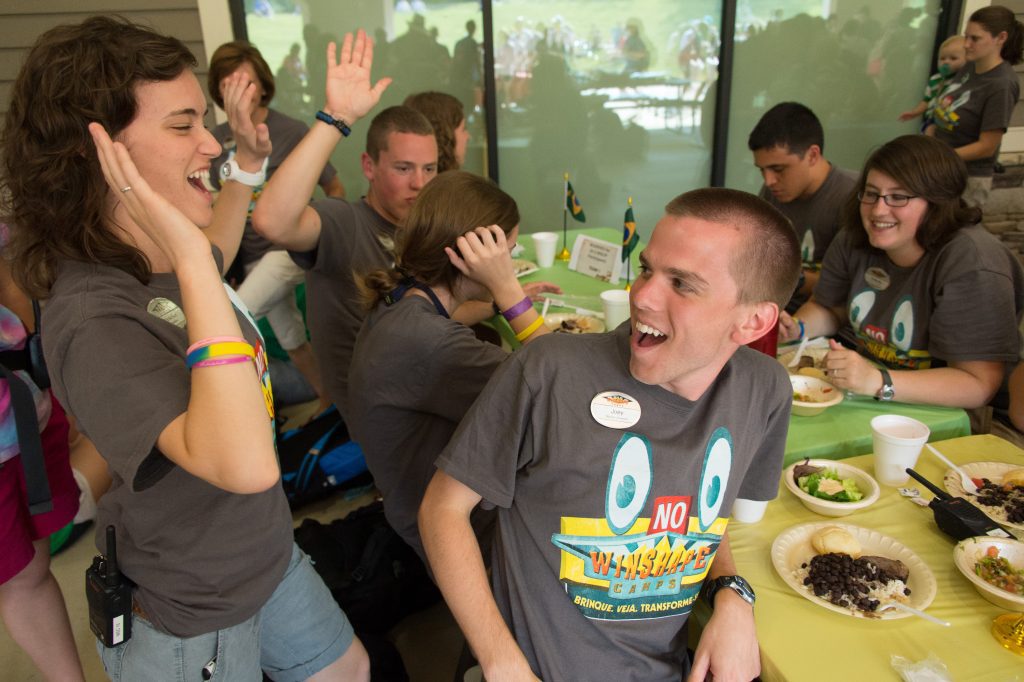
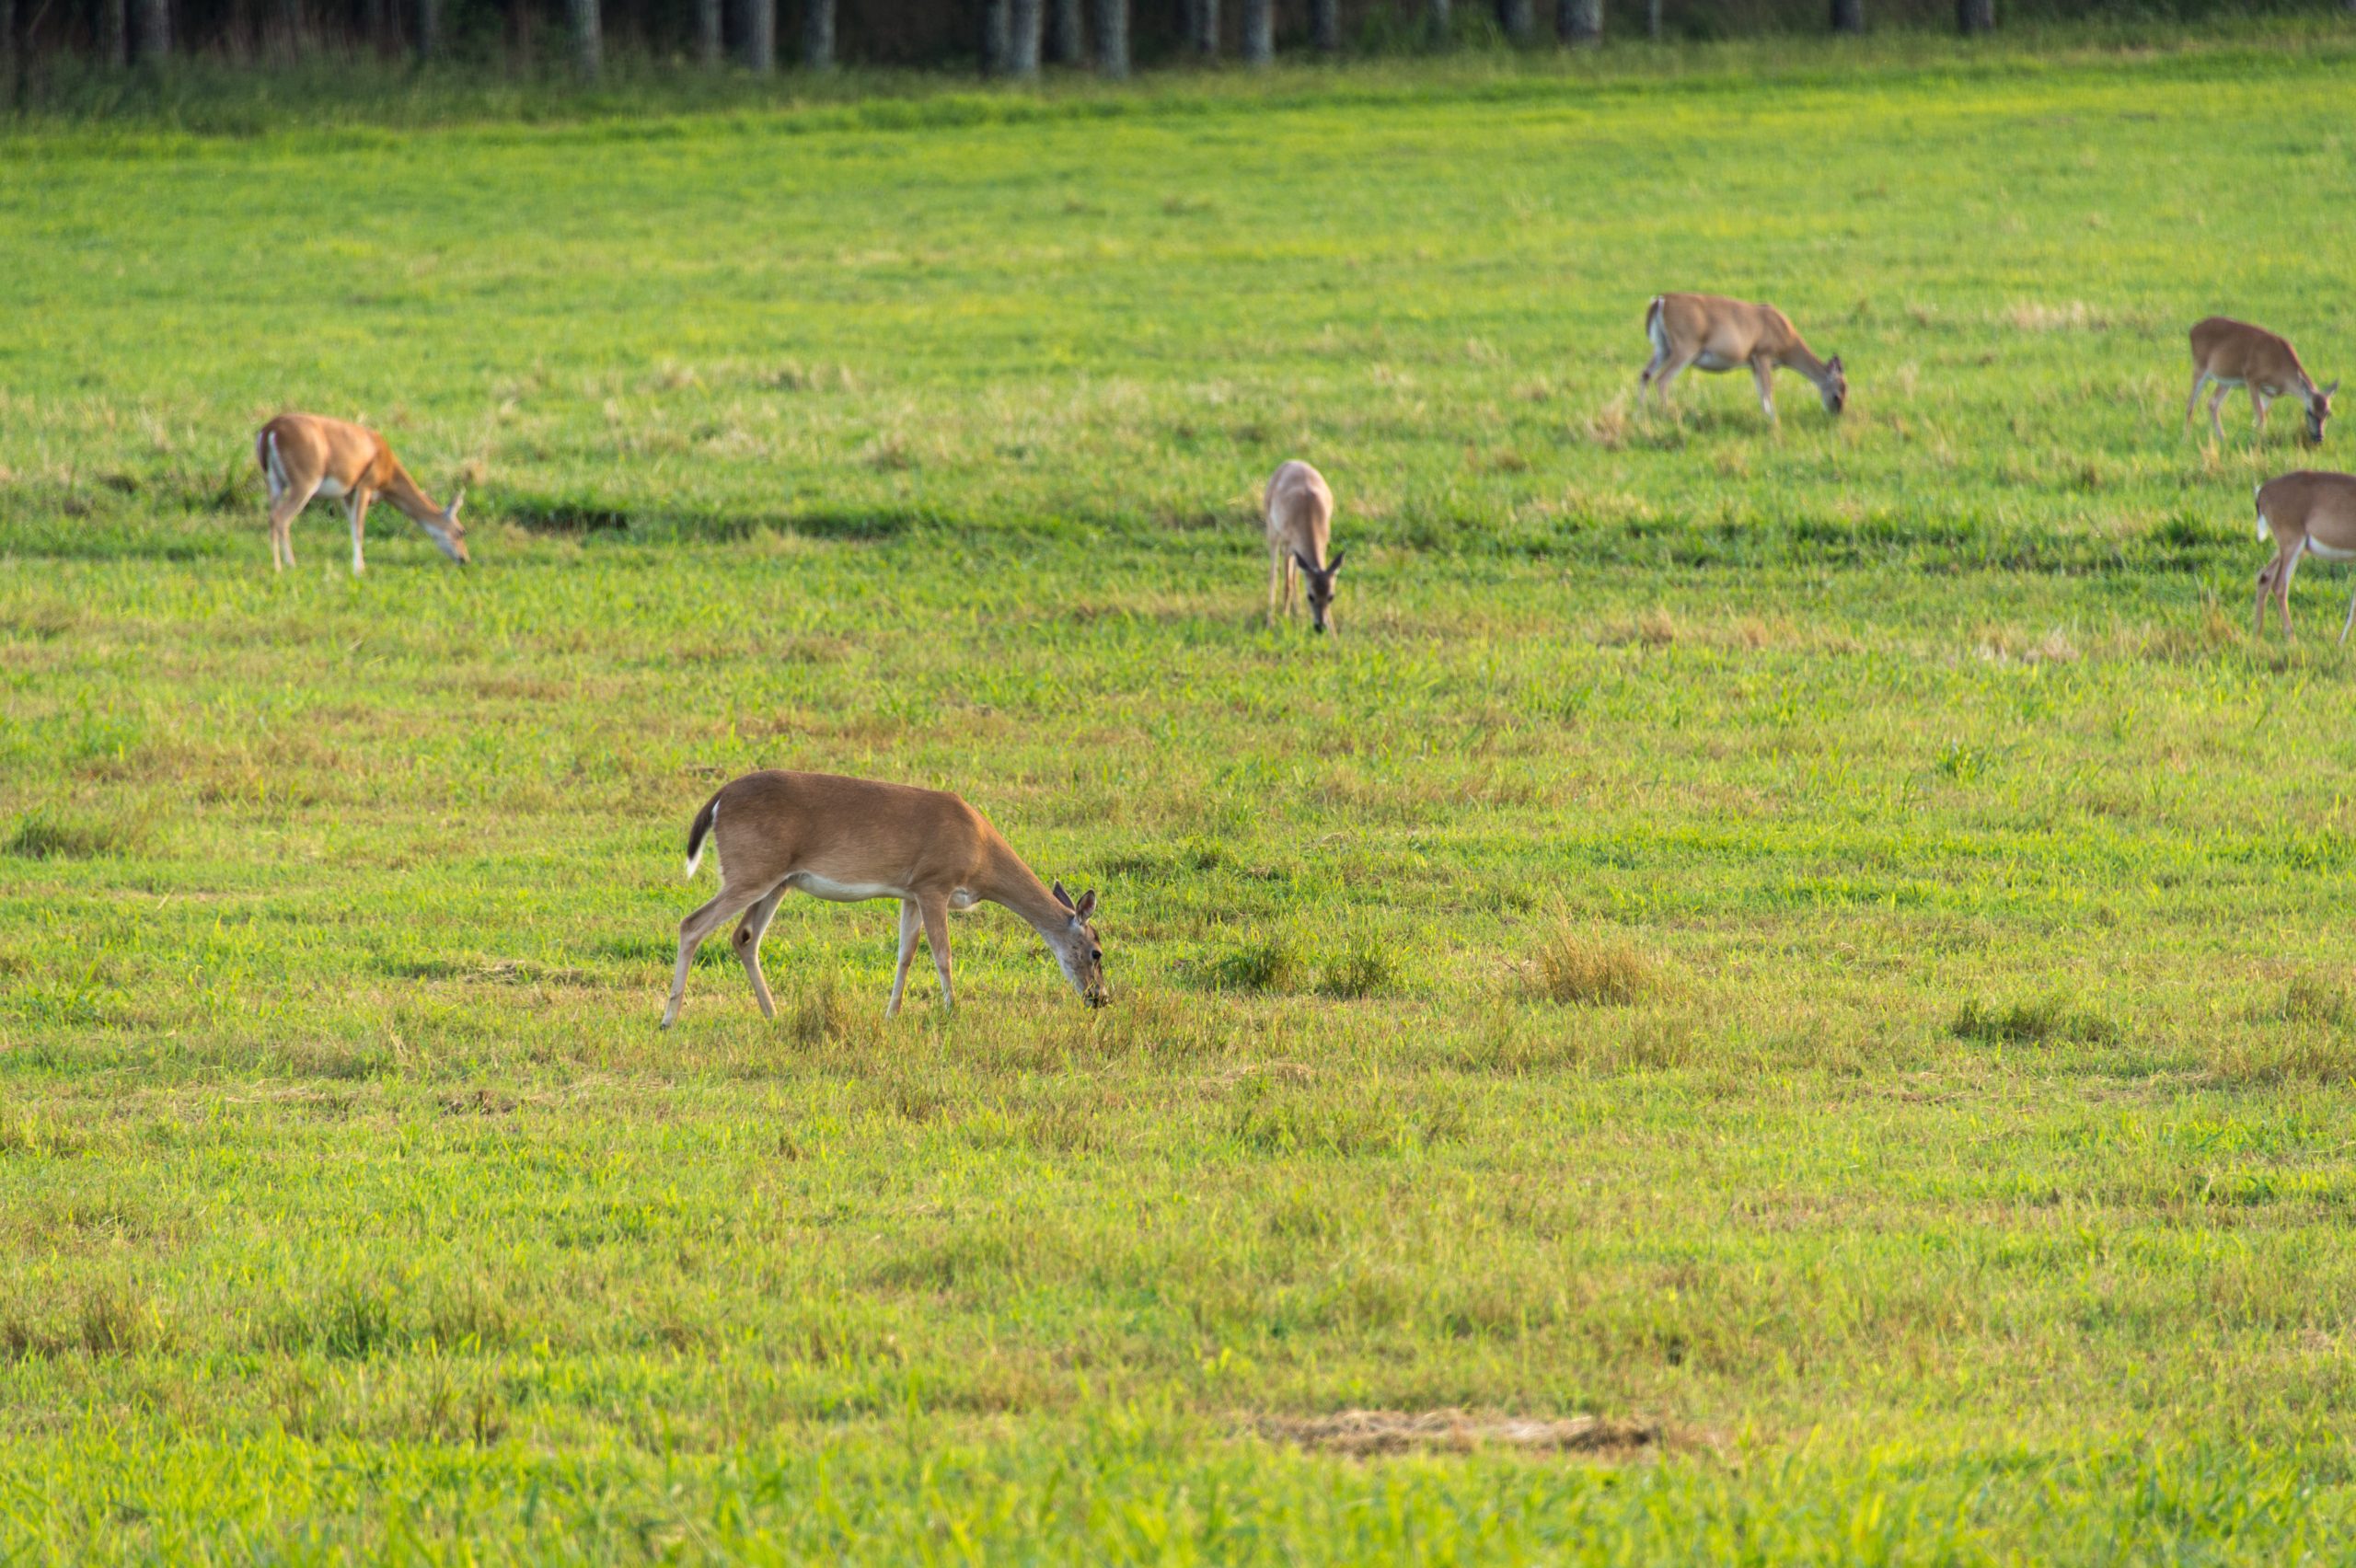
When you drive into the WinShape Camp at Berry College in Rome, GA, you will be greeted by many deer. I understand the ratio of deers to students is 8:1.
I spent the day with WinShape summer camp photographers, training them to get better photographs.
Here are some camera settings that we all made on the cameras.
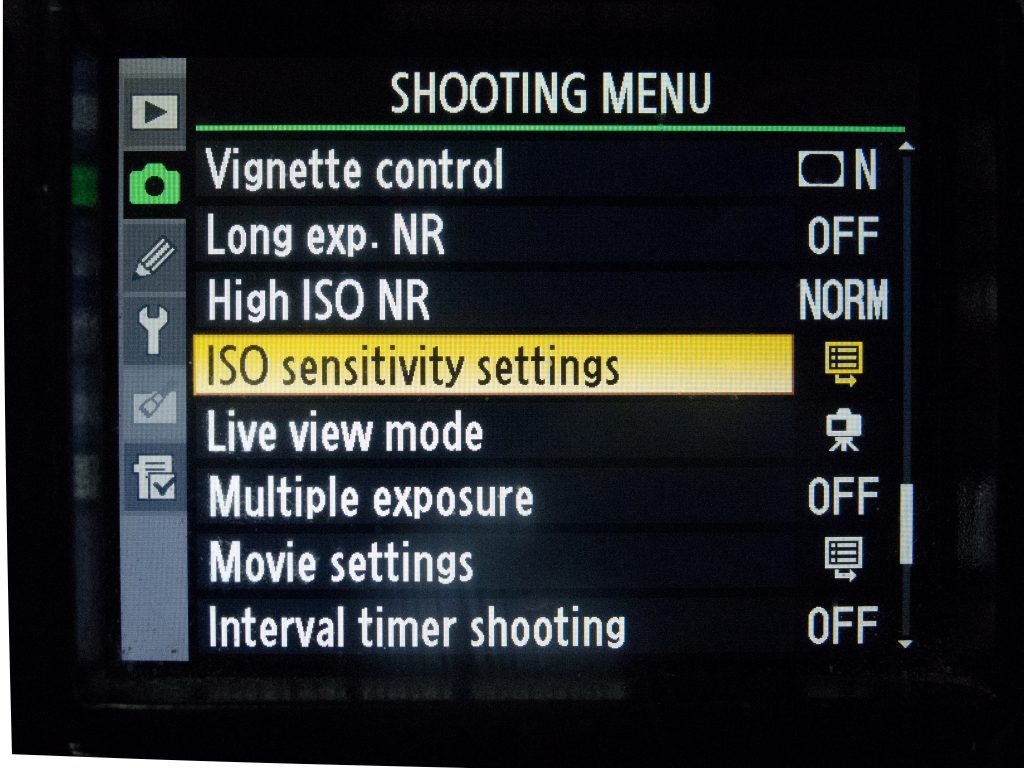
- Quality of Image. We set the camera to the most extensive JPEG file at the highest quality. (The camp did not provide the software for all the computers to use RAW)
- Auto ISO. We all set our cameras to Auto ISO; our lowest ISO on the camera default preferences is 50 to 200 ISO. We then set the highest ISO on what the camera is realistically capable of shooting. For most of the cameras, this was between ISO 1600 and 6400. Both Canon and Nikon also allow you to set your highest shutter speed. We put this according to the situation.
- Shutter speeds (Using auto ISO): The camera will raise the ISO to get the optimum shutter speed and drop it once it hits the maximum ISO.
- If shooting under fluorescent or sodium vapor lights, we recommended shooting at 1/100 shutter speed unless they had to shoot sports.
- For shooting sports, we recommended setting a 1/2000 shutter speed
- For general shooting, we recommended a 1/250 shutter speed
- White Balance
- We recommended getting a custom White Balance as the primary choice
- Our second choice was to use a preset like Fluorescent, Daylight, or tungsten, for example
- When we were changing lighting that affects white balance often, we recommended using Auto White Balance
- Aperture
- For general shooting, we recommended not shooting wide open but using f/4 or f/5.6 so that your subject is in focus.
- When your subject can cooperate more with you, we recommend shooting wide apertures if you choose for artistic reasons. This is when f/1.4 is more appropriate. We have found the trend of too many shooters buying 50mm f/1.4 lenses shooting wide open all the time and having very few in-focus photos due to the shallow depth of field.
- Inside Flash or when dark. Use a higher ISO to help open up the background. Here is an earlier blog post on how using the higher ISO helps open the background up.
- Flash outside in daylight. When it is the middle of the day, and the sun is straight up, you will most likely get dark circles around the eyes. I call this the raccoon eye look. If you are less than 10 feet from the subject, you can use your built-in Flash or hot shoe flash to fill those shadows. In addition to filling in the shadows, you will get a nice catch light in the eyes. You can also use Flash when the subject is backlighted by the sun on a subject. (I wrote about this in an earlier blog post here) This helps them to avoid looking directly into the sun and squinting. Since the shadow side of the face is now towards the camera, a flash can help balance the light.
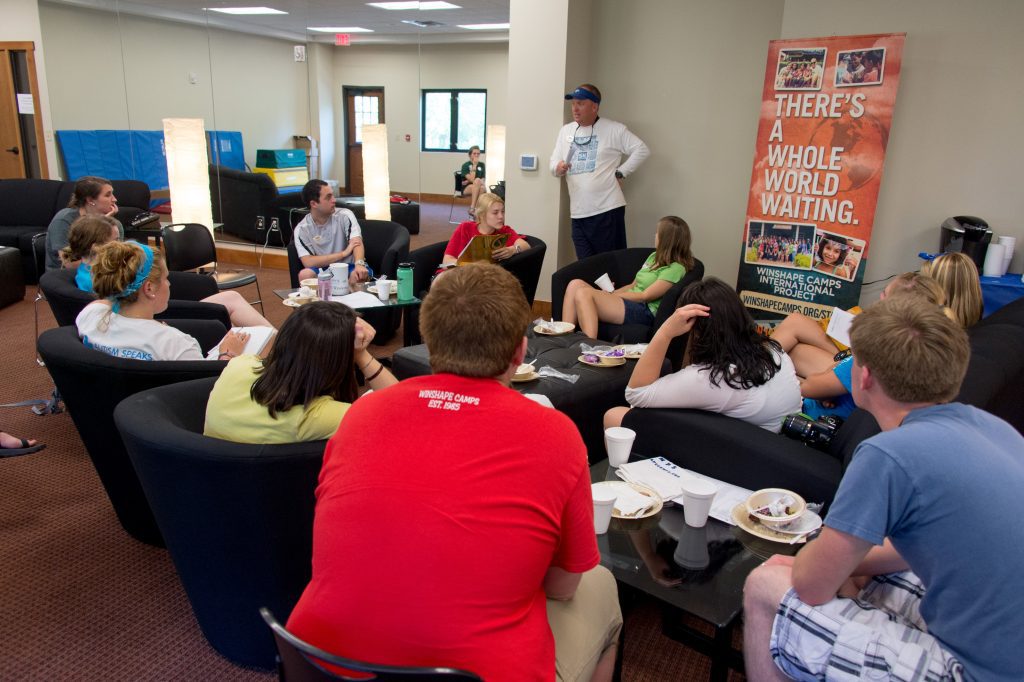
Some camp photographers are photography students or recent graduates of photography programs, but not all are photography majors. Due to the range of talent, we showed them settings that would help them get more photos in focus that are correctly exposed and have good skin tones.
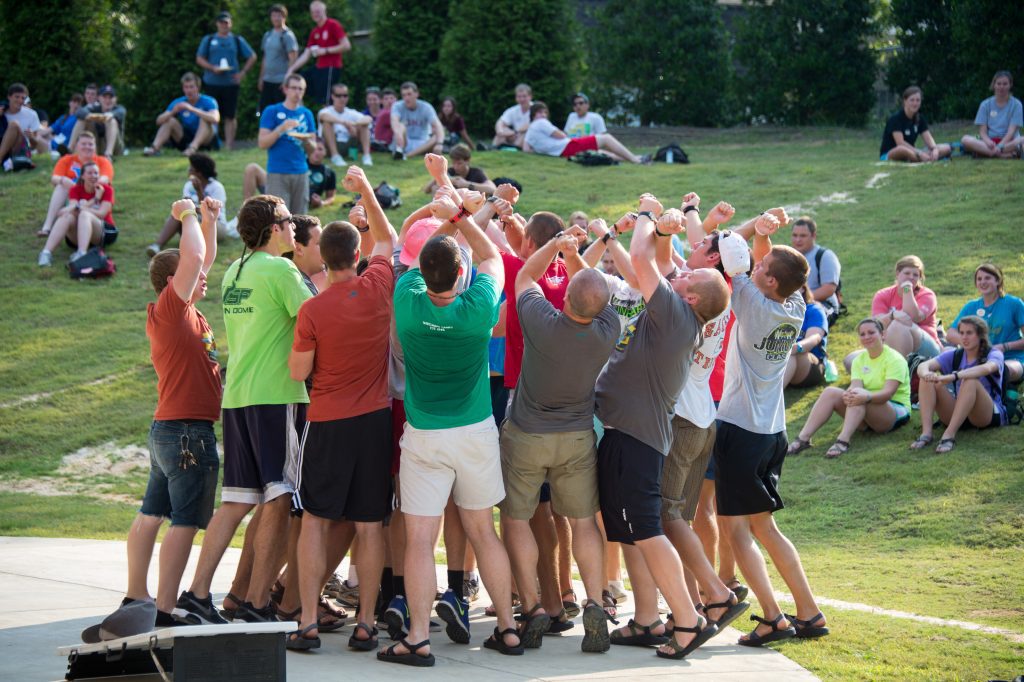
After practicing with these settings, we covered the three composition stages. I will refer you to my earlier blog about what we covered.
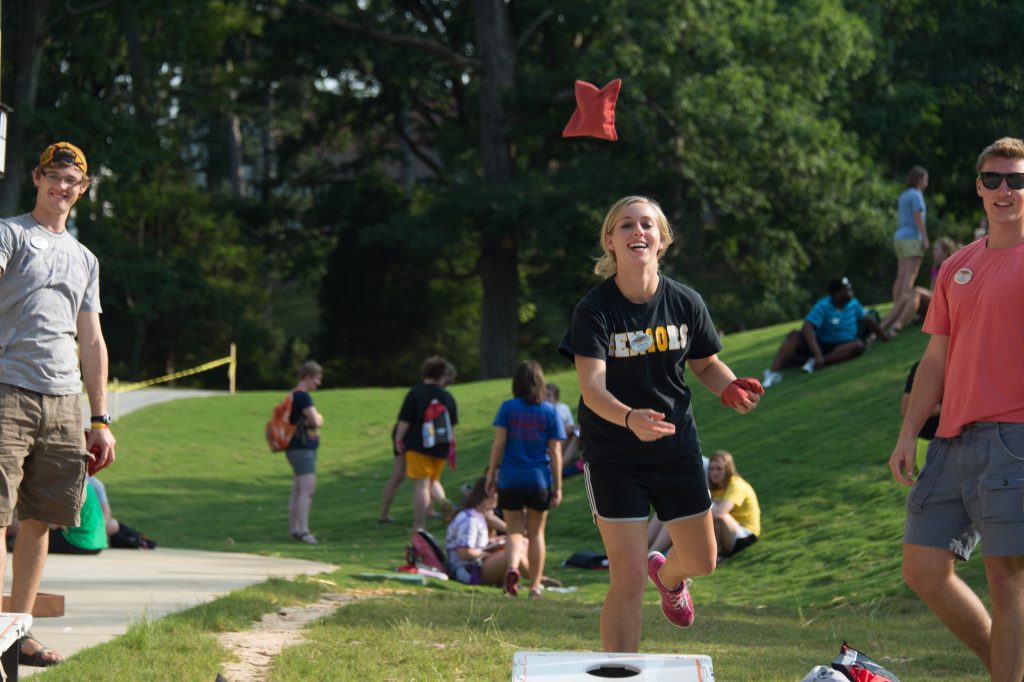
The last thing we did during our time was go out and practice shooting, looking for photos that tell a story. Then, we reviewed everyone’s best five pictures for our last hour together.
Call me if you would like me to come to your organization and do this workshop. I am doing the workshop for the Boy Scout troop that meets at my church in a few weeks. We meet for class and then complete four weeks after they shoot a photo story.
