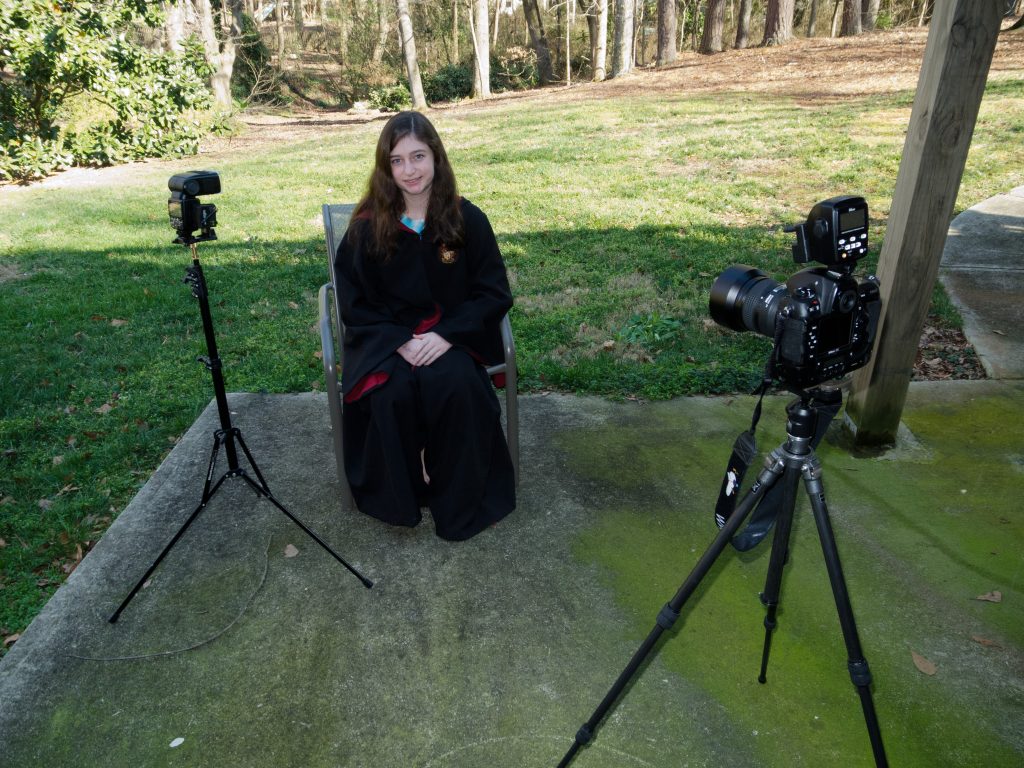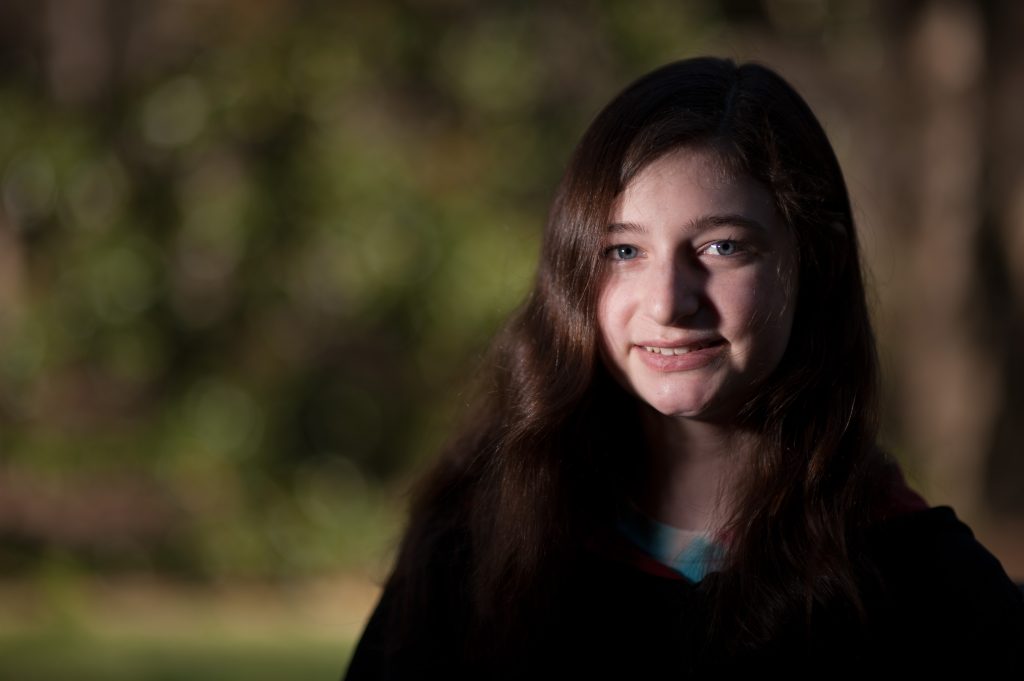
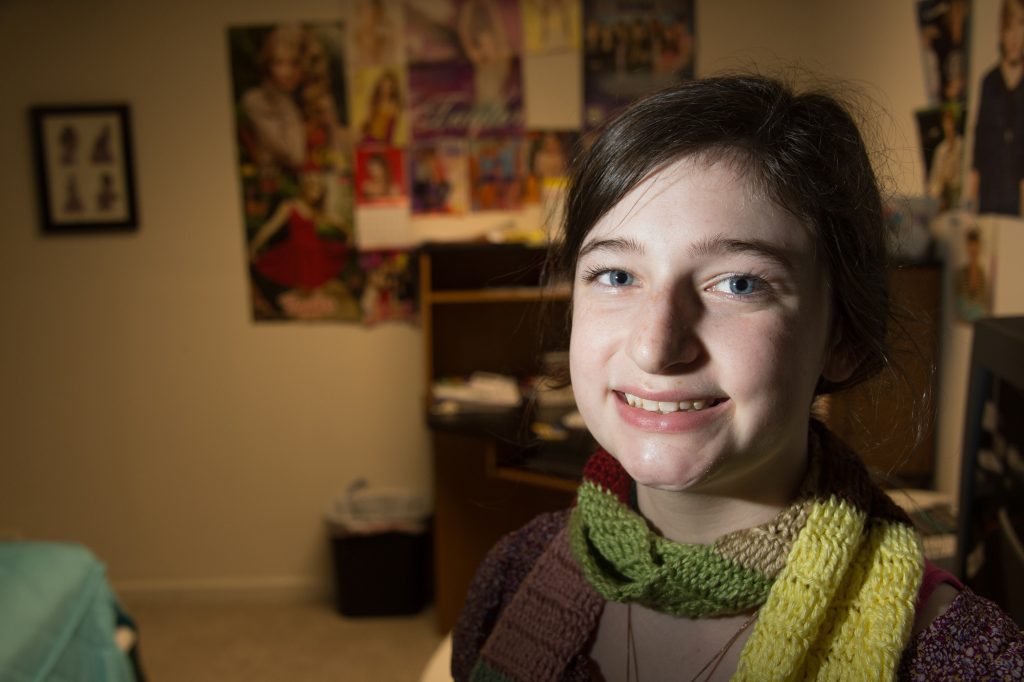
Nikon D4, ISO 3200, f/6.3, 1/80, 28-300mm, White Balance: Flash
Have you been getting photos like this with your off-camera flash? You have a mixed lighting situation. The background is tungsten, or 3200º Kelvin, and the subject has flash, or 5500º Kelvin.
With Lightroom 12.2.1 Release and later, you can use a mask to select the background. The AI in Lightroom does a pretty good job, and then you can color-correct your images this way. However, if you do this on camera, as shown here, it is even faster than having to select pictures and correct backgrounds. While you can do multiple photos in Lightroom, you still have to take the time to check each one to see if the mask worked. This takes too much time compared to using colored gels to change your flash to match the ambient color temperature.
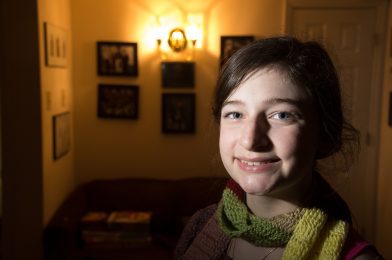
Now, by doing everything is pretty much the same except for two things that are changed: the flash has an orange gel on it to match the tungsten, and then the white balance for the scene is set to tungsten.
I prefer to put on the orange gel over the flash and then use my ExpoDisc to get a custom white balance. I point the lens to the flash with the ExpoDisc in front to help me get an accurate skin tone for the subject.
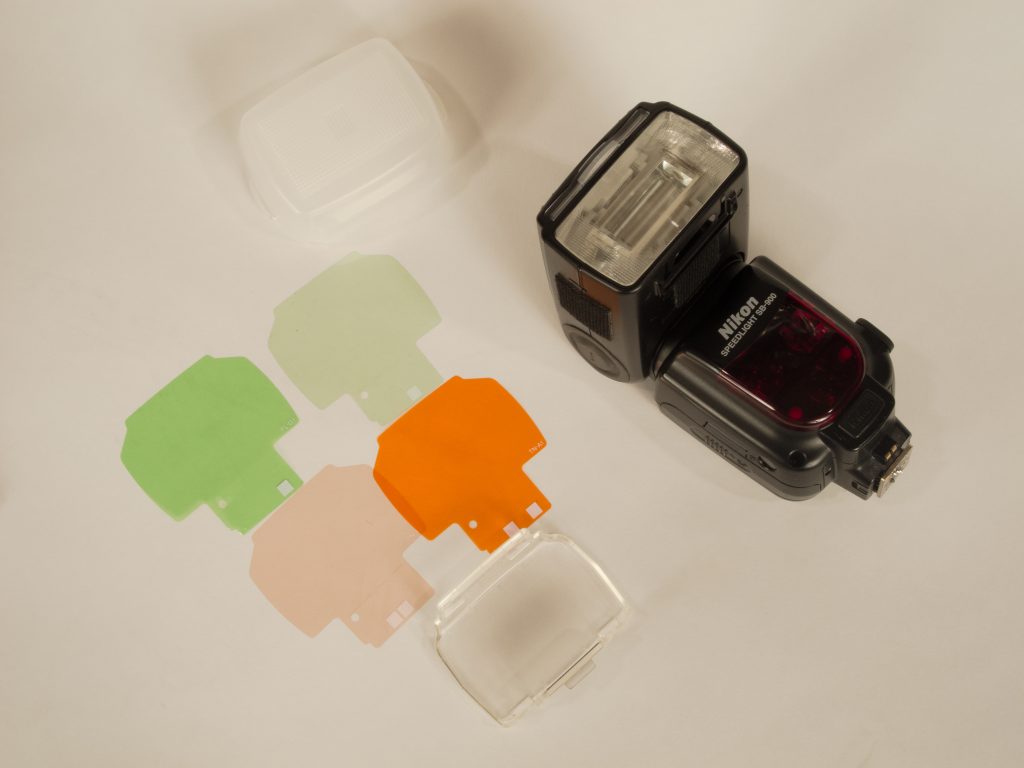
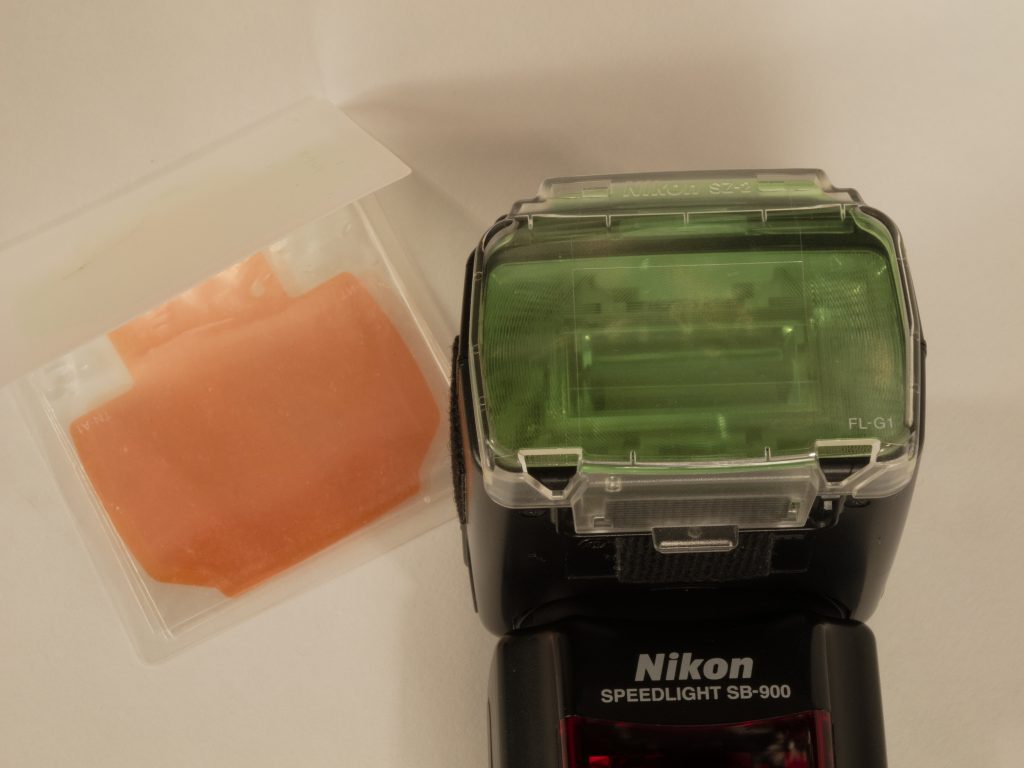
I prefer not to see the orange and green backgrounds in my photos when using flash. However, if you use the gels I am showing you here, you will fly through the post-production. Many people try to remove the color shift in the background with post-production, but converting the flash to the correct gel combination is far faster than just color-correcting one image.
Imagine shooting a wedding or an event, where you may have hundreds, if not thousands, of images to color correct if you do not use gels.
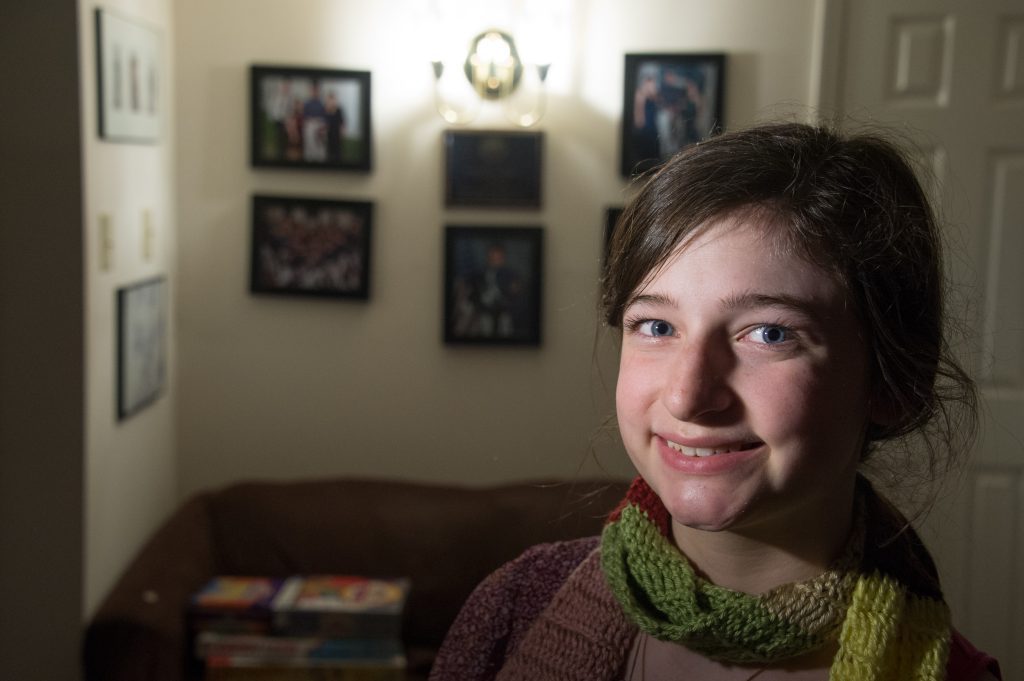
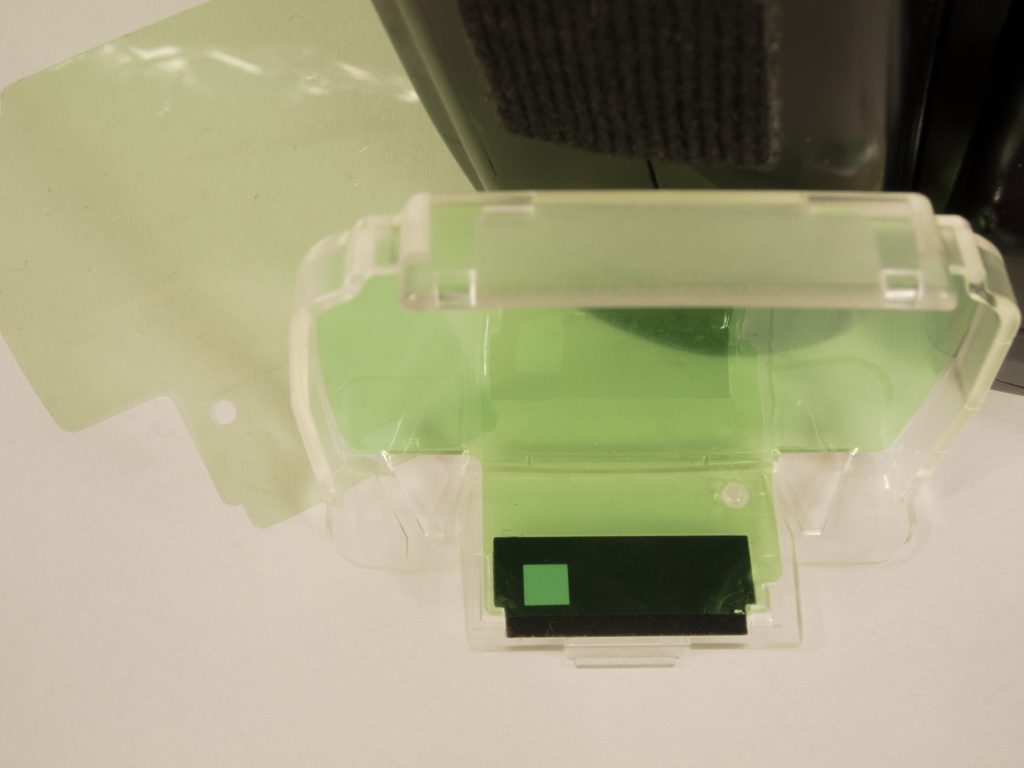
This is with regular flash under fluorescent light. From my experience, there are more color differences under fluorescent lights than under tungsten. Just because you see a fluorescent light doesn’t mean it will be green. Some lights are already daylight-balanced and will give you proper color with a flash.
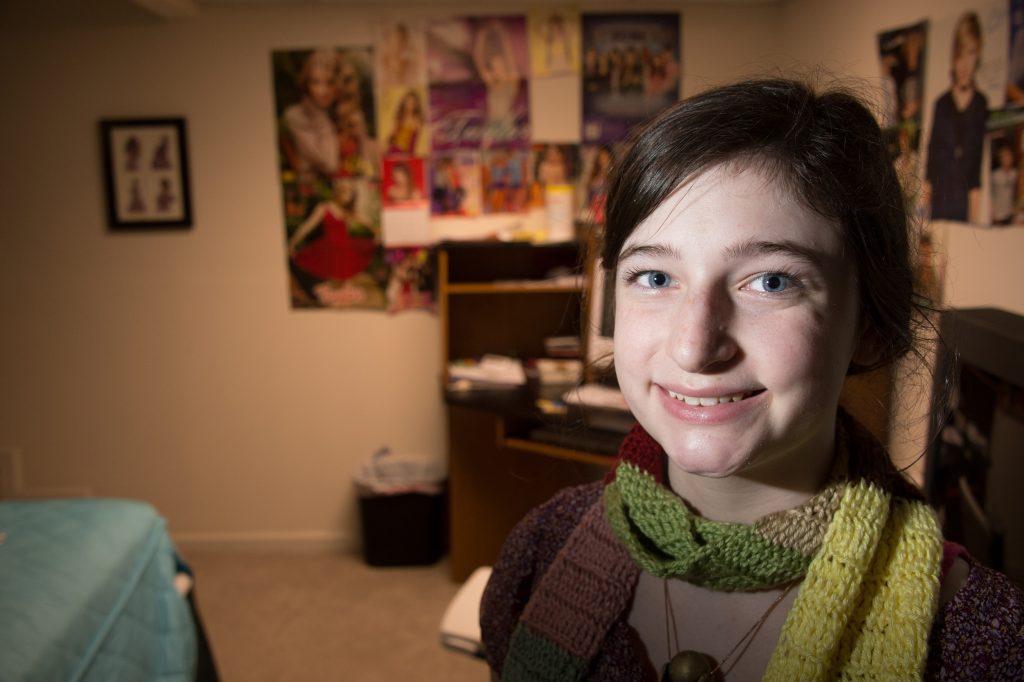
Here you can see the shift to a better skin tone and background, not as green because I used a green gel over the flash.
While this may take 2 – 5 minutes to set up properly over time, you may cut your time to 2 – 3 minutes. You must see this in your overall workflow. For every photo you shoot, 2 – 5 minutes once or 2 – 5 minutes to color correct it. It is your choice. Depending on the situation, you might not have time. If you had the time and didn’t do it, you will wish you had during the post.