
|
Getting your Trinity Audio player ready...
|
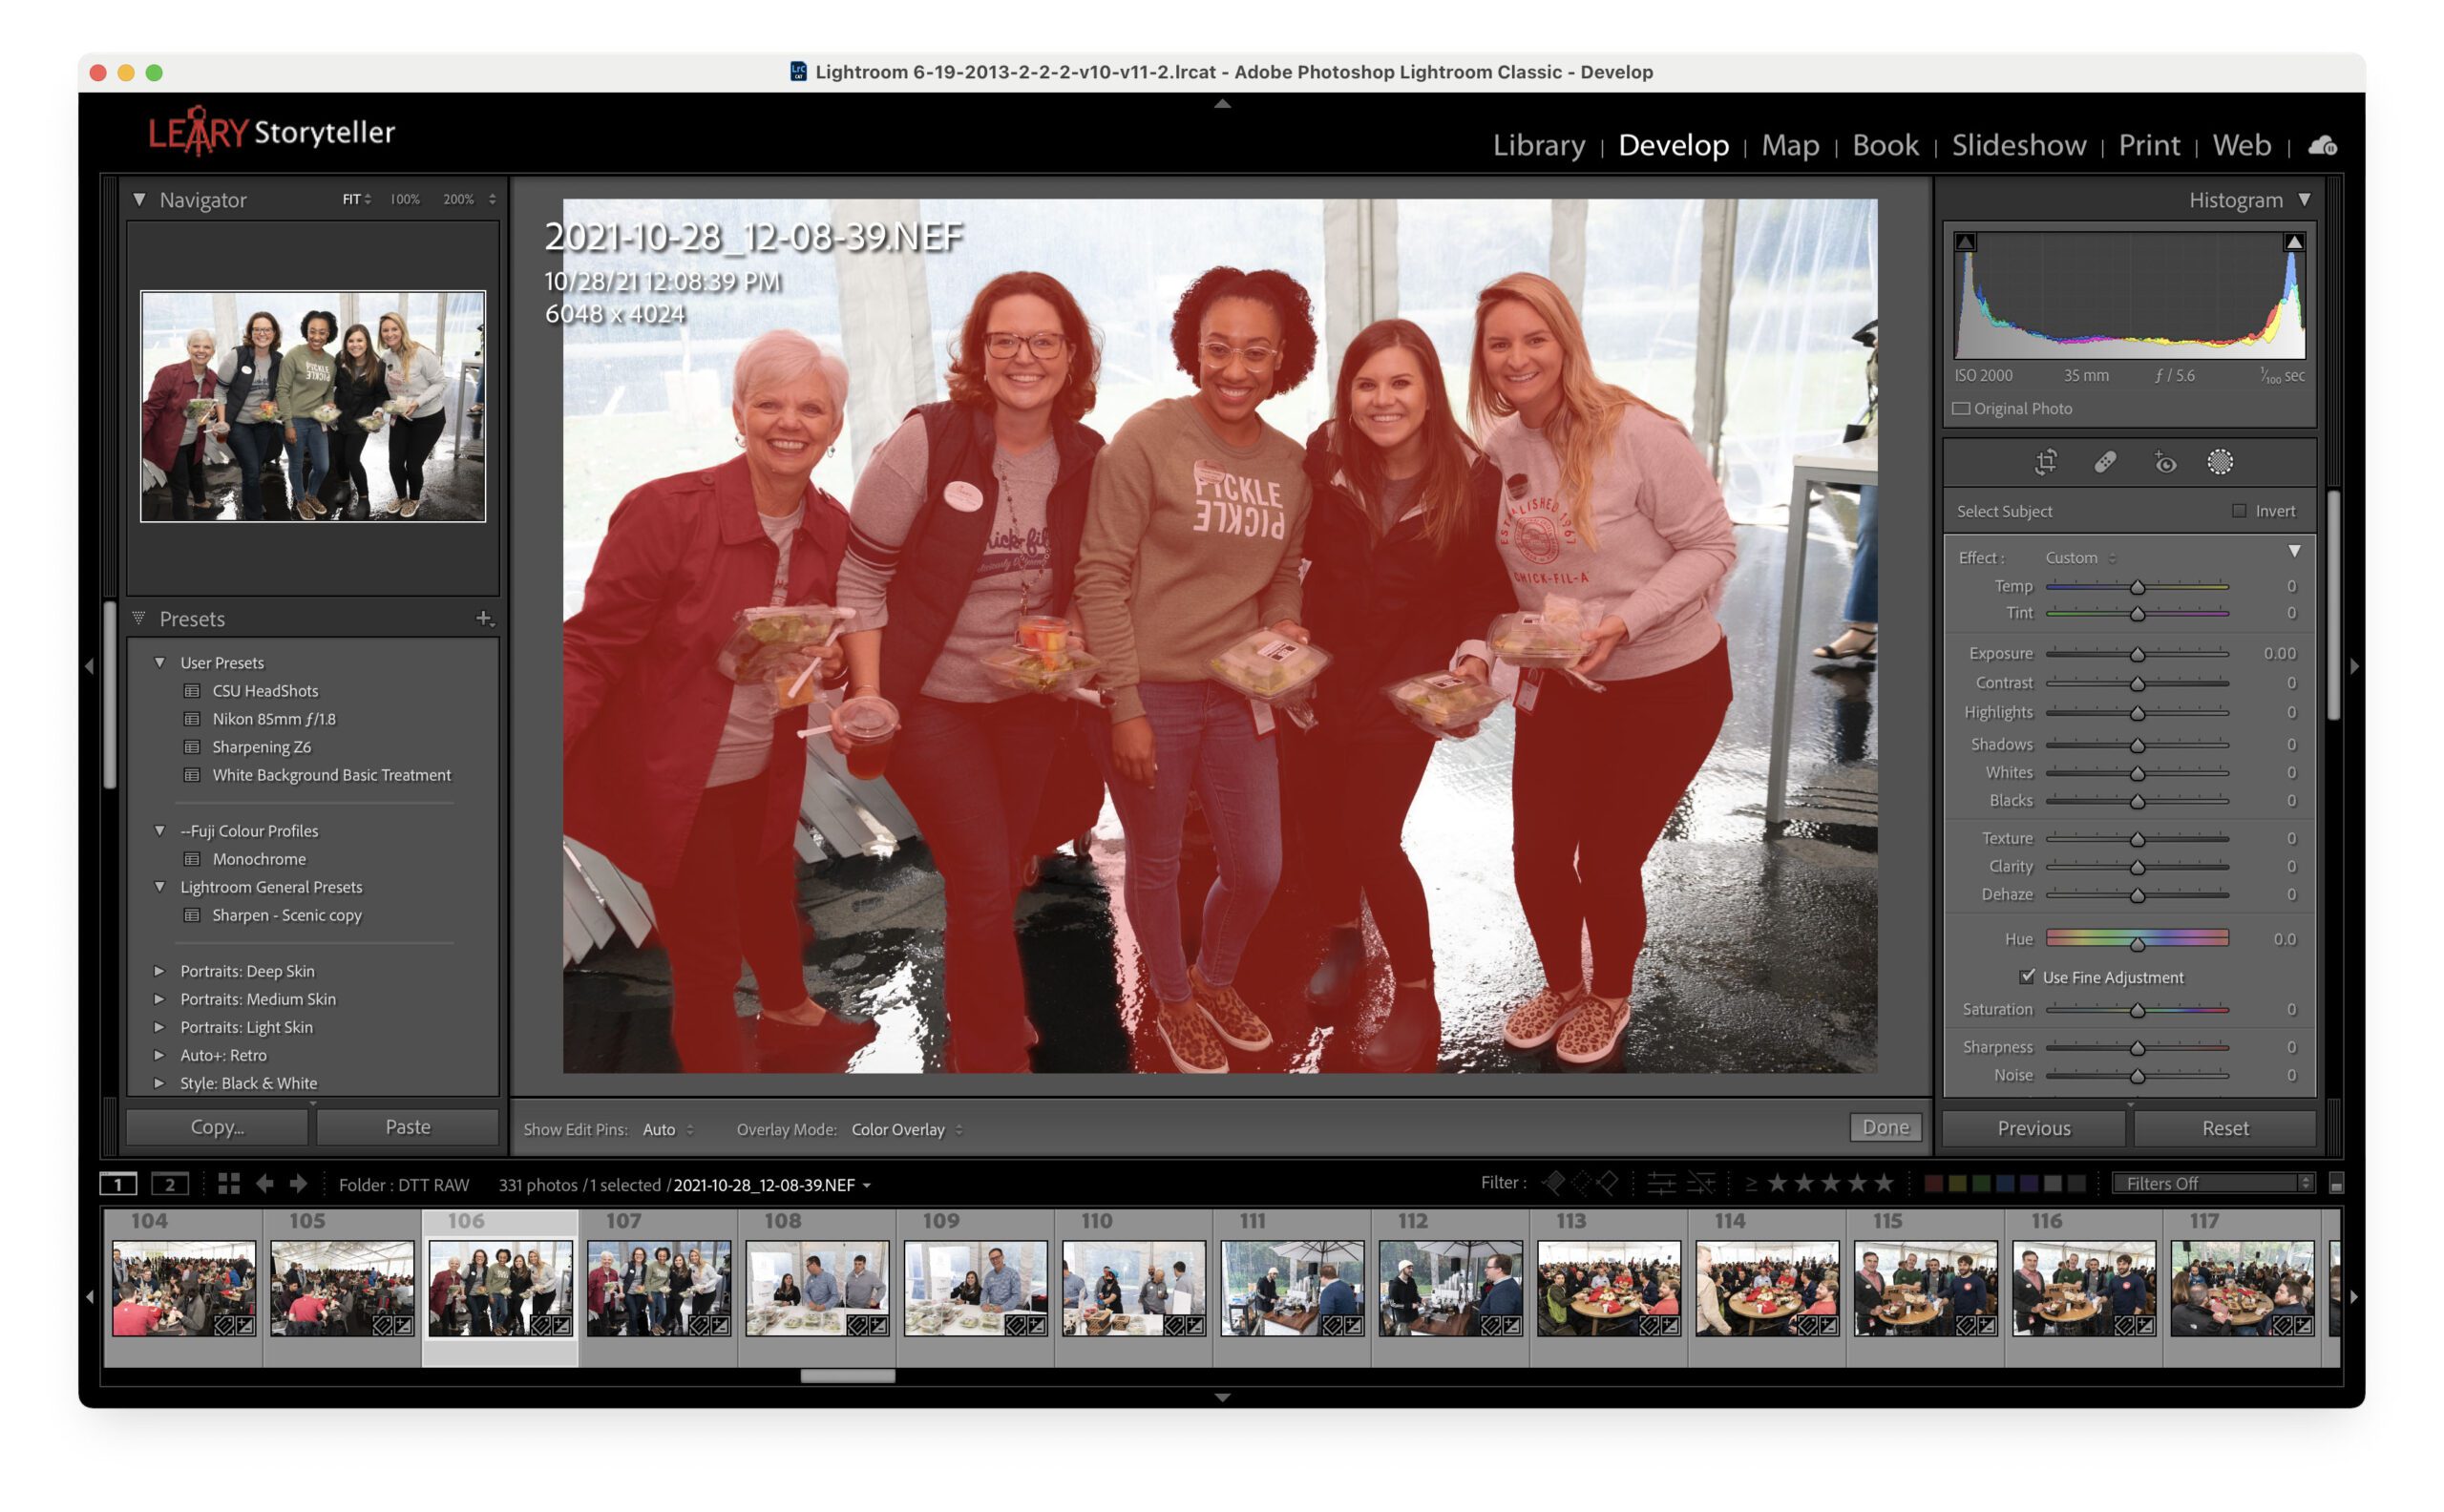
Adobe finally put some of the tools in PhotoShop into Lightroom Classic. One is Artificial Intelligence that will find your subject and mask it.
As you can see above, I did that with this group photo. I did this because the background is a little hot, and I want to tone it down.
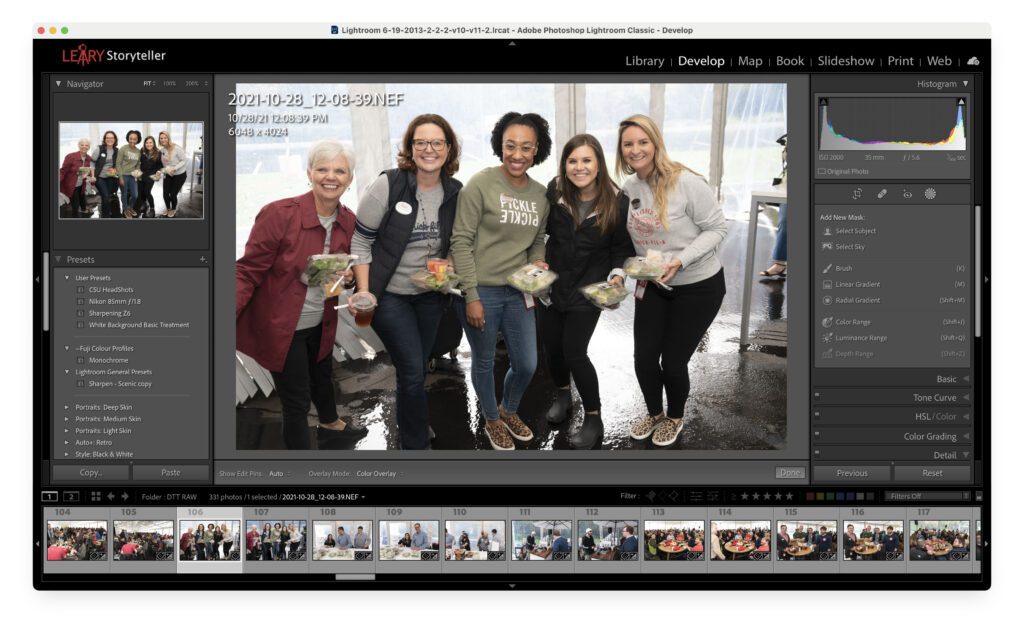
So here is what I started with, as you can see below.
After using the Select Subject mask, I inverted the selection.
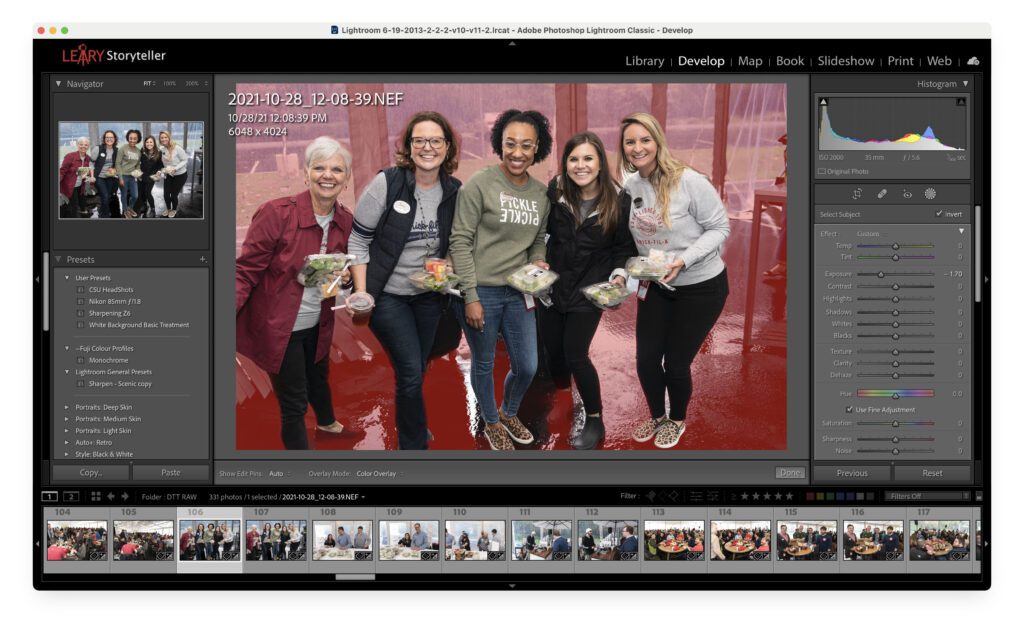
Then I just darkened the background and ended up with this final image.

How long it takes for Lightroom Classic to find the subject has a great deal to do with your computer’s power. It does take a few seconds for it to do its magic.
TIP 2
Using the metadata embedded in your images from your camera can also speed up your editing.
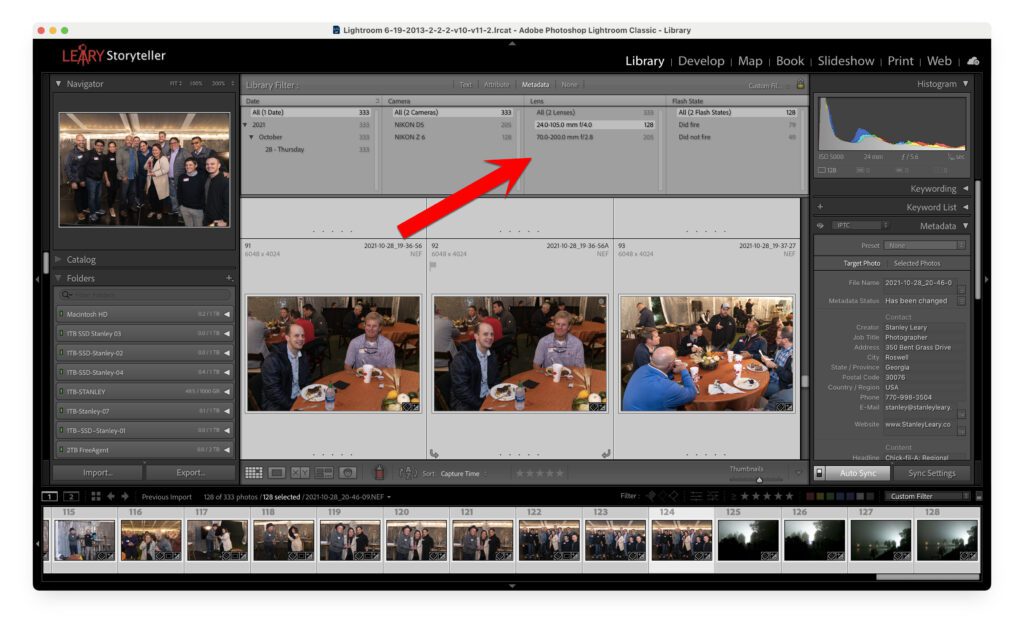
I often will select a lens or camera to edit just those images. The idea is to get all the similar photos in your selection and sync your editing over all those images that have a similarity.
This week I was shooting an event where I shot about half of the photos with available light and the rest with flash. I noticed the color needed a tweak on all the flash shots. I shot them using slow sync, and some available light gave a color cast that I wanted to correct.
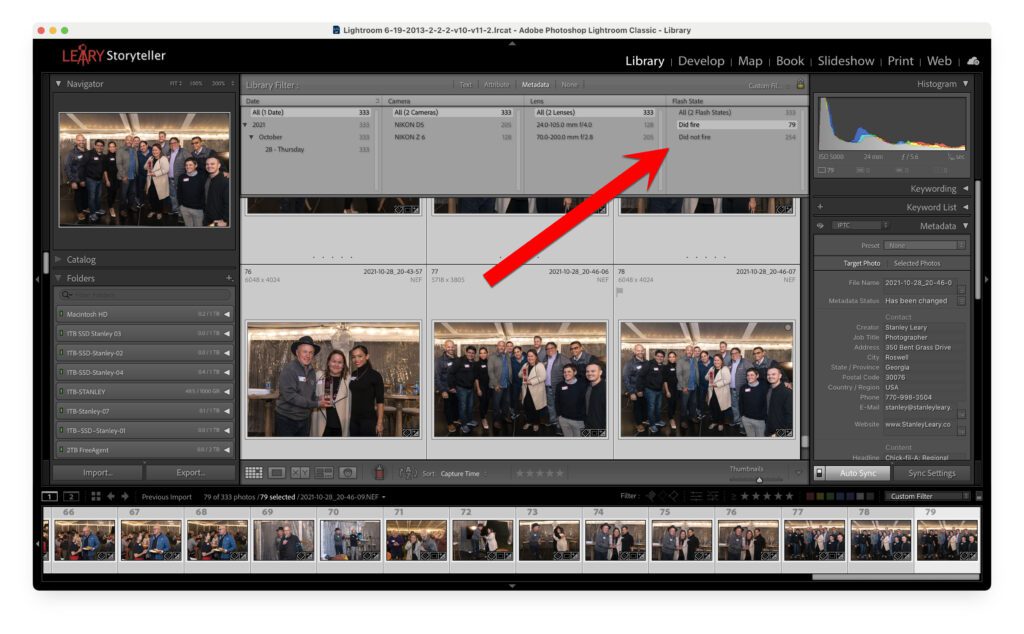
To speed up your editing, group images with similar edits together.