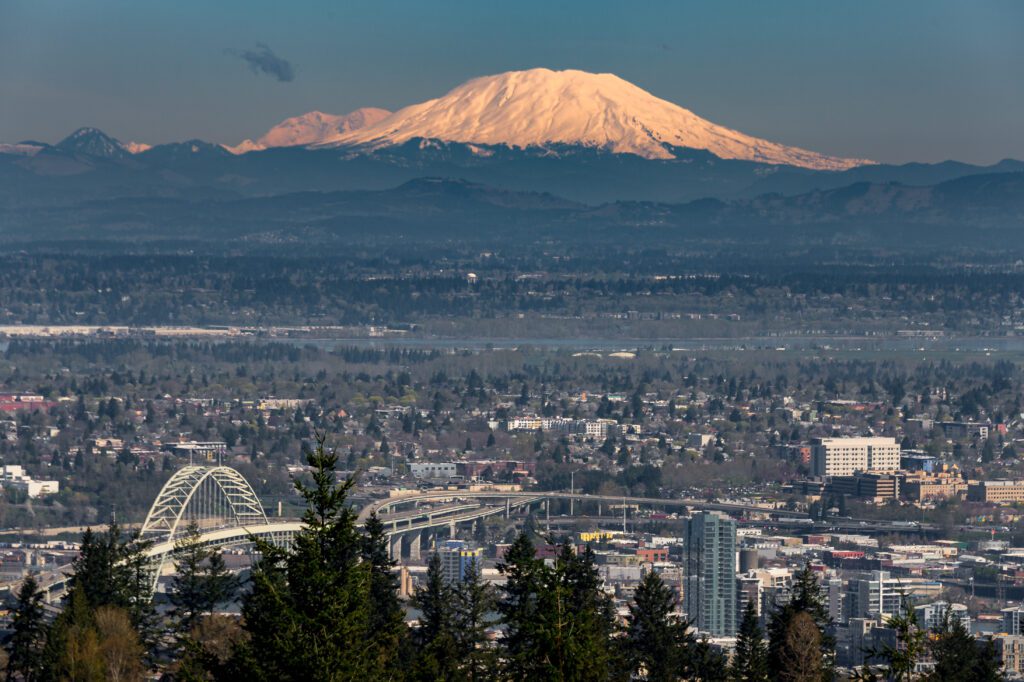
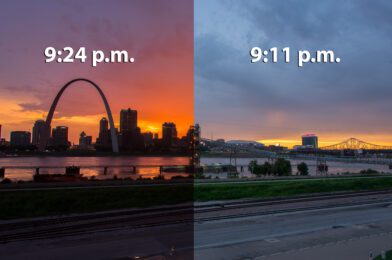
At the beginning of civil twilight, just after Sunset, the colors of the sky change most rapidly. Clouds in the west are illuminated by orange-red sunlight, while the ones in the east remain blue and indigo. Generally speaking, civil twilight lasts for about 20 to 30 minutes, depending on the season and latitude.
While Civil Twilight is technically 20 to 30 minutes, the best possible moment to get that perfect balance of the city lights with the night sky is more of a “Twinkling of the Eye.”
52 in a flash, in the twinkling of an eye, at the last trumpet. For the trumpet will sound, the dead will be raised imperishable, and we will be changed.
1 Corinthians 15:52
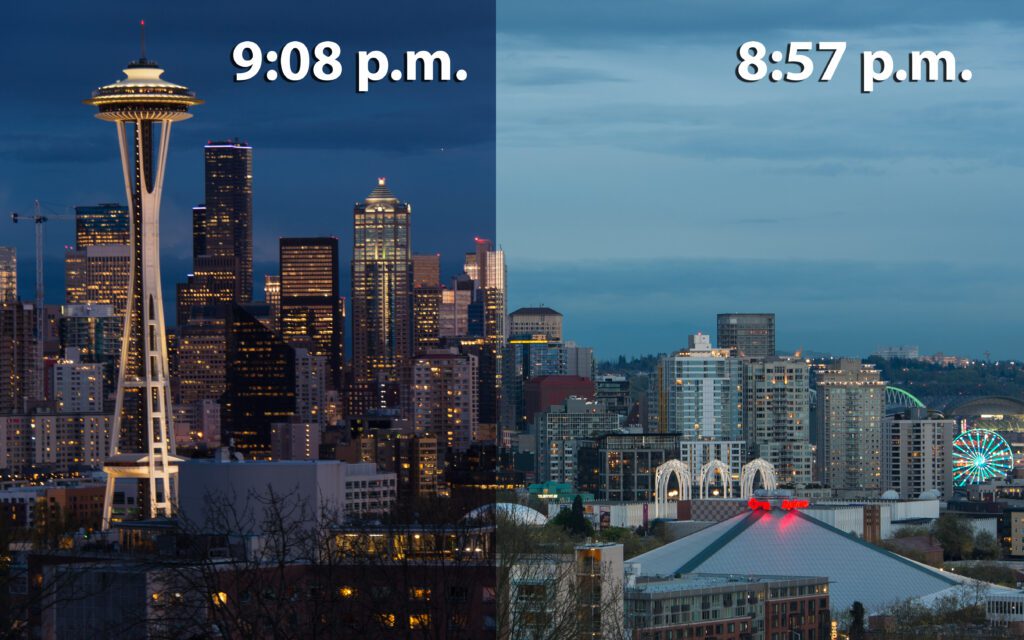
As you can see, back in biblical times, people understood that some of those things we see are like a shooting star and happen so briefly that if you are not paying attention, they will disappear.
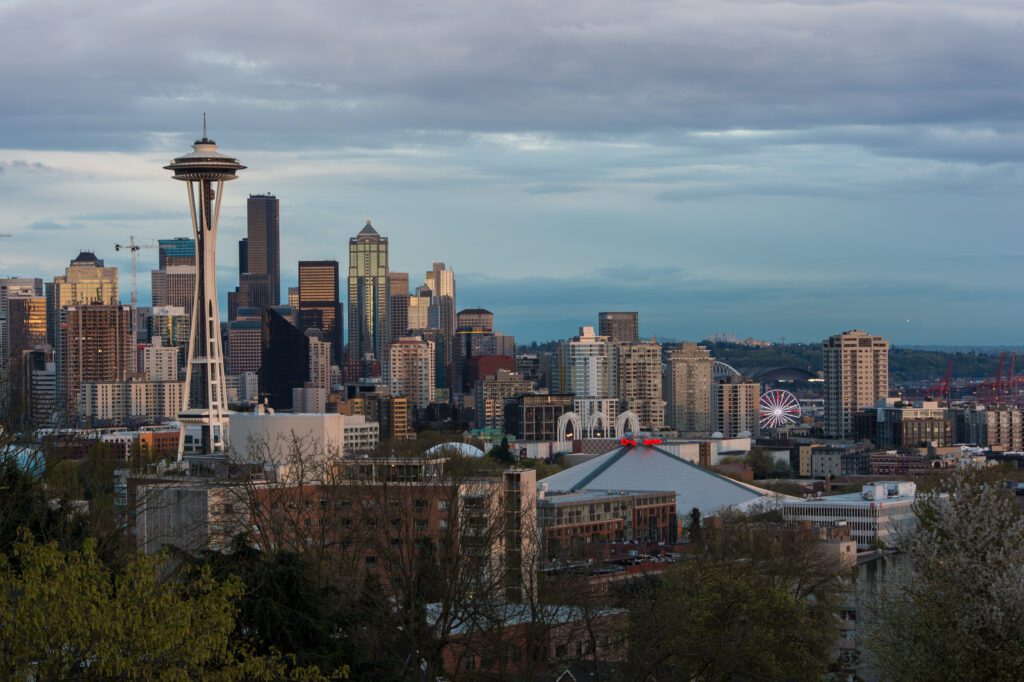
I believe that the Civil Twilight is the best time to photograph architecture. The second best time is “Civil Dawn,” which happens at Sunrise.

What you quickly realize is that during these few minutes of Civil Twilight, artificial light values come into the same exposure range as the sky. Anything that doesn’t have a light will slowly go to a silhouette.
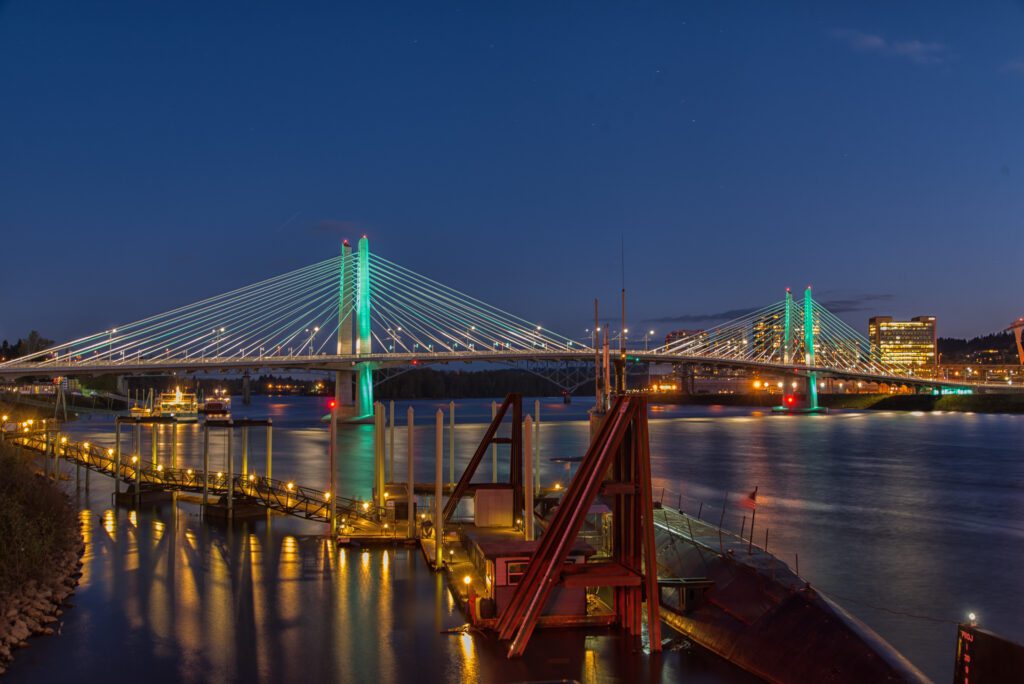
To get the best photos of Civil Twilight requires a tripod. The best photos are generally taken with the lowest ISO. This makes your exposure time for the shutter speed take seconds, not a few seconds, as you can during daylight.
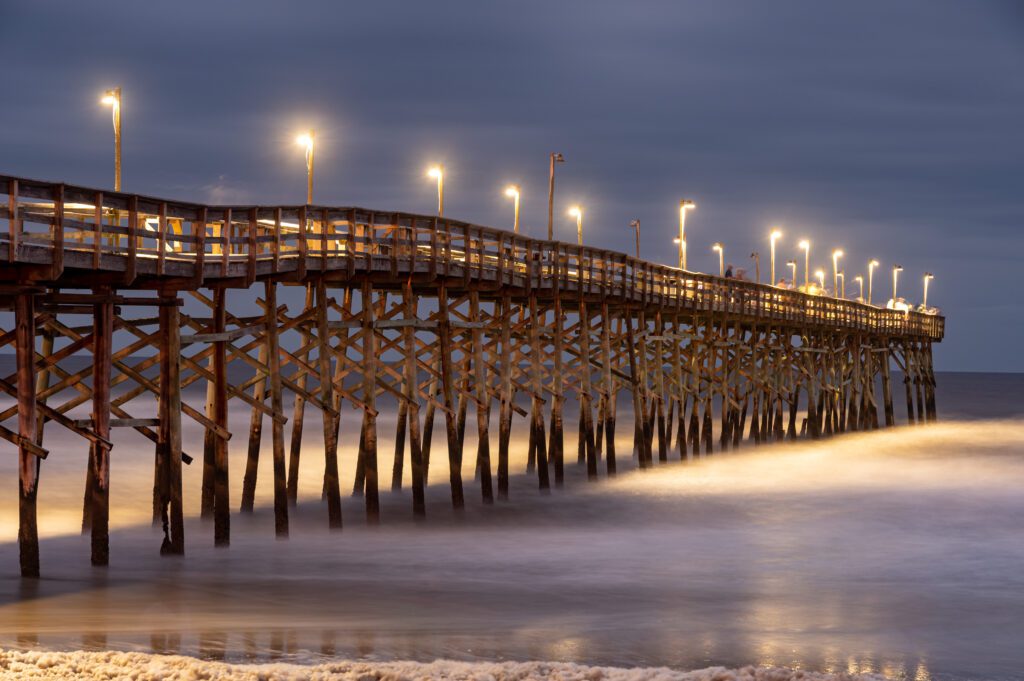
When you use these longer exposure times of 30 seconds, as I did photograph the Pier at Ocean Isle Beach, the water turns into foam.
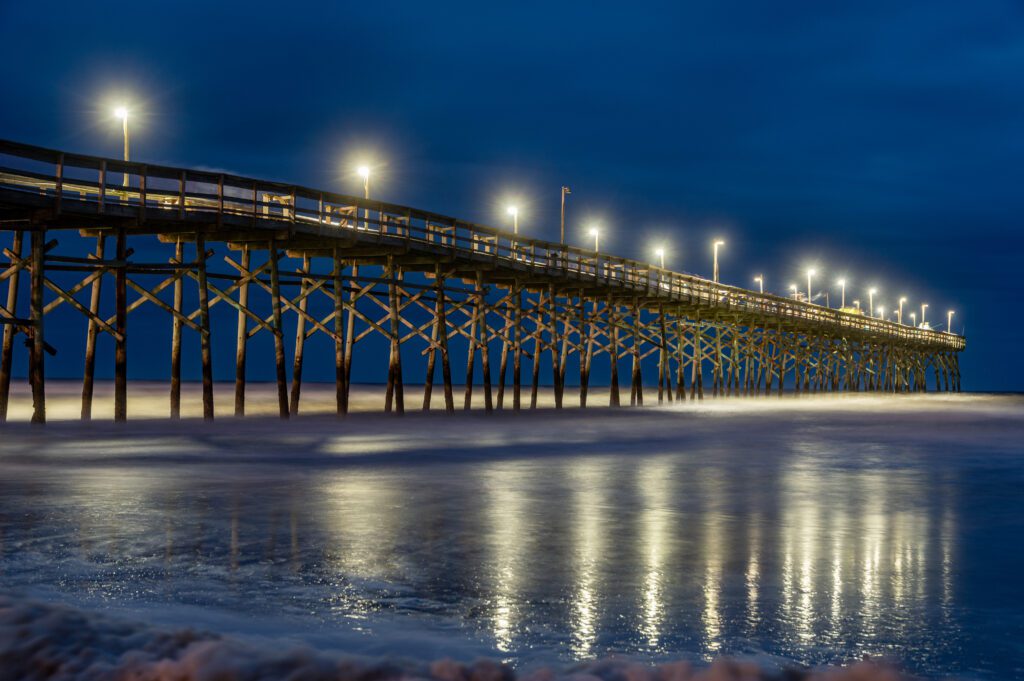
What happens as the light from the sky becomes darker? The light fixtures are no longer distinguishable; you see the light emitting from the institution.
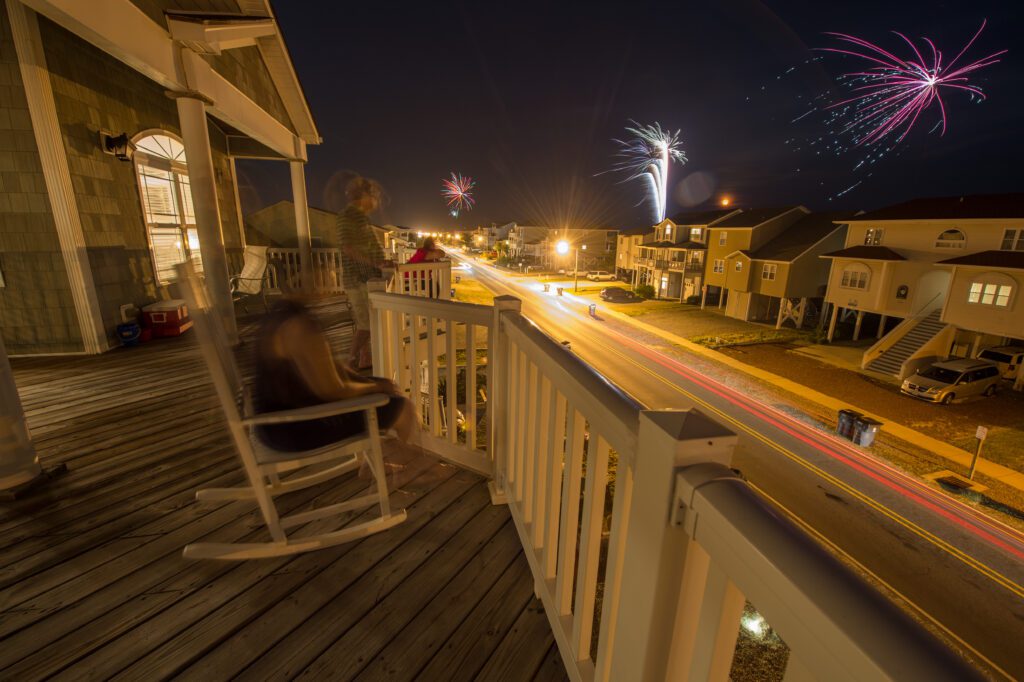
The other popular thing to photograph is the fireworks after Civil Twilight. They want the fireworks to stand out in the night sky.
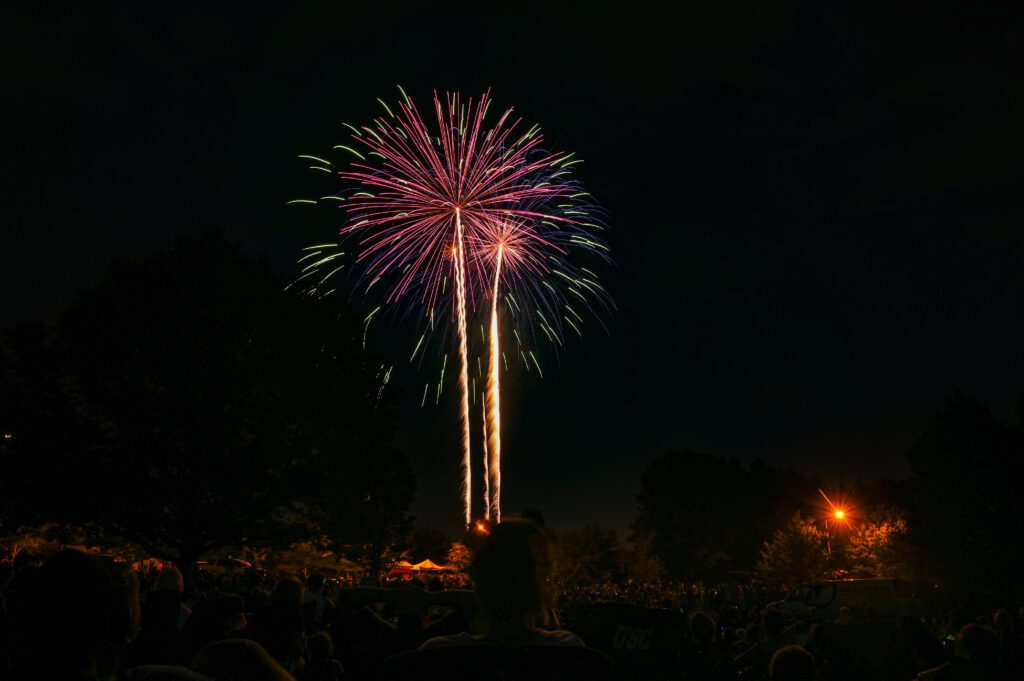
Most everything becomes, at best, a silhouette, and challenging to make out what is on the ground.
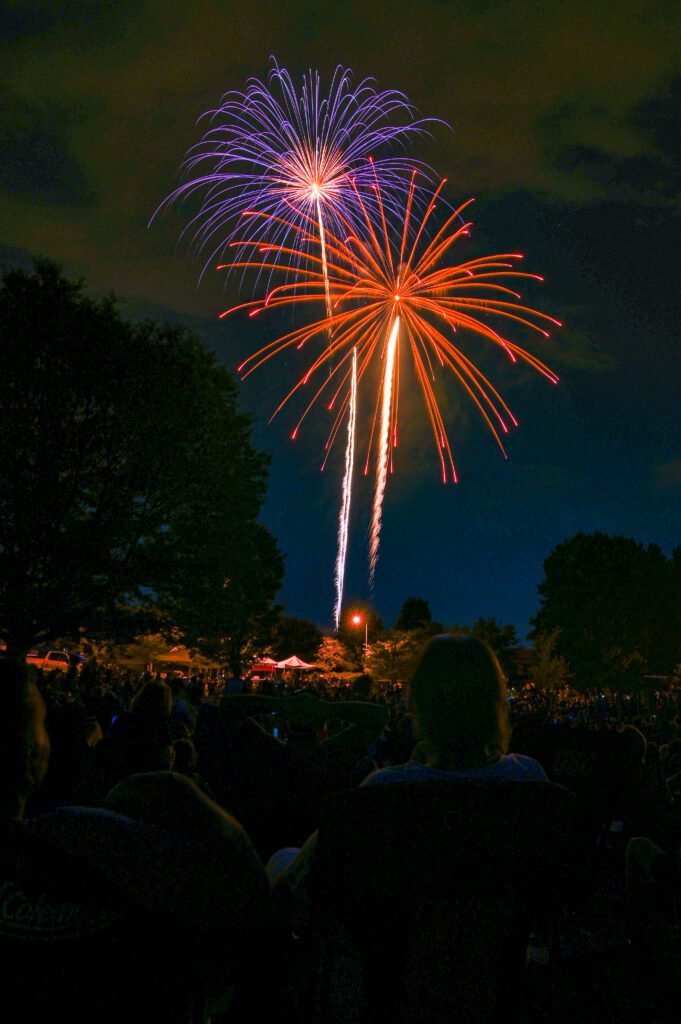
I worked on this photo in Lightroom to open up the shadows to reveal some of the nighttime skies, but it also introduces a lot of noise.
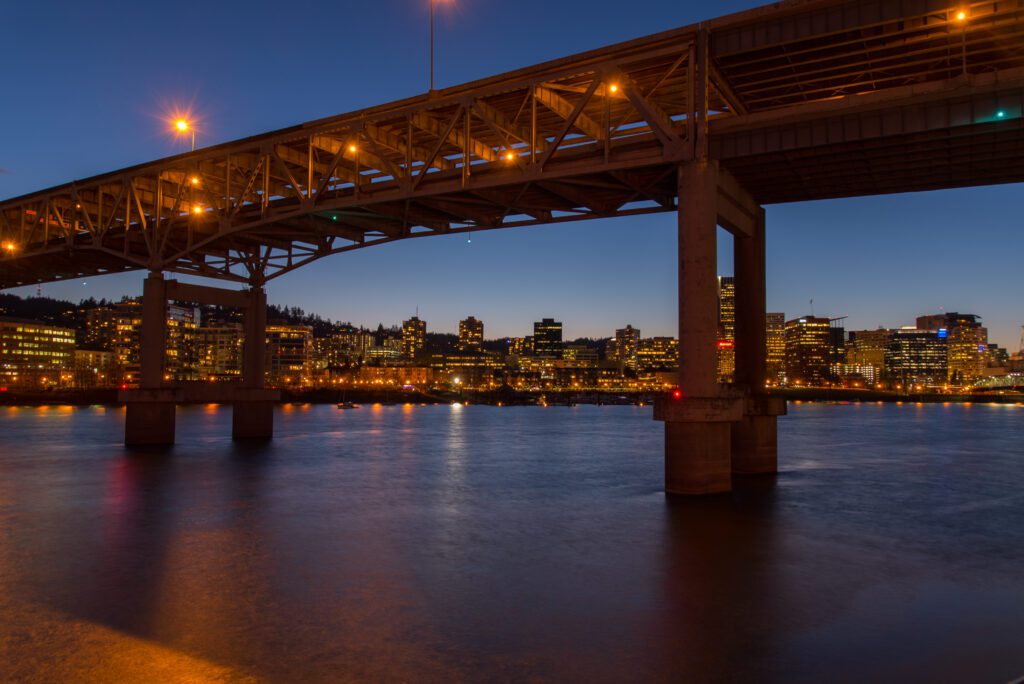
Tips for Twilight Photography
Sunrise or Sunset ~ Before considering going, determine if this is better as a photo. Do I want the sun shining on the front or back as it sets? In some locations, the sun will be to the side, not in front or back.
Pack Tripod & Bug Spray ~ My friend Morris Abernathy and I went one evening to capture the Fort Worth Skyline; the best location was where mosquitos ate us up. It would help to have a sturdy tripod for the camera and lens you plan to use.
Arrive Early ~ Civil dawn is when the sun’s geometric center is 6 degrees below the horizon in the morning, and Civil dusk is the moment when the geometrical center of the sun is 6 degrees below the horizon in the evening. That is 20 minutes after Sunset and 20 minutes before Sunset. So, whatever the time is for Sunrise or Sunset, you must be in place with your tripod and camera setup at least 15 to 30 minutes prior.
Stay Late ~ I recommend planning for 45 minutes before Sunrise or Sunset.
Take lots of photos ~ don’t just shoot those few minutes of the best light. Shoot some with the sun still up and when it is pitch black sky. Sometimes, these are also great photos.
Second or Third Camera ~ Some locations you may want to compose differently. Rather than miss a great shot, if you have extra cameras, tripods, and lenses, make use of them.
Cable Release or Radio Transmitter ~ Use a cable release to get the sharpest photos. If you shoot on a DSLR, locking up the mirror will help with sharpness. Using a radio transmitter can help you trigger numerous cameras simultaneously if you are using multiple cameras.
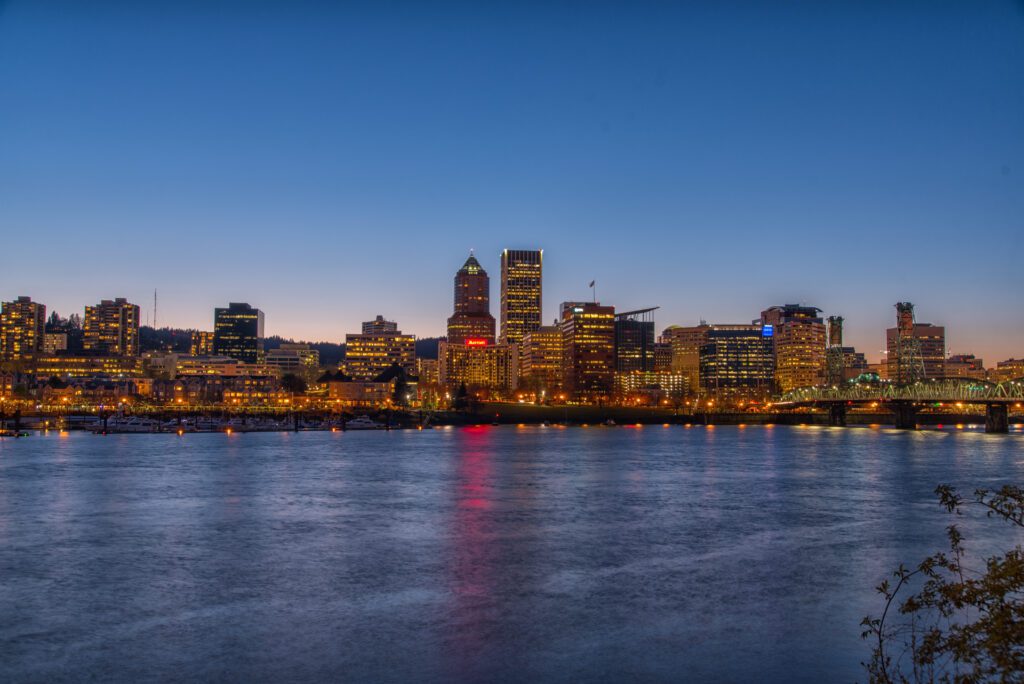
There are many times that daylight will reveal things like mountains in the distance that dusk or dawn can hide.
