Nikon D5 ISO Setting
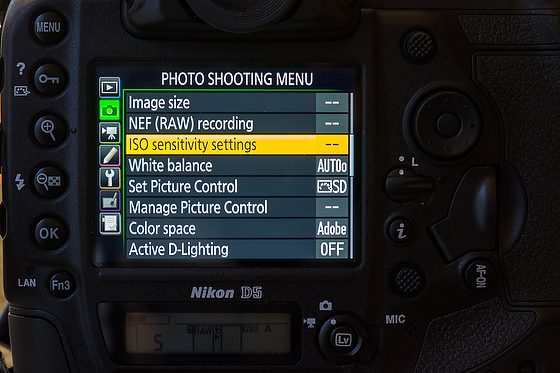
On your camera, you can pick your ISO setting, or you can select Auto ISO.
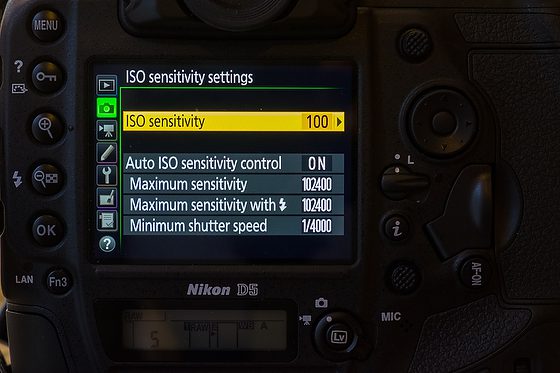
On my Nikon D5, you choose the ISO setting, and then you can toggle right into the AUTO ISO setup screen.

You pick your range of the lowest ISO and the highest ISO you want the camera to use. This is great for the photographer who says I like up to only ISO 5000, and another photographer is ok with ISO 102400.
On the Nikon D5, you also set the maximum ISO when the flash is detected. This works with the flashes using the hot-shoe and has TTL.

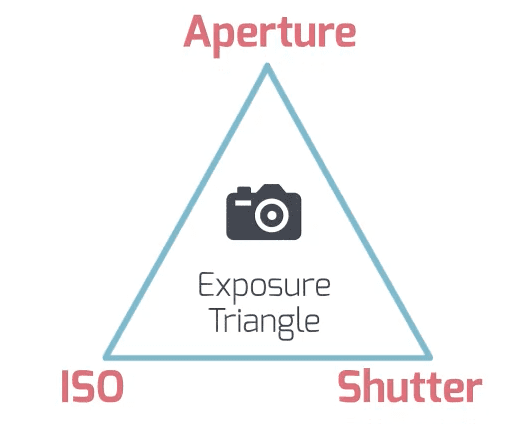
Now, in photography, we talk about the exposure triangle. These controls can over-expose, under-expose, or adequately expose a photo.
When you set your camera to Aperture priority, then you put the Aperture, and the camera will adjust the shutter speed if you have chosen a specific ISO like ISO 100.
If you are in Shutter-Speed priority, you pick the shutter speed, and the camera selects the aperture.
Now, if you have AUTO ISO, the Auto ISO will pick the lowest ISO as the Shutter-Speed you selected, and then you can control the Aperture when in Aperture priority.
If you are in Manual mode and using AUTO ISO, the camera will pick the lowest ISO to expose the picture based on the Aperture and Shutter-Speed you chose.
If you choose not to use AUTO ISO, you must manually change this every time you change Aperture or Shutter-Speed, and the camera lets you know you are either over-exposed or under-exposed.
I found that 99% of the time, the camera is making the same choice I would make when I set the AUTO ISO to what I want as the low and high ISO and the Shutter-Speed.
When I need to turn off the AUTO ISO for things like shooting with strobes on the Nikon D5, I just push the ISO button on the back, spin the front wheel, and turn it off. To turn it back on, I do the same thing.
Auto ISO for me, is similar to anti-lock brakes on a car. The AUTO ISO will adjust the camera faster than I can and let me get more correctly exposed photos.

