
|
Getting your Trinity Audio player ready...
|
I am writing this blog post for Mac users. When formatting a USB drive or even an external hard drive that you intend to share with PC users, knowing there are many ways to format the drive is essential.
I will walk you through the steps here, which will let you easily share your files with anyone, and if they want to, they can add files to the drive to give back to you. We had to do this for our Storyteller Abroad Workshops, where we had a mixture of Macs and PCs used in the workshop.
We wanted to share photos and videos so we could use this in b-roll, and we needed to have everyone’s Adobe Premier project ultimately saved to a hard drive that we could open on the instructor’s computers to fix if needed later or if we needed to change something due to changes in the storyline.
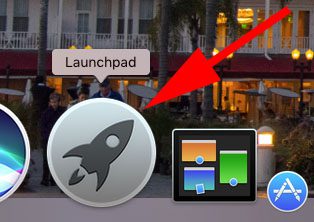
In your toolbar, pick Launchpad.
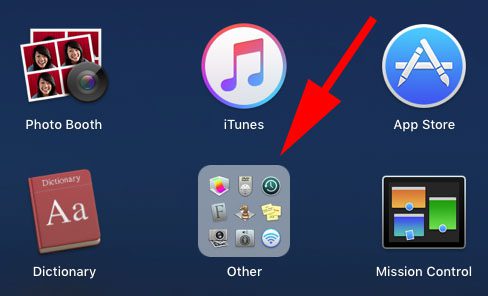
Then select the “Other” folder.
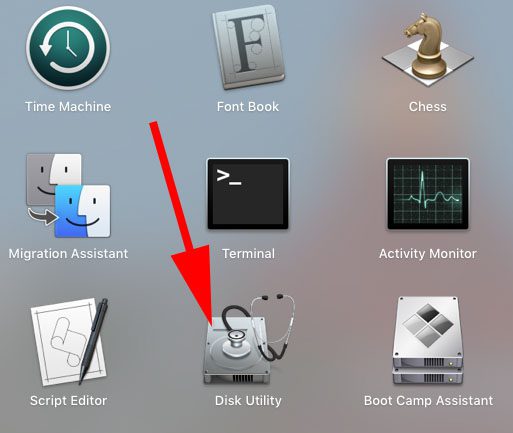
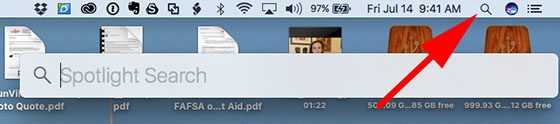
Inside that folder is the “Disk Utility” you want to select. Another way to choose this is to go to Spotlight and type in Disk Utility.
You will highlight the drive you want to format when it launches in the left column.
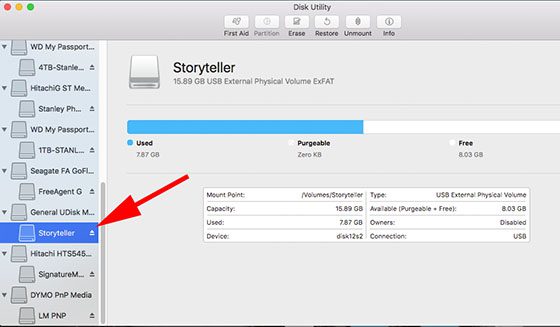
Then, at the menu’s top, click “Erase.”
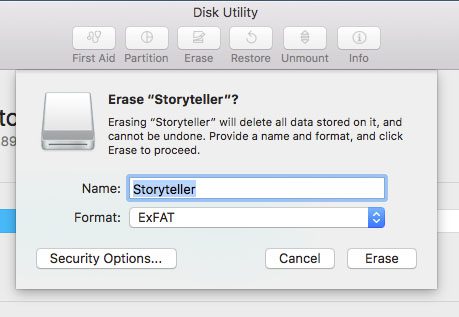
Name your drive and then click ” Format ” to see all the options.
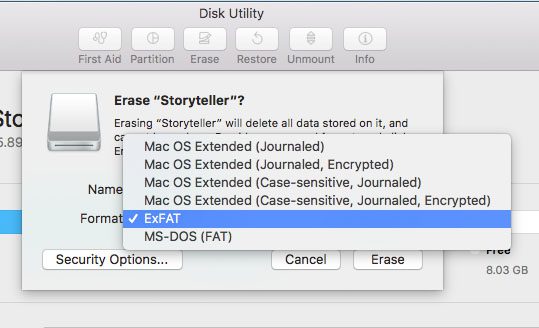
You want to pick “ExFAT.”
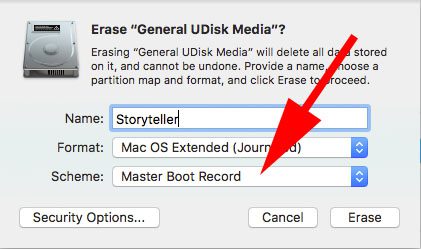
Next, be sure you pick the “Master Boot Record ” scheme. Apple defaults new partitions to GUID, which is bootable on a new Mac. However, Windows can’t read it. You must manually choose MBR (Master Boot Record) as the partition type, bootable in Windows, and then format it as exFAT.
Sometimes, you might get an error after it attempts to format the drive. If you try it a second time, it usually works.
Now, you can share your files with your clients using a USB drive or hard drive.
I suggest always using this format so you never get the call that the client cannot open your USB Jump Drive or Hard Drive.