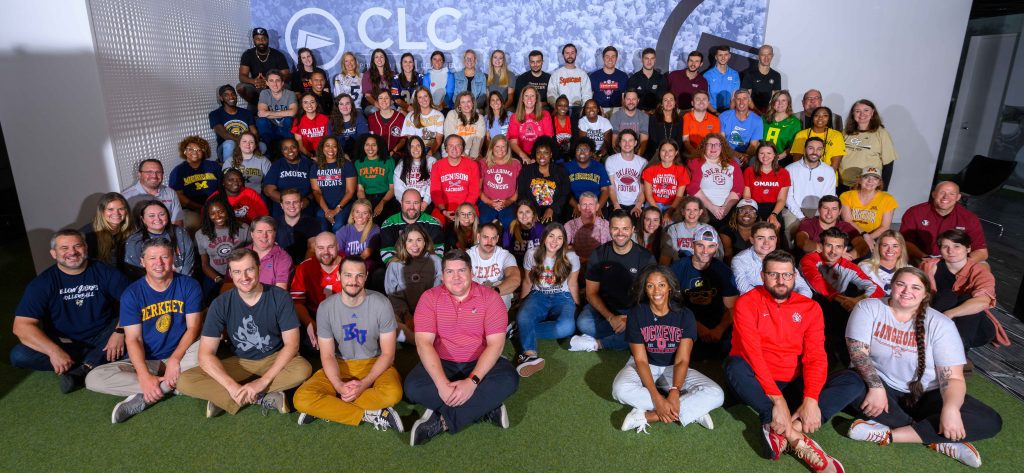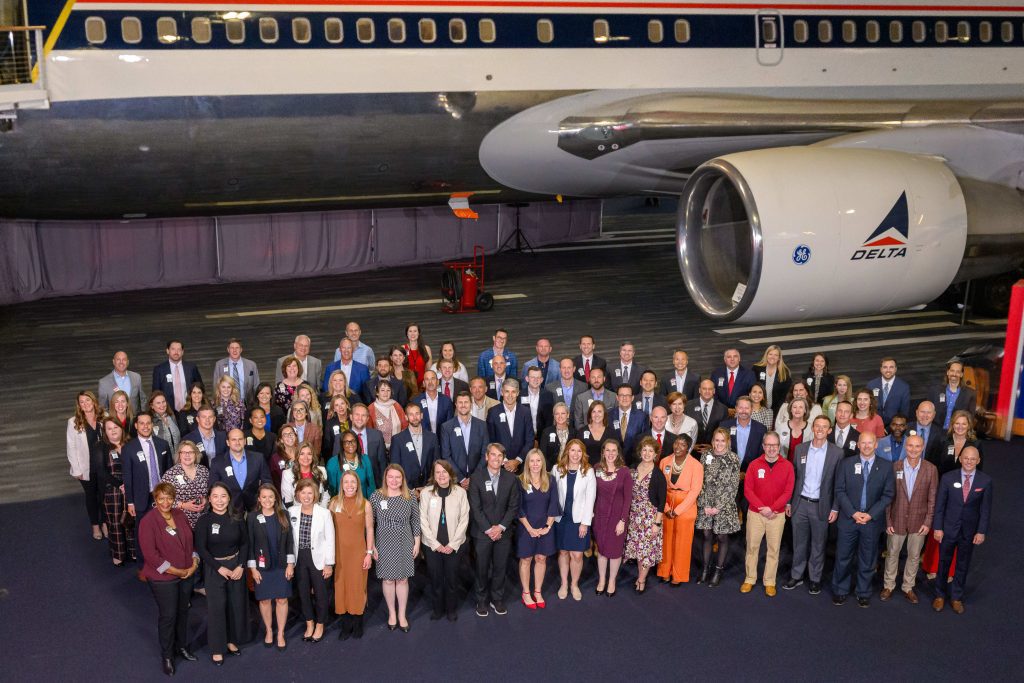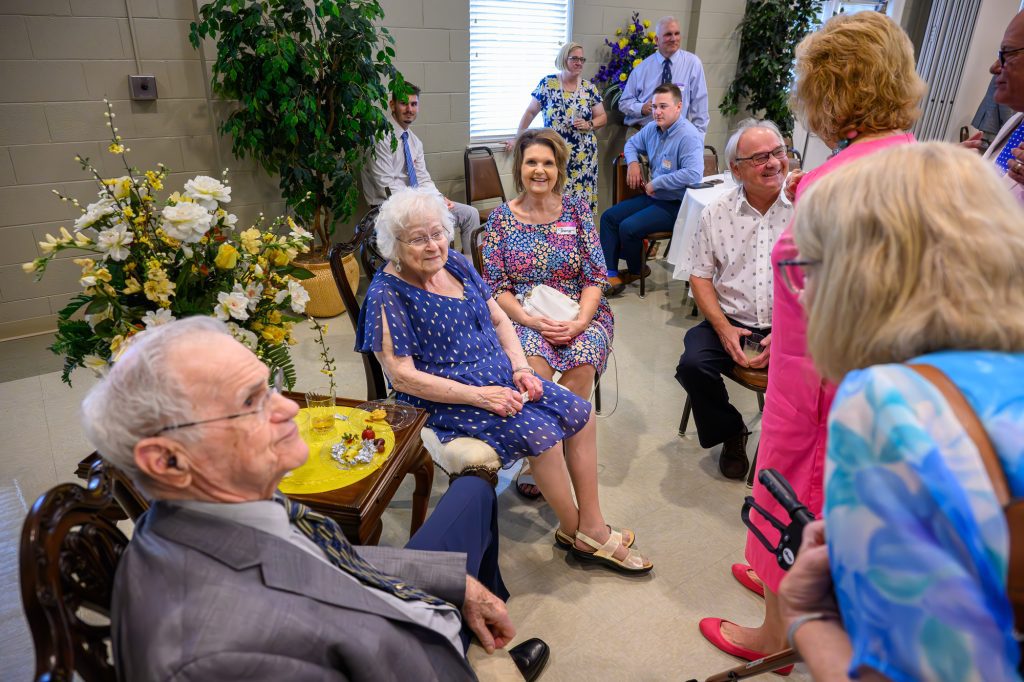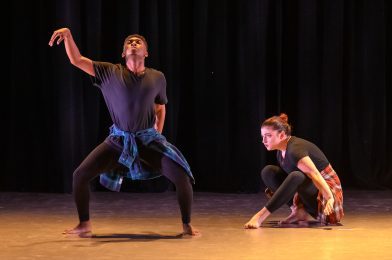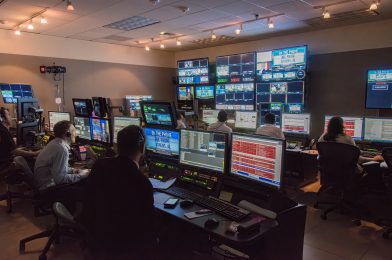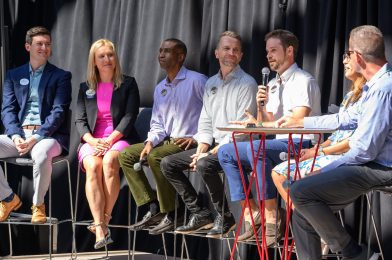
As I found myself immersed in covering a corporate event for a valued client, a particular segment caught my attention and sparked a cascade of introspection. This segment focused on the career trajectories available to employees within the company. A panel of seasoned individuals took the stage, sharing their journeys and shedding light on the organization’s abundant opportunities for long-term growth and advancement.
This moment prompted me to delve into my career voyage and contemplate the counsel I would offer aspiring photographers and videographers today. If you’re reading this with aspirations of joining the ranks of visual storytellers, let me be candid right from the start—there’s no longer a paved road to follow. The contemporary landscape necessitates seizing opportunities and proactively knocking on doors to secure your foothold.
In contrast to my academic background—a blend of Social Work and a Master’s degree in Communication from a Seminary—which, while beneficial, isn’t a requisite for this creative field. These degrees paved unexpected doors for me, but the valid key is the enthusiasm to learn and innovate.

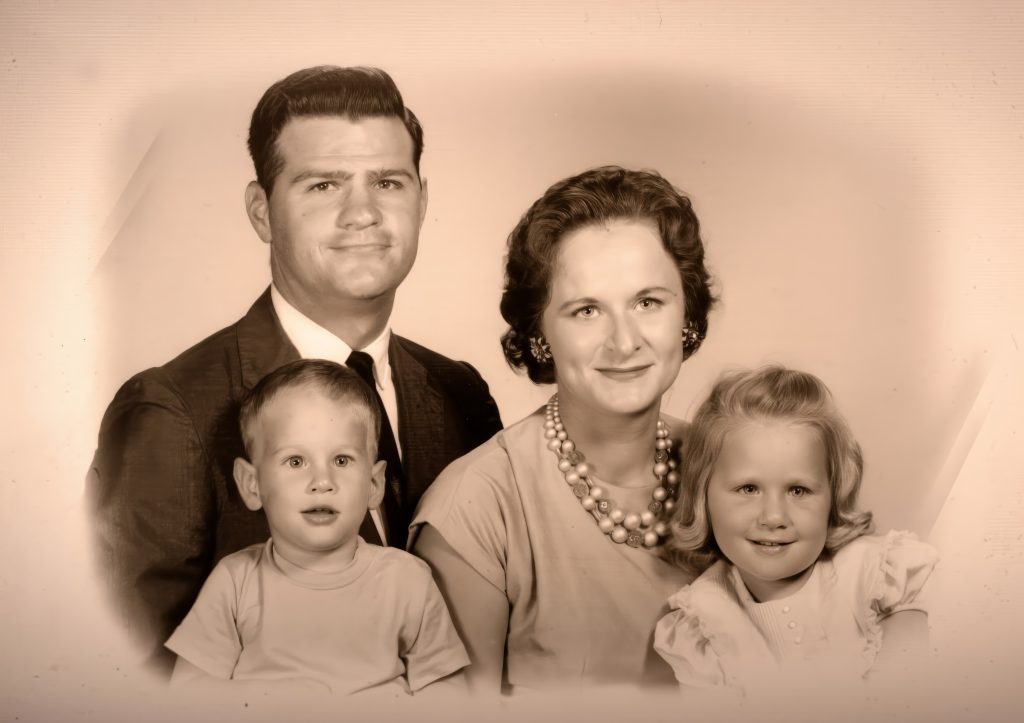
I recall my uncle, a seasoned professional photographer with a photojournalism foundation, who later established his portrait studio. My unique advantage was learning under his tutelage. For those without such connections, I wholeheartedly endorse enrolling in photography courses at community colleges or participating in workshops to grasp the essentials.
Yet, theoretical learning only flourishes when paired with hands-on practice. Embark on self-assigned projects, gradually transitioning into paid work while optimizing costs. My journey began with photography contributions to college publications and even serving as East Carolina University’s photographer, bridging the gap between their full-time photographers during my final year.
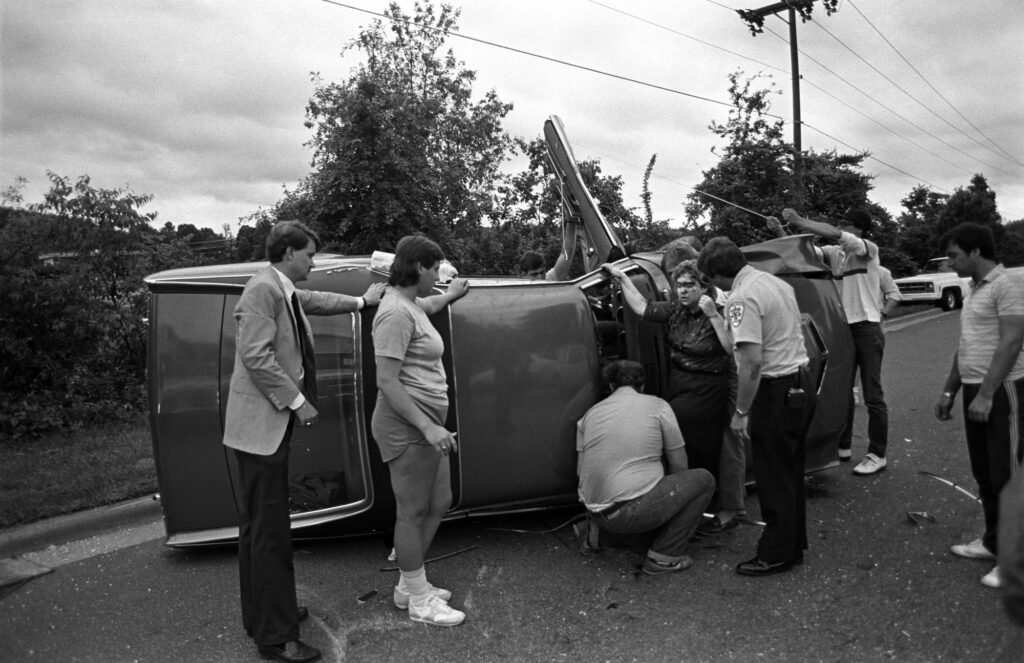
Unexpectedly veering from my anticipated path toward becoming a minister, I was beckoned into the world of photojournalism. I accepted a modestly paid position at a local newspaper, which bestowed immense growth opportunities. Averaging 4 to 8 daily assignments facilitated rapid learning while navigating film photography’s intricacies. This period was a comprehensive education, from capturing images to processing them—a crucial aspect of the analog era.
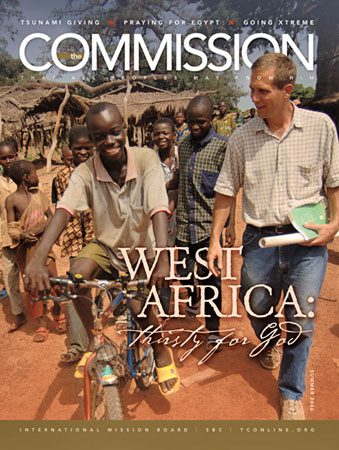
Subsequently, I joined the ranks of The Commission, a prestigious magazine competing with heavyweights like National Geographic in the National Press Photographers Association arena. This new chapter involved curating multiple images across numerous pages and learning from another mentor, Don Rutledge.
During this phase, my primary responsibility involved photographing missionaries for headshots and passport images. I traversed conferences, setting up portable studios to create hundreds of portraits daily.
Further down the line, I pursued a Master’s in Communication from seminary while photographing headshots for a portrait studio. This transitioned into managing one-hour photo labs post-graduation.
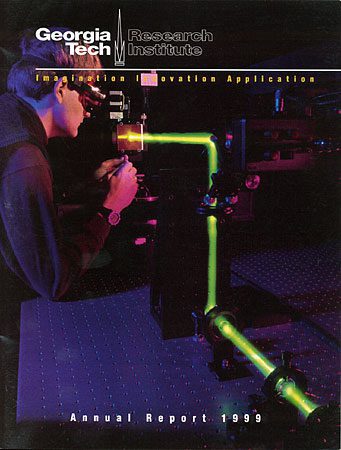
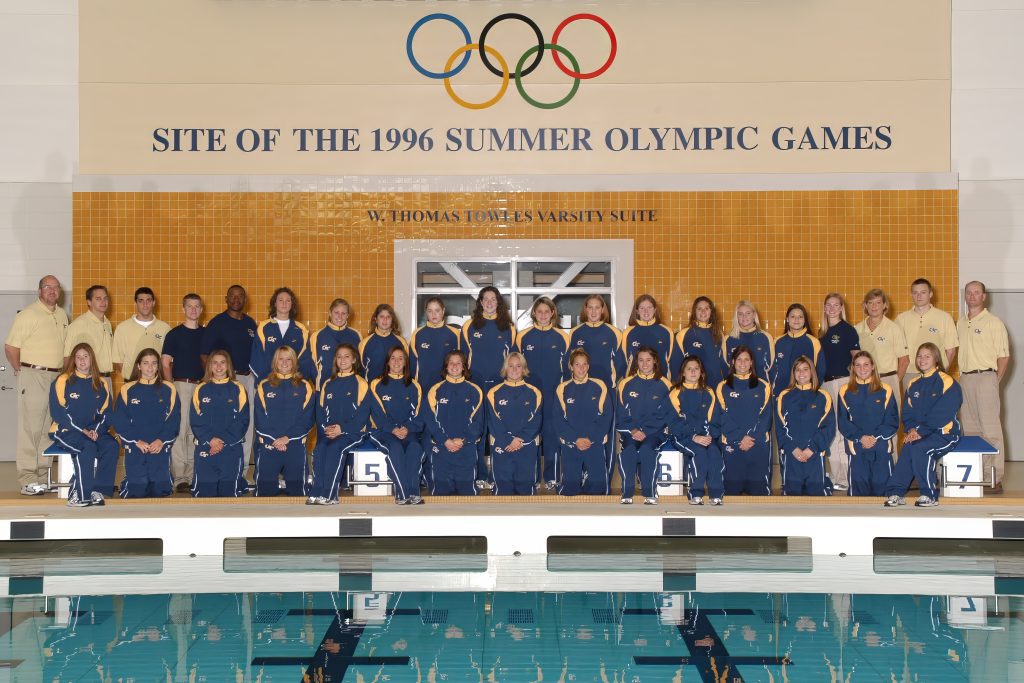
Georgia Tech later welcomed me as a photographer for public relations, a role spanning over nine years covering research, recruiting, sports, and events. A pivotal juncture eventually propelled me into full-time freelance work—a fusion of my past roles, including photojournalism, sports, recruiting, event coverage, and progressively branching into new services.
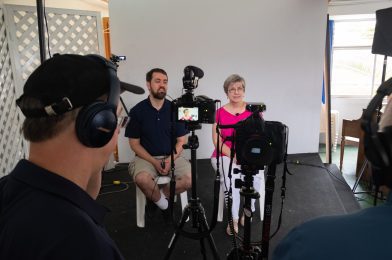
My repertoire expanded, incorporating 360 panoramic shots well before cameras facilitated seamless stitching. Recognizing the potent synergy of visual and auditory narratives, I merged photos and audio to craft multimedia slideshows, effectively enhancing client engagement. This evolution naturally led to venturing into videography.
Simultaneously, I engaged in college-level photography instruction, a practice that enriched my knowledge and bolstered my capacity to curate educational frameworks.

Reflecting on my collegiate beginnings, I could never have predicted the trajectory leading me to where I stand today. Remarkably, the sentiment echoed by the panel members at the corporate event mirrored my experience—careers are often a mosaic of unforeseen connections and opportunities.
Several guiding principles informed my journey and can potentially shape yours too:
- Cultivate a relentless curiosity and an insatiable appetite for learning.
- Immerse yourself in industry research to identify and connect with trailblazers.
- Seek mentors, especially if they’re established leaders in your chosen field.
- Prioritize service—a client-centric approach aligns your offerings with their needs.
As you chart your course, remember that while destiny is uncharted, the journey is rich with serendipitous encounters. Observers are ever watchful, and these moments of observation might just become your next catalyst. Much like Greg Thompson, the Chick-fil-A communications director, unexpectedly extended a 12-year contract to me based on reputation and work quality—your work’s ripples extend beyond what’s visible.
In conclusion, here’s a succinct roadmap to contemplate:
- Embrace unquenchable curiosity and perpetual learning.
- Immerse yourself in industry research to locate and learn from visionaries.
- Foster mentor relationships, especially with accomplished figures.
- Center your efforts on servicing others, anticipating their needs proactively.
Remember, your journey may take unexpected turns, but the beauty of growth and transformation lies therein. Your career, like an ever-evolving visual narrative, has the potential to inspire and captivate audiences beyond your imagination.