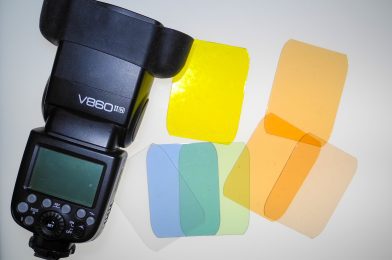
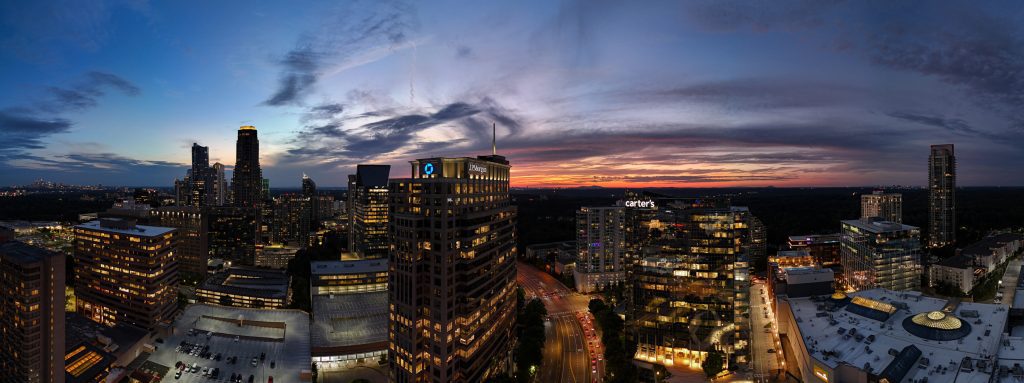
Caption: This is my Godox V860 with the Magmod gels system I use for my event work.
Introduction:
Pursuing vibrant and dynamic colors has always been a constant endeavor in photography. The use of colored gels with your flash can not only elevate the visual appeal of your images but also streamline your post-production process. In this blog post, we’ll delve into the art of using colored gels to achieve optimal color results and how the MagMod flash system has become an indispensable tool for photographers seeking versatility and ease in their lighting setups.
Setting the Stage:
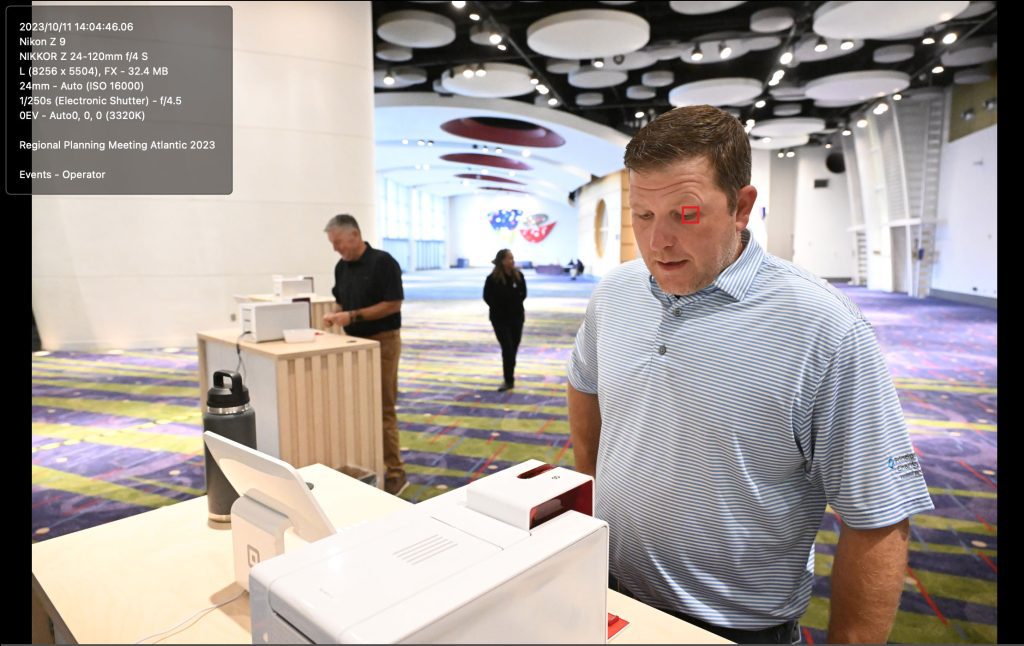
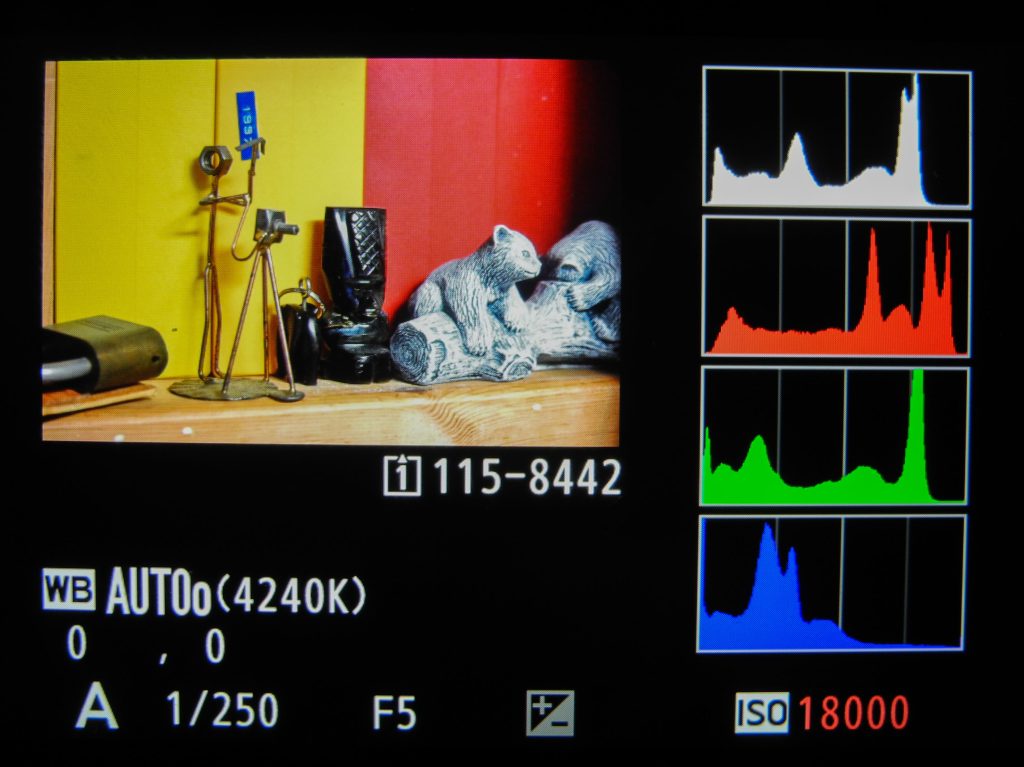
I typically start my photography sessions by capturing images using the auto white balance on my Nikon Z9. This provides a neutral starting point, allowing me to assess the scene’s color temperature on the LCD screen. This initial step serves as a canvas upon which I can strategically apply colored gels to achieve the desired color balance in my shots.
Choosing the Right Gels:
The MagMod flash system has become my go-to solution for incorporating colored gels into my lighting setups. With its innovative design and ease of use, MagMod allows for quick and seamless attachment of plastic gels, enabling precise control over the color temperature of your flash.
One of the standout accessories in the MagMod arsenal is the Sphere, which I frequently use to diffuse light, providing a softer and broader coverage. This is particularly useful when shooting with a versatile lens like the 24-120mm, allowing me to maintain consistency in lighting across different focal lengths.

Optimizing Camera Settings:
Regarding camera settings, shooting in aperture priority and Auto ISO has proven to be a winning combination. This allows the camera to automatically adjust the ISO to maintain proper exposure while I focus on framing and composition. However, changing ISO is not the only consideration; it’s about finding the right balance to prevent the background from going wholly black and ensuring a fast enough shutter speed for sharp images.
I often increase the ISO from 64 to 400 or higher base setting. This prevents the background from underexposing and ensures that my shutter speed remains fast enough to capture crisp details. Balancing these settings is crucial to achieving a harmonious blend of ambient and artificial light in your photographs.

Conclusion:
Incorporating colored gels into your photography workflow, coupled with the MagMod flash system, opens up creative possibilities. You can achieve stunning and consistent color results by starting with auto white balance, assessing color temperature on the LCD, and strategically applying gels to your flash. Experiment with different combinations, and soon, you’ll find yourself seamlessly integrating this technique into your repertoire, reducing post-production workload while elevating the visual impact of your images.

