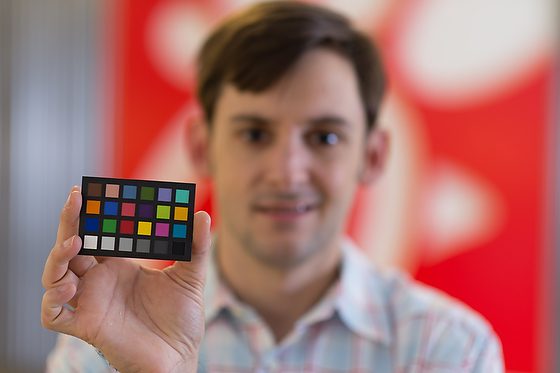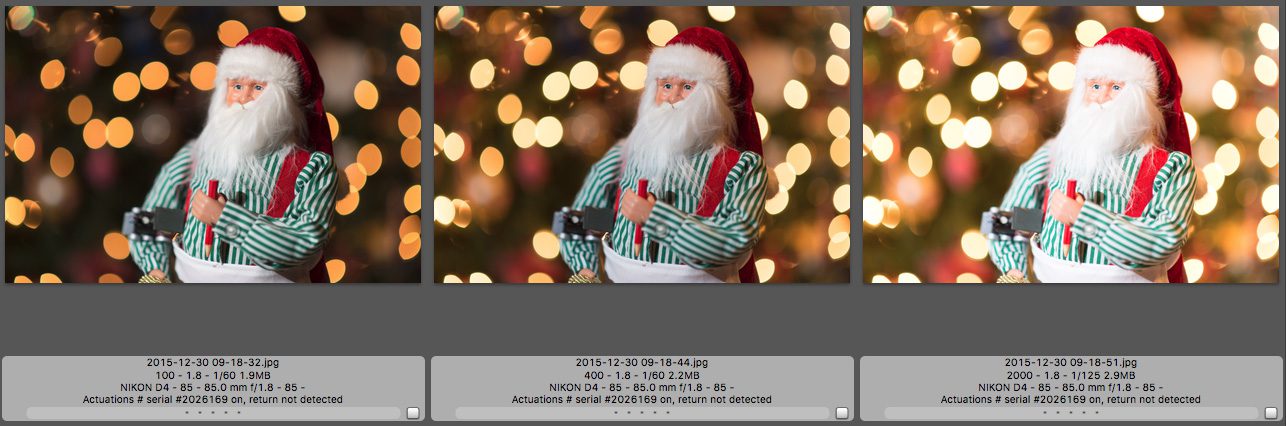
By changing your ISO when using your flash, you can change the look of the background. For example, with the camera on a tripod and using Aperture priority mode, all I did between these three photos was change the ISO from ISO 100 [far left] to ISO 400 [center] and ISO 2000 [far right].
I have the flash-off camera to the left, as shown in the diagram below. The flash setting is the normal mode. The flash is in the TTL model, which is adjusted to the scene as needed.


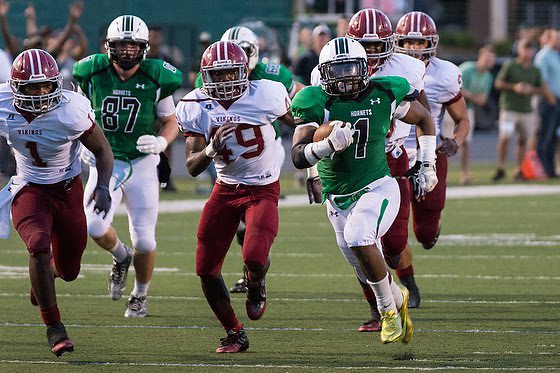
I did the same thing in these three and just changed one setting. The flash mode is set on “slow sync mode.”

As the ISO increases, the odds of you blowing out the subject with the flash will increase as you lower the ISO and the background becomes darker.
As you change the ISO, the shutter speed is the only other setting changing since I am in Aperture mode. Keep that shutter speed close to the lens’s focal length unless you want a blurred image. If you have a 35mm lens, try shooting at 1/30 or faster. If you shoot with a 200mm lens, you must be at 1/200 or 1/250.
For these photos, I used the flash on the camera with a white dome and bounce. The images are similar because the shutter speed adjusts to match the background and foreground subject.
If these were not on a tripod, you would see much more blur with the first shot at 1/6 shutter speed.


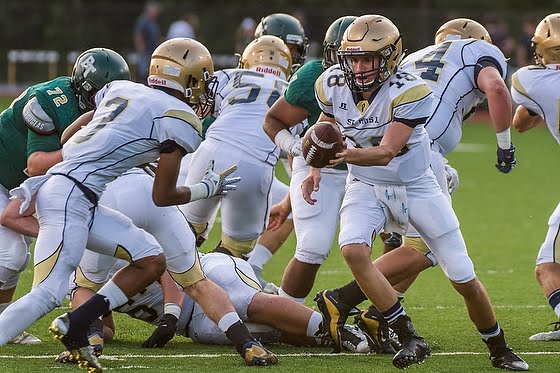
I suggest taking a few test shots in a room with your eye, paying close attention to ensure the background is bright enough to match the subject and that the shutter speed is high enough to give me a sharp image. In this photo, I moved the camera to 1/3 shutter speed. You may want this look.

Are you controlling your camera, or is it controlling you? The more you understand how the camera works, the more creative you can be and the more you can decide for yourself what the look will be in the final product.