
|
Getting your Trinity Audio player ready...
|
I had a major executive headshot the other day. We were to shoot in four locations with multiple outfits.
All the locations were onsite at the corporate headquarters. Thus I had to set up all the lighting on site.
I may have left some things regarding my lighting gear, but everything I owned came with me.
I arrived several hours ahead of the time the executive was to show up.
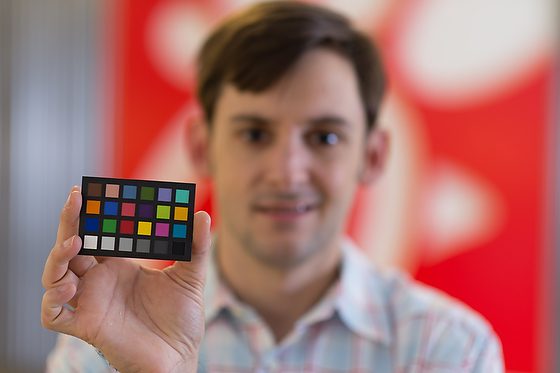
I set up each shot and had my assistant stand in the place of the executive.

These are just a few of the many test shots I took. I am not posing as my assistant for the best photo, I wanted to see how the light looked and the compositions with the lenses I would be using.
Here is a quick walk-through for each location:
- Composition first – I want to test before I set up any lights on the lens for a shot. I want to ensure the background is broad enough behind the subject to work. This searching for the angle might require me to move back and forth and move the subject back and forth between the background and the camera.
- Custom White Balance & Test Shot with Available light – You would be surprised how often you don’t need to do a thing but click the shutter, and everything looks great.
- Test for aperture – how much depth-of-field do I need? I can shoot pretty wide open with one person, but if you start doing group photos, you need more room to work.
- Review the image for the four essential lights and evaluate which ones may need help.
- Main/Key
- Rim Lighting
- Background Light
- Fill Light
- Going one light at a time, I will add I shoot a test shot and then make adjustments until I get the desired look.
- Repeat until all four light values and color temperature is all set for the look I am trying to achieve.
- Pull the images on my laptop whenever possible to see the best picture. Unfortunately, the LCD on the back of a camera doesn’t do justice to the fine-tuning evaluation of images.
Problems I often encounter
- Lens Perspective and Location – sometimes, the only way to get a background, like a company logo on a wall, into a shot has me shooting with a super wide angle that isn’t flattering to the subject. Better to have test shots to show a client to steer them to another location. Sometimes you cannot back up enough to do the room to make it work.
- Lighting gear gremlins – I have had some strange things happen through the years.
- Plugged lights into the walls in a classroom, and suddenly, they just started flashing. When they wired the room, the polarity wasn’t correct and caused the strobes all to flicker if I unplugged them from one side or the other of the room; no problem—I fixed it with extension cords.
- I had a transformer in a light blow once, and smoke came out of the light.
- Radio Remote Triggers not working – Check the batteries. Change channels to get a better signal.
- Lens Failure – I had oil in the lens get so hot from sitting in a car that it got all over the aperture and stuck wide open. So I had to use another lens.
- Flash damaged by airlines – This happened when I flew to Chicago. I had not to use that flash and adjust accordingly. Luckily I had more than just one flash.
Many other problems have occurred throughout my career. The point is simple–Arrive Early.
If you run through all the scenarios before the client arrives, the odds are now in your favor. But, on the other hand, coming just in time for a shoot and going with the flow can make you look bad in front of the client.