If you have enough business then the paper work can overwhelm you. If you are finding you have a lot of paper work then this is a solution for you.
IRS tips
I wrote earlier on book keeping suggestions. Here is that post for you https://picturestoryteller.com/2013/03/photography-tax-tips.html
This post is on how to speed up that process even more for the successful photographer needing to get control of paper work in a timely fashion. If you are starting out just a cheap scanner will work until you need to save time.
The paper work
If you are one who hates paper work as much as I then anything that can simplify the process is worth doing.
There are two different places that I must be ready to show receipts for business expenses: 1) IRS & 2) Clients.
I have found that every penny counts when it comes to collecting for expenses from clients. Many clients want to see copies of your receipts before reimbursing you for those expenses.
When I was on staff and filling out reimbursement forms I had to have every receipt or not get reimbursed. When I made so little in those early years this actually helped me get into the habit of collecting those receipts.
While the IRS will accept business journals and credit card statements as proof of expenses in audits, these will not work with some clients.
If the dollar amount of items you purchased and deducted from your taxes was in excess of $75, the IRS will need to see the receipt to warrant the deduction.
If the penny amount of items you purchased and want reimbursed from the accounts payable department is 1¢ or more they want a receipt.
Scan your receipts
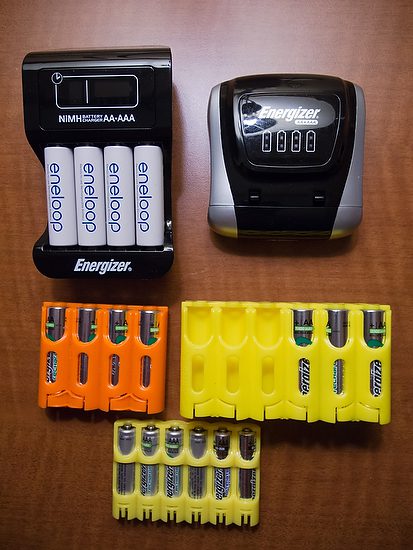
The best advice I can give you is to scan your receipts–all of them. This way you can easily create a PDF with your invoice and attached all the receipts.
The best thing I have done to streamline all my book keeping was scanning of my receipts. While putting as many receipts on a page and scanning them as one document works for business expense reports for invoicing, that really wasn’t working well to keeping track for the IRS.
I use Quicken Home & Business software to handle my banking, credit cards and invoicing. A few years ago they made it possible for you to attach receipts to each transaction. In addition each transaction could be associated with the correct category on the Schedule C for taxes.
By scanning receipts and using the software Quicken I was able to make filing for taxes just a few hours each year than days it used to take.
Time is money
Well I had actually shifted a lot of that book keeping to spending time every couple of weeks scanning receipts one-by-one. This was taking a lot of time.
Not all that long ago a new scanner appeared on the market NeatDesk, but the price tag of $399.95 was a deal breaker in my mind. I had a Canoscan scanner that I paid $50 and it was doing the job.
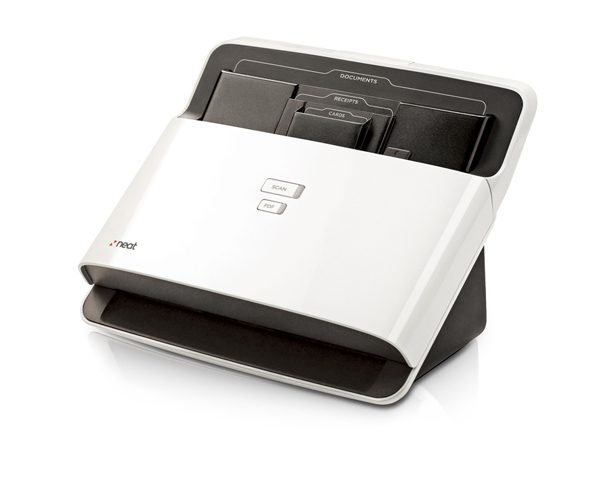
I finally was tired of spending so much time scanning. I decided I would try the NeatDesk and if it didn’t work I would return it and at most pay the restocking fee. After just a few minutes I was sold.
I stacked the maximum amount of receipts it would take at a time. NeatDesk will scan in your receipts, business cards, or documents at a speedy 24 pages per minute. Scan up to 50 pages at once – 1 or 2-sided, color or B&W, single or multi-page. Capacity with paper tray: 15 business cards + 15 receipts + 15 letter-size documents.
The really cool thing is it not only scans but reads the text and helps with file naming and categorizing your receipts.
In addition to receipts I used it to scan stacks of model releases and then it created a PDF of them that I put with the photos online for my clients.
Neat reads and extracts the information from whatever you scan. Receipts become digital records with vendors and amounts, business cards become digital contacts, and documents become fully keyword searchable.
 |
| Scan and attach a copy of all your receipts for the client |
Saving the best for last
The second most important person on a job beyond the contact to get the job is the accounts payable person.
Just as you get more jobs with a client by taking more off of their desk that they must do, the faster you get paid when you make the life for the accounts payable people easier.