
I have been doing a project for a friend where I scanned transparencies, negatives, and copied prints so that they now had all their photos in digital form to use and pass along to their children.
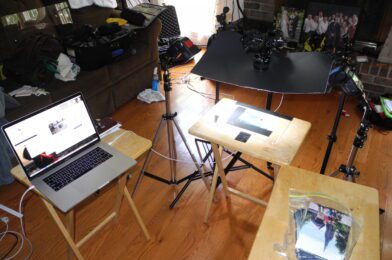
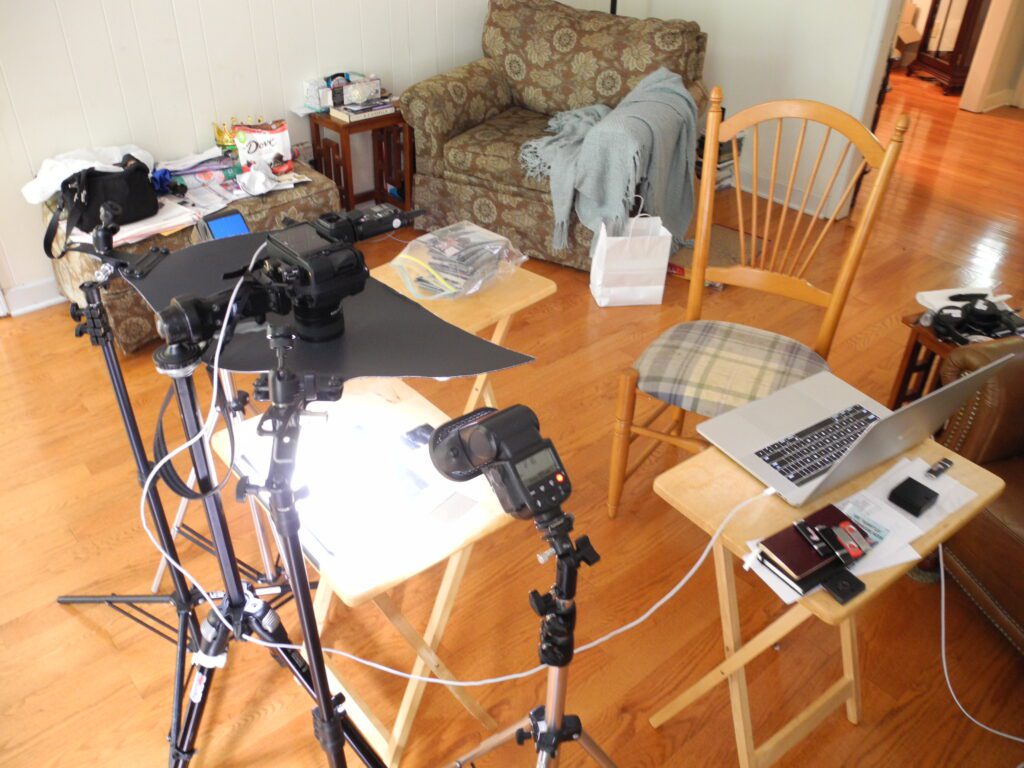
I just thought some would like to know how to set up to do the copying of prints. My setup is what you see above. Ideally, you would want to use a copy stand to make prints.
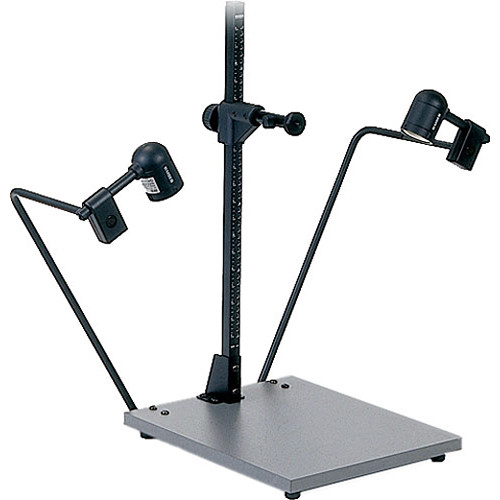
This is a typical copy stand that I don’t own. I didn’t want to buy one if I could make do with what I own. So here is the step-by-step setup.
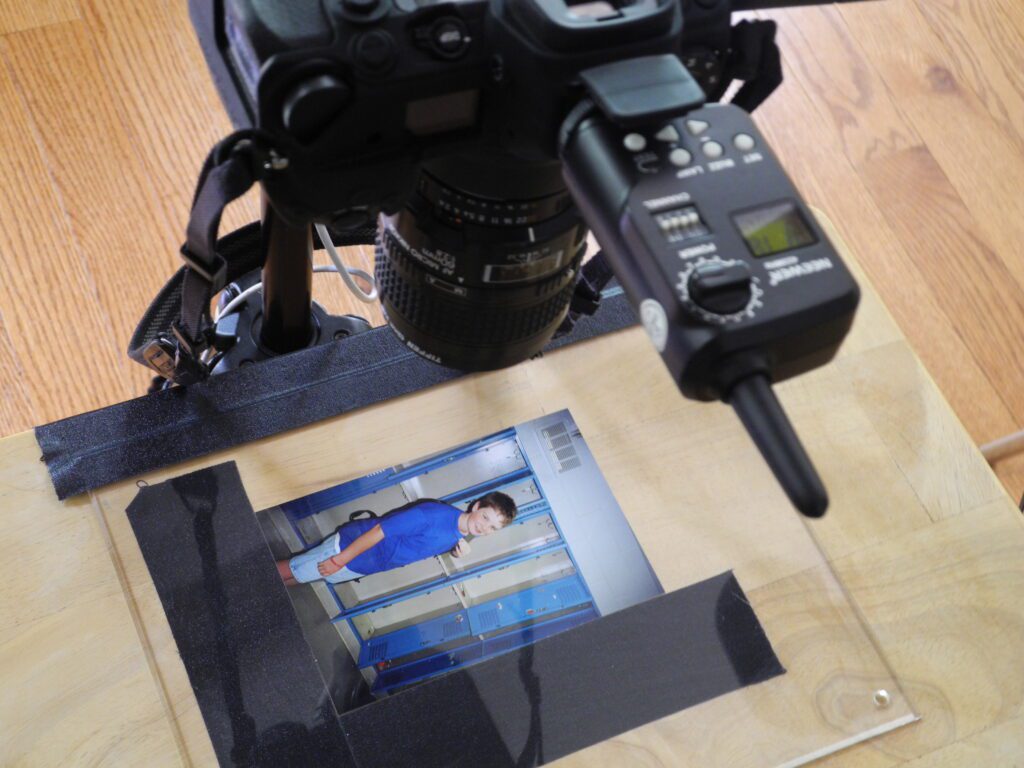
You are going to need to create a jig where every time you put a photo to copy in place it lines up consistently. I used two pieces of gaffer tape on a small fold-up table.
Next, I had small plexiglass that I put tape on one side to act as a hinge and a piece of tape on the other side to use to lift it out of the way. This would keep each print flat as I copied it.
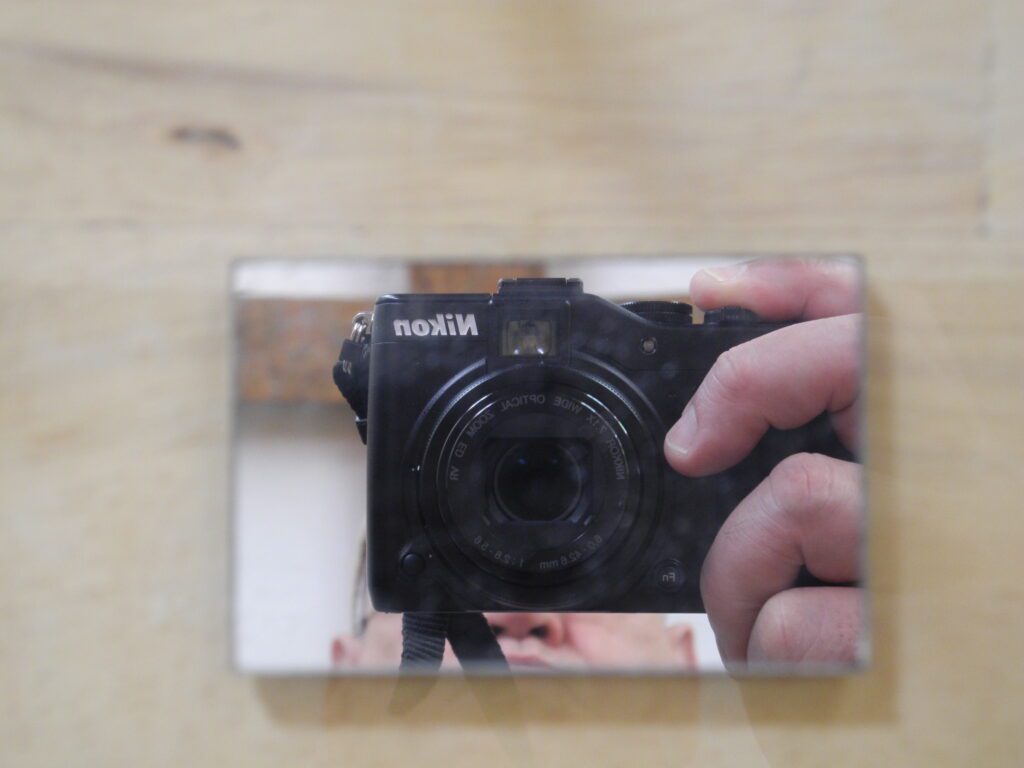
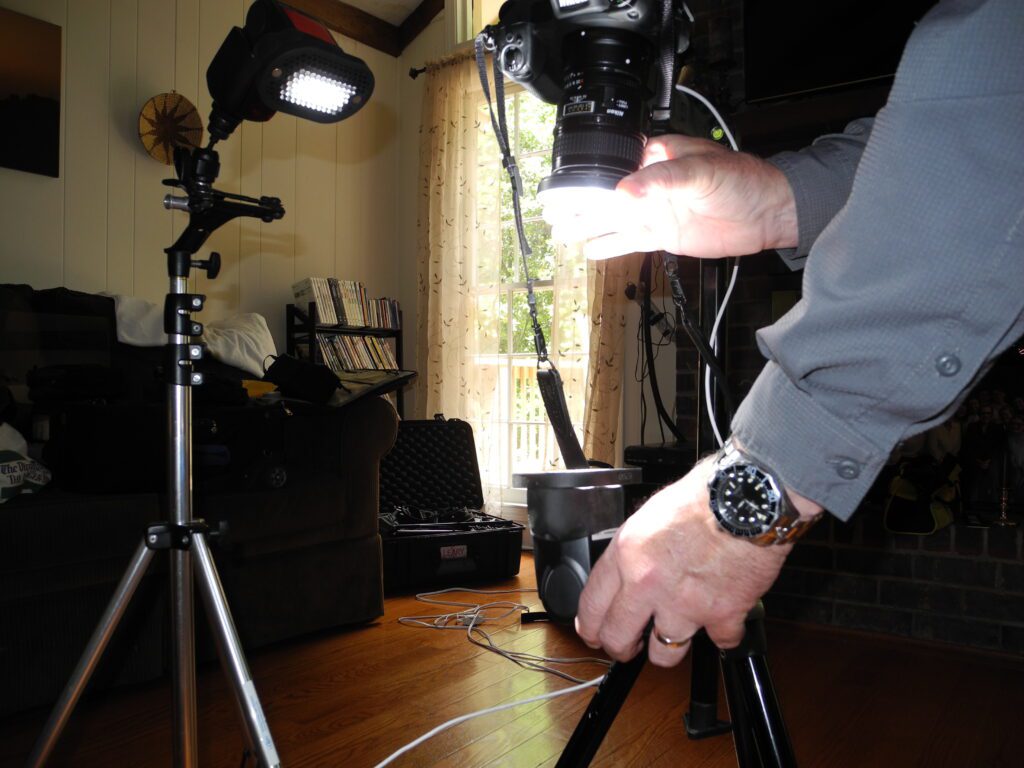
You need to be sure your camera is parallel to the prints. The easiest way is to put a mirror in the place of the print and then get your camera to be the dead center of your frame looking into itself. See the example here.
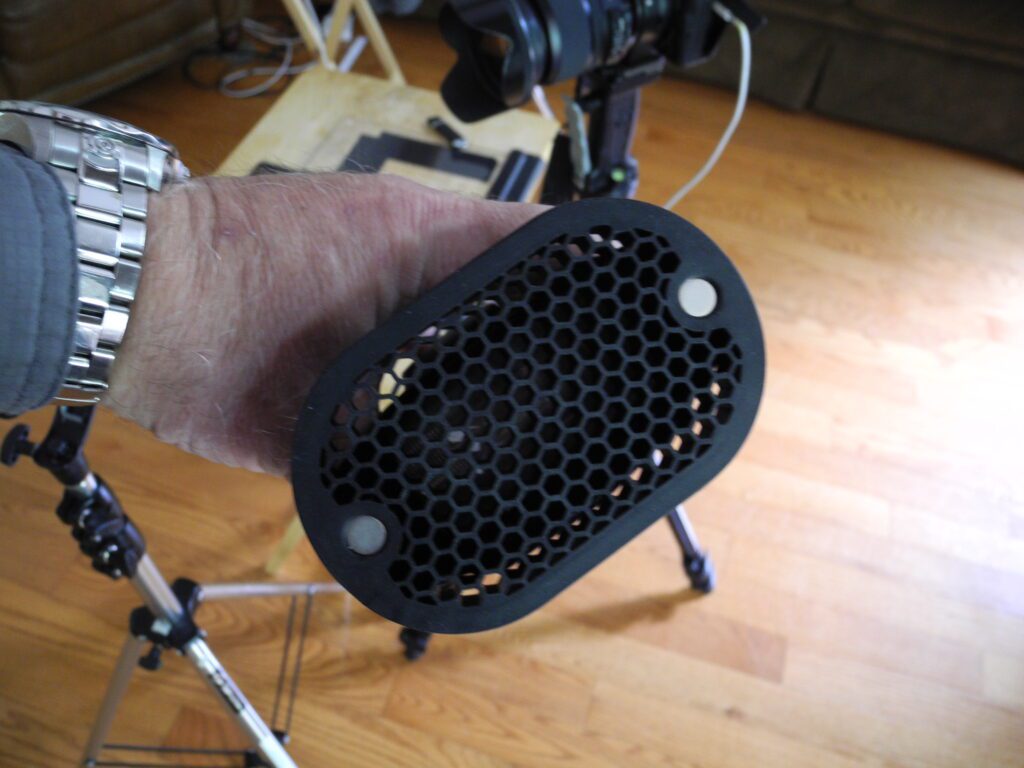
Now I am choosing to use two hot shoe flashes. Specifically the Neewer TT850 with the Neewer Wireless 16 Channel Remote. I have also put MagMod Grid on the front of the flash to keep the flash from lighting up my camera.
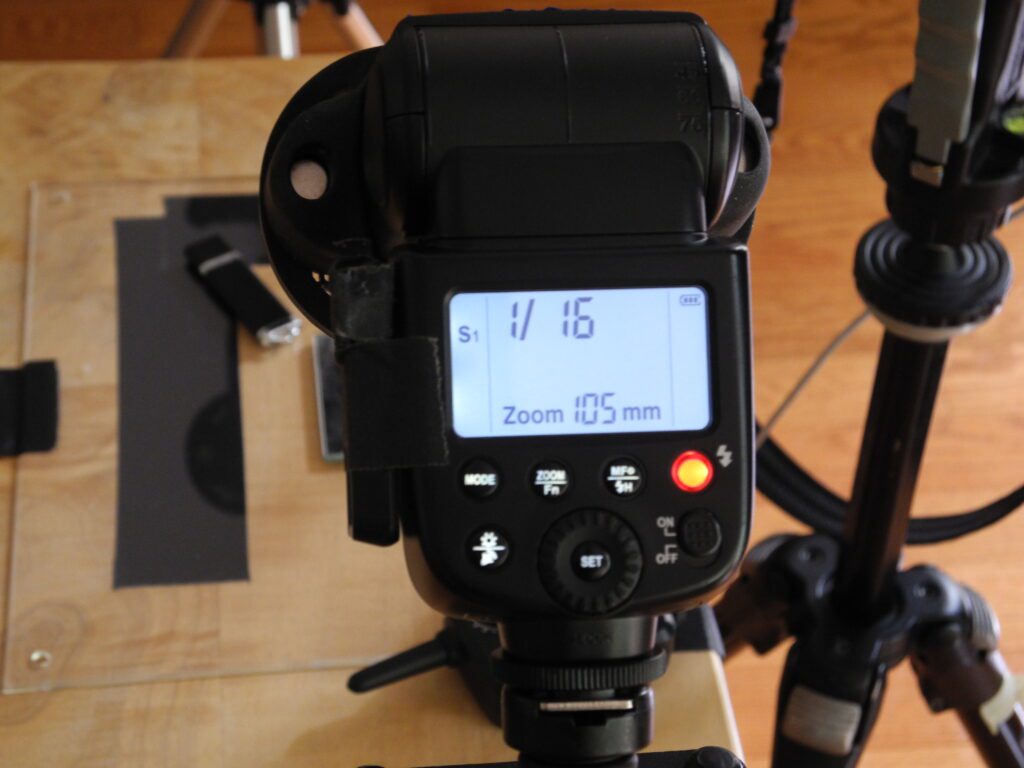
Now I also have zoomed the flashes to 105mm.
I removed the table where the prints are to be and put the flash at the same height and distance. I then use this with the ExpoDisc to set my Custom White Balance on the Nikon Z6 camera using my Nikkor 60mm macro lens.
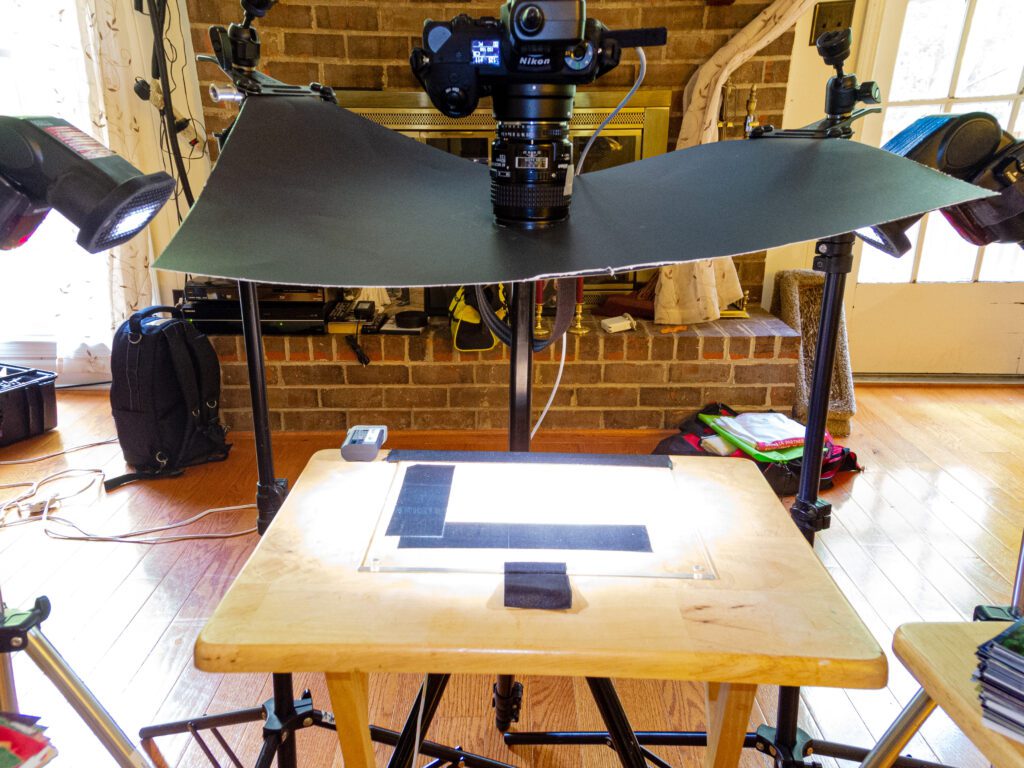
Be sure the lights are at 45º to the prints and the camera.
Using the same setup with the flashes on the stands I put the camera where the photos were with the ExpoDisc on the lens and shot many photos and dialed the flash’s power up and down until I got a perfect histogram with the peak dead center for perfect exposure at ƒ/11 and a shutter speed of 1/125. Of course, I am shooting at ISO 100.
Using the Nikon Capture software I am tethered to the camera. I shoot everything raw and send it to an external hard drive.
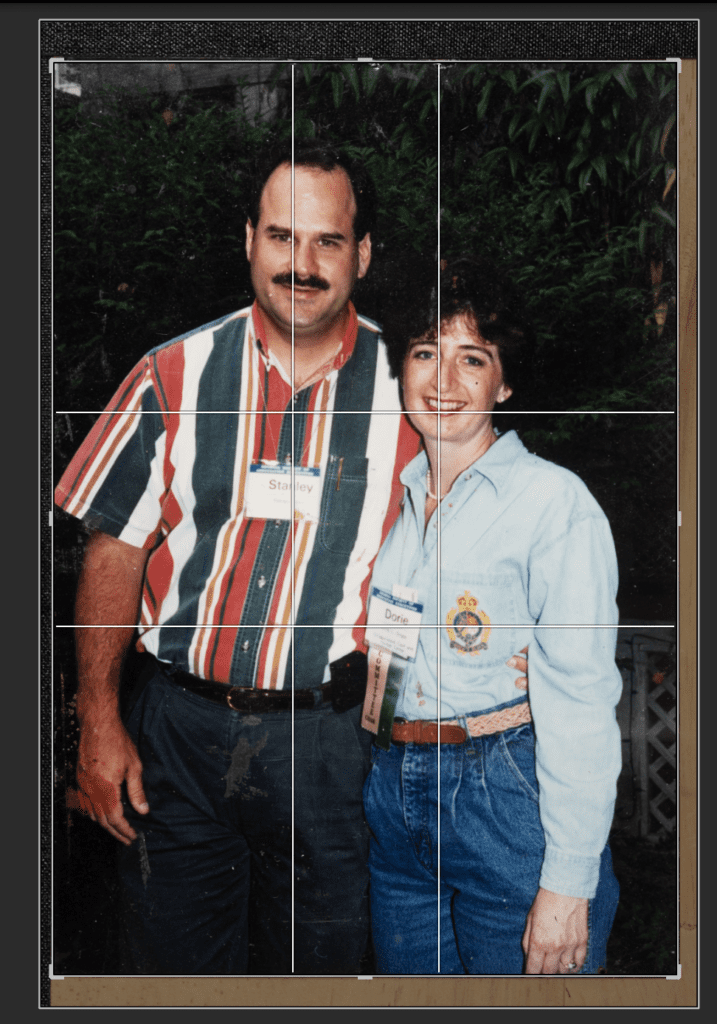
Then after importing them into Lightroom I select all the images and make a crop. As long as they are all the same size that is pretty much all you need to do to get a good copy. Then I export them.
You can go photo by photo and tweak each exposure, but you just will not have the Dynamic Range you might be used to having when shooting raw with your digital camera. The reason is the latitude of a print is not a great deal as compared to today’s cameras.
The Dynamic Range on today’s digital cameras is about 14 stops. Photo prints are around 6 to 7 stops. So you are cutting the dynamic range in half.
I recommend cutting a hole in a sheet of black construction paper the size of the lens and putting it around the lens to keep any reflections showing up in the prints because the plexiglass can reflect things above it.
There are my tips.