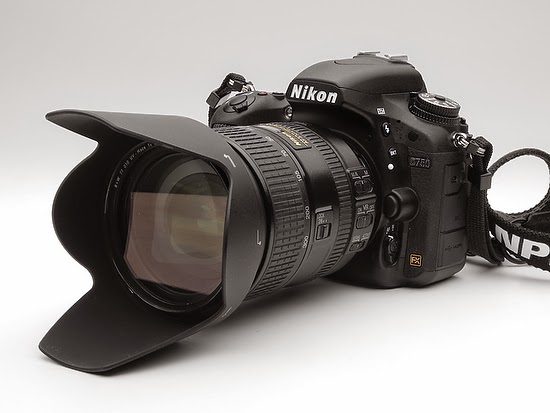
Shooting Christmas ornaments with Nikon D750

A fun thing to shoot this time of year are ornaments on a Christmas tree. Our ornaments all have a story with each one and how it helps us spend the season of remembering.

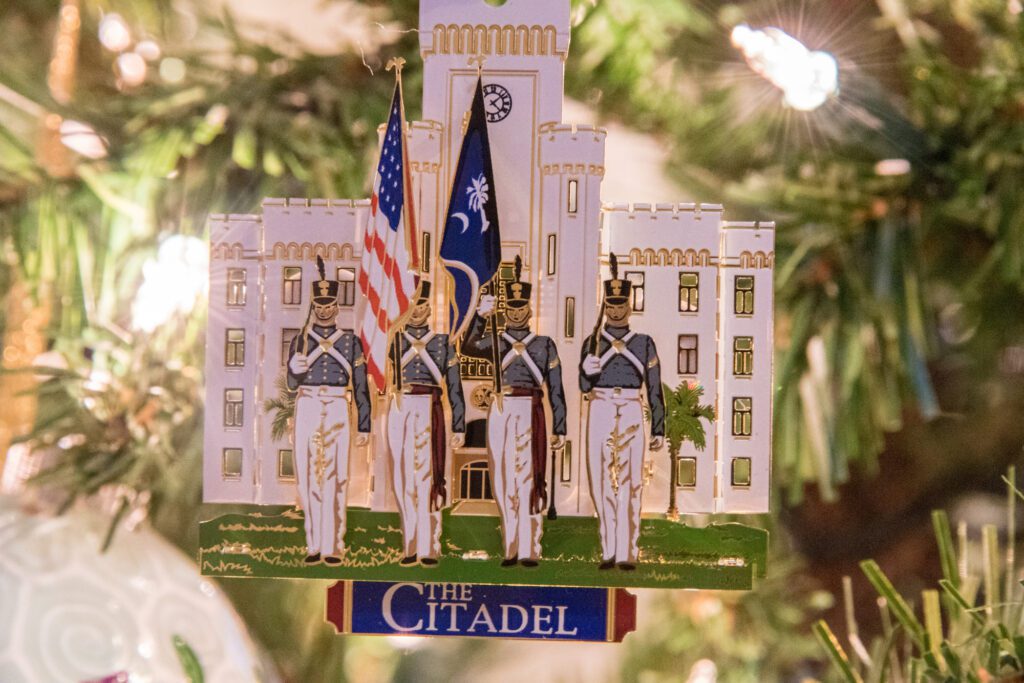
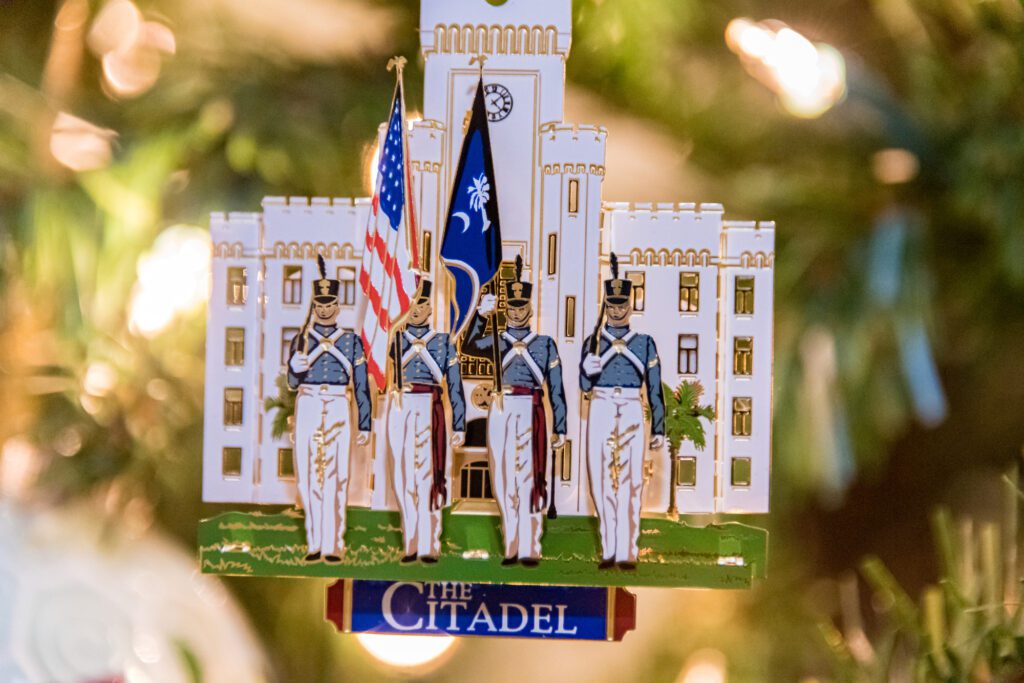
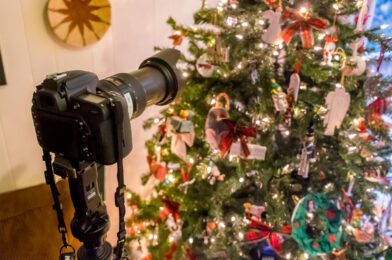
Here is the basic setup I did for the photos in the slideshow here. Take a look at each photo and the settings. [Click on the arrows on the side of photos to move forward and backward. You need to put your cursor on photo to see them.]
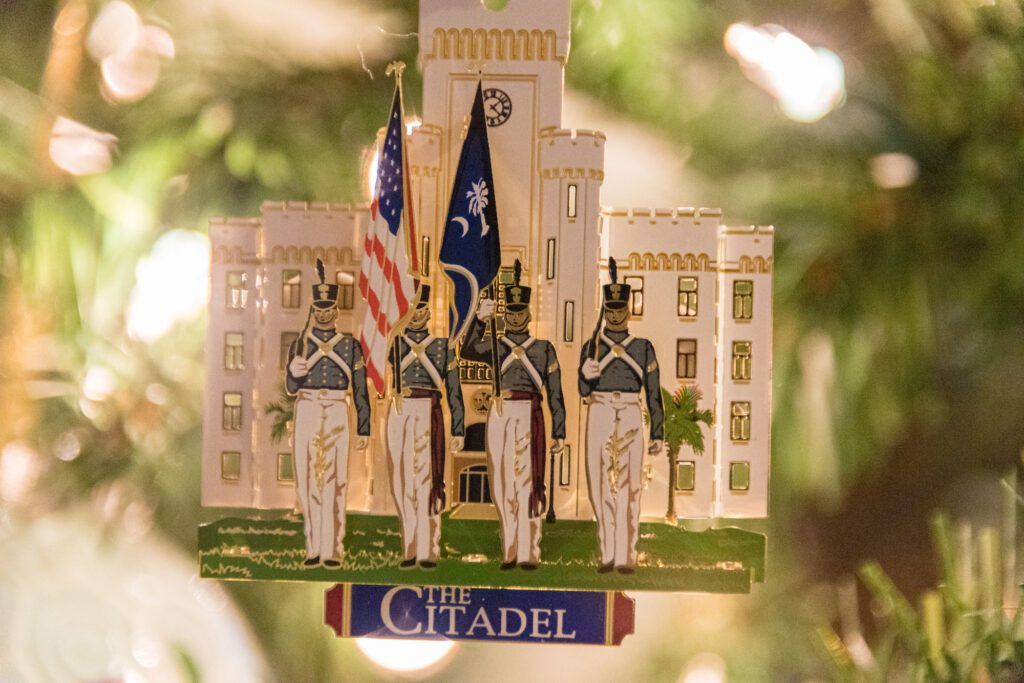

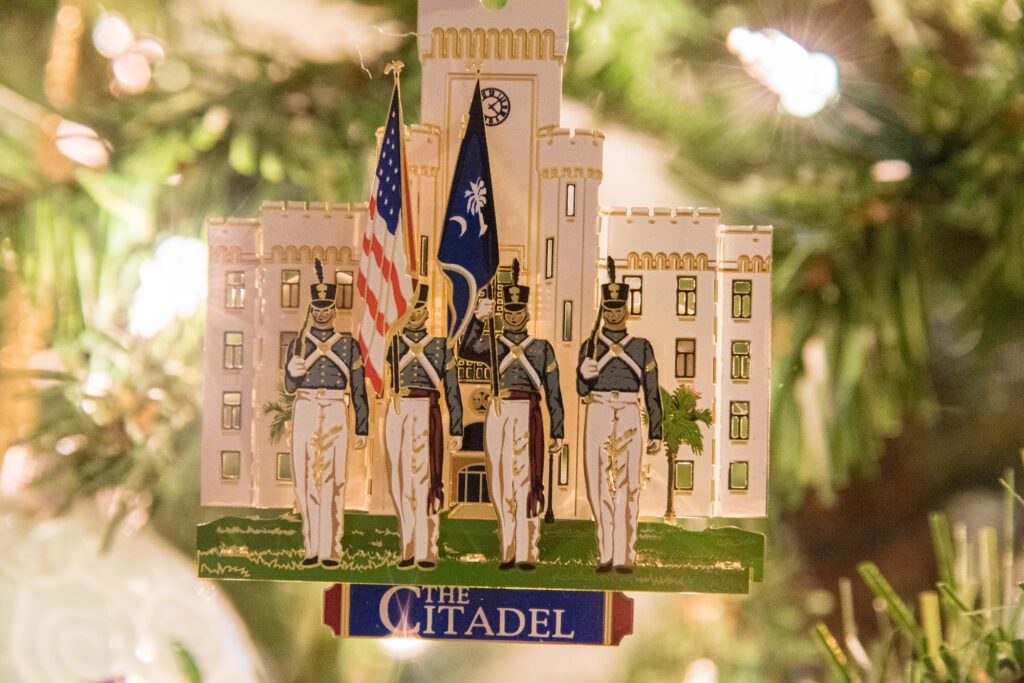
I shot all these with the AF-S Nikkor 28-300mm f/3.5-5.6G ED VR. I recommend shooting with a tripod to get the sharpest photos.

I started the project thinking that maybe the Nikkor 85mm ƒ/1.8G would be the lens for the examples, but here is the result with that lens:

D750 shooting ornaments [Nikon D750, Nikkor 85mm ƒ/1.8G, ISO 2200, ƒ/1.8, 1/200]

As you can see getting as close as I could with the lens gave me this view.

D750 shooting ornaments [Nikon D750, AF-S Nikkor 28-300mm f/3.5-5.6G ED VR, ISO 12800, ƒ/5.6, 1/200]

Comparing to the Nikkor 28-300mm I quickly saw that the zooming in the lens to 300mm and getting as close as I could gave me a much tighter shot.

Be sure you click through the slideshow and notice the depth-of-field changes in the first four images move you through ƒ/5.6, ƒ/8, ƒ/11 & ƒ/16. Basically I noticed that while the bokeh looks great at ƒ/5.6 the ornament was actually out of focus on the back part. I was very careful to focus on the soldiers in front. With the Snoopy ornament you will see the depth-of-field is so shallow you might think I shot is out of focus.

The tip is simple shoot a little higher aperture to be sure the ornaments are in focus. Shoot with a tripod and unlike what I did, go ahead and shoot with a lower ISO.

The last photo is shot with fill flash. I put the Nikon D750 pop-up flash in CMD mode. I made it not flash and then on Group A I used my Nikon SB900 set at -1EV.
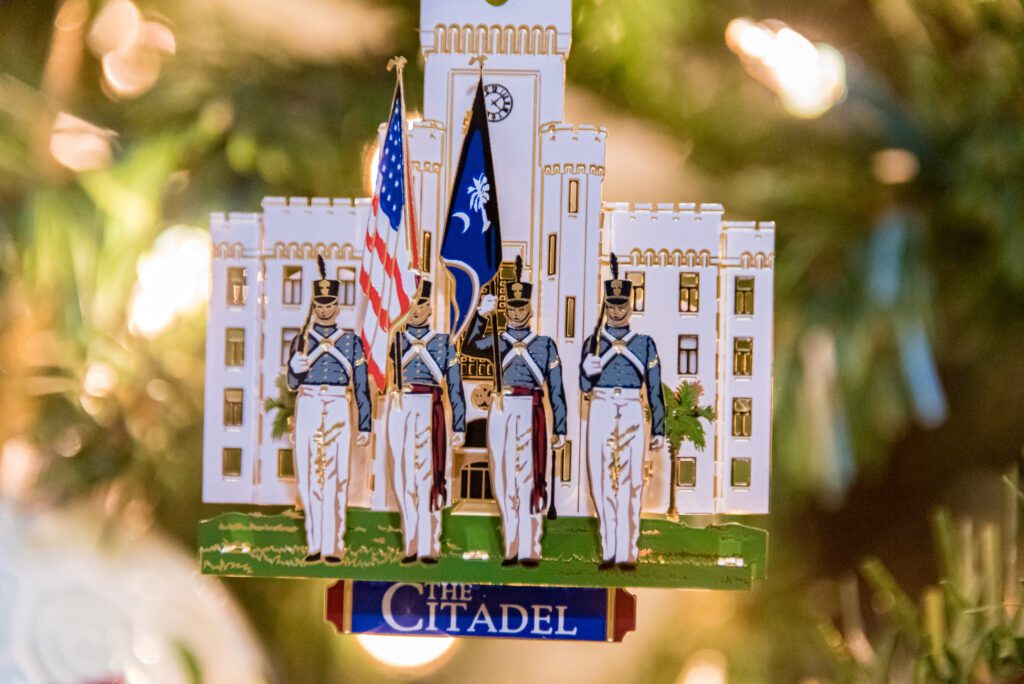
D750 shooting ornaments [Nikon D750, AF-S Nikkor 28-300mm f/3.5-5.6G ED VR, ISO 12800, ƒ/5.6, 1/60–off camera flash with SB900 triggered by CMD flash mode of the D750 -1EV]

Tips Summary:

  • Use Tripod
  • Use your lens that will get you closest to the ornament and fill the frame
  • Shoot test of different apertures
  • Use aperture that works best so ornament looks in focus
  • Use off camera flash as an option. Shoot with and without and use the one you prefer.

Nikon D750 used for annual family Christmas photo

This year we decided to have fun with our annual Christmas card photo.

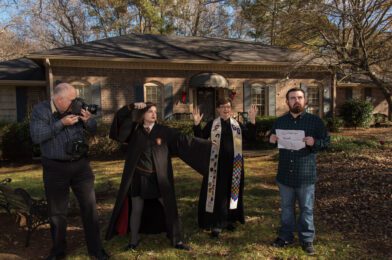
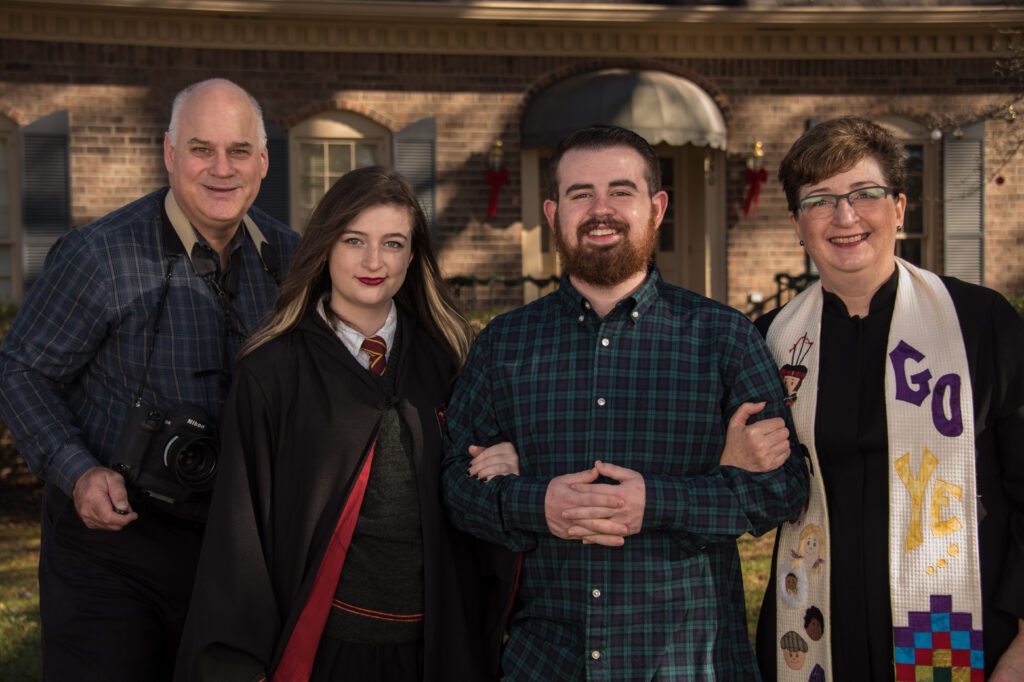
I am taking a photo of the rest of the family. My daughter is dressed in her Hogwarts Gryffindor robe and casting a spell on her brother Taylor. Dorie is dressed in her clerical robe. She is a chaplain at the Veterans Administration Hospital in Decatur, GA this year. Taylor is holding up a note saying, “I should have been adopted.”

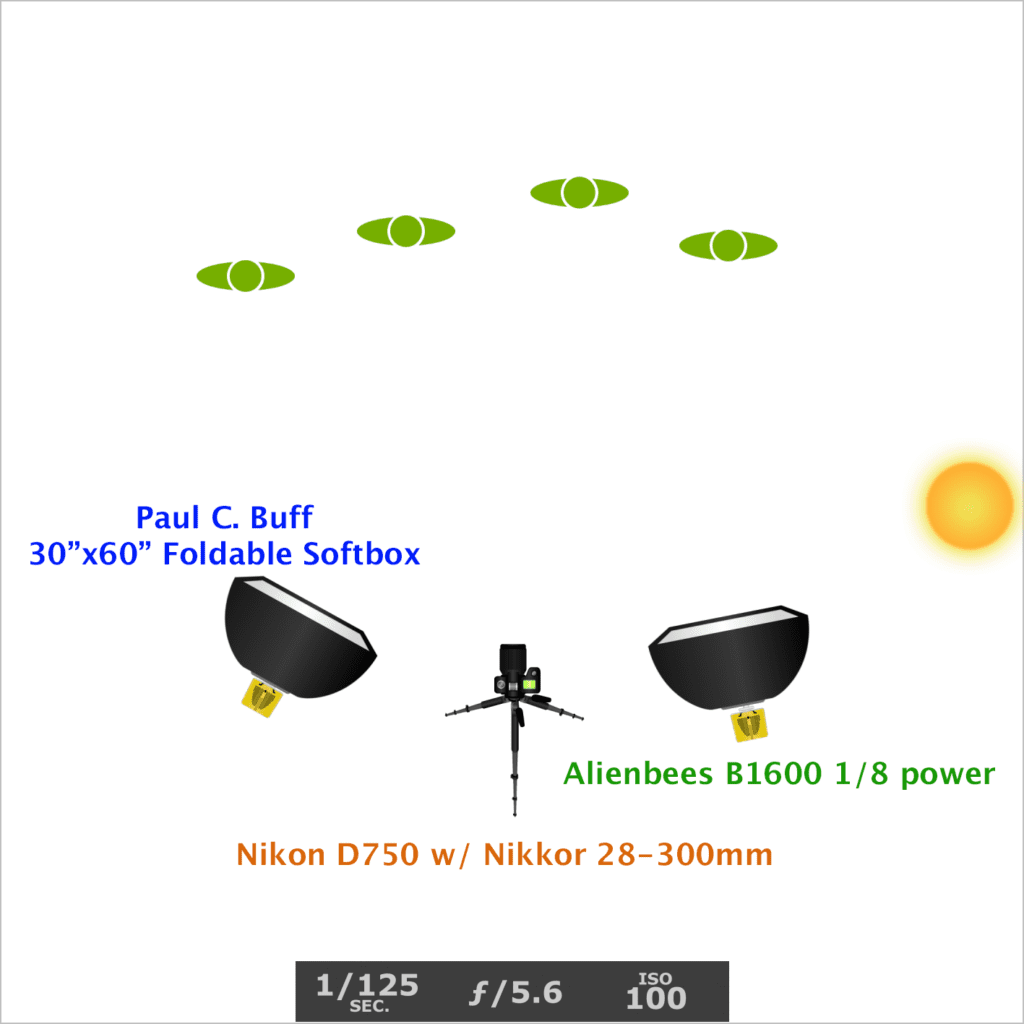
This is the setup I used for the photo shoot. To trigger the Nikon D750 I used the Nikon ML-L3 Wireless Remote Control.

The reason I used this setup is that where we are standing there are a lot of shadows from the trees and not only do they create spotty patches of light they also create a color shift.

I underexposed the scene using the Aperture priority mode and Exposure Bias: -4/6 EV. I then just adjusted the strobes to fill-in so we were well lighted.

Stanley, Chelle, Taylor and Dorie

Here is a closeup of the family. Dorie and Chelle are the co-creators of this years Christmas card. I just captured it for us to use.

Nikon D750 vs Nikon D4 @ ISO 100 and ISO 12800

Nikon D750, 28-300mm, ISO 100, ƒ/11, 1/200–Studio Strobes
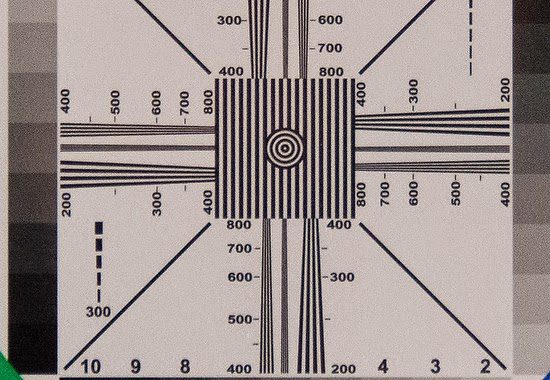
100% view of the above photo

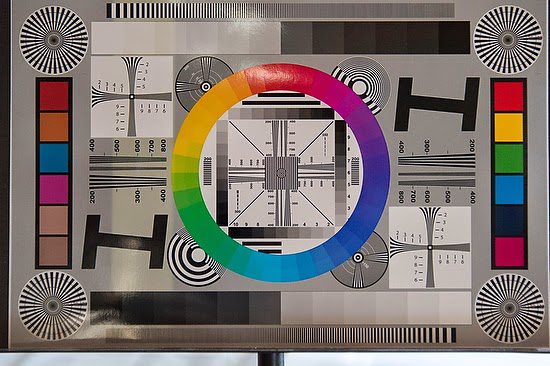
I decided to shoot some known variables and compare the Nikon D750 to my Nikon D4. The reason is this is what I own. The first two photos are from the Nikon D750. One is full frame and the other 100% view.

Nikon D4, 28-300mm, ISO 100, ƒ/11, 1/200–Studio Strobes

The first thing I was reminded of is the 100% view is much looser than the Nikon D750 as compared to the D4. The reason is the Nikon D750 24 megapixel compared to the Nikon D4 16-megapixel chip.

I would say from my perspective that the Nikon D750 at ISO 100 is a much cleaner and better resolution file. To me, this is significant to note. Most all cameras at the lowest ISOs tend to be very similar in quality. However, I am noticing a difference in the low ISO.

Nikon D750, 28-300mm, ISO 12800, ƒ/9, 1/200–Available light
100%

Keeping the camera on a tripod, I didn’t use the studio strobes and even turned them off and used the ambient room light to shoot these at ISO 12800. Compare this to the Nikon D4 photos below.

Nikon D4, 28-300mm, ISO 12800, ƒ/9, 1/200–Available light
100%

There is a little difference between the two at ISO 12800, but the difference is about $3,800, with the Nikon D4 price I paid costing about $6,000.

I would say from these charts that the Nikon D750 will do as well, if not better, than my Nikon D4 in low-light situations.

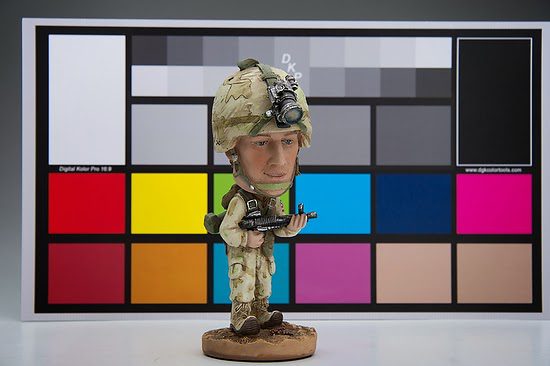
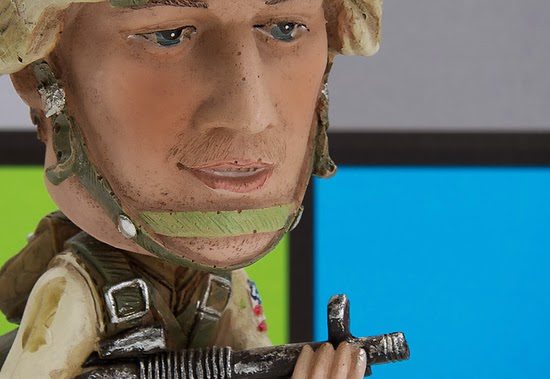
Nikon D750, 28-300mm, ISO 100, ƒ/11, 1/200–Studio Strobes
100%

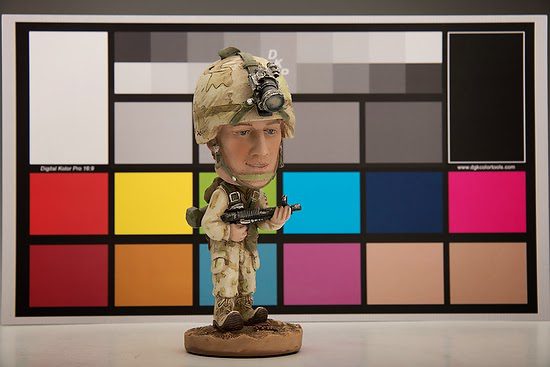
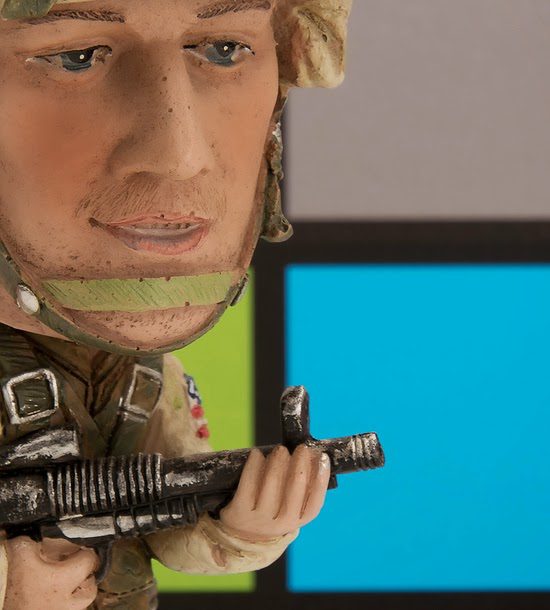
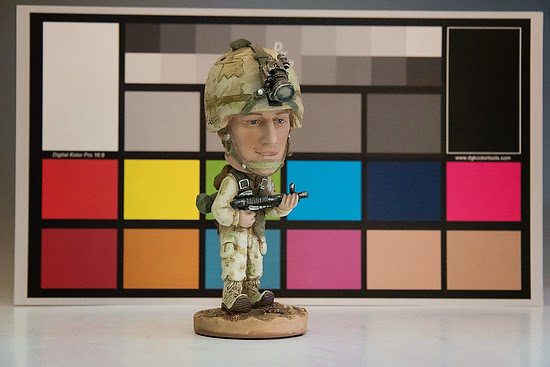
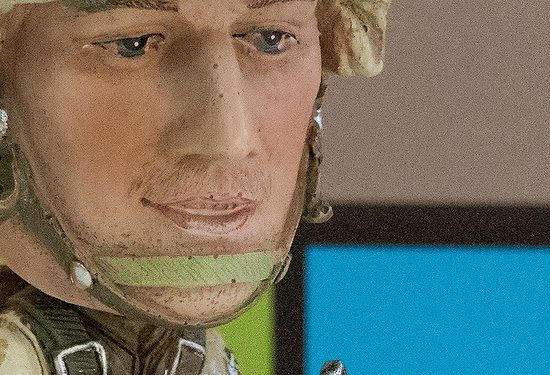
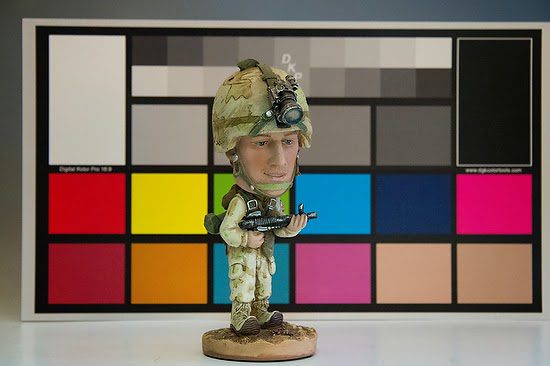
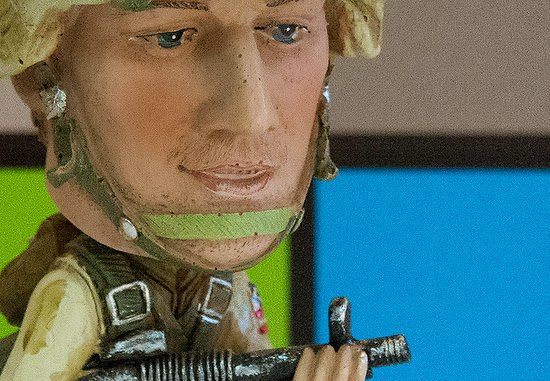
I wanted to compare something more like what I might shoot with this little soldier we have. I use a lot for just these types of comparisons.  What impressed me the most was how smooth the pixels appear with the Nikon D750.

Nikon D4, 28-300mm, ISO 100, ƒ/11, 1/200–Studio Strobes
100%

Regarding the real-world shooting, I believe the only significant difference between the D750 and D4 at a low ISO is the resolution difference of 24MP vs. 16MP. So for the majority of uses for my clients, they would probably see the difference.

Nikon D750, 28-300mm, ISO 12800, ƒ/9, 1/200–Available light
100%

I was very pleased with the Nikon D750’s performance again at ISO 12800.

Nikon D4, 28-300mm, ISO 12800, ƒ/9, 1/200–Available light
100%

As you can see, the Nikon D4 isn’t as cropped at 100%, but that is due to the 24MP versus the 16MP chip difference. I am having a hard time telling the difference between the two at ISO 12800, so for those who want a full-framed high ISO camera, then the Nikon D750 is a steal at this price.

There is one downside that I have noticed when comparing the two cameras. Inside the viewfinder, the Nikon D4 tells you more information at the bottom of the viewfinder. You know what mode you are in, which is missing in the Nikon D750.

Nikon D750 has arrived!


Yesterday my Nikon D750 arrived. I think I have shot only 20 shots at the most on it. These are my first impressions of holding it and going through the menu.

I first noticed when picking up the camera that all my lenses felt much heavier than on my Nikon D4.

So while the camera itself is tremendously lighter, this shifts the balance. Most of my lenses now feel like long glass, where I feel like the camera is lighter than the lens.

Another change I noticed is the grip is different. I may like it more, but only time will tell if I prefer the deeper feel of the grip.


The D750 is my first Nikon that had Wi-Fi built into the camera. I have been doing this with my Fuji X-E2, but I can tell you that the Nikon App for my Android phone works superior to the Fuji system.

You can control the camera remotely or view photos.


Here is what the app looks like when taking pictures.

When you turn the phone to horizontal, you get a different view.

I will write more about the camera in the coming days, but for now, the built-in Wi-Fi is the first cool feature I love that I do not have on my Nikon D4.

I like the ability to take photos with my camera and immediately share these through social media. I have done this with my Fuji, but I wouldn’t say I like the JPEGs from the Fuji. It makes people look like wax figures.

The Nikon JPEGs are far superior to the in-camera JPEGs from my Fuji.

I look forward to getting to know the camera in the coming days and catching you up on my findings.