My Nikon Z9 Sports Settings

This is what I have found works for me. You may find different results with other settings.

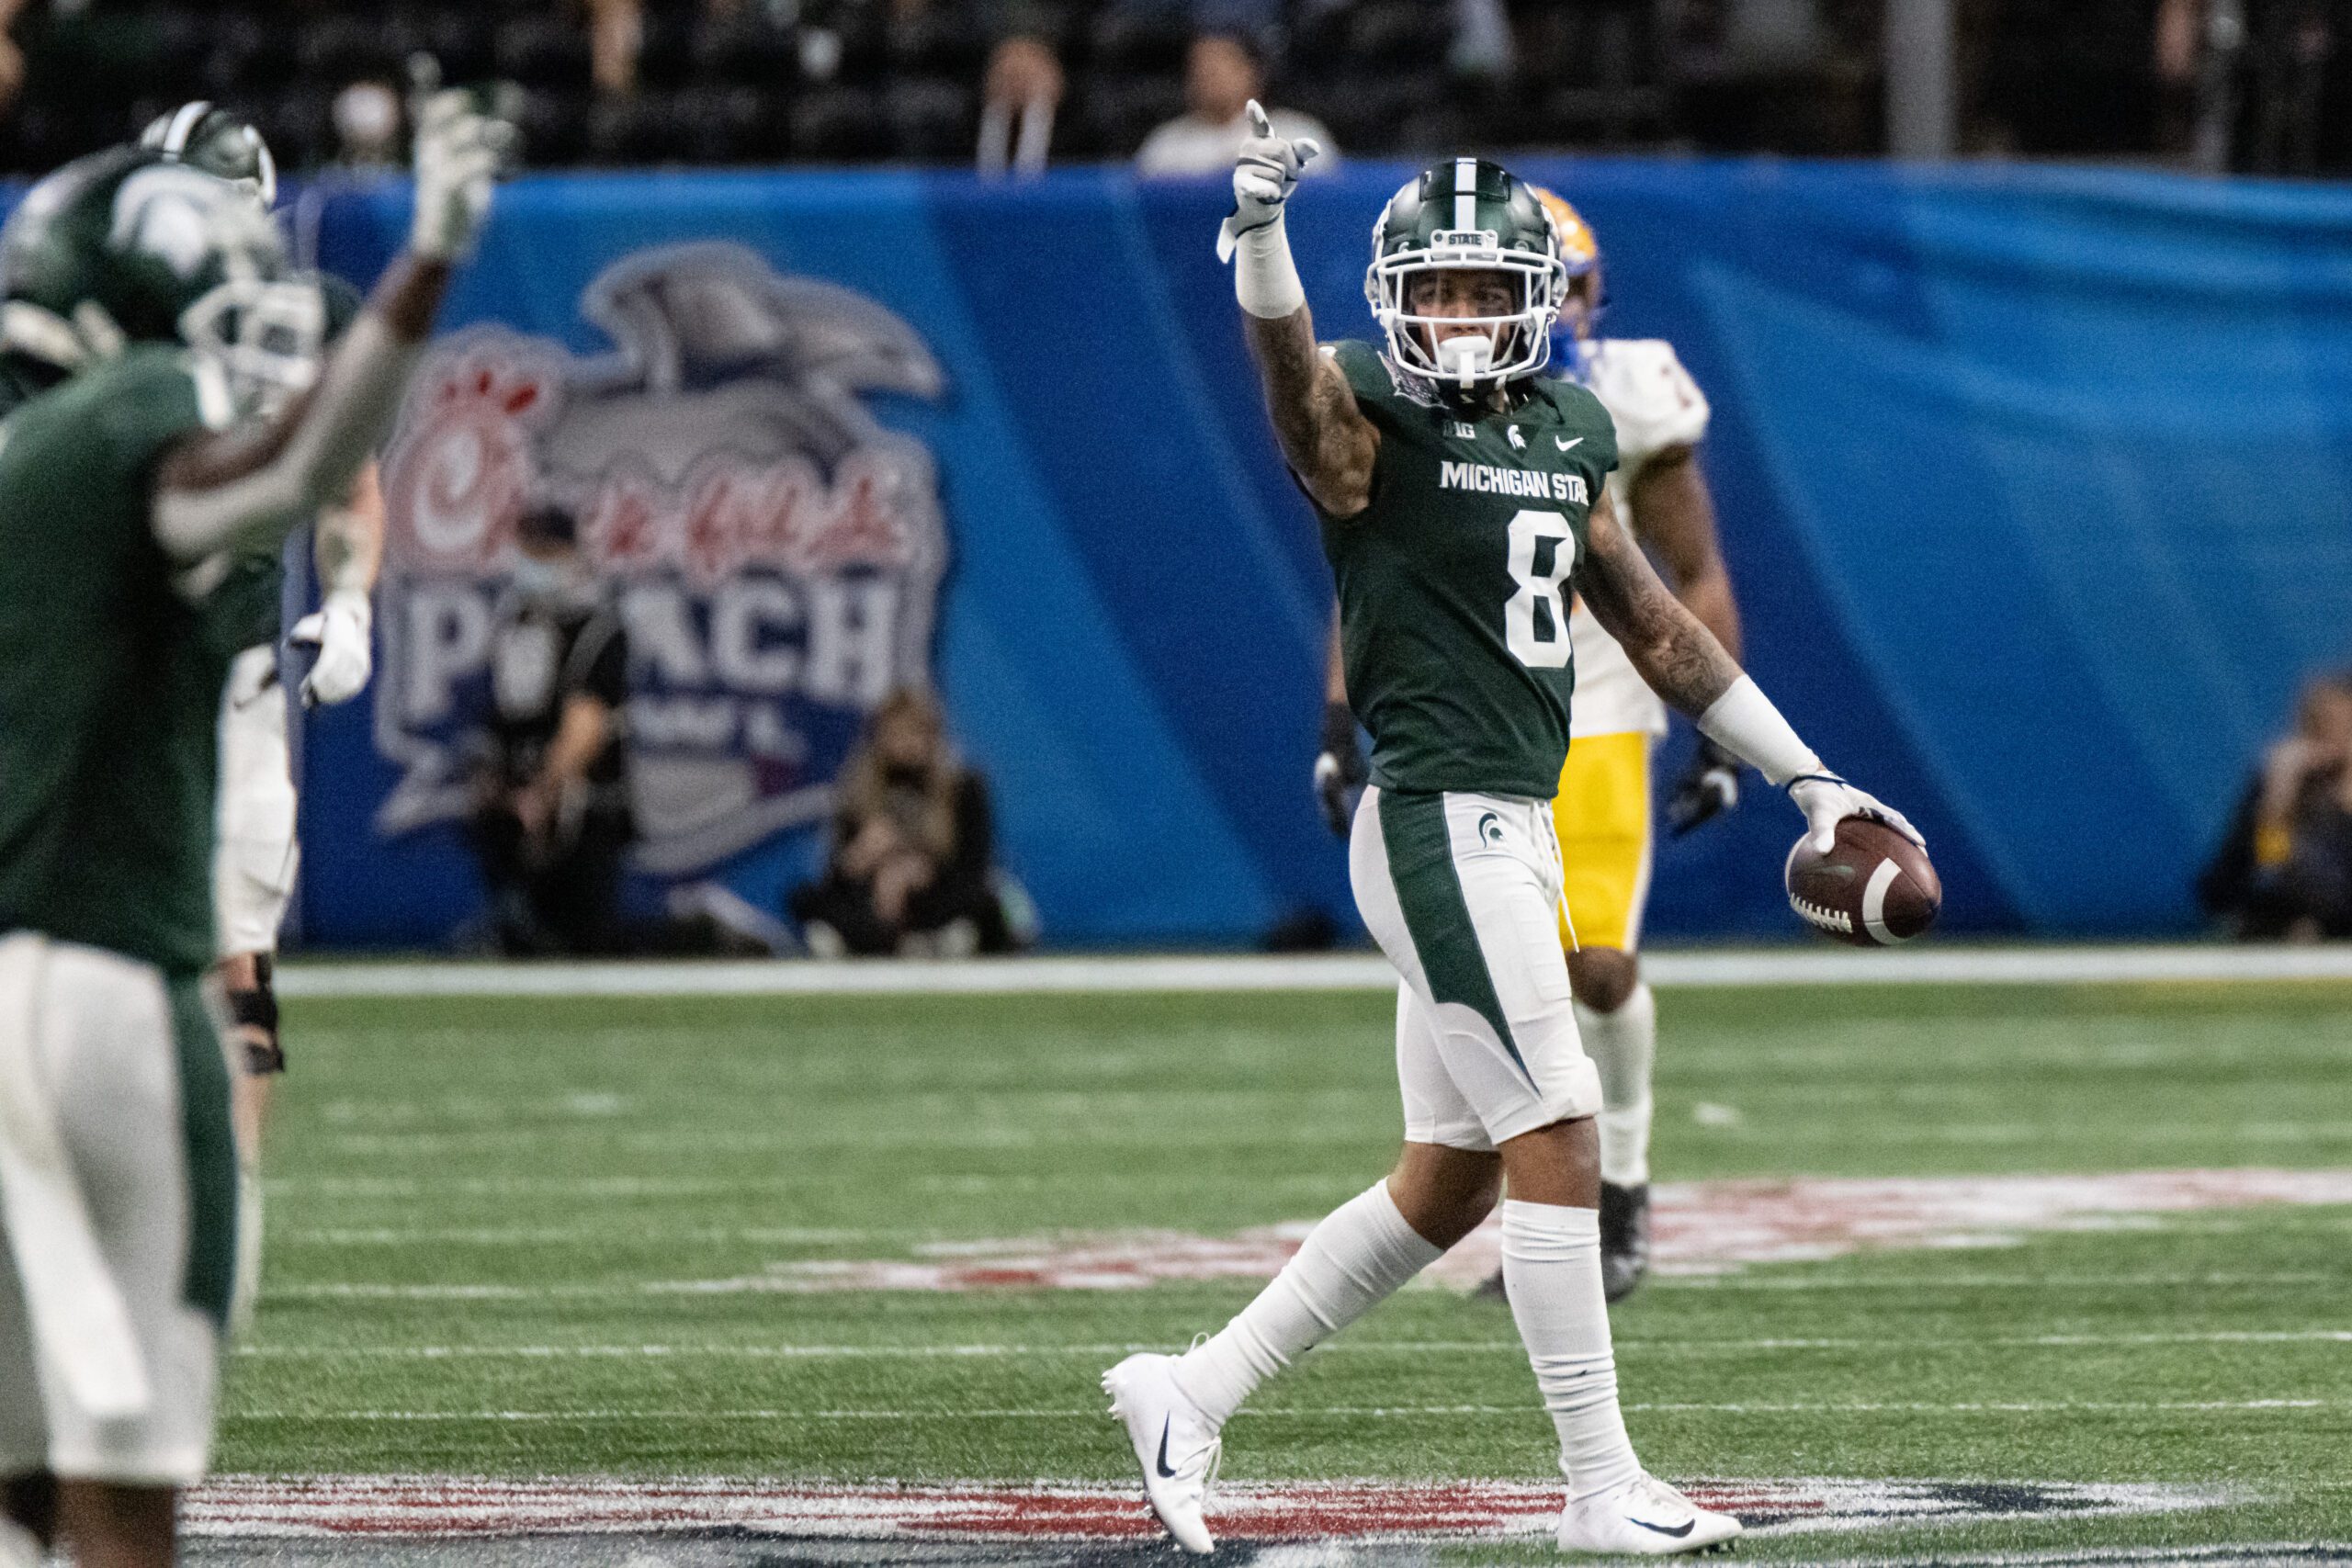
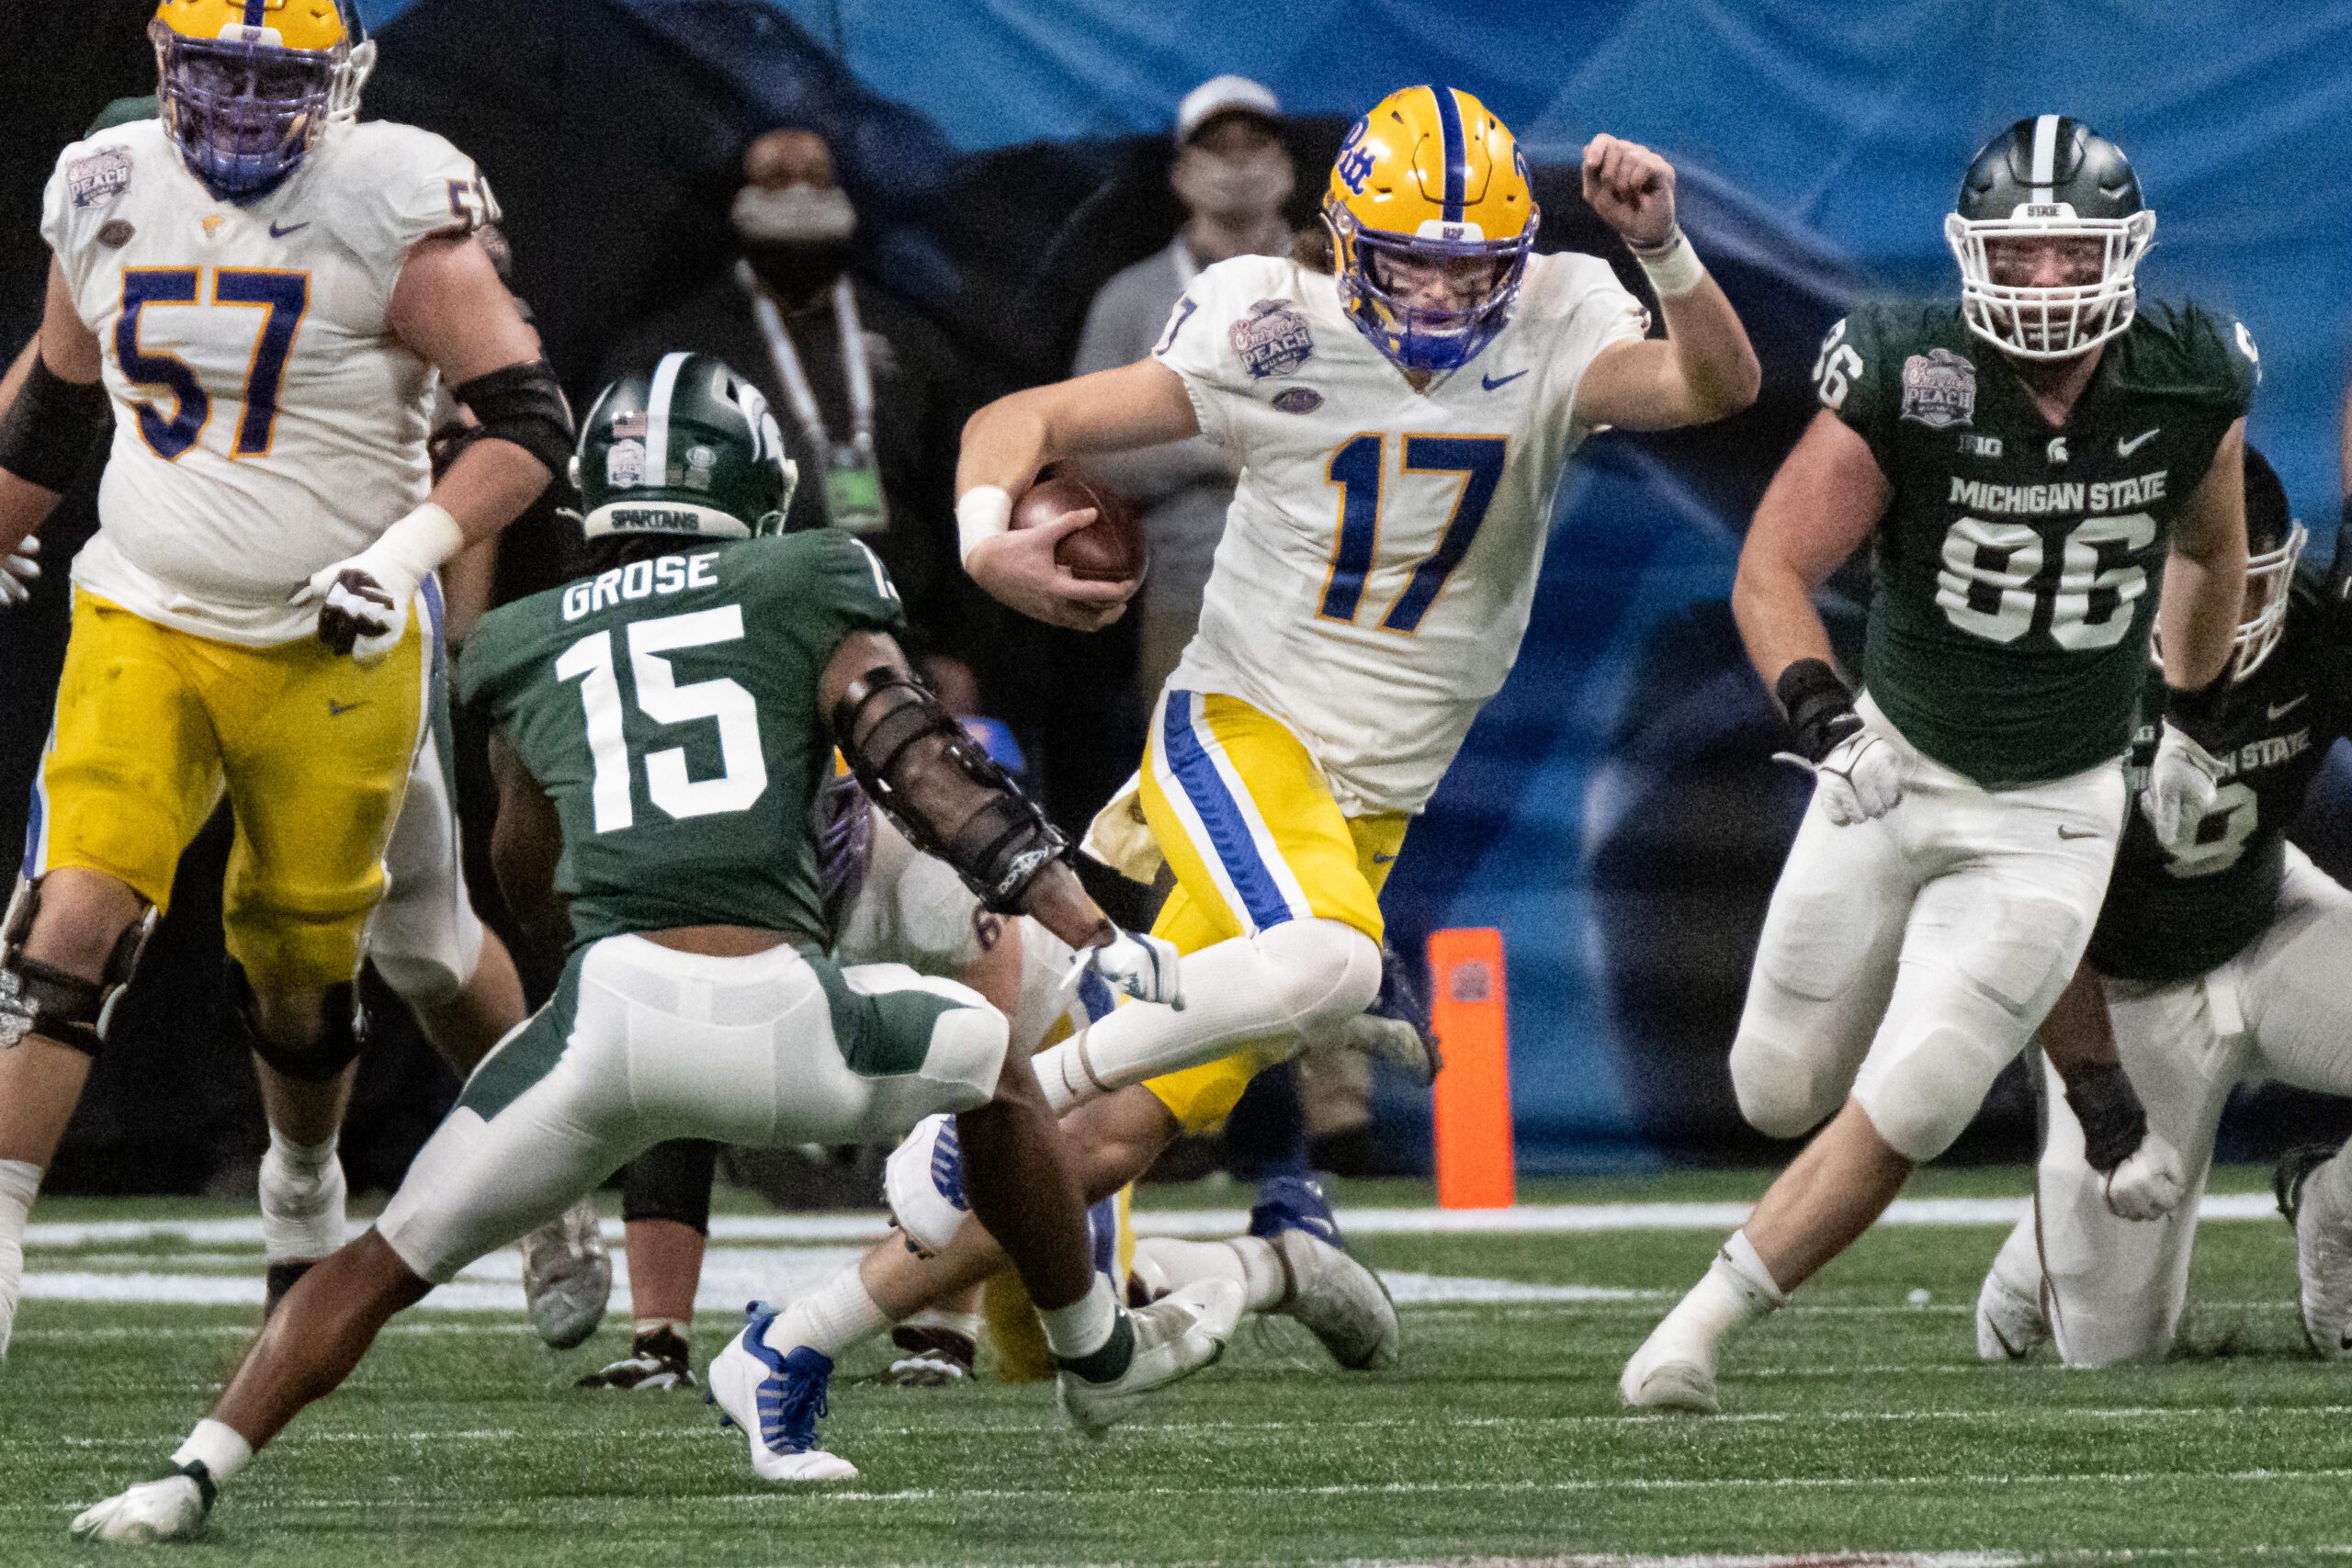
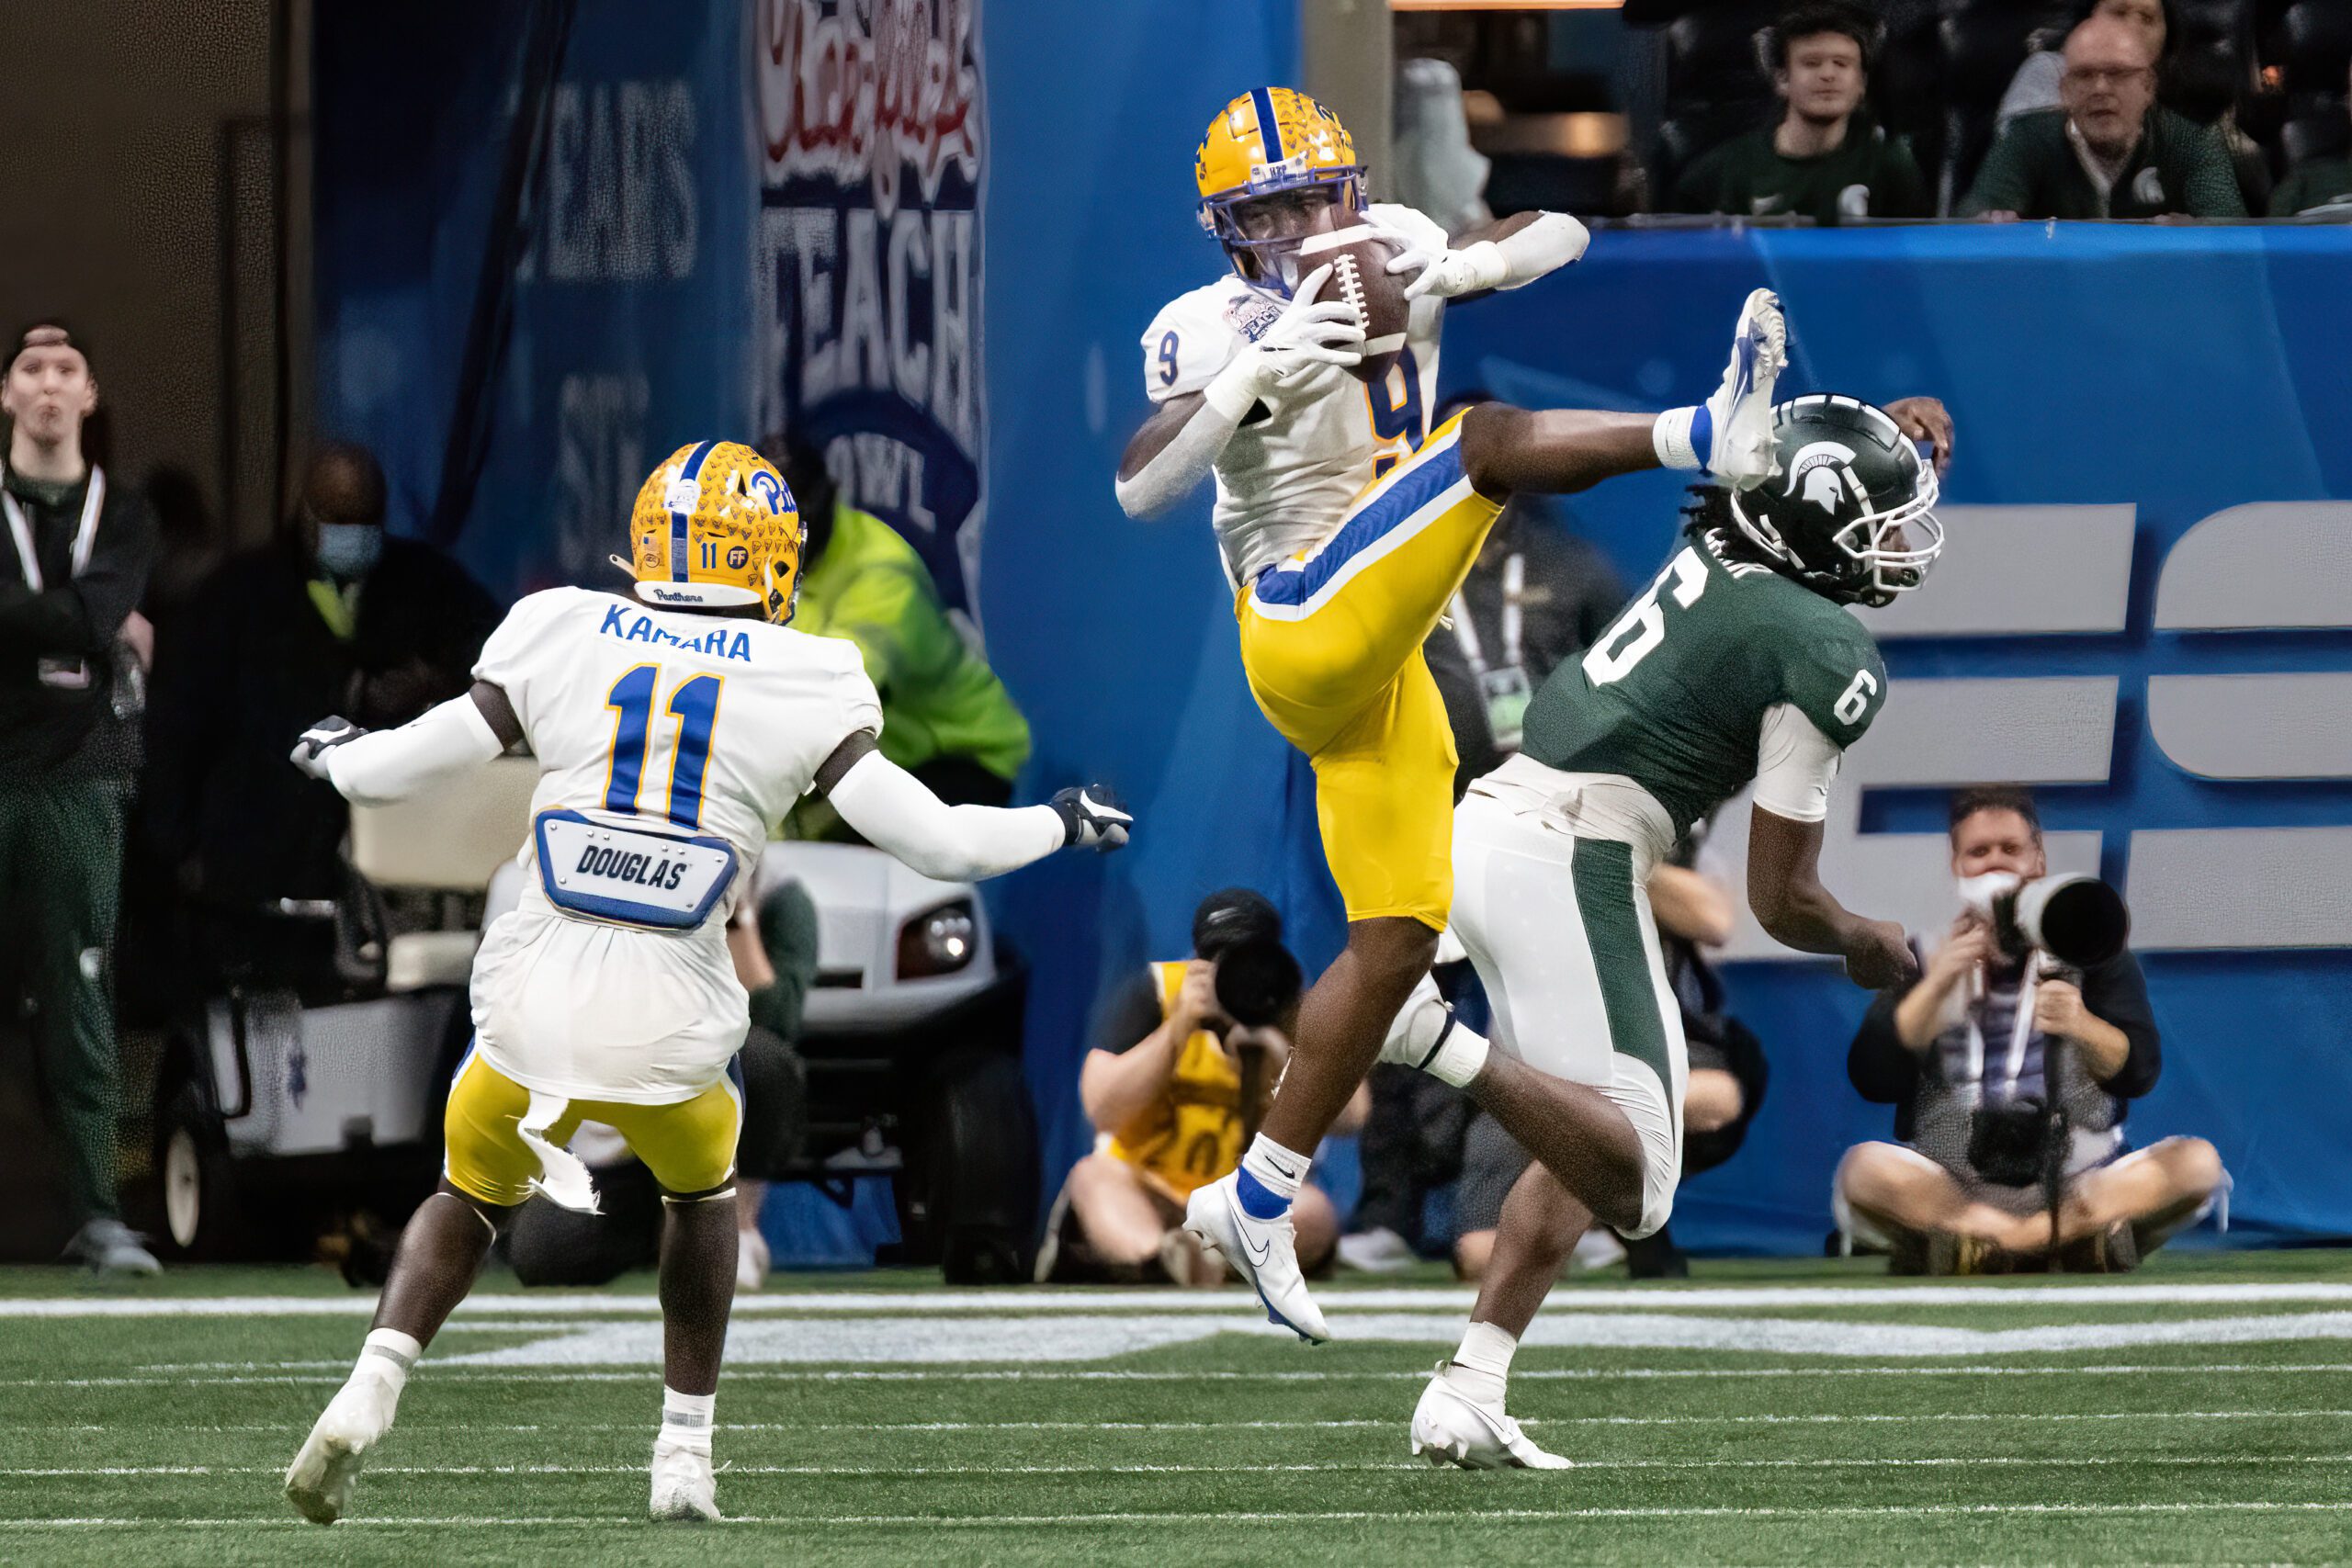
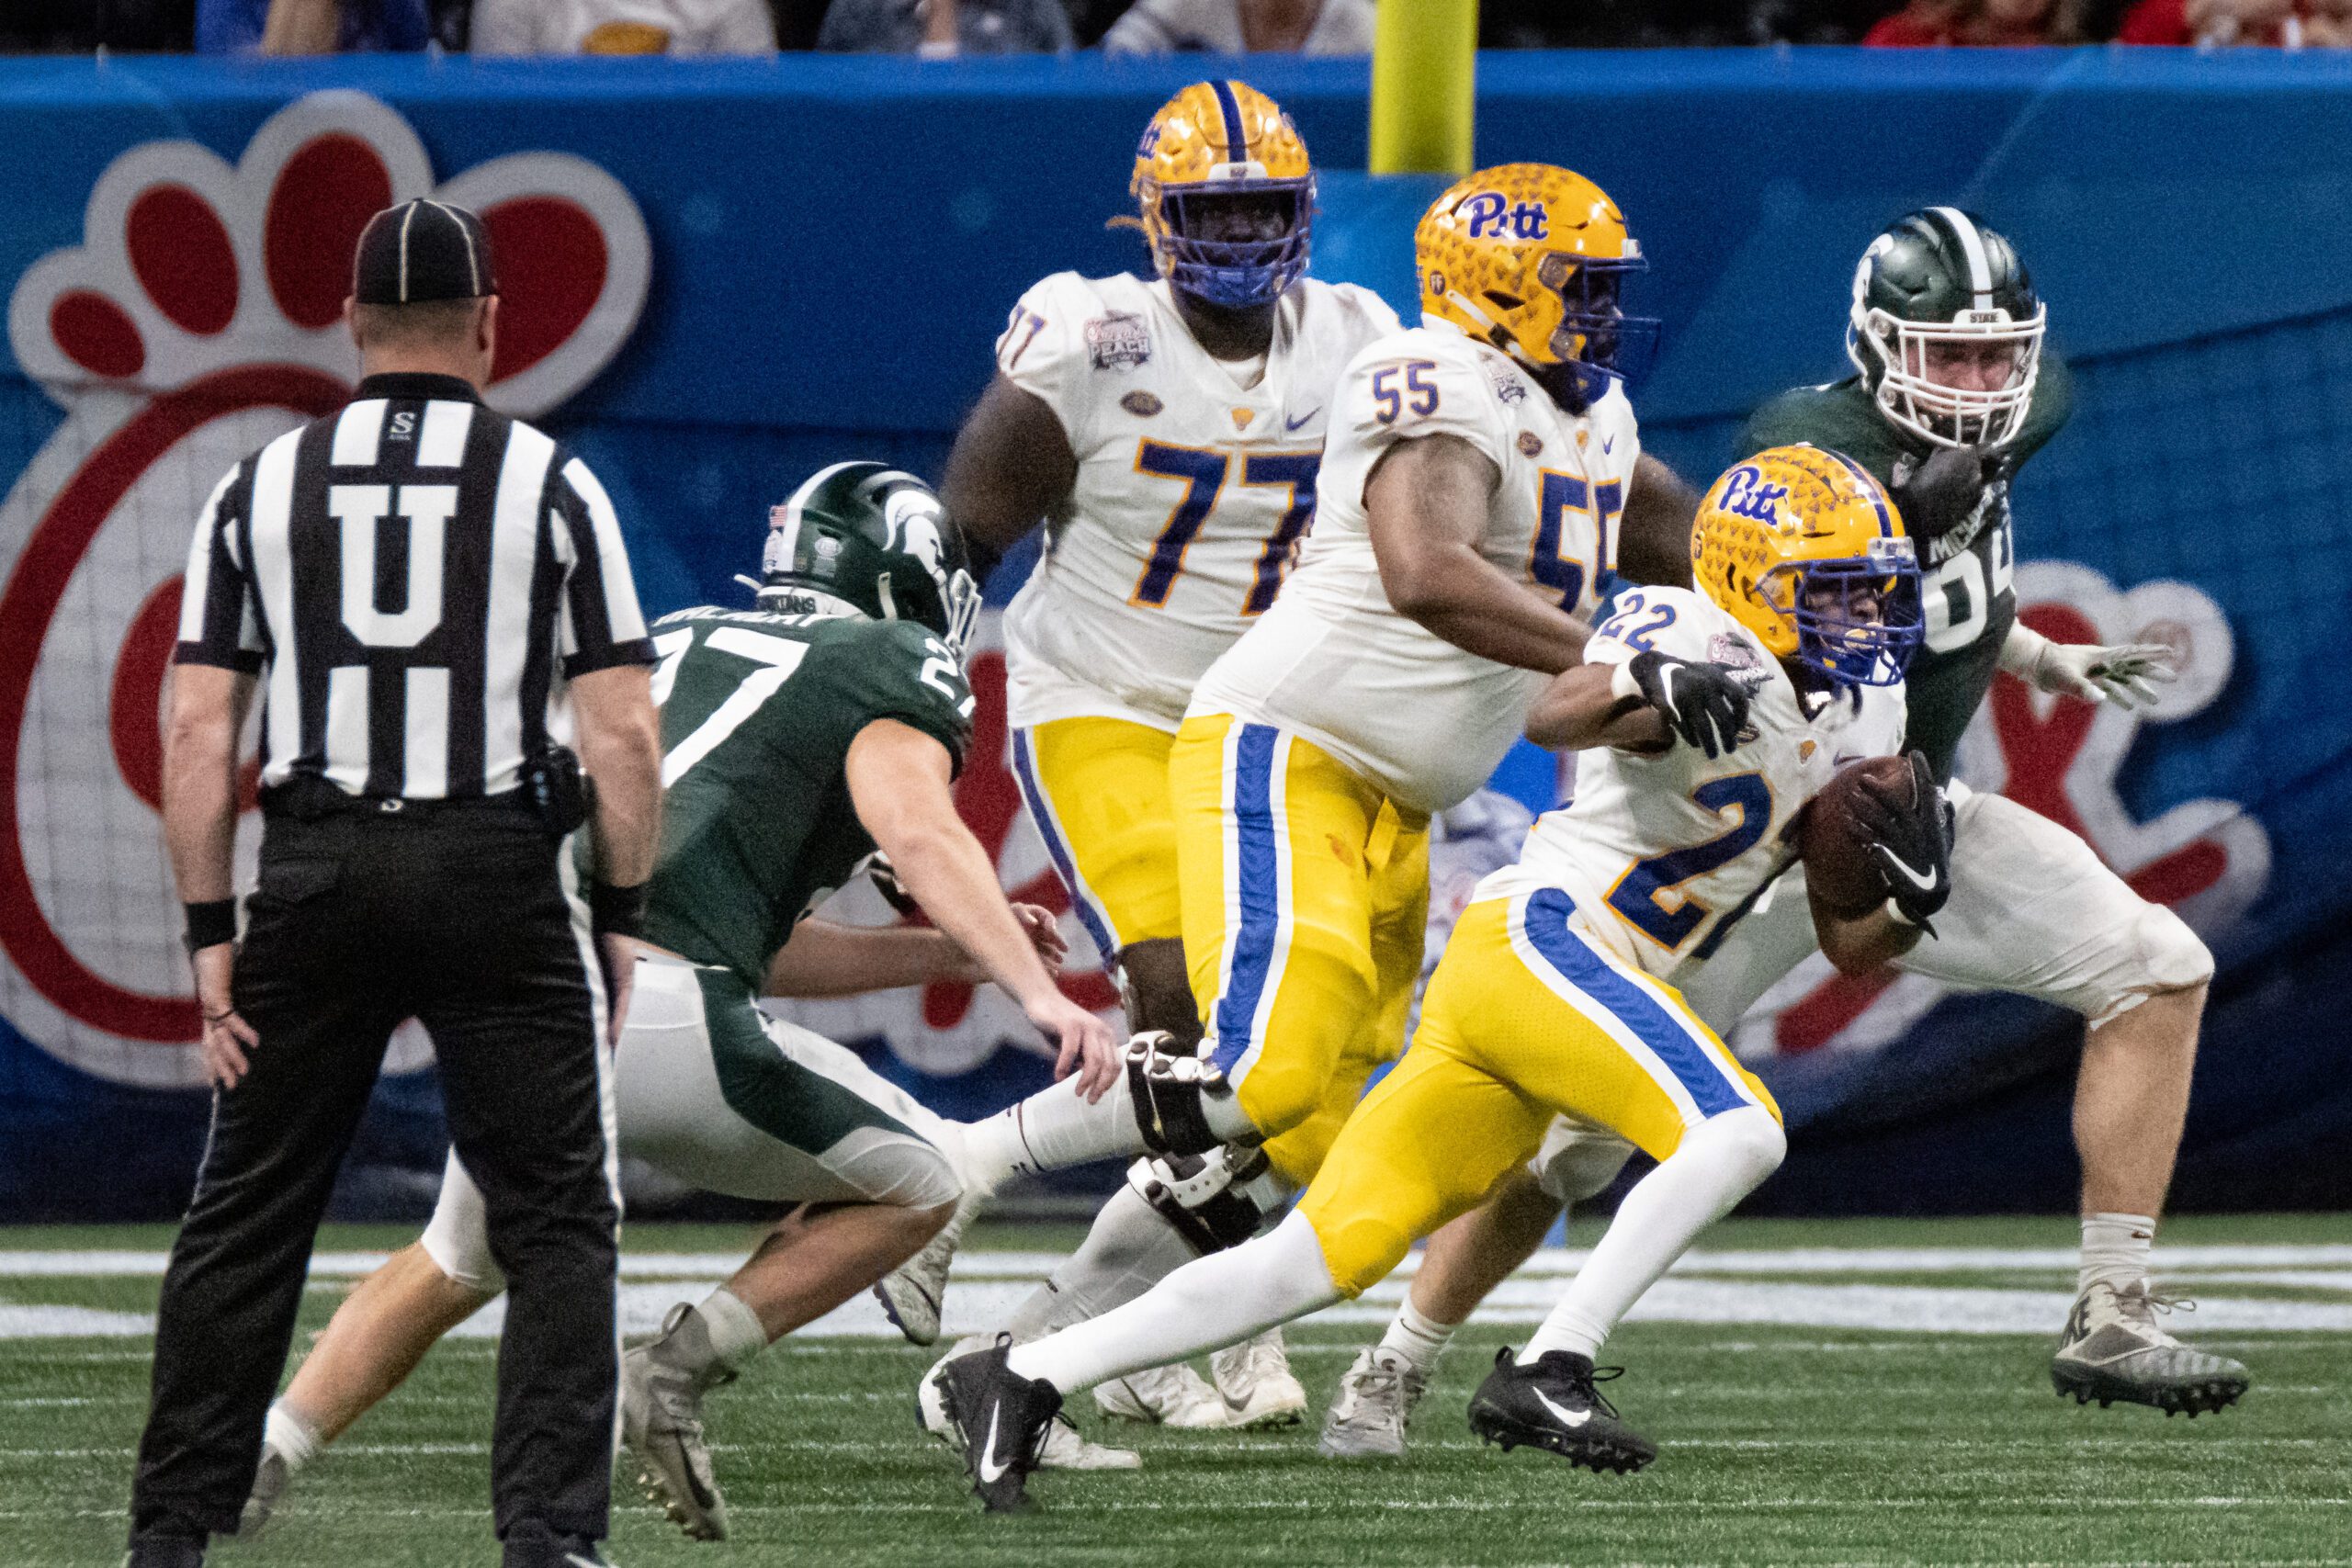
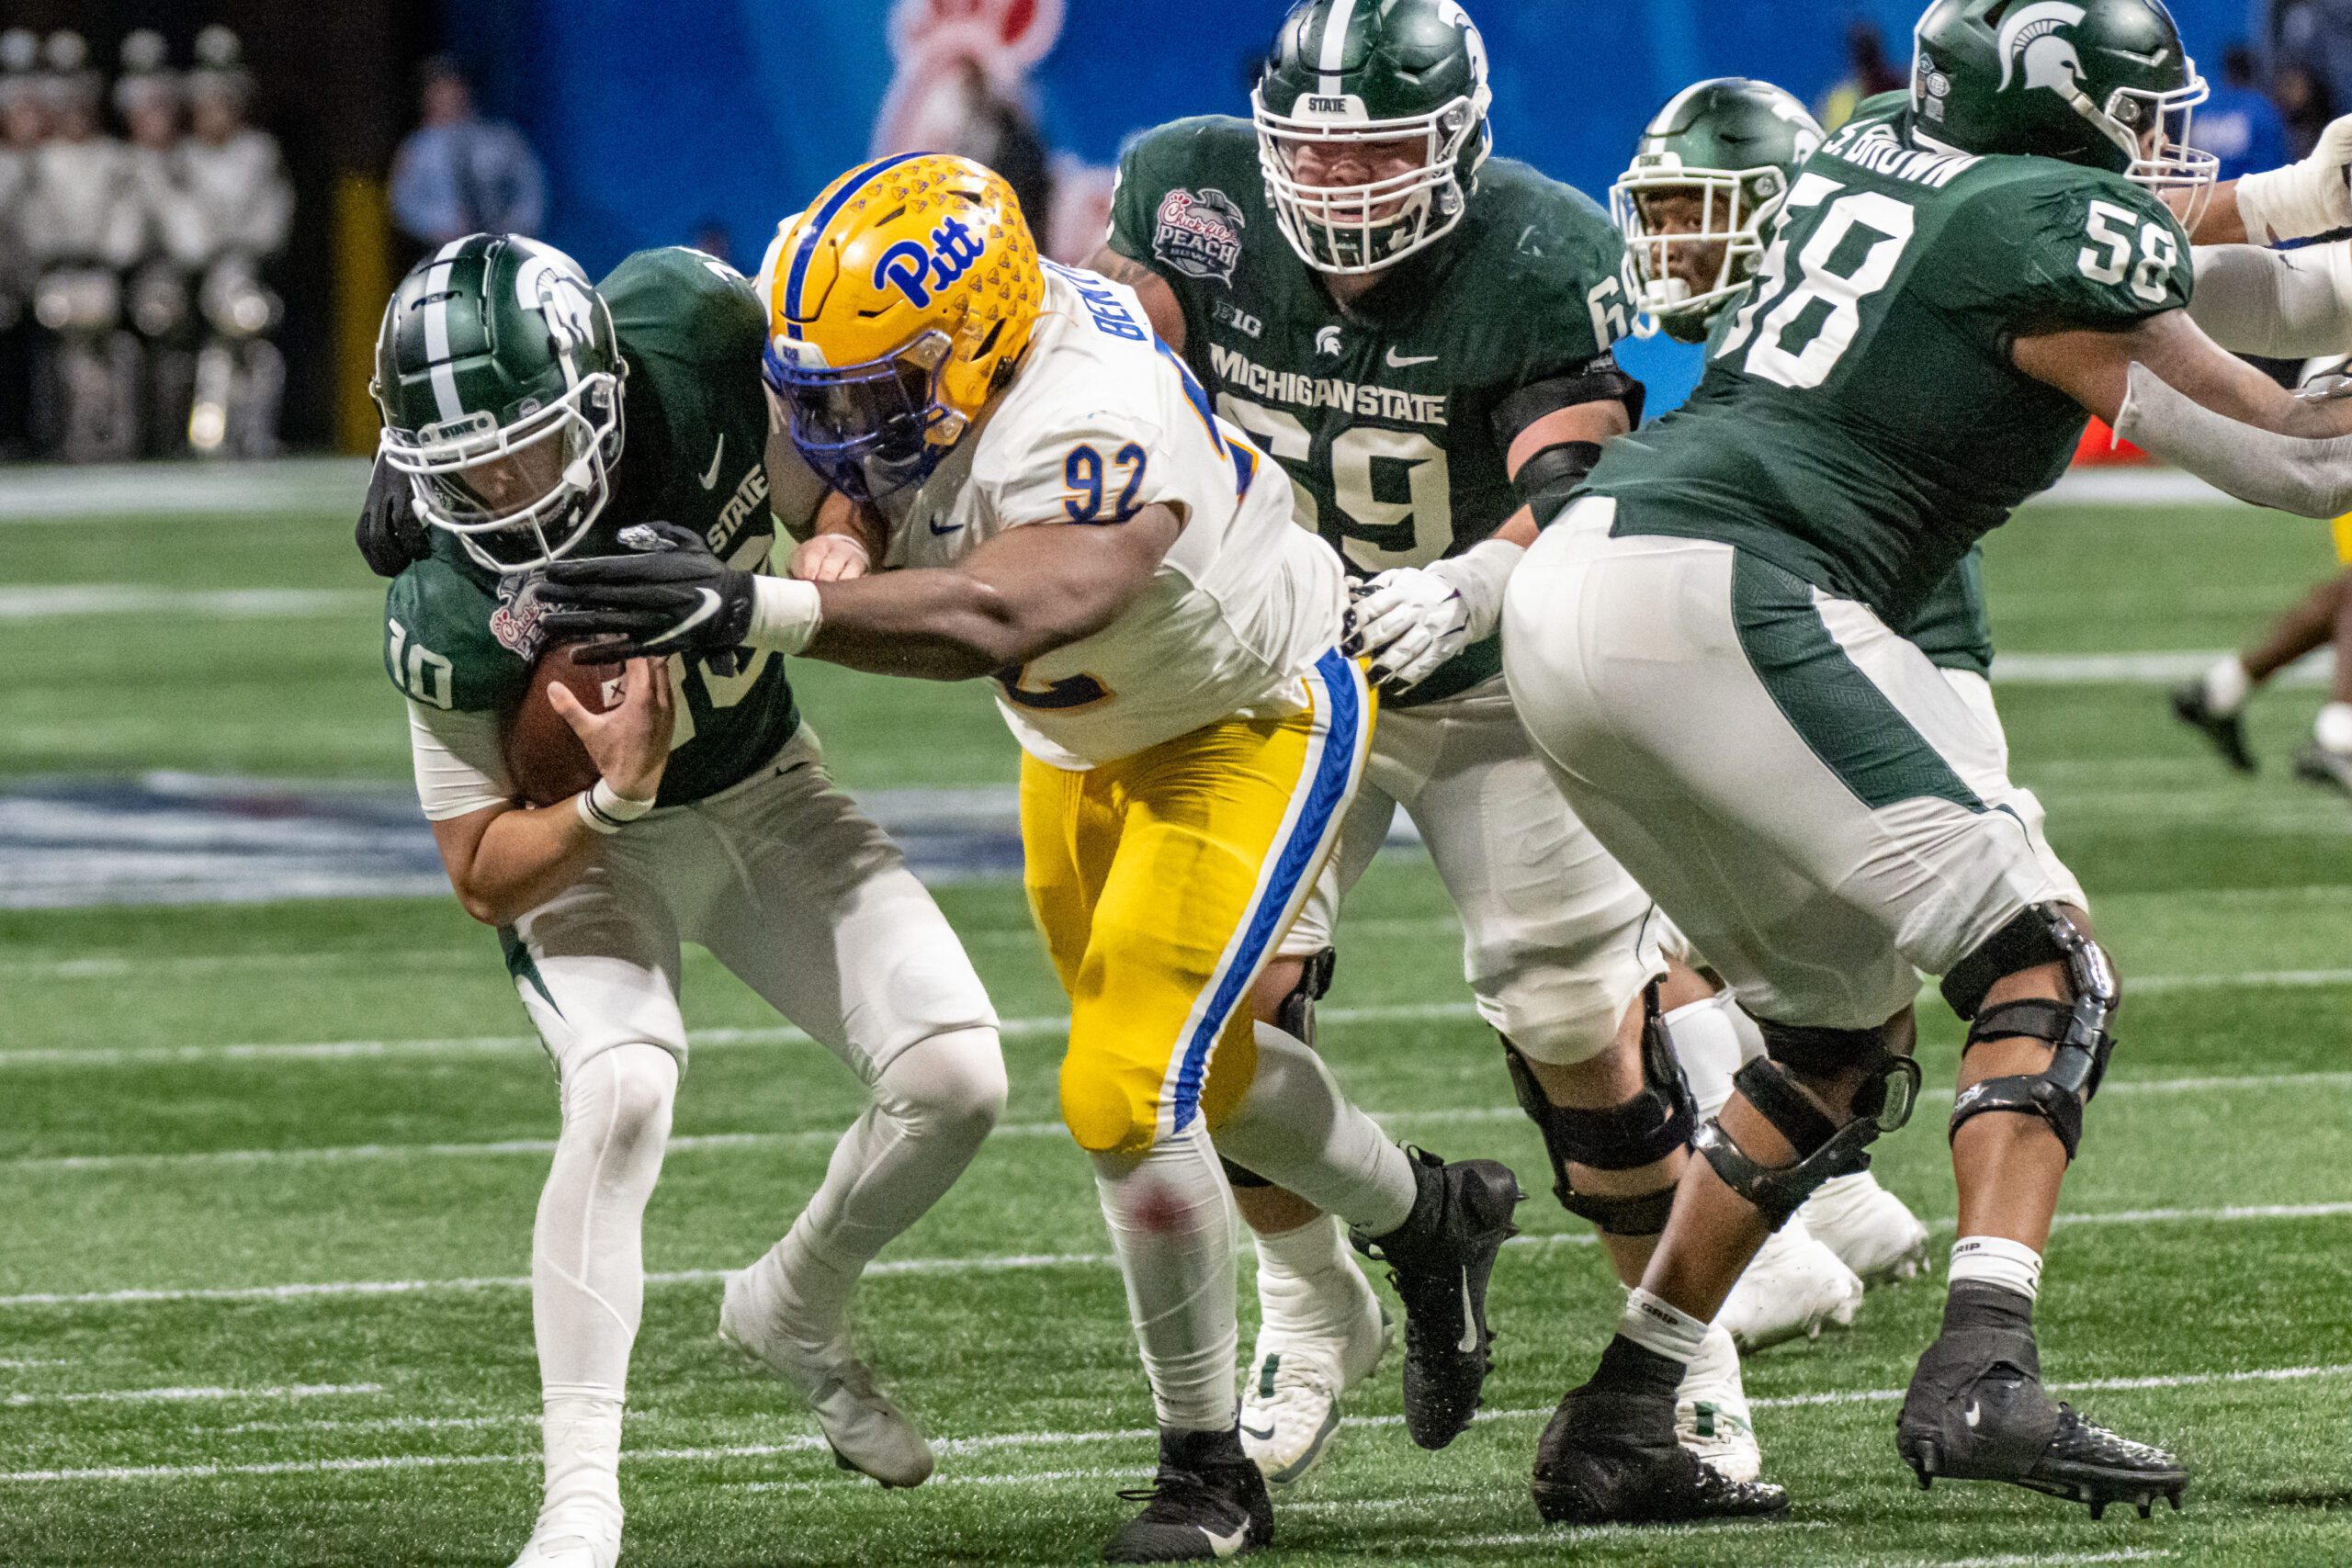
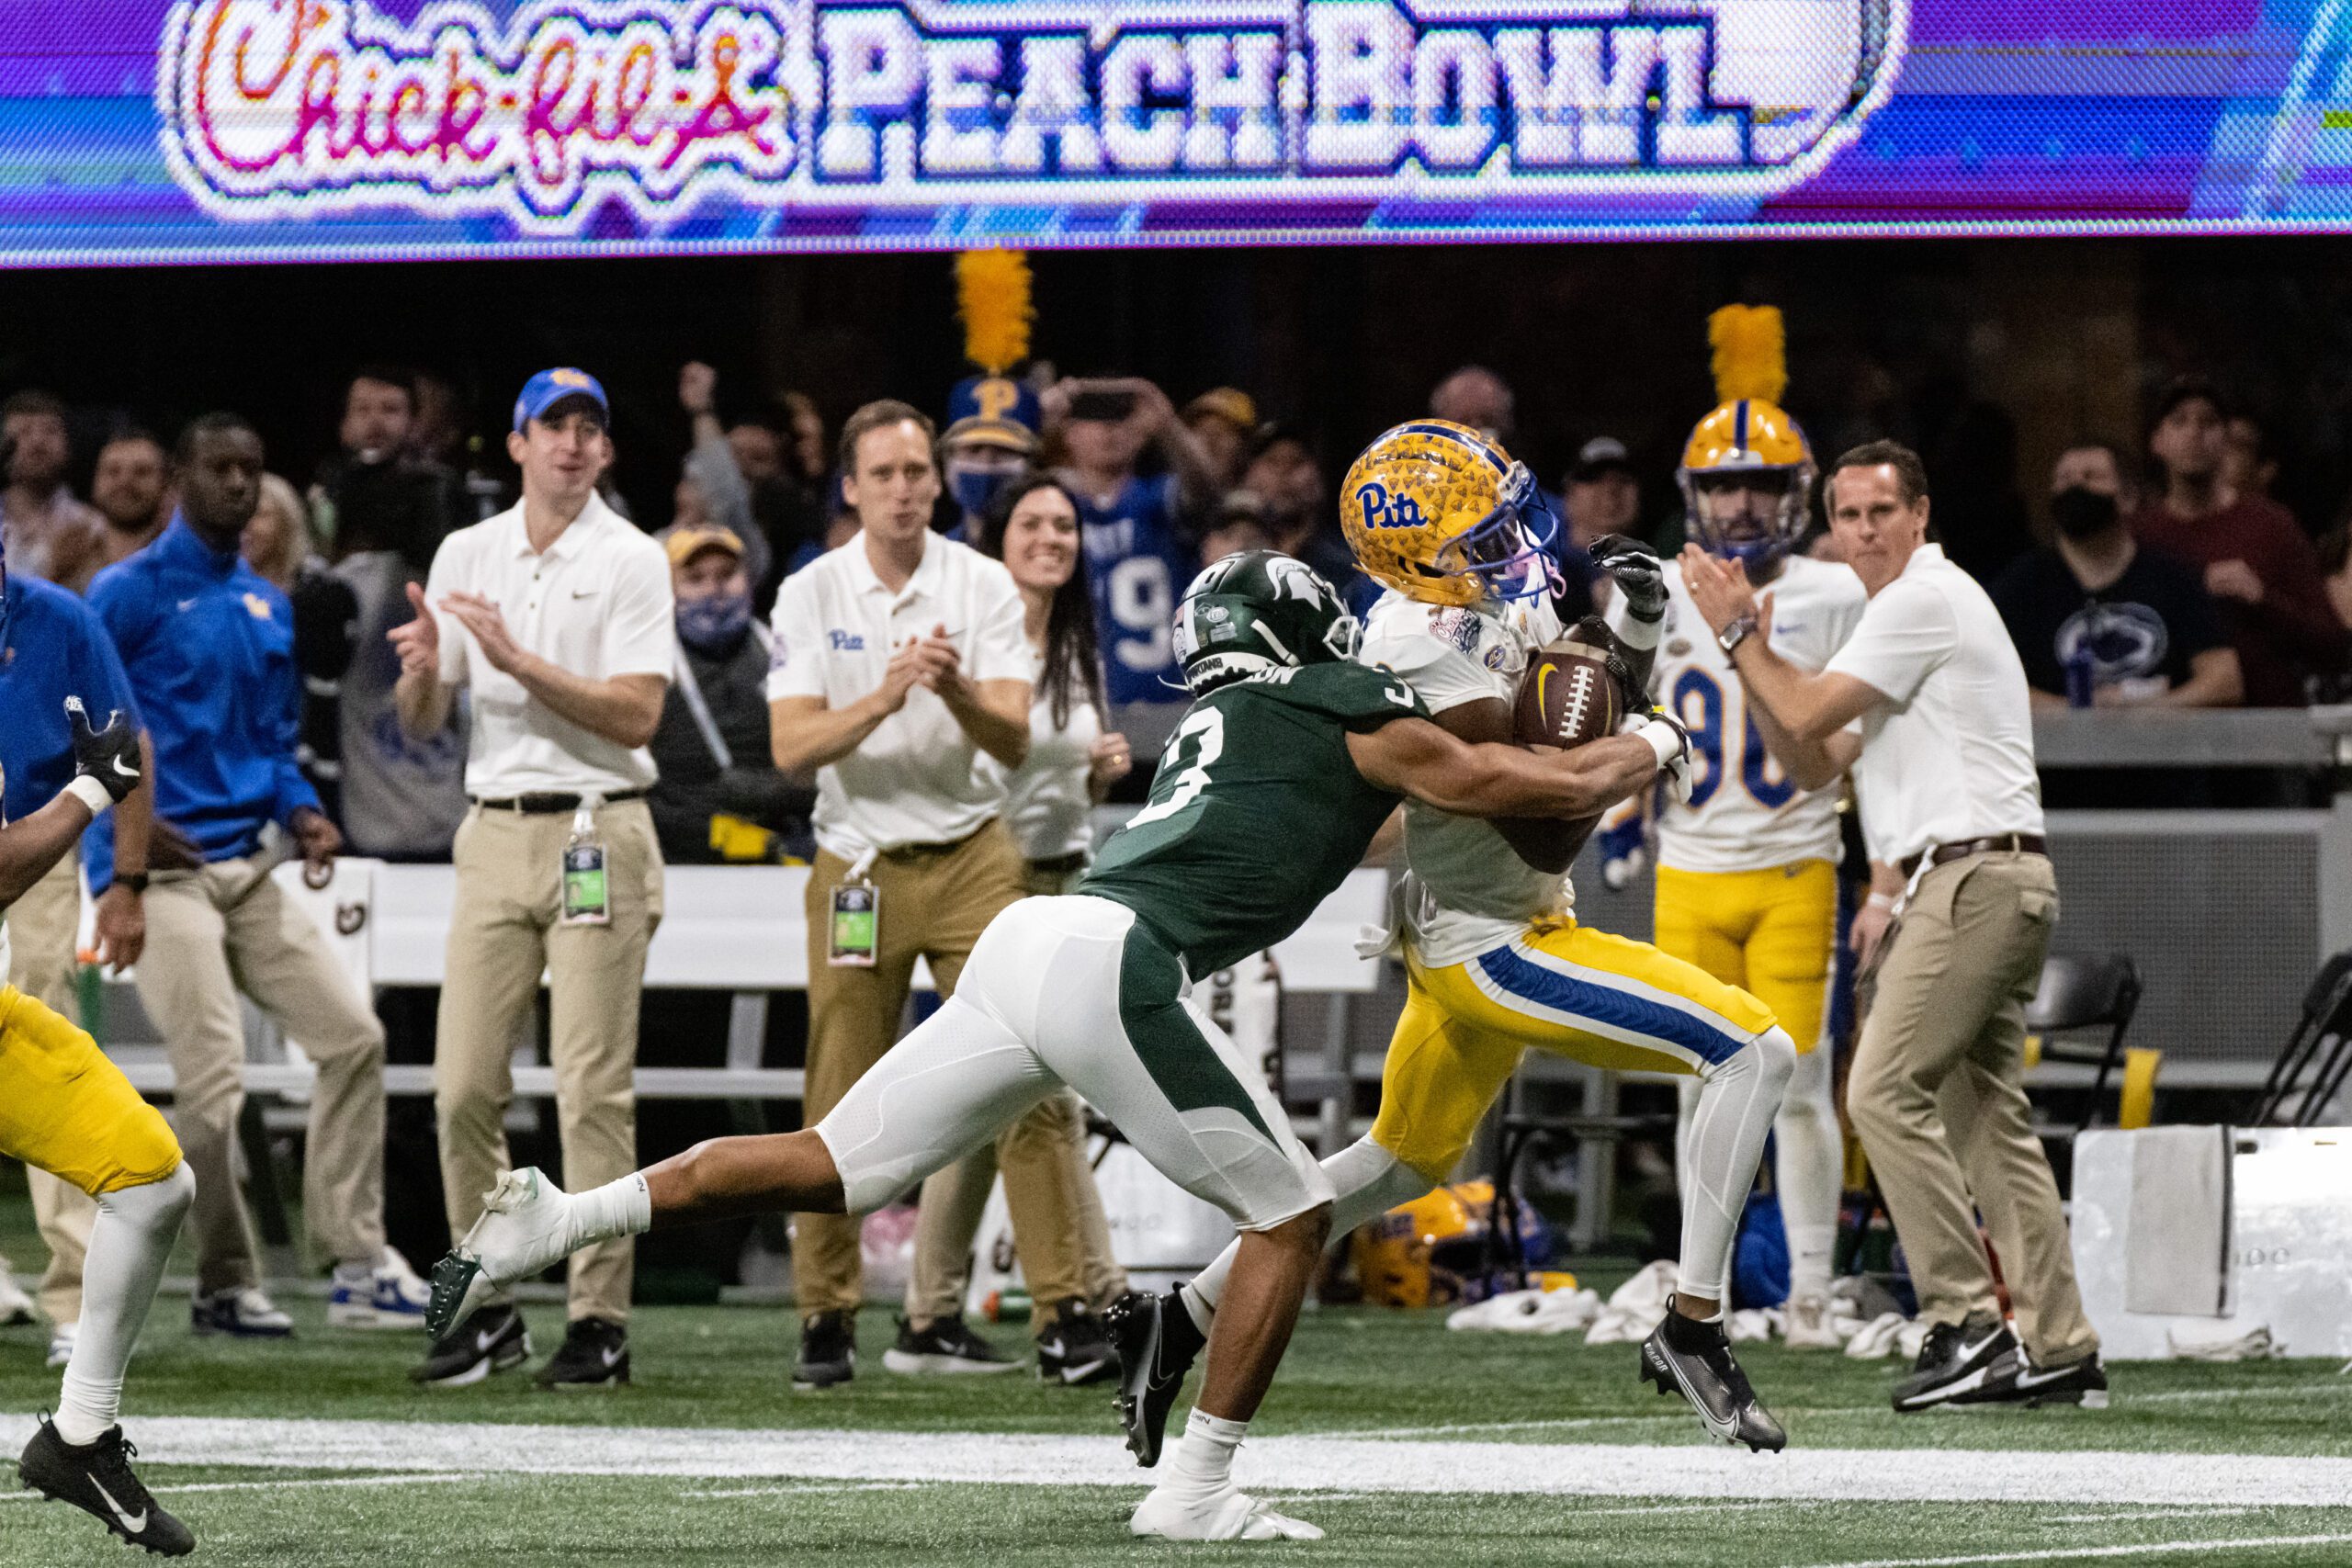
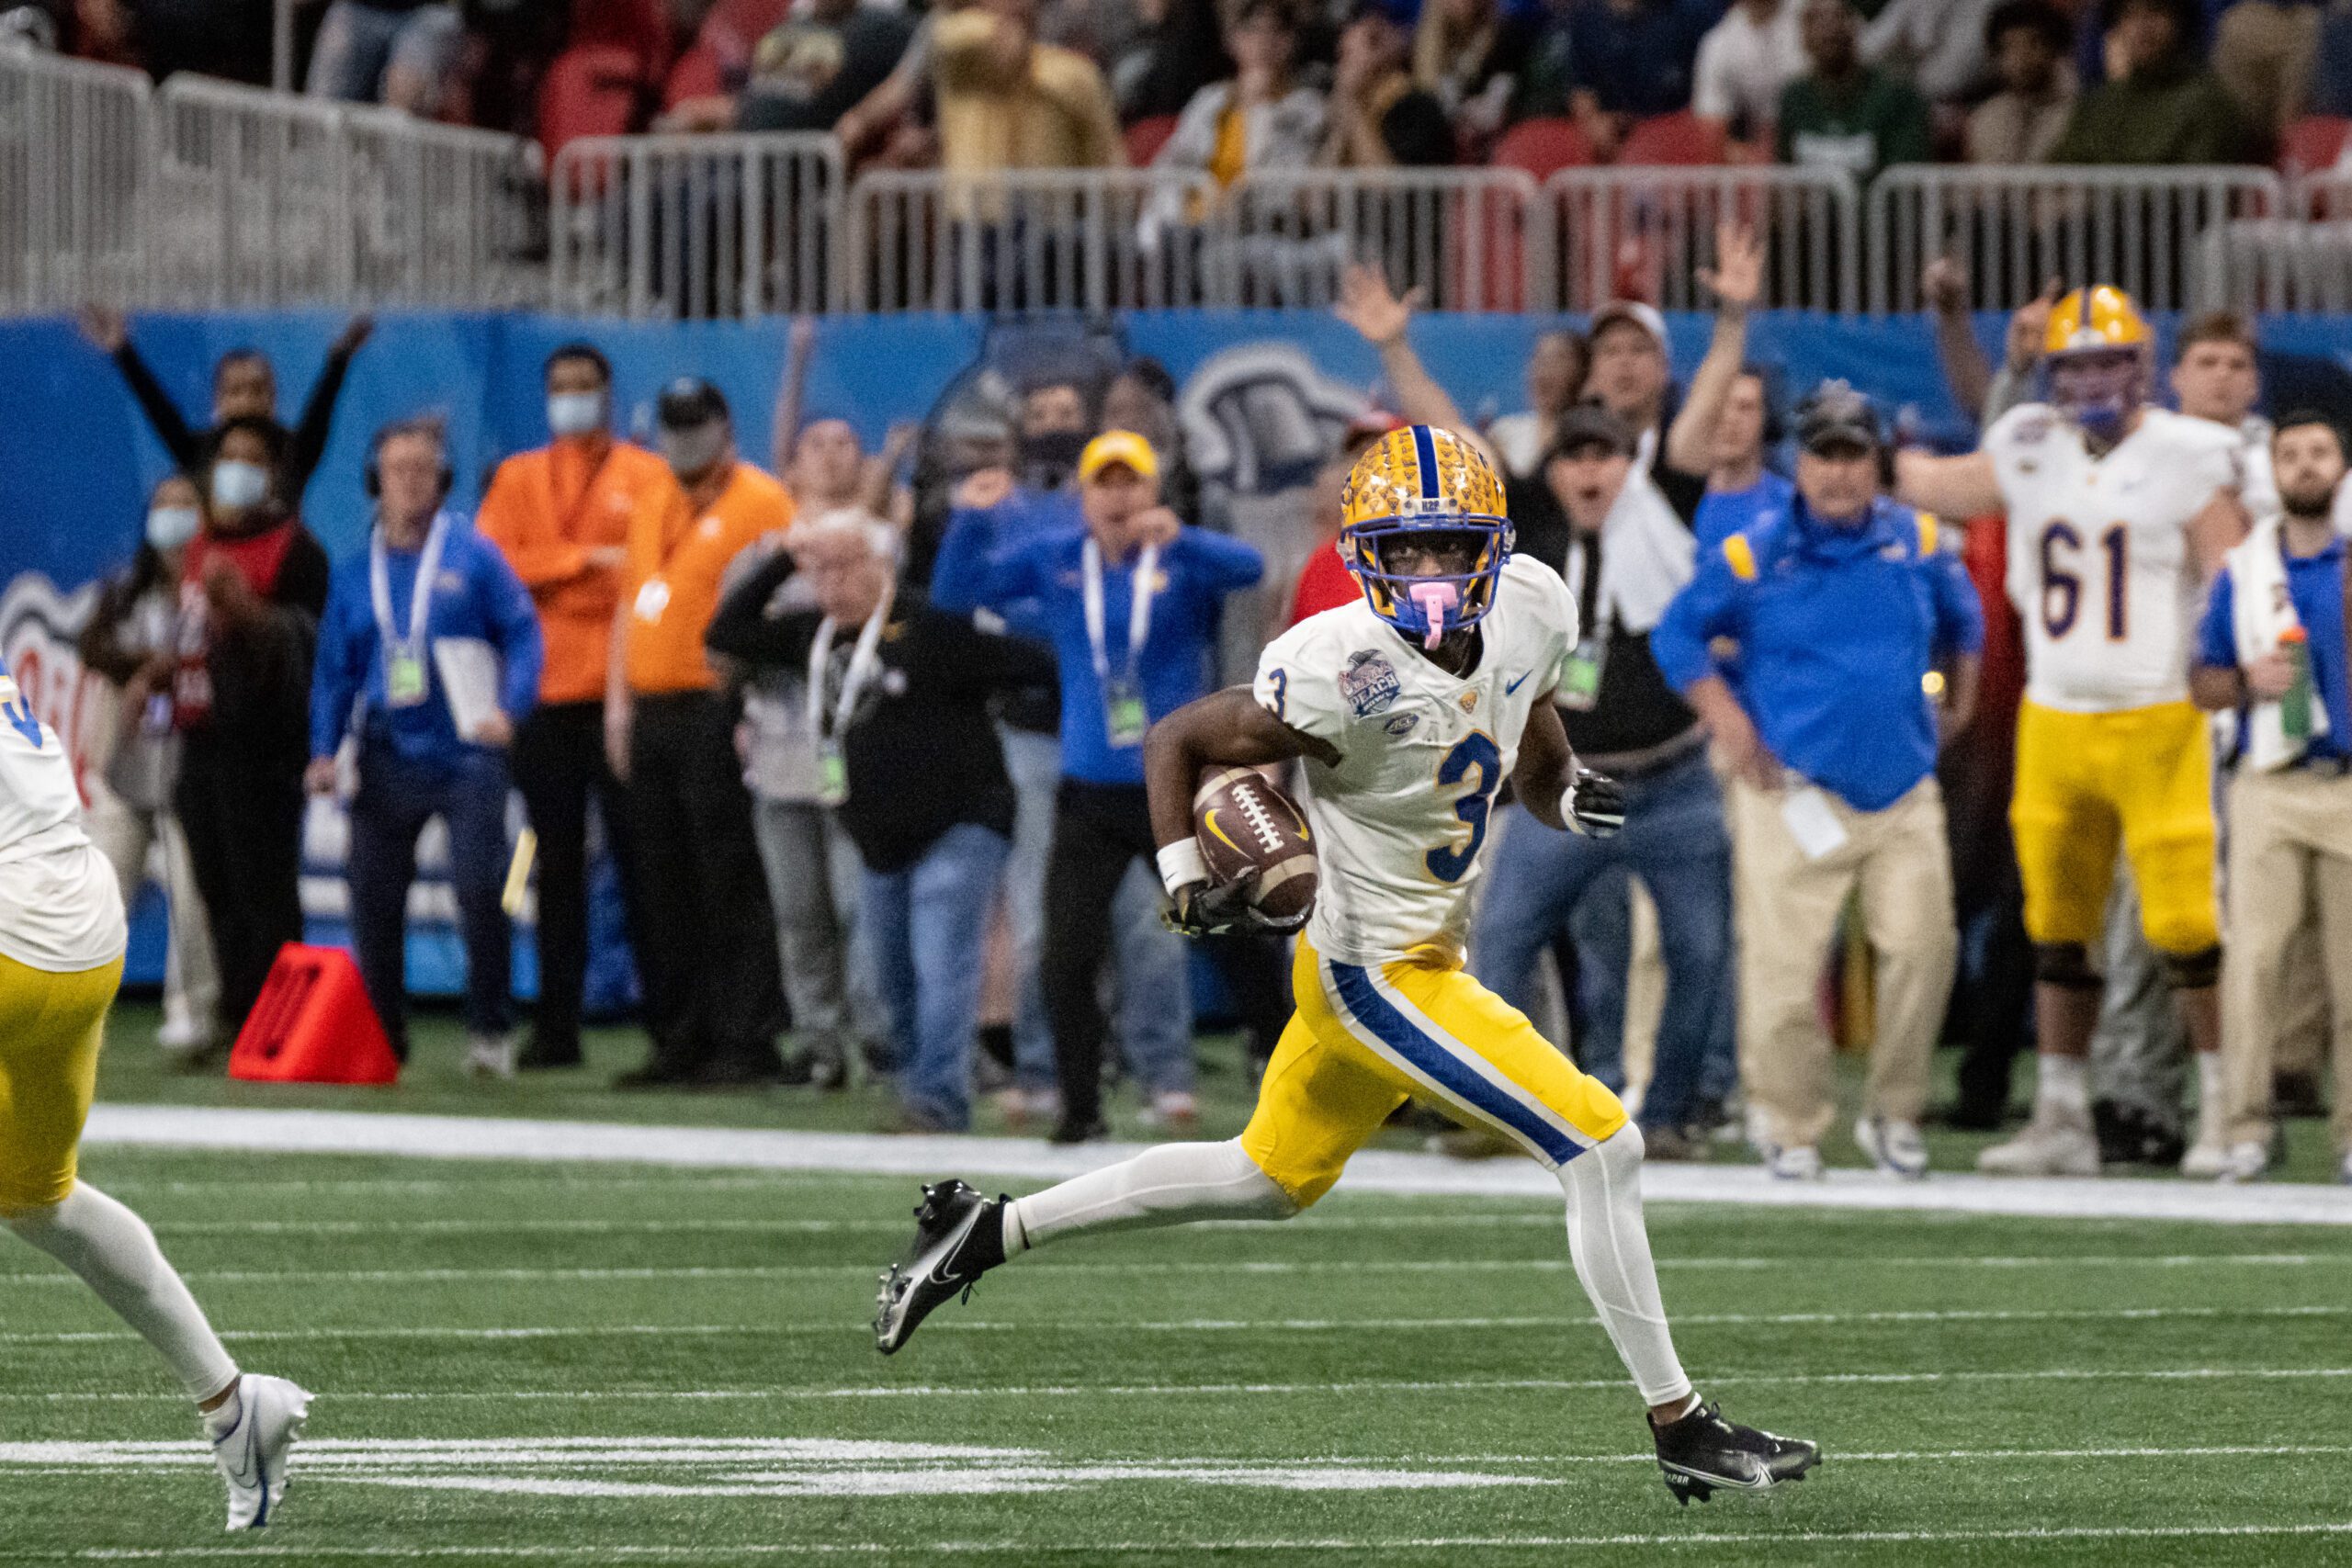
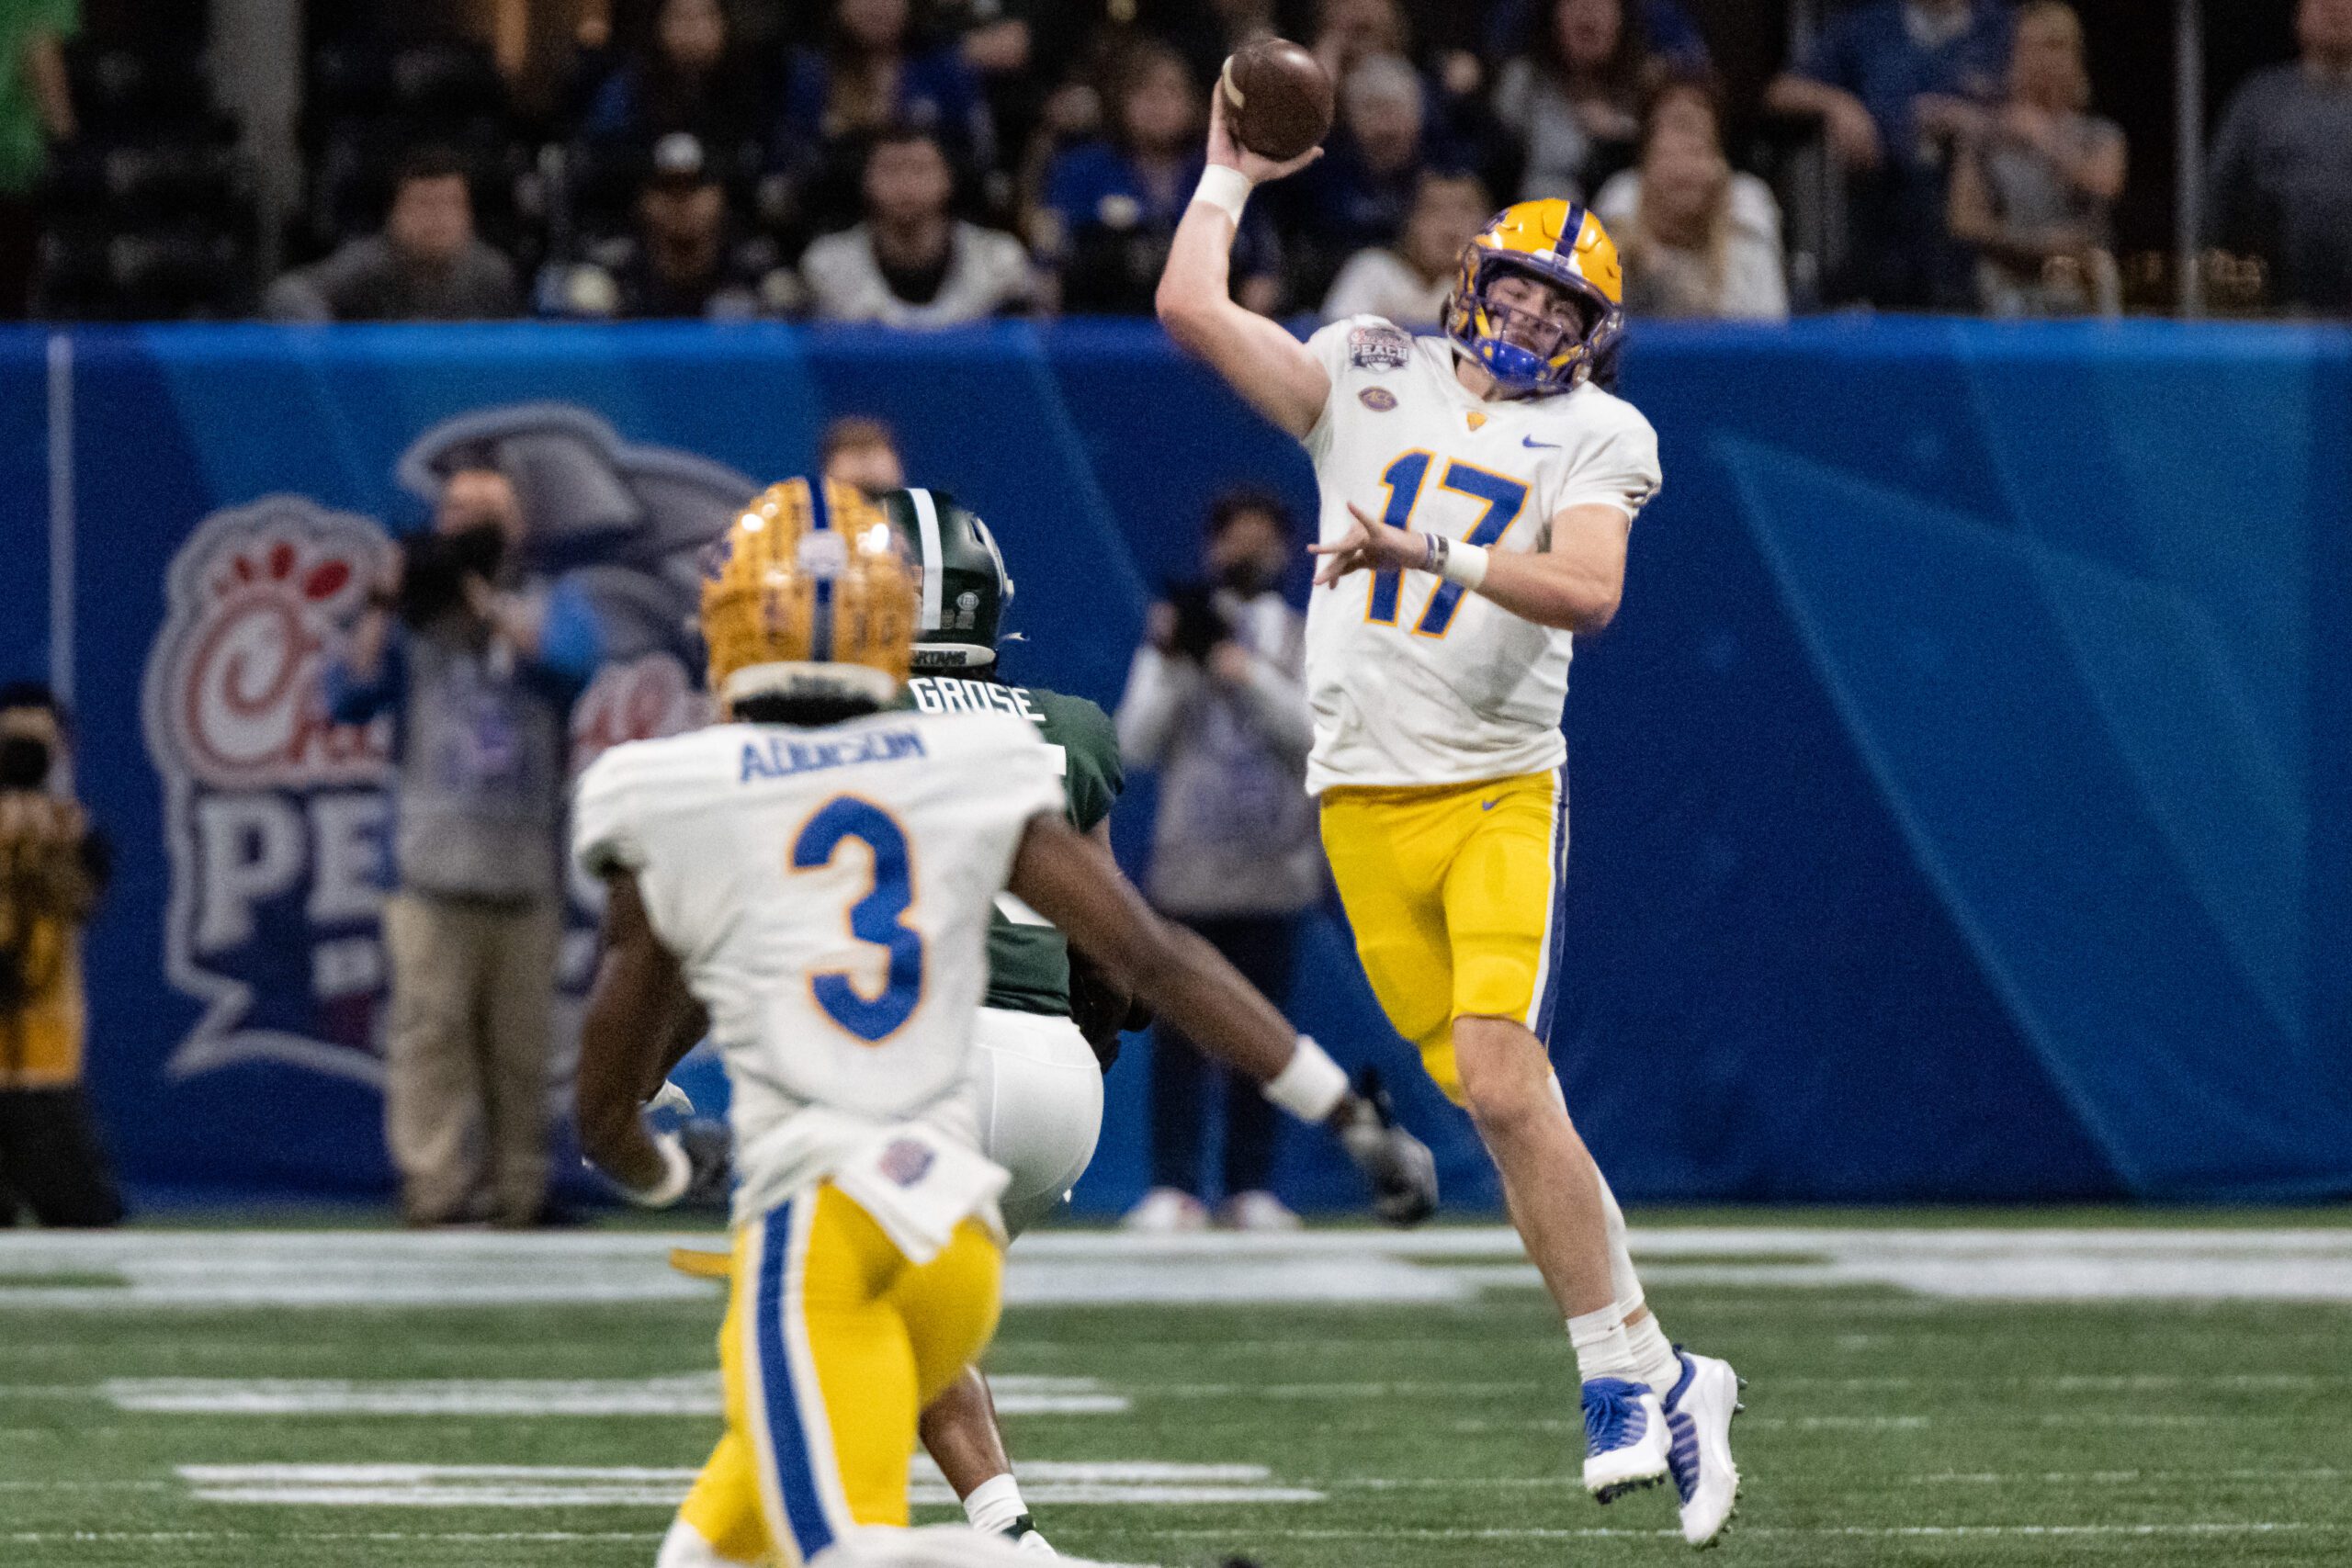
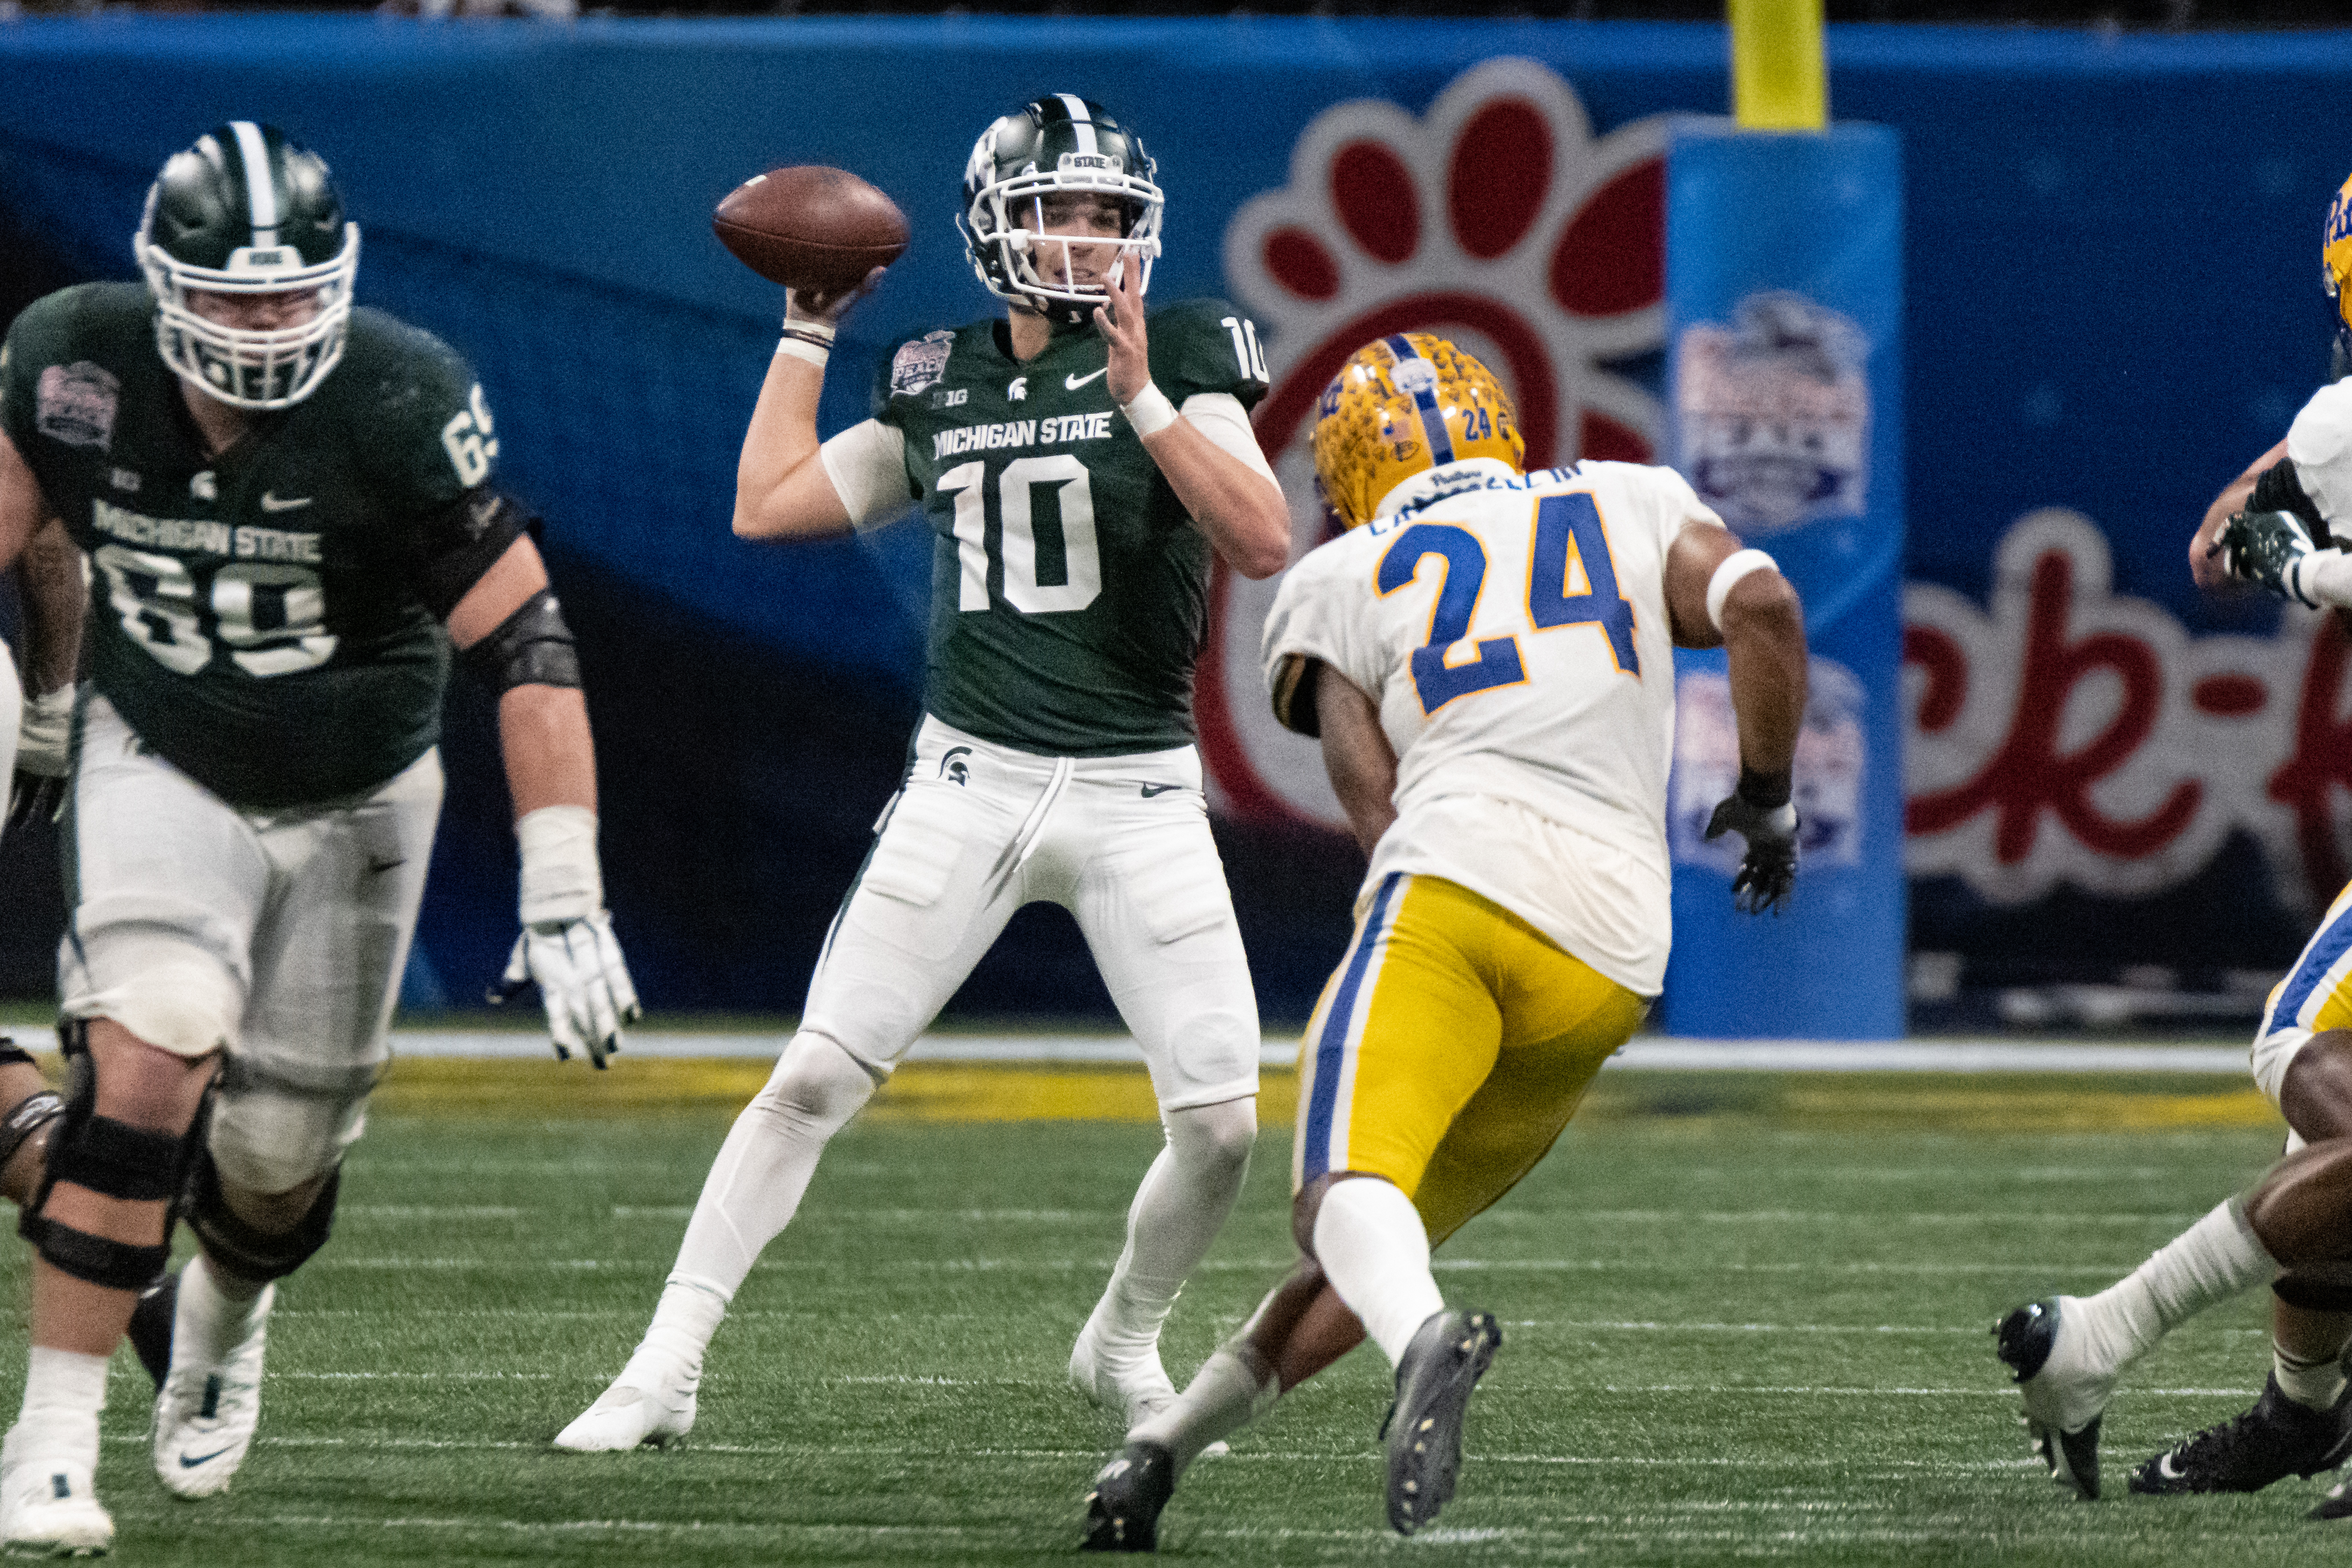
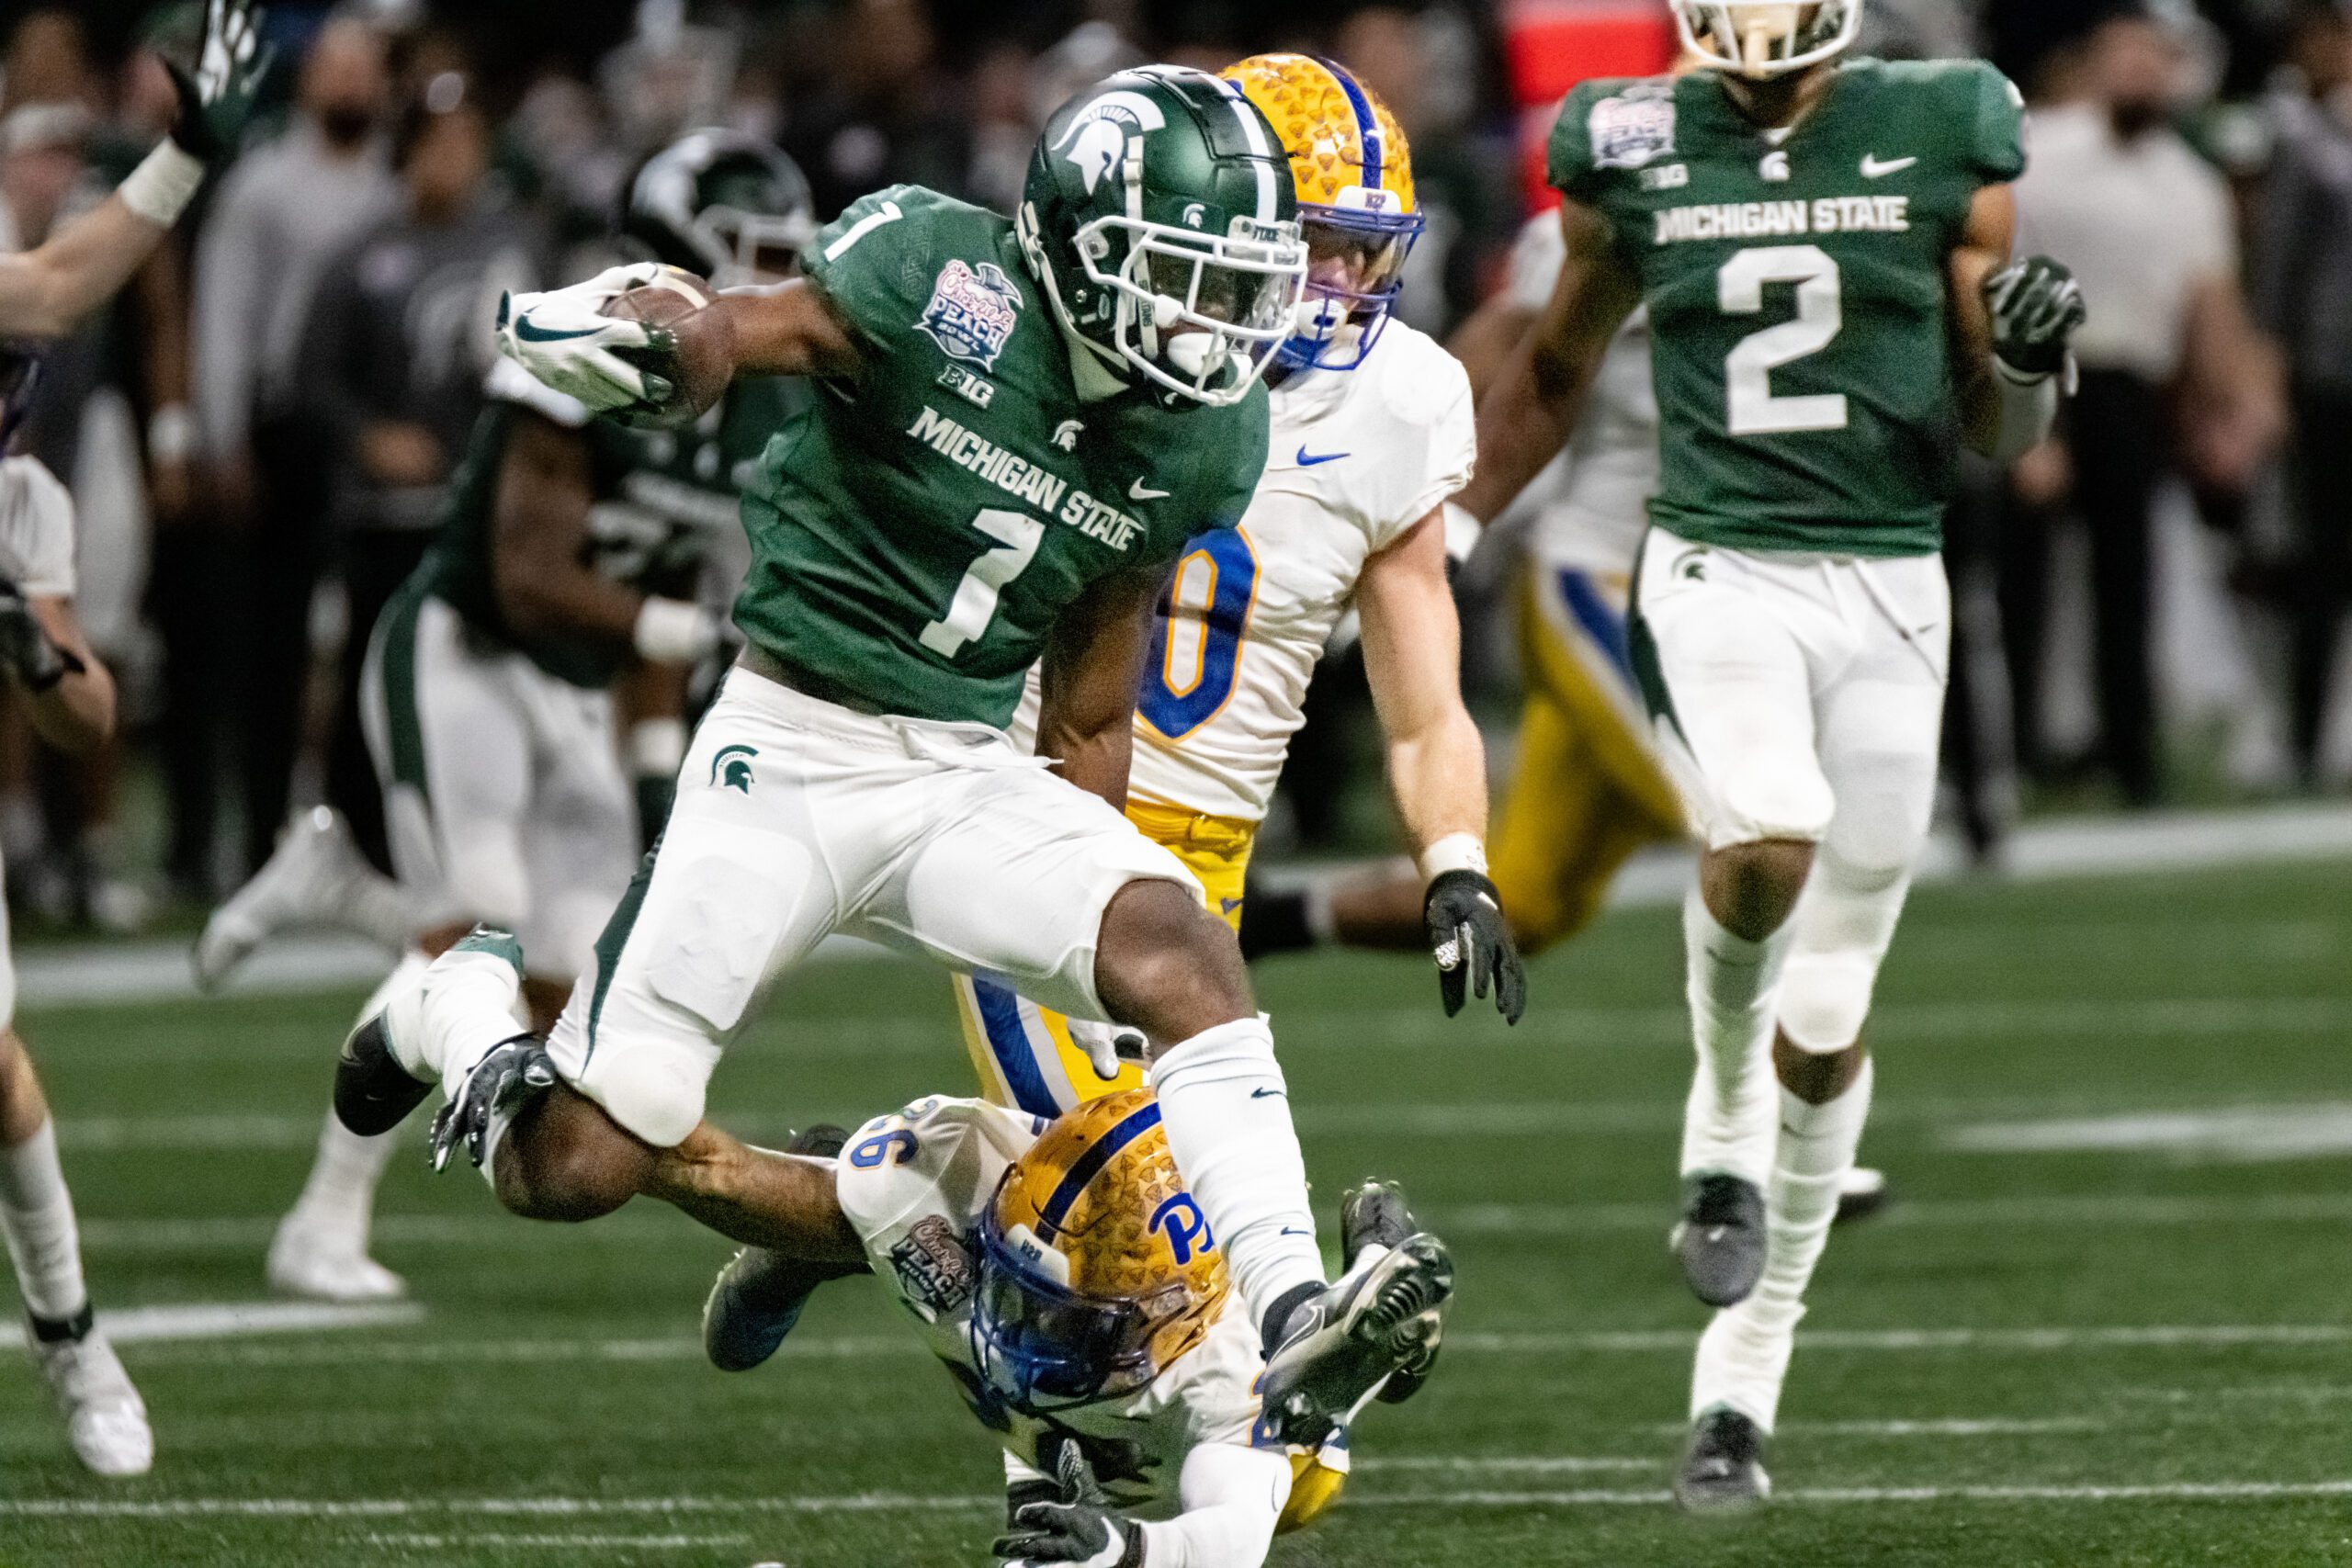
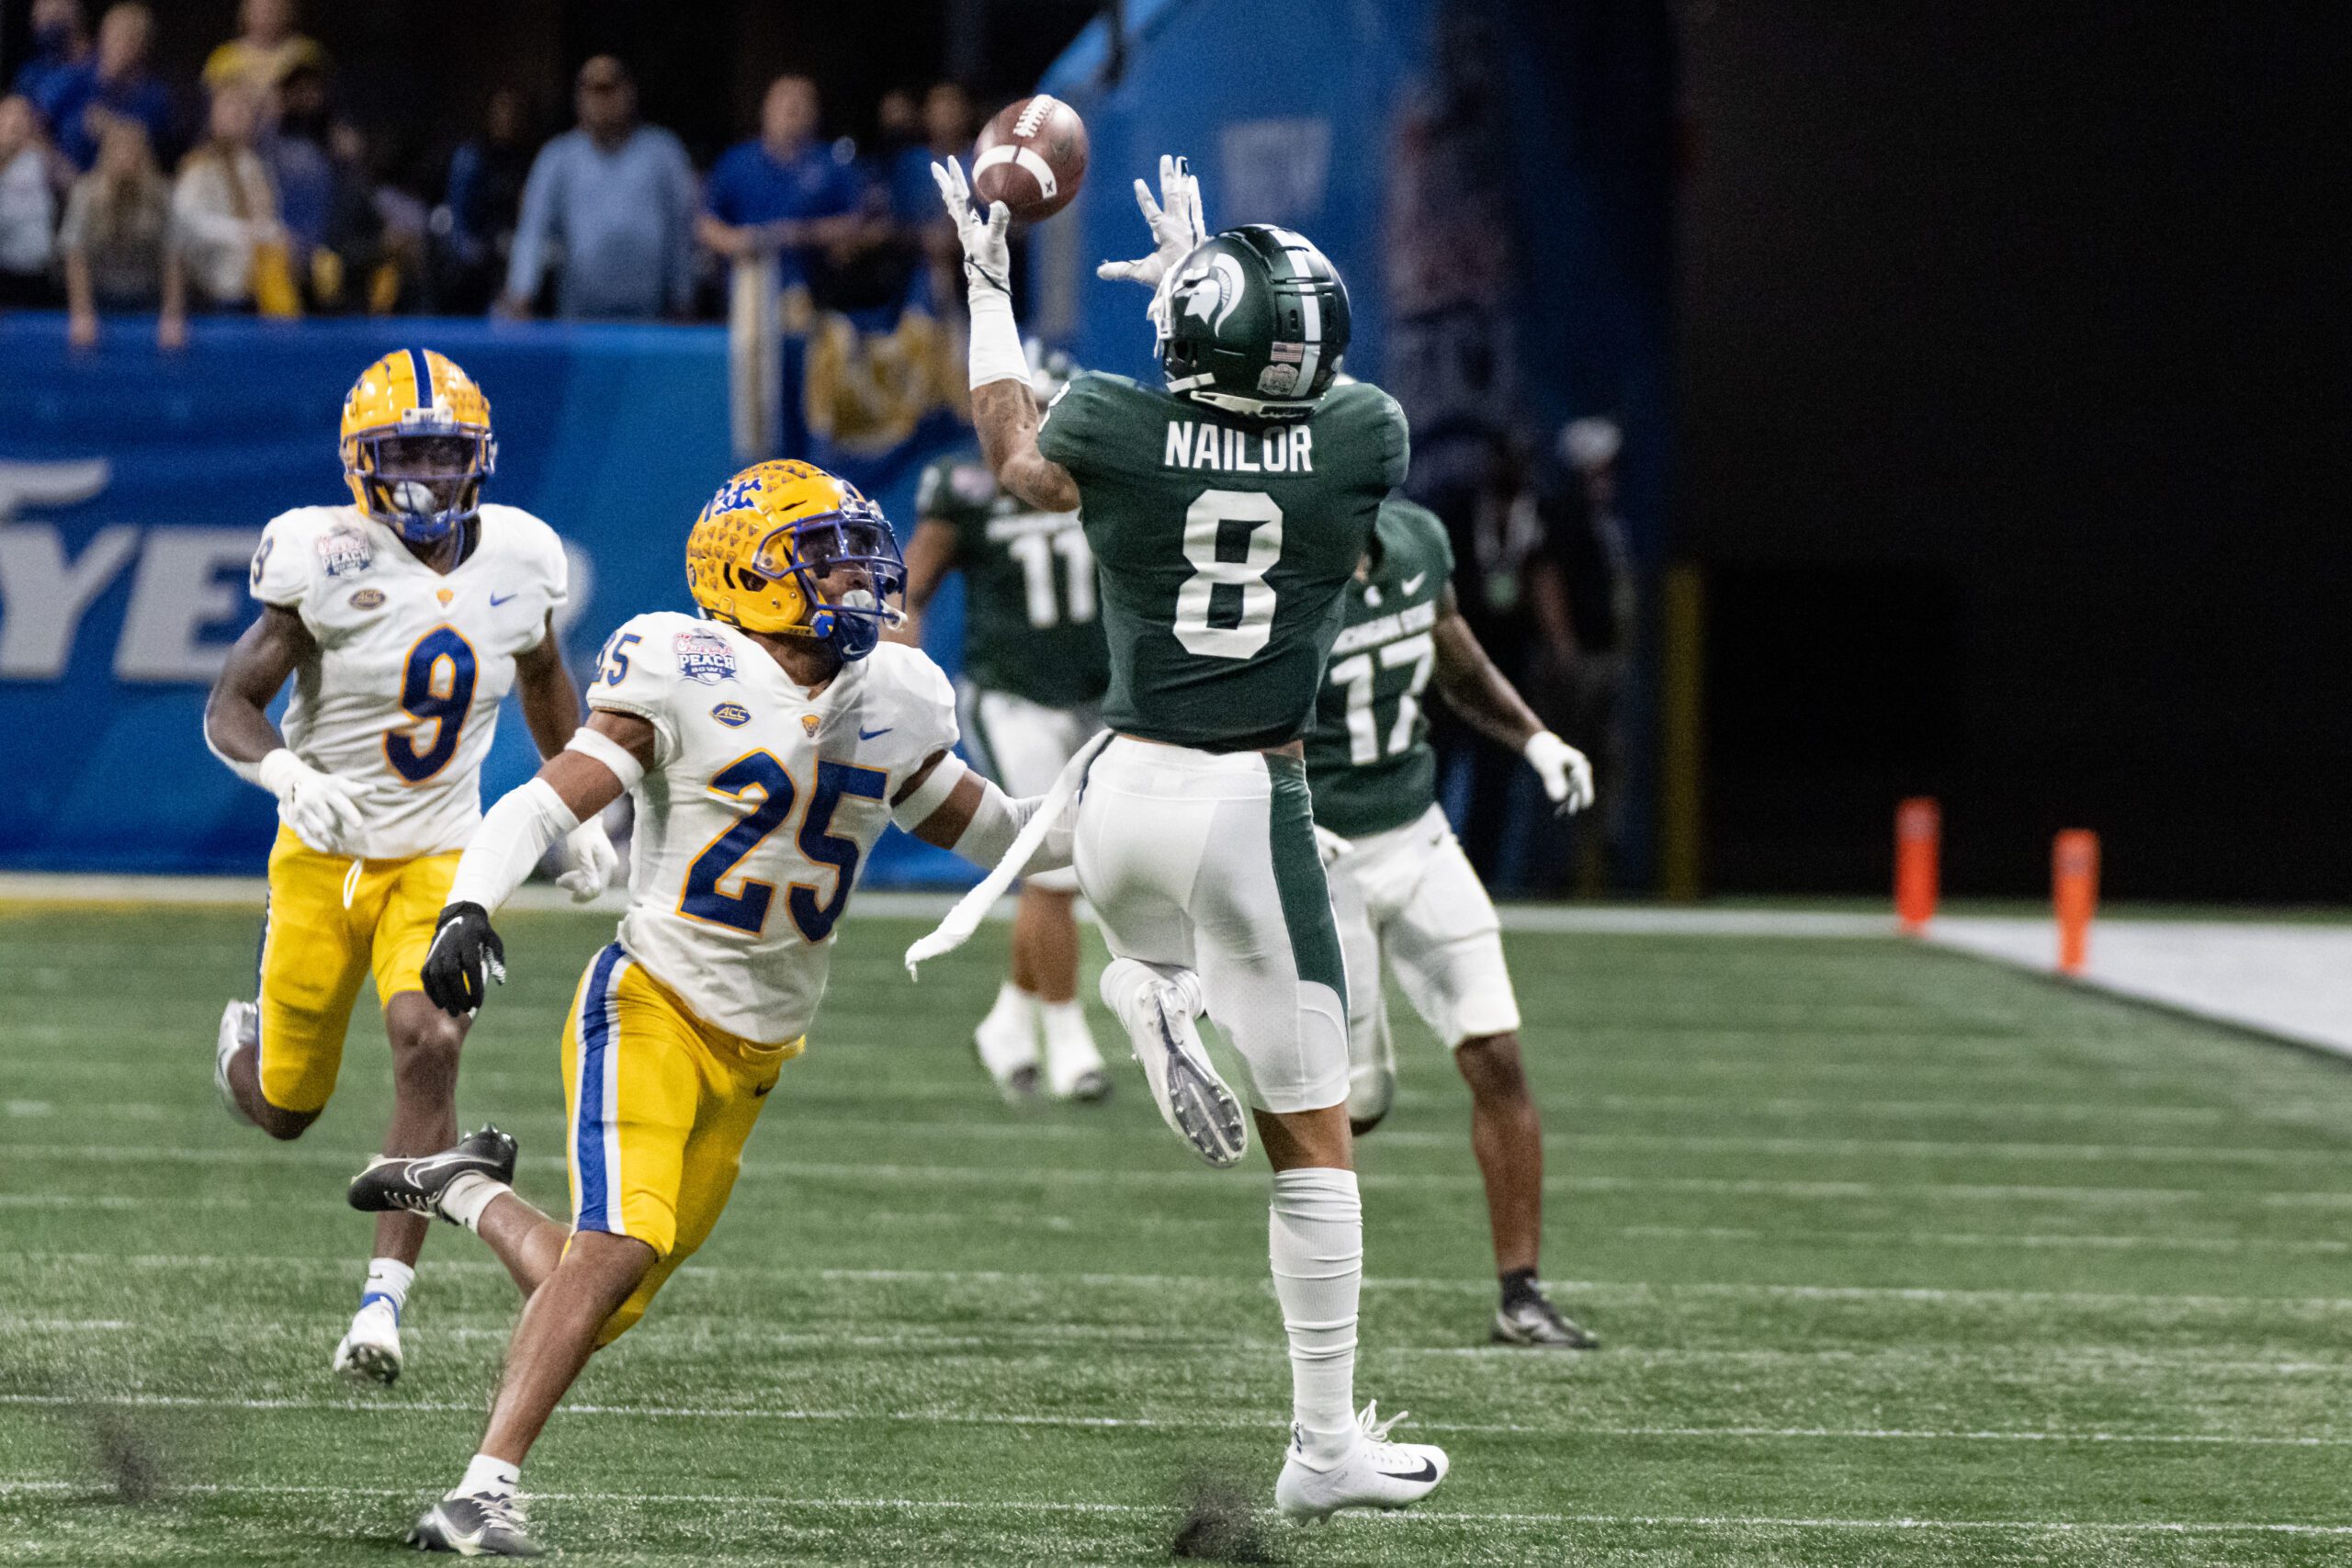
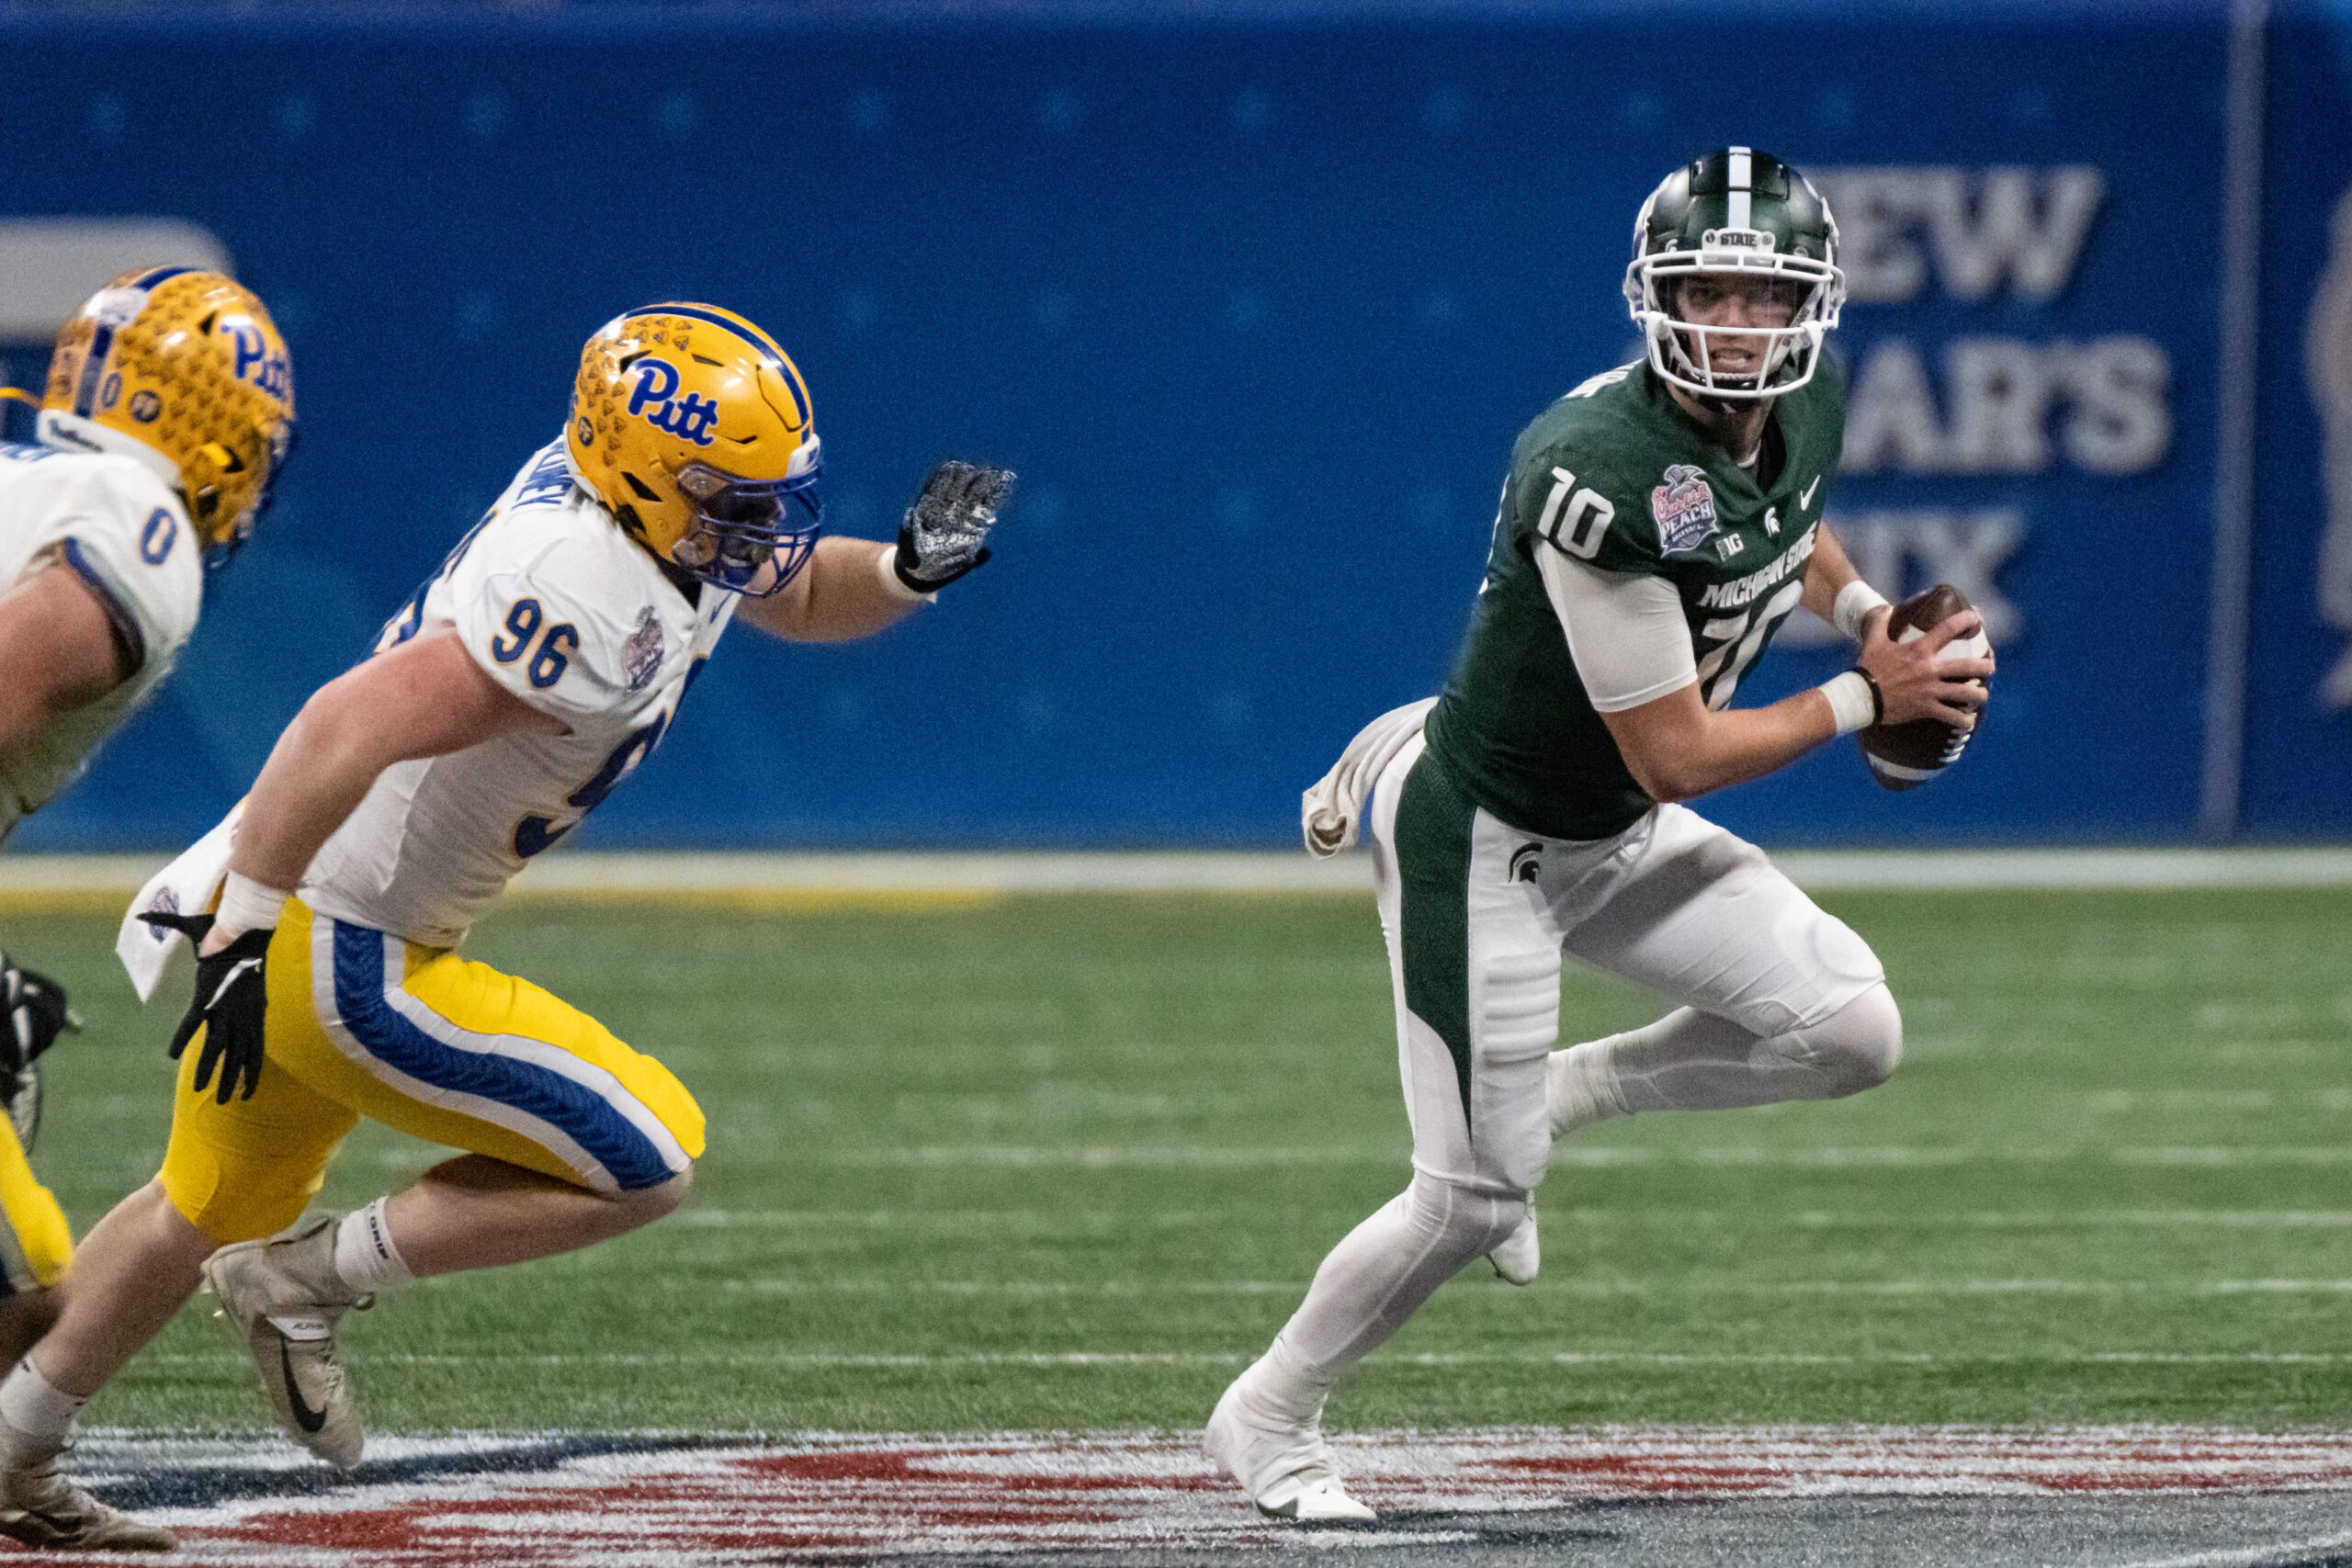
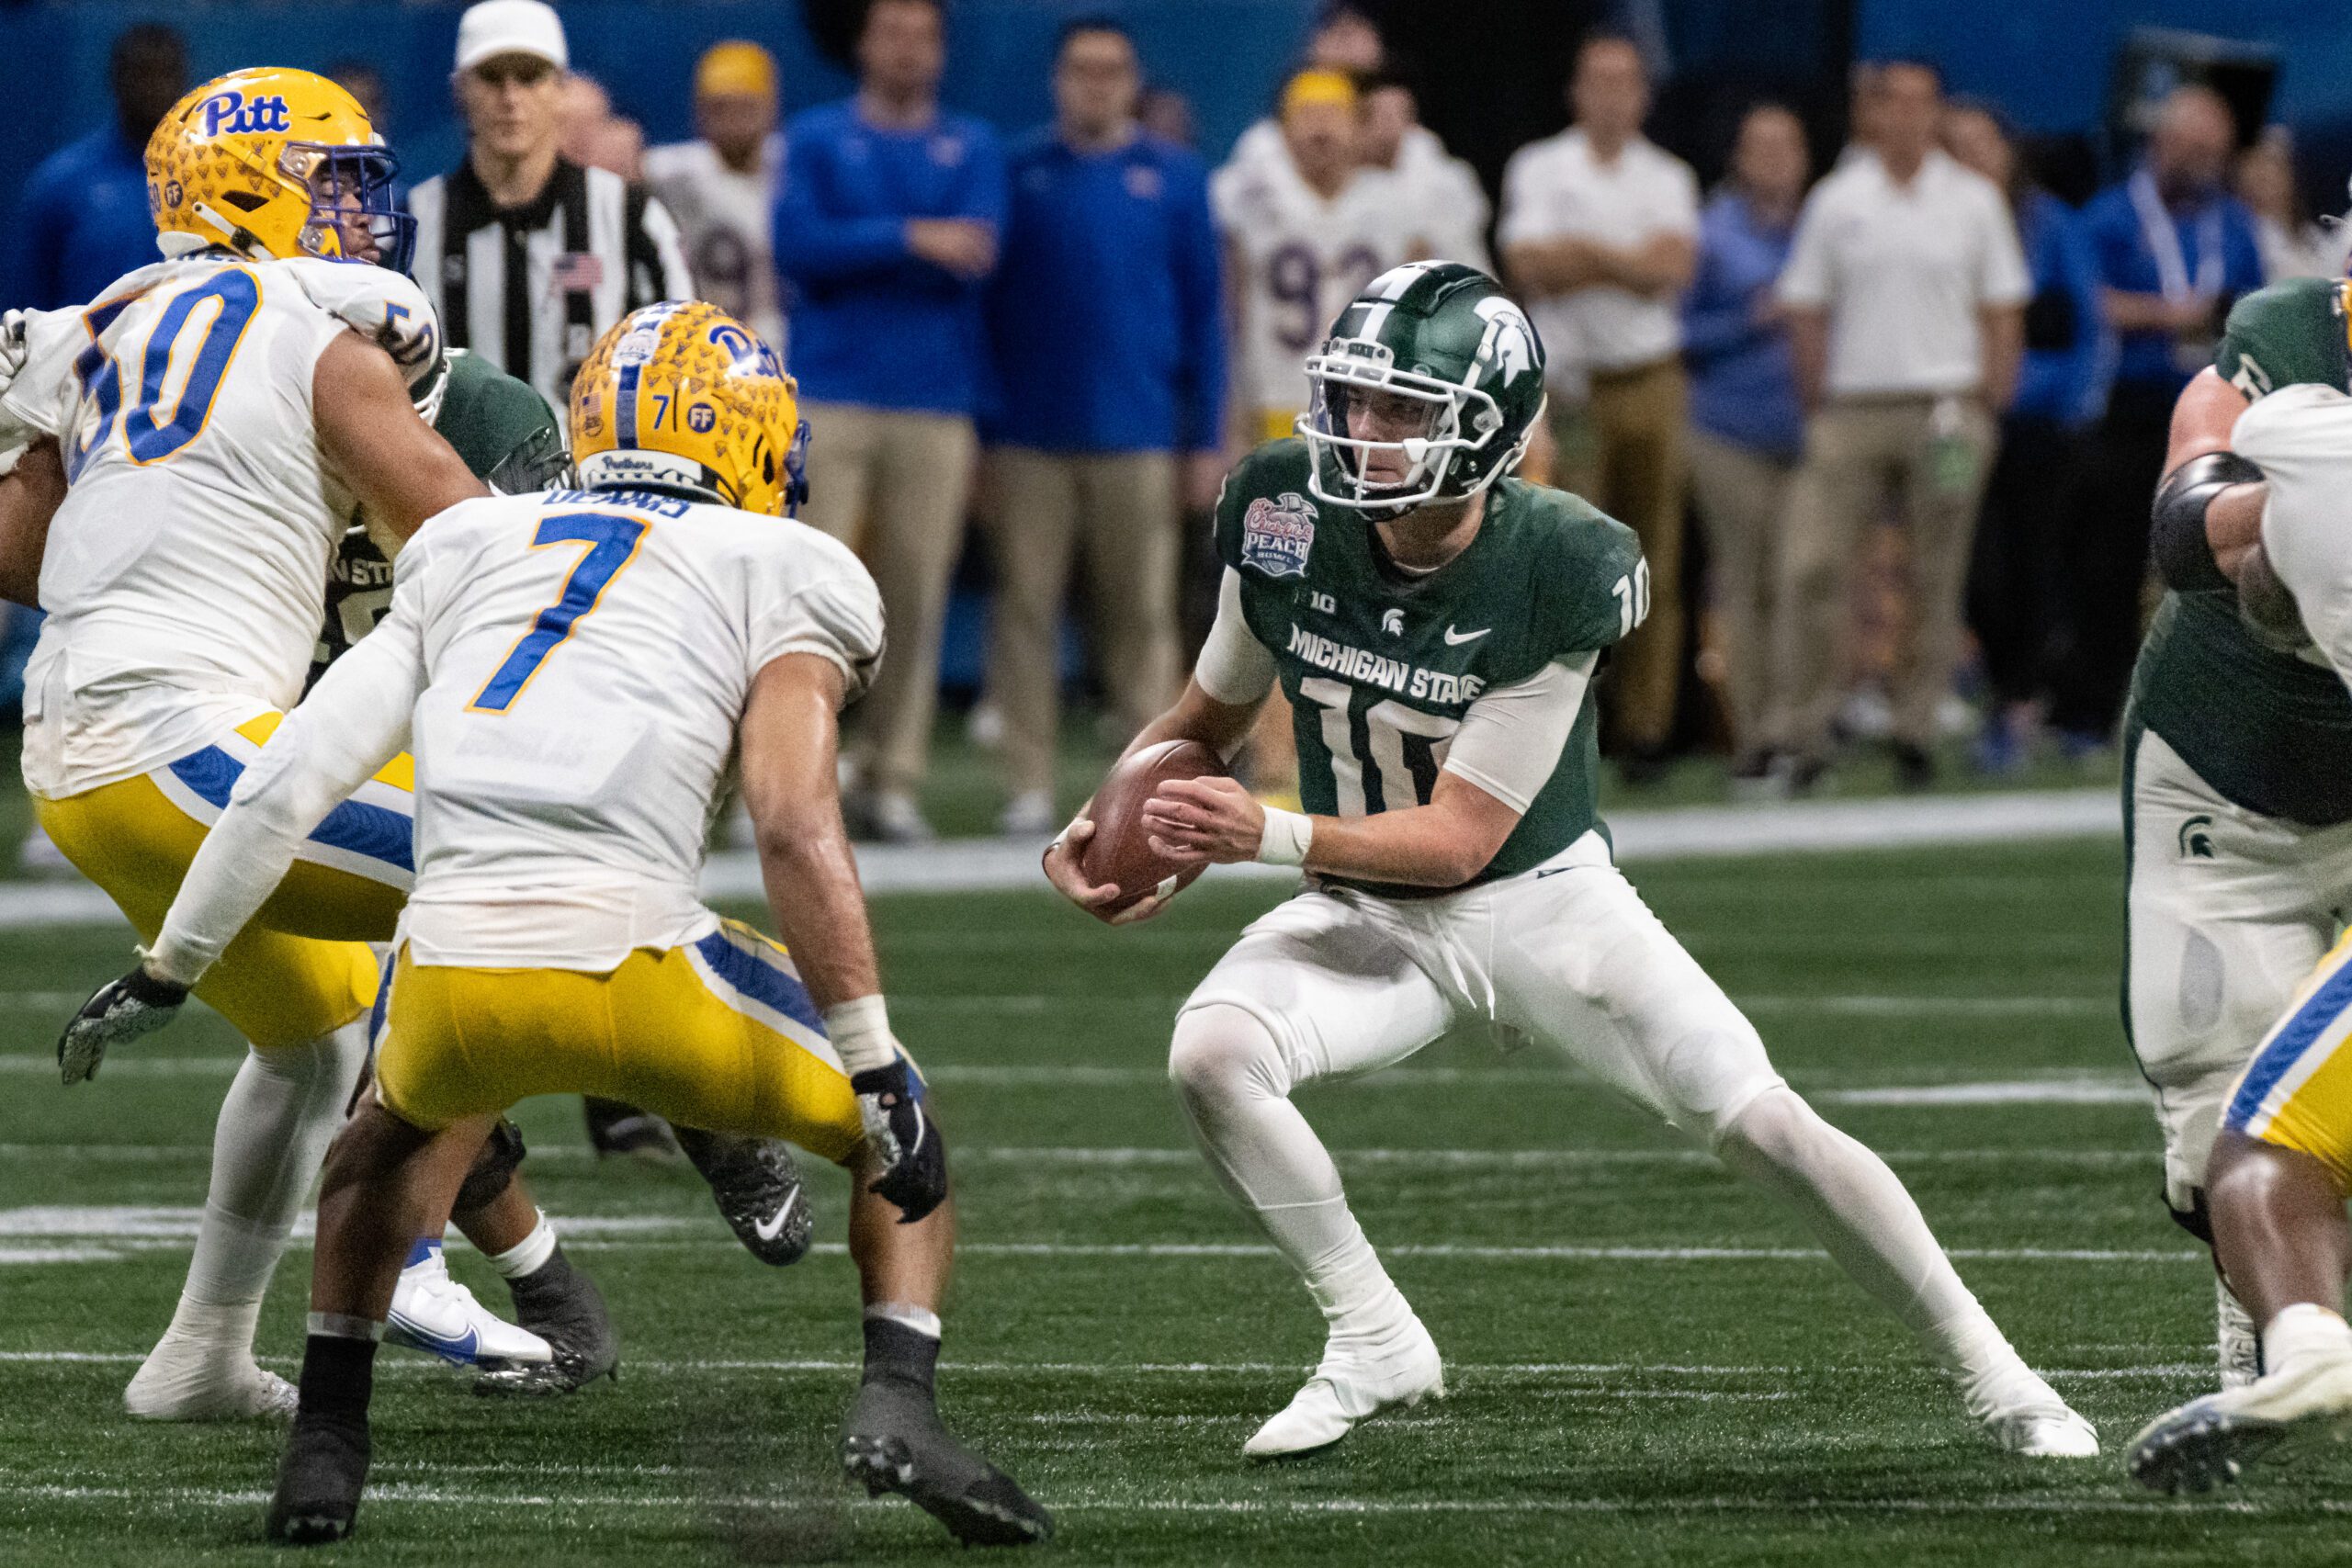
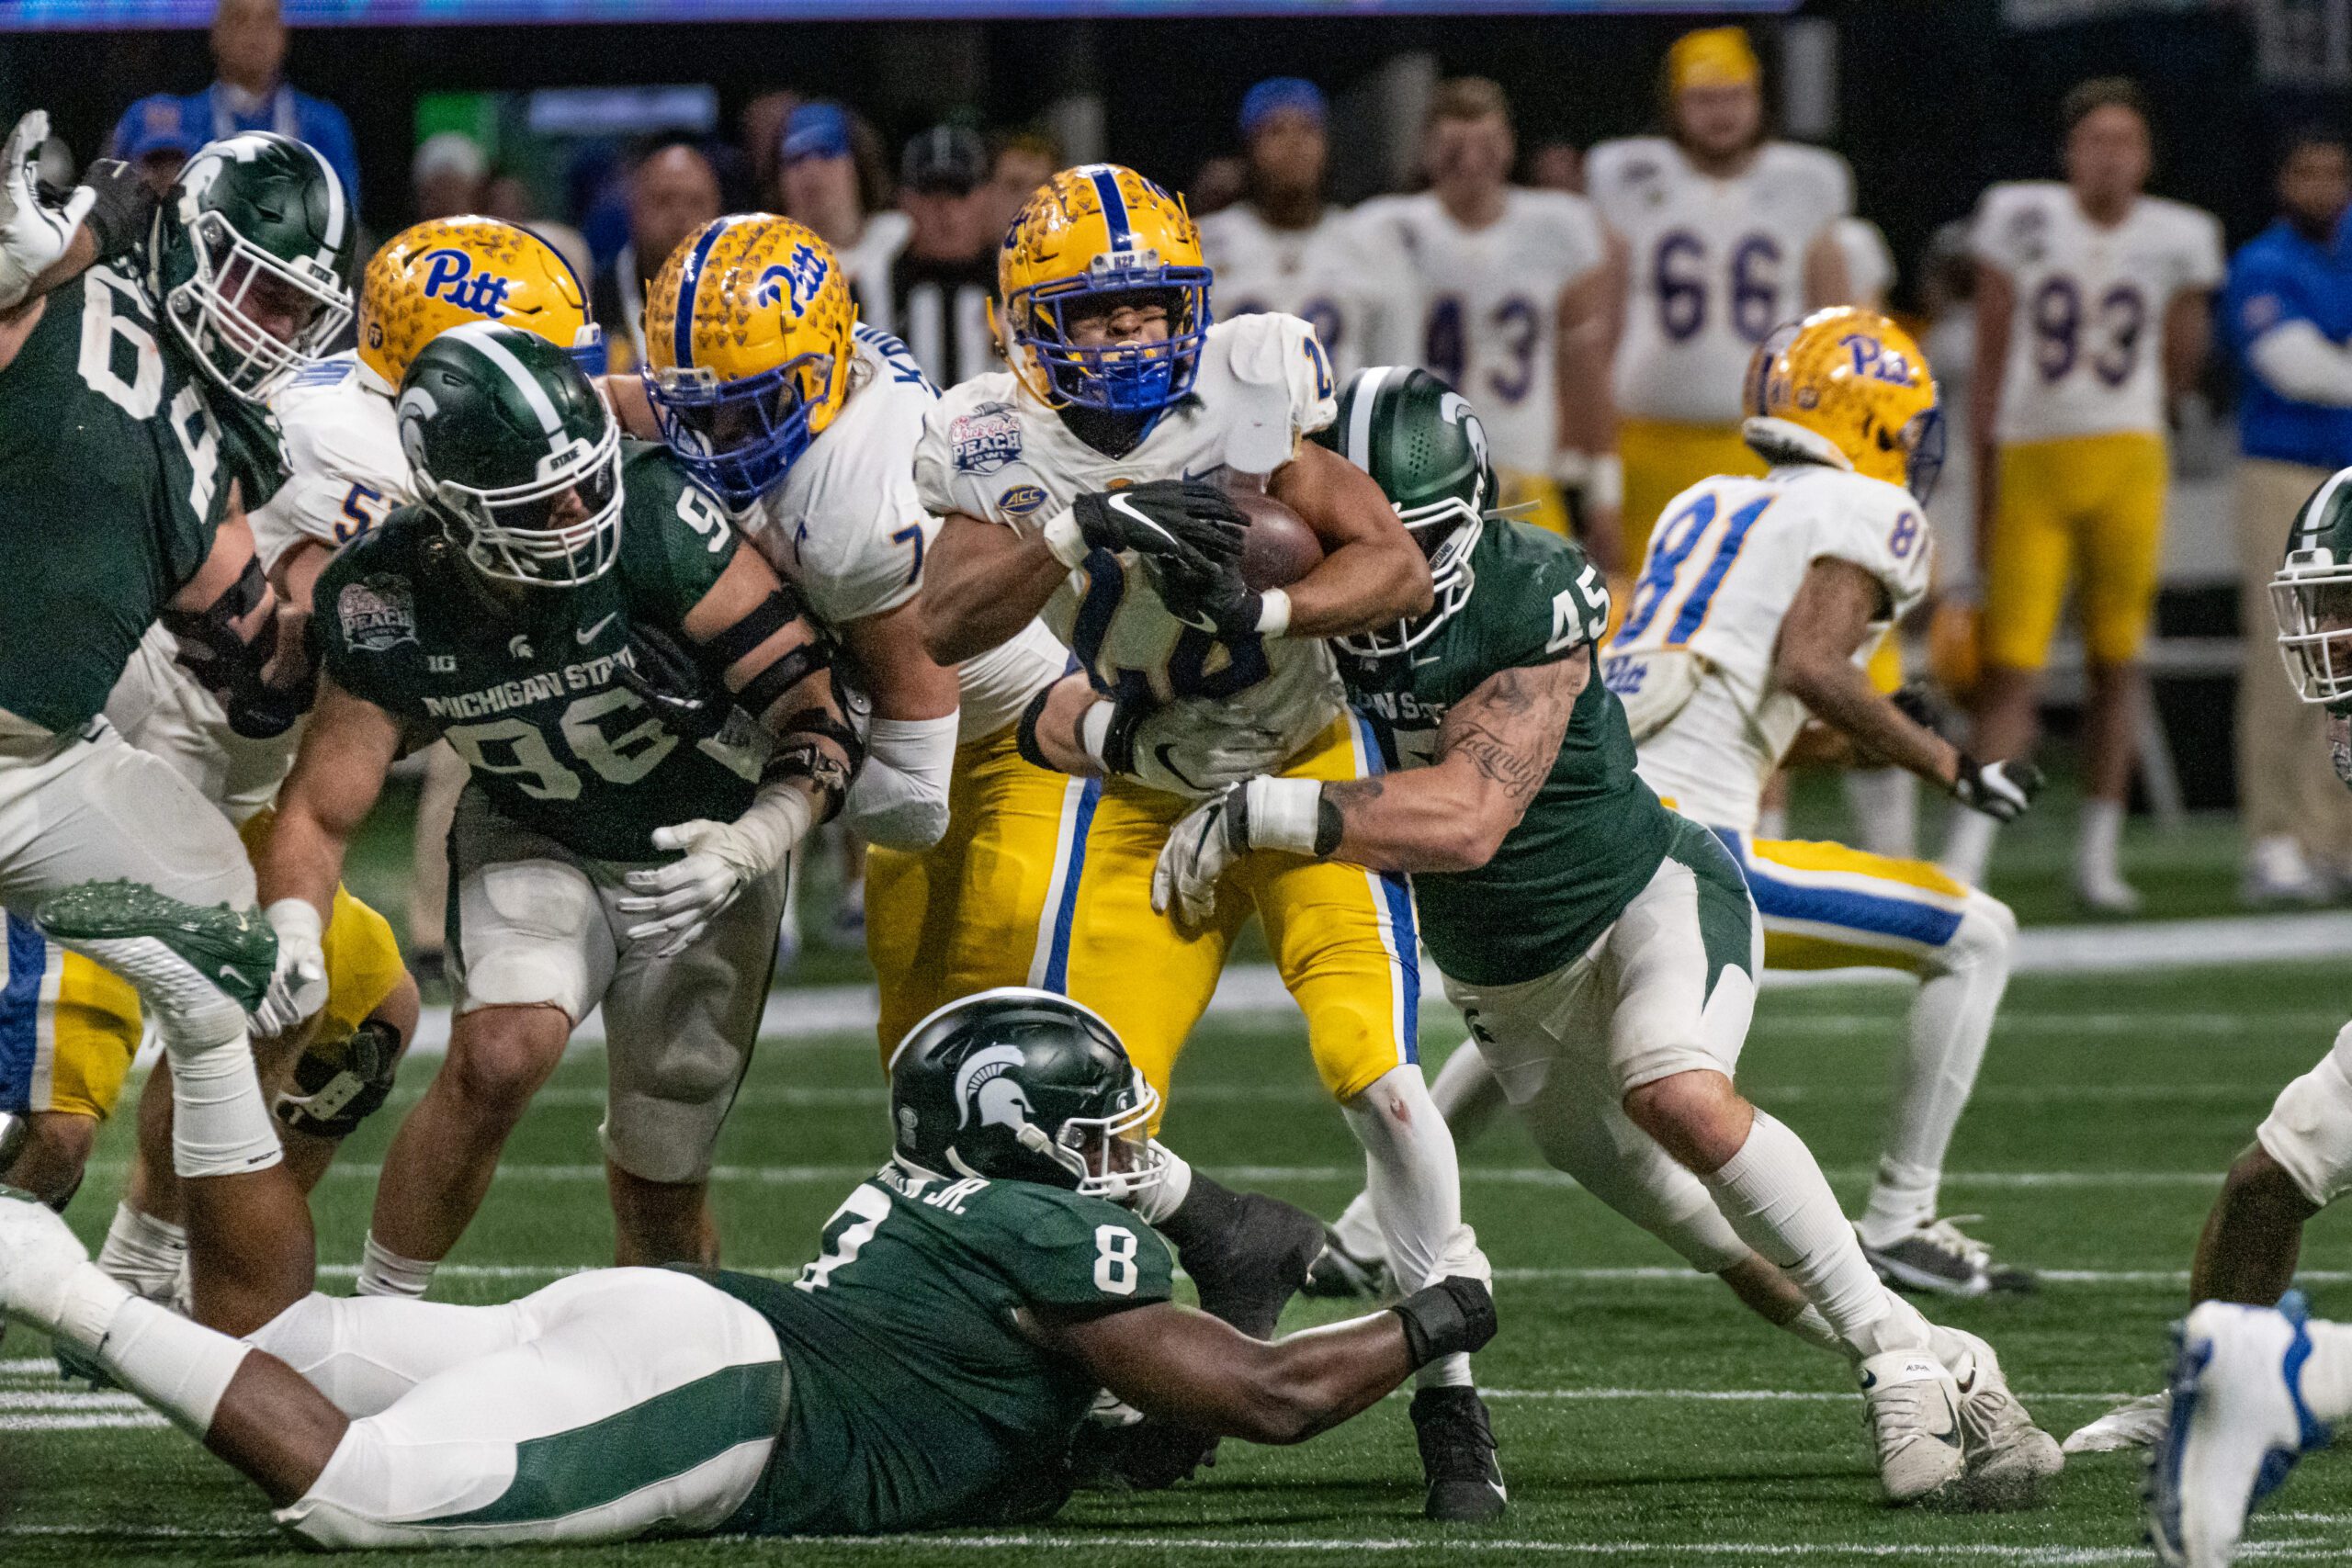
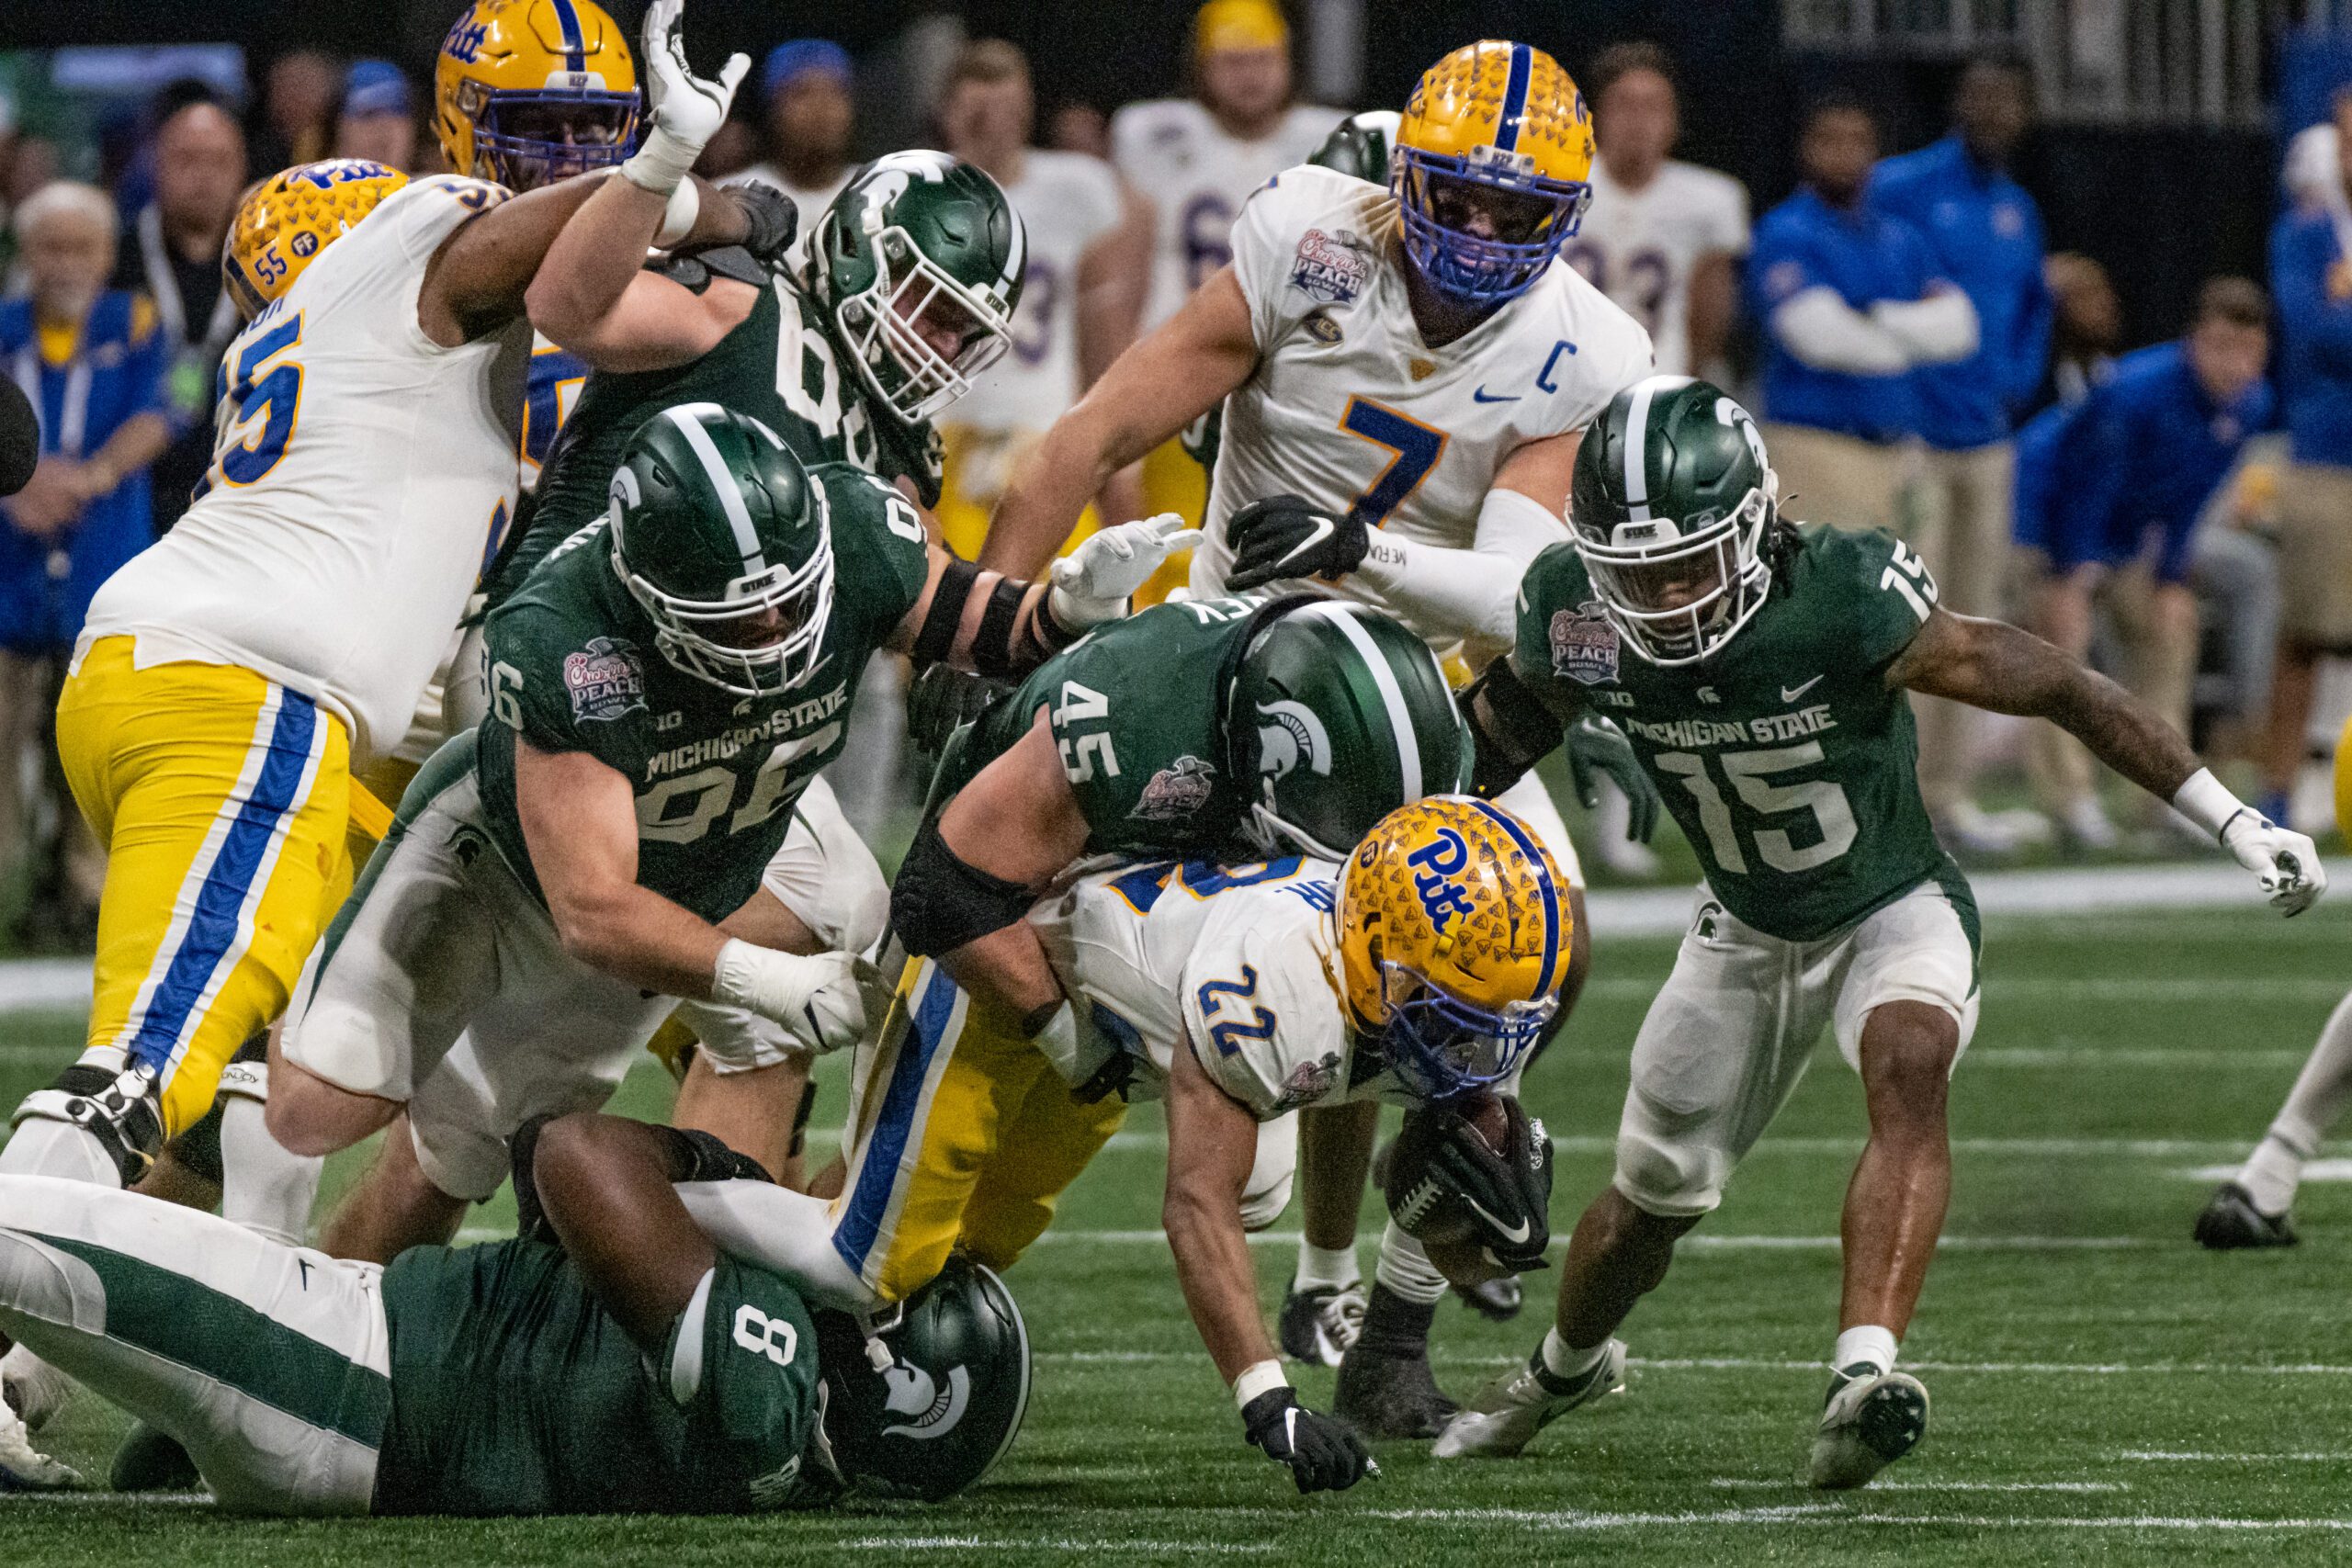
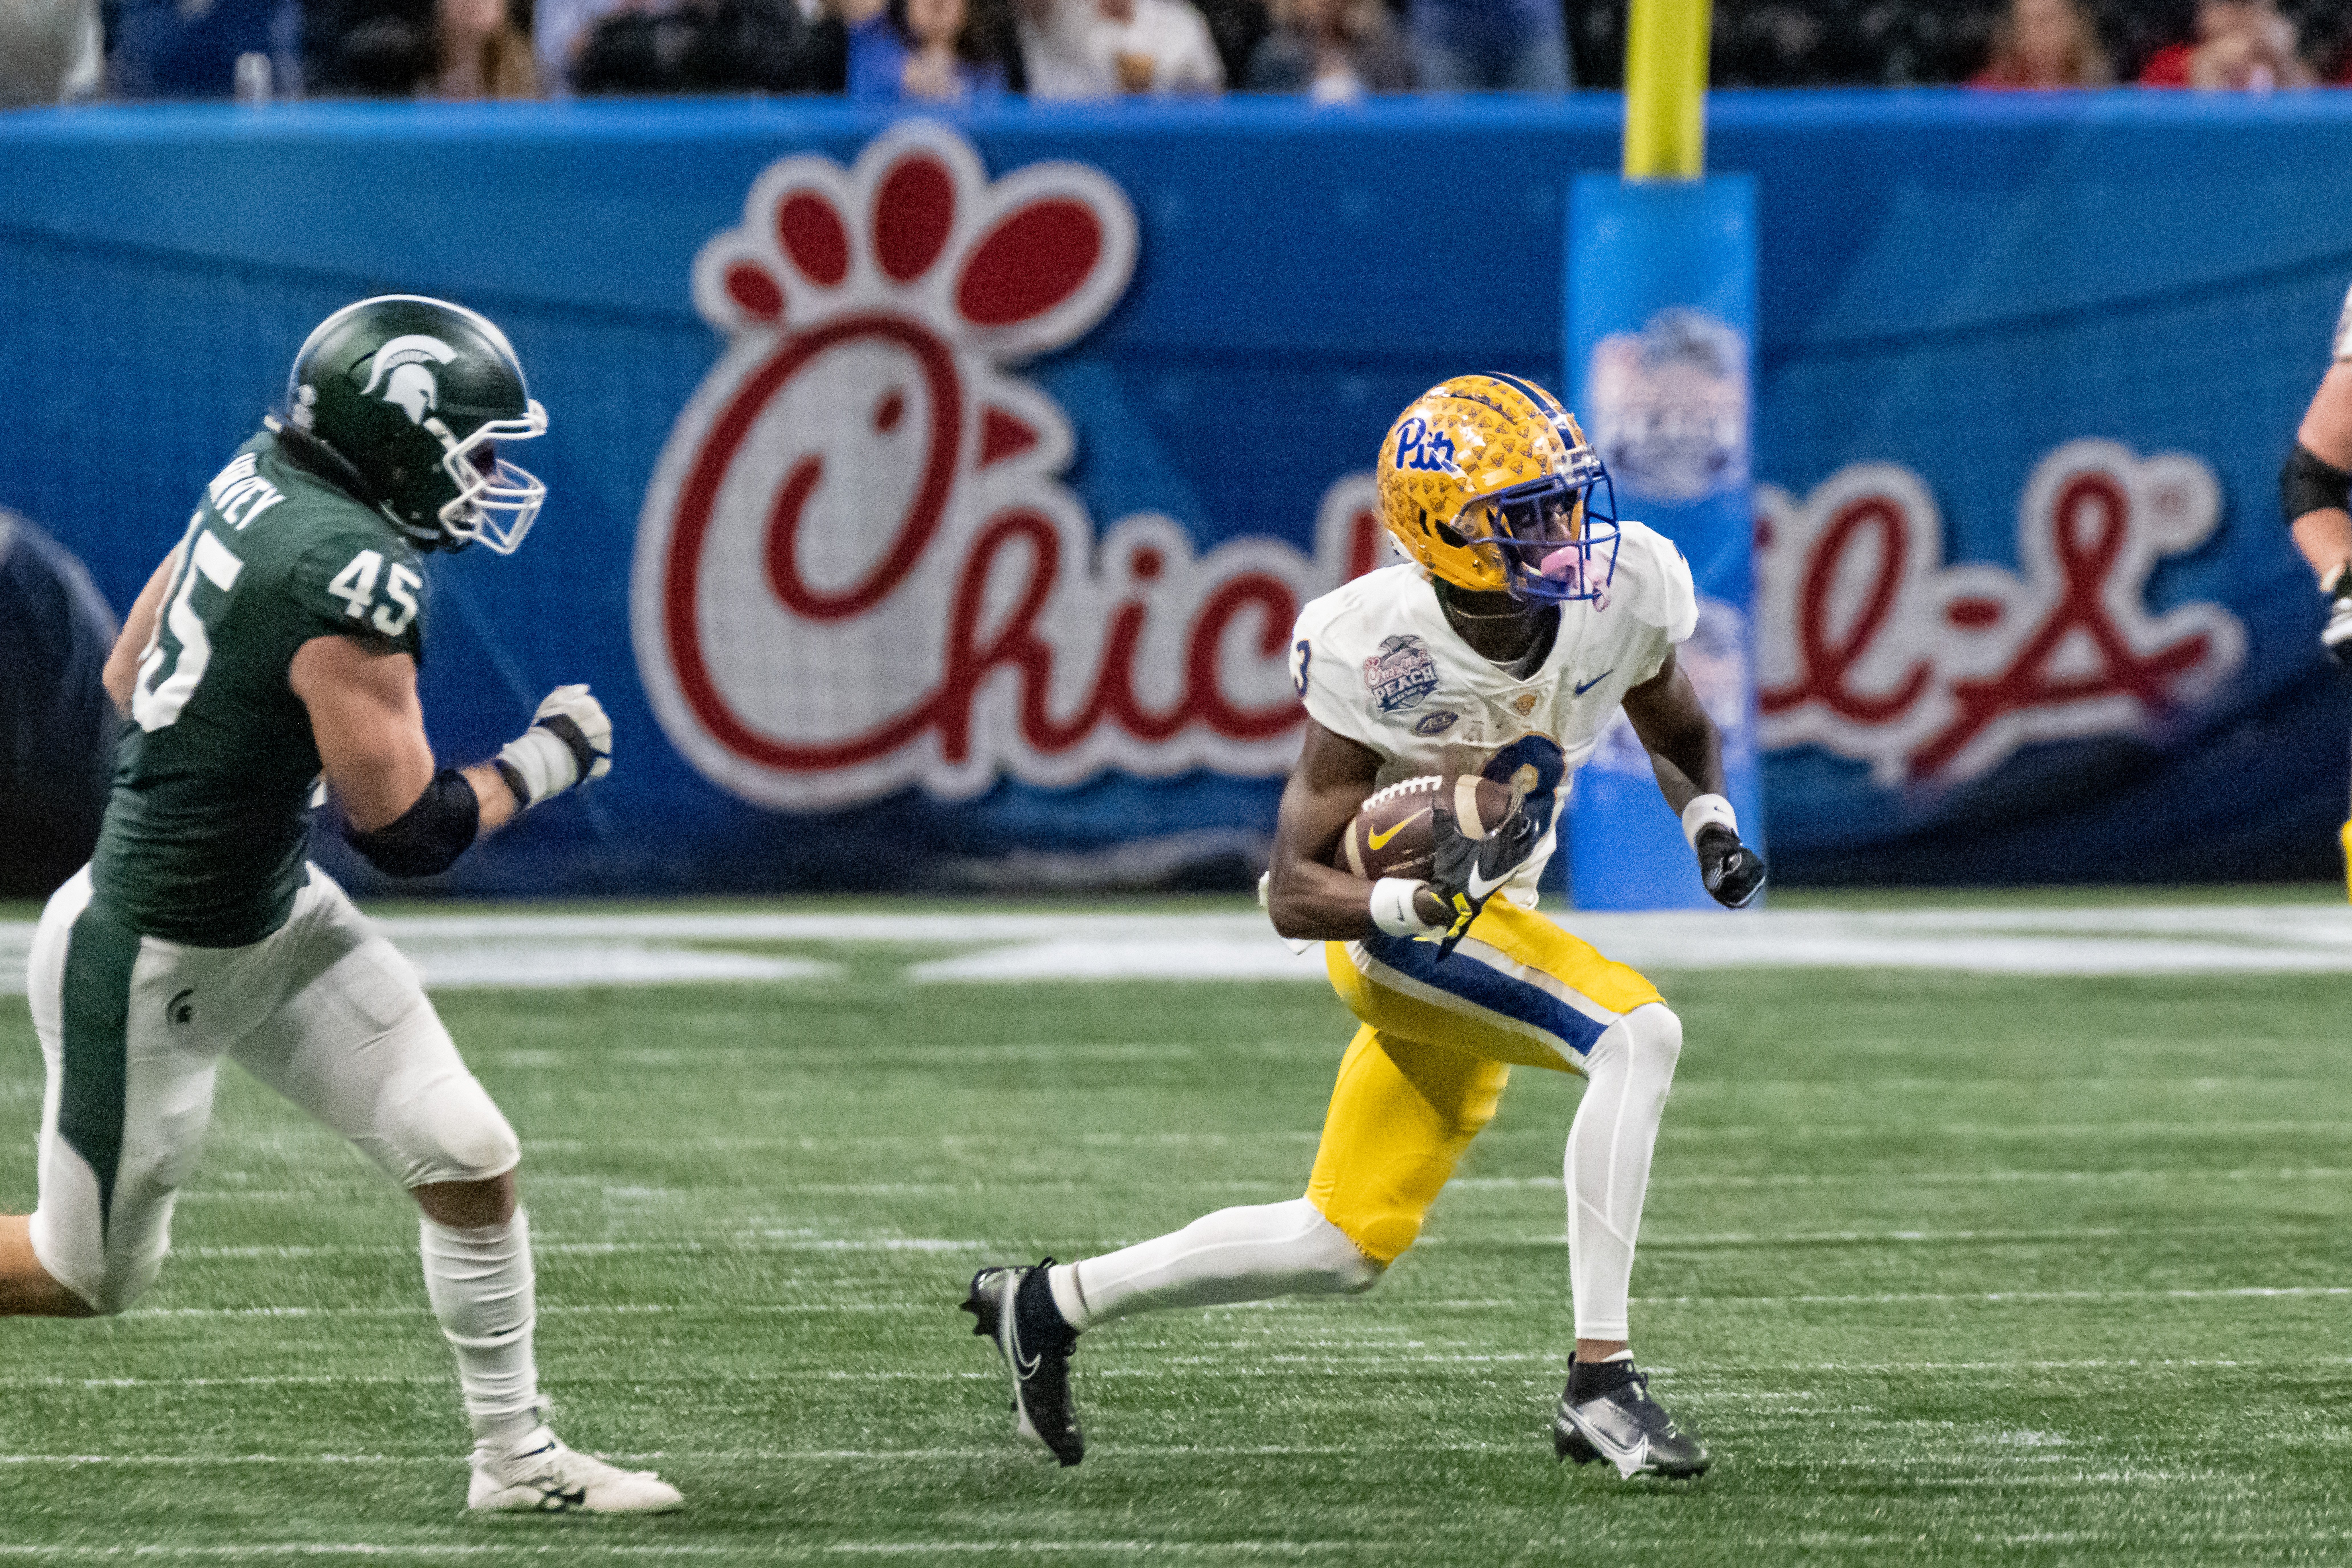
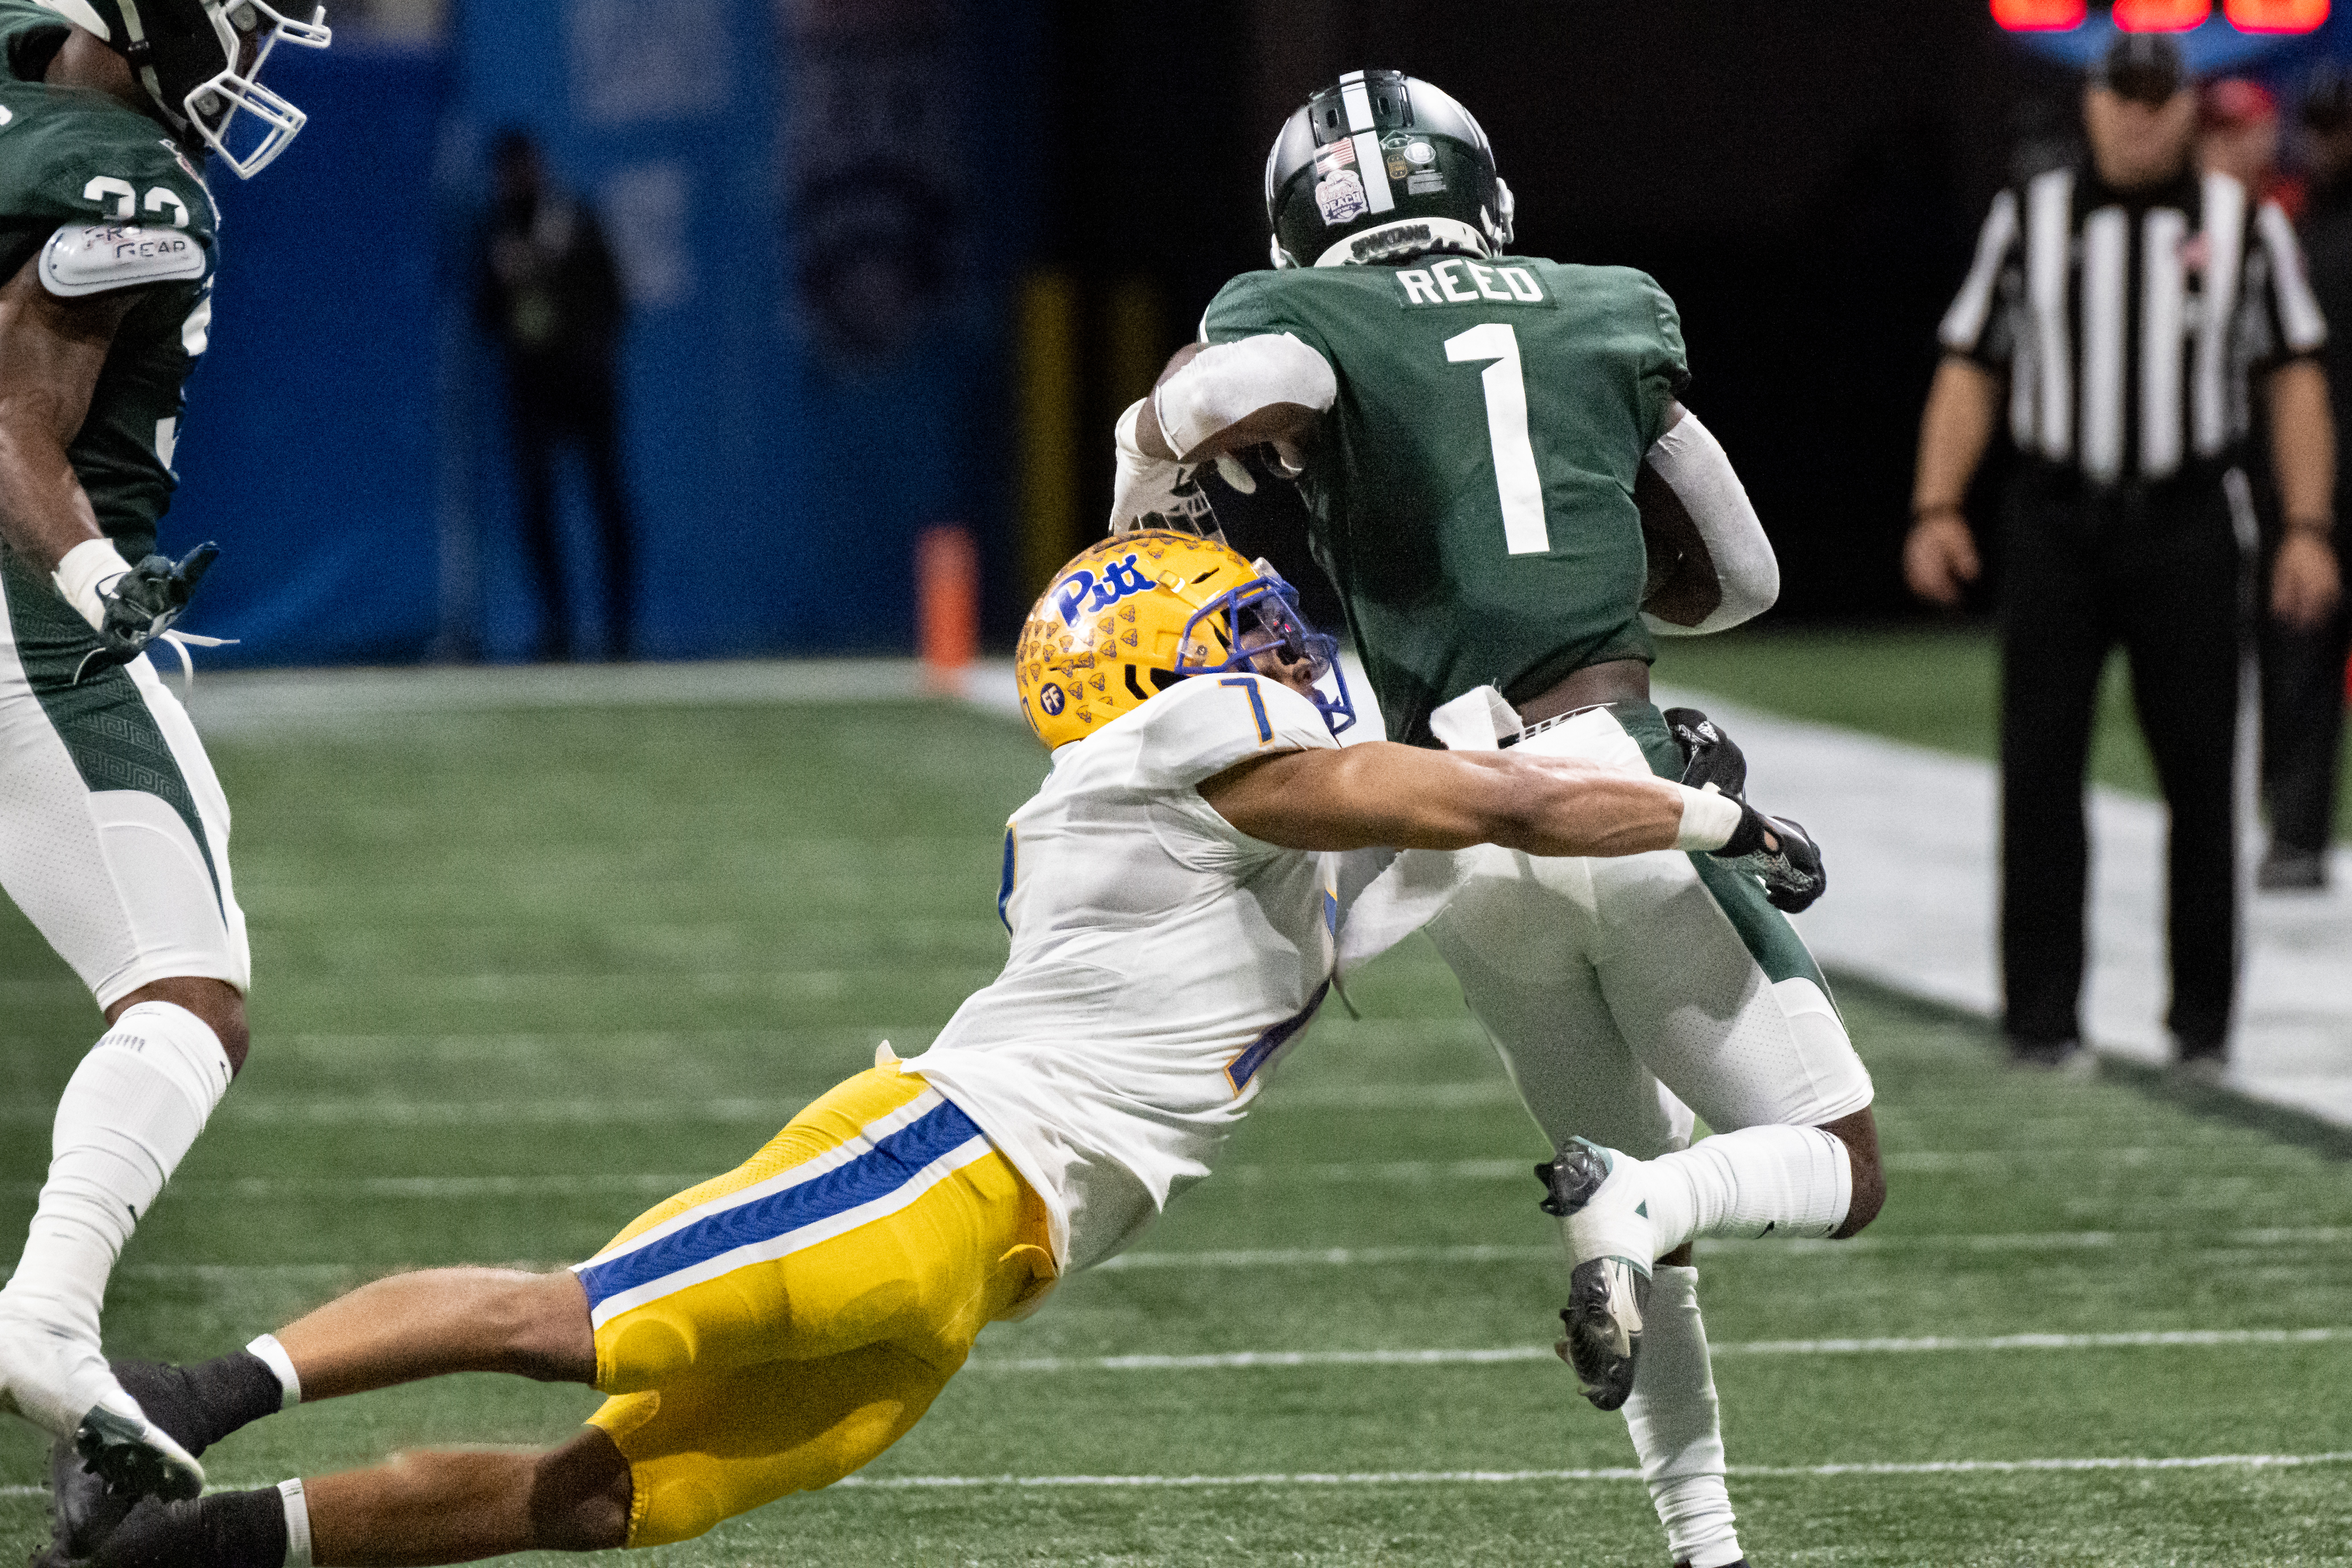
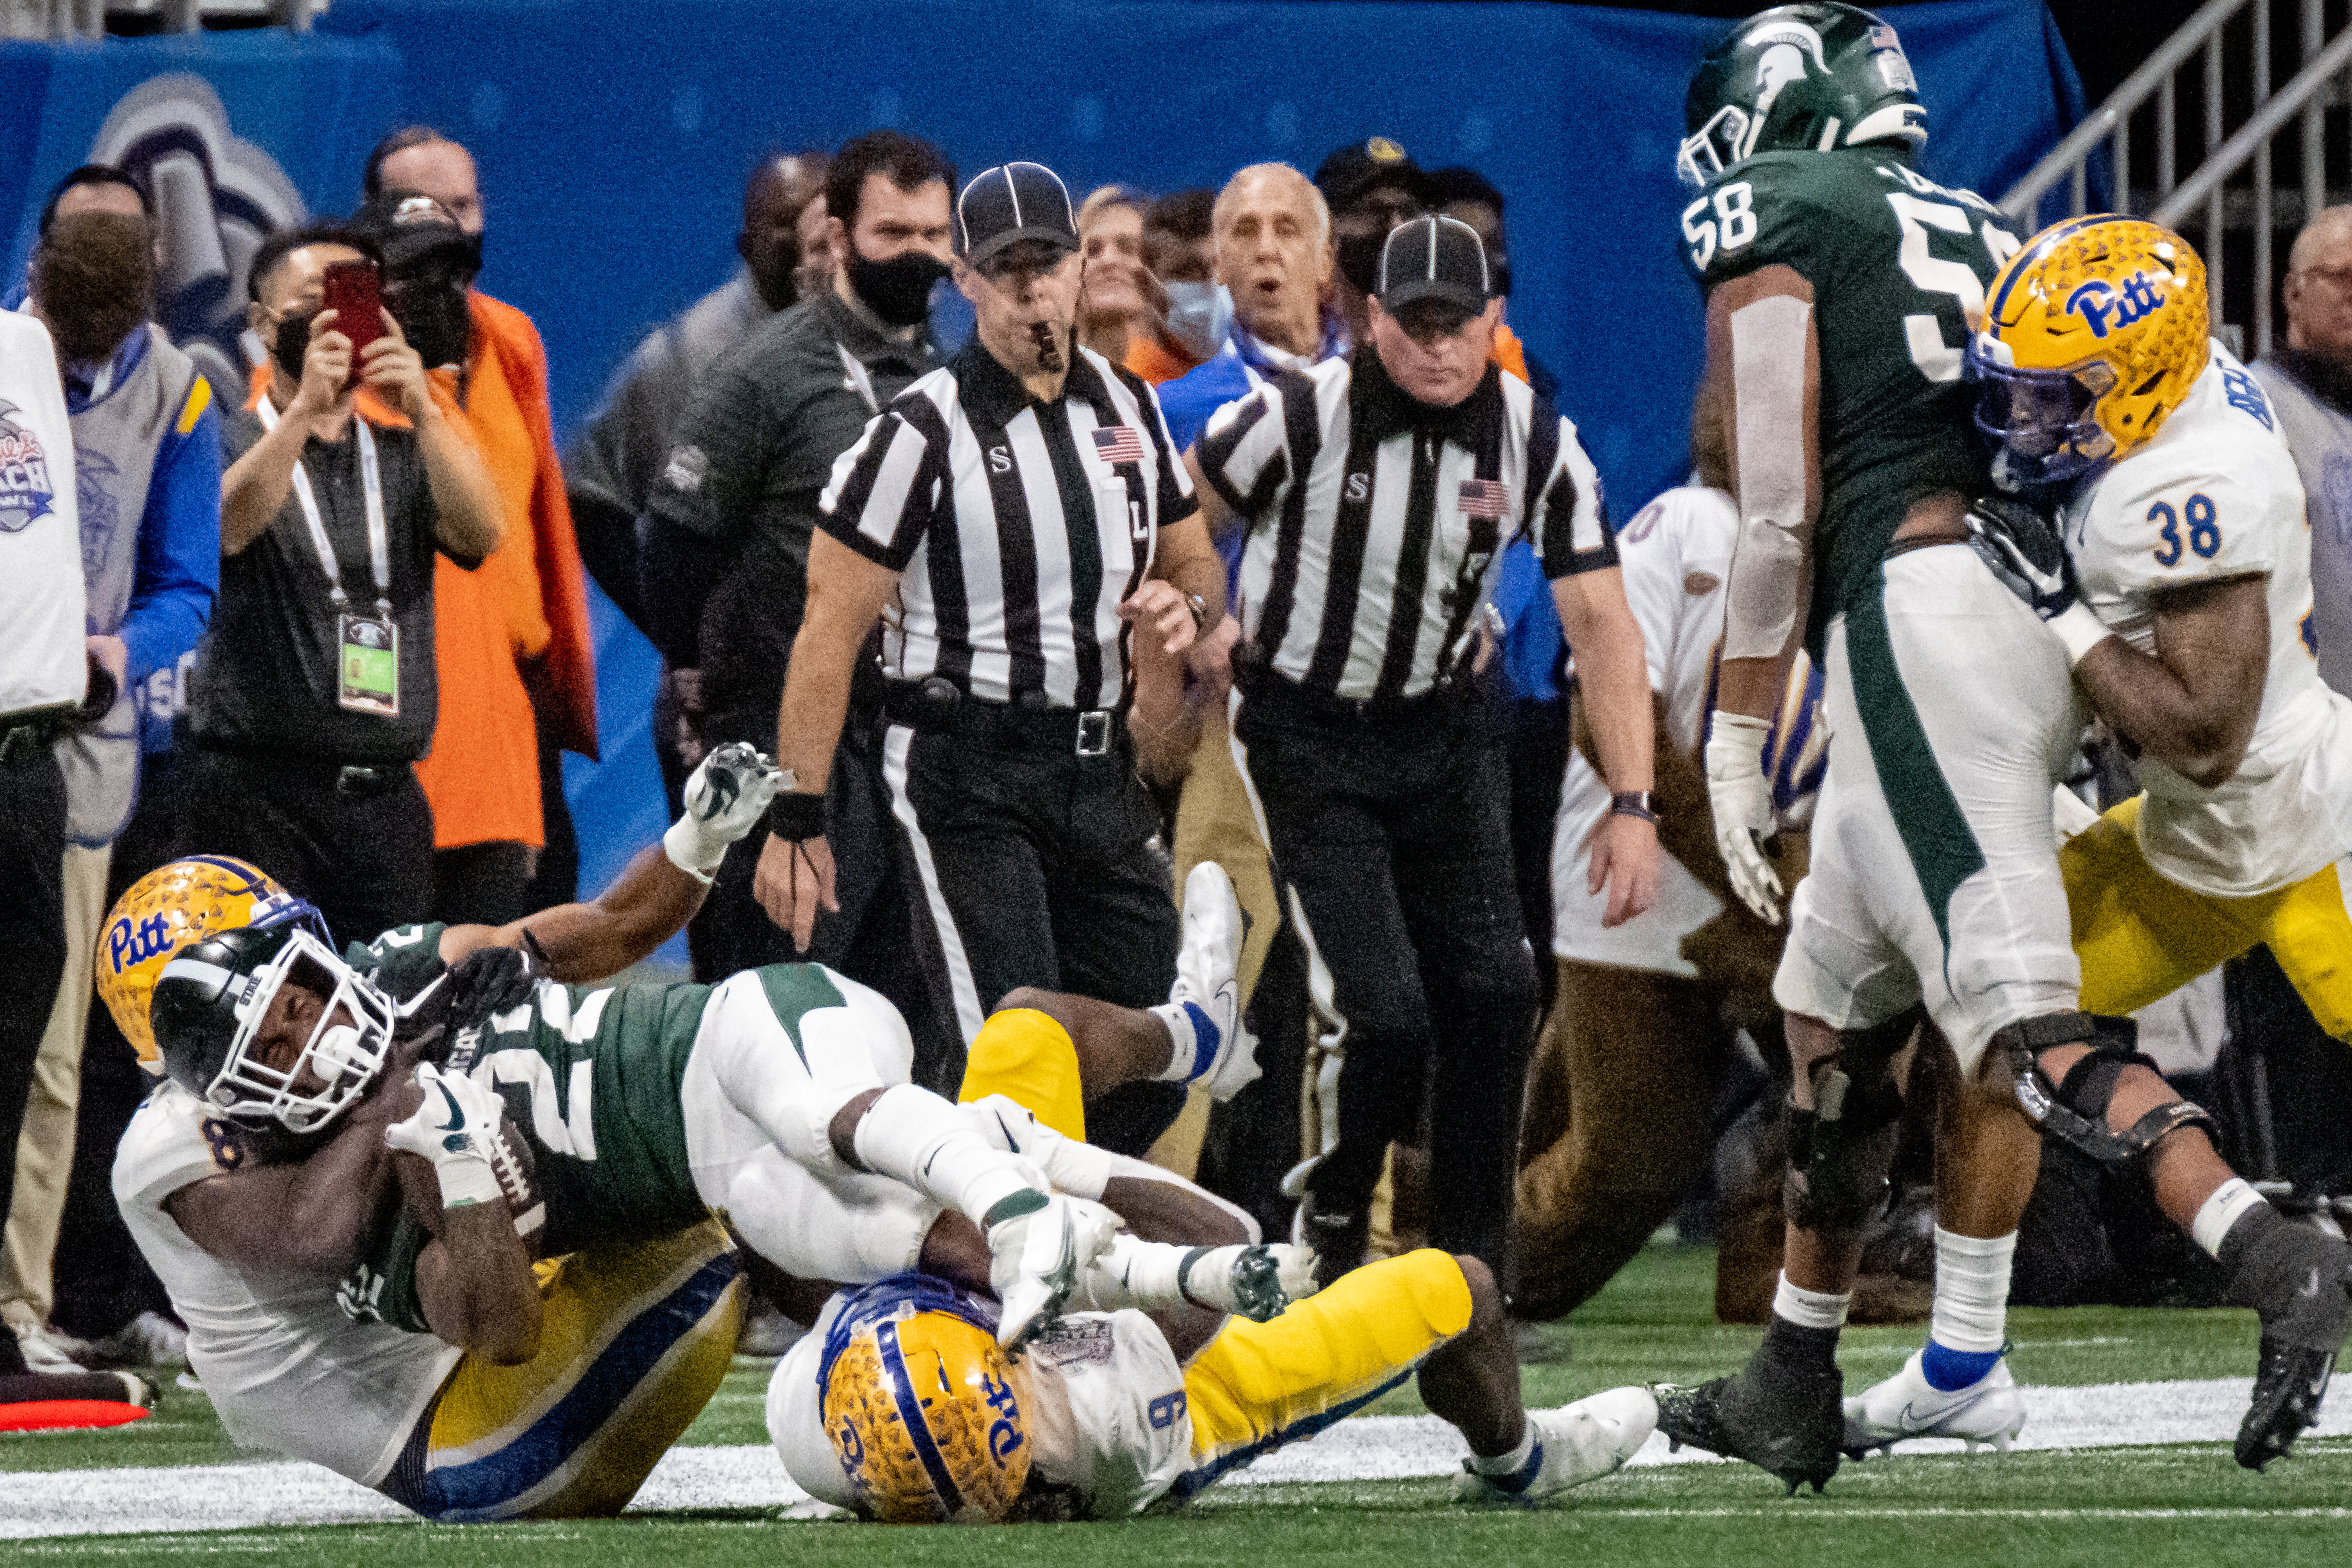
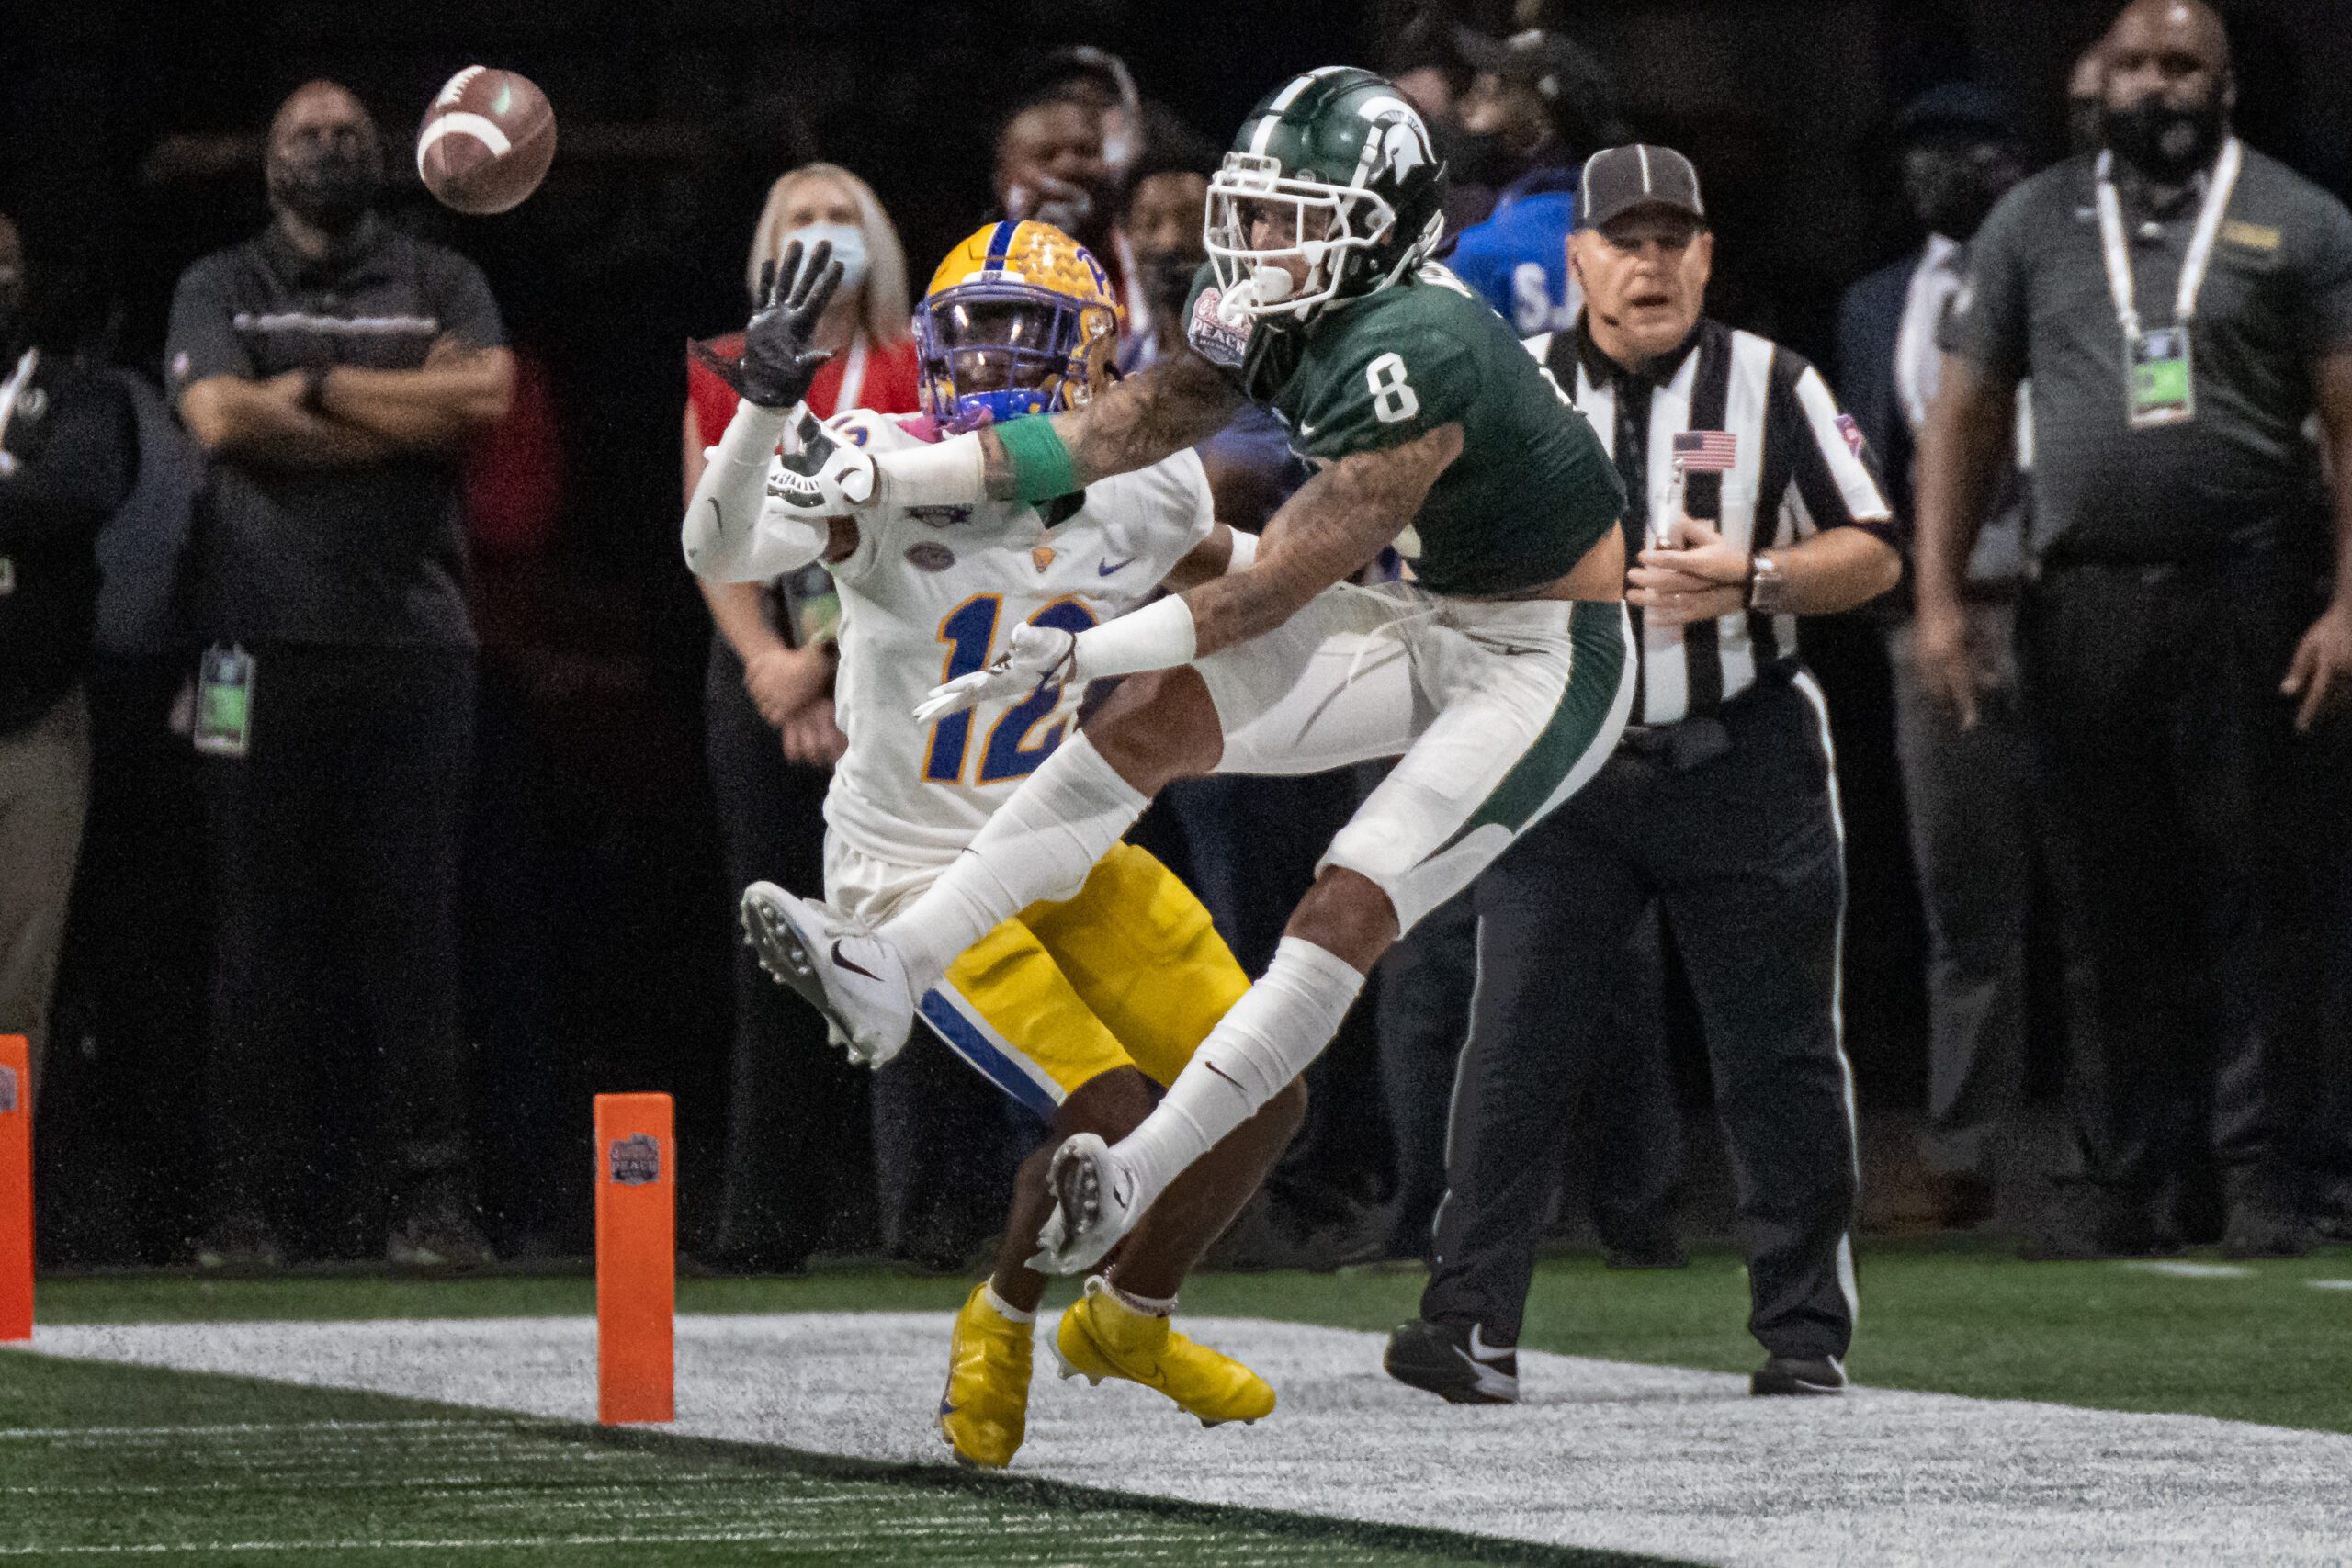
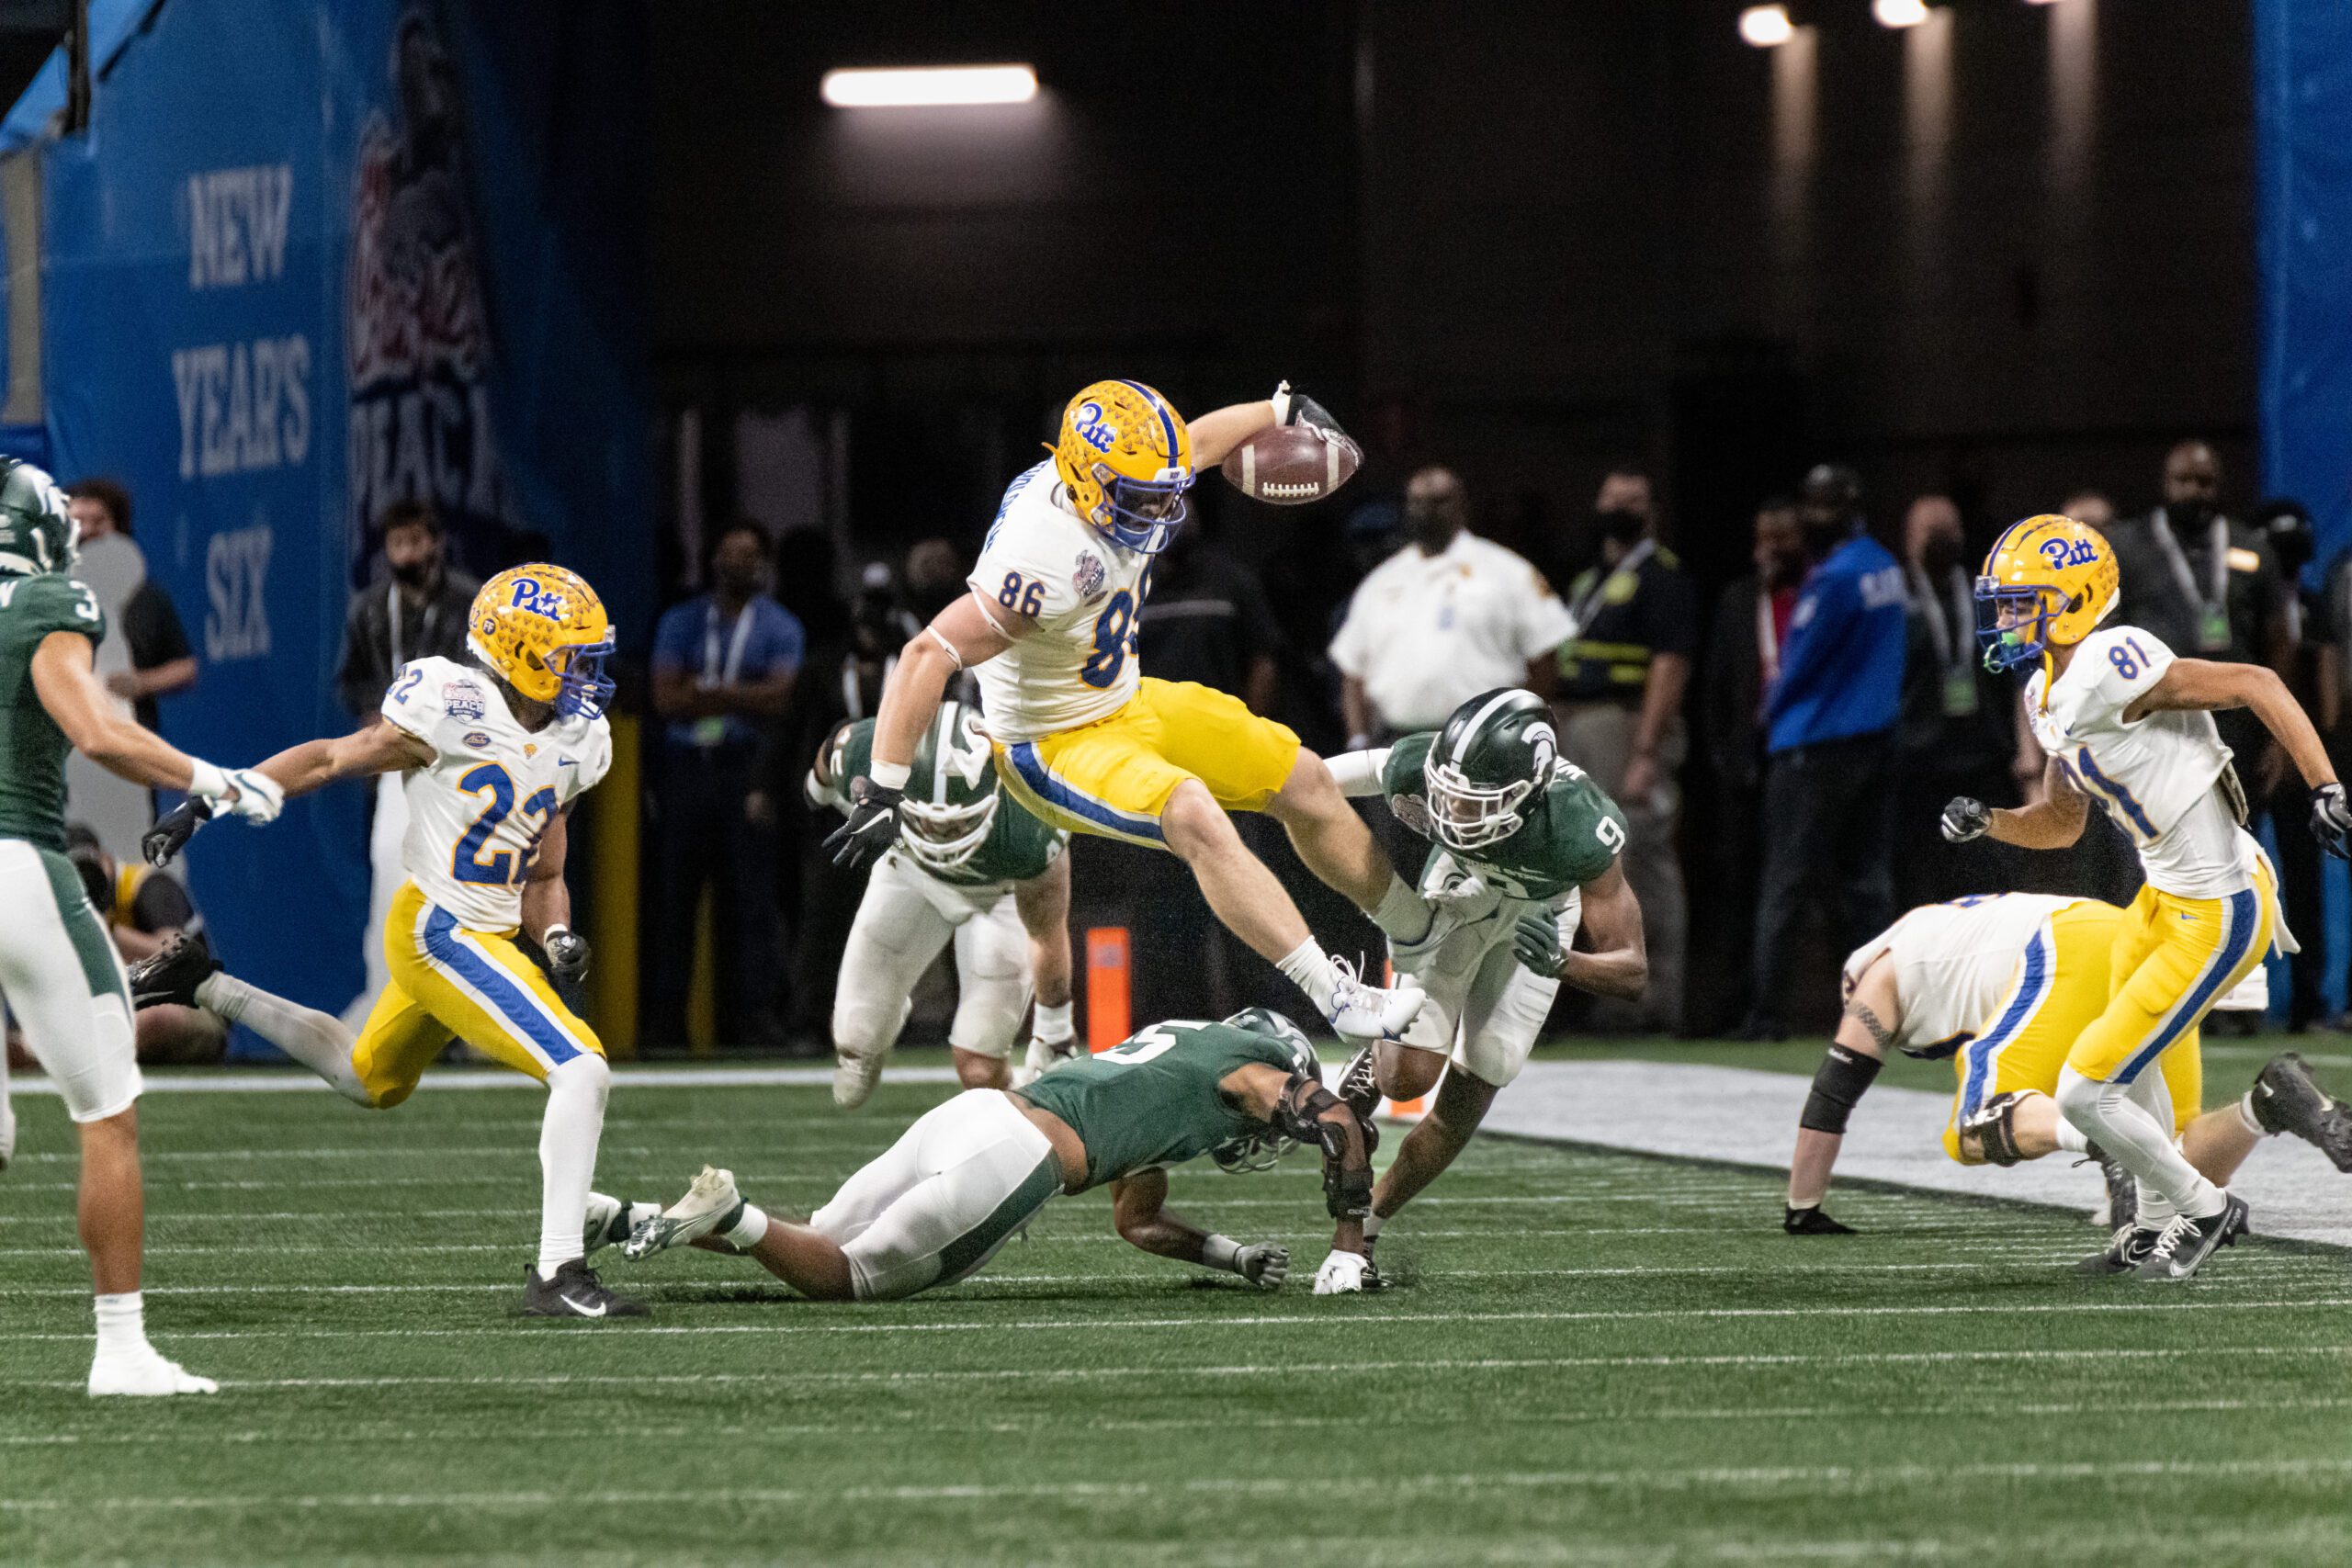
Here are some shots from my coverage of the Chick-fil-A Peach Bowl that I mixed in to show my results.
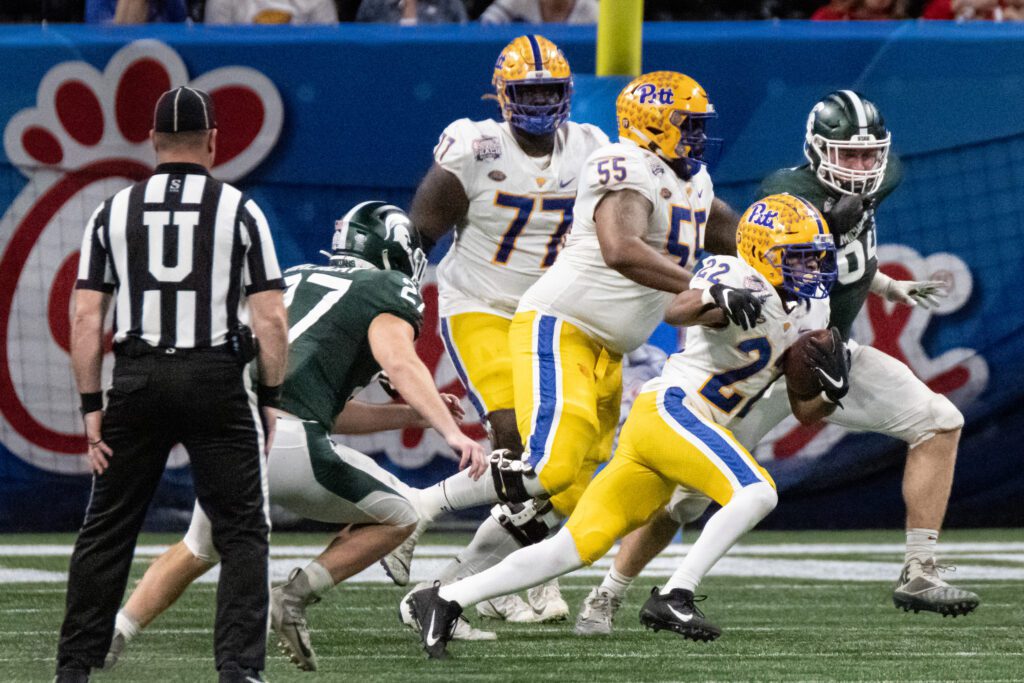
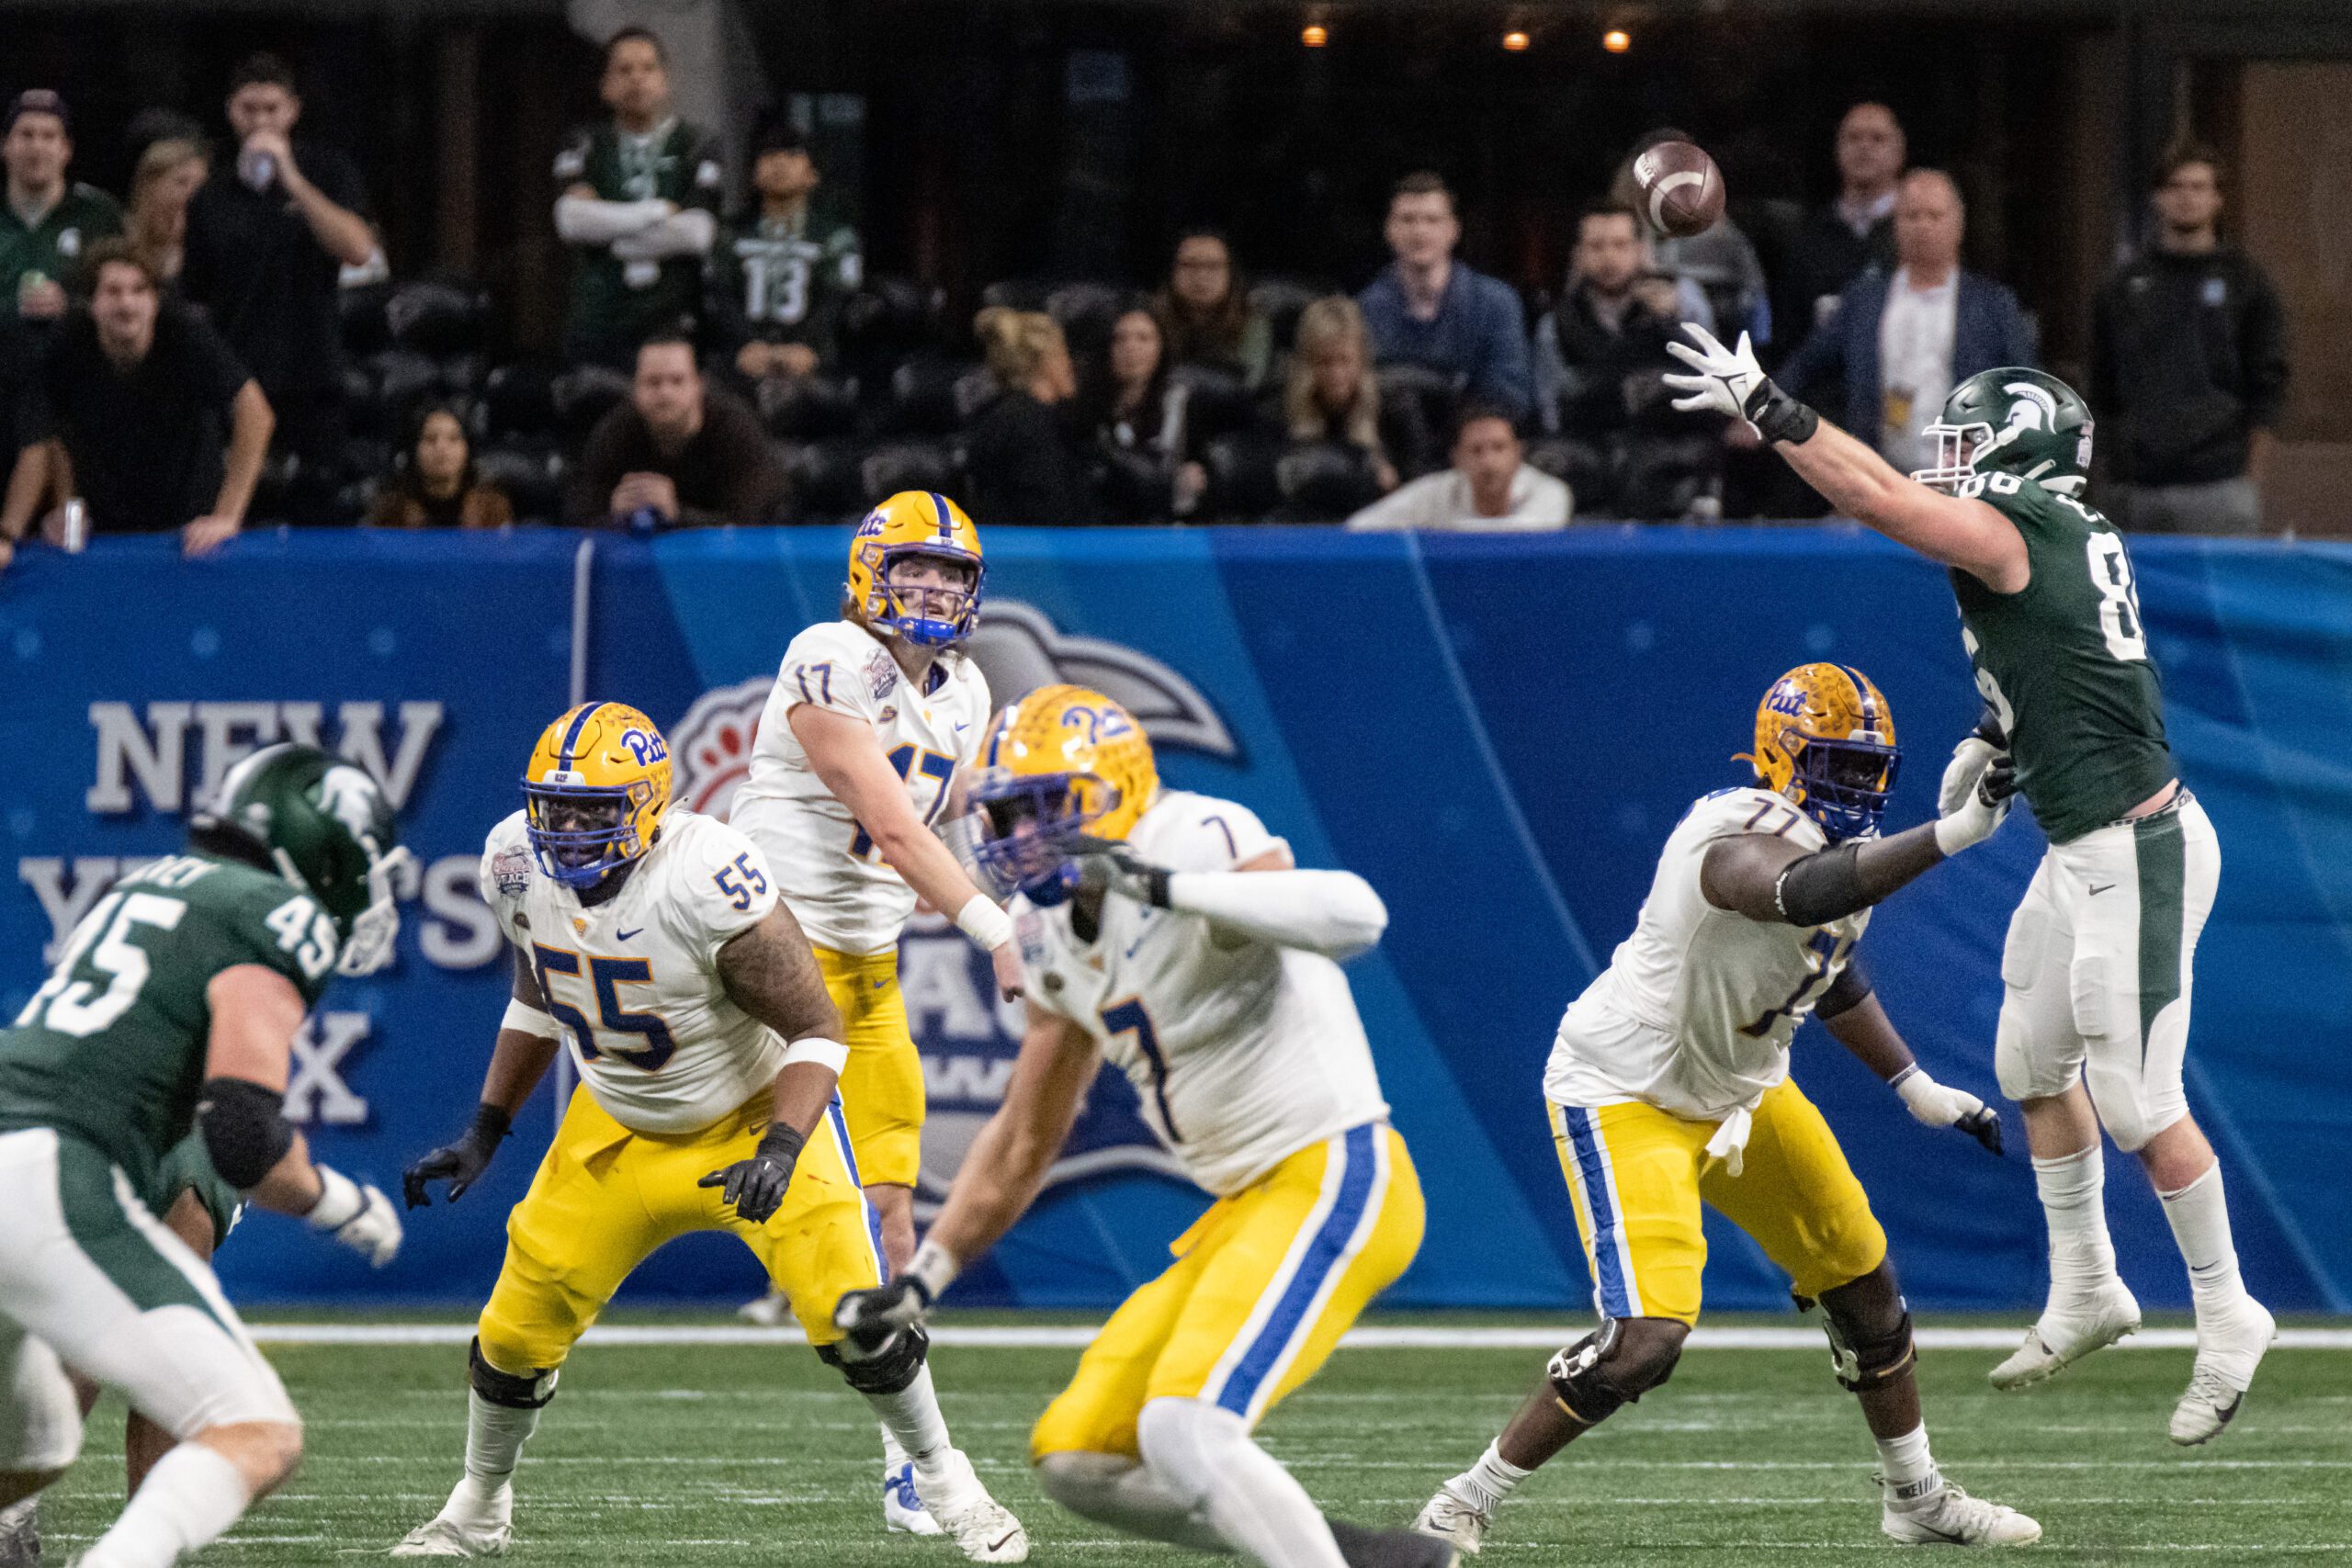
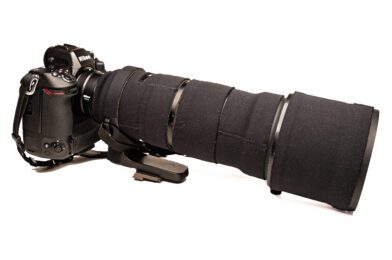
Michigan State vs Pittsburgh [NIKON Z 9, Sigma 120-300mm f/2.8 Sport, Mode = Aperture Priority, ISO 25600, 1/3200, ƒ/5.6, (35mm = 600)]

Nikon Z9 Sports Settings

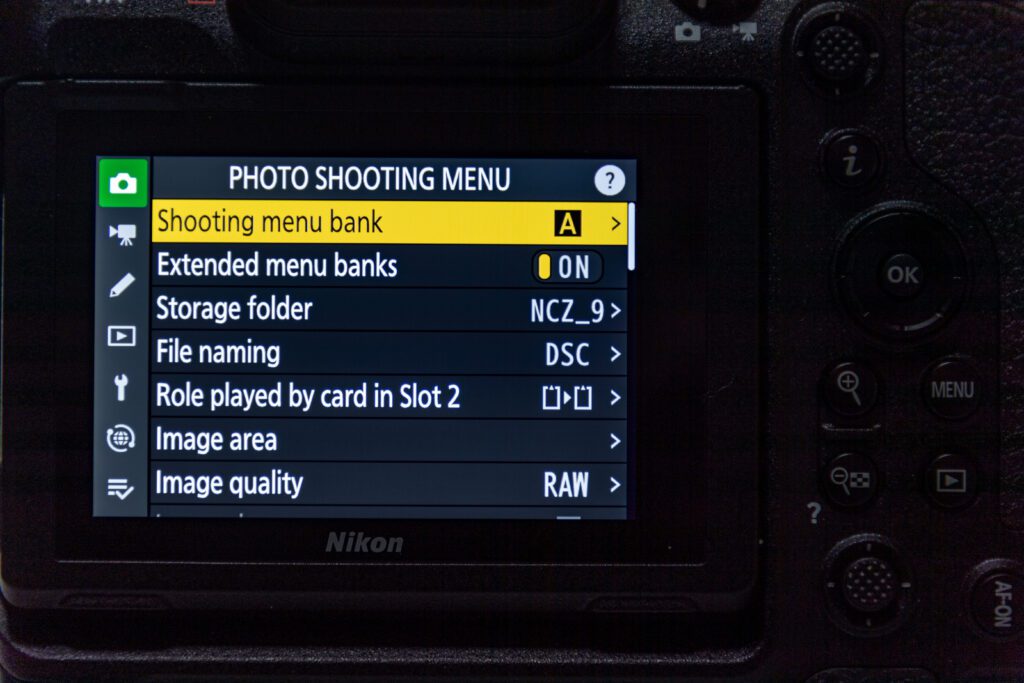
These are the settings that I use on my Nikon Z9 for shooting most all sports action. Nikon has made it pleasant to allow photographers to save these settings, so they do not have to remember every little scene they like to use for a style of shooting.

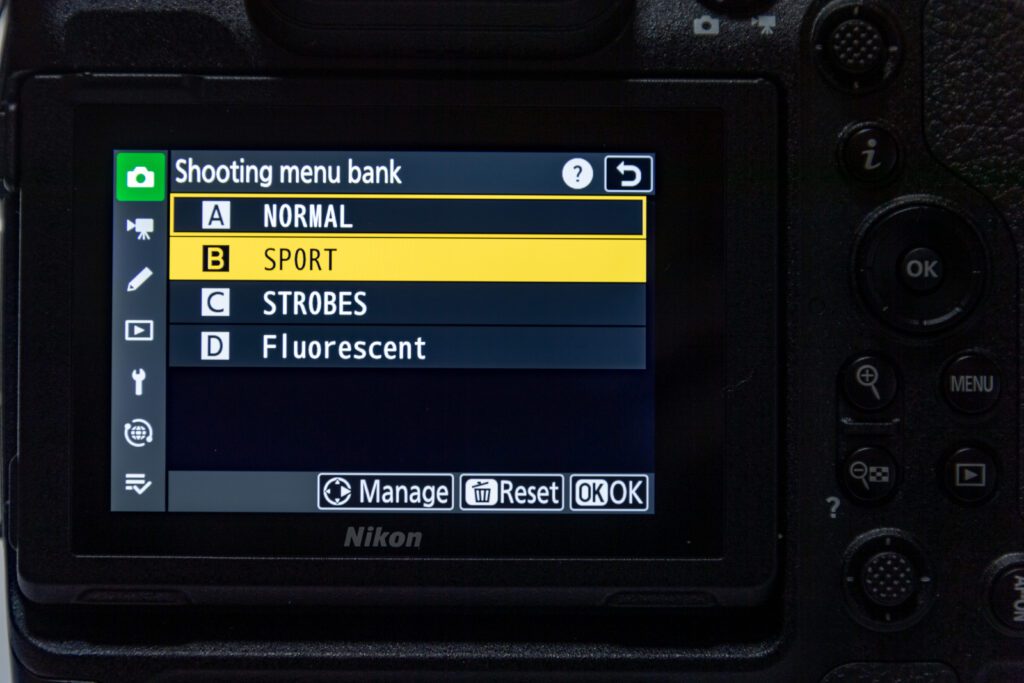
If you go to Menu and under the camera icon, pick the first item, “Shooting menu bank.” I have chosen B, which is my sports menu.
Nikon Z9 Sports Settings

If you toggle into the “Shooting menu bank,” you can rename those settings. Once you choose one of these settings, everything you do to change the menu will be saved in that menu bank. I recommend going ahead and trying all my settings and then tweaking them to your preferences.
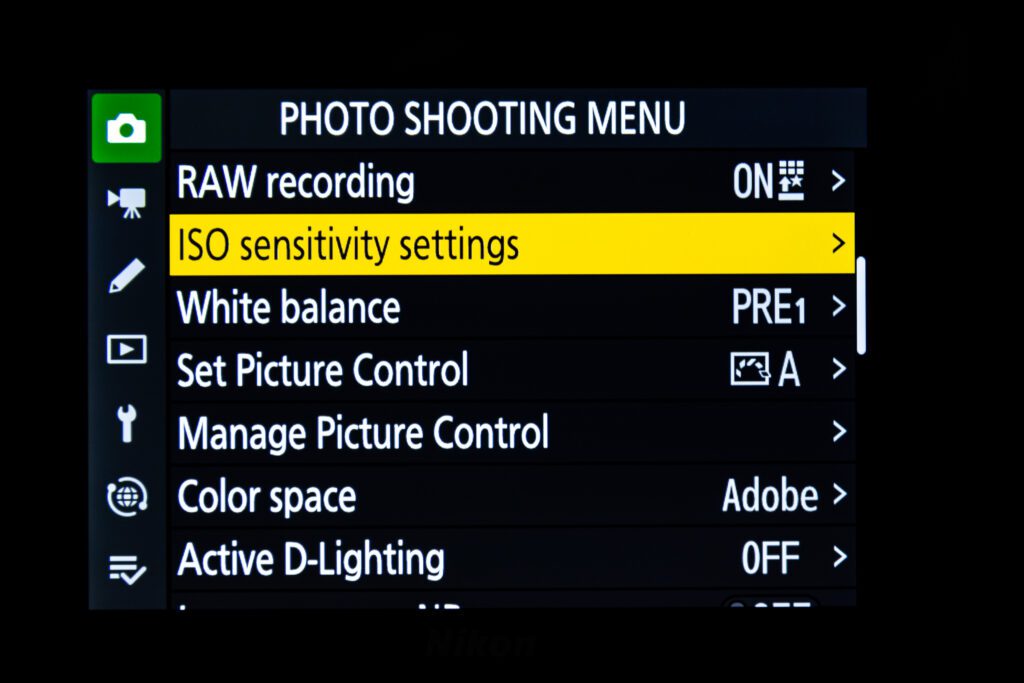
Nikon Z9 Sports Settings

When shooting sports, it is widespread for the lighting conditions to change instantly. While the football player runs toward you, they may go from shade into direct sunlight. For this reason, I let the camera do some of my thinking.

Go to the camera icon and look for “ISO sensitivity settings.” Select this, and you will then see this menu:
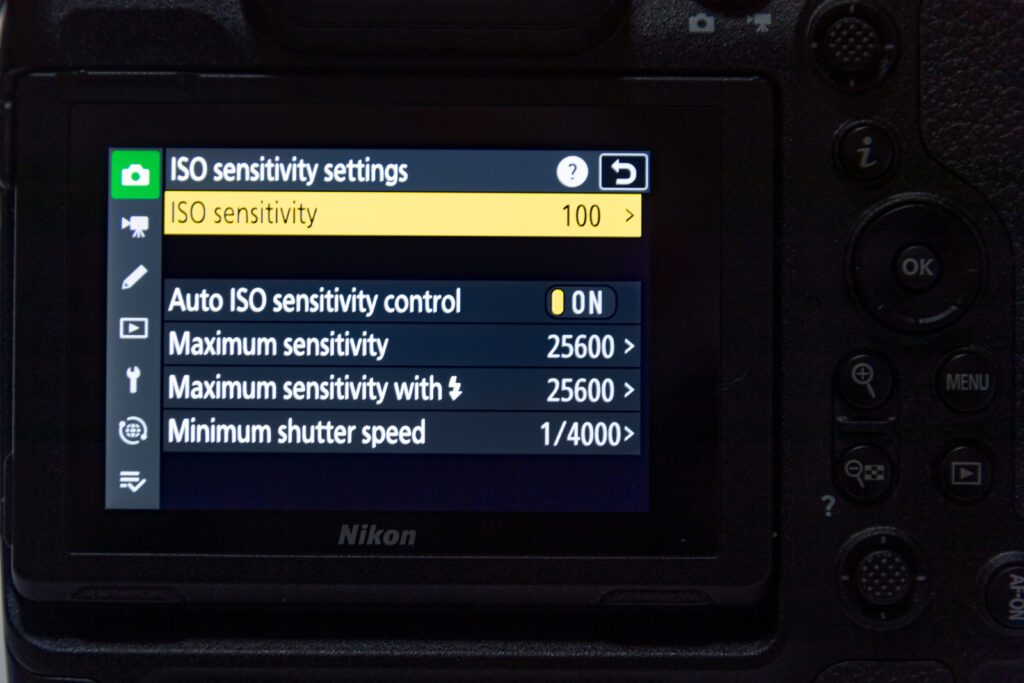
Nikon Z9 Sports Settings

I turn on the “Auto ISO sensitivity control.” Then I set the minimum shutter speed to 1/4000. You could pick something else. I used to shoot at 1/2000. The ISO setting is what you see in the smaller window below the menu. I set this to ISO 100 and the “Maximum sensitivity” to ISO 25600.
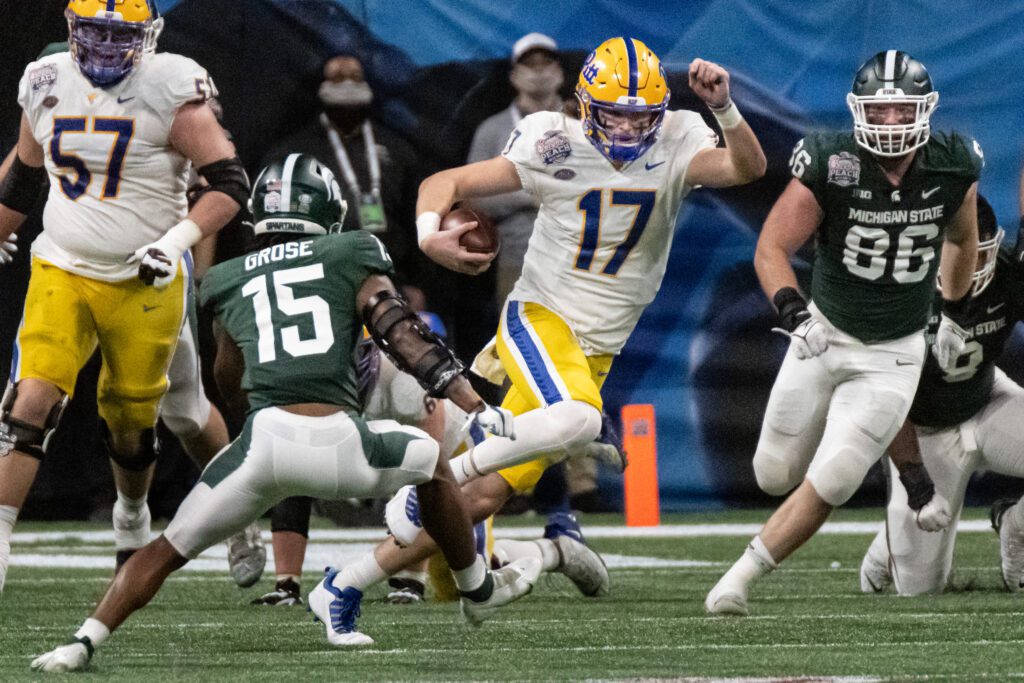
Michigan State vs Pittsburgh [NIKON Z 9, Sigma 120-300mm f/2.8 Sport, Mode = Aperture Priority, ISO 25600, 1/4000, ƒ/5.6, (35mm = 600)]

Why 1/4000? Well, when you are shooting football from the end zone to the other end of the field with a 600mm, you may want to crop. I do crop to get even closer. Therefore this is more like shooting with a 1200mm lens or longer. The longer the lens [CROPPING needs to be factored in], the higher the shutter speed. If you are shooting a 200mm, then shooting at 1/200 shutter speed works pretty well for stationary objects. Following the football field action means your camera moves a lot.

I have found that my photos looked even better at 1/4000 than they did at 1/2000. I am moving the camera, and the player is moving–we are not always in sync. They may Zig while I Zag. That is, they are going opposite my movement, which accentuates the action.
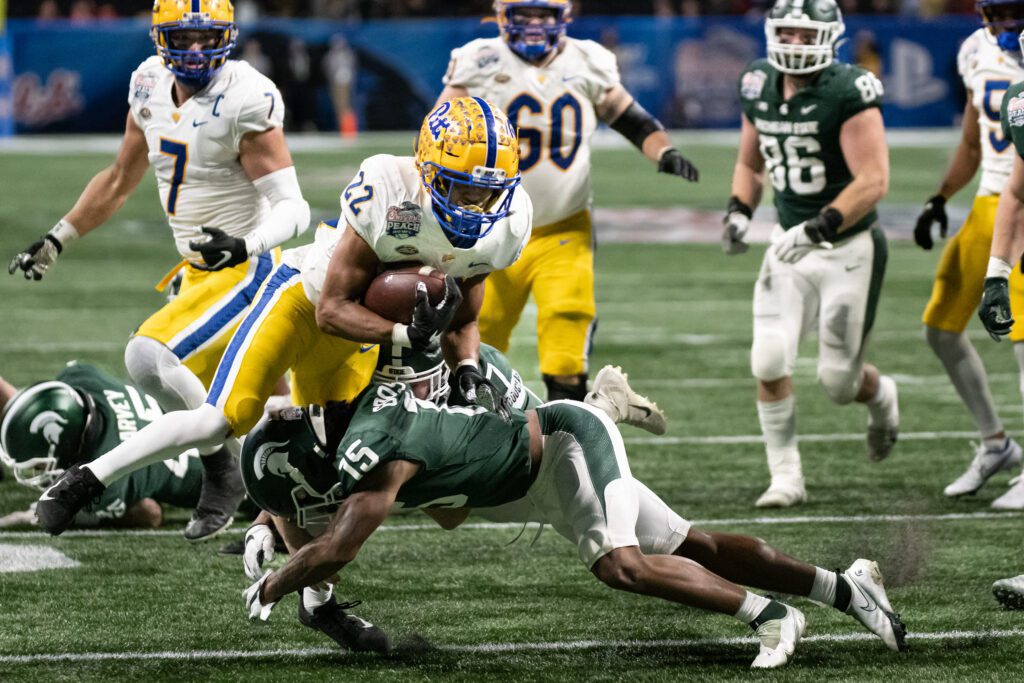
Michigan State vs Pittsburgh [NIKON Z 9, Sigma 120-300mm f/2.8 Sport, Mode = Aperture Priority, ISO 8000, 1/4000, ƒ/2.8, (35mm = 160)]

While I am in Aperture Mode shooting, the camera will always pick 1/4000 shutter speed. If in sunlight I am at ƒ/4, the shutter speed may go as high as 1/8000 at ISO 100, but as the scene changes and the athlete is now in the shade, the camera will automatically drop to 1/4000 @ ƒ/4, and then change also the ISO up until I can still shoot at 1/4000.

The only time the shutter speed will dip below 1/4000 is if the ISO peaks out at 25600.  If my aperture is wide open, the camera is doing everything I would have done manually, but faster than I could ever adjust the camera. That is how you get more shots than the guy next to you.
Nikon Z9 Sports Settings

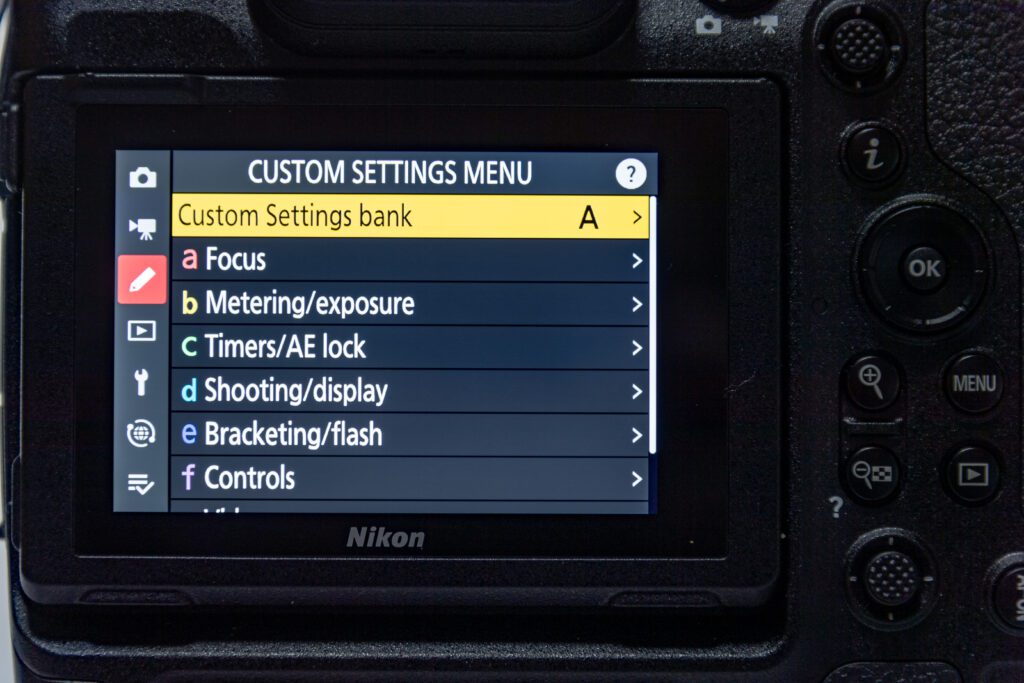
Next, select the Pencil on the menu and go into the Custom settings bank.
Nikon Z9 Sports Settings

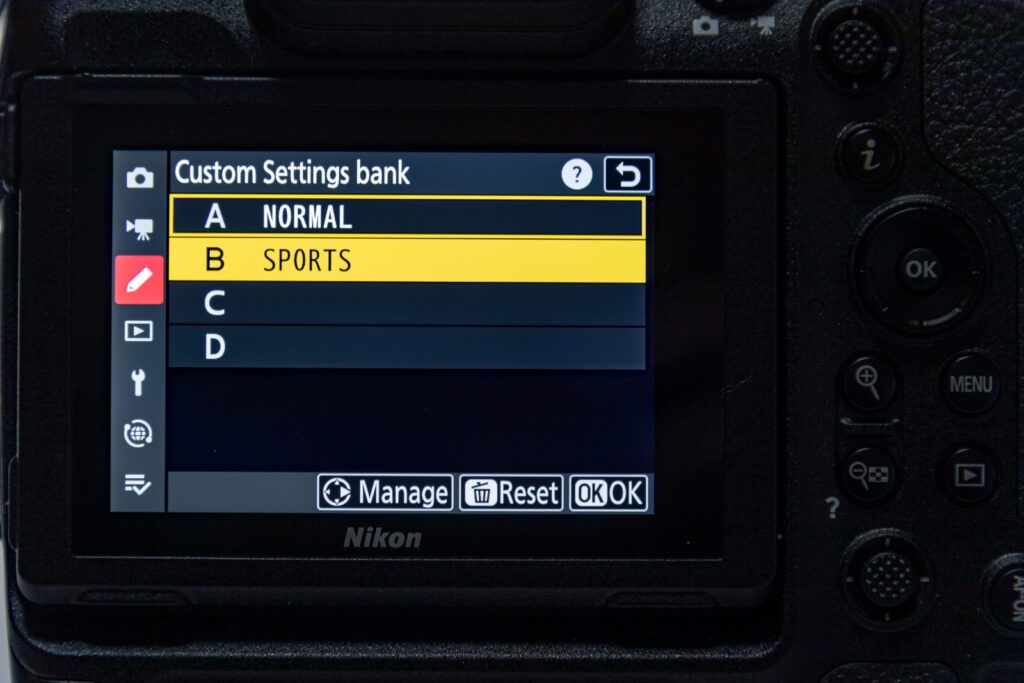
Again just like the Photo Shooting Menu, create a Sports Menu as I have done here.
Nikon Z9 Sports Settings

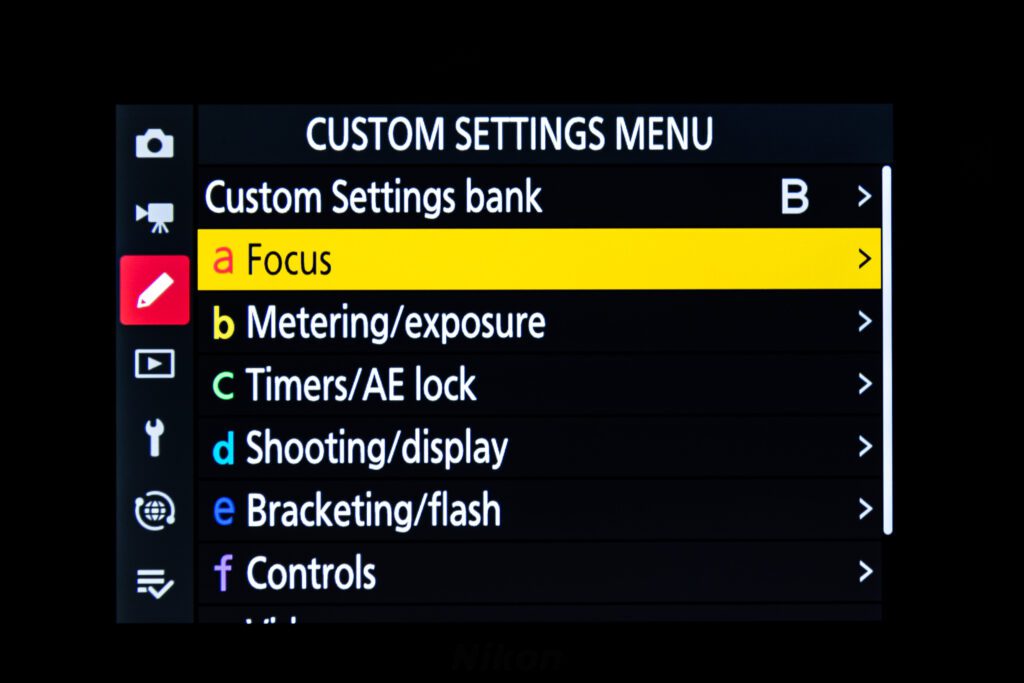
Next, choose Autofocus in the menu.

Nikon Z9 Sports Settings

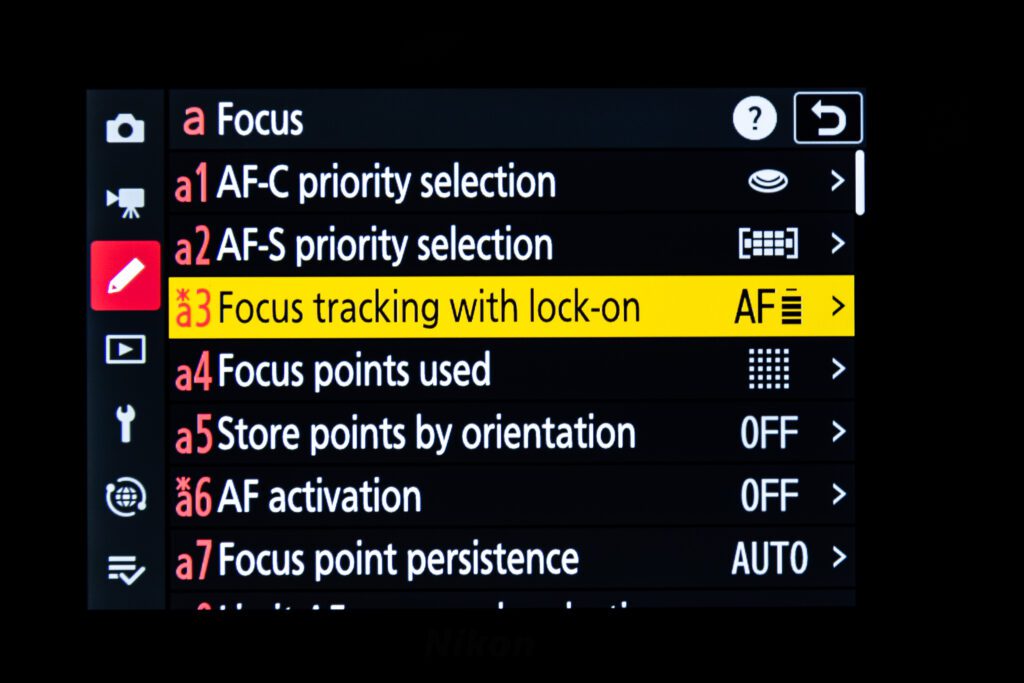
Then choose the Focus tracking with lock-on.
Nikon Z9 Sports Settings

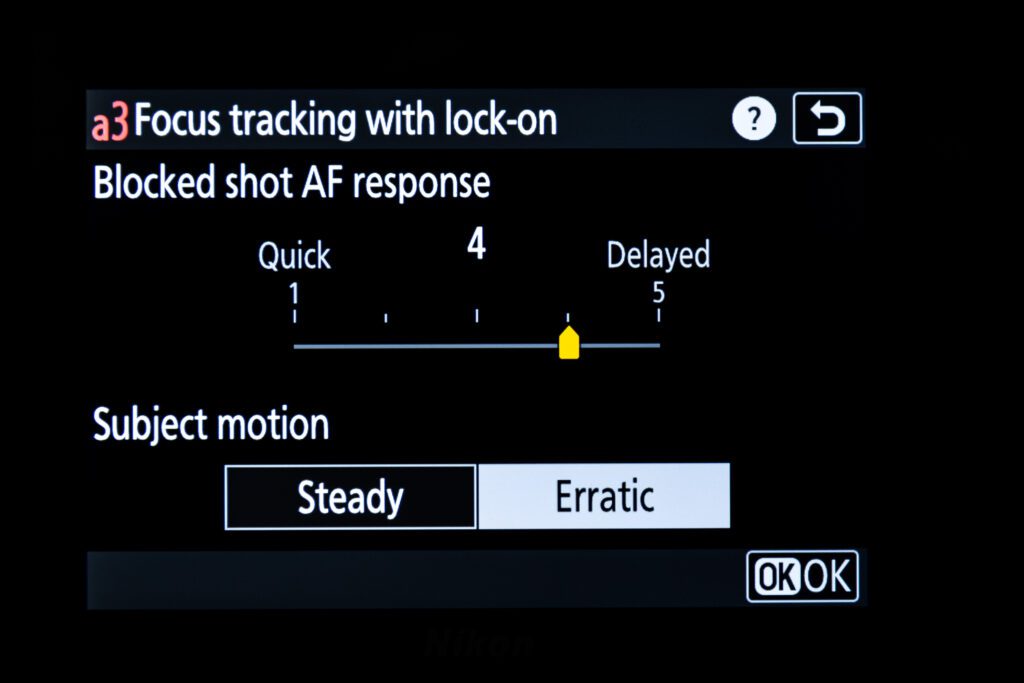
I change the “Focus tracking with lock-on” from Normal to 4. What happens when I do this is the delay for the lens to refocus if something occurs between the camera and subject (like a referee). While I am following someone, the camera will not refocus right away. This is something you need to try and pick what you like. You may want the lens to be more responsive and therefore go to set one, letting the lens refocus instantly.

Focus Settings
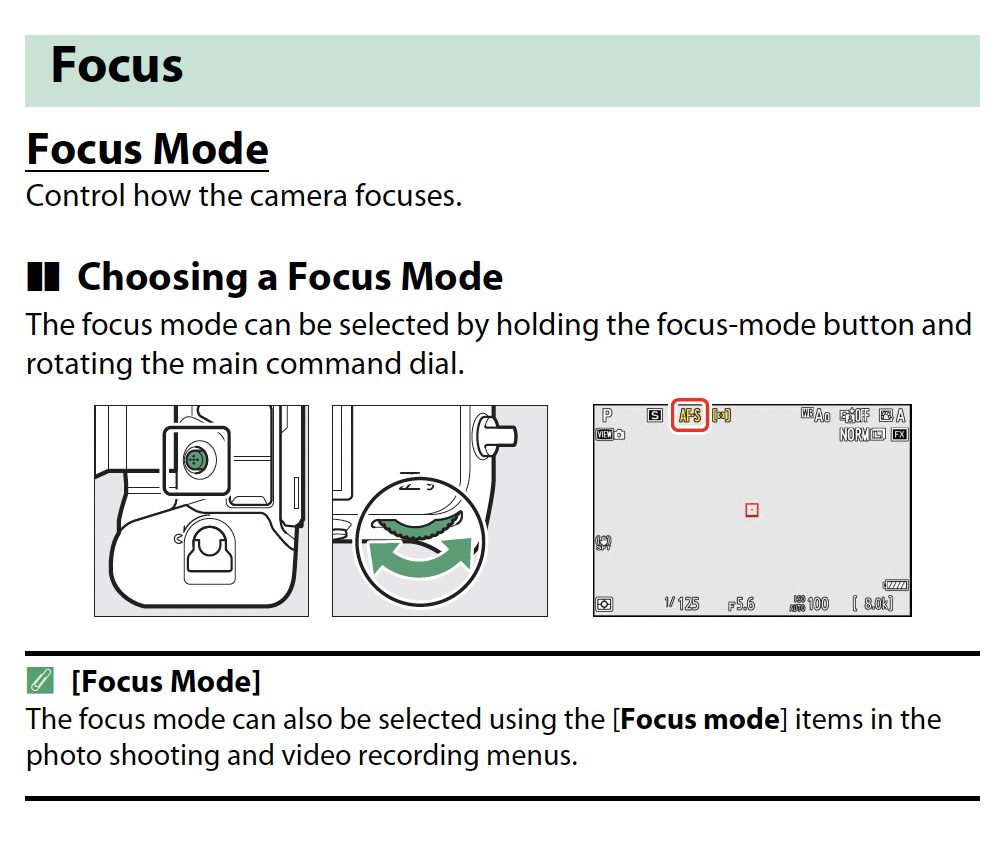
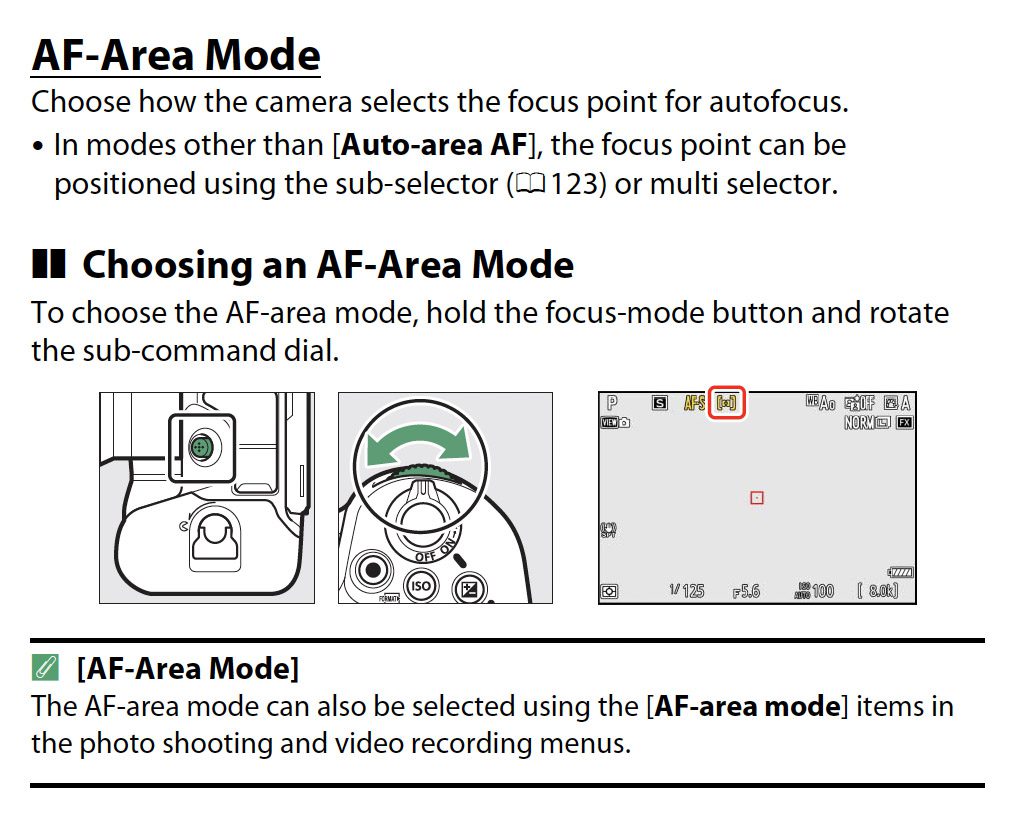
You want to pick Autofocus Continuous mode for sports.
Nikon Z9 Sports Settings

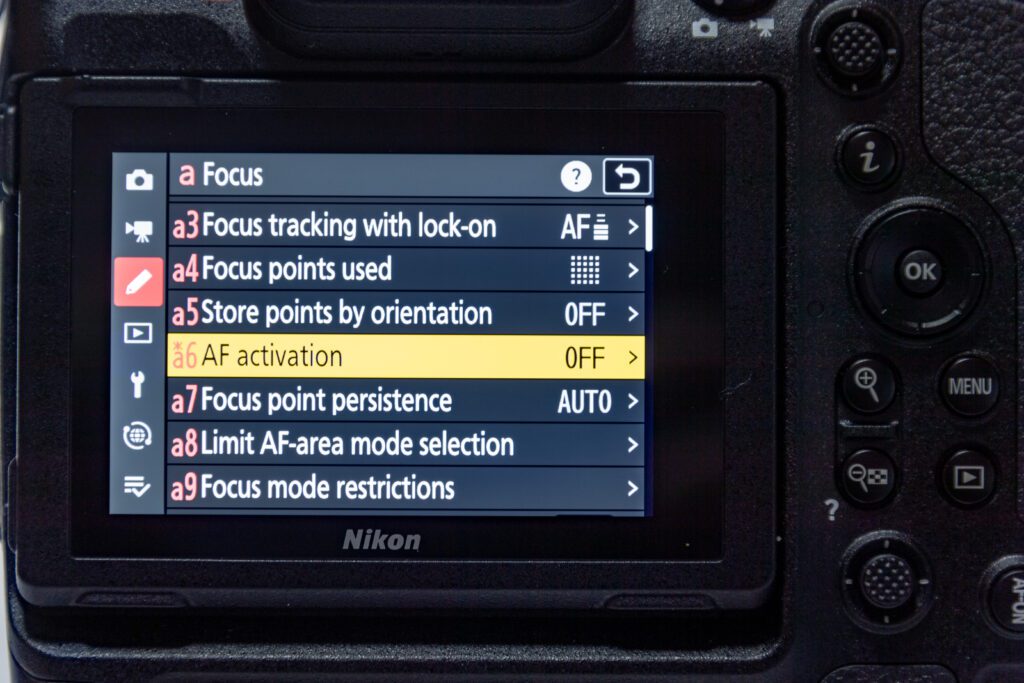
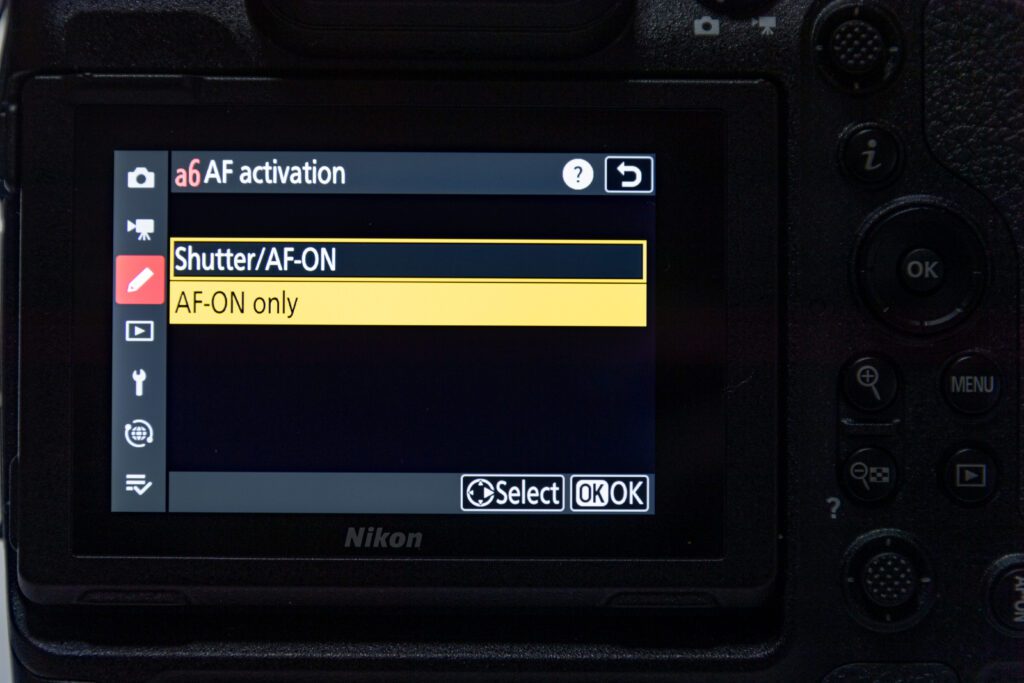
In the menu, Pencil selections, pick AF Activation under the Autofocus settings.
Nikon Z9 Sports Settings

Then choose the AF-ON only. This will mean when you push the shutter release, it will not focus but fire the shutter to take a photo.
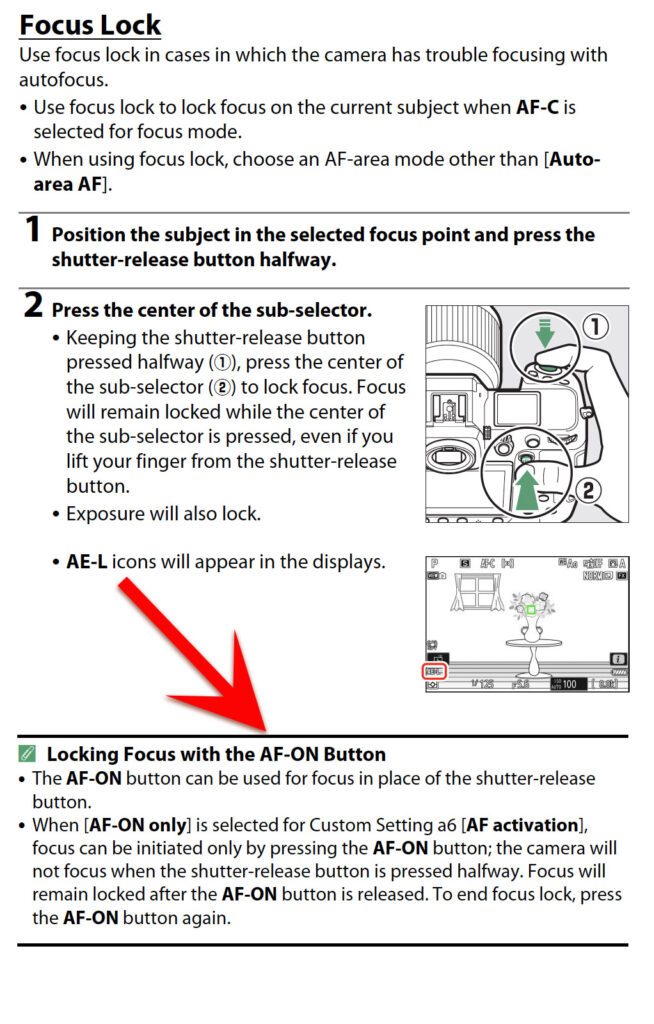
By changing these settings, you will notice the camera will stay in focus and shoot faster frame rate. Great for following a baseball player sliding into a plate and another player trying to tag them, or maybe a football player is running towards you to score. You will find more photos tack sharp in a series.

I generally put my focus point dead center and lock it, so I don’t bump it. I am trying to get photos of moving subjects, and off-center is too tricky. I may crop later for a better composition, but I want the issue to focus first.
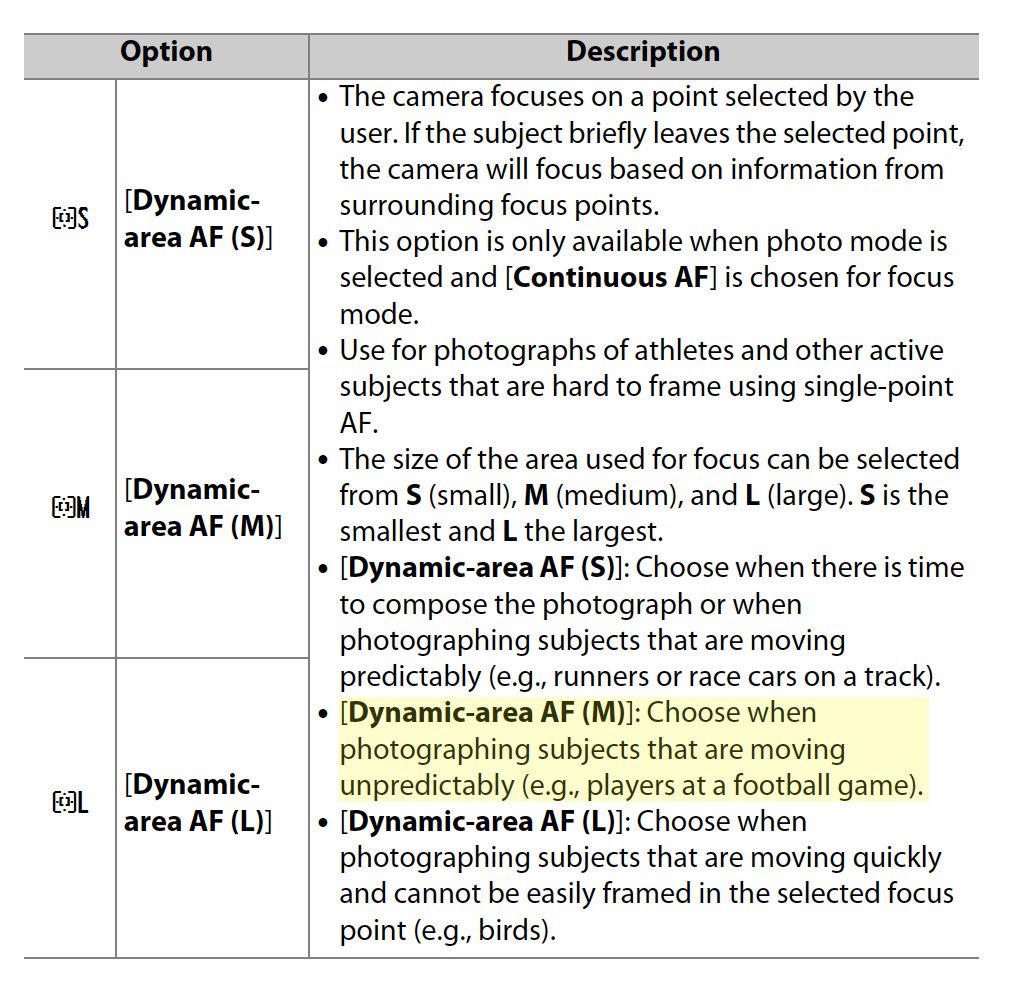
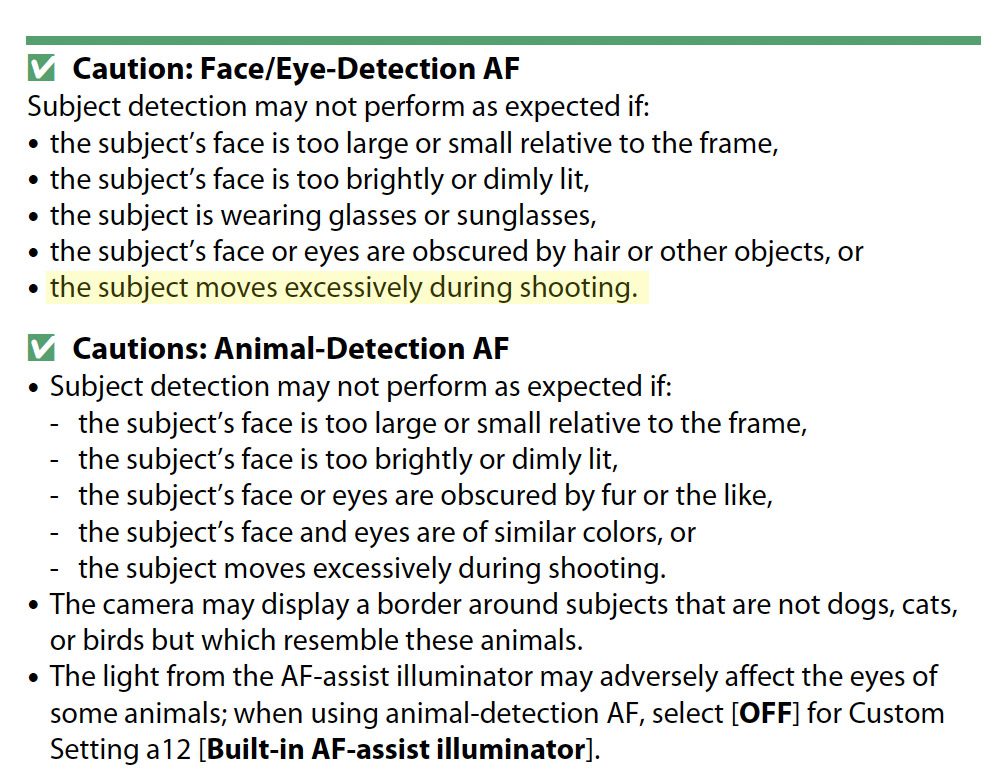
Now, this gets a little complicated so pay attention to the highlighted text above.
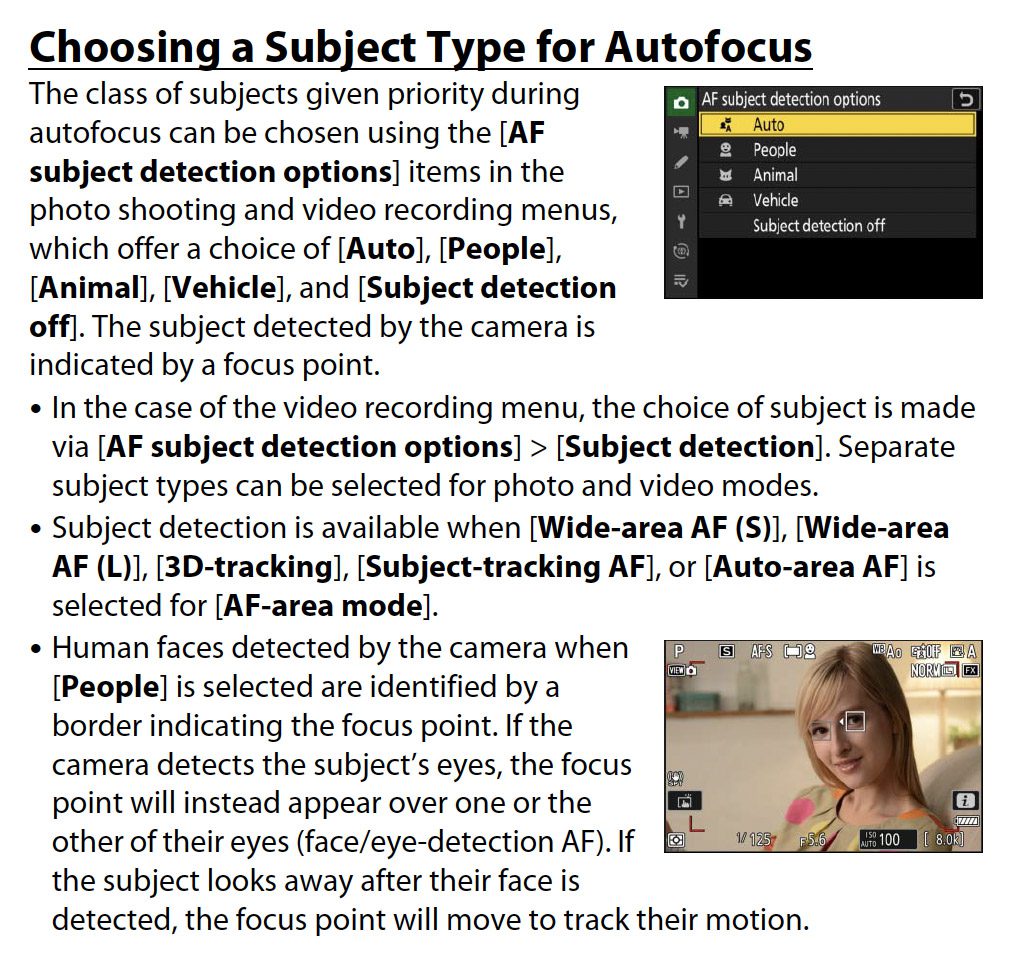
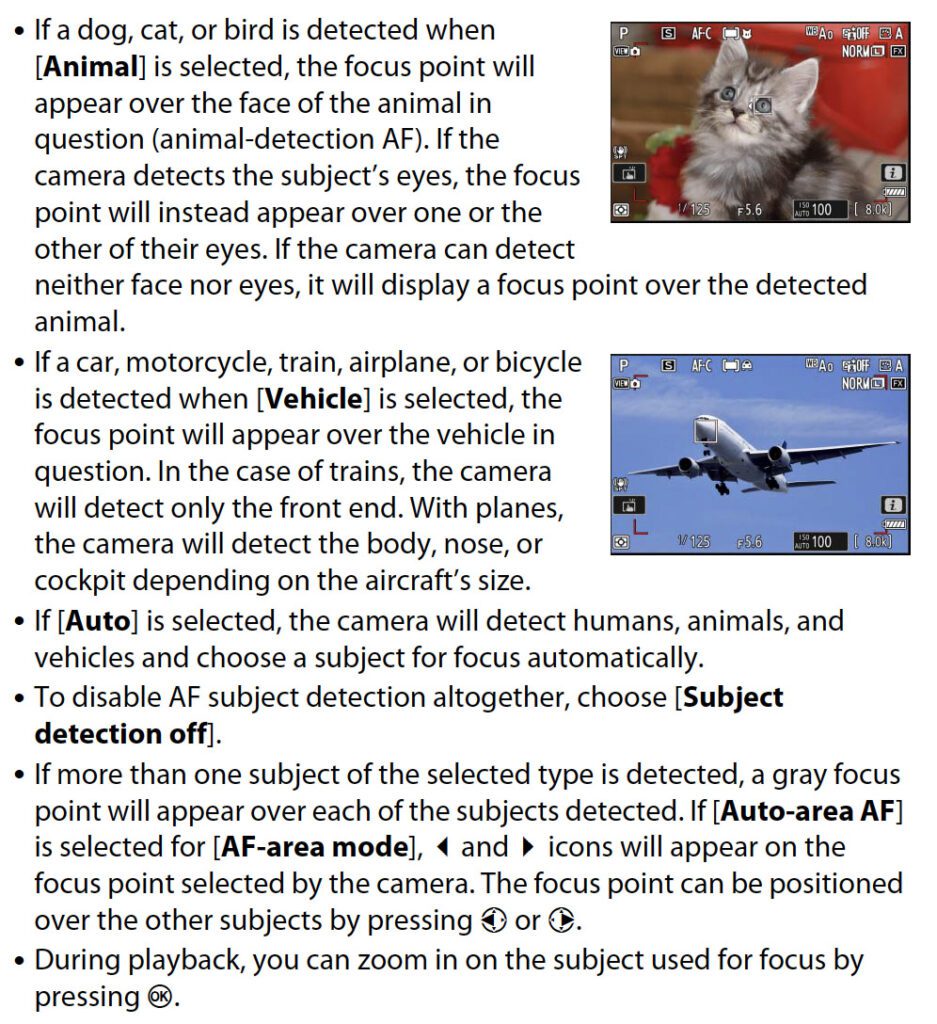
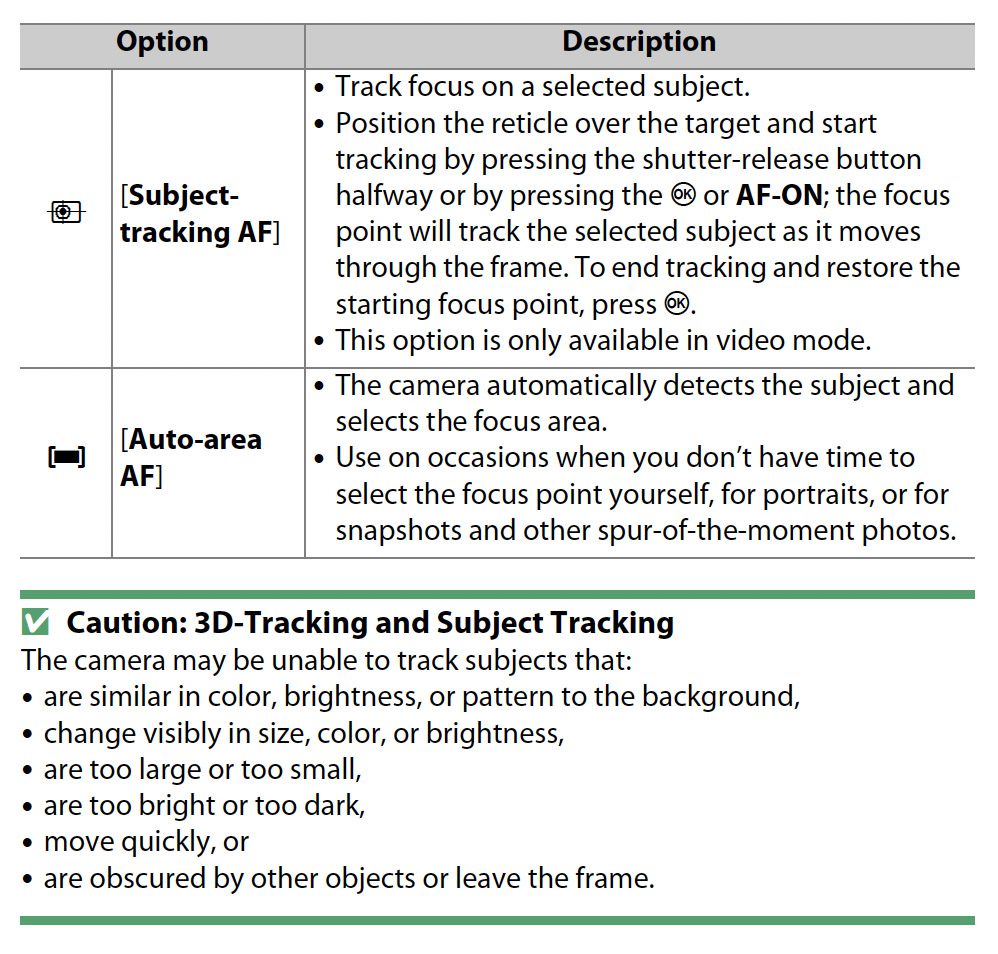
Here are the selections again with more explanation
Turn off VR on your lens. The simple fact is that VR is a solution to a problem, and if you don’t have that problem using VR can become a problem of its own. VR should generally be off if your shutter speed is over 1/1000.

After doing my findings, someone shared that Nikon came out with their guide for shooting sports. Here is that PDF for you.

More photos from the game

Chick-fil-A: Chick-fil-A Peach Bowl 2021
2021-12-30_21-34-33A
2021-12-30_21-34-33J
2021-12-30_20-32-06D
2021-12-30_19-53-48F
2021-12-30_22-00-50I
2021-12-30_22-20-22A
Chick-fil-A: Chick-fil-A Peach Bowl 2021
previous arrow
next arrow
Chick-fil-A: Chick-fil-A Peach Bowl 2021
2021-12-30_21-34-33A
2021-12-30_21-34-33J
2021-12-30_20-32-06D
2021-12-30_19-53-48F
2021-12-30_22-00-50I
2021-12-30_22-20-22A
Chick-fil-A: Chick-fil-A Peach Bowl 2021
previous arrow
next arrow

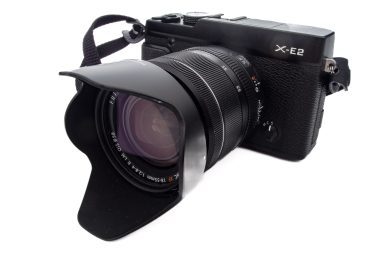
Fuji X-E2 AF Settings

Every new camera I get has a learning curve, and changing to another brand greatly increases the learning curve.

Auto Focus with the Fuji X-E2 has been challenging due to learning how the camera works the best. This was true when I learned all the settings for my Nikon D4. When shooting sports, I use different AF settings than regular photojournalistic shooting, which I usually do with my storytelling style.

I am finding this to work best for the photojournalism shooting style.

First, go to the shooting menu and the [camera 4] section. The top four menu items in that submenu all deal with AF.

For the AF MODE, I am finding I like to use the Multi-Mode

In the AF Multi-Mode, when the shutter button is pressed halfway, the camera automatically detects high-contrast subjects and selects the focus area.

It is generally pretty quick and usually picks the closest object with high contrast to the camera.

For the most part, I am leaving the Face Detection off. I might choose to have this setting on if I shoot portraits or a group photo. Intelligent Face Detection sets focus and exposure for human faces anywhere in the frame, preventing the camera from focusing on the background in group portraits. Choose Face Detection for shots that emphasize portrait subjects.

If PRE-AF ON is selected, the camera will adjust focus even when the shutter-release button is not pressed halfway. This increases the battery drain. Generally, this is off for me.

To use the focus points, you must return to the first menu item, AF Mode, and pick AREA. Once this is selected and you are not in Face Detection mode, you can move this green box around on the grid points.

You must push the AF button to activate the screen you see above.  Then, you can toggle around the screen using the four buttons around the Menu OK Button to navigate.

When you select a point, you can increase the size of the green box to account for more area and determine the contrast needed to bring the camera into focus.

Here, you can see I increased the box size for focusing.

All these functions work with AF as long as you choose C [continuous] or S [single] on the front of the camera.

The one thing Fuji needs to do in a firmware upgrade allows you to override grab the focus ring and adjust the focus. This is where Nikon and Canon are superior, for now.

You can adjust everything manually in the M [manual focus] setting. I will not go into those settings right now.

AF Setting Tip

Once you have everything set the way you like it in the menu, you can save the setting in Custom Settings. That can be found in the three menus>Edit Save Custom Setting.

I am using a few of these custom settings. I hope that Fuji will do a firmware upgrade allowing the user to change the name of those settings rather than being stuck with “Custom 1” when I might like to call it “Portrait” or “Sports,” for example.

Sound Tidbit

The beeping noise is the camera’s default setting. When the camera locks in focus, you hear a beep. Please don’t make my mistake of choosing to turn the sound off.

Do not use the Silent Mode to turn the sound off the beeping. When you do, the flash will no longer work. This includes the internal and if you use any external flash.

You can turn the sound off by going to the Sound Set-Up screen.

The next thing you choose in the menu is Operation Vol.

I put my setting to OFF. Now, I no longer hear the beep, but the flash still works. Hey, I missed a bunch of photos because I had the camera in Silent Mode and never could figure out why my moment stopped working. I thought I had broken the camera. I had to wait and read the manual to find out why.