

|
Getting your Trinity Audio player ready...
|
One of the biggest differences between someone who gets the shot and someone who misses it has very little to do with creativity—and everything to do with preparation.
Moments don’t wait for you.
If you’re still fiddling with settings when the peak action, emotion, or expression happens… It’s gone. That’s why the most important part of photography often happens before you ever raise the camera to your eye.
Be Ready Before You Walk Out the Door
Before you even leave, take a few minutes to set your camera up for the kind of work you expect to do.
I’m always thinking through scenarios ahead of time because the settings for each situation can be dramatically different. The last thing you want is to walk into a fast-paced environment with your camera still set for studio strobes—or vice versa.
I shoot everything in RAW. That gives me the most flexibility later. But when a client needs something immediately, I use Nikon SnapBridge to send an image straight to my phone. It automatically converts RAW to JPEG, and I can email it on the spot.
That way, I’m covered both for quality and speed.
Always Take Test Shots
Once you’ve dialed in your settings, don’t assume everything is perfect.
Take a few test frames.
Check exposure. Look at your focus. Zoom in on details. Make sure nothing unexpected is happening—like flicker, color shifts, or missed focus.
This simple step has saved me more times than I can count.
My Go-To Camera Setups
Over the years, I’ve developed a few “starting point” setups depending on the situation. These aren’t rigid rules—but they get me ready fast.
One of the features I really appreciate on the Nikon Z9 is the ability to save your setups so you don’t have to rebuild them from scratch. You can store up to four custom shooting banks in the Photo Shooting Menu (A–D) and another four in the Custom Settings Menu (also A–D—the little pencil icon).
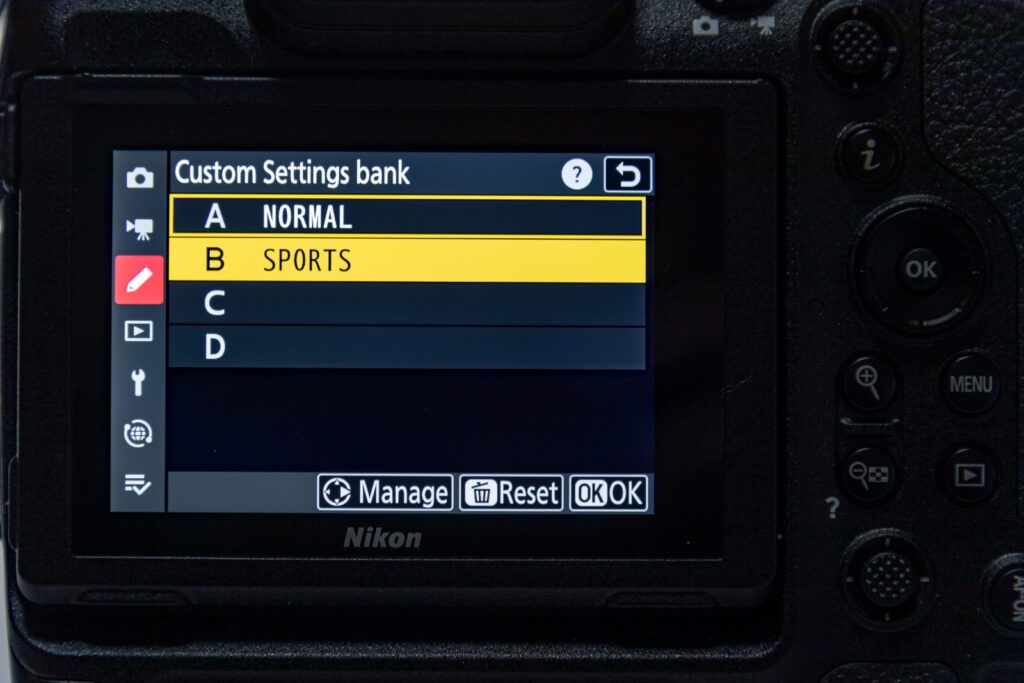
What that means in real life is simple: you can have one bank dialed in for everyday storytelling, another for sports, one for studio, and one for tricky lighting situations. Then, instead of digging through menus, you just switch banks, and you’re instantly ready for that environment. It’s one of those small workflow decisions that makes a big difference when the moment is unfolding in front of you.
1) Everyday / General Shooting
This is my default when I’m walking into most environments.
- Auto ISO: 64–25600
- Minimum shutter speed: 1/250
- Focus: AF-C with 3D Tracking or Auto-Area AF
- Motor drive: Single shot
I also programmed a function button so I can quickly switch between 3D Tracking and Auto-Area AF depending on what’s happening in front of me.
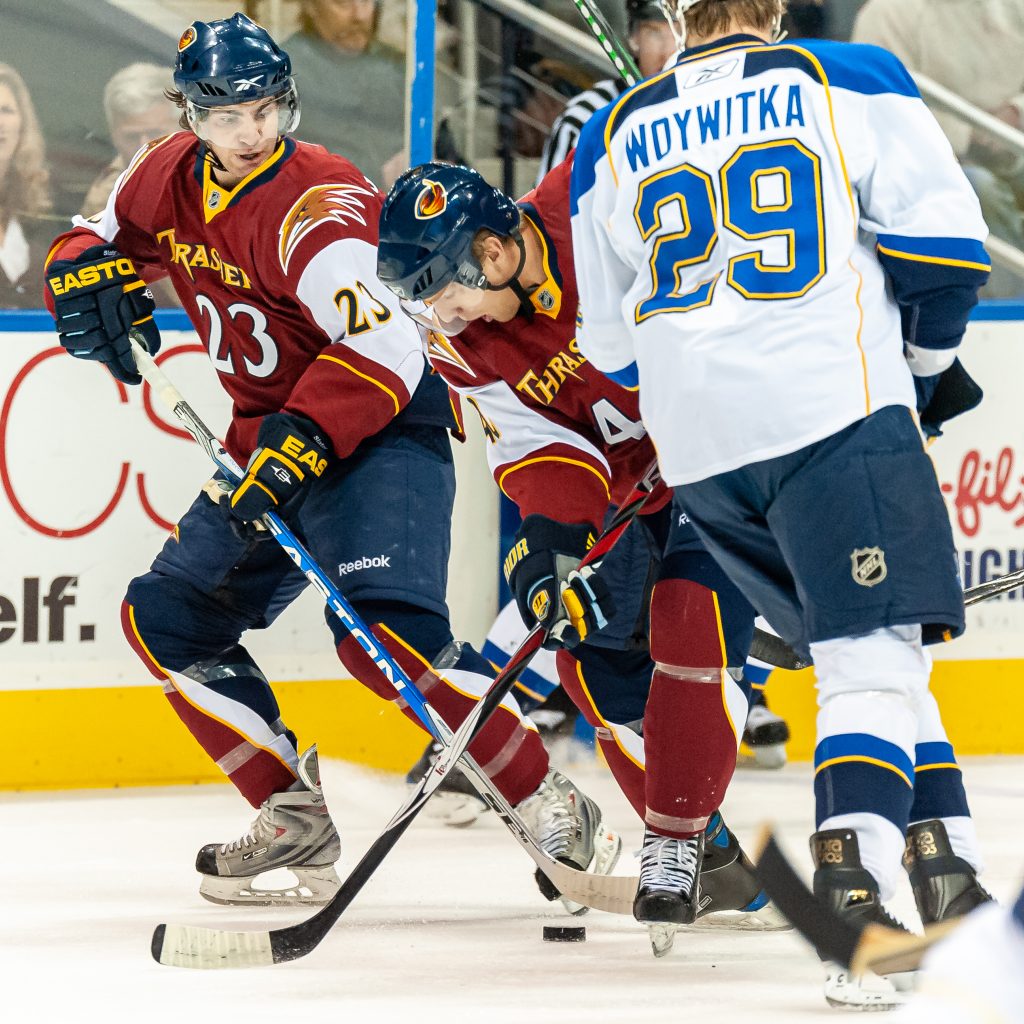
2) Sports & Fast Action
When everything is moving fast, your settings have to keep up.
- Auto ISO: 64–25600
- Shutter speed: 1/4000
- Focus: AF-C with 3D Tracking or Wide-Area AF (C1/C2)
- Subject Detection: People or Vehicles
- AF setup: Back-button focus (AF-ON only)
- Blocked Shot AF Response: 3 or 4
- Motor drive: 20 fps
This setup is all about tracking and capturing peak moments without hesitation.
3) Studio Flash
Studio work is controlled—but that means your settings need to be precise.
- Mode: Manual
- ISO: 64 or 100
- Shutter speed: 1/125–1/250 (sync speed)
- Silent Mode: OFF
- “Apply Settings to Live View”: ON
- Motor drive: Single
Here, consistency is everything. You’re building the light, so your camera needs to stay locked in.
4) Fluorescent Lighting (The Problem Child)
Fluorescent lighting can create flicker and color issues if you’re not careful.
- Auto ISO: 64–25600
- Shutter speed: 1/60–1/125
- Enable High-Frequency Flicker Reduction
- Fine-tune shutter speed if needed
- Use custom white balance when necessary
If you’re seeing banding or strange color shifts, this is where you slow down and dial things in.
Why I Rely on Auto ISO
Auto ISO is one of the most powerful tools in modern cameras—and I use it almost all the time.
It lets me lock in the creative decisions (aperture and shutter speed) while the camera adjusts ISO to maintain proper exposure. That means I can stay focused on storytelling instead of chasing exposure.
The only time I typically avoid Auto ISO is in controlled environments—like studio flash—where I want absolute consistency from frame to frame.
Getting Color Right Before You Edit
Today’s cameras do a pretty impressive job with Auto White Balance.
But “pretty close” isn’t the same as accurate—especially when it comes to skin tones.
You might not notice the shift at first, but once you start editing, those small inconsistencies become apparent. Skin can look slightly too warm, too cool, or just a little off—and now you’re spending time fixing something that could have been handled in-camera.
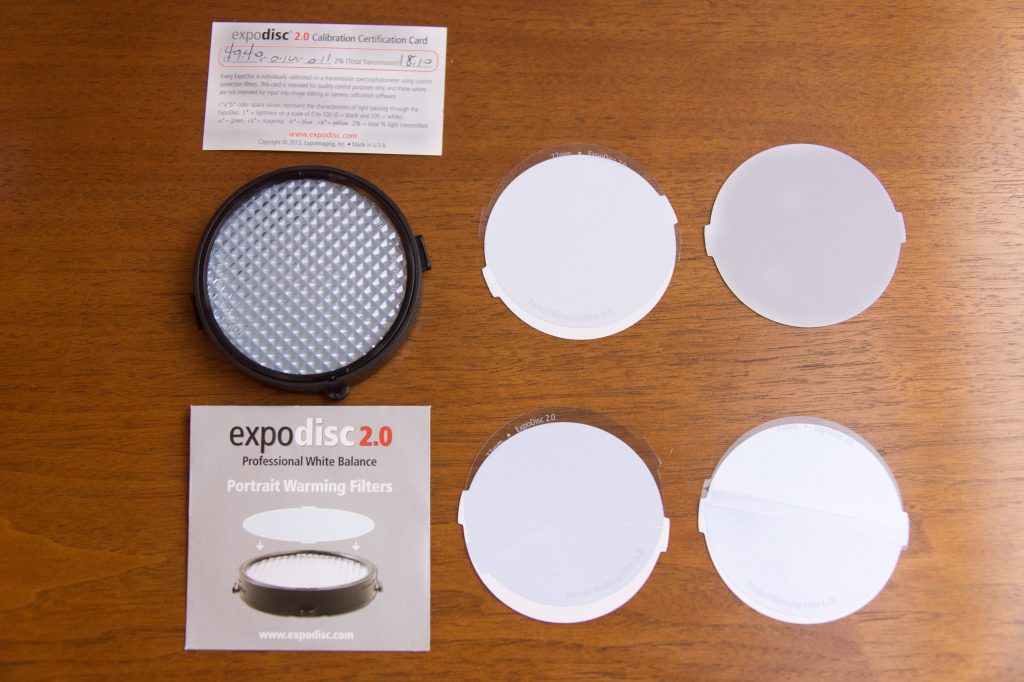
That’s why I still use an ExpoDisc.
By creating a custom white balance using a neutral 18% gray reference, I can get accurate color in the moment. The result?
- Better skin tones
- Consistent color across images
- Less time correcting in post
It’s a simple step that pays off in a big way later.
Preparation Is What Frees You to Be Creative
All of this might sound technical—and it is—but the goal isn’t to get lost in settings.
The goal is to eliminate distractions.
When your camera is ready…
When your exposure is dialed in…
When your focus system is set…
You’re free to do what really matters:
Pay attention.
Watch for emotion.
Anticipate the moment.
Because in the end, great photography isn’t about your settings.
It’s about being ready when the story unfolds—and not missing it.