
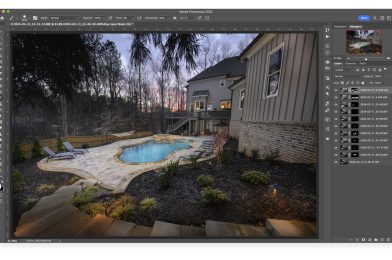
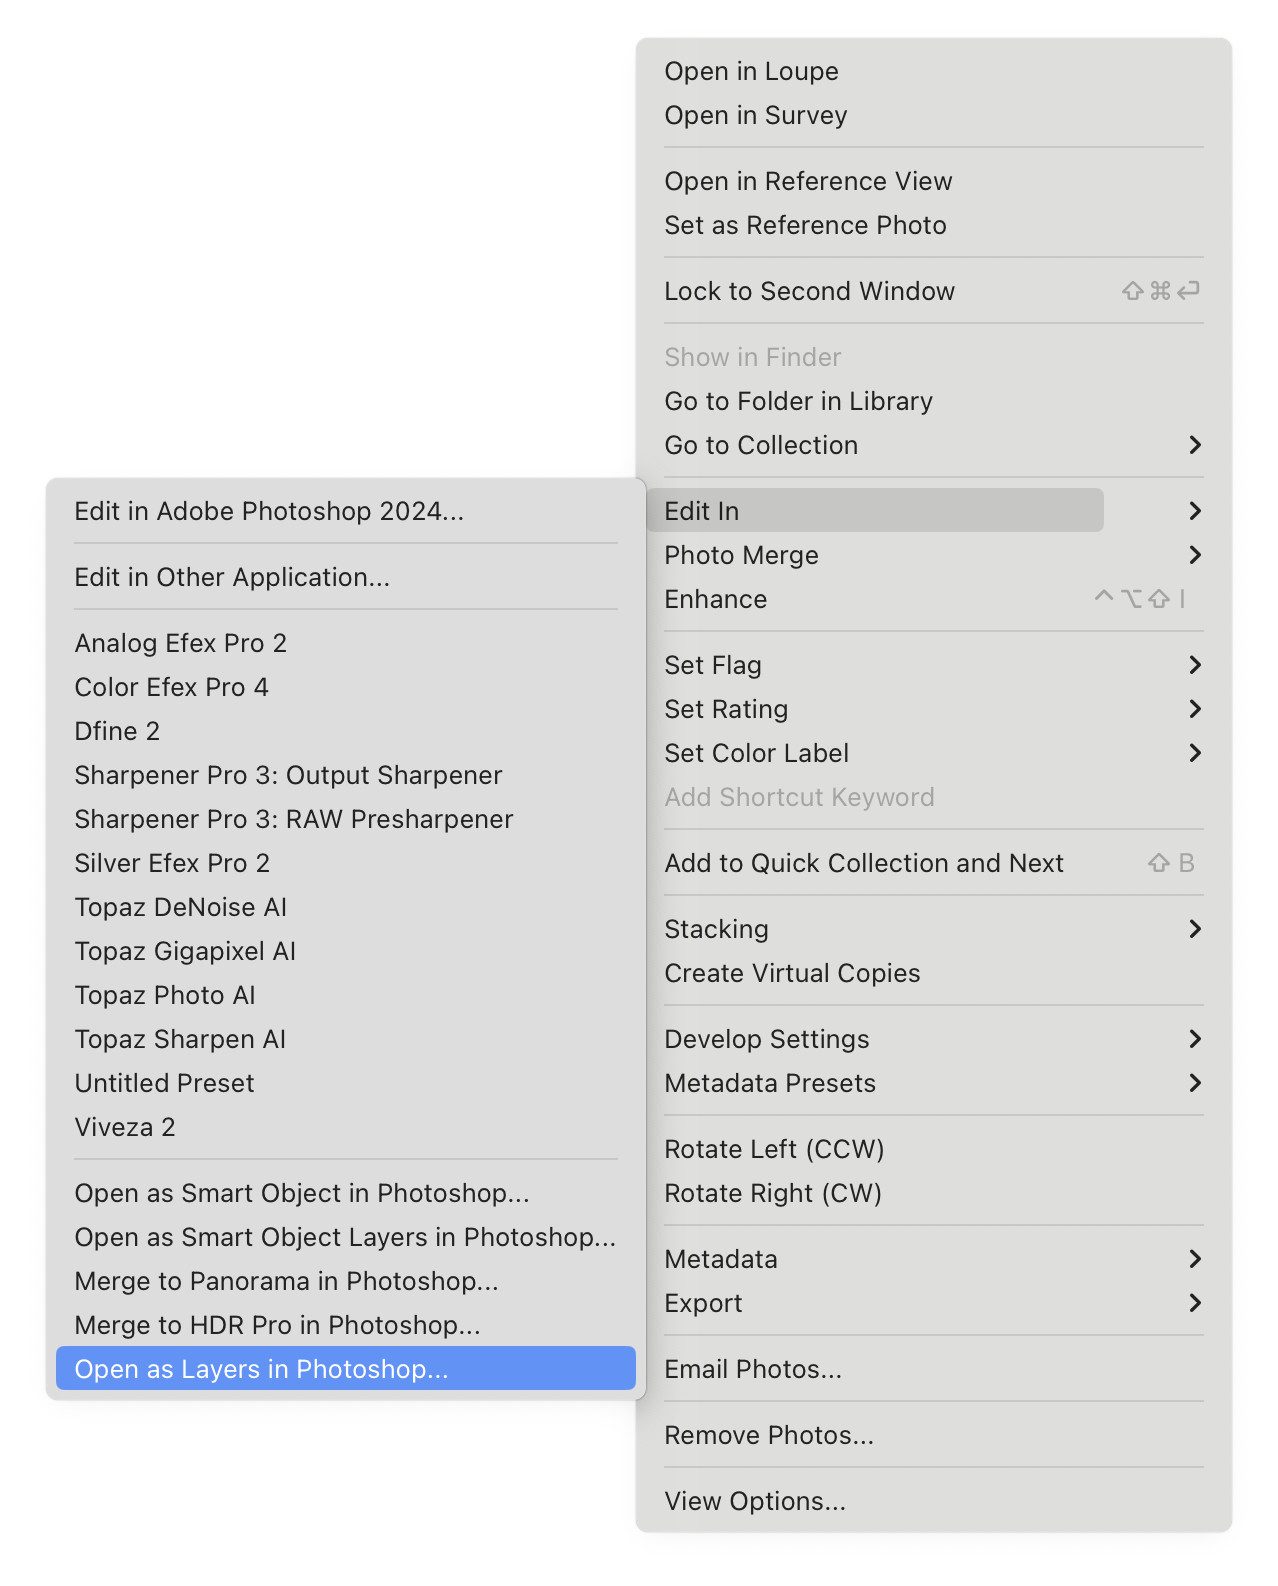
The top photo shows the editing of all the layers in PhotoShop
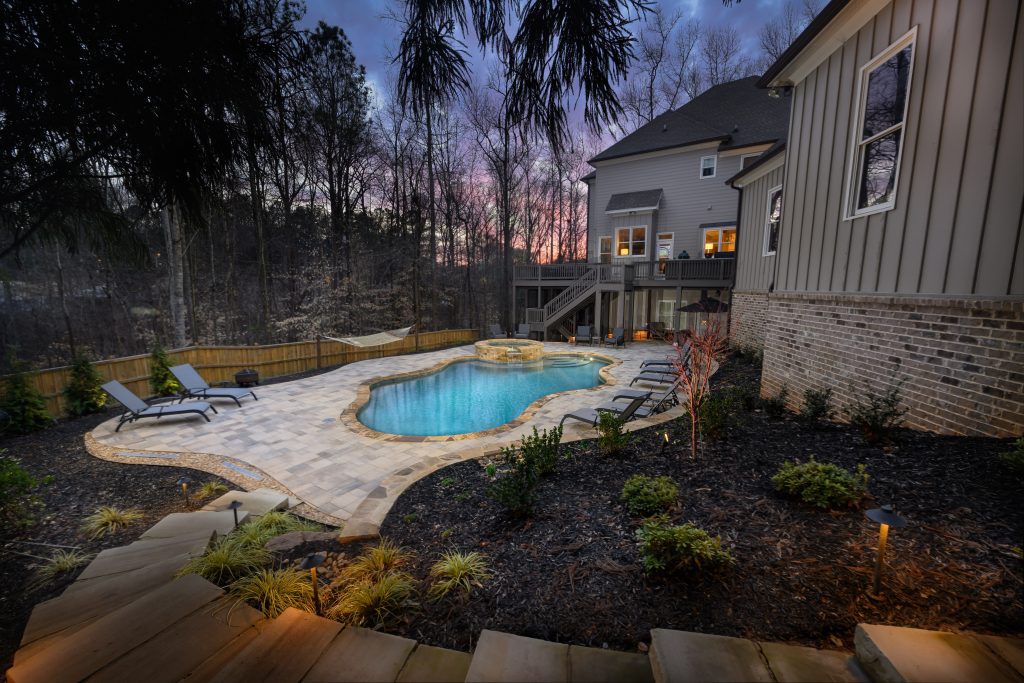
Capturing stunning pool installations requires a blend of technical expertise and creative finesse. Whether you’re showcasing your client’s latest project or looking to elevate your portfolio, the flambient method offers a powerful approach to achieving captivating pool photography. In this guide, we’ll walk through the step-by-step process from camera settings to editing techniques to help you master the art of pool photography.
Step 1: Set the Stage with Camera Settings
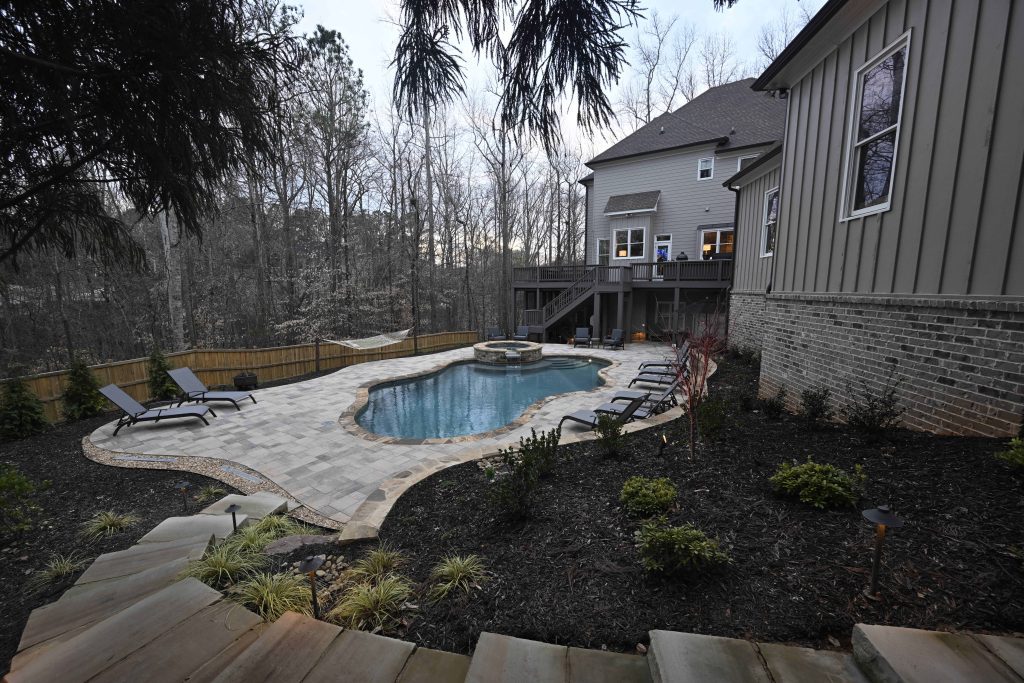
Dial in your camera settings for optimal results to kickstart your pool photography session. Begin with ISO 400, aperture at ƒ/7.1, and adjust the shutter speed based on metering. Shooting five bracketed exposures ranging from -2EV to +2EV ensures you capture a range of exposures, providing flexibility in post-processing.
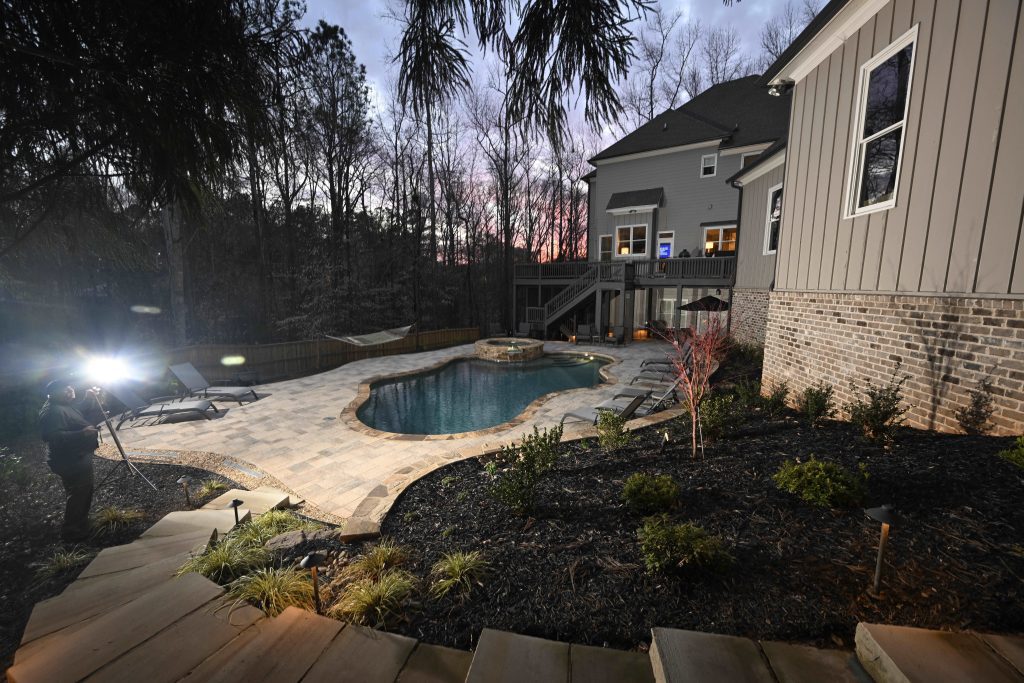
Step 2: Illuminate with Flambient Technique
The flambient method combines flash and ambient light to illuminate the scene. After capturing the bracketed exposures, use a flash to fill in shadows and enhance the overall lighting. Take additional shots as needed to ensure every detail is perfectly illuminated, mainly focusing on areas like the water in the pool to capture accurate colors and reflections.
Step 3: Dive into Editing
Once you’ve captured your shots, it’s time to dive into the editing process. In Lightroom, merge the bracketed ambient photos into an HDR image using default settings. This creates an HDR.dng file that you can further refine in Lightroom if necessary.
Sometimes, I do not use the HDR to combine the five photos in Lightroom, but I will export them with the other flash photos to PhotoShop, do a custom blending of just the ambient images, and then merge them into one layer, which is the last top layer that I will use. I often duplicate this layer. One remains in normal mode, and the other in Luminosity mode.
Step 4: Fine-tune in Photoshop
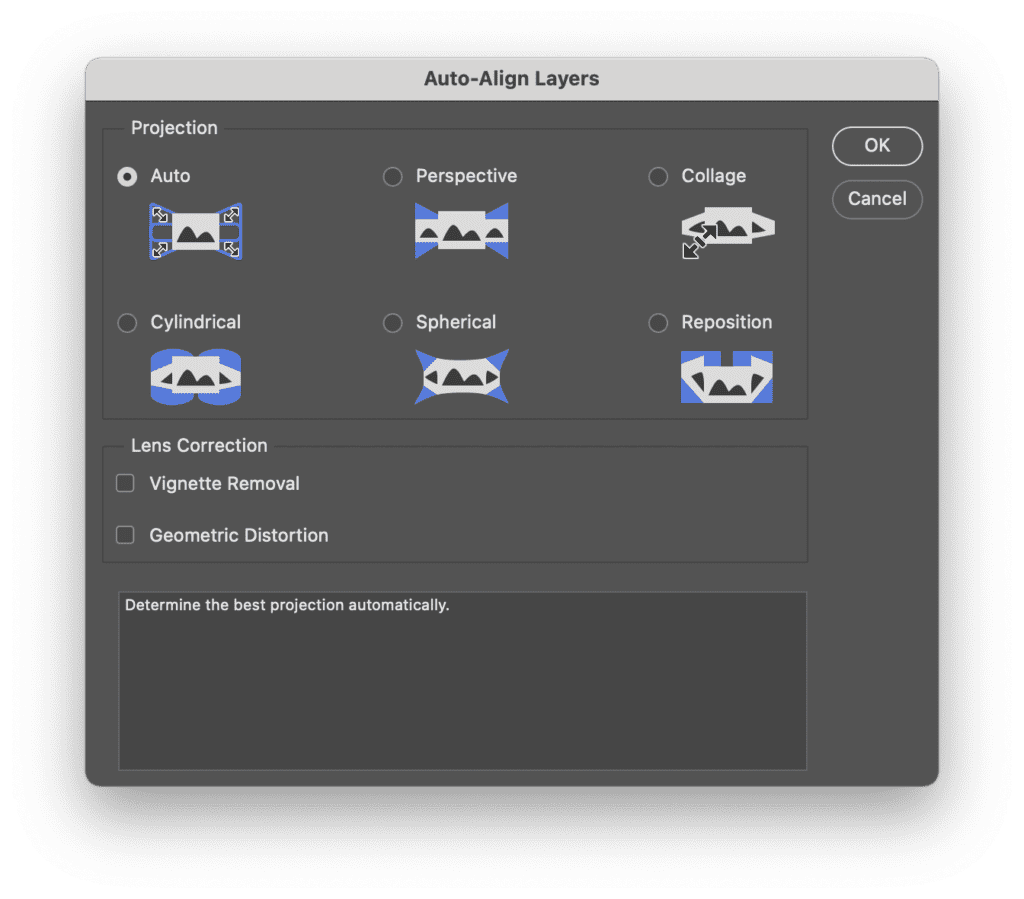
To seamlessly blend the HDR image with the flash shots, open both sets of photos as layers in Photoshop. Ensure proper alignment by selecting all layers and using the Auto-Align Layers function. Create a Hide Mask on the top layer to prepare for selective editing.
Step 5: Perfect with Brush Tool
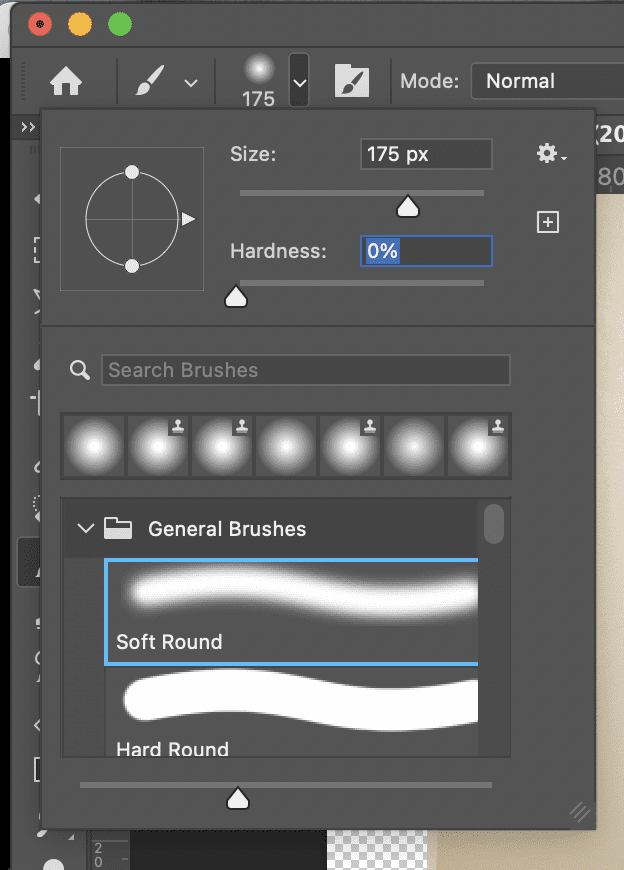
With the Brush Tool selected, adjust the settings to normal, Opacity 100%, and flow at 20%. I’d appreciate it if you could carefully paint over areas where the flash shots must be incorporated, ensuring a seamless blend between ambient and flash lighting. Please take your time to refine each detail until the image reaches the desired balance of light and shadow.
Step 6: Luminosity Ambient Layer
Click on your top image, which is my Ambient HDR. Then, just above, click and change it from Normal to Luminosity. Remember I said sometimes I duplicate this layer? If I did, the layer above all the flash photos is the Ambient HDR in Luminosity mode.
I then review any area that looks too “Flashy,” which means it looks like Flash hit it. I have the brush set to 5% to 15% with 100% Opacity. I lightly brush over those areas slowly, just brushing away those harsh shadows.
The Last layer is the Ambient HDR in Normal Mode, where I am now just brushing back some natural light into the photo. This is where I would do more in the sky and very little with the product the pool company installed. I want those that are close to the colors of the product.
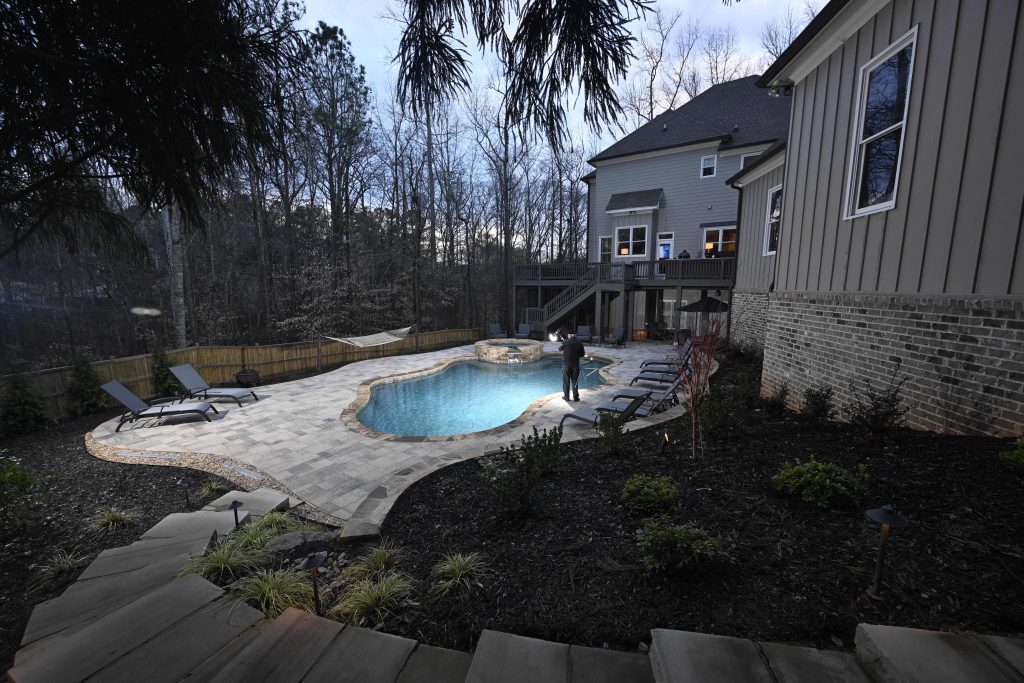
Conclusion: Elevate Your Pool Photography with the Flambient Method
Mastering the flambient method opens up possibilities for capturing stunning pool installations. By harnessing the synergy between ambient and flash lighting, you can create images that truly showcase the beauty and craftsmanship of your subject. With attention to detail and a creative eye, your pool photography will captivate viewers and elevate your portfolio.
So next time you’re behind the lens at a pool installation, remember to implement the flambient method for breathtaking results that leave a lasting impression. Happy shooting!