Buying a car can often be more challenging than purchasing a house. In car dealerships, customers are frequently shuffled between rooms while salespeople dart back and forth to the sales manager. This practice not only feels disjointed but often appears to be a tactic to push prices higher. A more transparent approach would be for the sales manager to join the initial conversation with the salesperson and the buyer, discussing all details and upsells like warranties upfront.
This car-buying experience made me reflect on my transparency as a freelance Visual Storyteller. As someone who sells consulting, photography, video, and editing services, how clear am I in my dealings? The customer experience begins when the client first interacts with the business, whether through a website or in person.

A Tale of Two Dealerships
My car-buying journey began with a frustrating experience at Mike Reza Nissan of Atlanta. I had my eye on a Nissan Rogue S, advertised as a great deal on Edmunds. I was prepared to pay the asking price, the standard 7% tax, an $18 title fee, and a $25 license plate registration.
However, the salesperson vanished and returned with a price that was $2,400 higher. They claimed the lower price was only for financing. According to state law in Georgia, the listed price should be the total, with only tax, title, and license fees added. Armed with a PDF on deceptive car sales from the State Attorney’s office, I pointed out their violation. The sales manager rudely refused to sell me the car. I reported the dealership to the State Attorney’s office, who confirmed my stance and encouraged me to file a formal complaint. Standing up against deceptive pricing is crucial to protect other consumers from similar experiences.

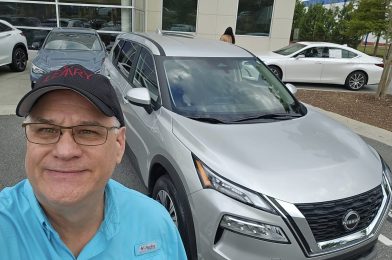
The Good Experience
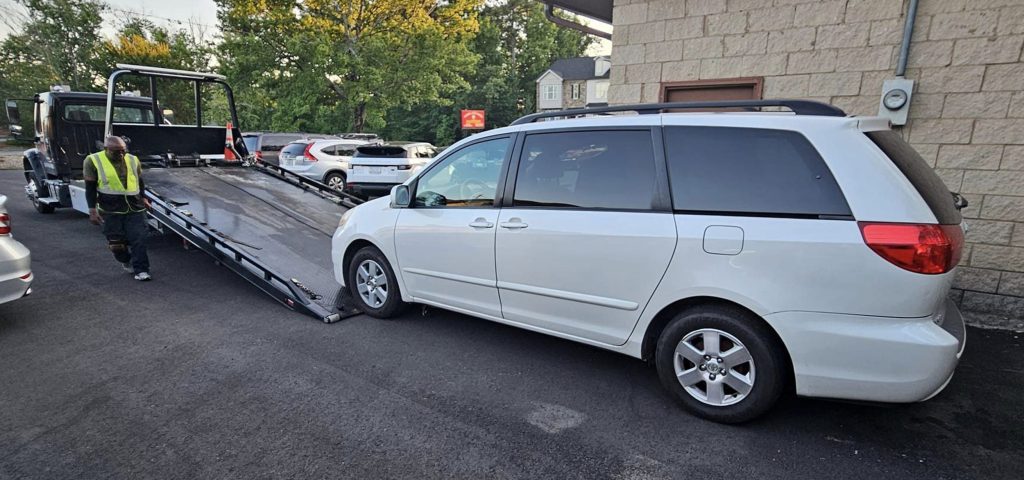
Contrasting this was my experience with Nalley Infinity of Atlanta, where I found a used 2023 Nissan Rogue SV with 33,200 miles. After the ordeal at the first dealership, Nalley Infinity made the process smooth and satisfactory, restoring my peace of mind.
Transparency in Business
Reflecting on these experiences, I see the parallels in my business practices. As a freelance Visual Storyteller, transparency is key. Whether I’m consulting, shooting photographs, or editing videos, clear communication and straightforward pricing are essential. The customer experience starts online, through my website, and continues through every interaction.
How I Found Out About the Law
I shared my van troubles and the need to replace it with my friend Gibbs Frazeur. Drawing from his dealership experience, Gibbs and his wife faced similar deceptive practices. Thanks to a document his wife had found from the Attorney General for the State of Georgia, they managed to save $4,000. Gibbs recommended printing out page 11 of this document and keeping it handy, which proved invaluable for them. They encountered a dealership trying to add hidden fees after the fact, just like in my situation. However, being prepared with the document empowered them to challenge these practices successfully. Gibbs informed me that the dealership admitted, “Everyone does what we’re doing with adding fees after the fact.” Thanks to his advice, I was ready to stand my ground.
Here is a copy of the state’s policies:
Price Representations
Advertised prices must state the actual total purchase price of the vehicle, excluding only government fees, which include tax, tag, title, and Georgia Lemon Law fees. All additional fees must be included in the advertised price. Any advertisement listing a price “plus” some additional amount will be considered deceptive.
By way of illustration only, not meant to be exhaustive, the following are examples of fees that MUST be included in the advertised price of vehicles:
- Additional fees, such as document fees, documentary fees, lot fees, processing fees, administrative fees, customer services fees, and any other terms of similar import;
- Additional charges, such as freight charges, transportation charges, destination charges, dealer preparation charges, overhead charges, and any other terms of similar import; and
- Dealer-installed options or accessories that are required or are routinely installed, or options which are already installed on the advertised vehicle at the time the advertisement is published, must be included in the advertised price. Only those options installed at the request of the consumer following contact/negotiation with the dealership may be omitted from the advertisement.
This car-buying saga is a potent reminder of the importance of transparency and excellent customer service. As a business professional, ensuring that clients understand every aspect of your service builds trust and fosters long-term relationships.