Headshots for Columbus State University Theater majors

Chelle Leary Headshot [Nikon D5, 85mm ƒ/1.8, ISO 100, ƒ/9, 1/160]

Here is the lighting diagram for the setup for you. I was only using the one Lasolight reflector and took sides off.

I did some headshots for my daughter and other Columbus State theater students. Here are some photos and the setup I did inside my daughter’s dorm room.

Setup of (3) Alienbees, main light Beauty Dish, Lastolite Triflector MKII Frame + Silver/Gold Panels

They are looking toward the camera’s perspective. The model is in front of the two side strobes.

Setup of (3) Alienbees, main light Beauty Dish, Lastolite Triflector MKII Frame + Silver/Gold Panels
Cole Kiker headshot [Nikon D5, 85mm ƒ/1.8, ISO 100, ƒ/8, 1/160]

Here is the lighting diagram for the Cole Headshot.

I used the same setup for Chelle here as well.

Chelle Leary Headshot [Nikon D5, 85mm ƒ/1.8, ISO 100, ƒ/9, 1/160]

By turning the background lights away from the background toward my daughter, I could rim light her. I put 30º grids on the lights to keep the light from hitting the lens and causing a flair.

Chelle Leary Headshot [Nikon D5, 85mm ƒ/1.8, ISO 100, ƒ/9, 1/160]
Cole Kiker headshot [Nikon D5, 85mm ƒ/1.8, ISO 100, ƒ/8, 1/160]

This one shot of Cole is with just the one Beauty Dish light straight above him. It creates what we call “Butterfly” Lighting. The light casts a shadow under the nose that often looks like butterfly wings.

This helps you see why you want to have this as the main light for headshots. It helps create the shape of the face. The shadows created by the cheekbones help contour the face.

Cole Kiker headshot [Nikon D5, 85mm ƒ/1.8, ISO 100, ƒ/6.3, 1/160]

Here the beauty dish is off to the right of Chelle.

Chelle Leary Headshot [Nikon D5, 85mm ƒ/1.8, ISO 100, ƒ/9, 1/160]

Here is that setup of Chelle with the one light

In the next few years, I will return to Columbus State University to do more headshots for theater students. Stay tuned to see more headshots.

What I am learning from being Audited

This year I got a letter from the IRS requesting documents. This is an Audit.

Every year when I file my taxes, I use TurboTax.

For the past 10+ years, I have paid little for their accounting service that helps you in the case of an audit. While working with them to get all my documents for the IRS, I learned a few things that I think you need to know.

Three Documents for Expenses

I learned through this process that there are three things you need to document and have ready like a bookkeeper.

  • Invoice – Need to show what you were billed for from the provider
  • Payment – Need to show that it was paid
  • You Paid It – Besides showing it was paid, you must show that you paid it and not someone on your behalf.

I am using Quicken for Mac to track all my expenses. Here are a few of the ways I pay bills:

  • Check – Checking Account
  • Visa Debit Card – Checking Account
  • MasterCard
  • American Express Card
  • PayPal

I am paid two ways

  1. Checks
  2. PayPal

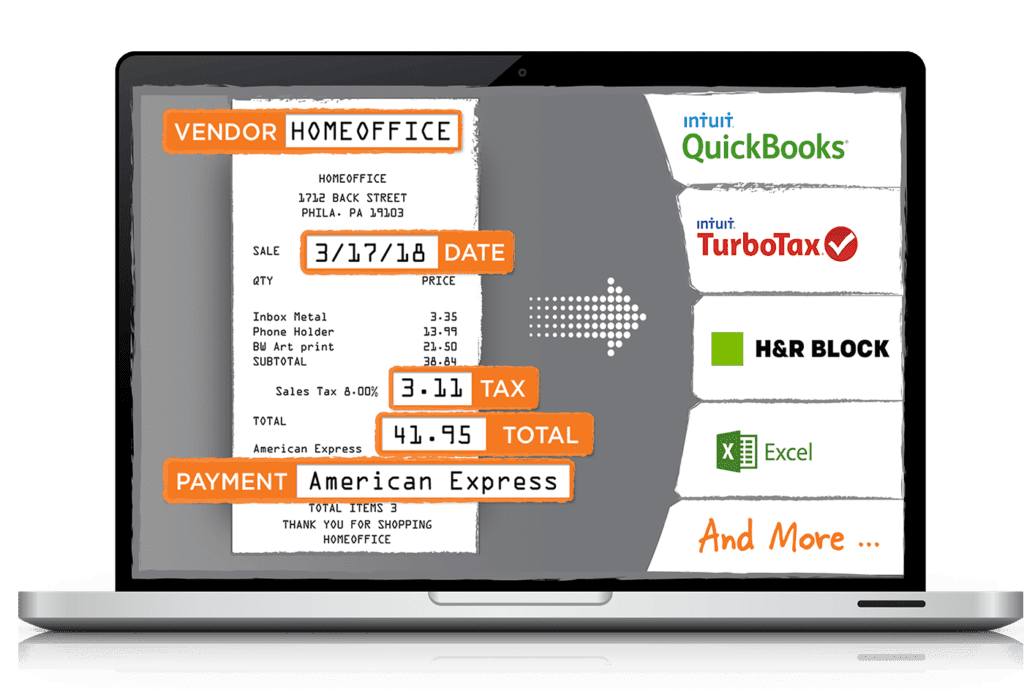
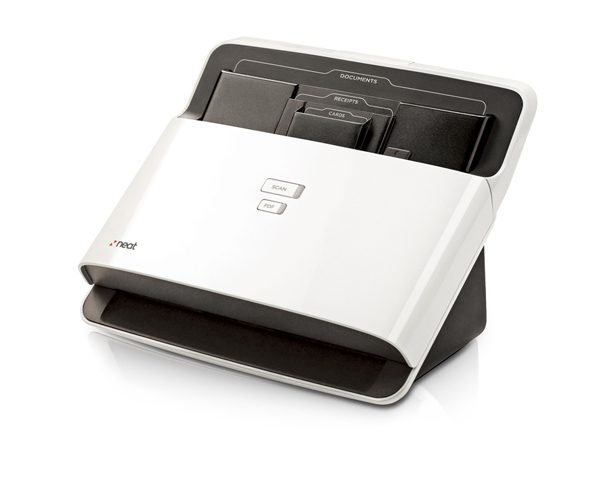
In the software Quicken, you can attach to every entry document. Before I can attach those receipts, invoices, and statements, I must have a digital file like a PDF or a picture. I bought a Neat Desk Scanner years ago and have been using their software, which is now an online system.

The Neat Desk scanner lets me scan a stack of receipts making things go much faster than a flatbed scanner.

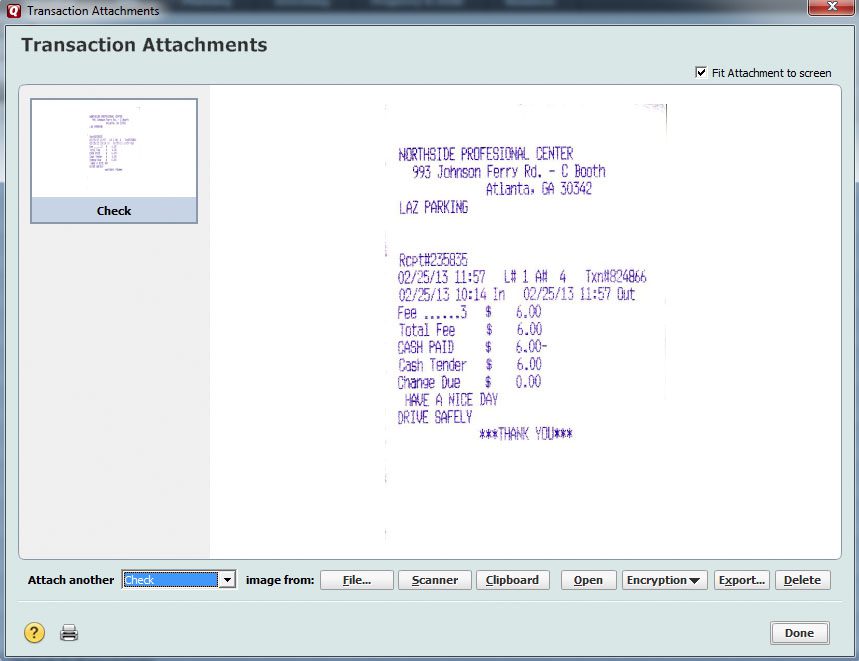
After scanning documents, I save them in a separate folder for the year they were created. Then I attach them in Quicken to the transaction.

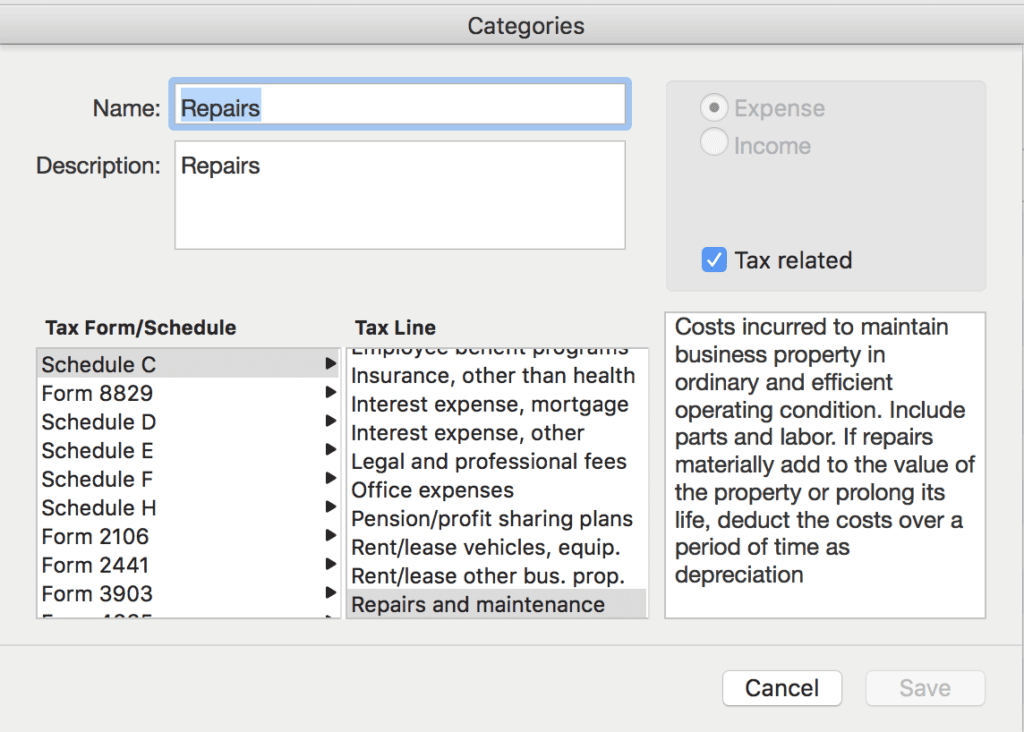
In Quicken, they have categories all ready for you to use and customize. The best part about working with your Taxes is they have all the Schedules included so that you can assign a category to a tax schedule, as I have in this example with the Camera Repairs in Schedule C: Repairs and maintenance.

The Headache

While I have all my documents, I quickly realized the problem was getting precisely what the IRS needed in a format that met their requirements was the biggest problem.

I had to go through my AMEX & Bank statements and circle every item related to a particular category showing that this was paid with my money.

You can also do this with a scanned receipt of every transaction.

It was easier for me to contact all the Doctors, Hospitals, and medical providers and ask for a 2016 statement for all charges than to provide scanned invoices. I was missing a few of the statements because I thought I just needed to show I paid the bill and not the invoice.

Using Quicken, I created a spreadsheet of each category and payee for a particular topic that I was being asked to provide evidence to the IRS. I was mainly dealing with medical expenses due to a costly year for our family with medical issues.

I was misinformed

I had always been told you need to put all your receipts in a box and if ever audited, just show up, and they can go through them if they want. WRONG!!!

My accountant informed me that the IRS, on numerous accounts with her, have said they are not their client’s bookkeeper. It would help if you had this in order. Also, the box could only work when you are called in. You don’t want this to happen. You have opportunities to provide all this electronically to the IRS and handle it without going for a face-to-face audit.

Tips

  • Spreadsheet – Be able to provide the spreadsheet for any category, which Quicken helps with this
  • Invoices & Statements – Scan all these or have them ready to scan if audited.
  • Receipts – Scan all these or have them ready to scan if audited.
  • Bank & Credit Card Statements – Keep them if you need to scan them for the IRS during an audit.
  • Scanner – I recommend a scanner that is a sheet feed scanner capable of scanning multiple documents and software to help organize your records.
  • Accountant – Work with an accountant to do at least your initial setup of how you need to gather documents for Taxes and possible audits.

Tips on Invoicing

I wrote a blog early called “7 Tips for the financially struggling photographer“. In the post, I discuss using the software FotoBiz for invoicing and pricing jobs. Check out that post if you need help with pricing and invoicing.

Shooting architectural dusk photo using Godox V860IIN + Godox X1NT

Chick-fil-A Sunnyvale FSU is located in Sunnyvale, California. [Nikon D5, 14-24mm. ƒ/5.6, ISO 800, 1/60–(3) Godox V860IIN + Godox X1NT]The past few posts I have shown you how I use Alienbees B1600 studio strobes to light up buildings for architectural photo shoots.

When flying to San Jose, California for another shoot I decided to only take a smaller case of three Godox V860IIN hotshoe flashes + Godox X1NT transmitter.

Godox V860IIN + Godox X1NT

Now when I shot these I did change the ISO to 800 to let the flashes light up the building much easier than at ISO 100.

After I shot this photo a few times seeing about the change in the light as the sun sets the wind stopped blowing and the flag was no longer waving.

Just so you can see what the flashes are doing here is the photo without the flashes.

Chick-fil-A Sunnyvale FSU is located in Sunnyvale, California. [Nikon D5, 14-24mm. ƒ/4, ISO 100, 1/2.5]
So you can see that you can shoot at ISO 100 here you see this photo below. This was shot 30 minutes after sunset.

While I prefer the sky in this shot the waving of the flag I think made the other photo much better.

Chick-fil-A Sunnyvale FSU is located in Sunnyvale, California. [Nikon D5, 14-24mm. ƒ/4, ISO 100, 1/2–(3) Godox V860IIN + Godox X1NT]
I hope this shows that it isn’t how much gear you have, but knowing how to use it that will make or break a photo.

Writing with Light

[NIKON D5, 24.0-105.0 mm f/4.0, Mode = Aperture Priority, ISO 400, 1/6, ƒ/5.6, (35mm = 35)]

Chick-fil-A @ Perimeter at Hammond Drive FSU [Nikon D5, 14-24mm, ISO 100, ƒ/8, 1/60 – 4 Alienbees B1600s] 8:21 pm

Getting a photo like this demands more than just a tripod and waiting for the right time of day.

Here is the result of doing just that in this photo below.

[Nikon D5, 14-24mm, ISO 100, ƒ/8, 1/13] 8:25 pm

To help light up the building I used 4 Alienbees B1600 strobes with 11″ Long Throw Reflector. This is what I call “Writing with Light”, which is the definition of photography. Sometimes nature needs some help.

Alienbees with 11″ Long Throw Reflector

For half of the photos I shot at ƒ/8 with the Alienbees on full power. Then I cut the power in half on the Alienbees and changed the Aperture to ƒ/5.6.

[Nikon D5, 14-24mm, ISO 100, ƒ/5.6, 1 sec – 4 Alienbees B1600] 8:47 PM

Sunset was at 8:26 pm. Pretty much you can bet on the best photos of buildings with lights to be 20 minutes after sunset as in this photo shot at 8:47 pm.  This is when the lights on the building and inside at matching the sky brightness.

[Nikon D5, 14-24mm, ISO 100, ƒ/5.6, 1 sec] 8:47 pm

Again here is that same scene without the Alienbees adding light to the side of the building.

Just so you know exactly the light at sunset at 8:26 pm here is that photo as well for you to see.

[Nikon D5, 14-24mm, ISO 100, ƒ/8, 1/13 – 4 Alienbees B1600] 8:26 pm

The problem is that the lights on the building are not showing up. We need to open up the exposure for the lights on the building by changing only the shutter speed from 1/13 to 1 second.

Tips for shooting buildings at Sunset

Arrive early and find best angle to shoot building
Use Strobes or powerful flashlights to light up building
Use a tripod and cable release with the camera
Start shooting 5 minutes before sunset
Stop shooting about 30 – 40 minutes after sunset
White Balance for Sun or Flash
Shoot in RAW