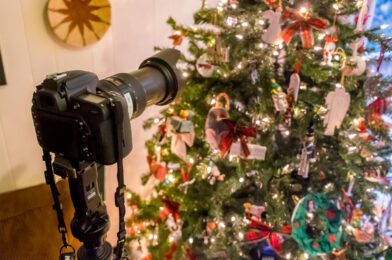
A fun thing to shoot this time of year are ornaments on a Christmas tree. Our ornaments all have a story with each one and how it helps us spend the season of remembering.
Here is the basic setup I did for the photos in the slideshow here. Take a look at each photo and the settings. [Click on the arrows on the side of photos to move forward and backward. You need to put your cursor on photo to see them.]
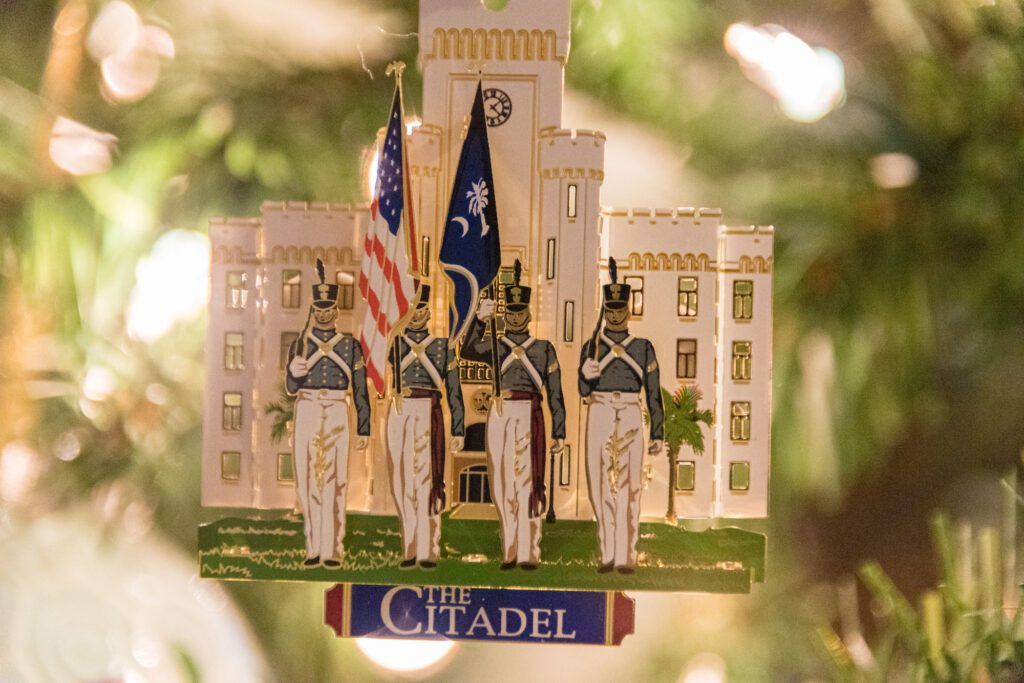
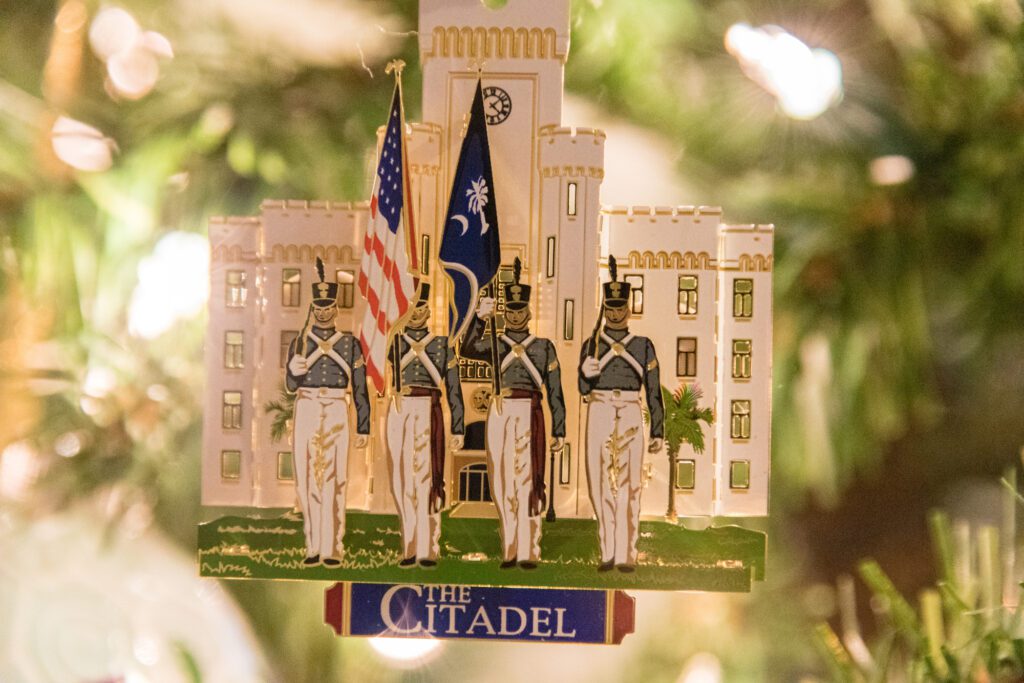
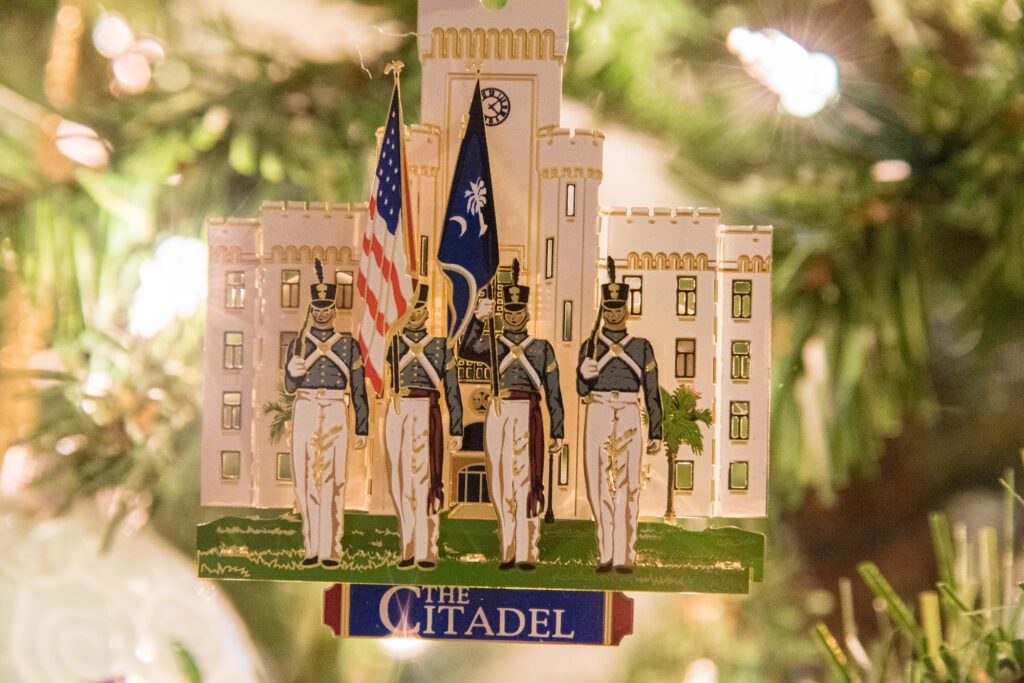
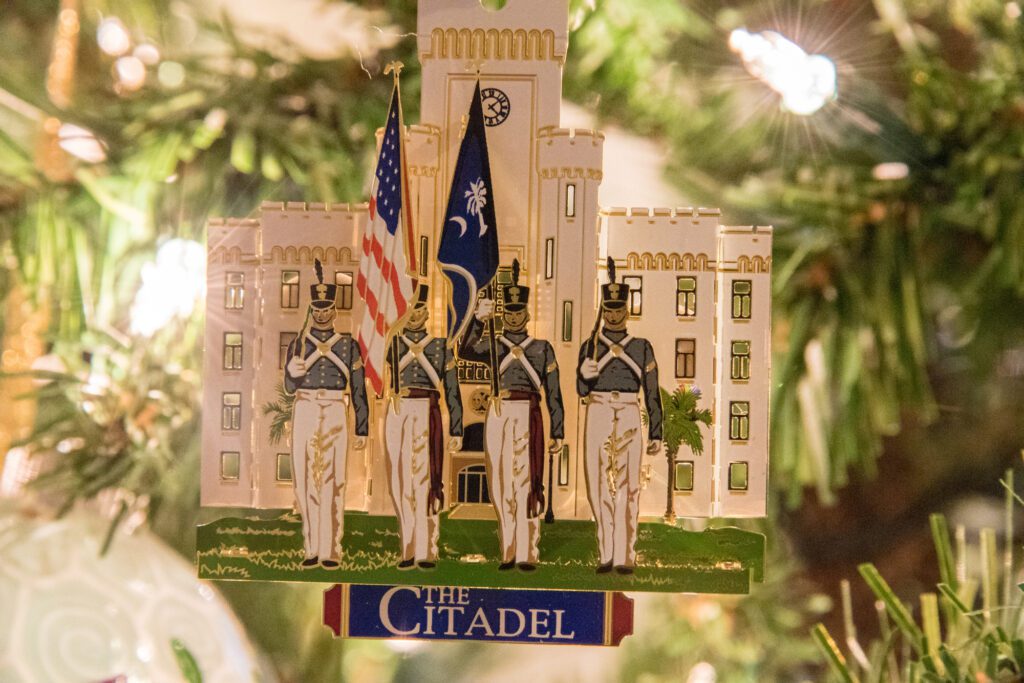
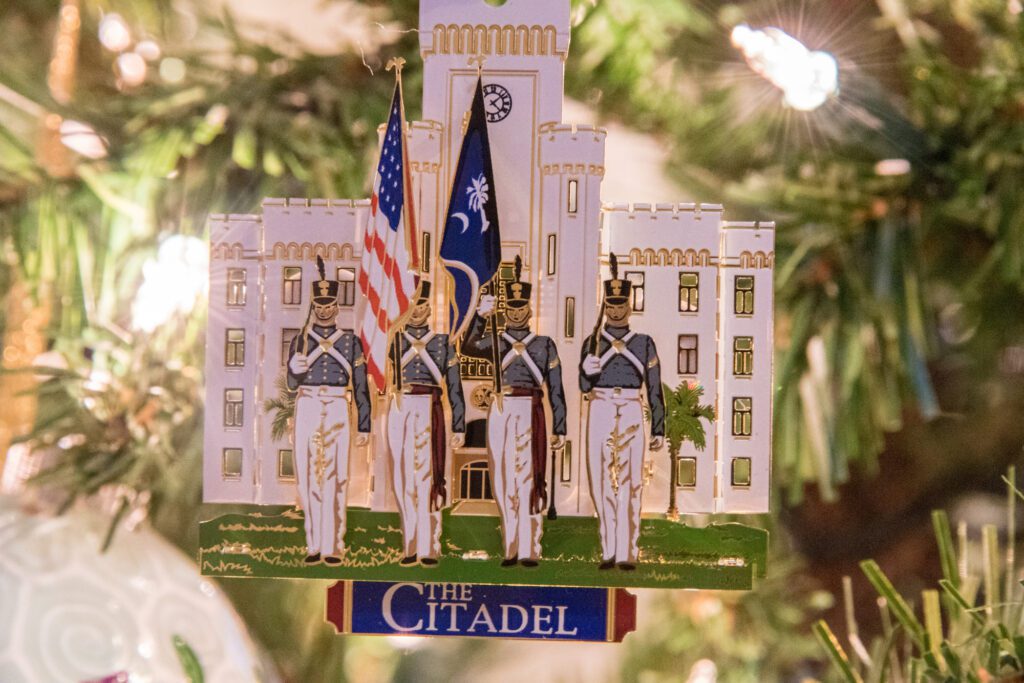
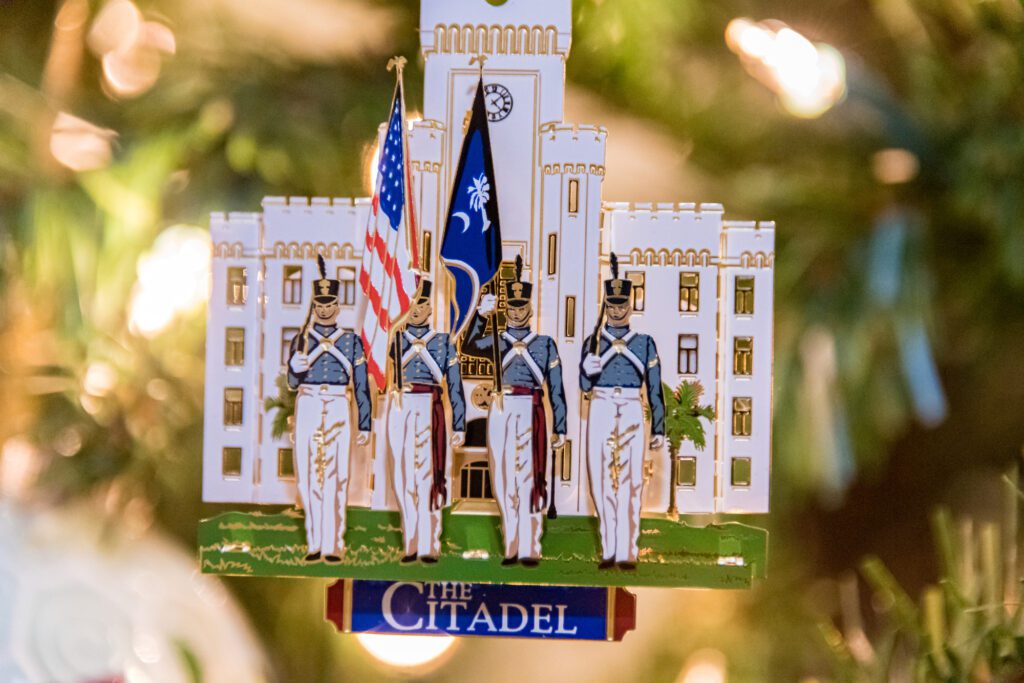


I shot all these with the AF-S Nikkor 28-300mm f/3.5-5.6G ED VR. I recommend shooting with a tripod to get the sharpest photos.
I started the project thinking that maybe the Nikkor 85mm ƒ/1.8G would be the lens for the examples, but here is the result with that lens:
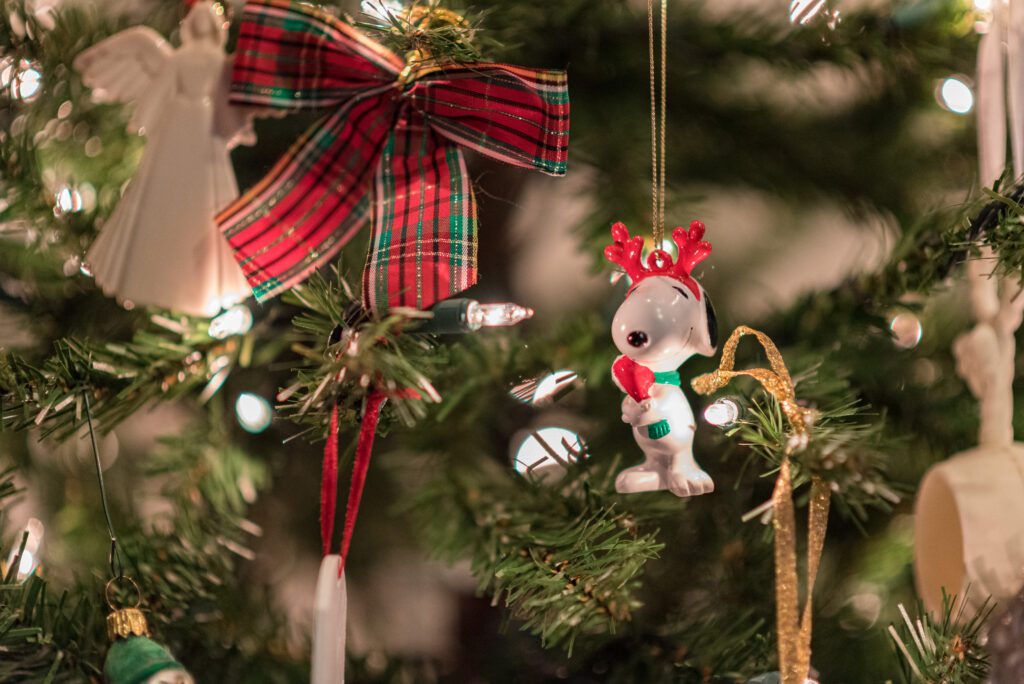
As you can see getting as close as I could with the lens gave me this view.
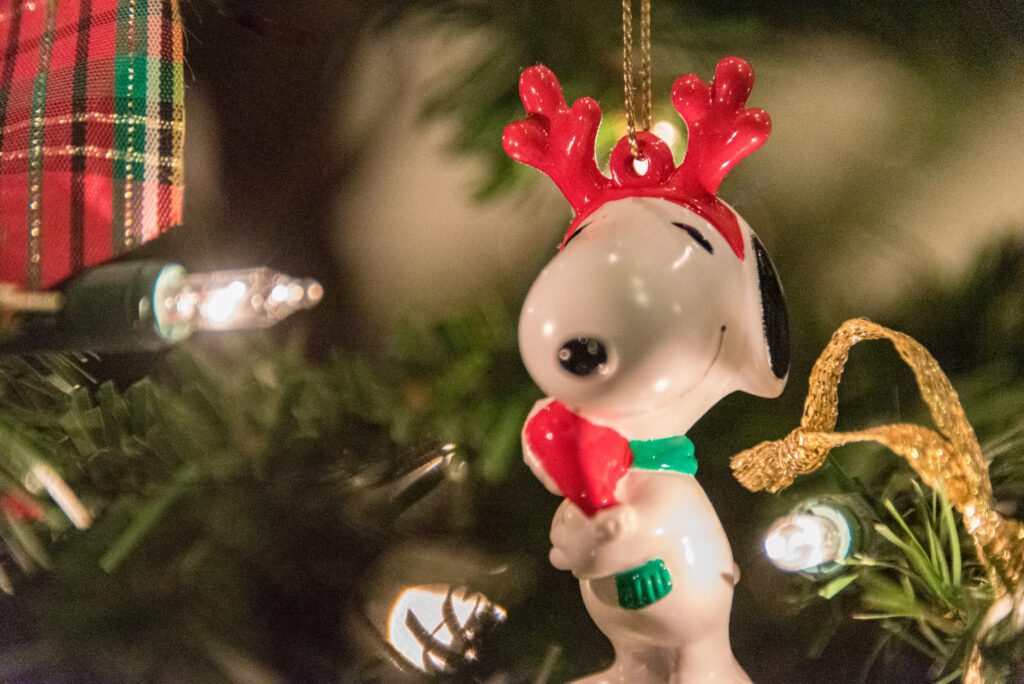
Comparing to the Nikkor 28-300mm I quickly saw that the zooming in the lens to 300mm and getting as close as I could gave me a much tighter shot.
Be sure you click through the slideshow and notice the depth-of-field changes in the first four images move you through ƒ/5.6, ƒ/8, ƒ/11 & ƒ/16. Basically I noticed that while the bokeh looks great at ƒ/5.6 the ornament was actually out of focus on the back part. I was very careful to focus on the soldiers in front. With the Snoopy ornament you will see the depth-of-field is so shallow you might think I shot is out of focus.
The tip is simple shoot a little higher aperture to be sure the ornaments are in focus. Shoot with a tripod and unlike what I did, go ahead and shoot with a lower ISO.
The last photo is shot with fill flash. I put the Nikon D750 pop-up flash in CMD mode. I made it not flash and then on Group A I used my Nikon SB900 set at -1EV.
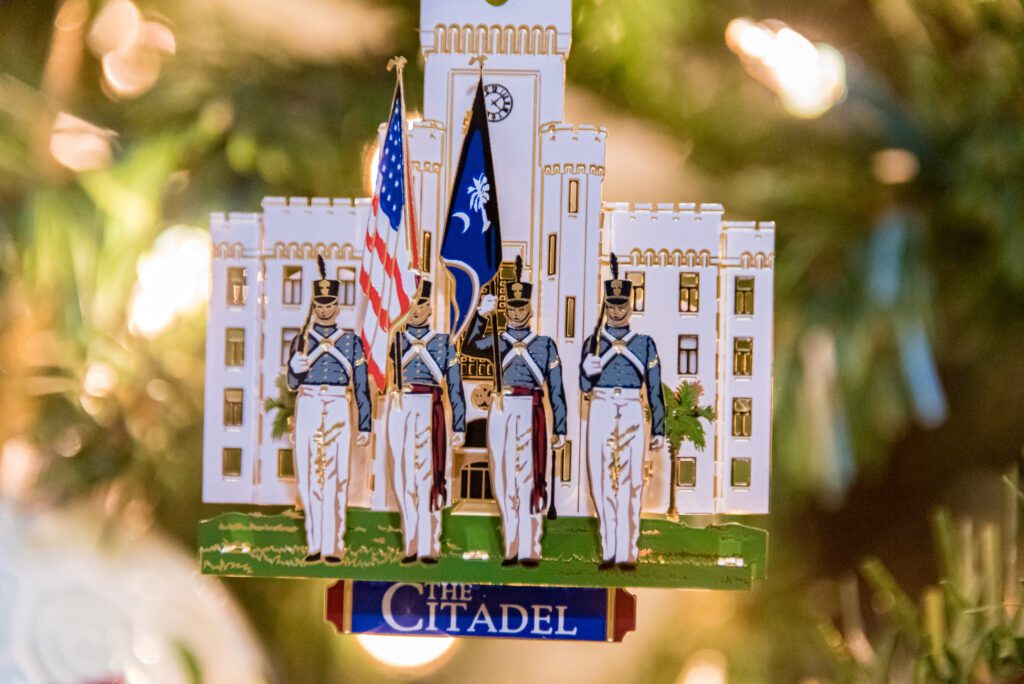
Tips Summary:
- Use Tripod
- Use your lens that will get you closest to the ornament and fill the frame
- Shoot test of different apertures
- Use aperture that works best so ornament looks in focus
- Use off camera flash as an option. Shoot with and without and use the one you prefer.

