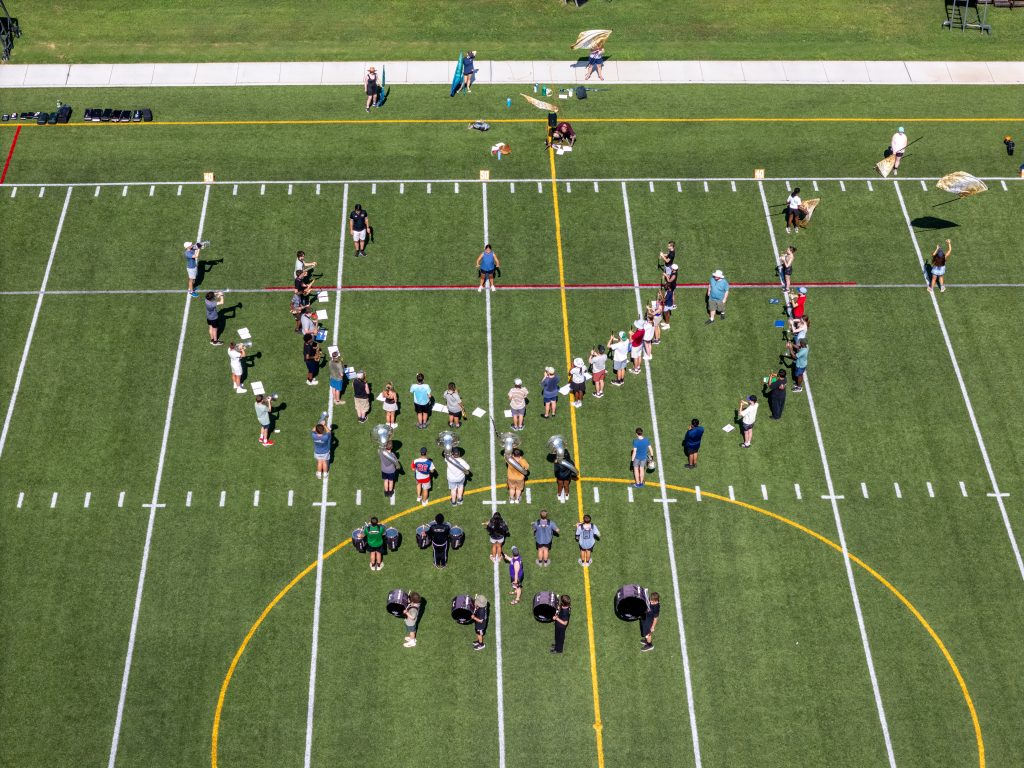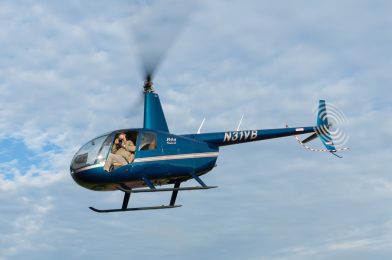
Stanley flying in a helicopter in 2014 above Blessed Trinity. Photo by Craig Carden
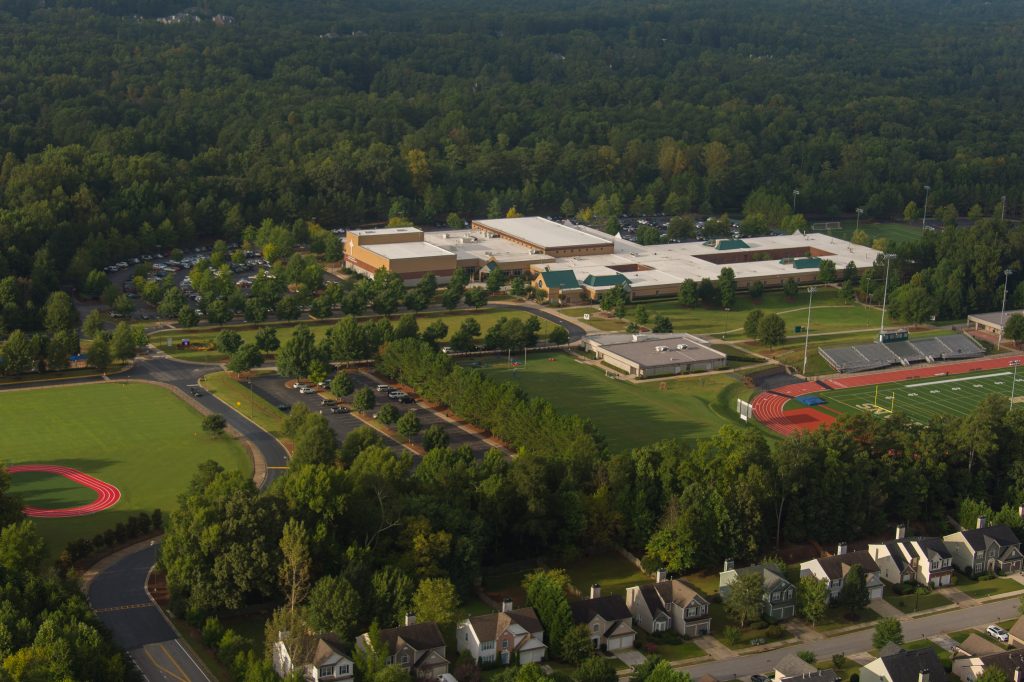
In September 2014, I climbed into a helicopter to get aerial shots of Blessed Trinity High School for a recruiting campaign. The clock was working against me before I even left the ground — by the time the helicopter left the airport, flew to pick me up at the school, and accounted for the return trip, I had about 30 minutes of actual air time to stay under the one-hour billing mark. At $600 an hour, every minute mattered. I was shooting fast, shooting smart, and hoping I nailed the angles I needed on the first pass because there wasn’t time for a second guess.
That was the last time I ever needed a helicopter for aerial photography.
In June 2021, newly certified as a Part 107 drone pilot, I flew over Blessed Trinity again. The contrast could not have been more stark. A helicopter can’t legally fly below 500 feet. A drone can’t fly above 400 feet over most structures. That gap — the airspace between 400 and 500 feet — turned out to be exactly the sweet spot that opened the door to a completely different kind of aerial storytelling.
Today I fly a DJI Air 3. I charge a battery, get about 35 minutes in the air, land, swap in a fresh battery, and go right back up if I need to. No airport pickup. No 30-minute countdown. No $600-an-hour clock running in the back of my mind while I try to compose a shot. I can hover, reposition, wait for better light, and try an angle three different ways — options that simply didn’t exist for me as a working photographer seven years earlier.
Why This Matters for Businesses and Organizations
Aerial perspective used to be a luxury reserved for big budgets. Now it’s a practical tool that almost any business or organization can put to work.
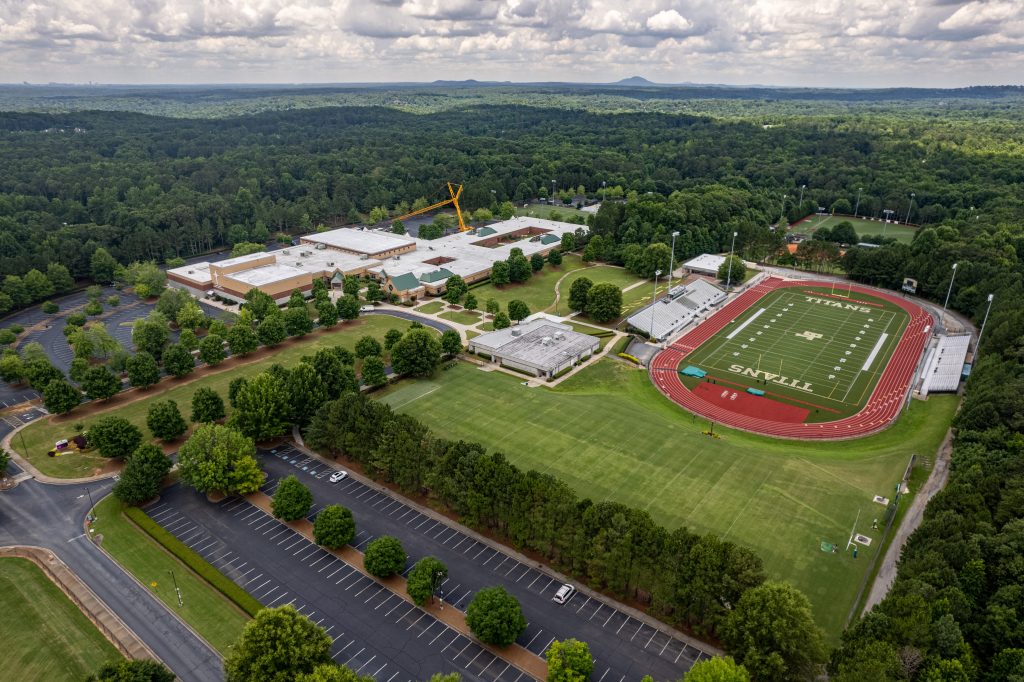
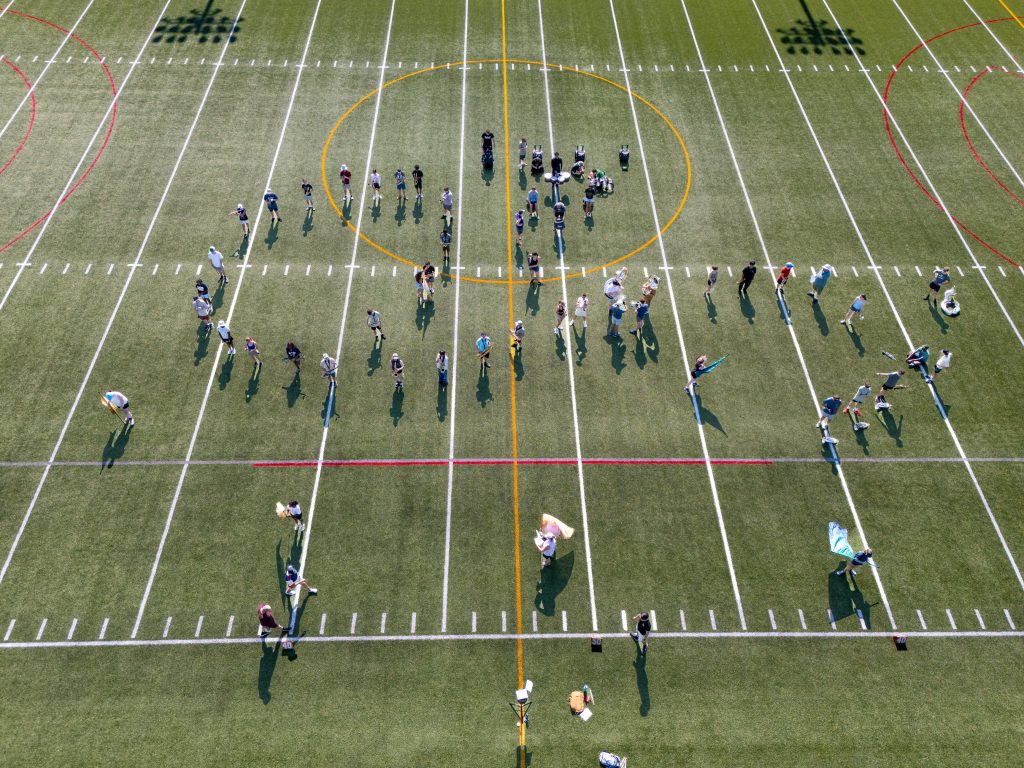
Still images from the air give a business context that ground-level photography can’t. A school can show its full campus — athletic fields, parking, building layout — in a single frame that helps prospective families understand the place at a glance. A contractor or landscaper can document a finished property in a way that shows scale and craftsmanship. A church or nonprofit can capture an outdoor event from above and convey a sense of community and turnout that no ground shot can match. For real estate, construction progress documentation, campus recruiting, and event promotion, a well-composed aerial still is often the single most persuasive image in the whole set.
Video adds movement and pacing to that same advantage. A slow reveal that rises over a building or glides along a property line gives viewers a sense of place and scale in a way that feels cinematic rather than promotional. Organizations use this for recruiting videos, donor and fundraising pieces, real estate listings, and social content that needs to stop the scroll. A ten-second aerial establishing shot can do more to set a tone than thirty seconds of interviews or B-roll.
And practically speaking, the cost structure has flipped. What used to require chartering a helicopter and hoping the weather cooperated on a single expensive day can now be done on a normal shoot day, revisited if the light isn’t right, and repeated as often as the story requires.
Why It Matters for Storytelling
The bigger shift, for me, isn’t really about cost or convenience. It’s about vantage point.
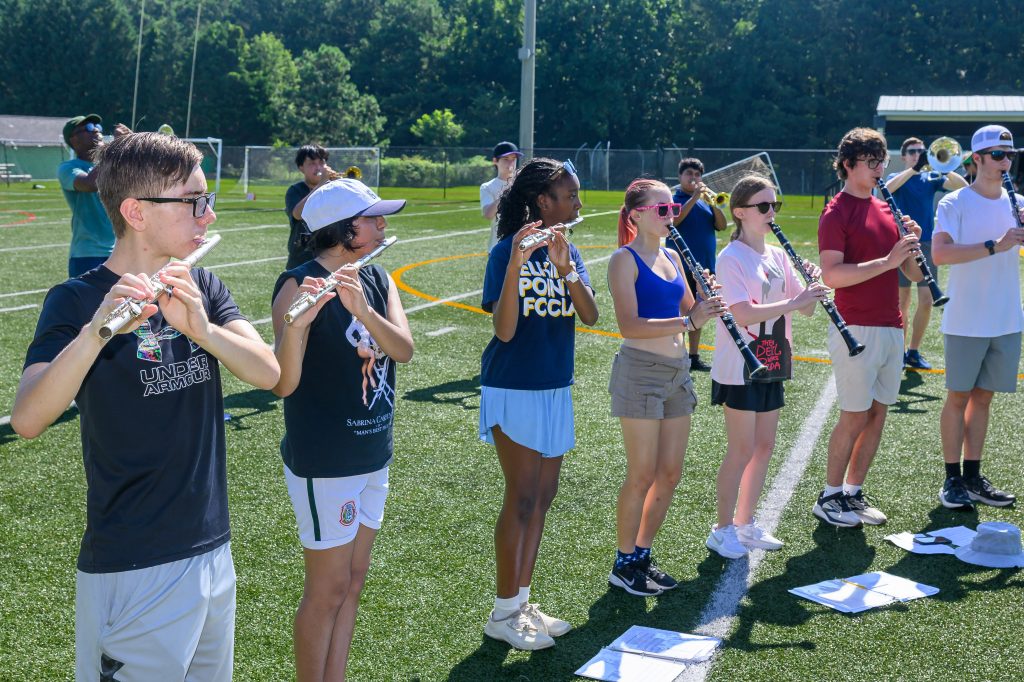
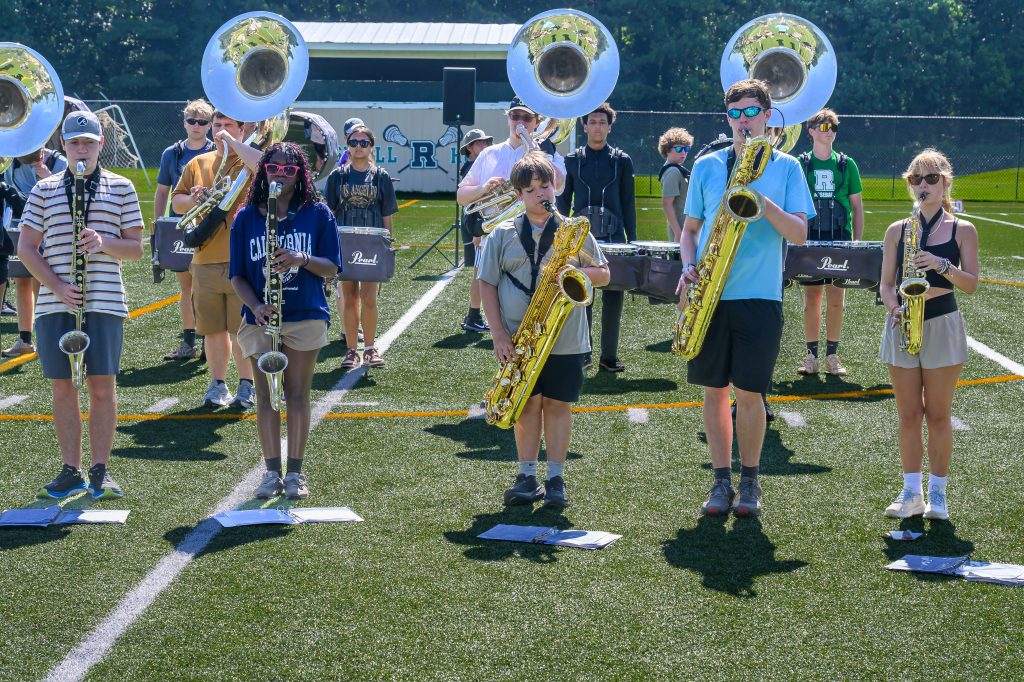
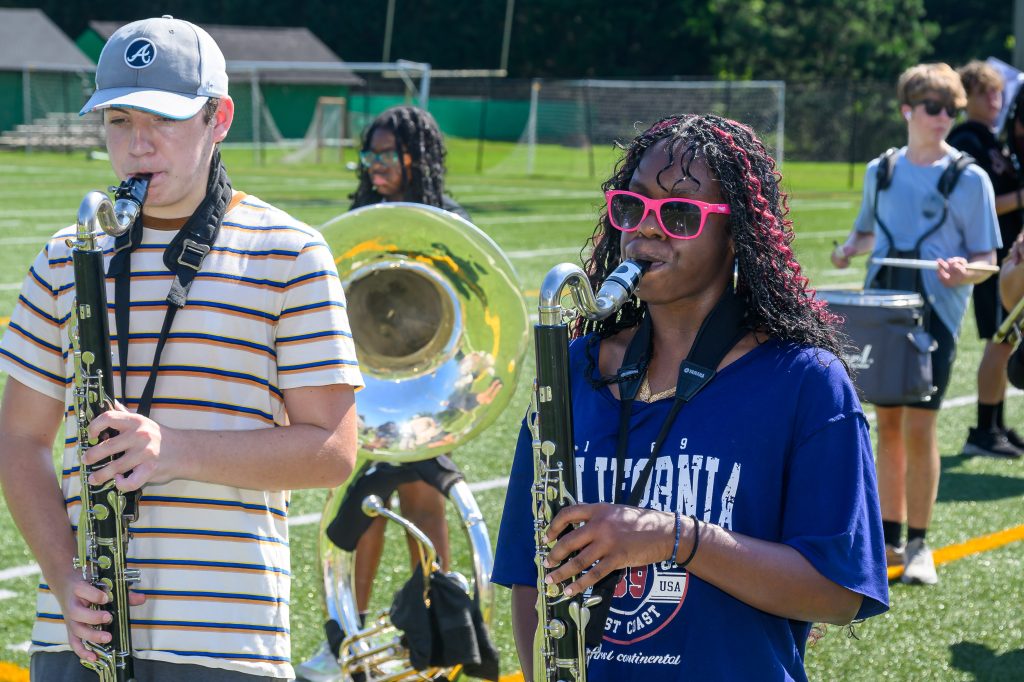
Ground-level photography tells you what something looks like up close — the people, the details, the relationships. Aerial photography tells you where that story sits in the world. It shows scale, context, and connection: how a campus relates to its neighborhood, how a farm relates to the land around it, how a crowd fills a space. My mentor Don Rutledge taught me that good documentary work reveals people through their context and relationships, not by isolating them. An aerial shot is one more way to show that context — pulling back far enough to let the viewer see the whole picture before coming back down to the human details that make it matter.
That’s the real value of having this tool now accessible on a normal shoot budget. It’s not just a new camera angle. It’s a new way to open or close a story — to show someone where they are before you show them who’s there.