
|
Getting your Trinity Audio player ready...
|

I found this in the drawer today, and it took me down memory lane. What is it, you might ask?
While this Kodak Master Photoguide has been gathering dust, its contents are burned into my brain from years of repeatedly using it to help me learn the principles of photography.
Here is what is on the first page of the book to tell you how to use it and what I did:
You can carry this Photoguide when you take pictures so that it will be handy. It’s the right size for your pocket, purse, or camera bag. The Master Photoguide contains a great deal of information that is usually found in photo books in compact form. You’ll find it helpful whether or not you have an exposure meter or an automatic camera. This Photoguide will help you set your camera for the correct exposure, select filters, use supplementary lenses for close-ups, determine depth of field, and much more.
In addition, the Photoguide is especially helpful for planning purposes, as it shows you the photographic requirements for the pictures you want to take in advance.

The “Sunny 16 Rule” is on the Daylight Exposure Dial. I often used this dial because my earliest camera had no meter. You lined up your ISO with one of these:
- Daylight or Hazy Sun
- On light sand or snow
- Average
- Weak, Hazy Sun
- Cloudy Bright
- Heavy Overcast
- Open Shade
On light sand or snow, dial your ISO, and the corresponding ƒ/16 would be the exposure. The shutter speed would be the closest to 1/ISO.

I often pull this little book out when planning a new adventure, find the tap, and flip to the page. The text says, “The Photoguide is especially helpful for planning purposes.”
 |
| Click on the photo to see it larger. |
Click on the photo above to see the existing light choices.
 |
| Click on the photo to see it larger. |
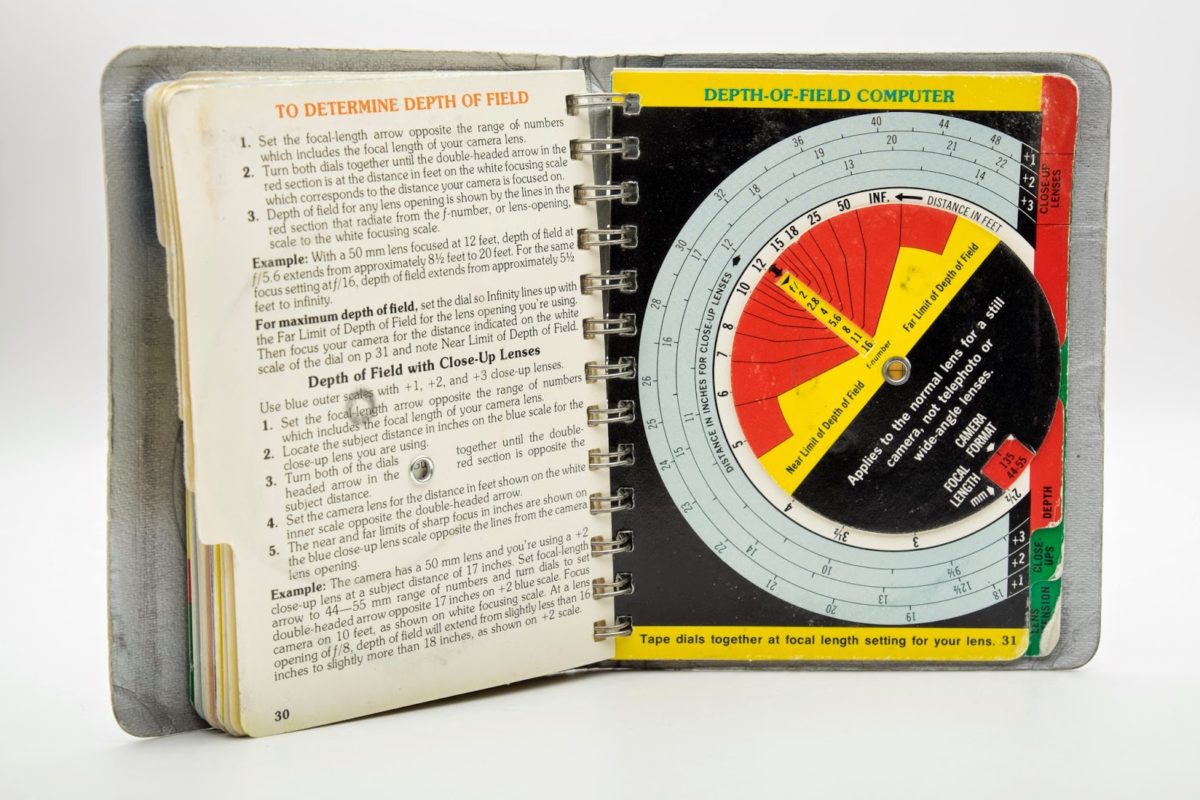
The little book even helped you figure out your depth of field. Say you were to put a lens on the backboard in a basketball game. What ƒ-the number will you need to be sure the rim to the player’s faces is in focus. The calculator for depth of field would help you in planning. Back then, you would have to buy the proper ISO film for such a situation. The Kodak book helped you preplan.

Even planning on doing some macro work with extension tubes or bellows would help you figure out the proper exposure. We couldn’t take the photo and adjust it immediately. Instead, you would have to process the film and then see the results.
For those of you starting, you need to know that most of us had to work at understanding the principles because the learning curve with film was longer over time. You didn’t click and look at an LCD to see your results. Sometimes, it would be weeks after you returned from traveling for coverage for a month or so on the road.
While this book is less necessary in the photographer’s bag, it is still relevant for those who want to see the principles of exposure on a dial. It is also great for planning what you might need for your next assignment.
The best part is this book was like a cheat sheet for photography.