
The day before a big game like the Chick-fil-A Kickoff, I am getting my gear ready. I am charging all the batteries and ensuring I have all the equipment packed before the next day.
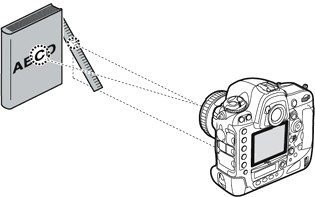
One of the things we are now more aware of with digital cameras is the front or back focus of a camera. When the camera and lenses ship, they have some tolerance which gives you reasonably acceptable images, but if you want to get the sharpest images, you need to calibrate. This diagram is from Nikon’s website showing you the concept of calibrating I am doing.
You go to the wrench in the Nikon D4 menu and then Fine Tune. You will adjust the settings here:

Watch this video on how you adjust your lens using Fine Tune on the camera. Sometimes it is easier to adjust the camera by just +/- 10 or 20 points which might be all you need to do, than to go and adopt 16 different focus points. Another issue is you may have gone +/- 20 points and still need more adjustment, and this is where the combination of the two can give you more range for calibrating.
This is OK with fixed lenses, but for zooms, just not enough. Sigma allows you to calibrate even more than with camera calibration.
Before tomorrow’s big day, I am calibrating the new Sigma 120-300mm ƒ/2.8 DG OS HSM | S lens.

I am using the Sigma Optimization Pro software coupled with the Sigma USB docking station to calibrate the lens and the Fine Focus on the Nikon D4.

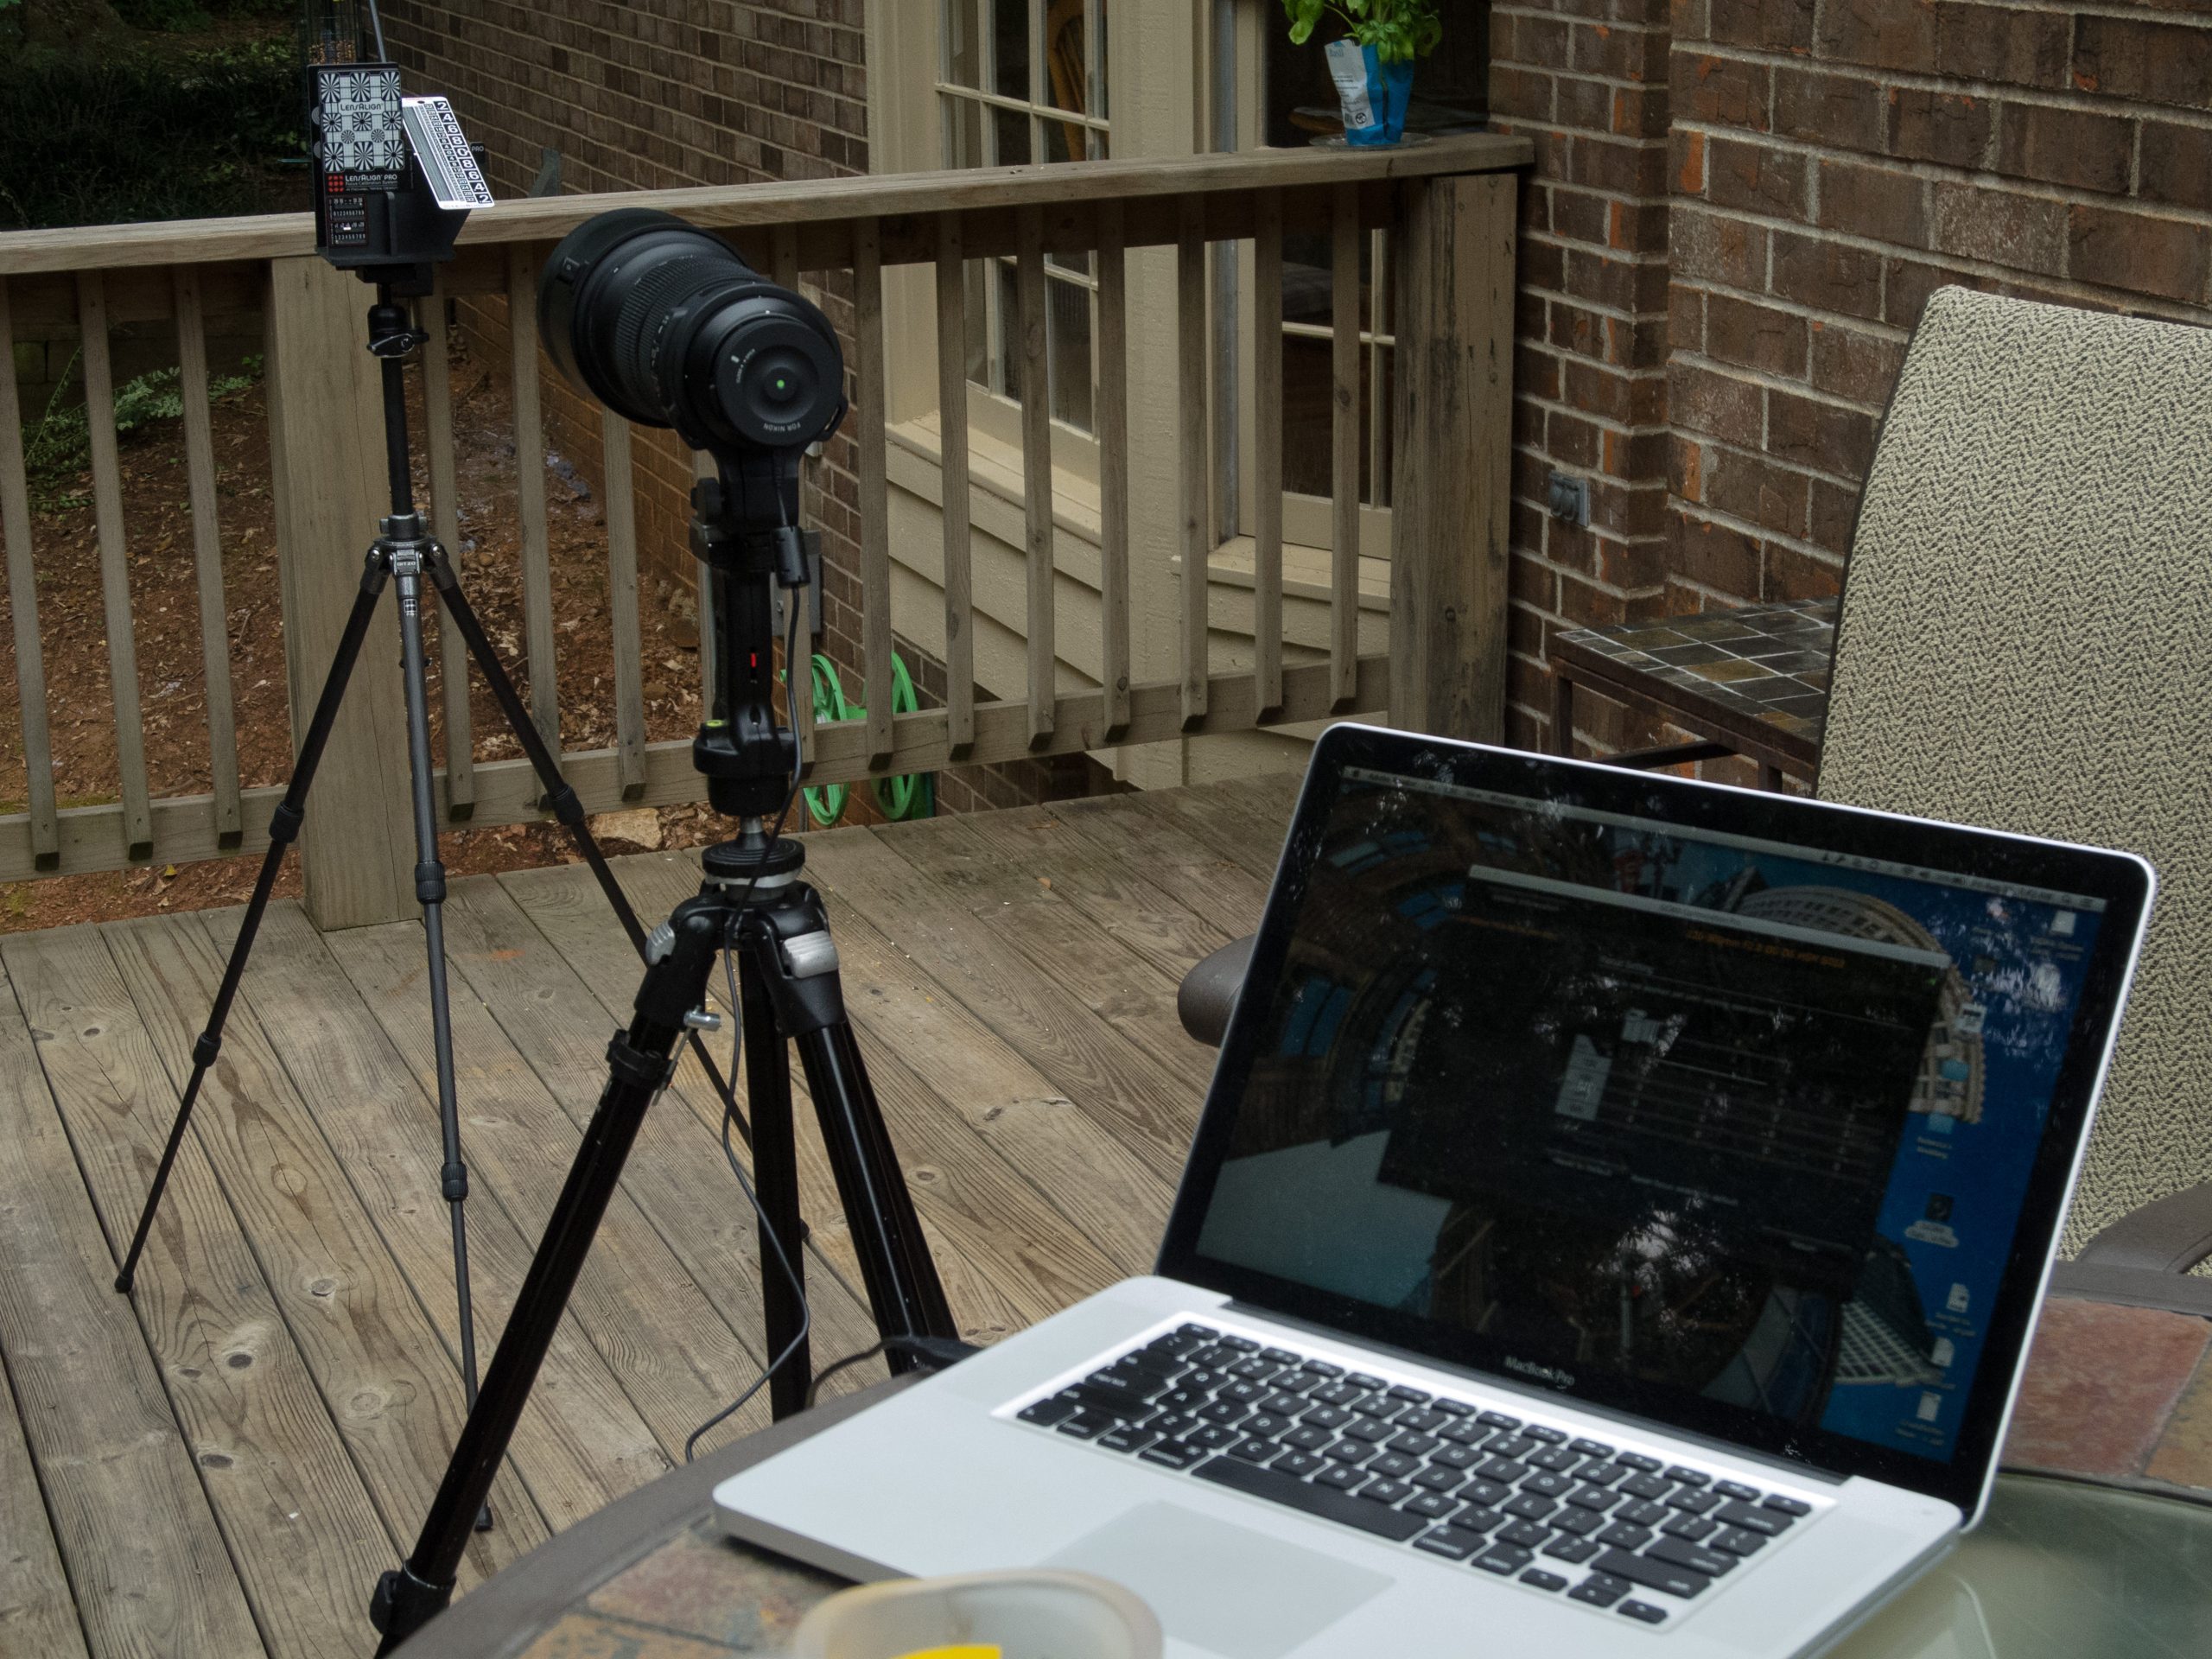
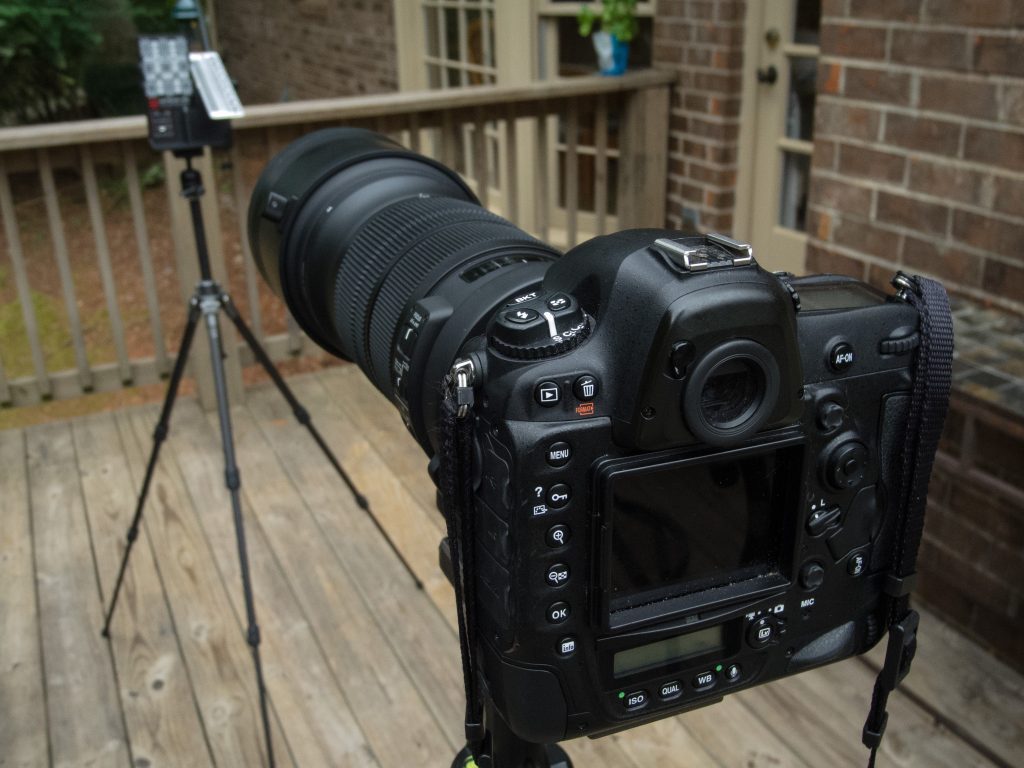
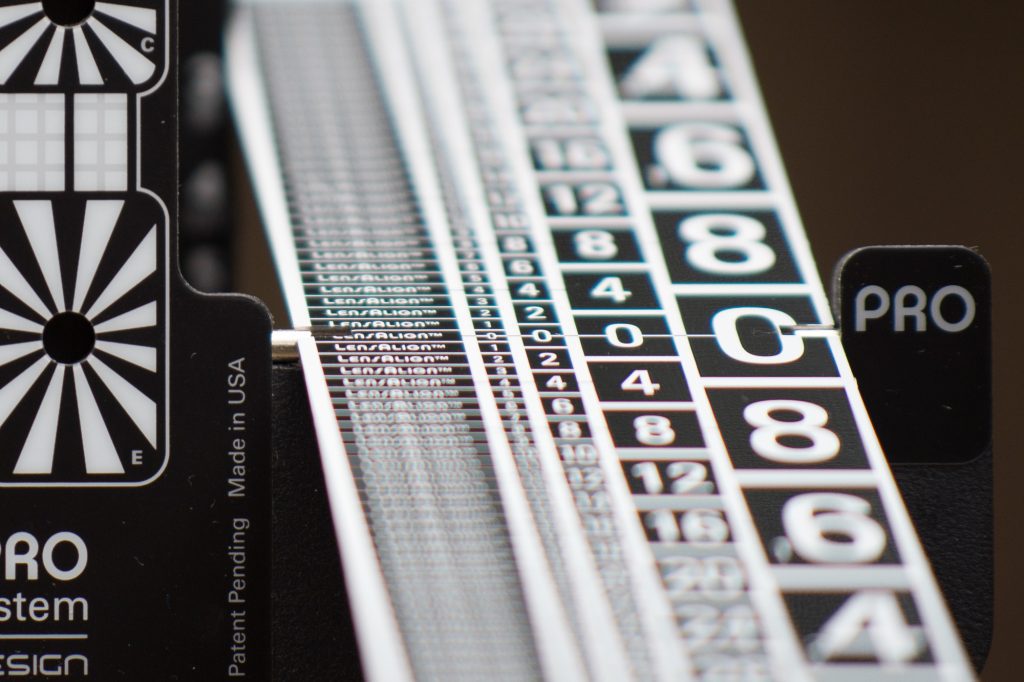
To check the focus point, I am using the LensAlign Pro system.
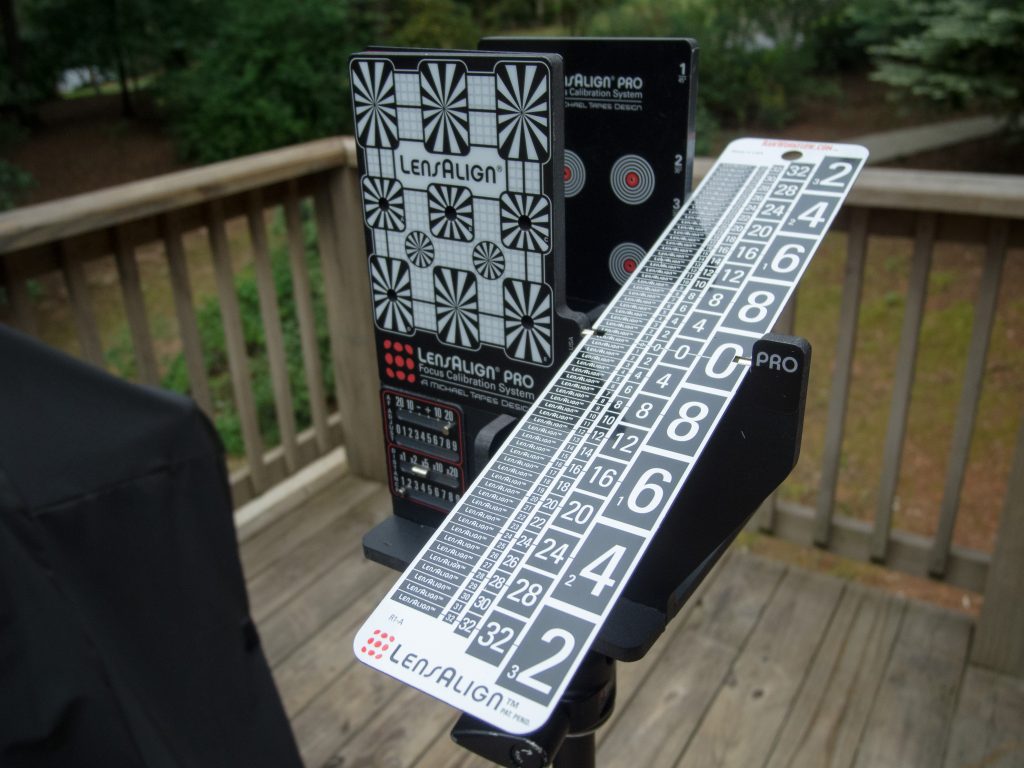
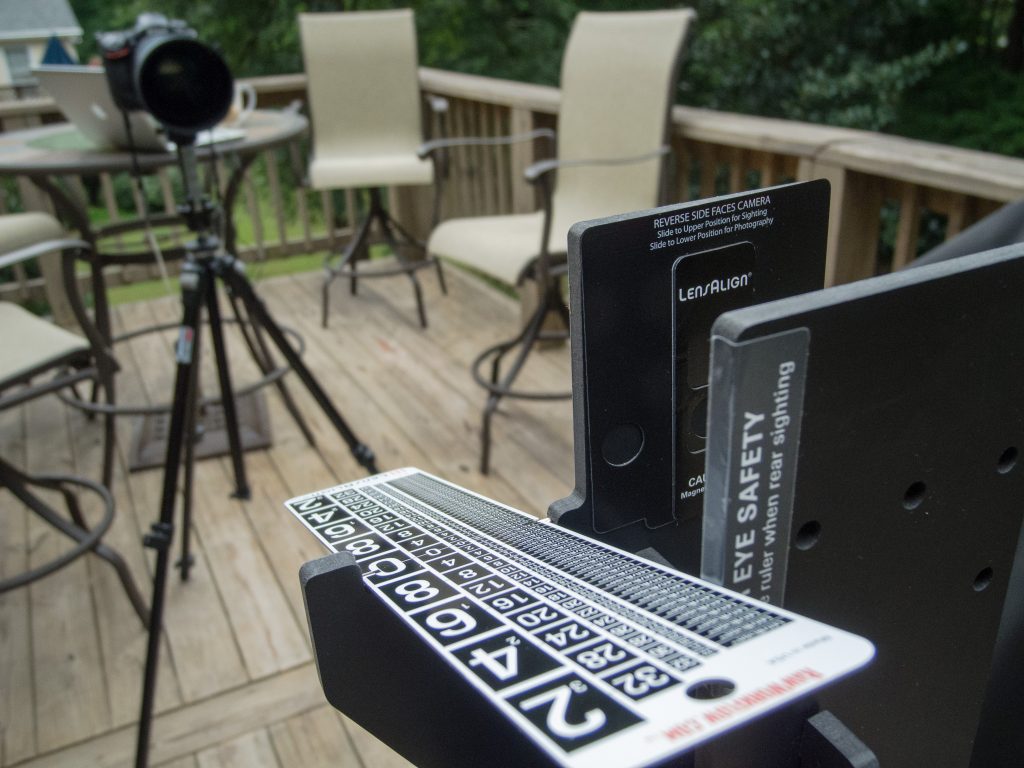
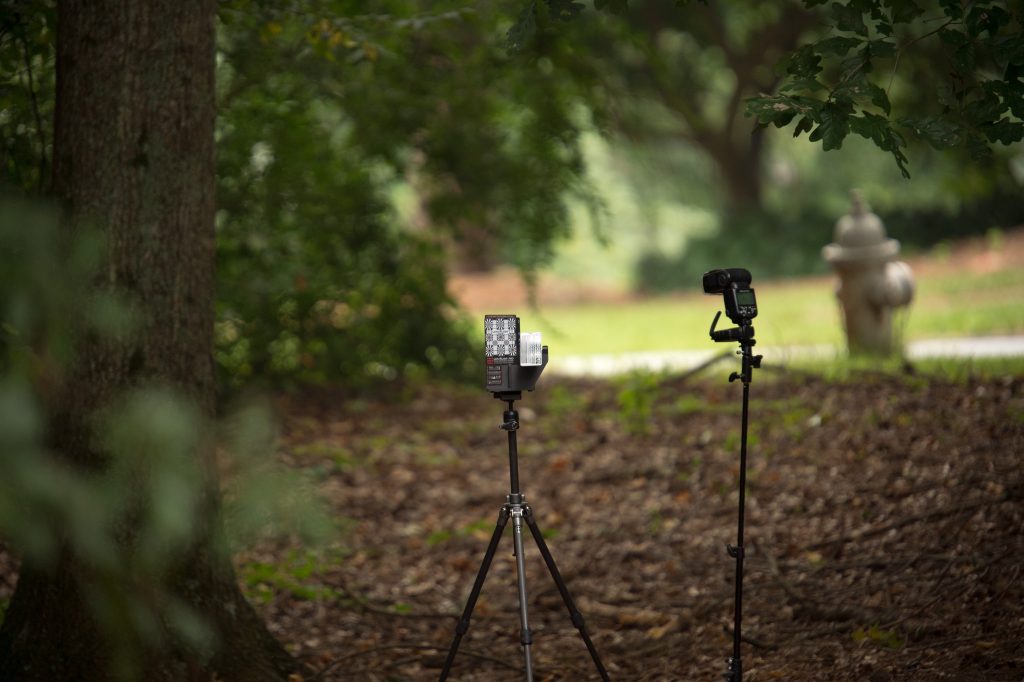
I set the Camera and LensAlign Pro at a distance I will need to focus and then parallel to each other. The LensAlign direction helps you set that up.
Then I shoot at one of the four zoom positions with this lens: 120mm, 150mm, 200mm, or 300mm. Then there are four focus positions to choose from for each focal length you desire. When you have done all the possible combinations, you will have 16 different customizable calibrations to get the sharpest image possible with your camera.
Now you will find that by fine-tuning your focus at 300mm and the furthest focus point, ∞ you have a long way to walk to set up the LensAlign Pro.
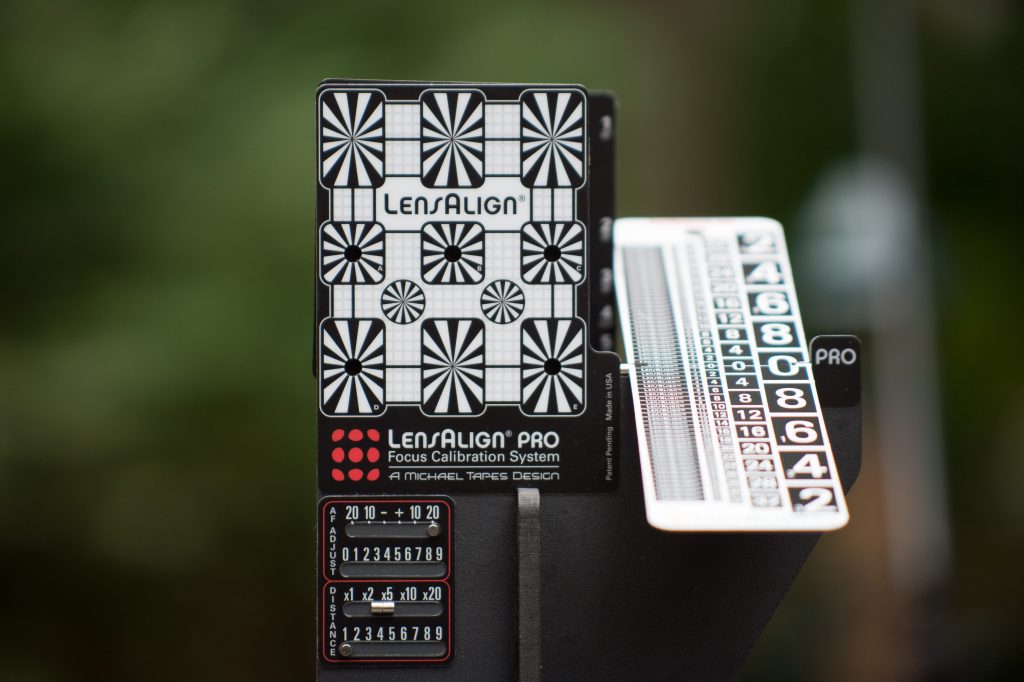
I would do a test shot that might look like this, and then I needed to zoom in on the photo to see the detail of where the focus point was for the image.
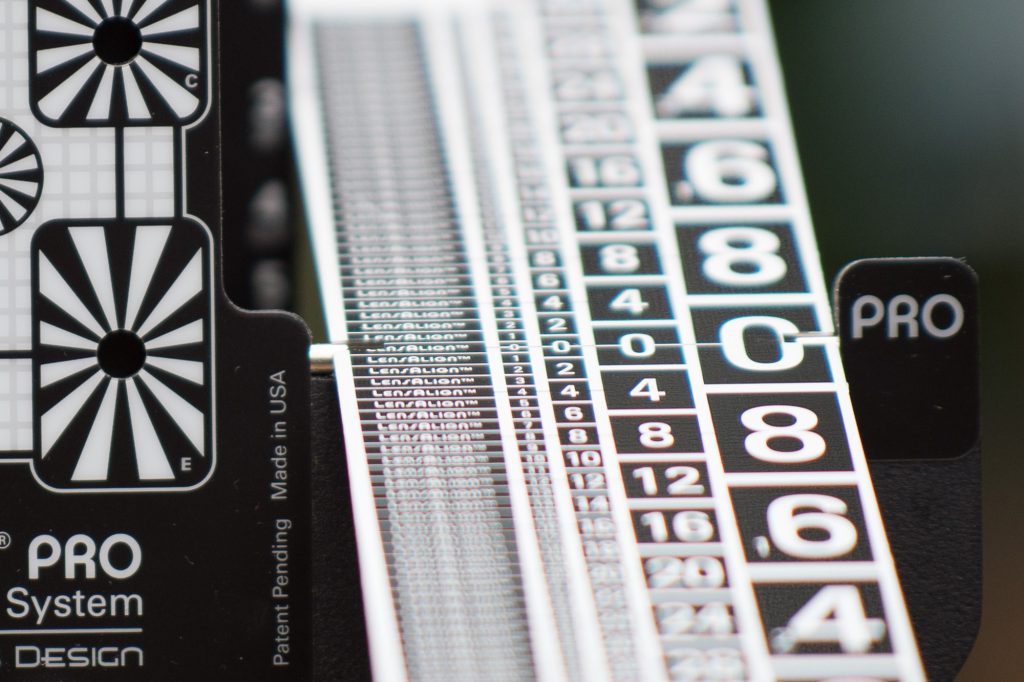
Here you can see the focus point is slighting in front of the 0 where I wanted it to be.

I open the Sigma Optimization software and put the USB dock on the lens, replacing the camera. Going from Camera to Computer is why you need a tripod to do this; you need to lock everything down, make the change, and then reshoot to see if the custom change worked.

I moved the focus point +4 further from the lens in the screen grab. So the software gives you pictures to see what you are doing, which helps.
After doing this a few times, you can see where I ended up with focusing. So now you repeat this 15 more times with 120mm, 150mm, 200mm, and 300mm at four focusing points: Closest, farthest, and two in between.
Stay tuned for my results from the Chick-fil-A Kickoff with the new Sigma 120-300mm ƒ/2.8 DG OS HSM | S lens.