
|
Getting your Trinity Audio player ready...
|
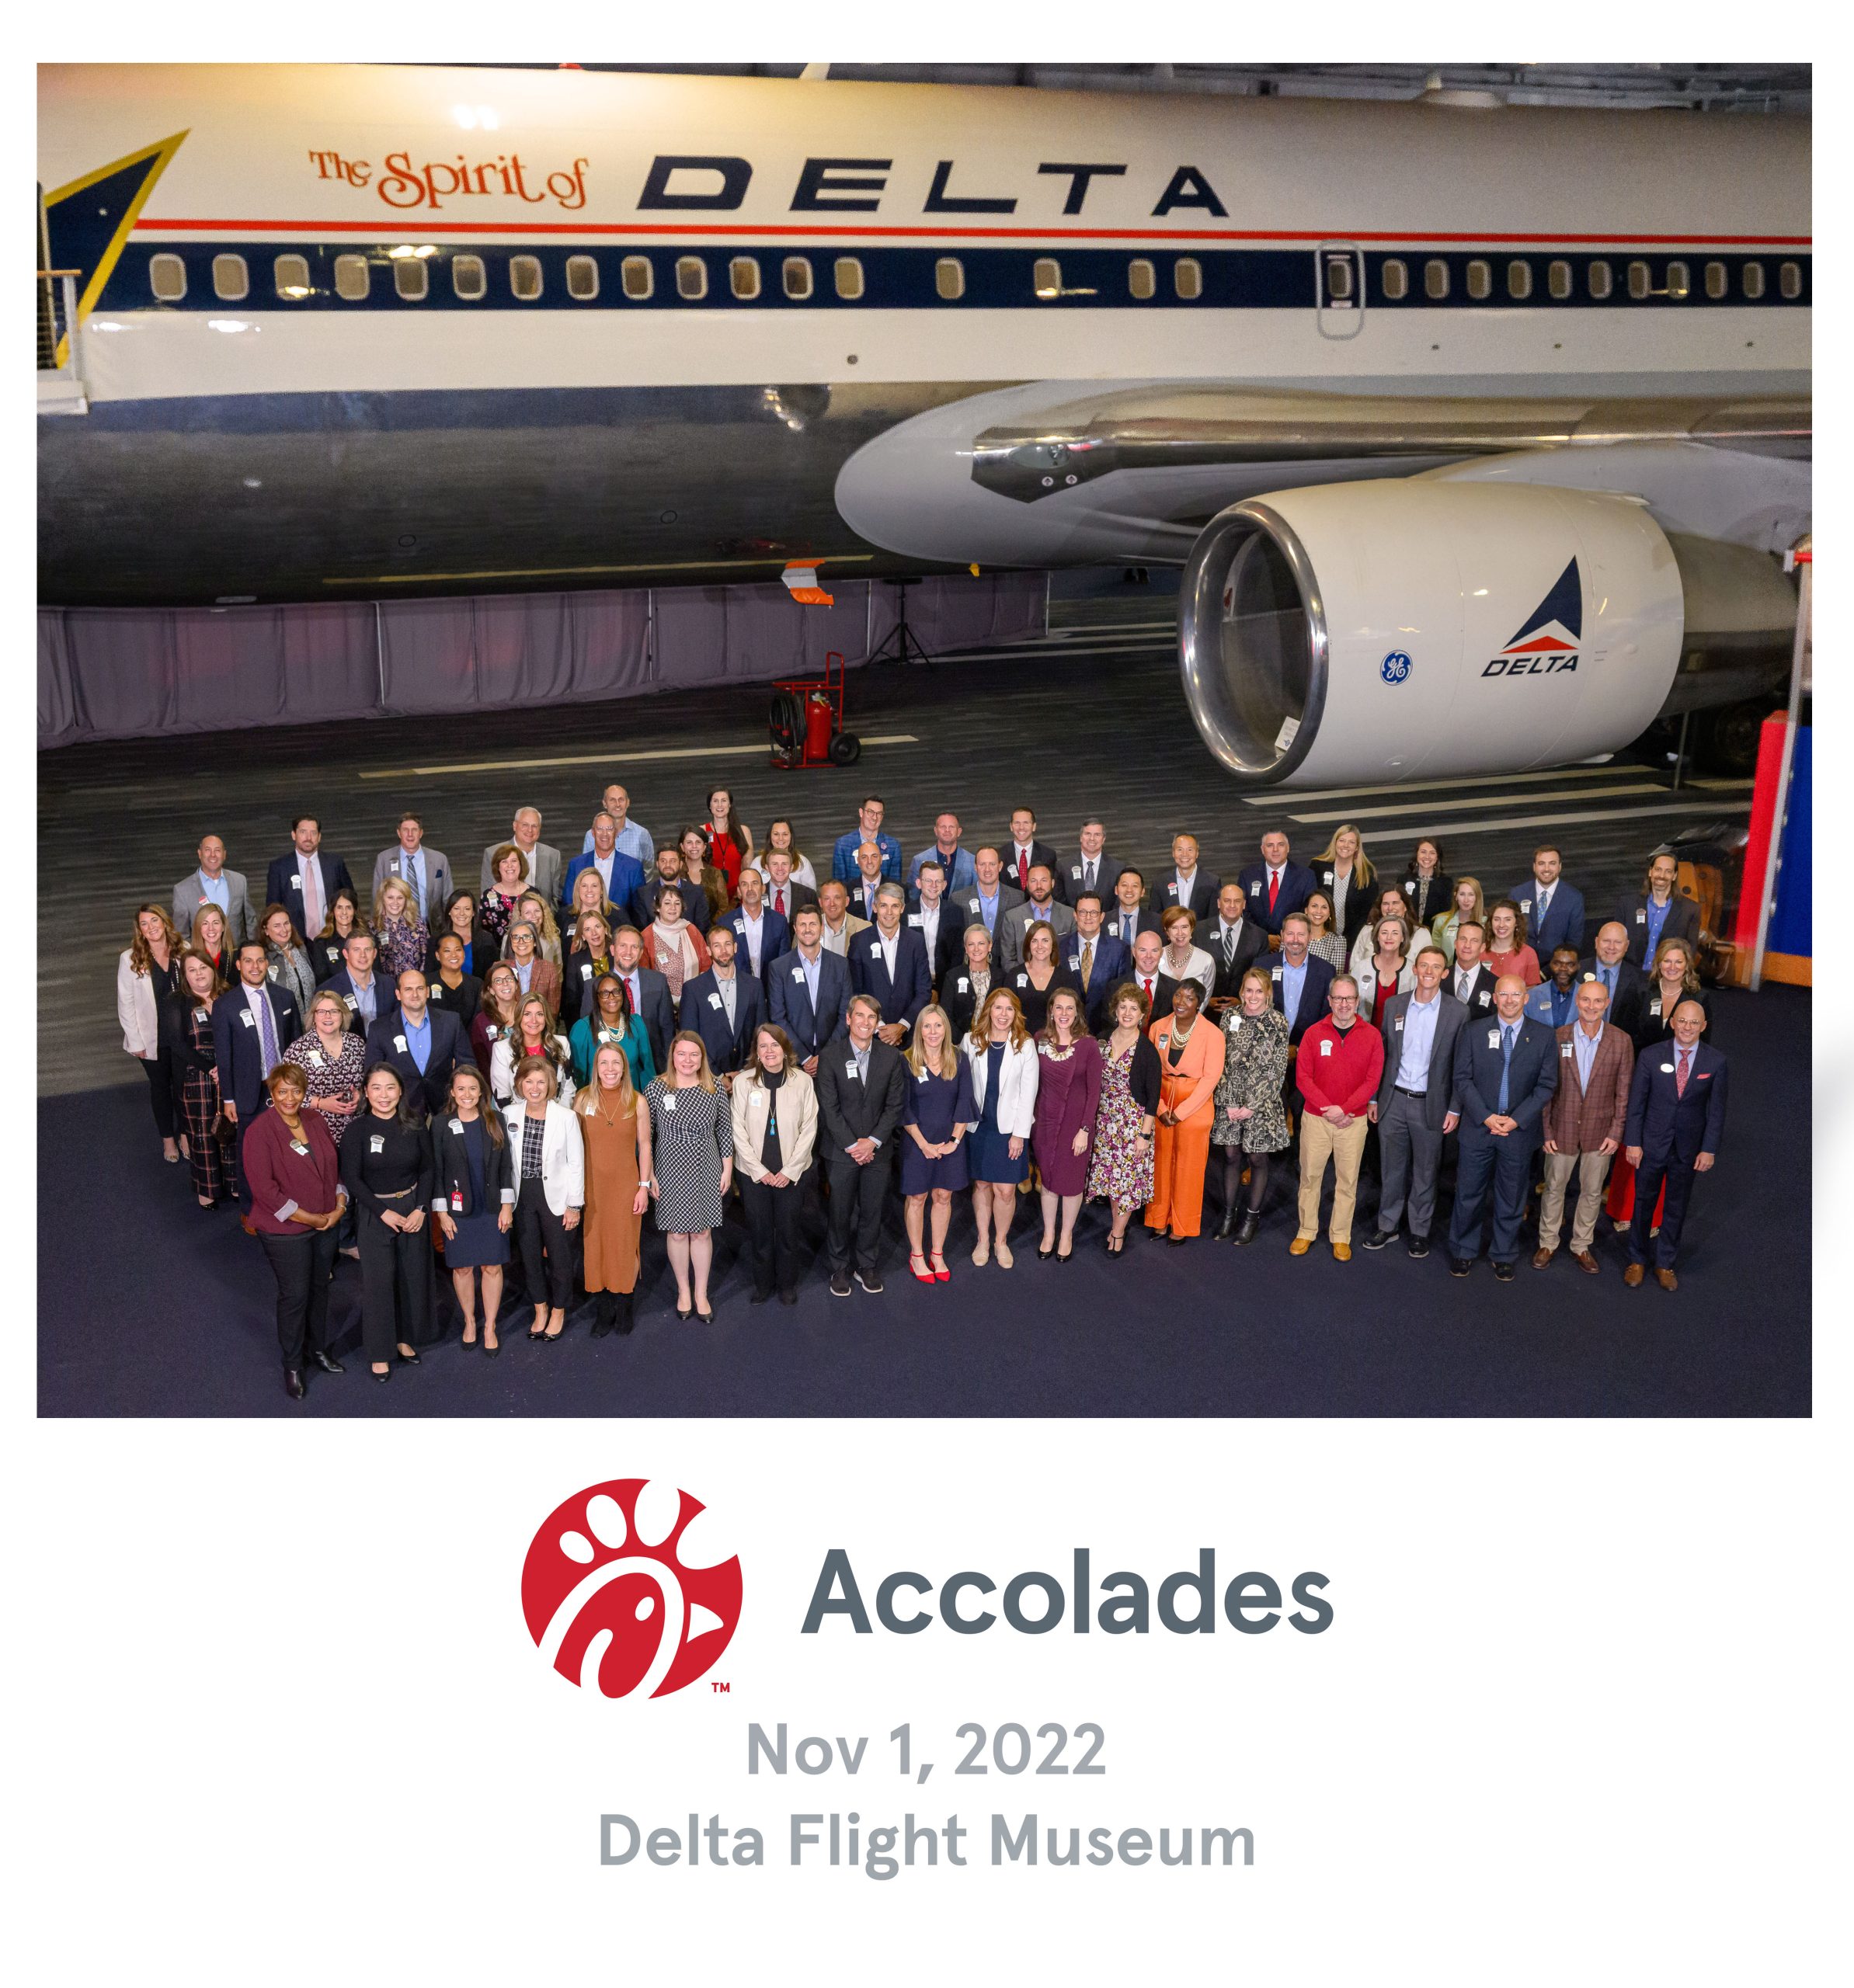
The group photo is the most crucial shot for this event. The client needed the plane included.
I arrived early and set up strobes to light the group. Nothing is worse than having a lot of dark eyes due to overhead lighting creating raccoon eyes.
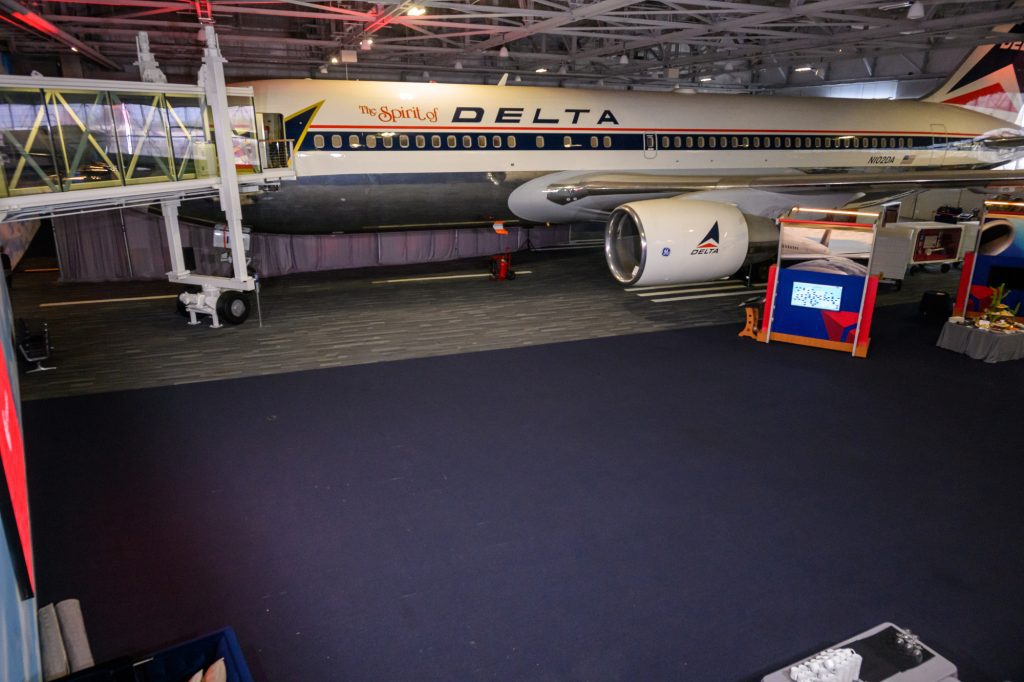
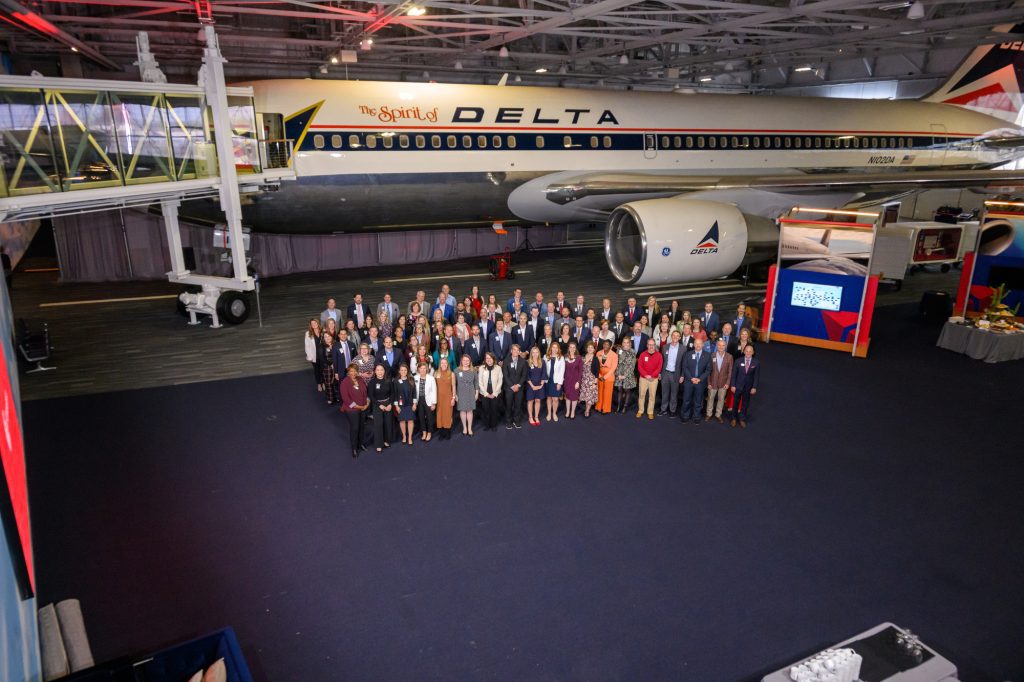
This photo with no people was my test shot from above, and I would put the people down on the ground in front of the plane.
I am shooting the meeting before this group photo. So I ran up just before they came over and turned on all the lights. I composed the image as I usually would do with a group photo.
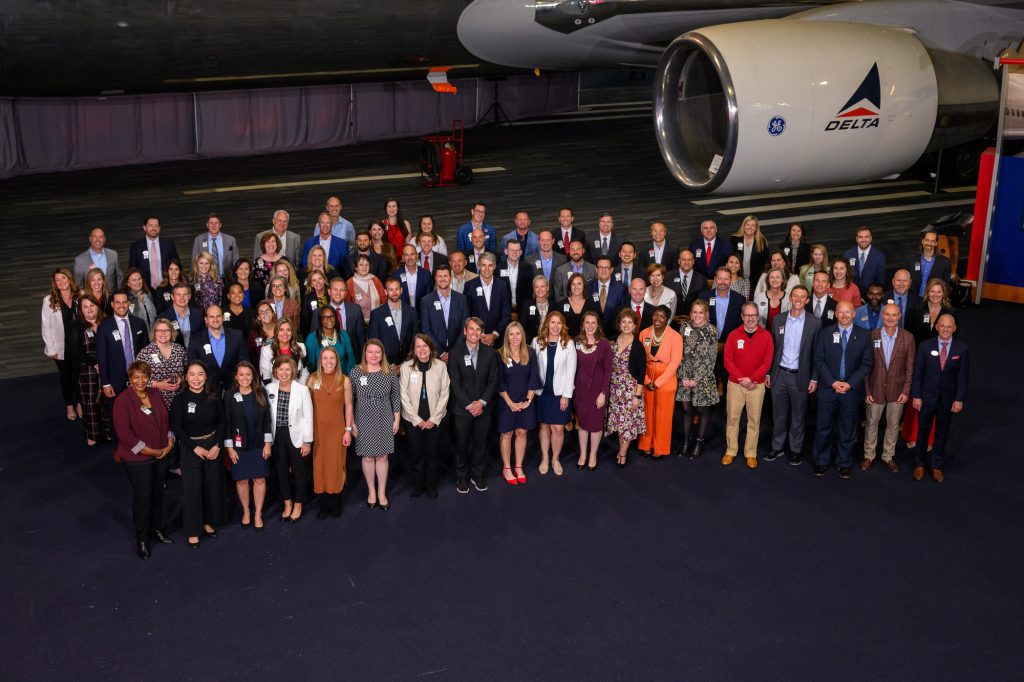
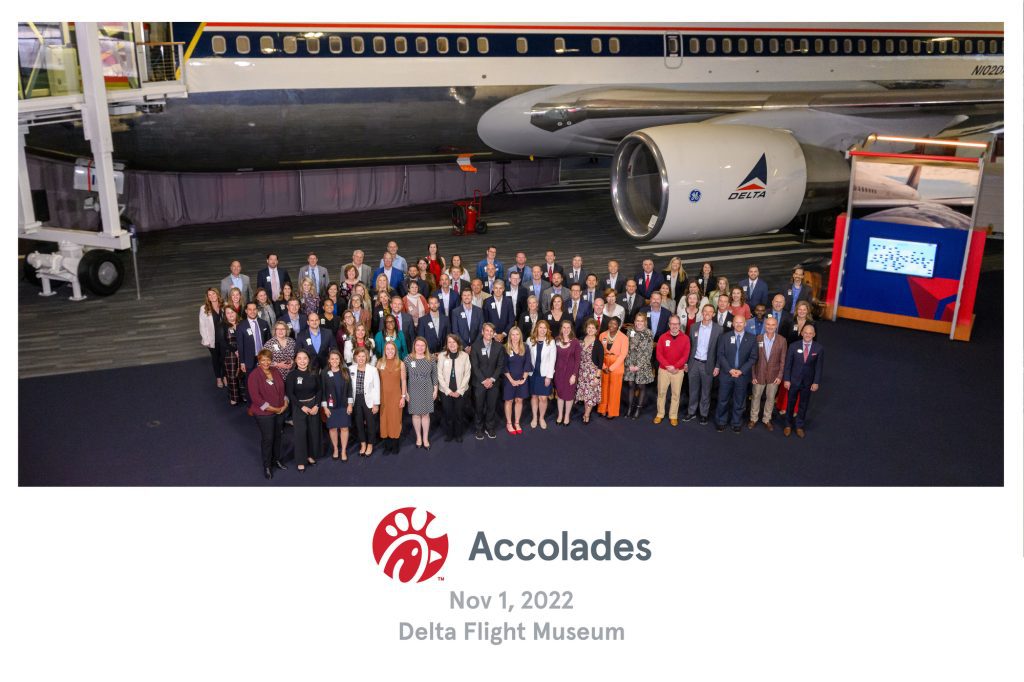
Now later, as I was editing, I panicked. I was too tight, but I like this more. Since I still had my test shot, I thought there was a good chance I could merge the two photos to show more of the plane.
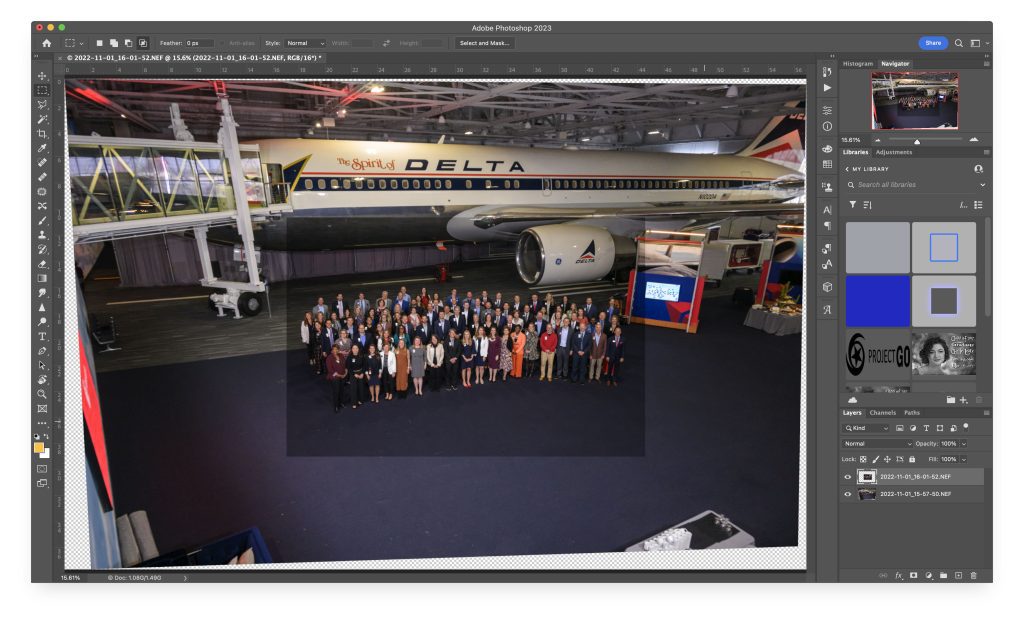
This screenshot from PhotoShop is what it looked like after I Auto-aligned the layers. Then it was just a matter of blending the two by matching exposure. Here is the final result from combining the two photos.
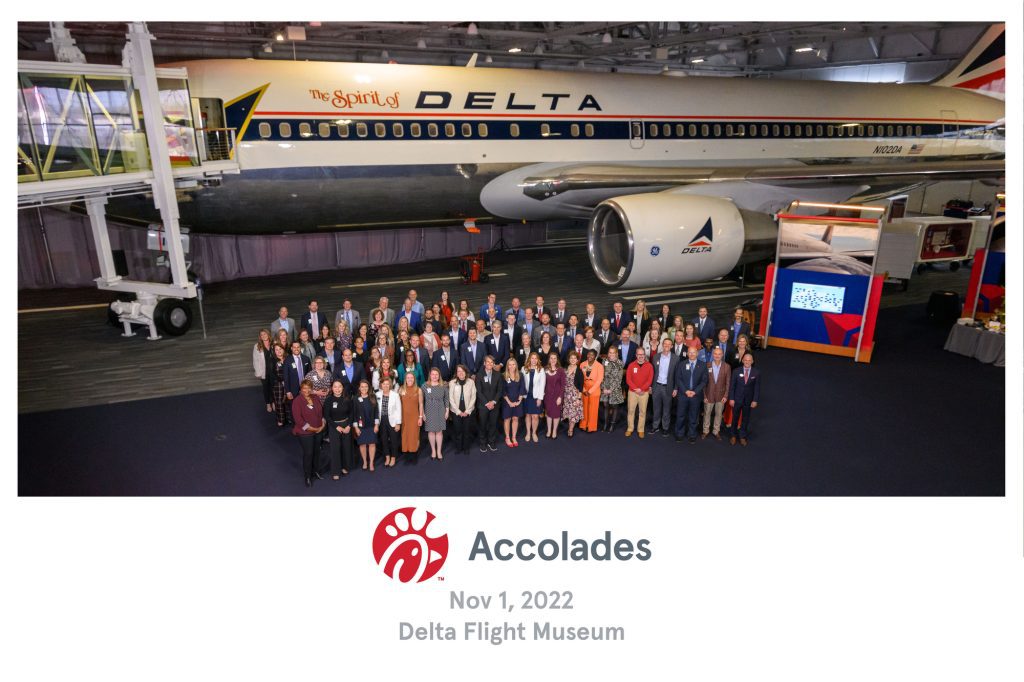
I cropped it a little closer, but I also have that option if they want more of the plane.
Now I gave them one more option as well for this group photo.
I have never had to do this before, but I have had to take people in a family photo and put them in another frame due to expressions. I was familiar with using Auto-Align in PhotoShop from my time shooting flash and ambient real estate photos and combining them into what we now call Flambient photos.
Now you have a way to do more intentionally with a group photo. Shoot test shots and save them if you want to use them in post-production.