
Maybe you have swabbed your cheek and gotten your DNA profile revealing your ancestors as I have. My wife and I did the FamilyTreeDNA.

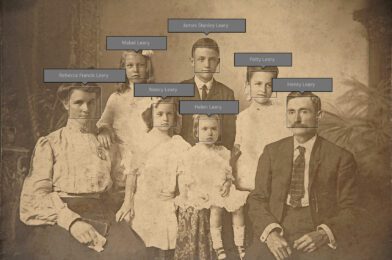
You can see the family trees of those who have chosen to share that are related. Ancestory.com promotes its product using photos like this ad here:
I have worked out a great workflow that works for me and my clients when I do photo shoots. However, when the photos are older and need to be cataloged, well that is what I am writing about today.
Workflow for Older or Existing Photos
First, you need to digitize all these images. Earlier, I wrote about copying images with my Nikon Z6 on my blog. To digitize slides, I wrote about that process here.
I want to pick up those photos that are digitized. I have been doing a few archiving projects and now have a pretty good process.
The first thing I am doing is ingesting all the images into Adobe Lightroom Classic. Once ingested, I use the shortcut in the Library Module “O.”
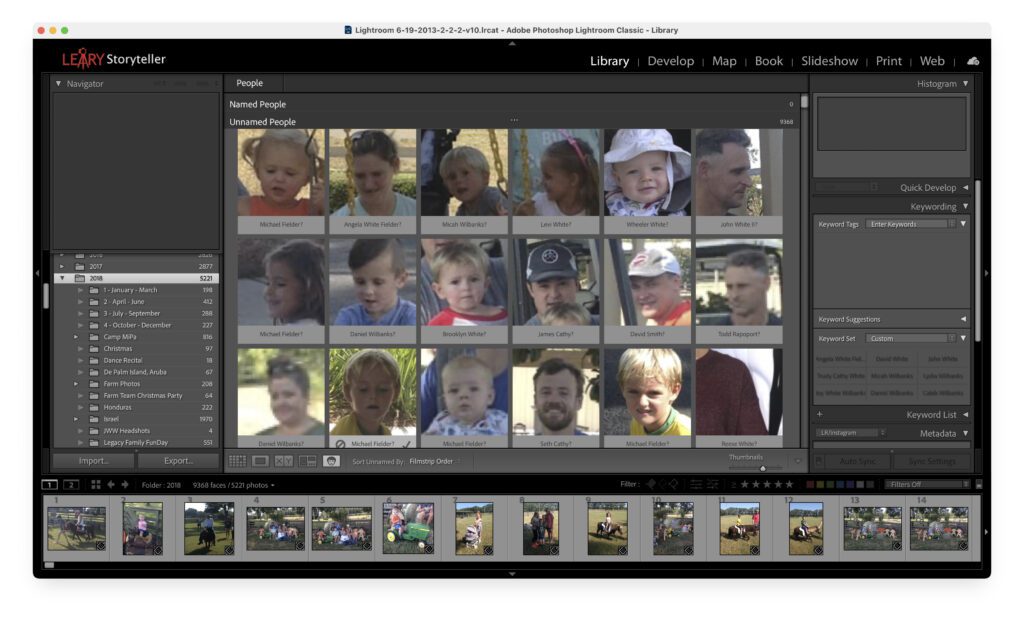
Lightroom will now look for people’s faces. All of them will be unnamed, and then you assign a name. Just click below the photo and write the name in.
You can then right-click and ask it to find similar faces. I select all those that are the same person and type the name in. Hold the Command key ⌘, click on all the photos, and then only have to do this once.
How many photos you imported and how many faces are in those photos will impact how long it takes to find all the pictures. I have been importing about 3,000 images at a time, and it takes a good hour or so to see all the faces.
Artificial Intelligence is great for a few reasons. First, if someone is looking for a photo of someone, most likely they want a photo where you can see them. AI helps you by only finding recognizable faces. Second, it is fast.
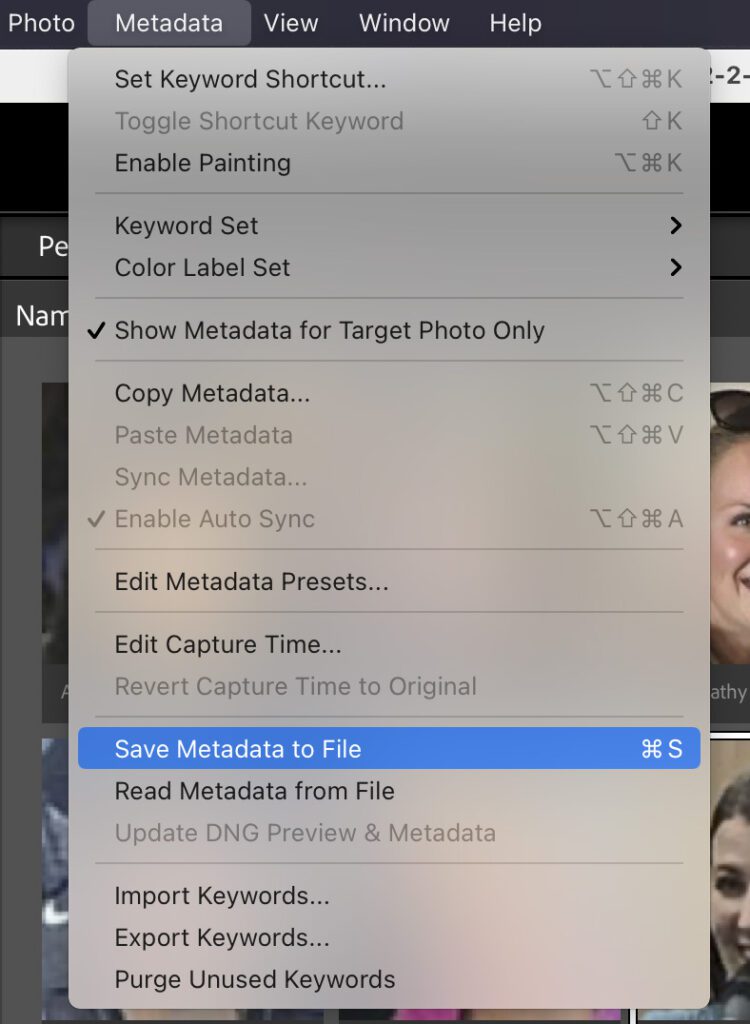
When you finish you can export all the images, putting their names in keywords and the people field. You can also write the metadata to the image. I do this since I am working primarily with JPEGs since they are older photos rather than RAW images. Go to >Metadata>Save Metadata To File, or you can use the shortcut ⌘S.
When Face Recognition was first introduced with Lightroom 6, I wrote a blog on it here.
Second I leave Lightroom and go to Photo Mechanic Plus.
Here I have a few shortcuts to help with speeding up Metadata.
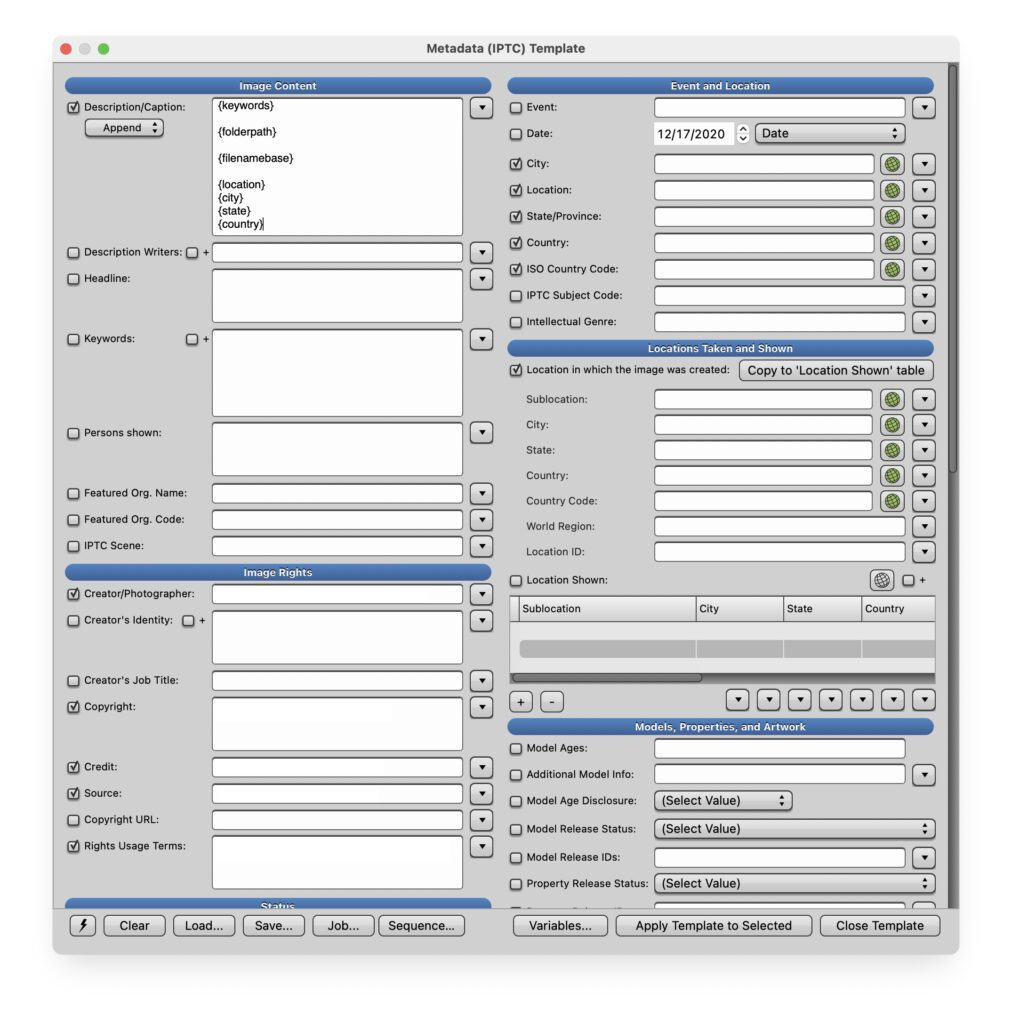
Using the “Variables,” I put those into the caption field. So what I am doing is moving the names created in Lightroom from the “Keyword” field to the “Description/Caption” field. I also carry the location information.
With one client I also use {filenamebase} and {folderpath} variables. They had already tried to help in finding their photos by creating a folder system and filenames that helped with finding photos.
Their system worked like walking into a library, walking to a specific section, and pulling a book because you know how the system was set up. However, if you are as old as I am, you may remember going to the library and teaching you how to use the card catalog system.
I am taking that filing system and embedding it into each photo. This way, if you search for a topic that was a folder, it will find all those photos. You can then narrow the search with more words.
Third I will now add keywords to every photo. I use a “Structured Keyword List.”

If you create a taxonomy of keywords using the form of this outline about without the numbering, this can be used in what Photo Mechanic refers to as a “Structured Keyword.” It will look like this below, minus the bullet points.
- North America
- United States
- Alabama
- Mexico
- Canada
- United States
You can use Microsoft Excel and create your list as well. A column and indent would be the B column and so on. If you save it as a TXT, it can be used as a Structured Keyword list.

Click on the drop-down menu on the right of keywords in the IPTC screen. Pick the Structured Keywords.

This is the default that comes with Photo Mechanic. I have written my own for different clients.
This lets you quickly add keywords to a photo.
When you have done this just once, the keywords will be under the Structured Keywords, so you don’t have to recreate it if you want to use the same or another one you created. It keeps those as another shortcut.
My last tip is that you can simultaneously apply any of these to multiple images.
Select all the images or select CMD+I to bring up the IPTC. You change anything in this and then tell it to apply to your selection.
You can do the same thing by selecting images and CMD+M to rename all the photos you have chosen.
On average going one image at a time, it can take about 5 minutes for an idea to write a caption telling us the Who, What, Where, When & How, as well as adding Keywords. But using code replacement, structured keywords, and applying those to multiples when you can–will save you an incredible amount of time.
The last tip. Do this enough, and your speed will increase over time.