
|
Getting your Trinity Audio player ready...
|
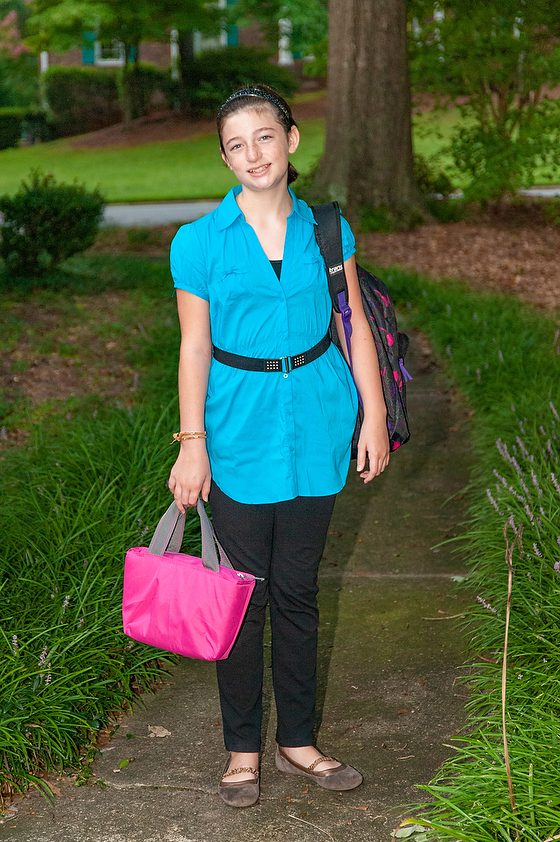
Your old photos can look even better today due to technological advances. I returned to this photo of my daughter’s first day of school ten years ago to re-edit the image in the latest version of Adobe Lightroom.
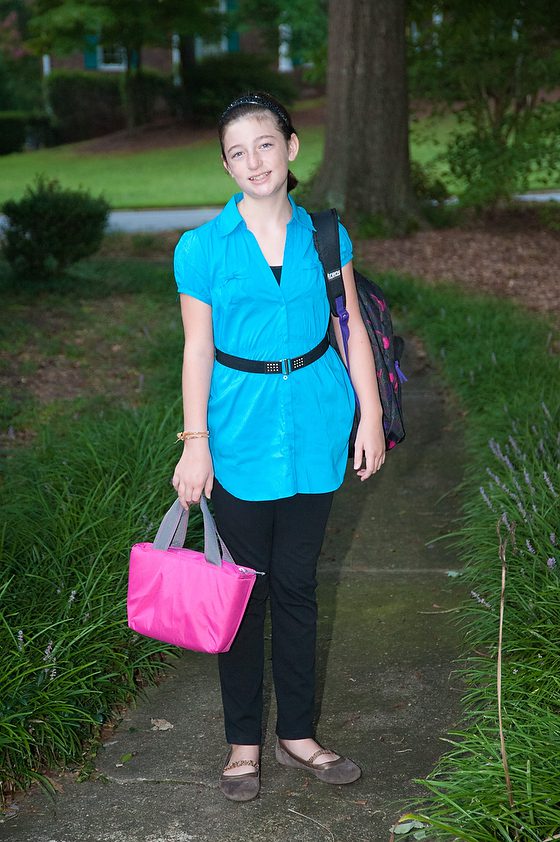
You may like the earlier edit, but there are more possibilities with a few changes in Lightroom. First, they did a significant overhaul of the main engine in the software and then added new tools like Dehaze.
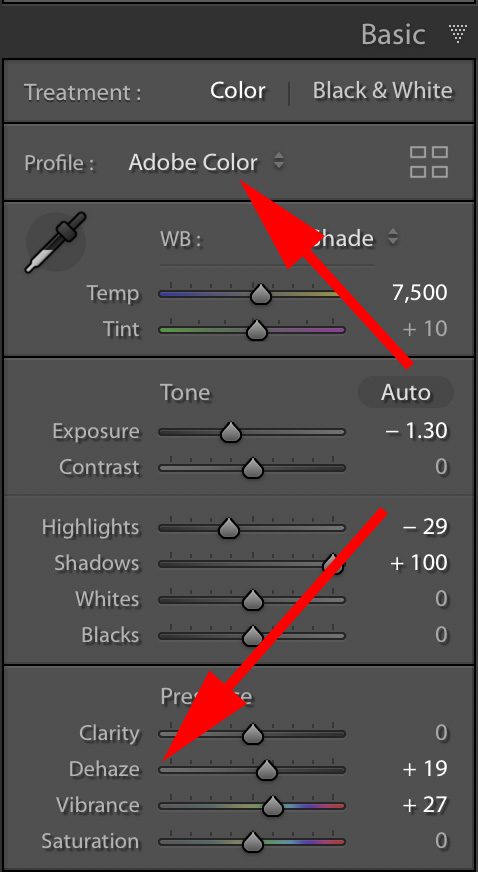
Today you can pick a color profile and use Dehaze; that was not an option in 2010.
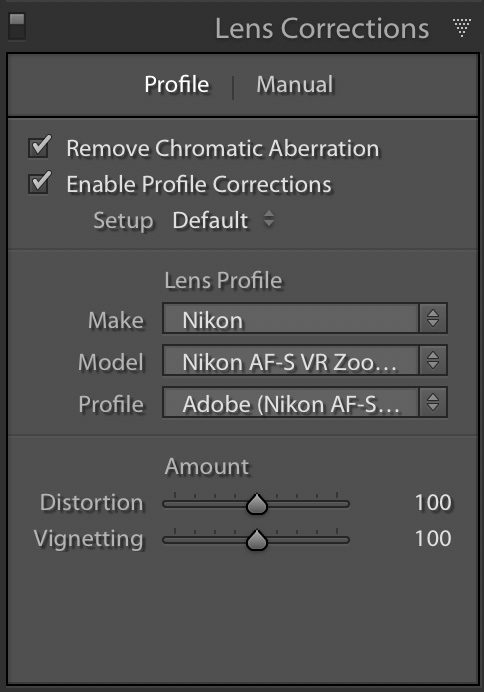
Another control implemented in 2010 was Lens Correction improving all lenses by correcting for their imperfections.
Back in 2010, I didn’t even try to edit this photo. With the dehaze control, I could make the background much more accessible than doing this in 2010 would have required.
TIPS
Shoot RAW – you have more information to work with before exporting a JPEG in Lightroom.
Folder for a RAW and separate folder for JPEG – I ingest and put all my RAW files into a folder, and then when I finish editing and exporting, I put those in a different folder JPEG
Archive all photos – Keep the RAW images and your JPEG images. You can later return to these photos and discover some gems due to the software improvements in the future.