
|
Getting your Trinity Audio player ready...
|
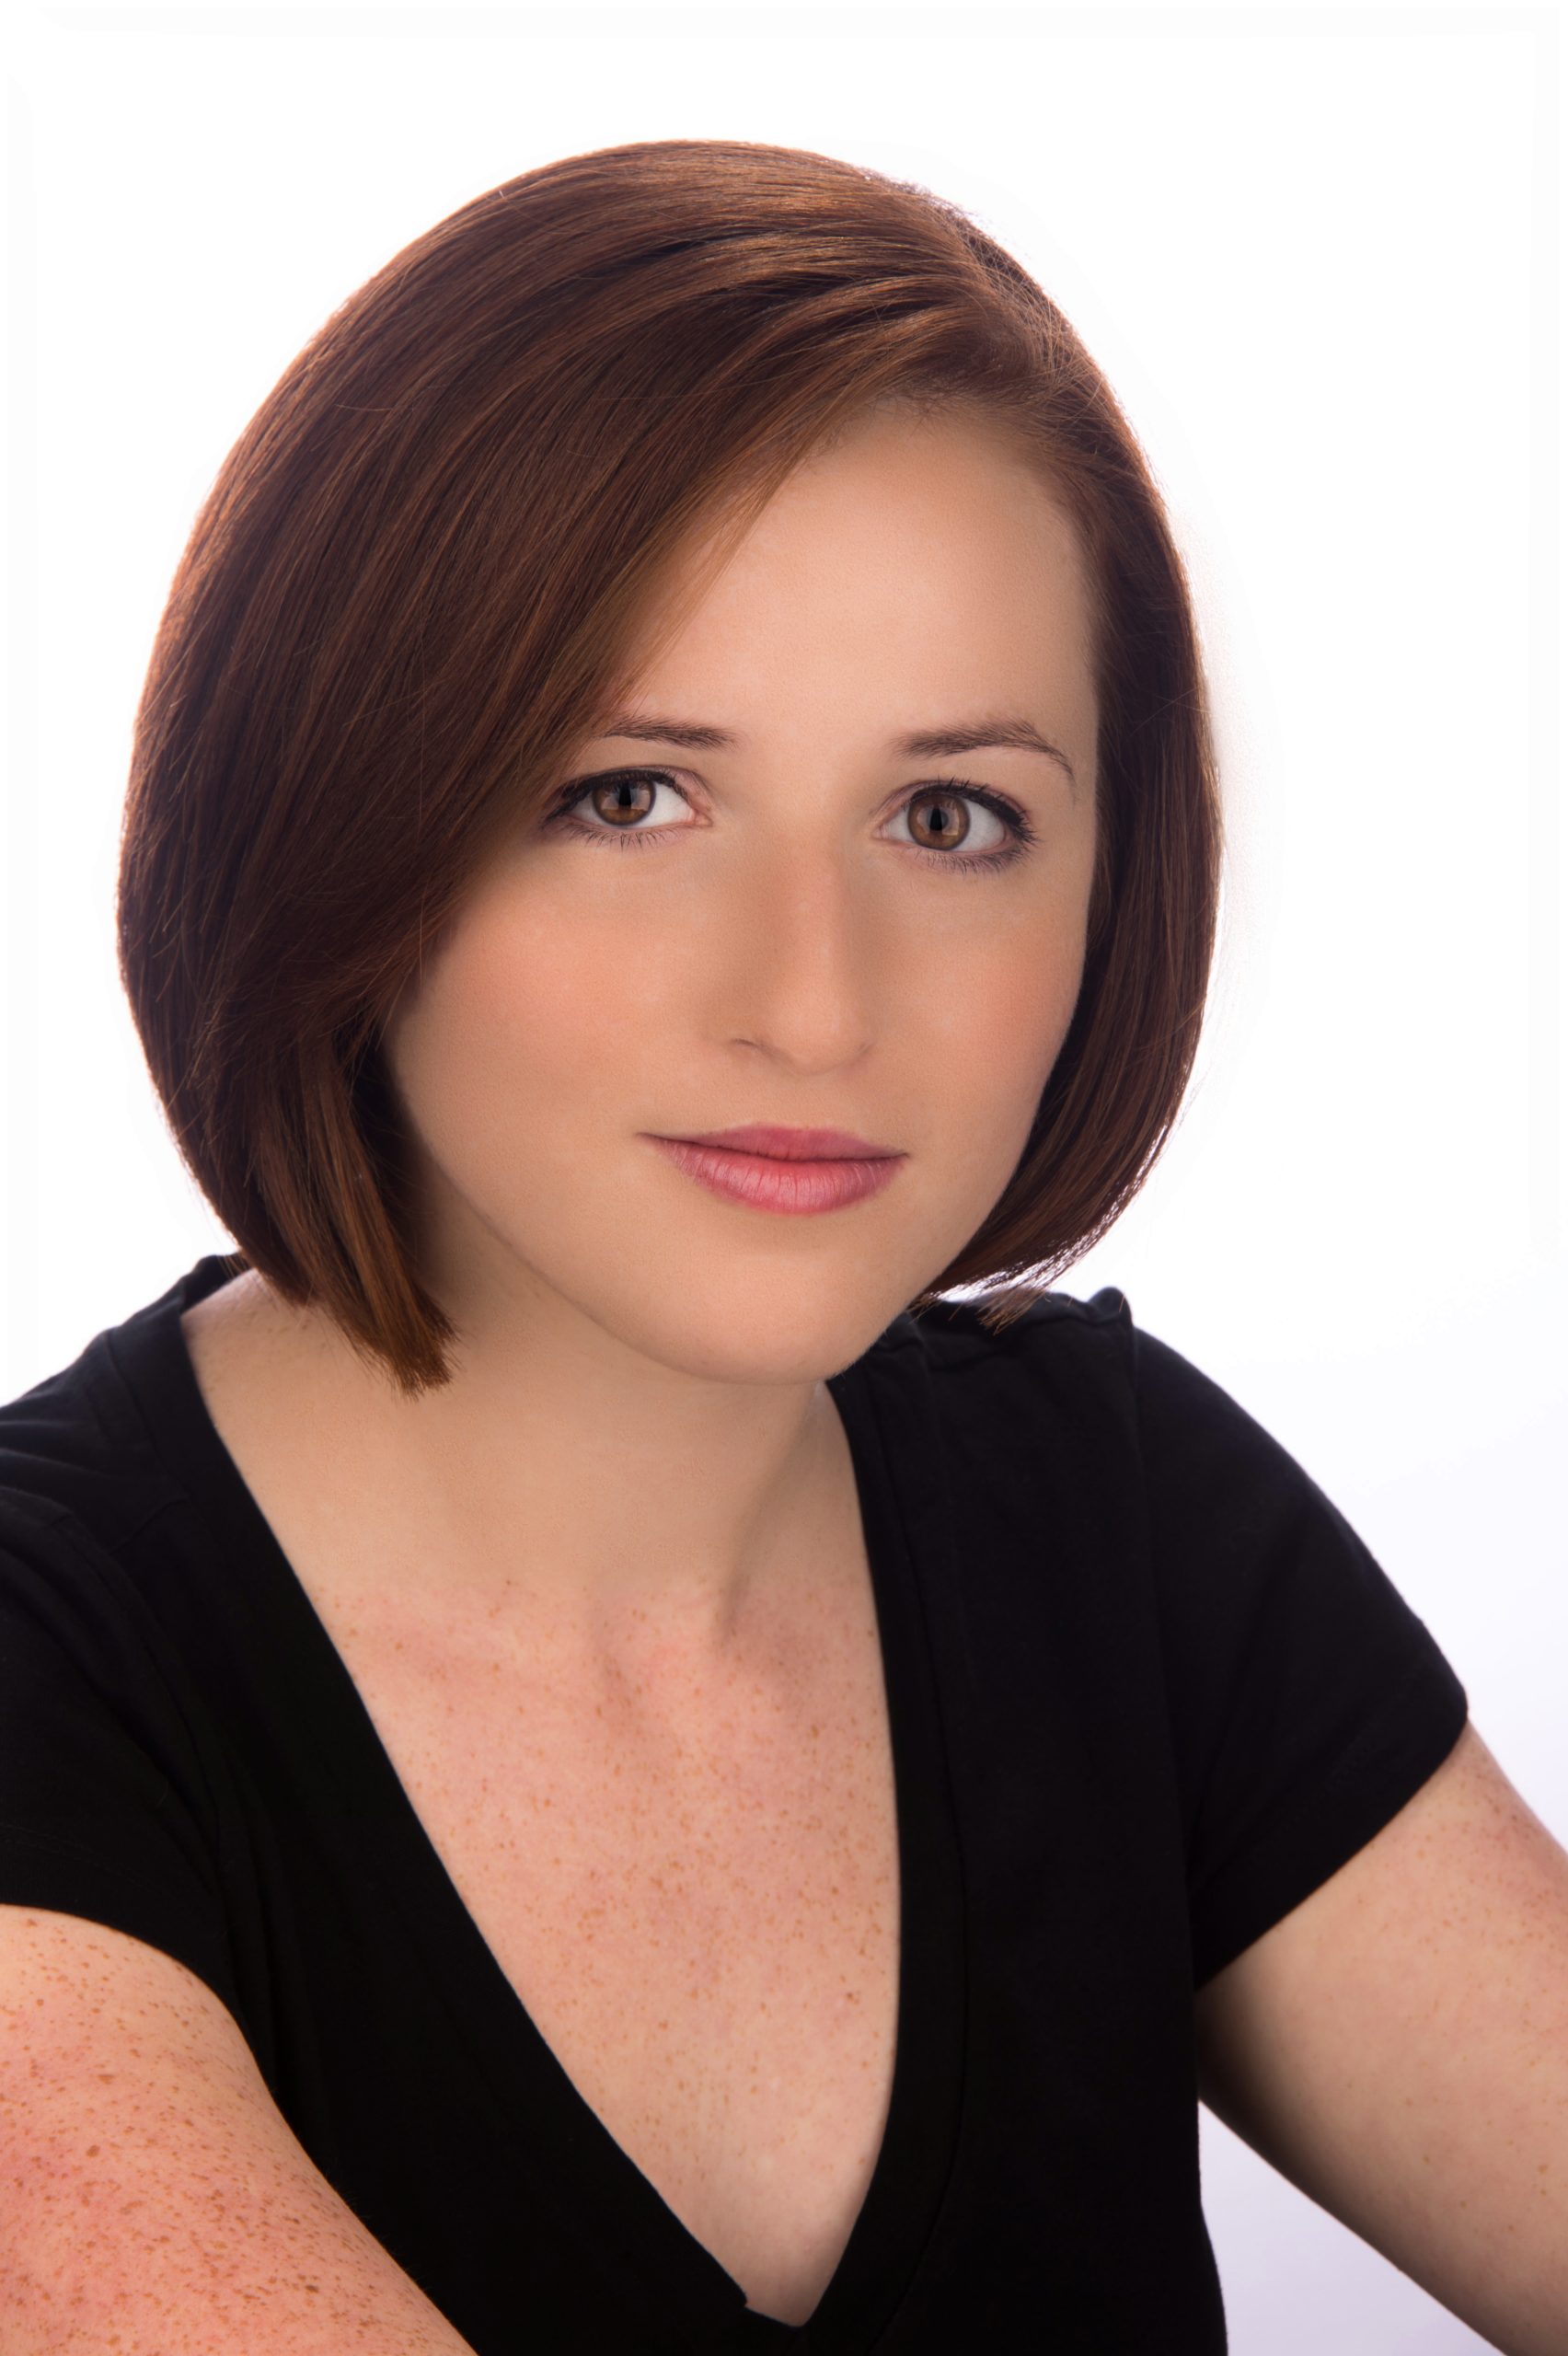
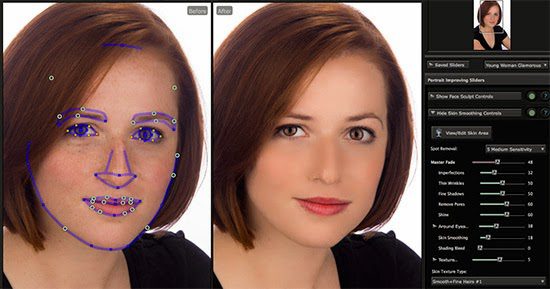
Let me walk you backward through this process. The top photo is one of the potential retouched photos. I used the software program Portrait Professional to do the touchups. You may not like any of the touchups, but I wanted to show you often you may make some touchups for various reasons. This software helps speed up the process.
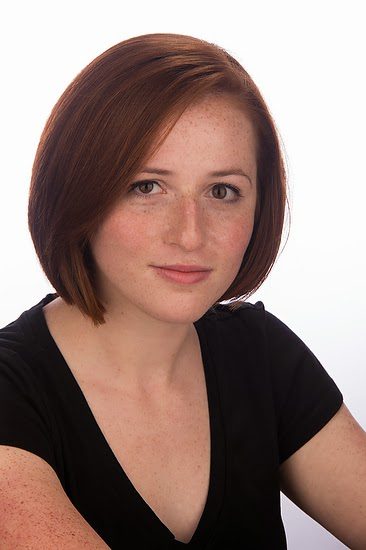
Below is the photo after shooting it and making very minimal adjustments in Adobe Lightroom.
I like working with a white background. The general rule is 1 to 2 stops brighter than the subject to ensure your white background remains white. I find it best to slightly angle the background so that it does not act like a mirror and creates a flair in the lens.
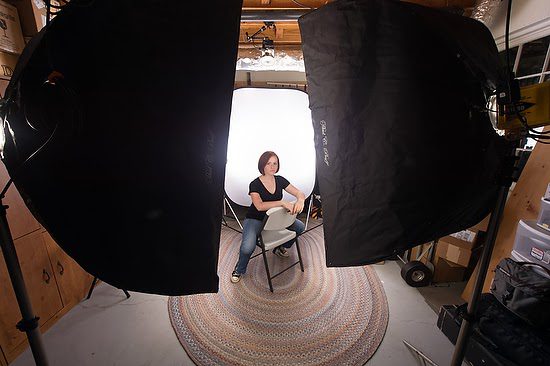 |
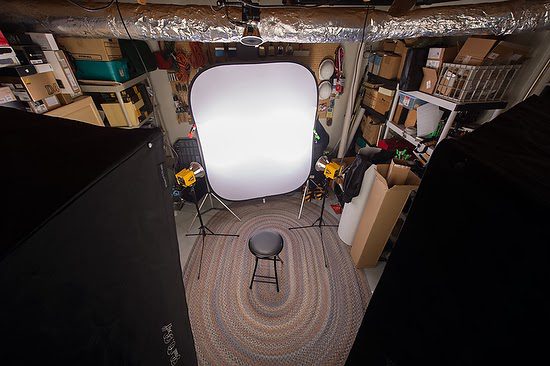
| Camera Perspective |
For this setup, I chose to use more of a copy stand setup with two large soft boxes on either side of the camera. Straight above and slightly behind the subject is a hair light with a 30º grid pointing down onto the back of the model‘s head and shoulders.
 |
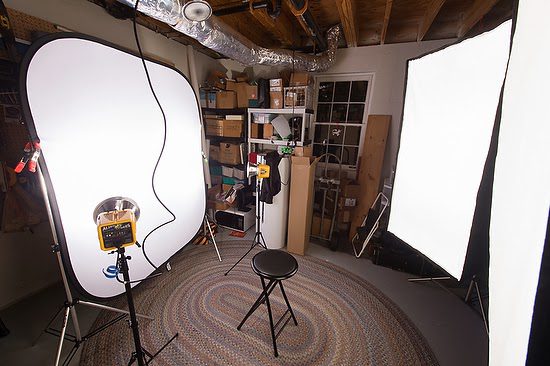
| Top View |
Here is the diagram of the setup.

I put two mono-blocs on the background duplicating the same angles as the softboxes on the subject. Again the location is one stop brighter than the subject.
 |
| Side view |
The model can change poses and move with similar light with this setup. Freeing the mode,l letting the subject play with expressions and body positions without having to change the lights every single time we moved the model.

I started with the stool and found that the chair gave the model more to work with and feel more relaxed. However, each person is different, so you must work together to find those poses and expressions that bring out the best in the model.